
Trevithick Blower
by John
I am sure that my readers will have gathered by now that I am not an expert. At least in matters of metalworking, model engineering etc. I am, or was, an expert in my profession, some years ago. But this blog is about how a non expert copes with problems in model engineering. It aims to be entertaining, occasionally helpful, and a diary of my workshop doings.
When Trevithick designed his revolutionary engine, (“revolutionary” in all senses), he arranged for the exhausted steam to be funnelled into the chimney, after pre-heating the boiler feed water.
It was a matter of convenience apparently. Rather than ejecting the spent steam directly into the air, it would go up the chimney, away from the operator.
But almost immediately it was noticed that the fire in the firebox was more vigorous, hotter, more efficient Thus was born, the steam engine blower.
So I made the junction between the exhaust and the chimney as per the plans, at an angle of 90 degrees.
But, I noted that on the exhaust stroke, the fire in the firebox spluttered, and occasionally went out altogether.
In more modern steam engines, the exhausted steam is inserted into the chimney, but parallel with the chimney, not at a right angle.
So, I thought, do I stay with the Trevithick design, or the more logical more modern design. I was having problems with my fire, so the decision was easy. I would pretend that Trevithick would adopted this design. Maybe he did.
But that meant breaking the silver soldered join, inserting a new angled copper tube, and rejoining it all.
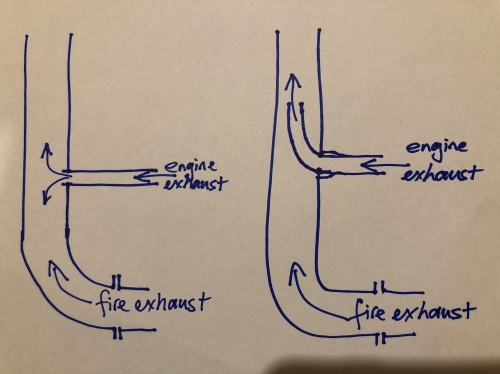
As Trevithick designed it on the left and on the right as I remade it today
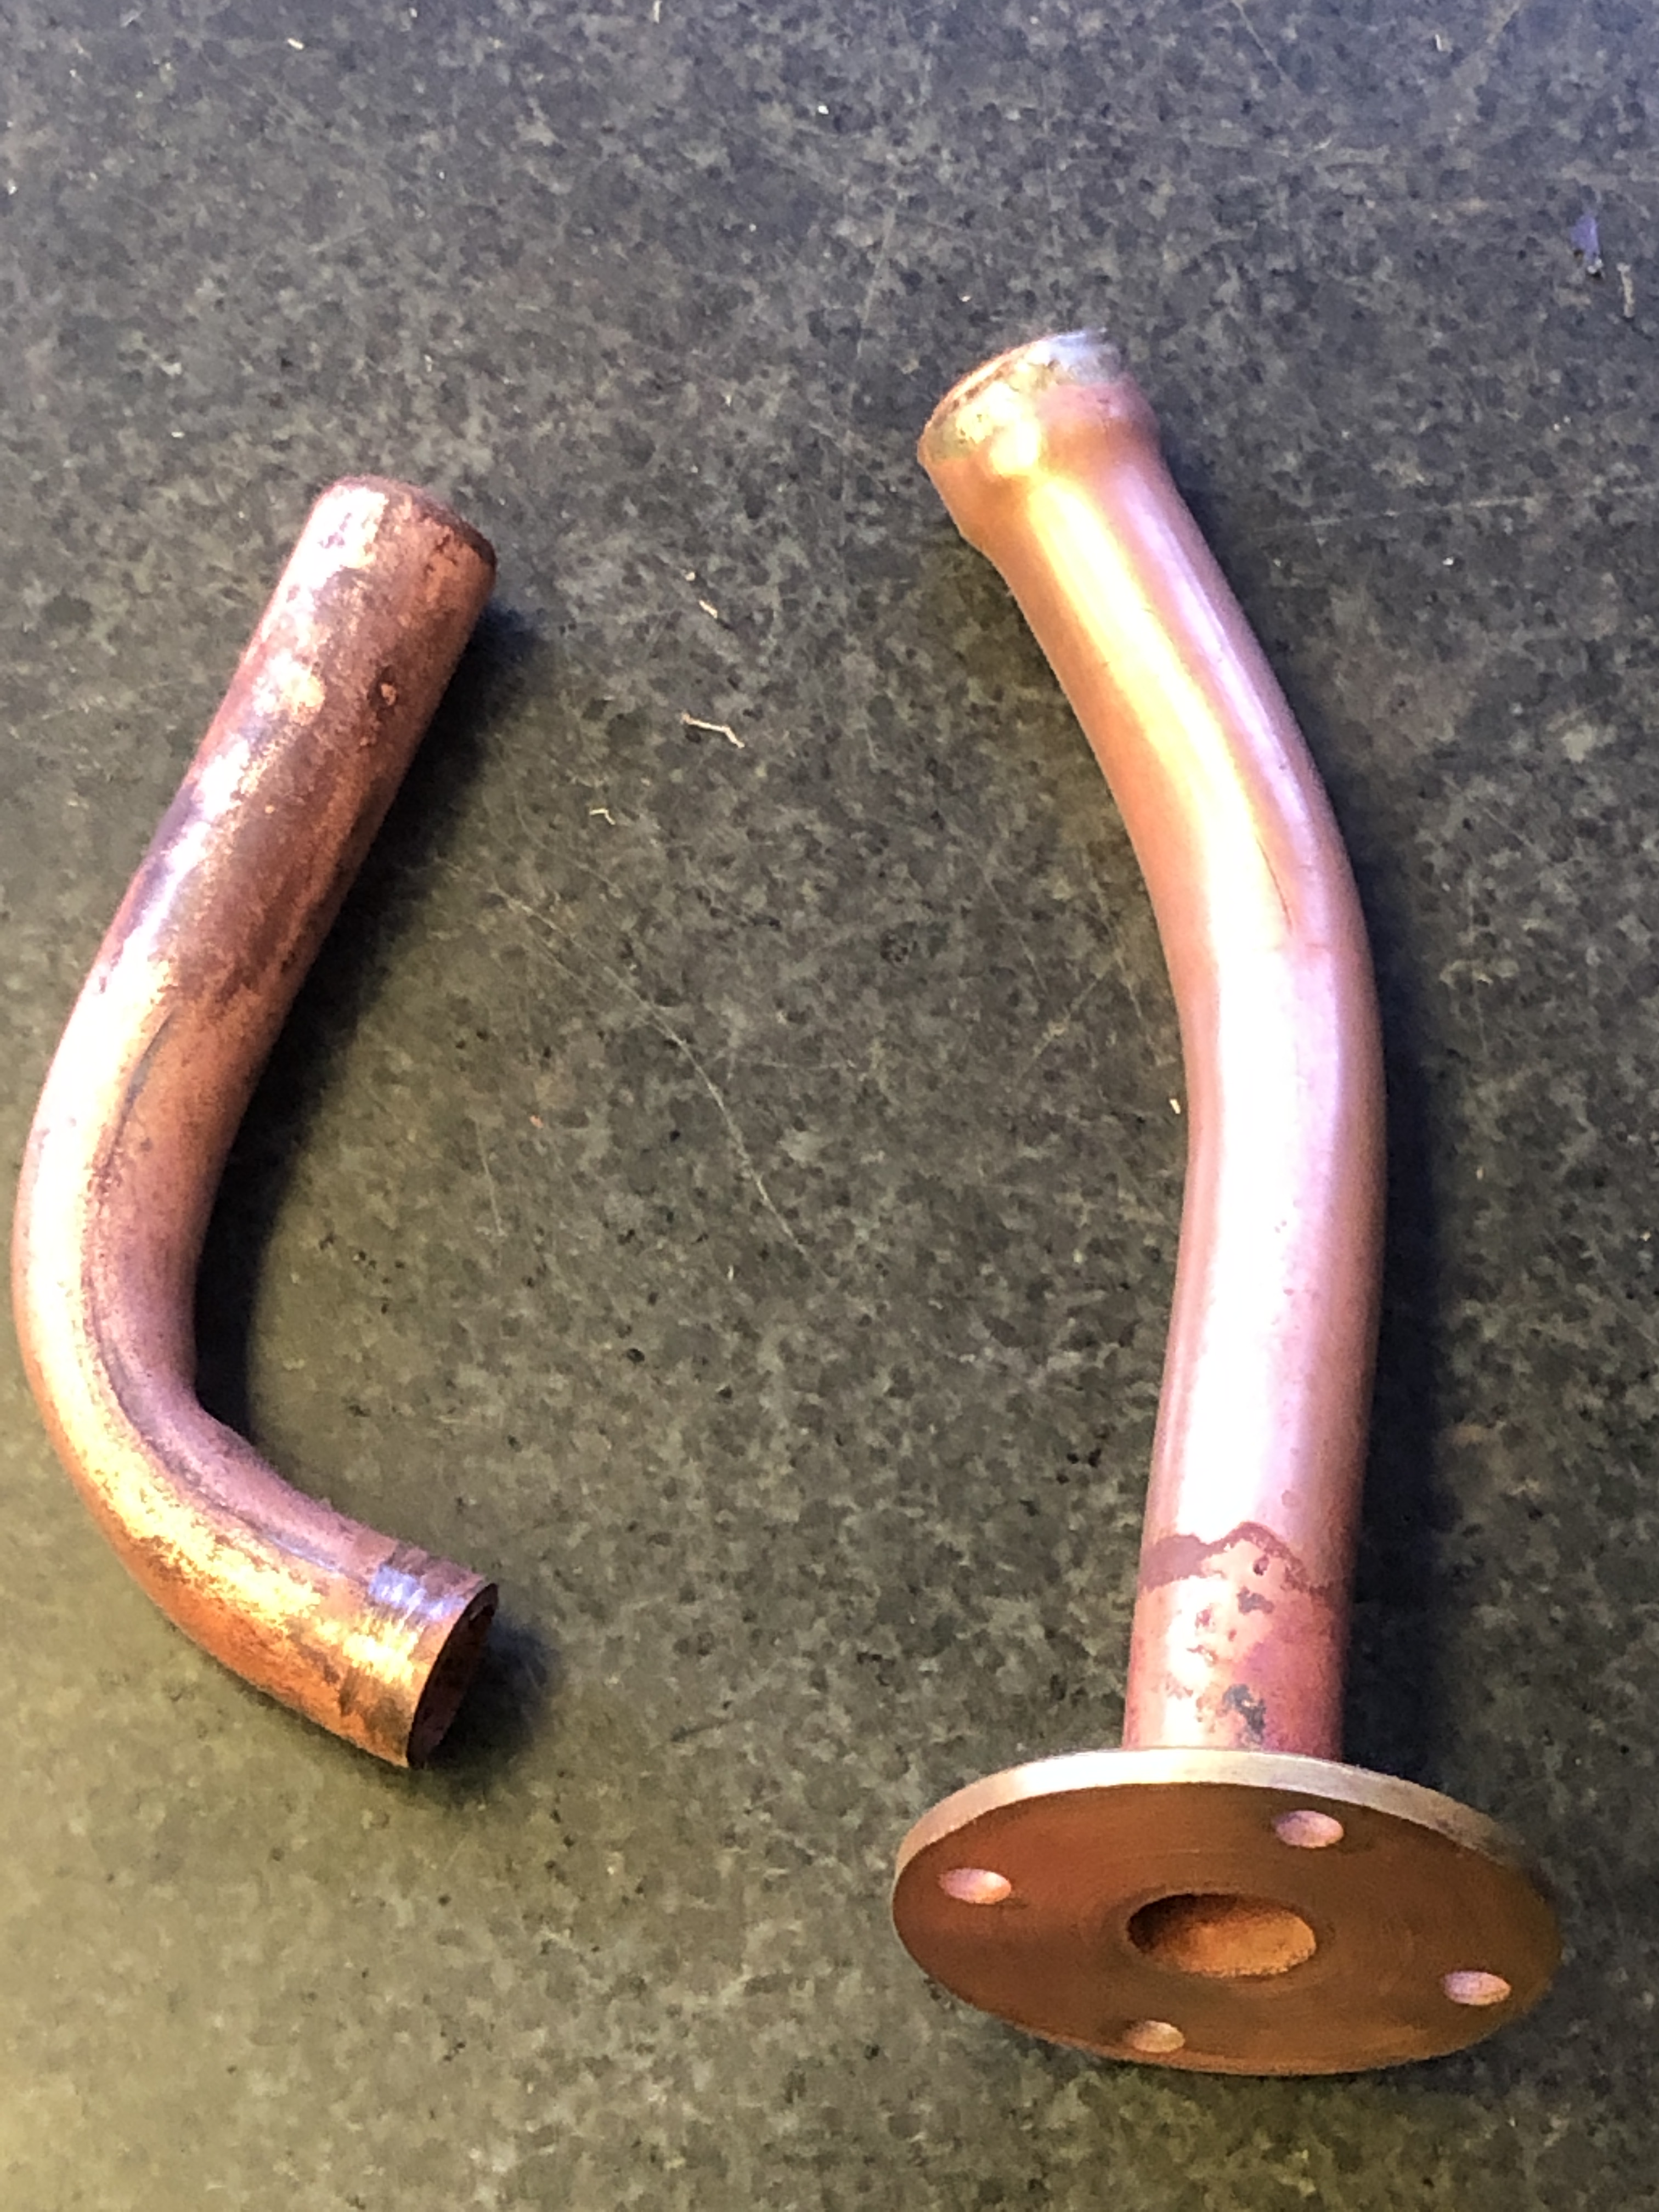
Right is the exhaust piece between the preheater and the chimney. Left is the new blower tube, which must be joined end to end, and then poked up the chimney.
This was going to be tricky. And end to end join of 2 pieces of 9.5mm copper tube, and the join being right where the tube enters the chimney. But then I remembered a tool which had sat unused for several years…
OK, This is probably very old hat to most of you. But it was exciting to me. First I had to assemble the tool. Sorry I missed the camera.
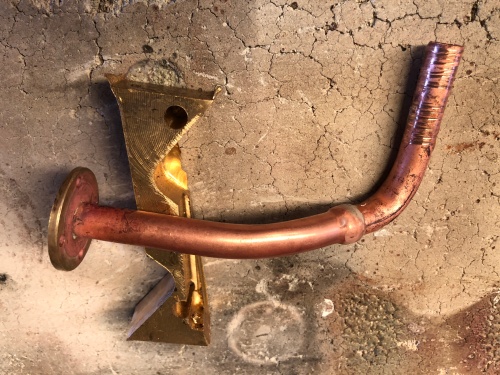
I decided to solder the pipe join first. Rested the end with the flange on a lump of scrap brass, to act as a heat sink, and protect the flange join.
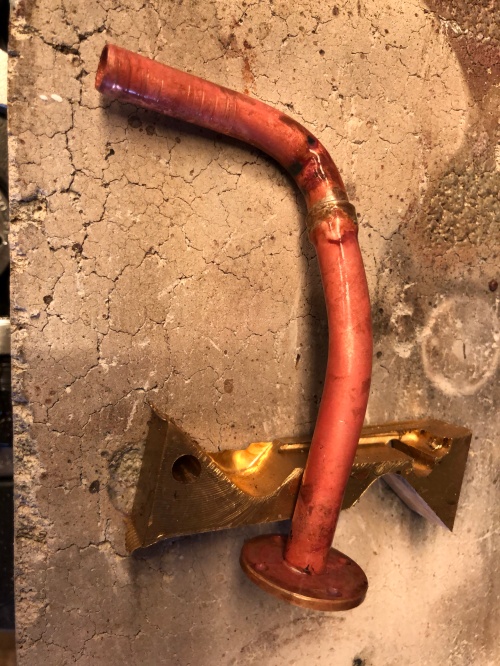
That worked well.
Then I soldered the assembly into the chimney, after bolting all of the parts into their positions. Sorry. Forgot to take a photo. But it all worked well. I like the tube expander, but it needs some extra fittings so it works on smaller tubes.

I like reading your adventures in machinery while I’m having coffee in the morning. Your patience and precision is inspirational.
I’ve never seen a tube expander before, it looked like a big pop riveter to me. It’s really helpful to have the right tool for the right job.
BTW black is beautiful. And I hope Oz cools down as you fire up.
LikeLike