
Second Pour.
by John
One definition of stupidity is repeating a set of actions and expecting a different outcome.
Well, after my partly successful first molten metal pour, I repeated the same steps, (with some minor corrections), and hoping for a more successful result.
The day was entertaining, with one of my daughters videoing the exercise. But this was the result…..
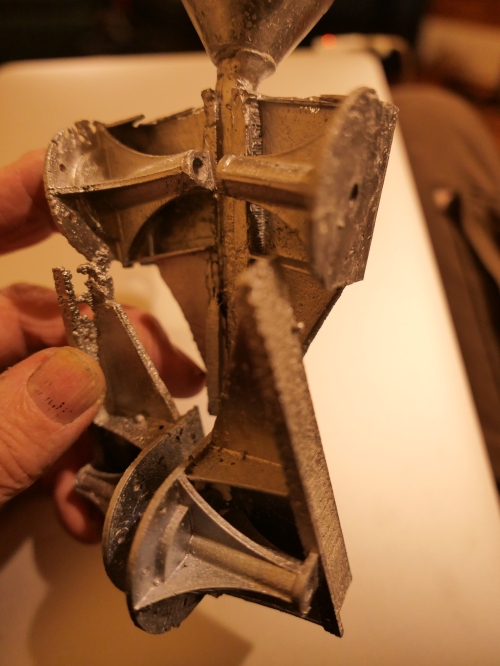
The aluminium melt has not properly filled the cavities at the top (nearest the funnel). The bottom cavities have filled nicely, with good definition of the printing details.
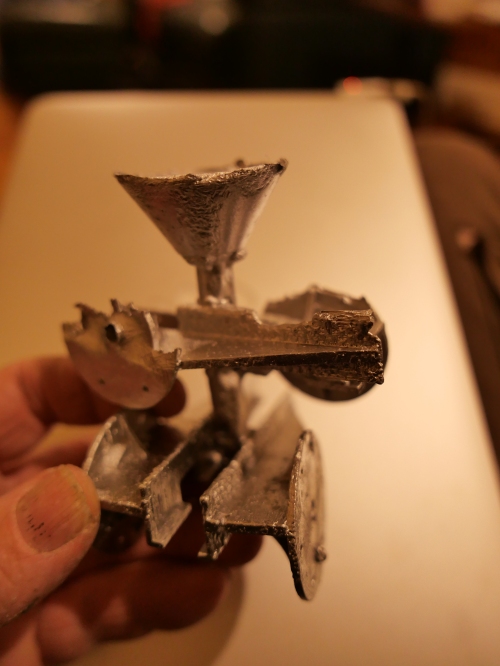
The second flask with the same result.
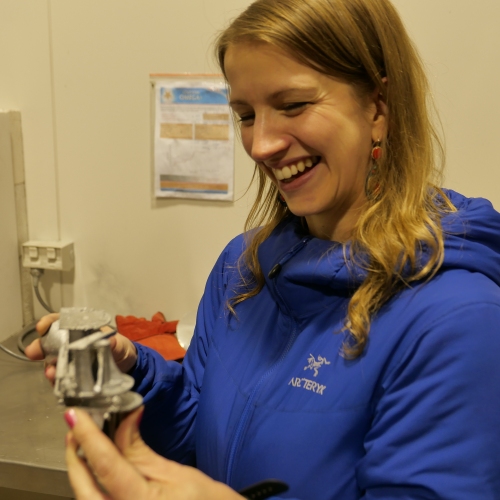
My daughter found the exercise very interesting, particularly the pour and the boiling out of the investment material. But she was a bit disappointed that the end result was not better.
So, I am considering how to change the process.
I believe that I need to increase the filling pressure in the upper half of the flasks.
Possible methods:
- Install a vacuum system for the melt pour
- Use a vertical extension for the melt funnel, to increase the height of the column
- Increase the diameter of the funnel tube
- Increase the number of the funnel tubes
- Don’t place tree branches close to the funnel
I had previously considered 1. as recommended on YouTube by several contributors.
The investment powder is a significant cost, so I would prefer to use as much of the volume of the flask as possible, which makes 5. an unattractive proposition.
There are difficulties with instituting 2. but I am thinking about this one.
And possibility 6, is to try bronze or brass, which has a much greater density, and probably less viscosity than aluminium. I am waiting for some more furnace graphite crucibles to arrive before I can try this one.
Meanwhile I have to 3D print some more PLA parts.

Hello John, The position of the defects suggest trapped air, if so a vent made by adding a PLA rod to the top patterns should fix it.
Robert
LikeLike
Thanks Rob. I will try that. John
LikeLike