machines which I have made, am making, or intend to make, and some other stuff. If you find this site interesting, please leave a comment. I read every comment and respond to most. n.b. There is a list of my first 800 posts in my post of 17 June 2021, titled "800 Posts"
Before I could glue on the first layer of the deck, I needed to glue in some longitudinal beams, and the provided walnut strips were 0.3mm oversize.
One of the longitudinal beams sitting in place after using the sanding thicknesser to remove 0.3mm from one side. Not yet glued. These beams will not be visible in the completed model, and were not of this scale in the original ship, but are essential in the model to stiffen the hull. The stiffness will be required when the bulkheads are shaped to accept the planking.This is my el-cheapo oscillating drum sander. Not often used by me but I predict that it will be used a lot in constructing Constitution. The Customwood fence is cramped in position. The workpiece is steadily pushed against the rotation of the spindle, using a push stick. Takes off 0.05mm – 1mm per pass. And after some practice, is surprisingly accurate. I experimented with different spindle/sanding sleeve diameters, and this one, 2″ / 50mm seemed to give the best results.
At some stage I will make a steel fence with a micro adjusting positioning screw, but for the moment this setup will suffice.
So, to return to the model build….
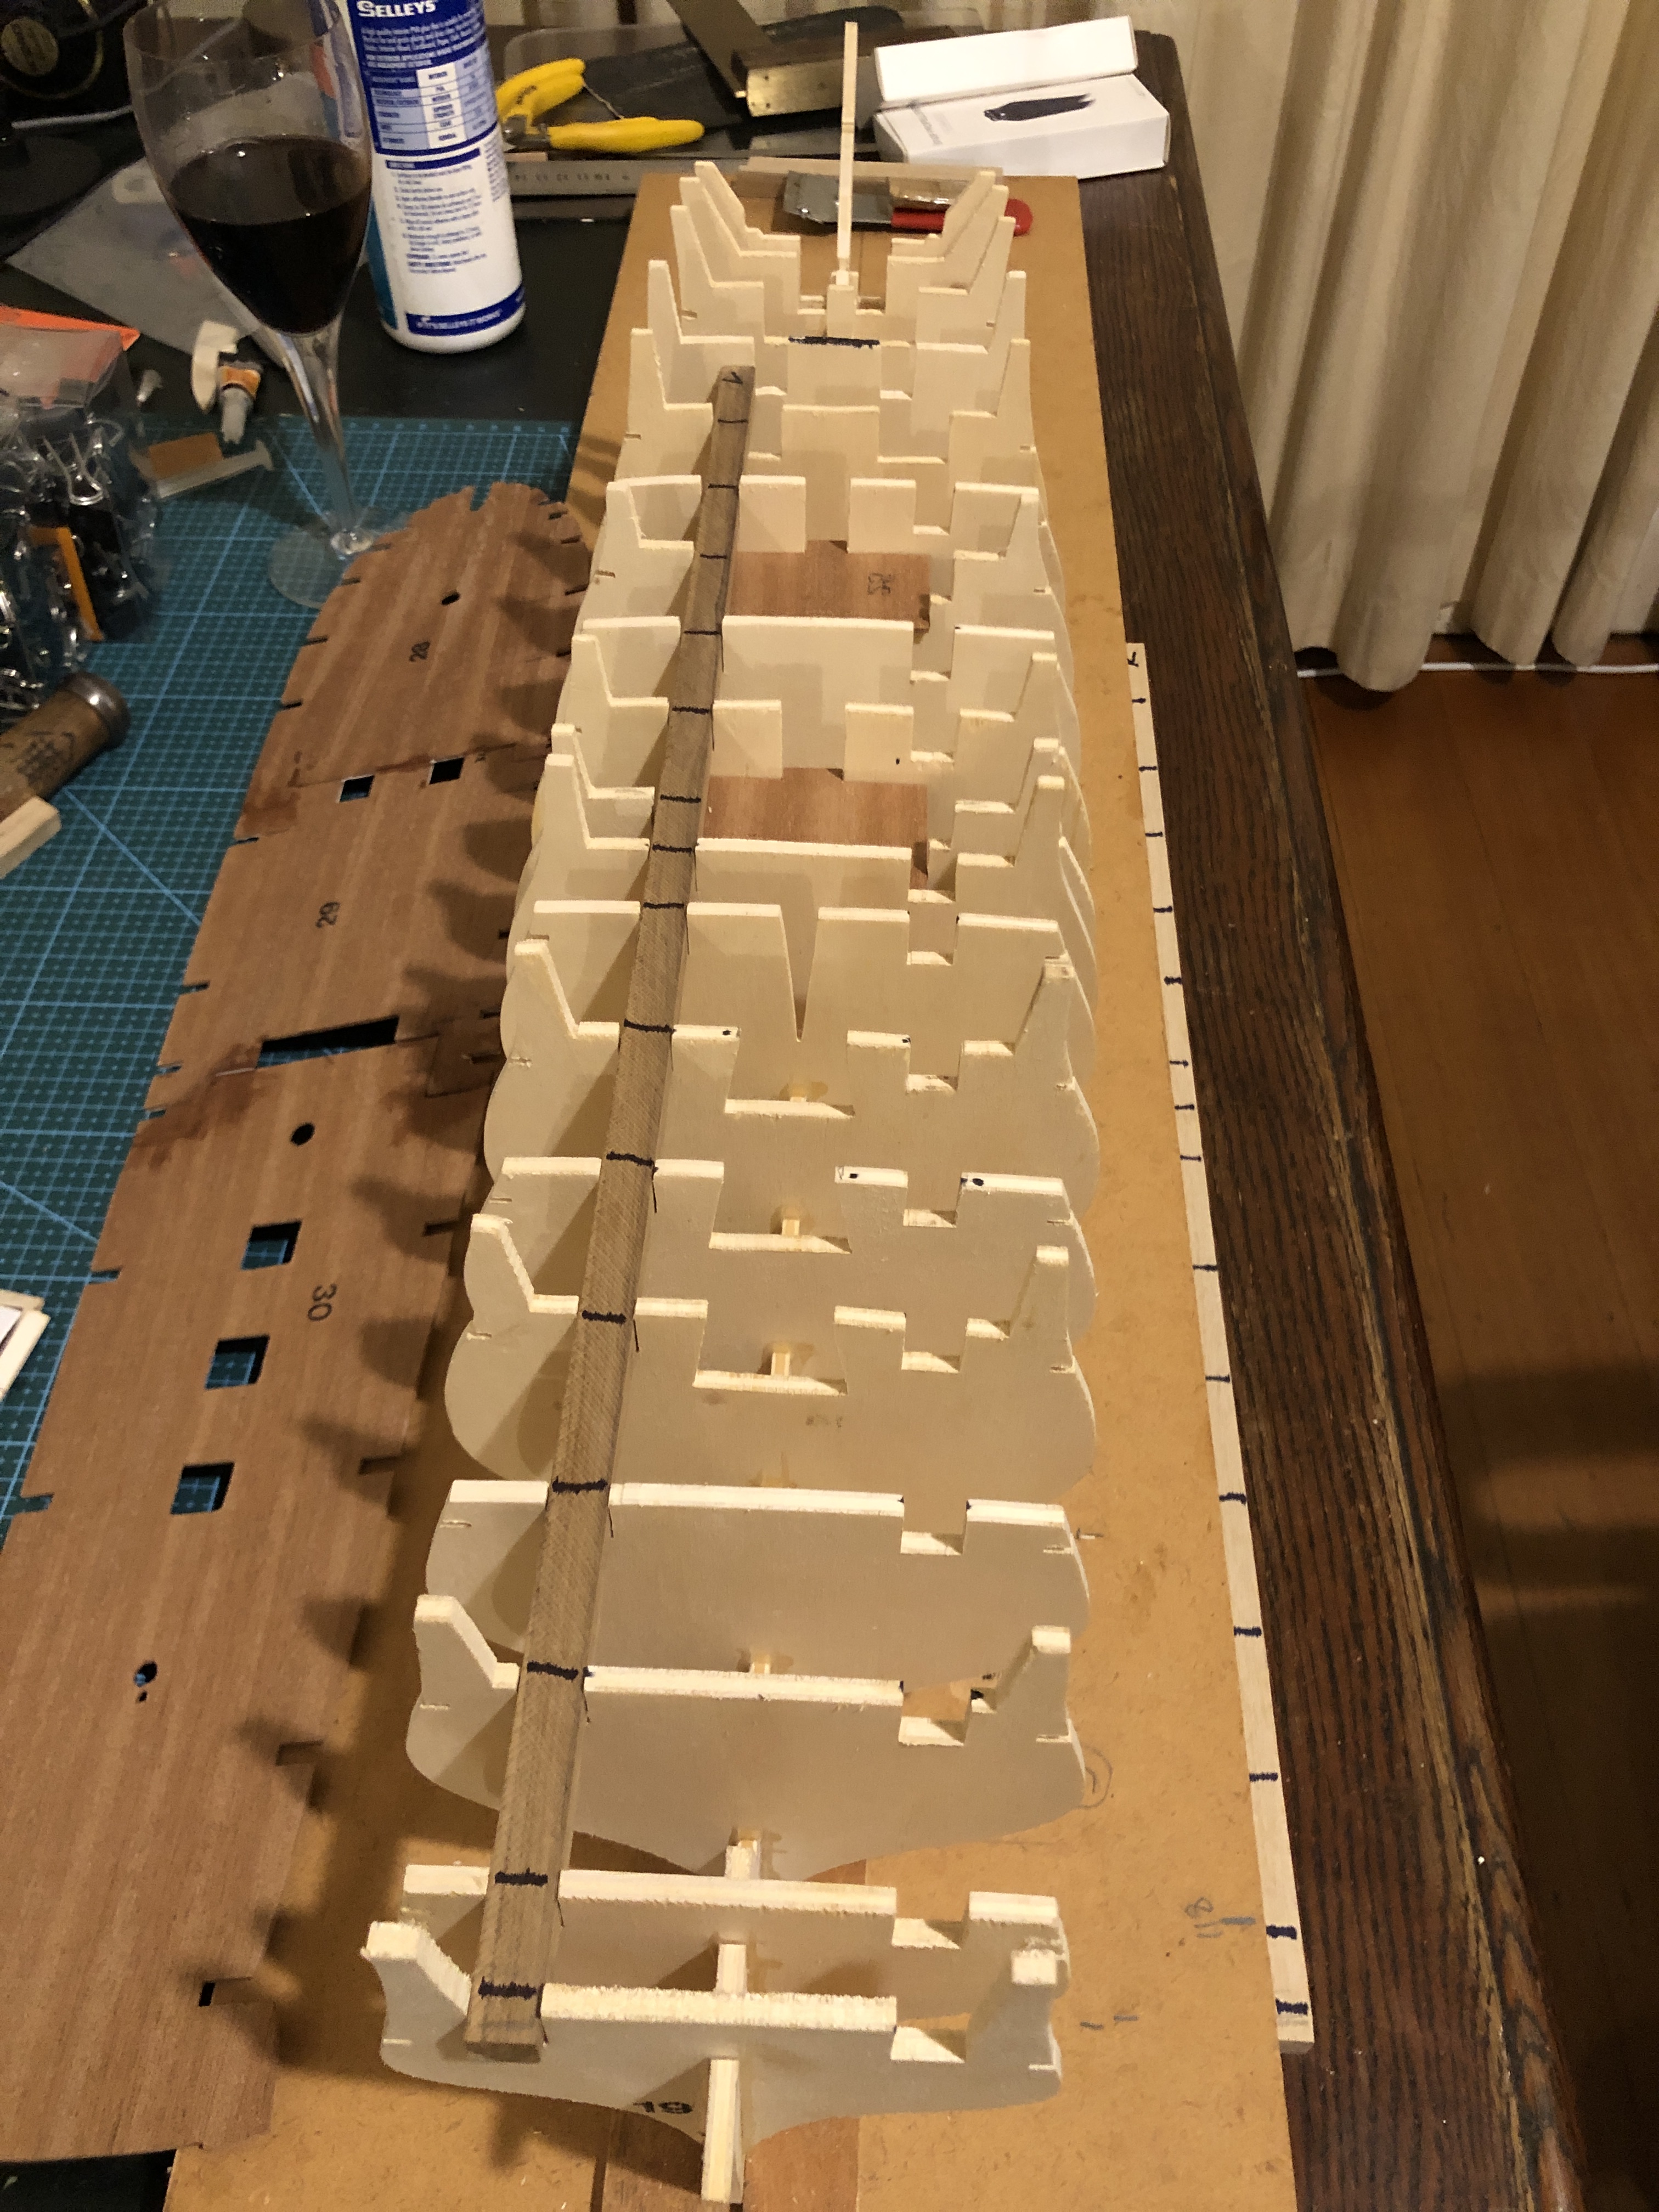
After gluing in the 2 beams, I glued the deck base to the bulkheads.
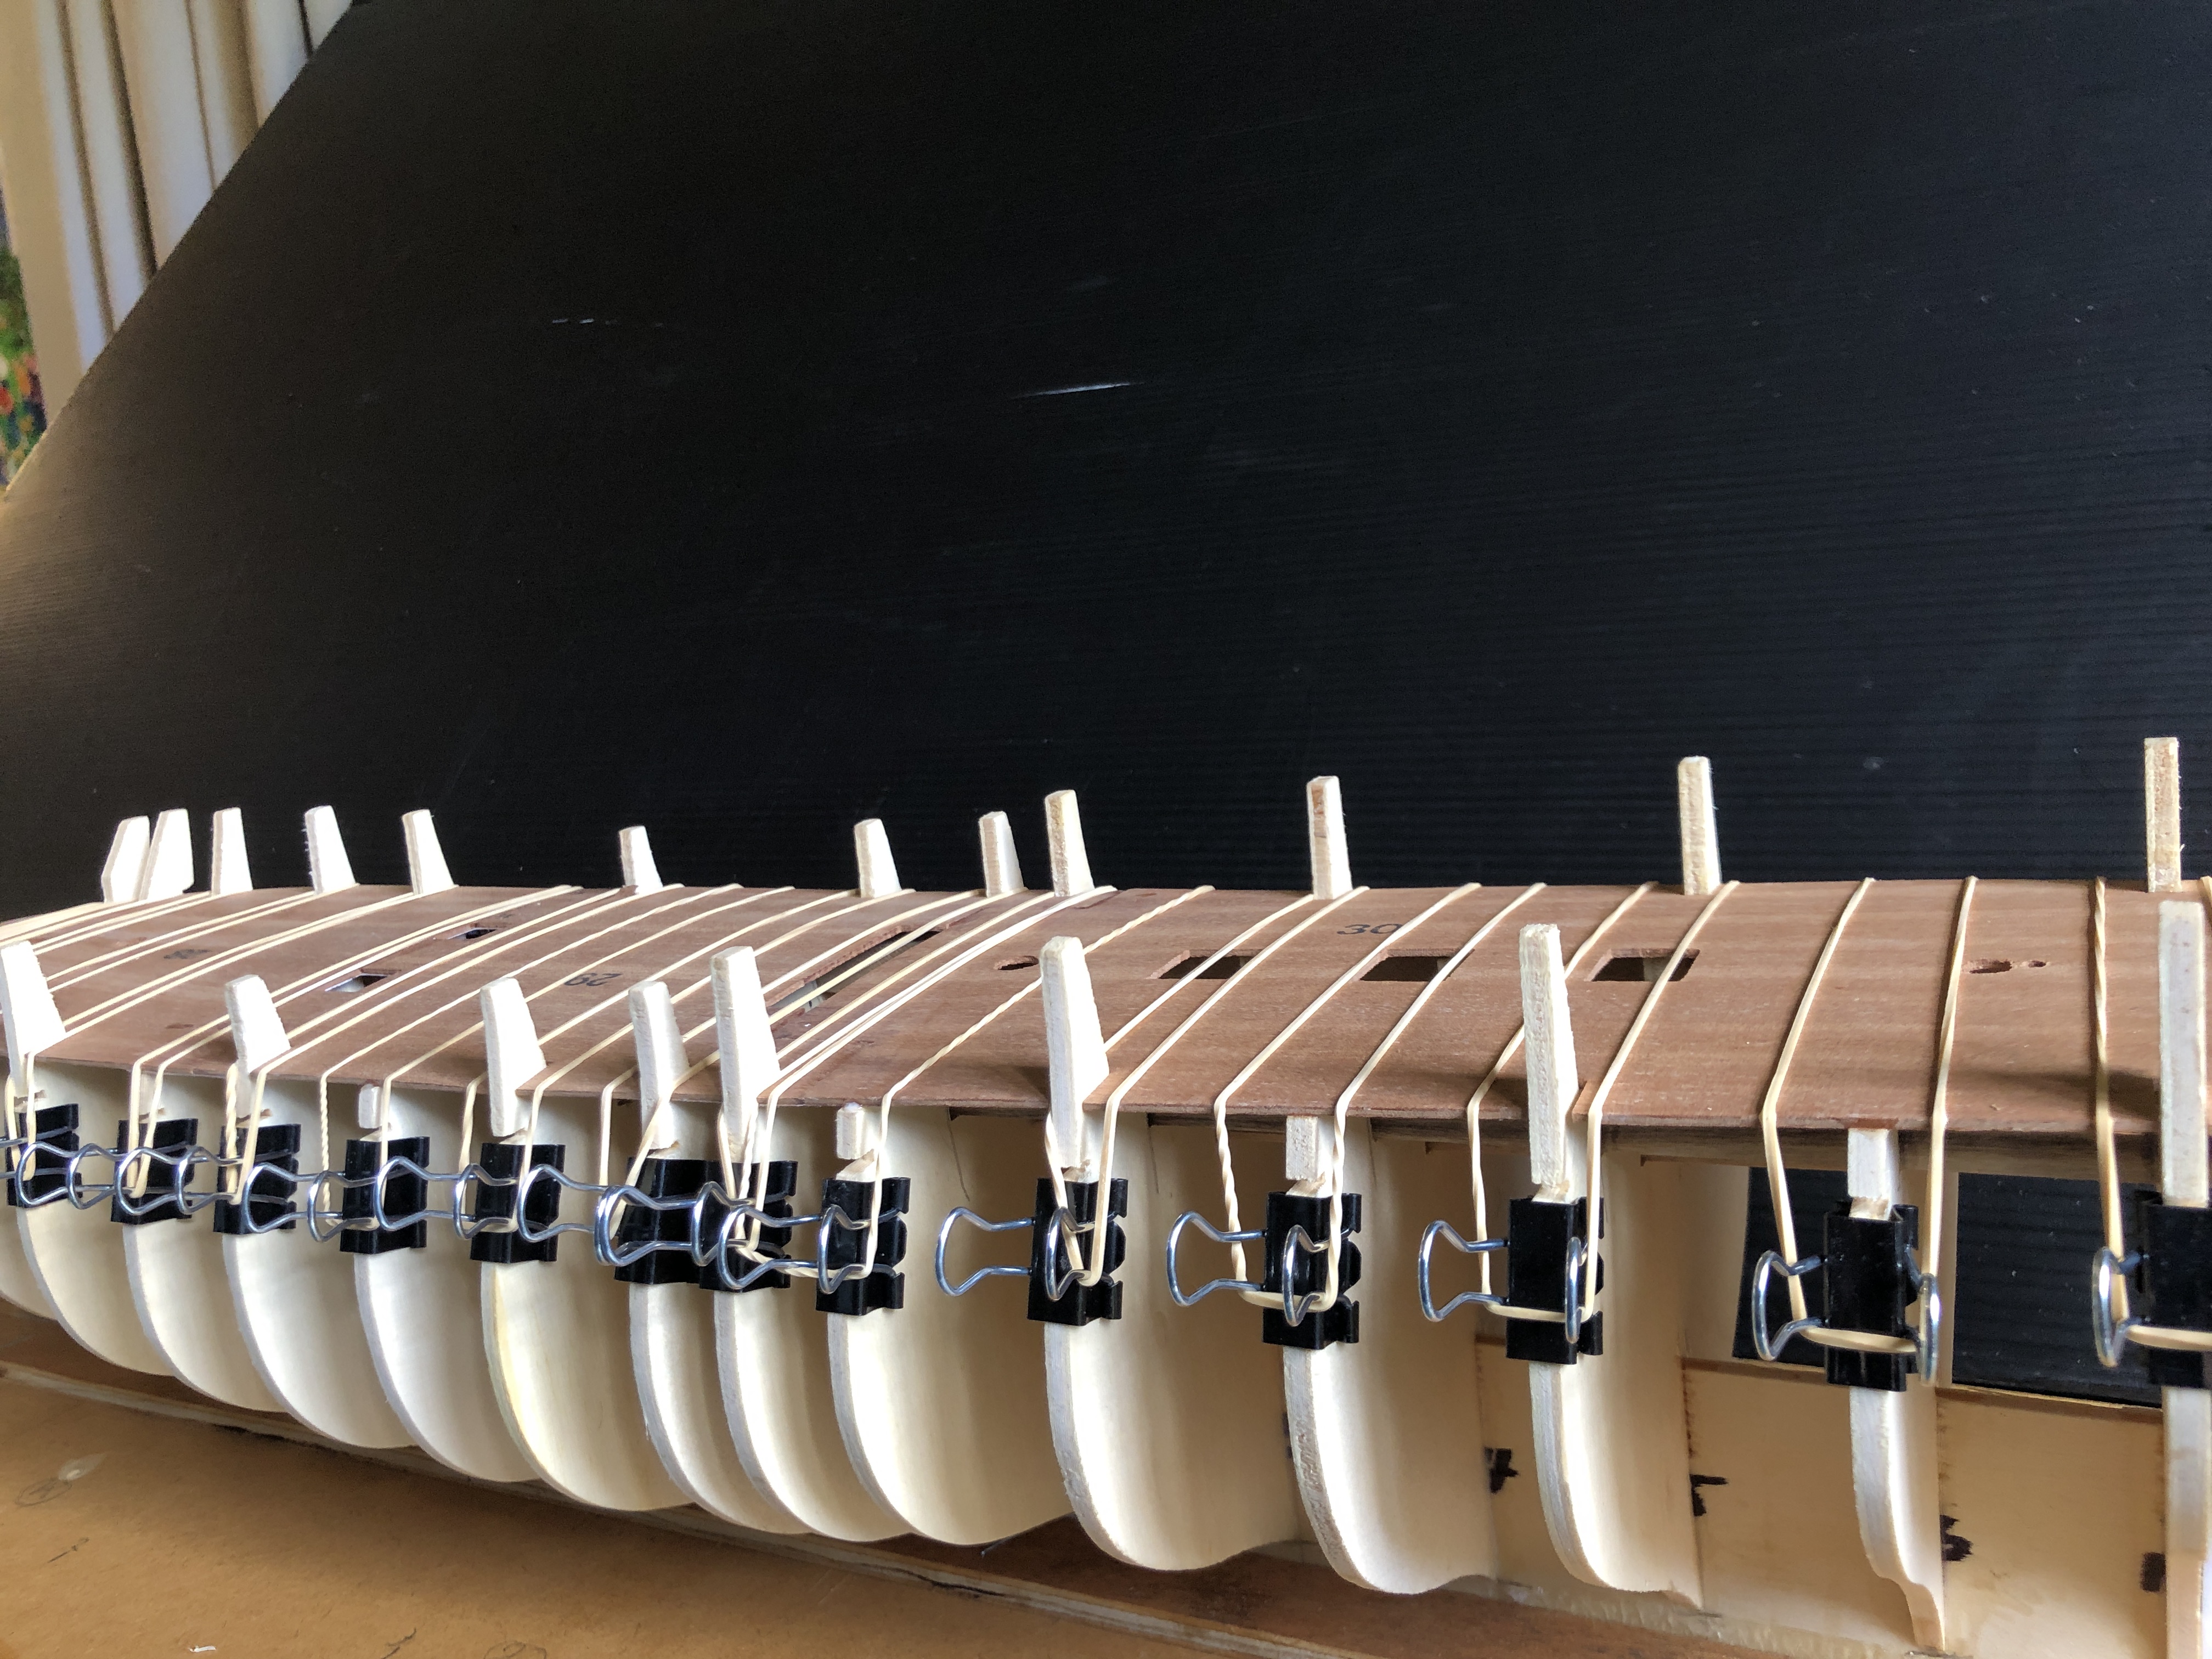
A dry run without glue, then spread the white glue to the bulkheads, and held down the subdeck with rubber bands. All had positioned perfectly in the dry run, but for some unknown reason there was a small malposition in the final glued run. I don’t think that it will be fatal, or even noticeable, but it WAS frustrating. There is a small bend/concavity fore and aft, and the deck has a fall towards the scuppers. Thankfully, those curves have worked out nicely.Gluing the subdeck. And continuing the hull. Those square cutouts are as supplied in the 1.5mm thick plywood. I have started to tidy them up, but unfortunately they are so grossly inaccurately cut that some wood filler will be needed. The worker must have had a liquid lunch. I am revising my opinion that the old Mamoli kit was CNC cut. It is looking more like it was cut by hand.
Now that the hull structural pieces are glued together I can start to consider how to shape the bulkheads in preparation for the planking.
And I have ordered some copper foil for the hull copper sheathing. The original copper rectangles were 48″ x 14″ x 1/4″. At 1:93 scale that equates to 15.8mm x 4mm x 0.07mm. 1700 of them. Or if you are reading this from USA and want it in cubits or barley seeds I am afraid that you can do the conversion yourself. They were nailed to the hull planks (copper nails I presume). The foil has an adhesive backing which I hope will stick to the model hull wooden planks.. And I am thinking of producing some fake nail dents with one of those spikey wheels which my mum used for sewing. If they are still able to be purchased. I will enquire at a local haberdashery shop.
Next day…
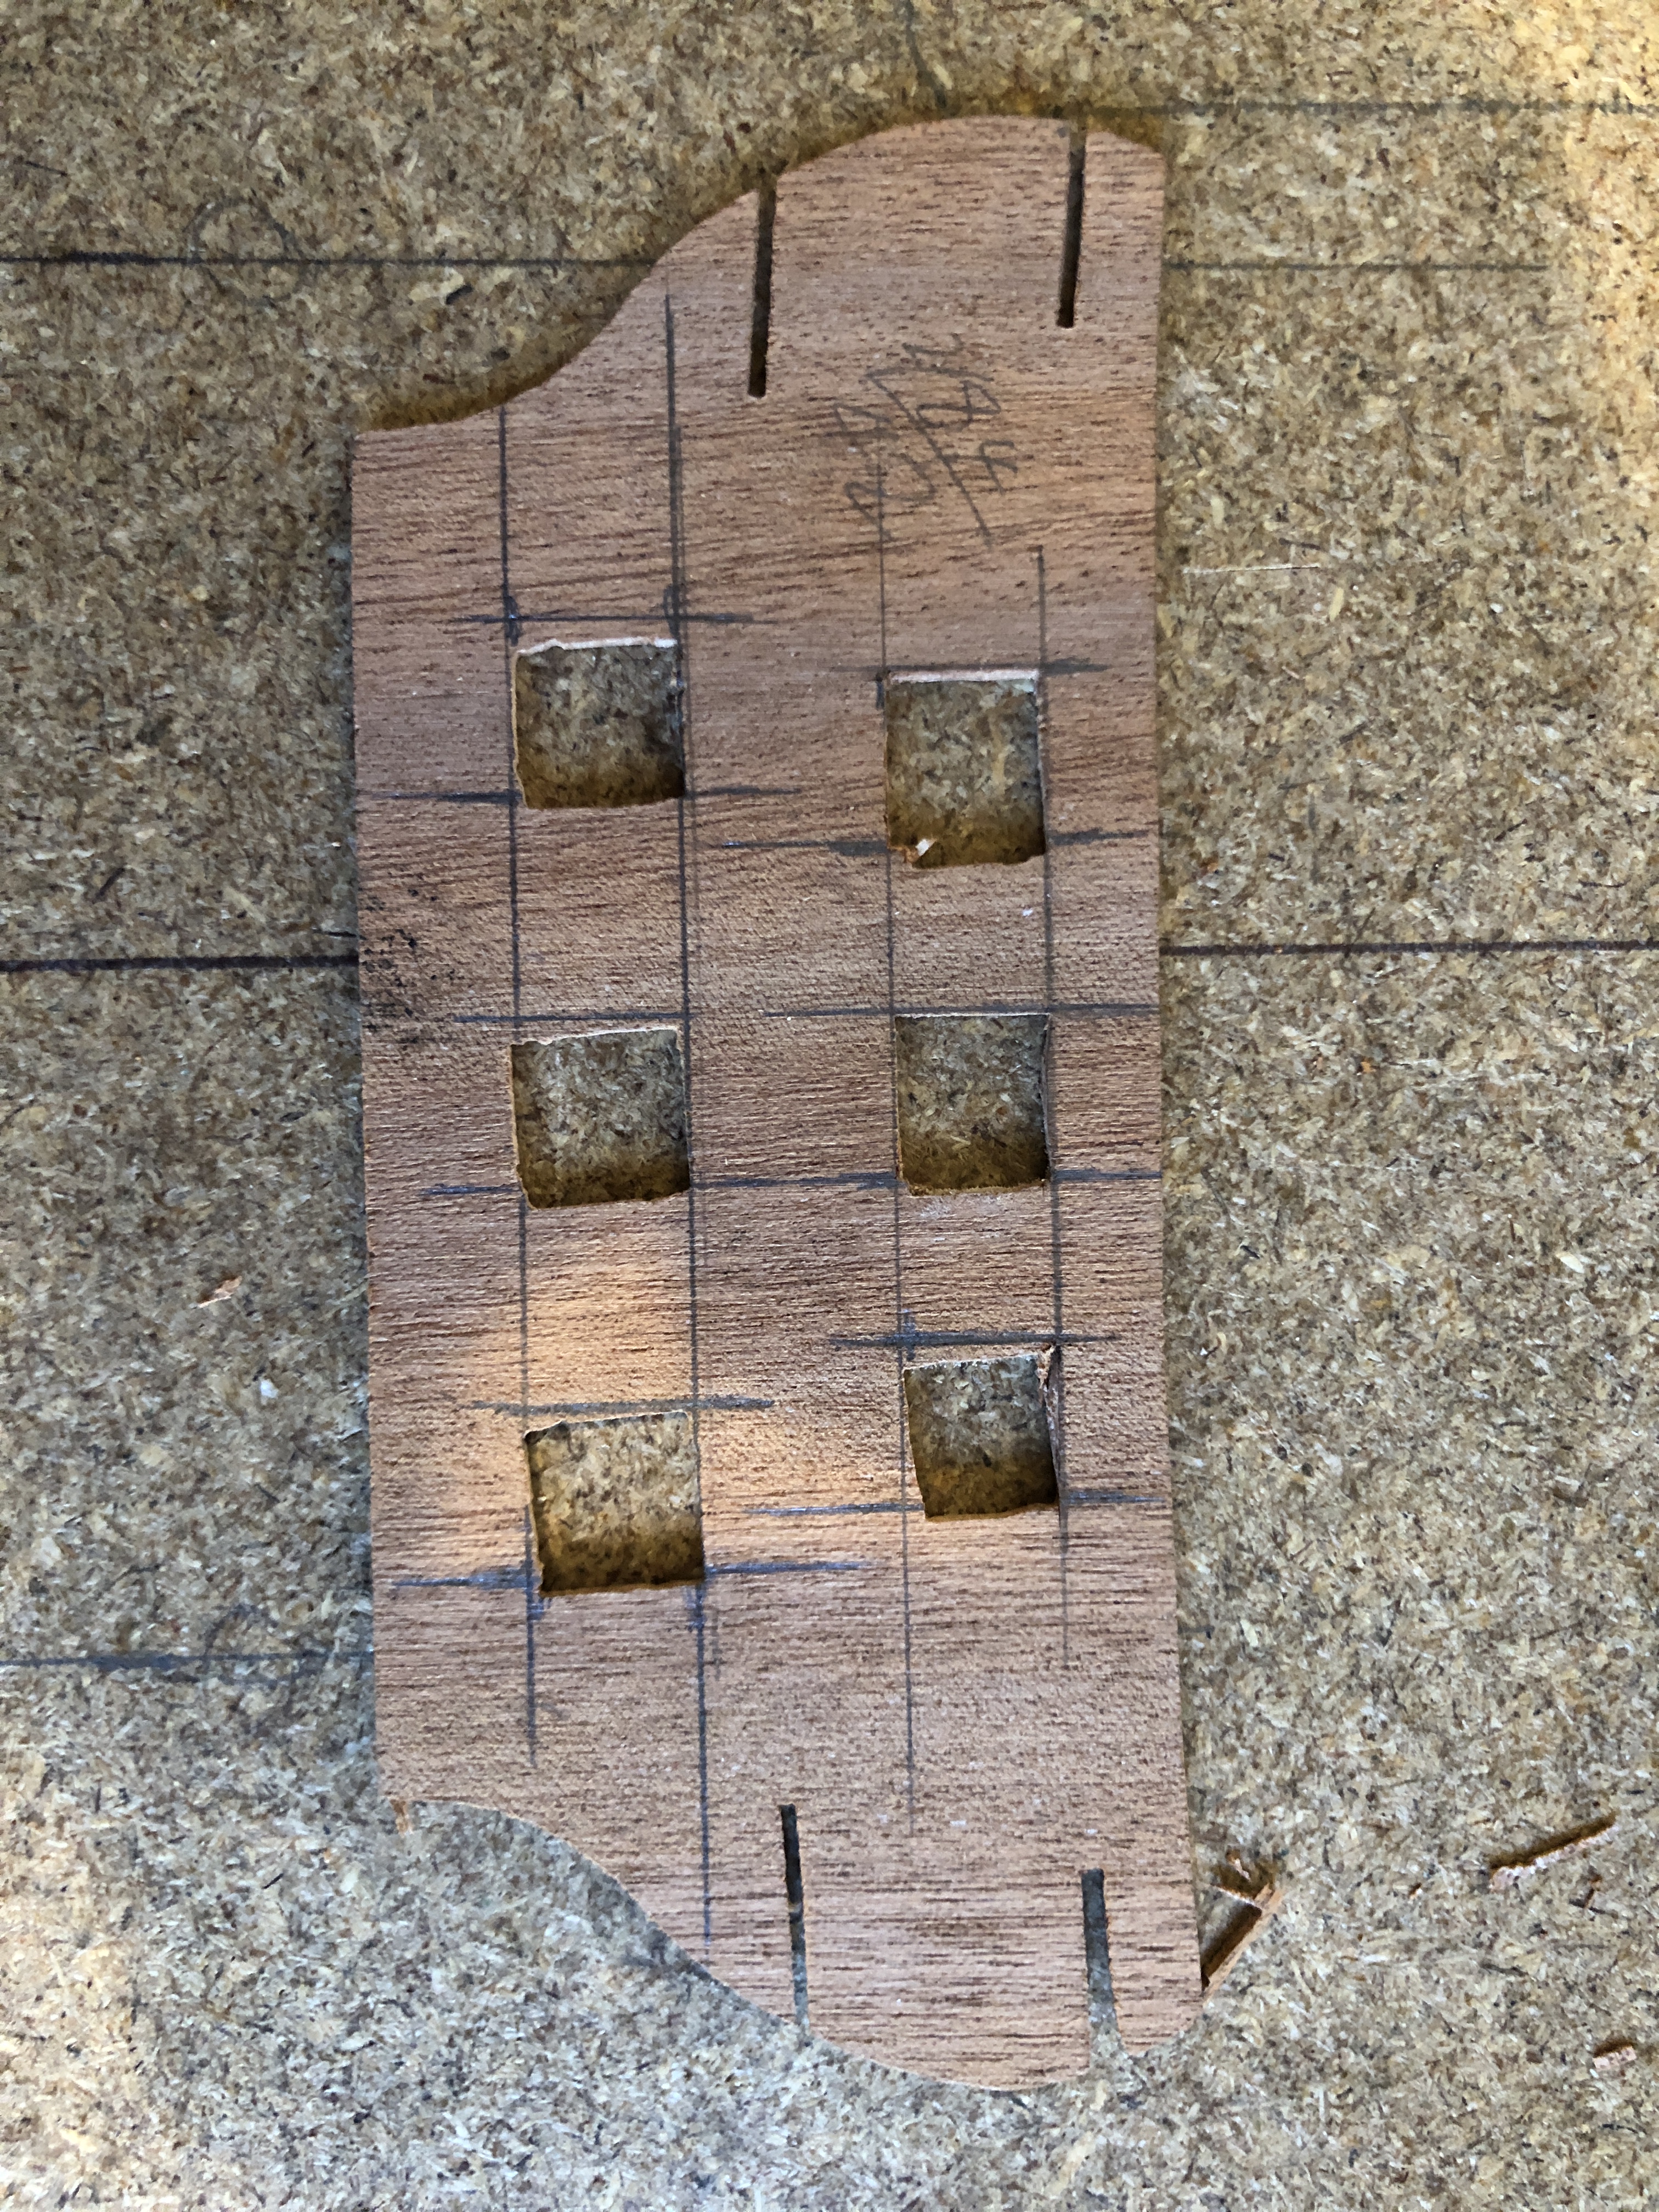
This is the rear transom with the dodgy square holes. And not visible in the photo is its floor which will be glued to to the hull later, after finish shaping the bulkheads. But the transom slopes towards the top, has a curved shape (visible), and the floor and top deck have curves. Plus there are some supporting blocks underneath with similar complex curves. All very tricky to get right. SO, I decided to glue the floor to the transom, holding the assembly in its final position using an assortment of paper clips, rubber bands and small binder clips, but not yet gluing any other joins so the assembly could be temporarily removed.The transom was super glued to its floor, while held in position on the hull. Thereby getting the angle correct.And here it is, sitting in position, removeable to facilitate shaping the bulkheads.
I wanted to be able to remove the transom assembly while I was finish shaping the bulkheads, ready for applying the hull planking.
The bulkheads were a bit high in some places, and low in others. I will pack the low spots when I apply the planking, but the high spots needed to be sanded down. I used medium grit foam sanding blocks, and 80grit sandpaper wrapped over a 38mm dowel. Also, particularly near the bow and the stern, the bulkheads need to be substantially chamfered, so the planks will have some surface to glue to.
This process is not finished. Spent about an hour so far, but some tight corners at the bow will need a different approach, probably using a Dremel.