machines which I have made, am making, or intend to make, and some other stuff. If you find this site interesting, please leave a comment. I read every comment and respond to most. n.b. There is a list of my first 800 posts in my post of 17 June 2021, titled "800 Posts"
More Planking. More to Come. First Layer Done.
by John
Sorry for the long break in posts.
It took me 2 weeks to decide how to start applying the first layer of hull planking. I had read 3 books on the subject, and eventually just decided to take the plunge with my best guess as to the starting curve of application.
Here are some photos of the process.
The strips are 5mm wide and about 1.4mm thick, and 600mm long.
I soaked the wood strips for 30 minutes where the curves were severe at the stern, and used dividers to calculate the tapers. Even so, some sharp pointed tapers were required to fill triangular gaps.
This shot shows several aspects of applying the hull planks. At the transom the planks were presoaked for 30″ then glued with CA glue, and clamped with home made Kant Twist clamps where access permitted, and with narrow jaw Vice Grips (shown) where the gap narrowed. CA glue sets in the presence of moisture, so I was content to glue the soaked wood strips, and it worked well every time. Then I worked forward edge gluing the strips to the adjacent strip, and to the bulkheads, with Gorilla glue or PVA glue. The modified bulldog clips held the strips to the bulk heads until I ran out of space. At the bow I had to taper the planks using the scale dividers to measure the degree of taper.When the gap was too small for bulldog clips, I used alligator clips and toothpicks to hold the planks in place while the glue set.
When the first planking layer was fully glued, I attended to the mal-positioning of the end gunports (bow and stern) on ech side, which had occurred due to my misreading of the incredibly small font instructions.
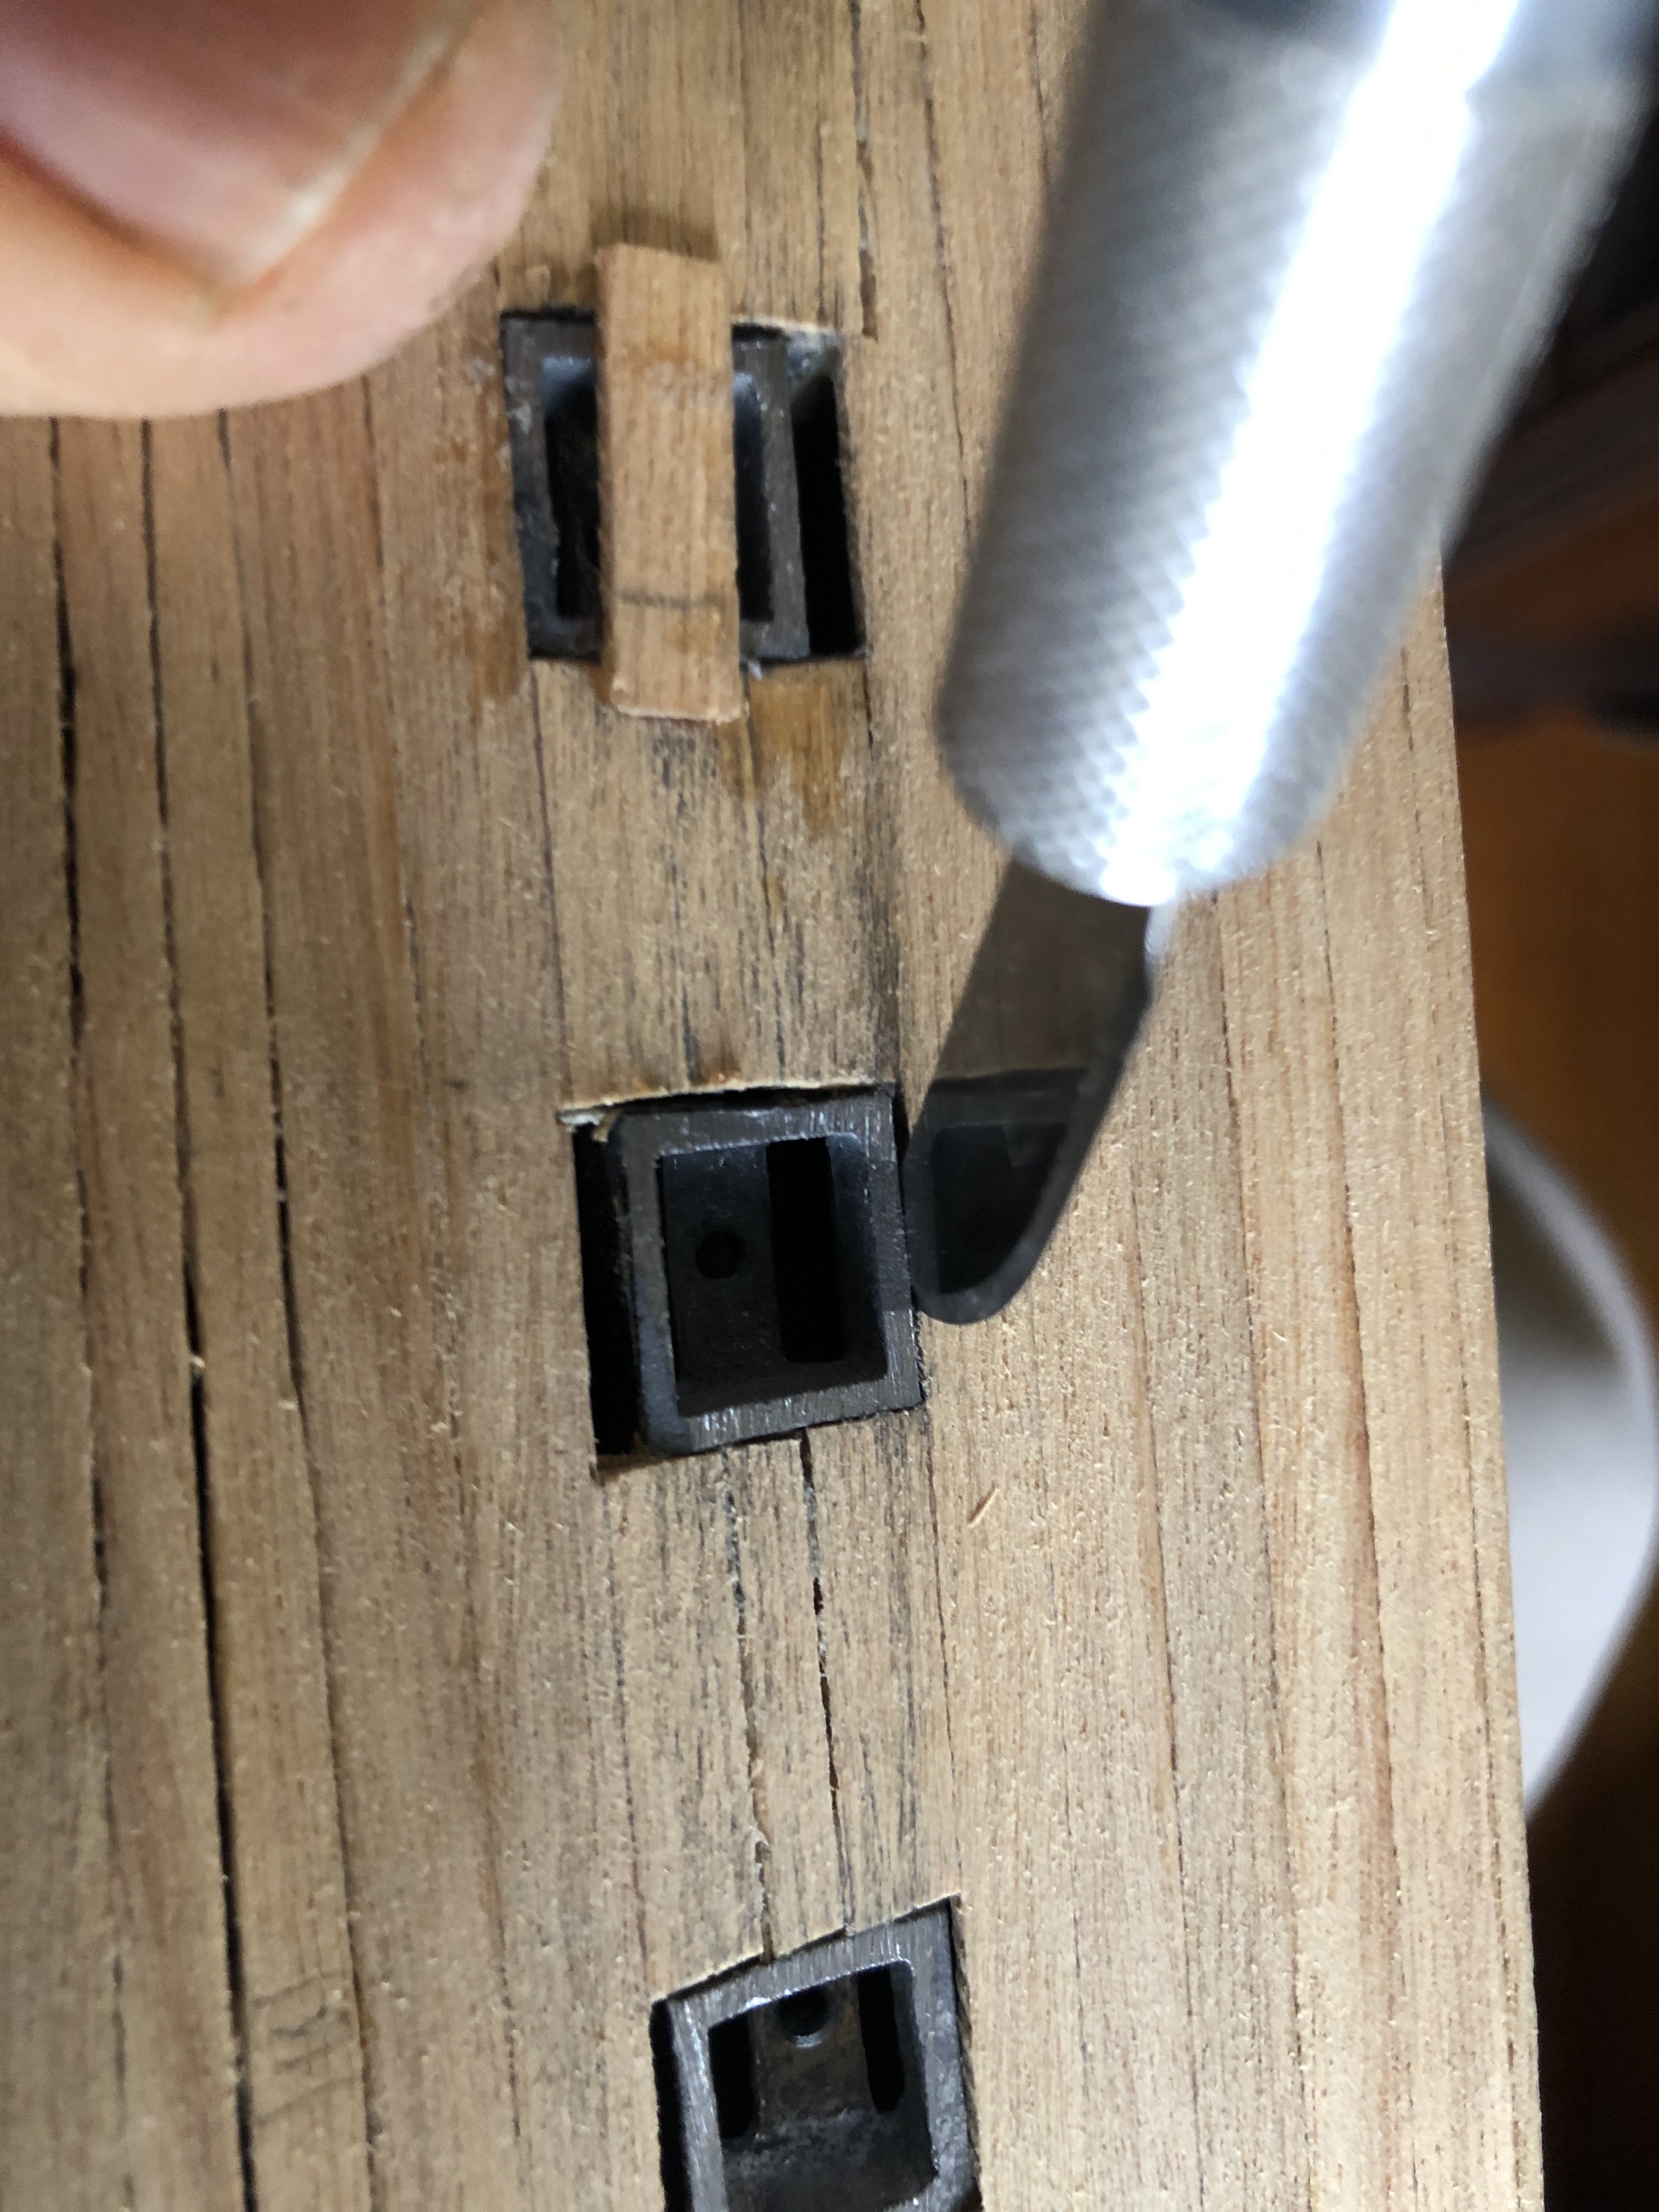
It involved cutting the gunports free from the glued joints. And involved considerable cutting force and levering to get them free.
Cutting a gunport from its glued attachments. To prevent the freed gunport from falling into the now closed hull, I super glued a strip of wood across the front.
The 4 gunports at the stern and bow have been repositioned, and filler strips used.