machines which I have made, am making, or intend to make, and some other stuff. If you find this site interesting, please leave a comment. I read every comment and respond to most. n.b. There is a list of my first 800 posts in my post of 17 June 2021, titled "800 Posts"
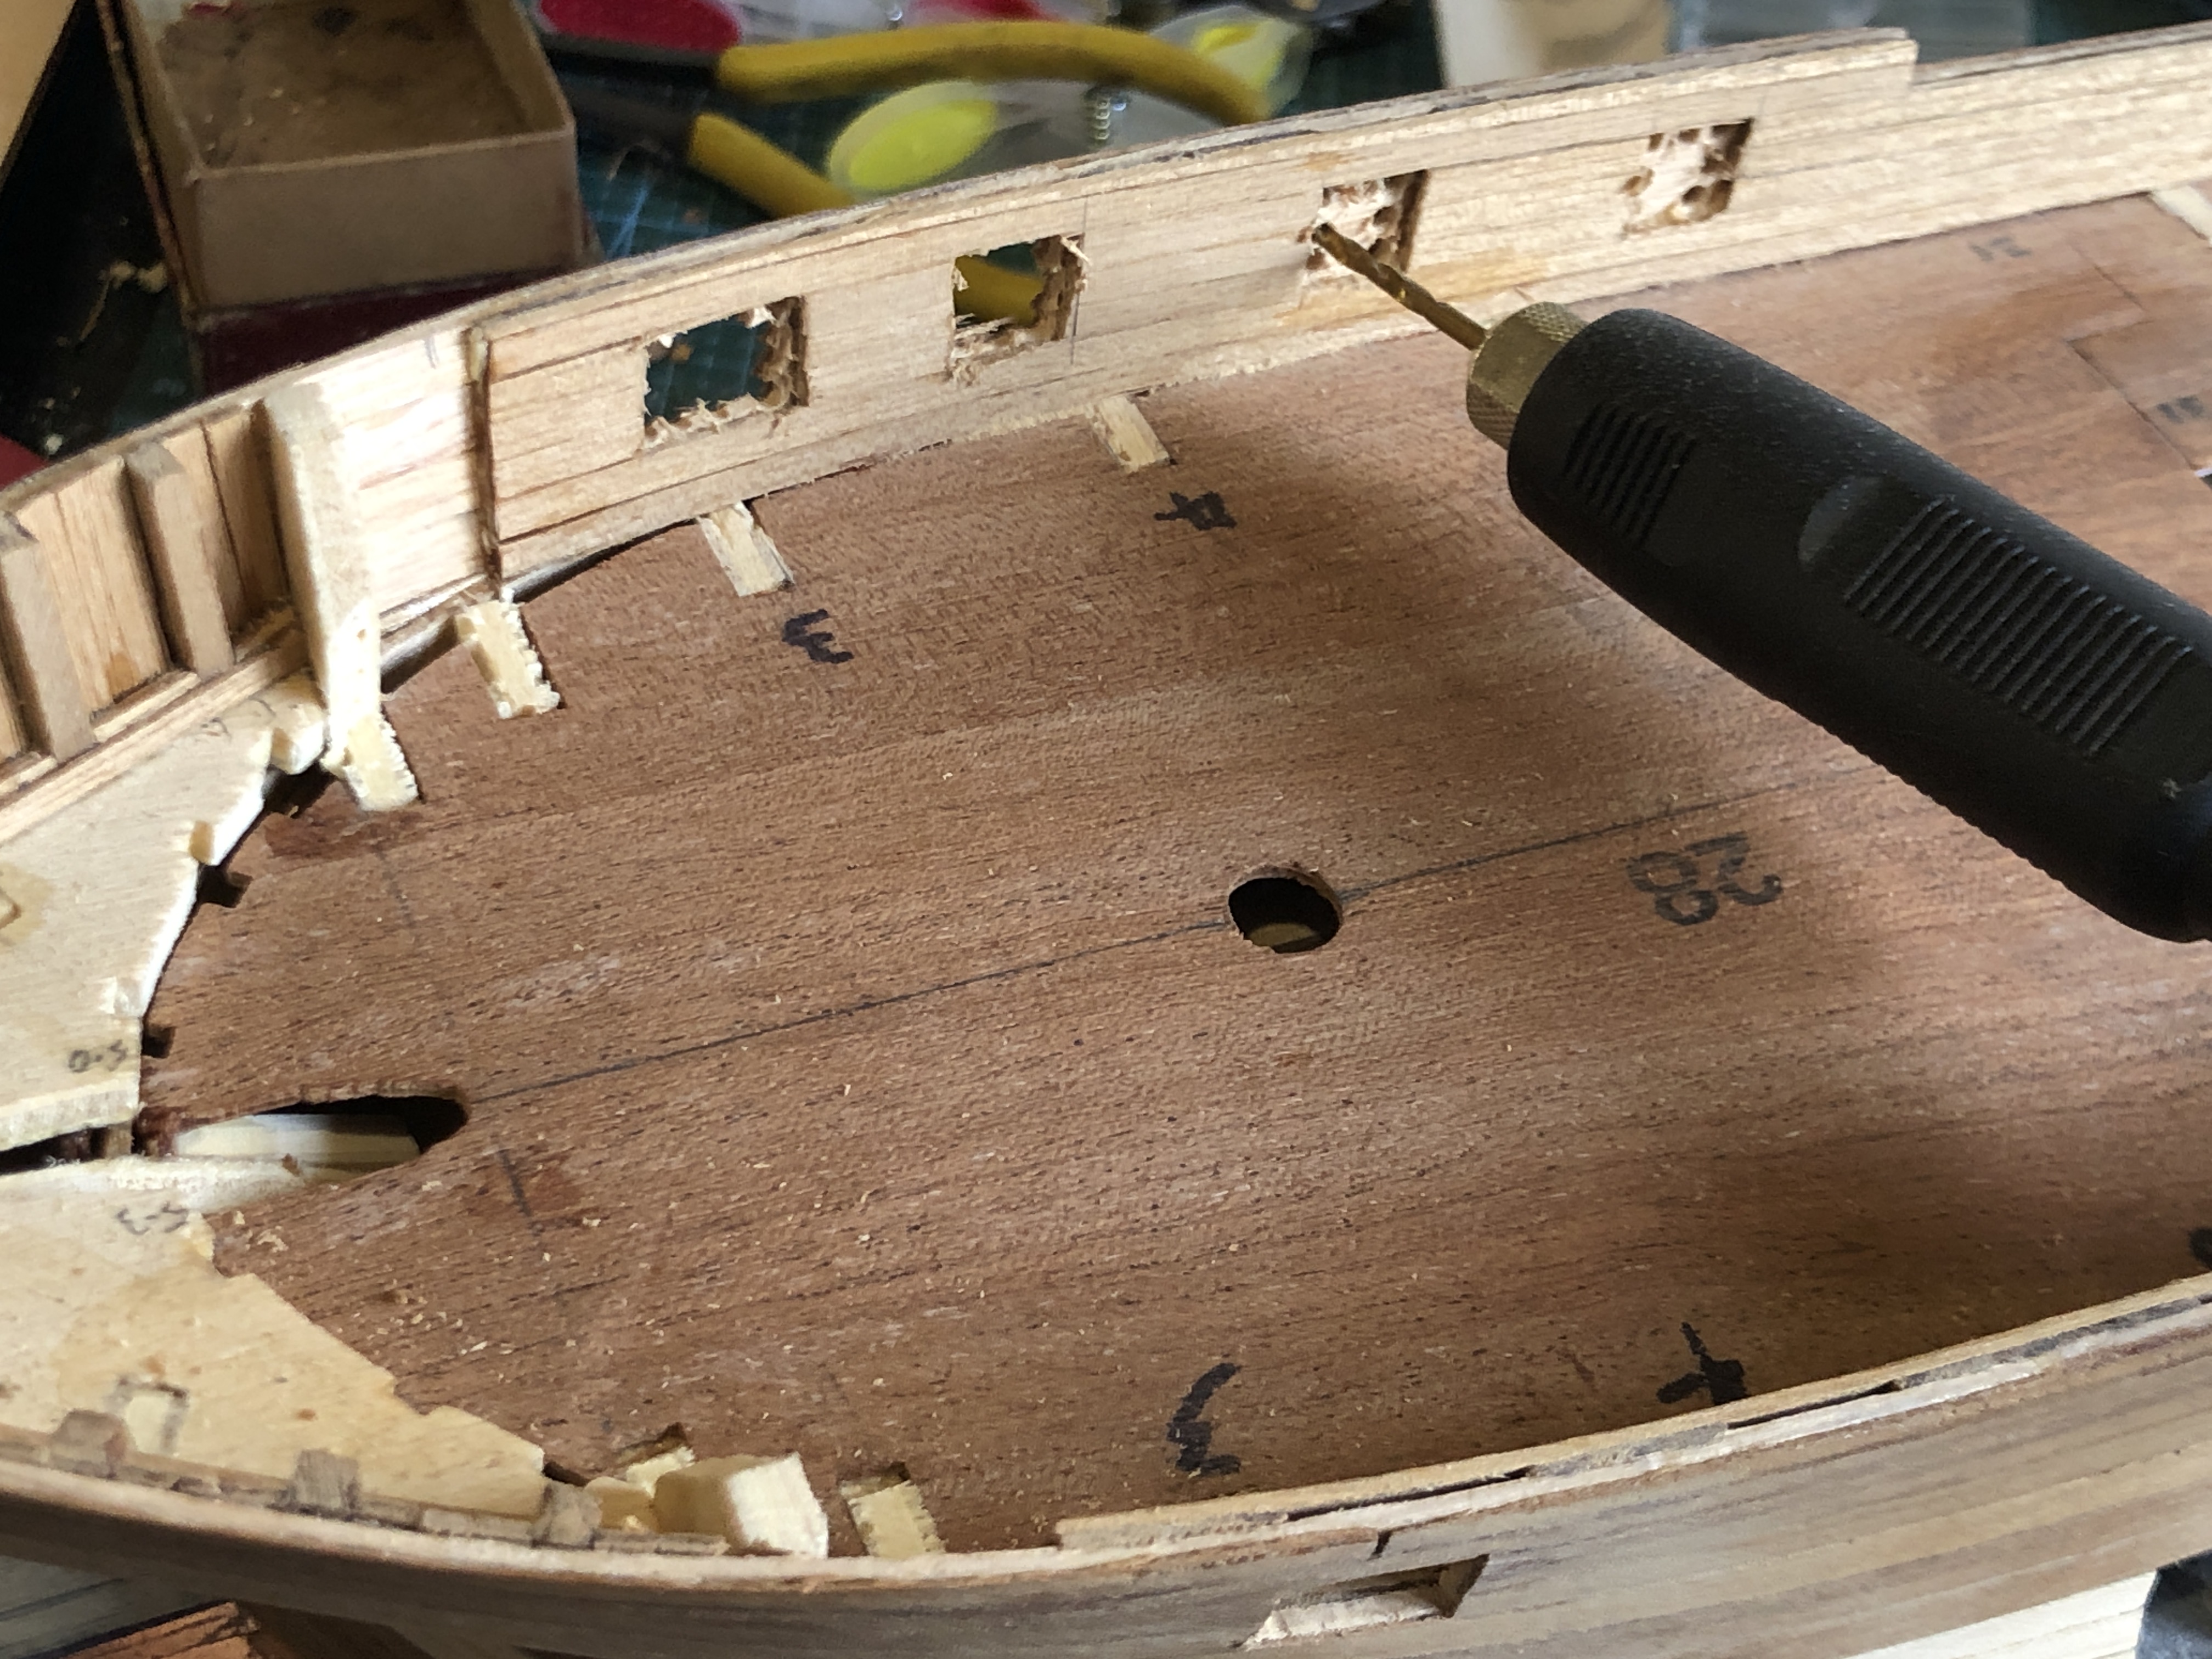
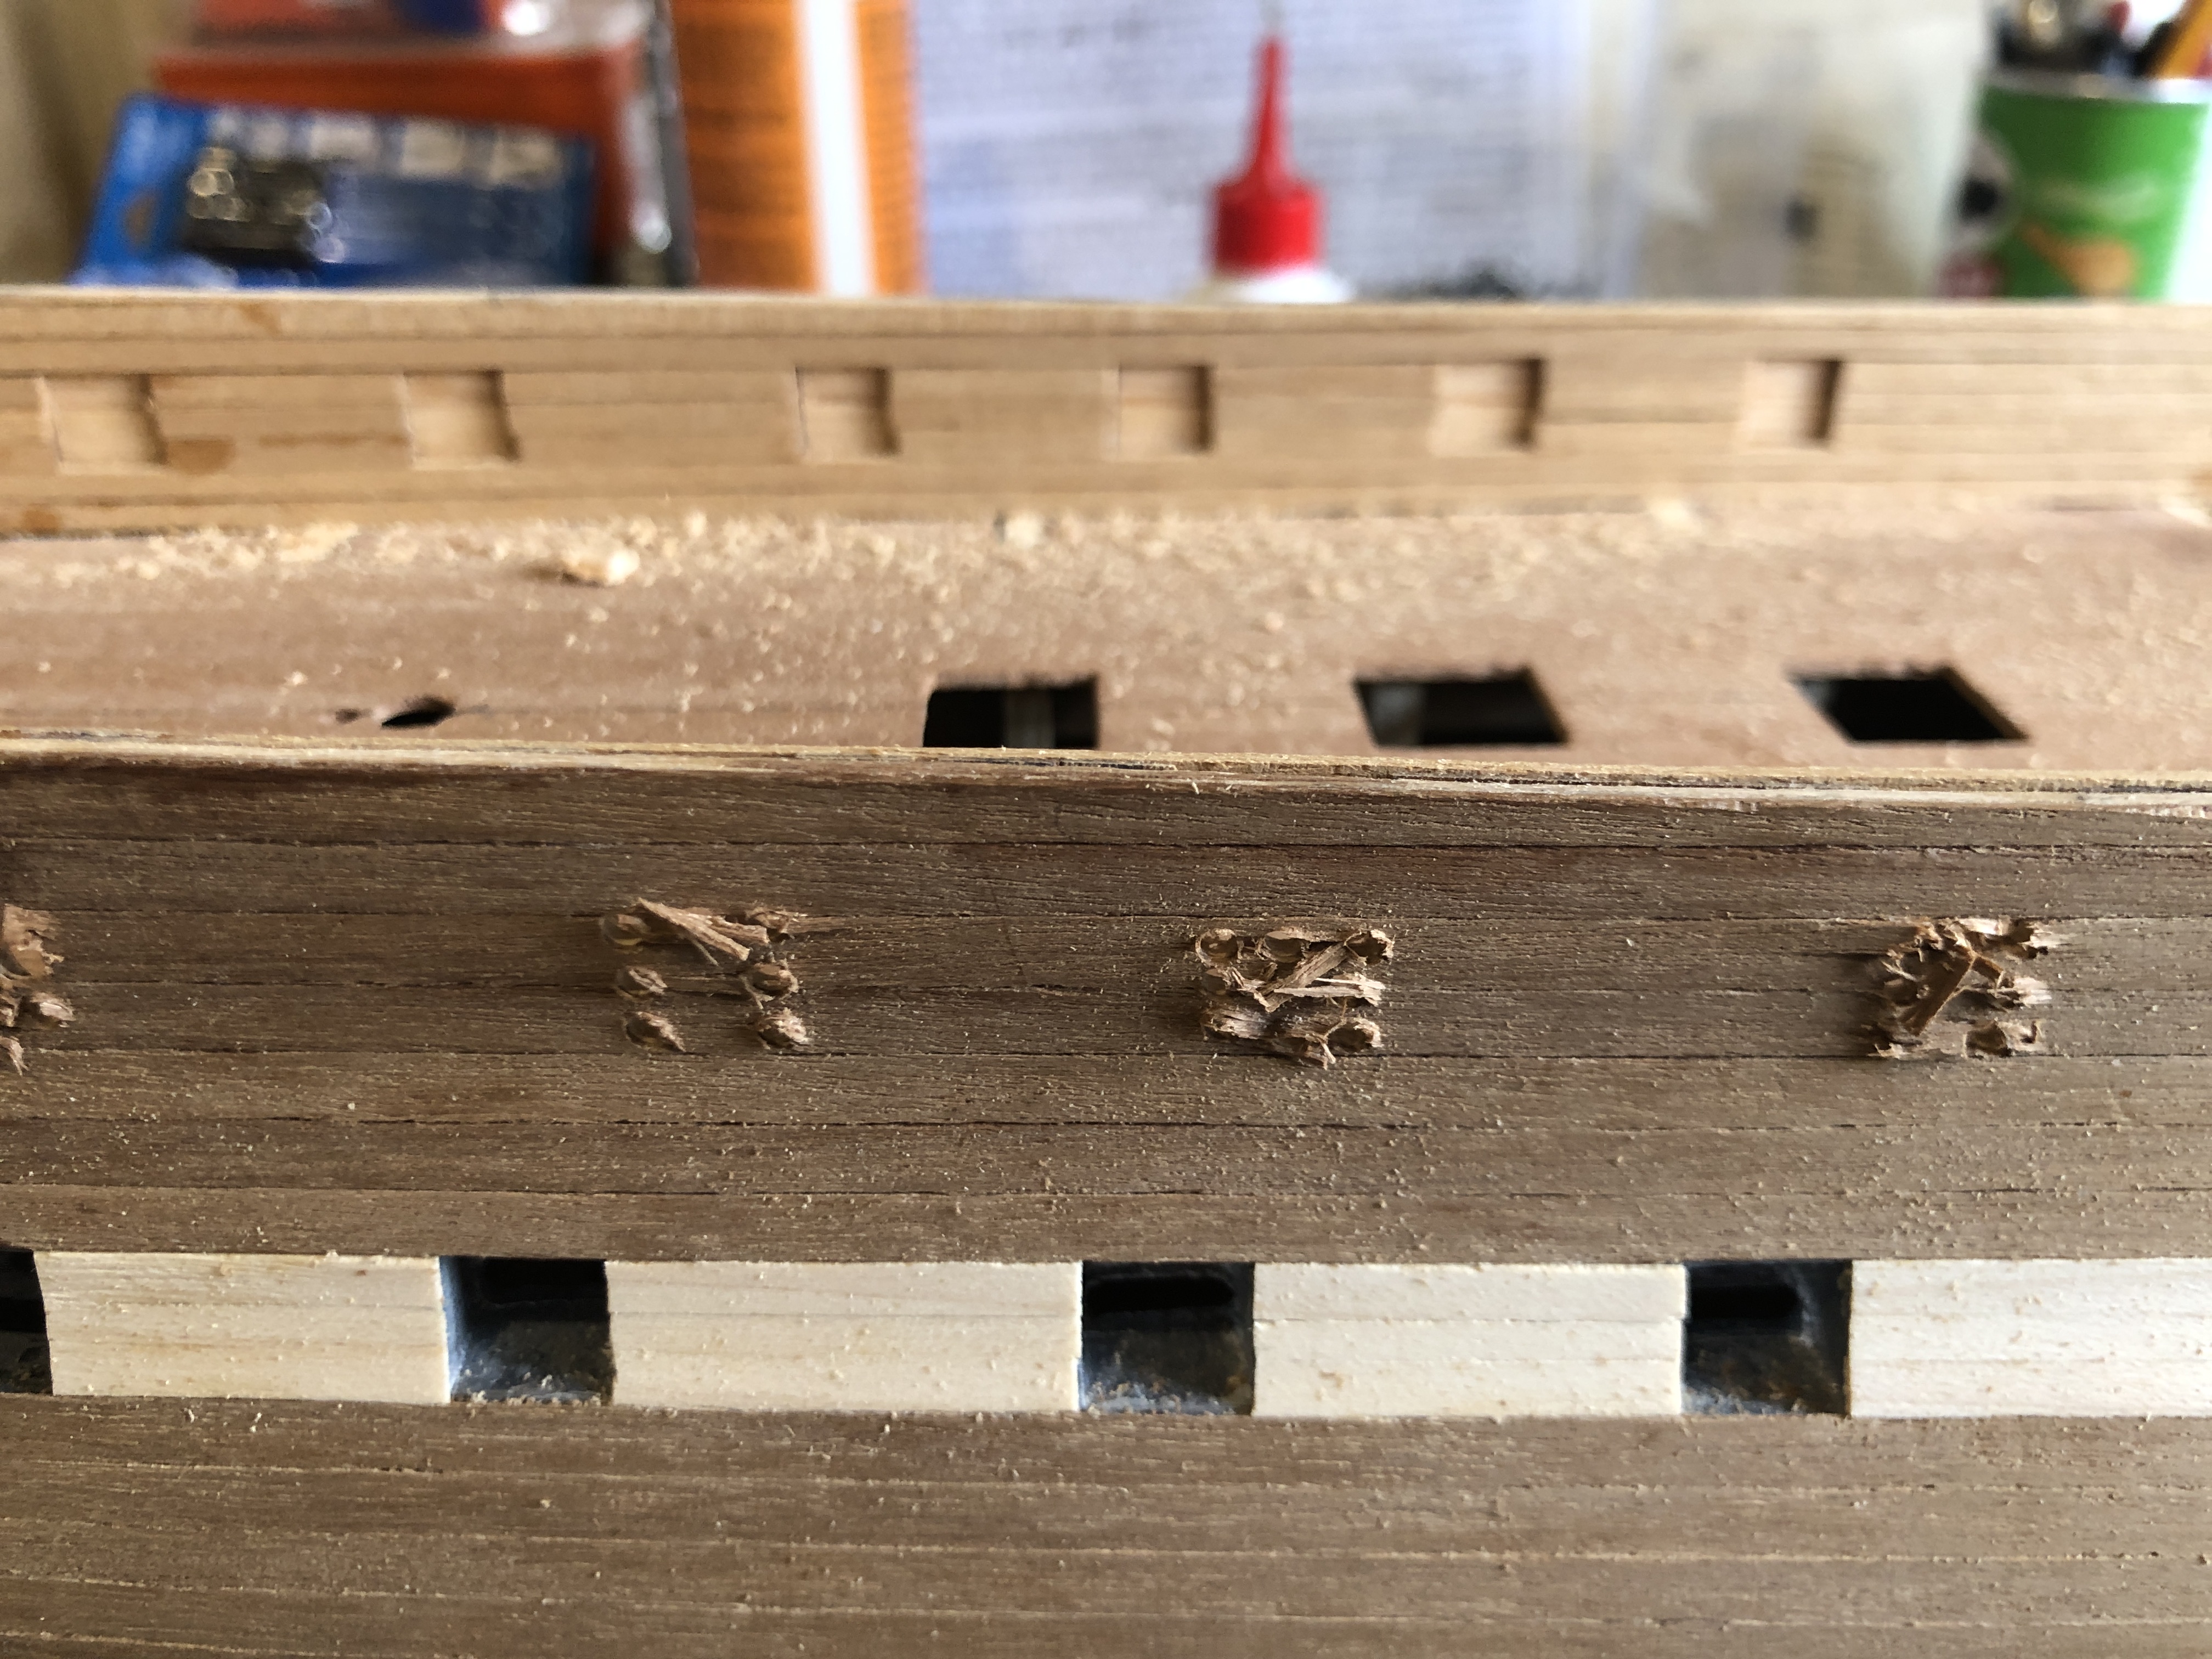
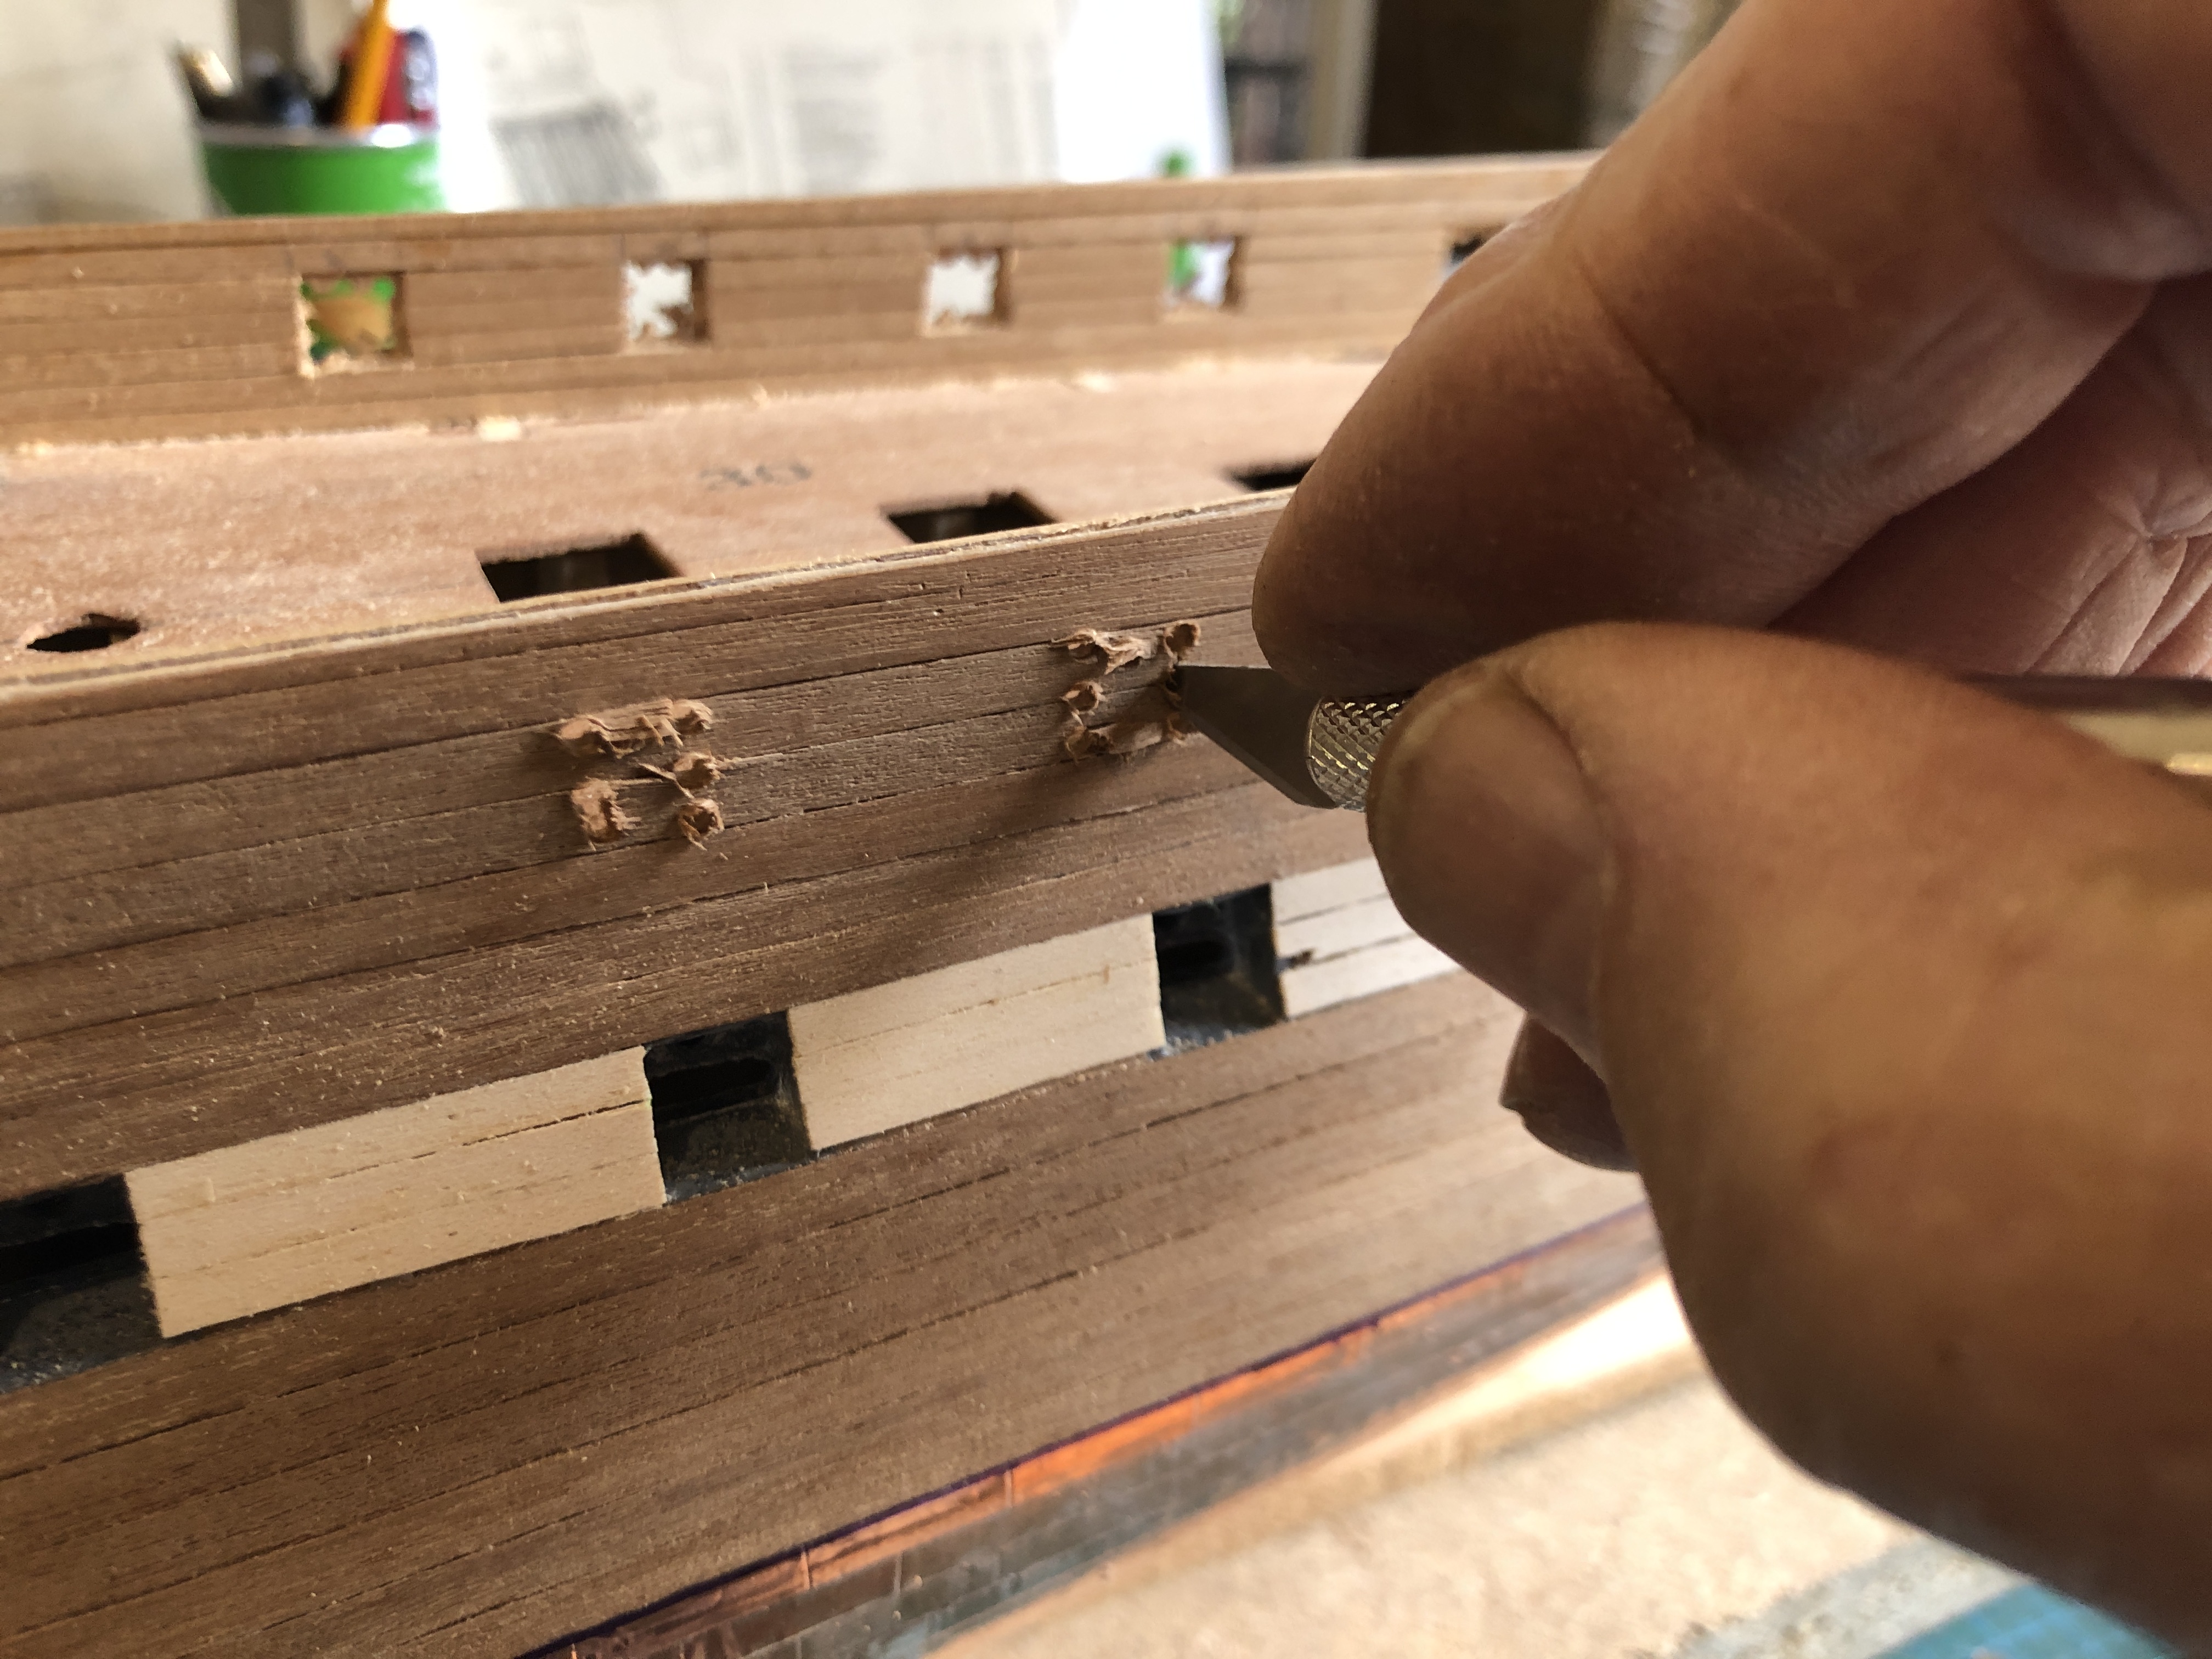
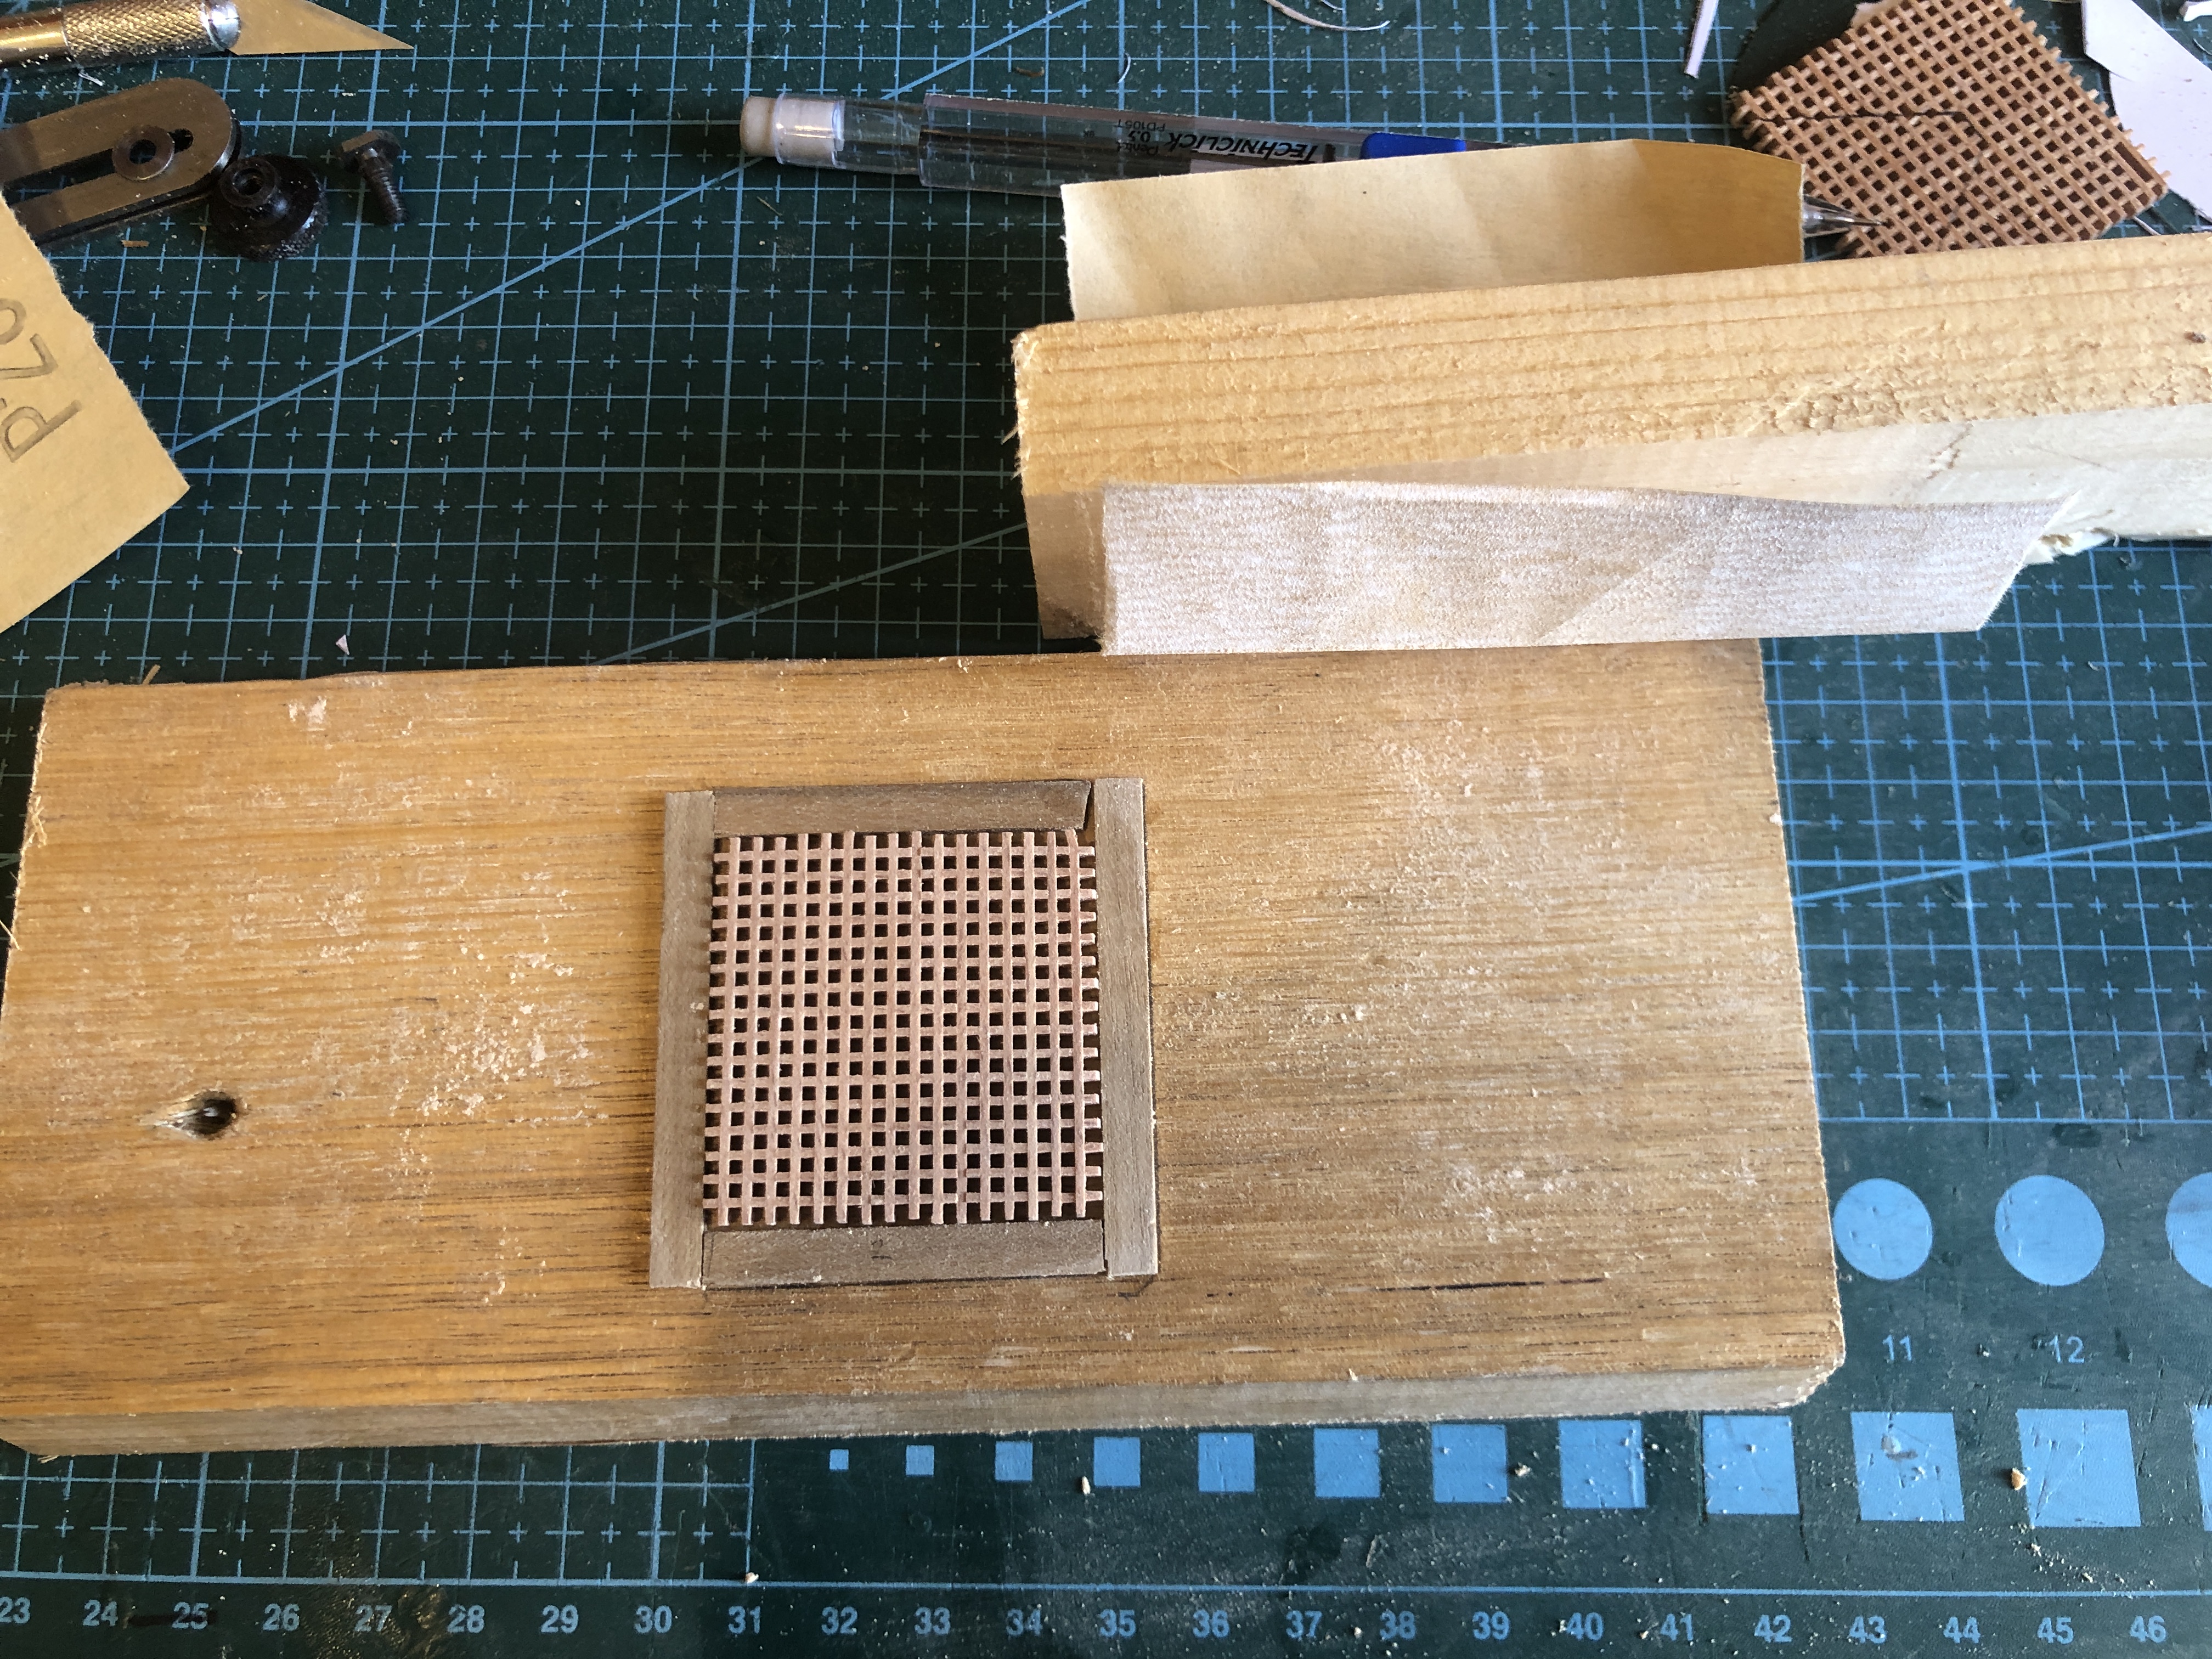
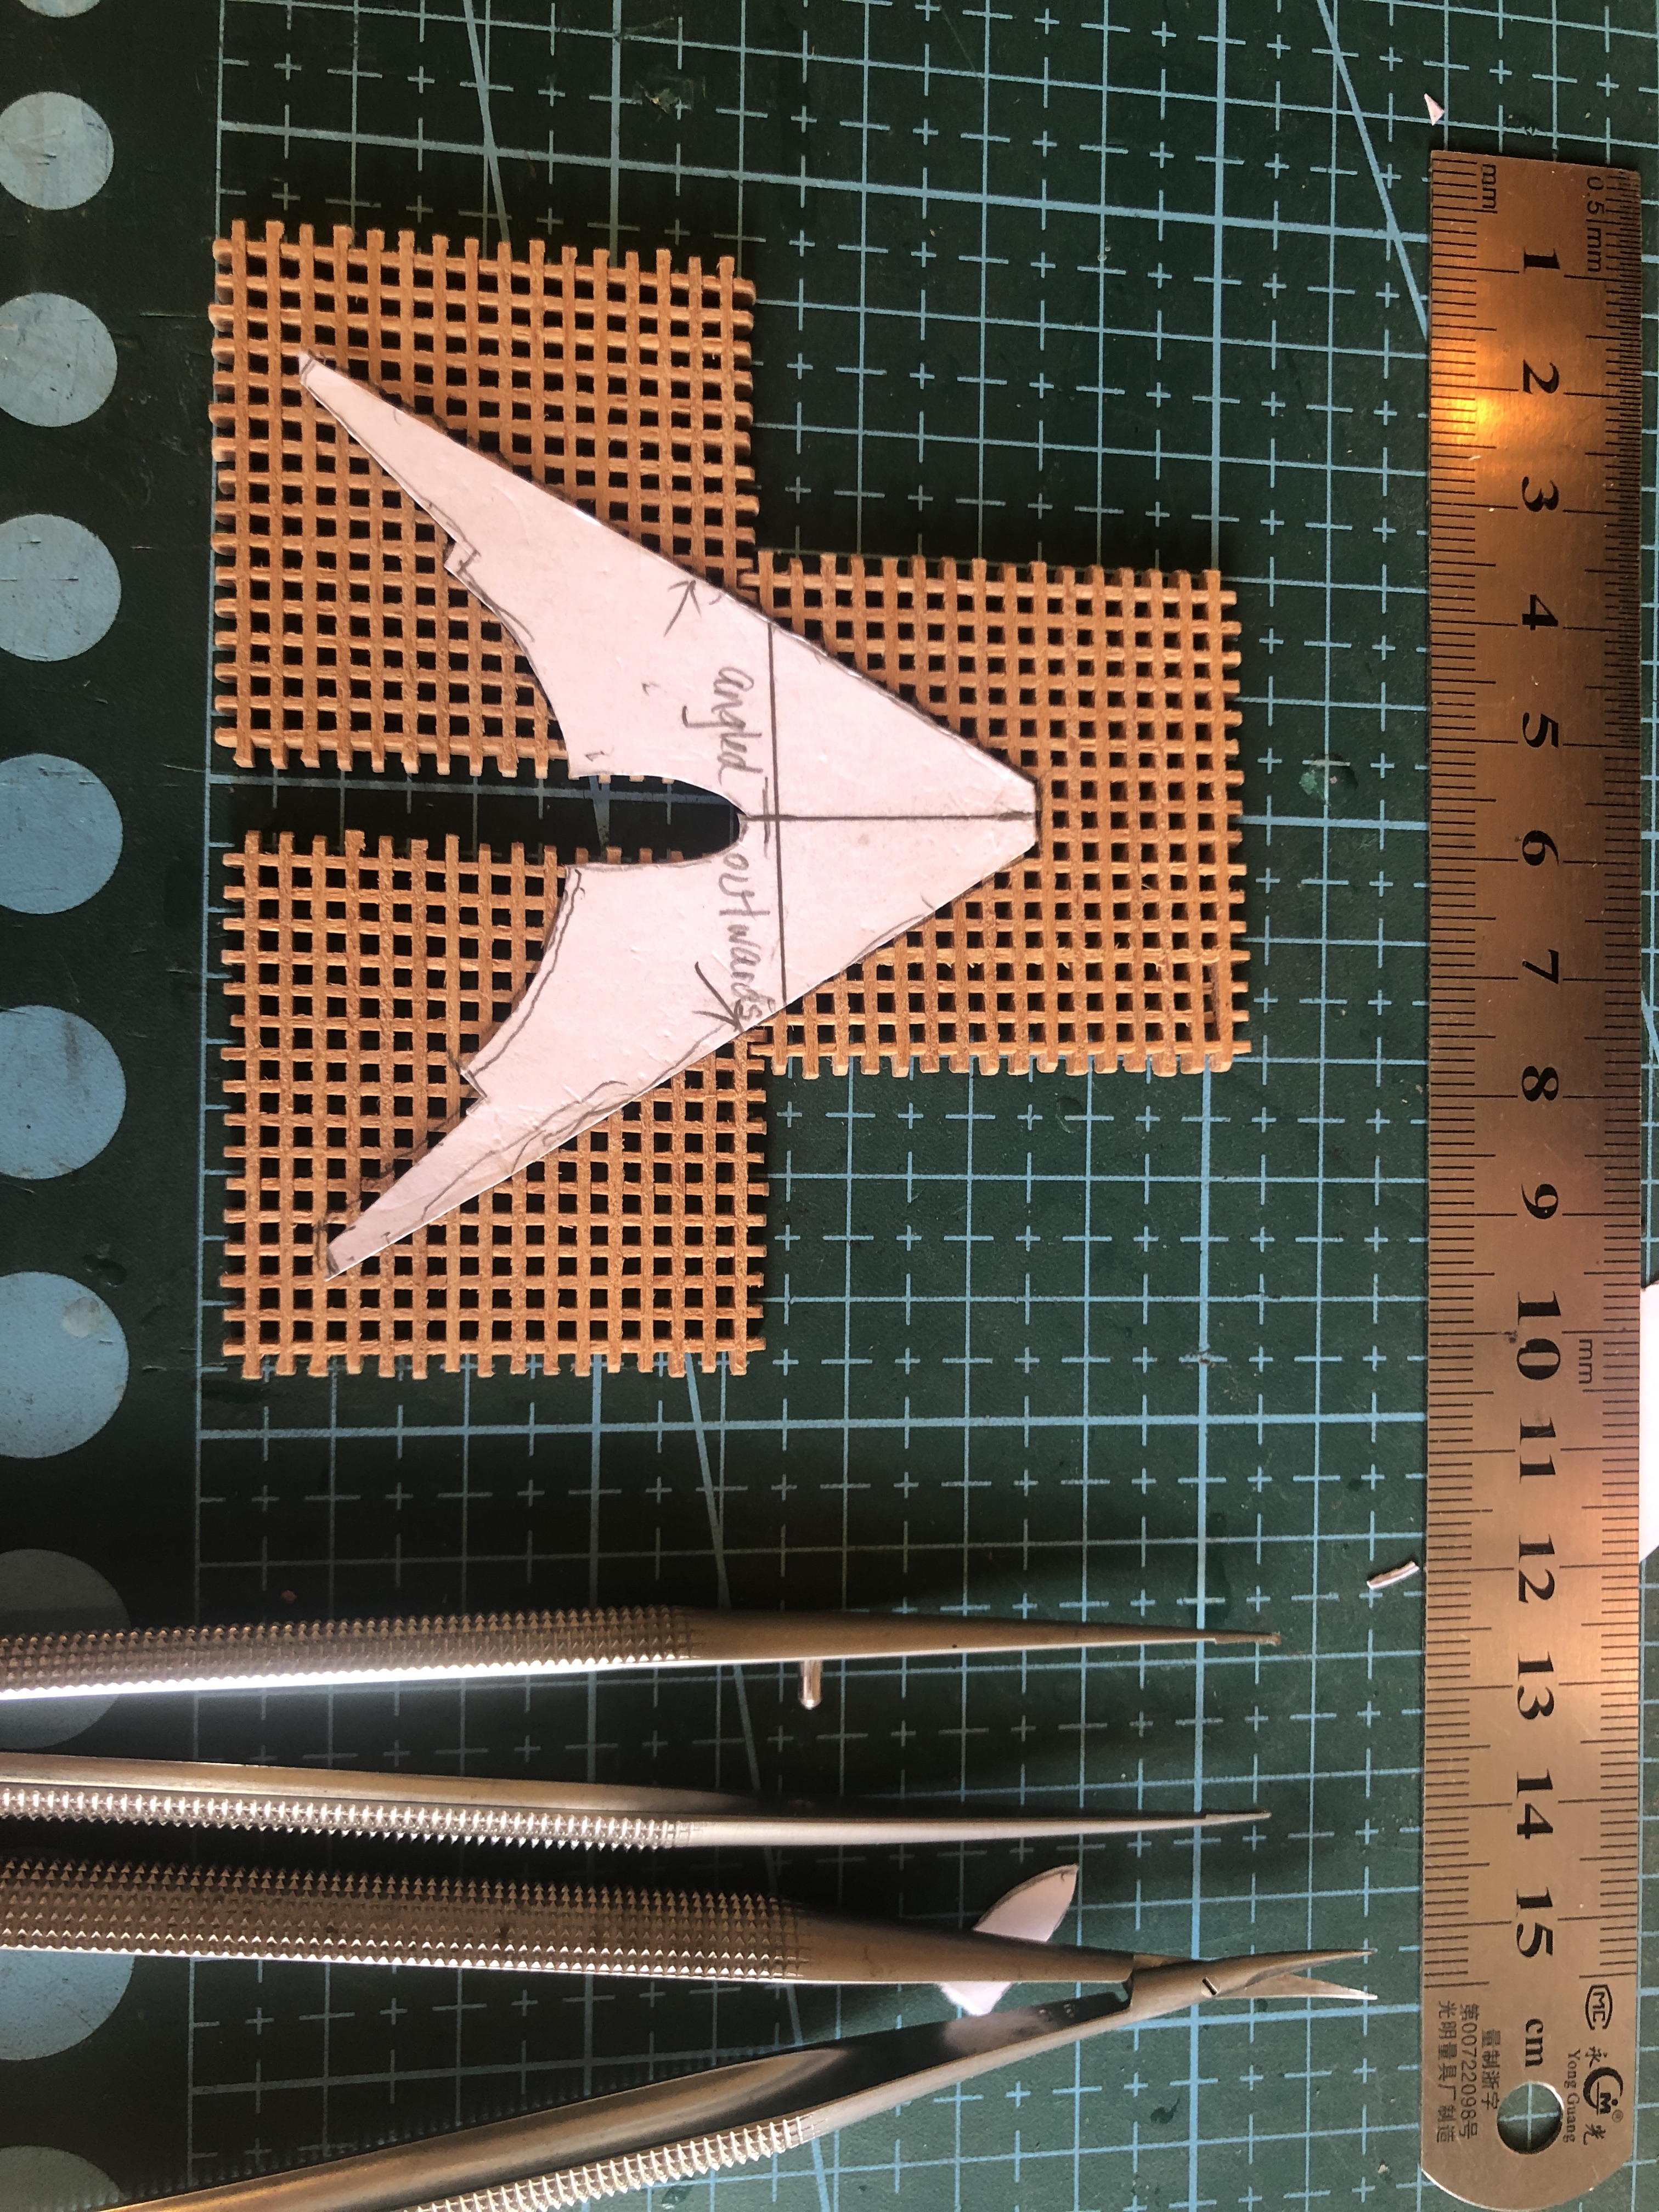
After the coppering, I installed the second layer of hull planks. Holding the walnut strips was more difficult with the bulkheads now inaccessible but the method pictured worked ok. The copper became a bit scratched and marked with all of the handling. I should have done the coppering last. (Next time.)After installing the second layer of hull planks, the gun-ports above the top deck were drilled and then finished with an Exacto knife.The walnut hull planks contrast nicely with the lime next to the gun ports. On the original the planks were painted black and white.Reminds me of my working days.Gluing some curved planks on the deck surrounds. Another use for my homemade mini Kant Twists.Installing the deck planks. The white timber is Tanganyika. The edges of the model planks are greyed with a lead pencil, and the planks are incised and pencilled at 80mm intervals to mimic full size planks. On the original Constitution the deck planks were necessary to the structural integrity of the hull, assisting the keel to prevent bending of the hull. The deck planks were 4″ thick, with some up to 6-8″ thick. The total thickness of the timbers on the sides of the hull was an incredible 21″ mostly live American Oak, a very hard, durable, strong, timber. In battle, it was noted that British cannon balls could not penetrate the sides, giving rise to the nickname “Old Ironsides”.Some gratings are needed. The little strips are pushed together, and the assembled square shapes are soaked in water with a few drops of PVA glue, according to the kit instructions. After drying, the squares hold together, to an extent, but did not stay together when cut to shape. So I tried an experiment, and painted one surface of the square with CA glue. The glue soaked into the joins, and really held the assembly firmly. The gratings were 3.2mm thick and needed to be sanded to 2.5mm.
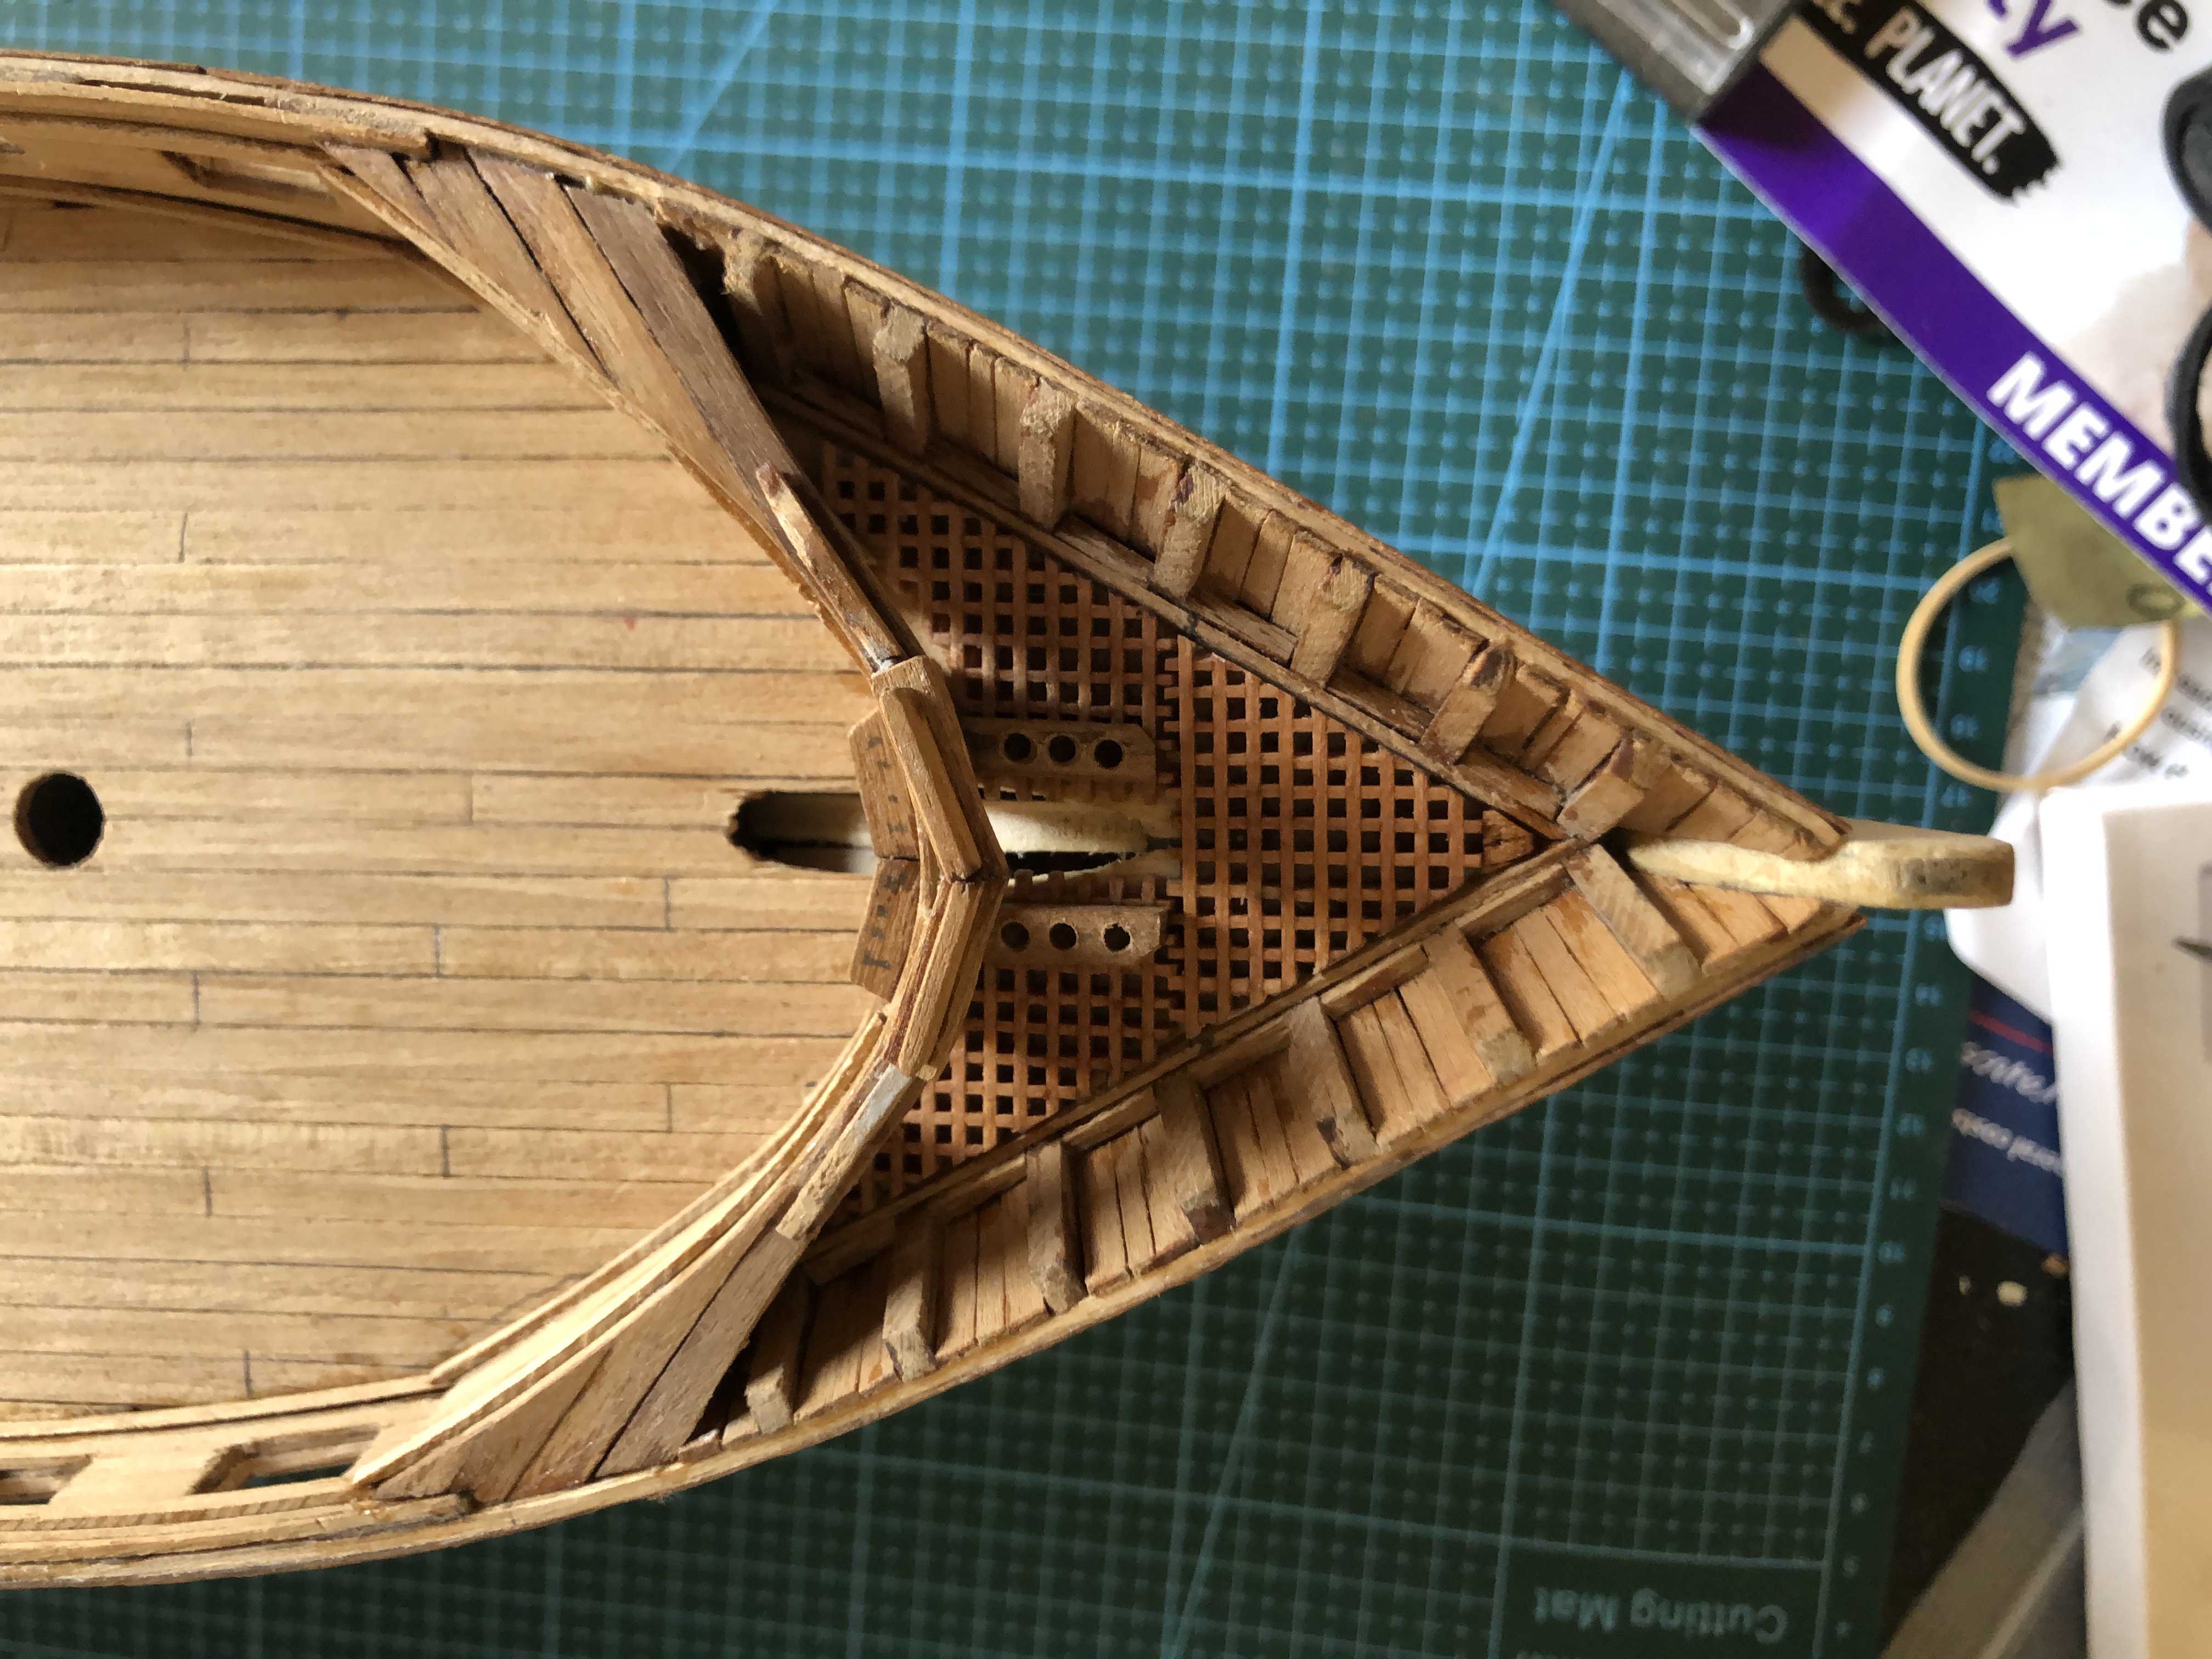
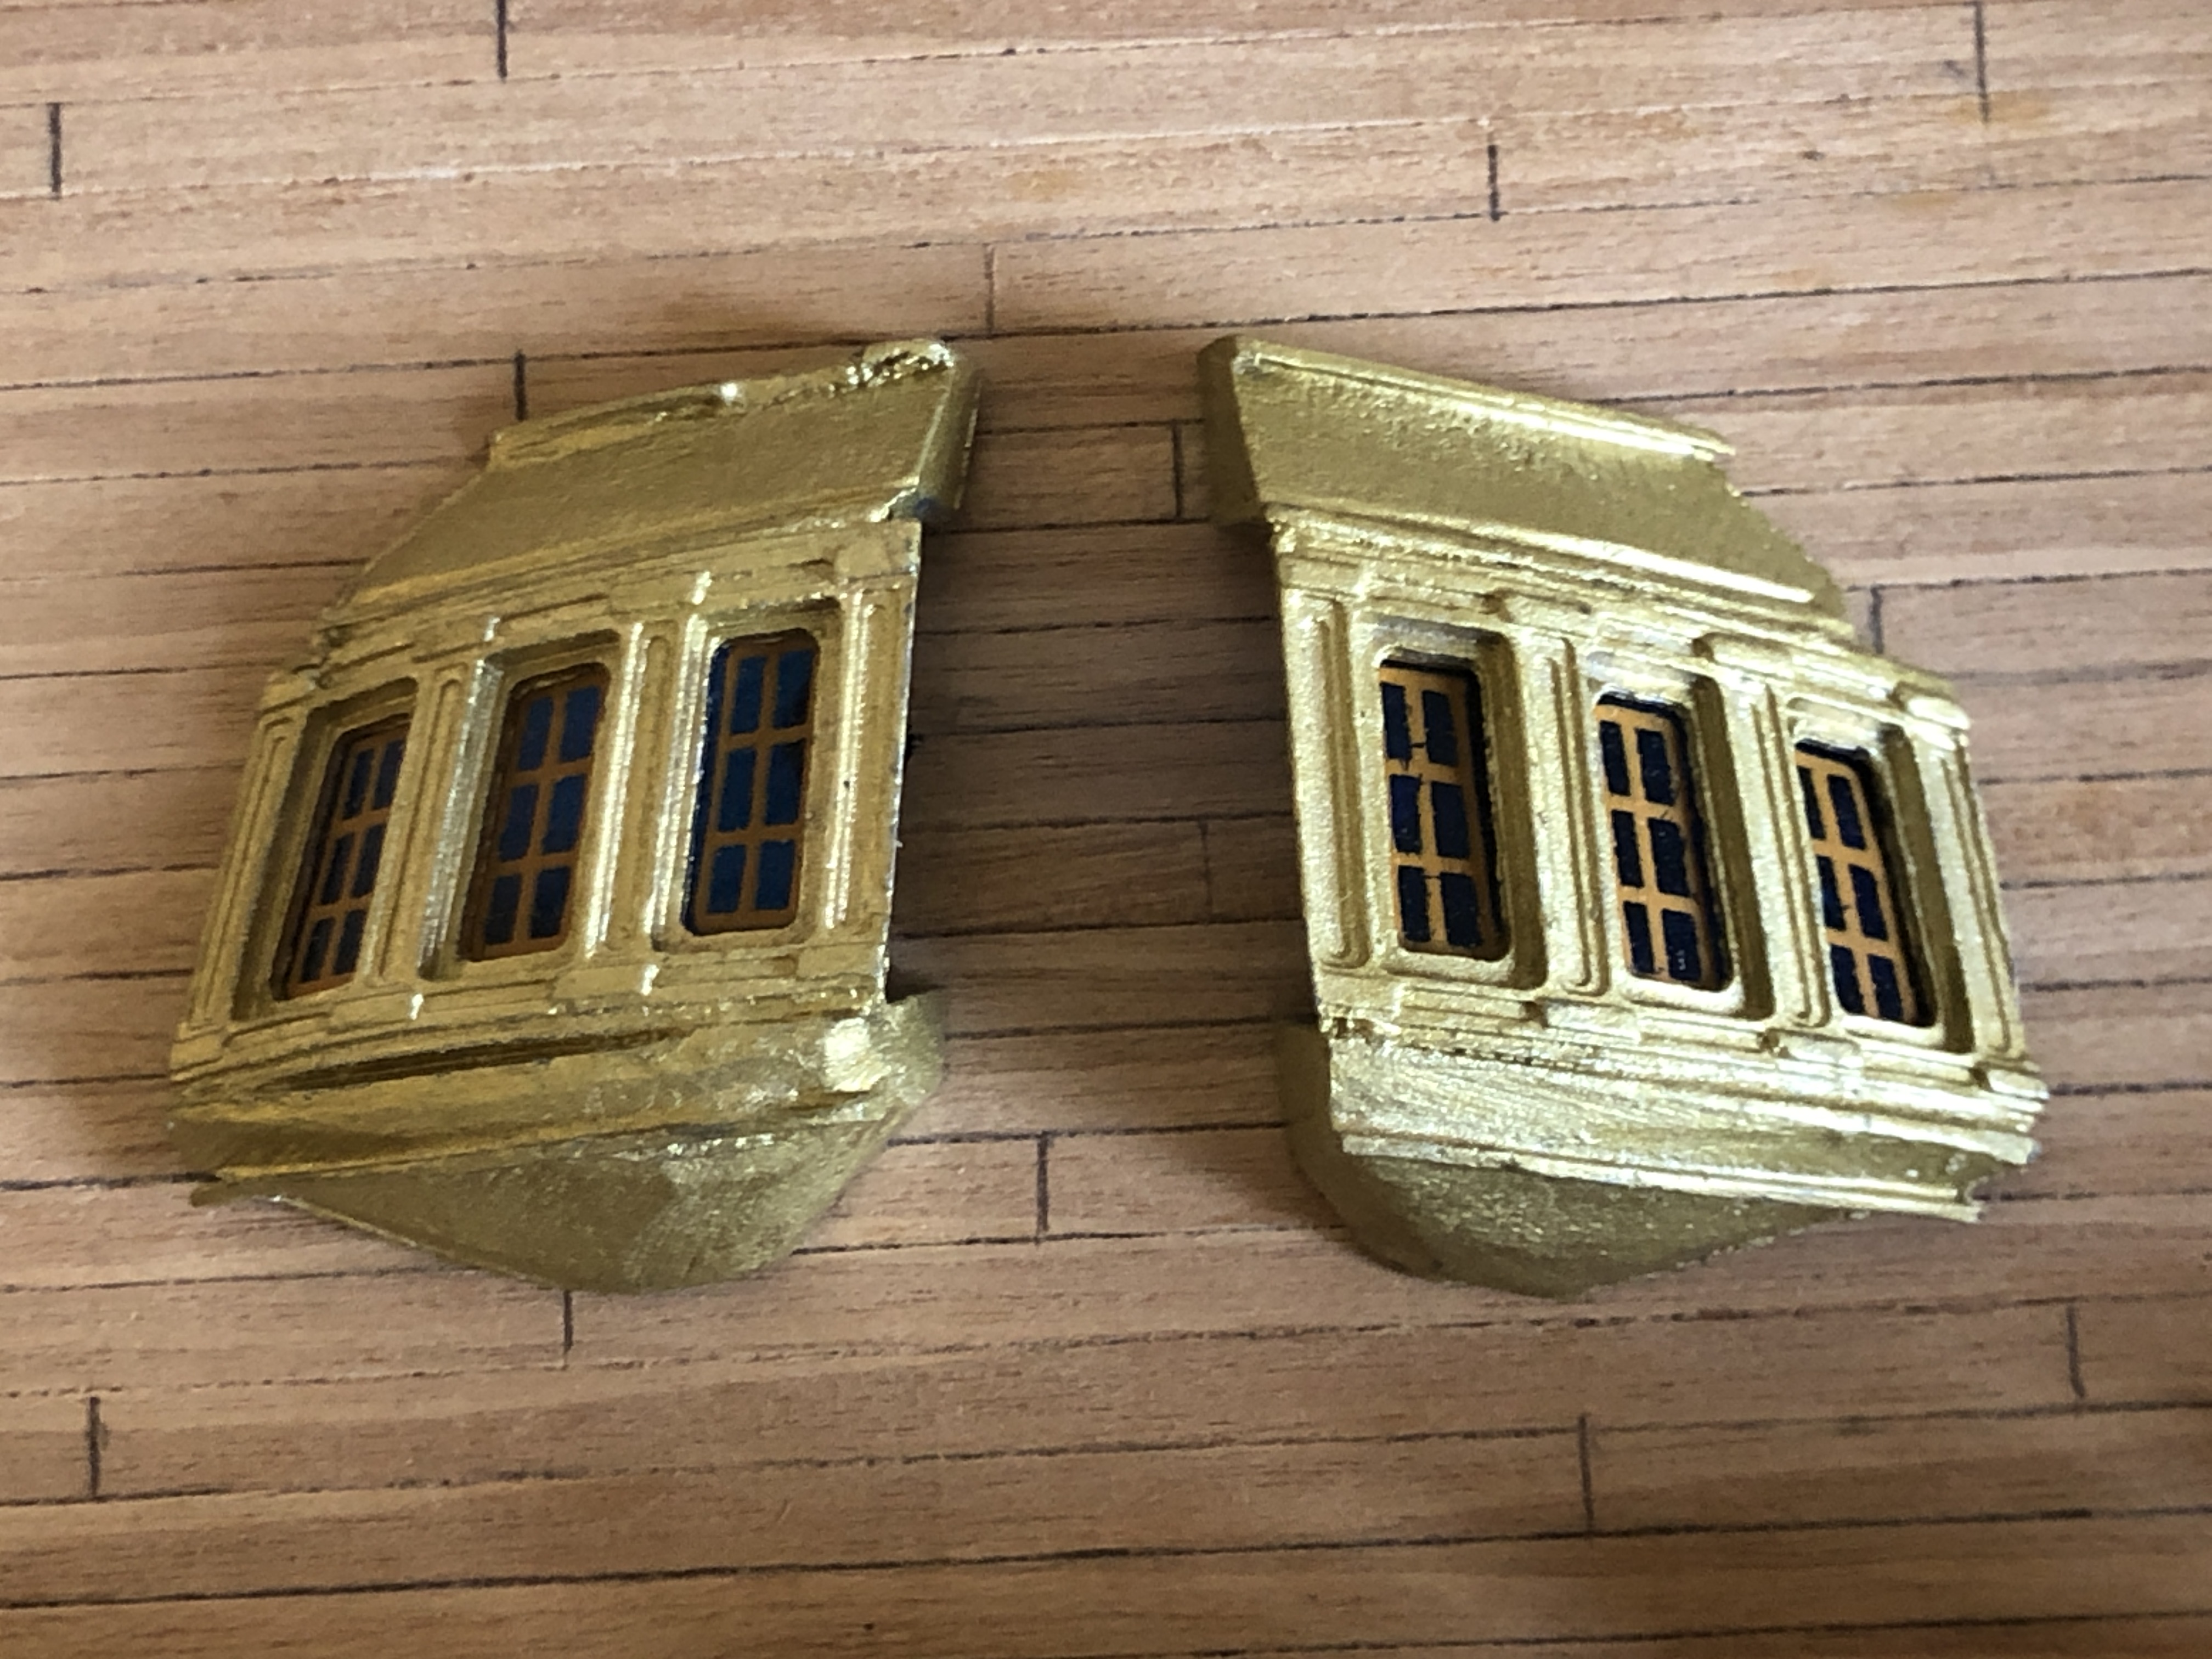
So I made a simple holding jig…Placing the grating in the jig allowed me to sand 0.7mm off the surface without damaging it.For the floor of the “head”, I made a cardboard pattern, then cut the gratings to shape. Some of my old microsurgery instruments have found a new use. The gratings fitted to the floor of the head, and six “comfort seats” roughed out of small blocks. The crew numbered about 400, plus about 50 officers. The frigate Constitution did not have a poop deck, but even if it did, it would have been inadvisable to poop on the poop deck. Lavatories for the officers were located in the little windowed extensions at the stern. Each one was a glued assembly of 3 metal parts which required bending, fitting and filing, then joined with CA glue reinforced with JB Weld, and painted. Then the celluloid windows were very carefully cut to shape and CA glued into position. They fit the hull fairly well, and will be permanently glued into position later. The captain had a private lavatory in his cabin.
Now I am slowly making various deck fittings..
The little belfry is about as big as my thumb nail. Hopefully it will look less rough when painted. Note the deck planking up close. Not yet decided whether to fake some deck fasteners.