
Constitution’s Small Boats
by John
The small boats carried on USS Constitution (a) are not well documented and (b) certainly varied with different captains, missions and periods.
Most frigates carried up to 6 small boats. The Mamoli 1:93 model provides stock for carving 4 small boats.

I have examined many photographs of Constitution models to see how the issue of the small boats is handled. Where the blocks are carved and painted, the small boats invariably look crude and rough and of a poor standard in comparison with the Constitution model itself. So it was with some excitement that I found an Ebay Chinese supplier of 1:96 kits of 4 small boat models, which look compatible with the Constitution era.
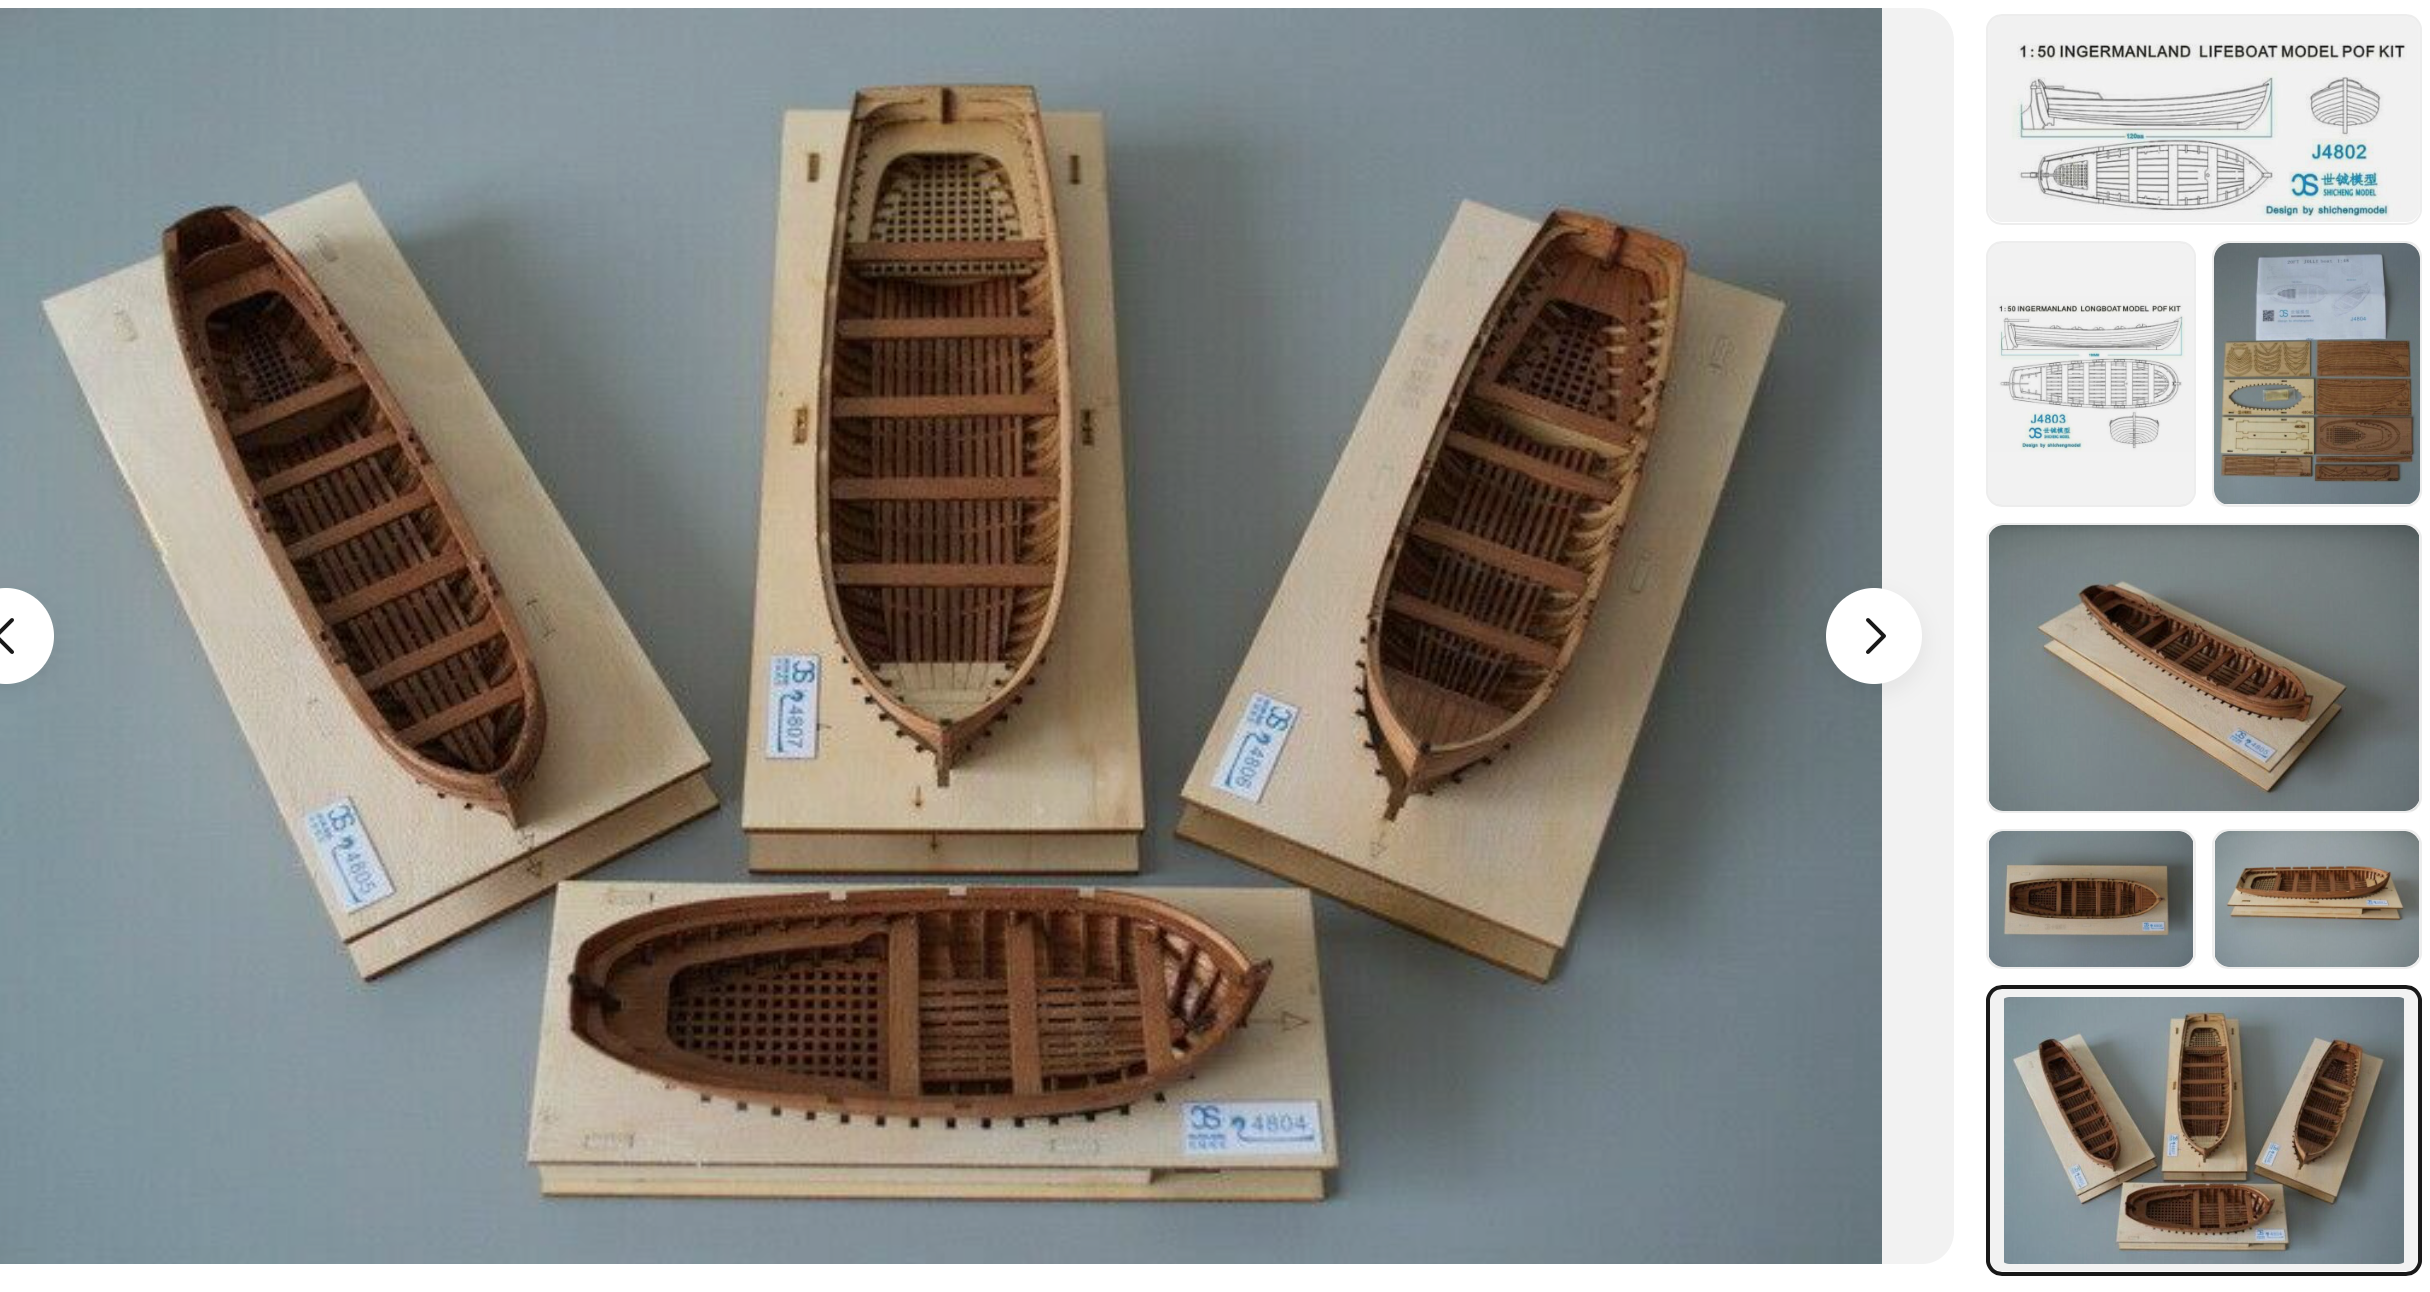
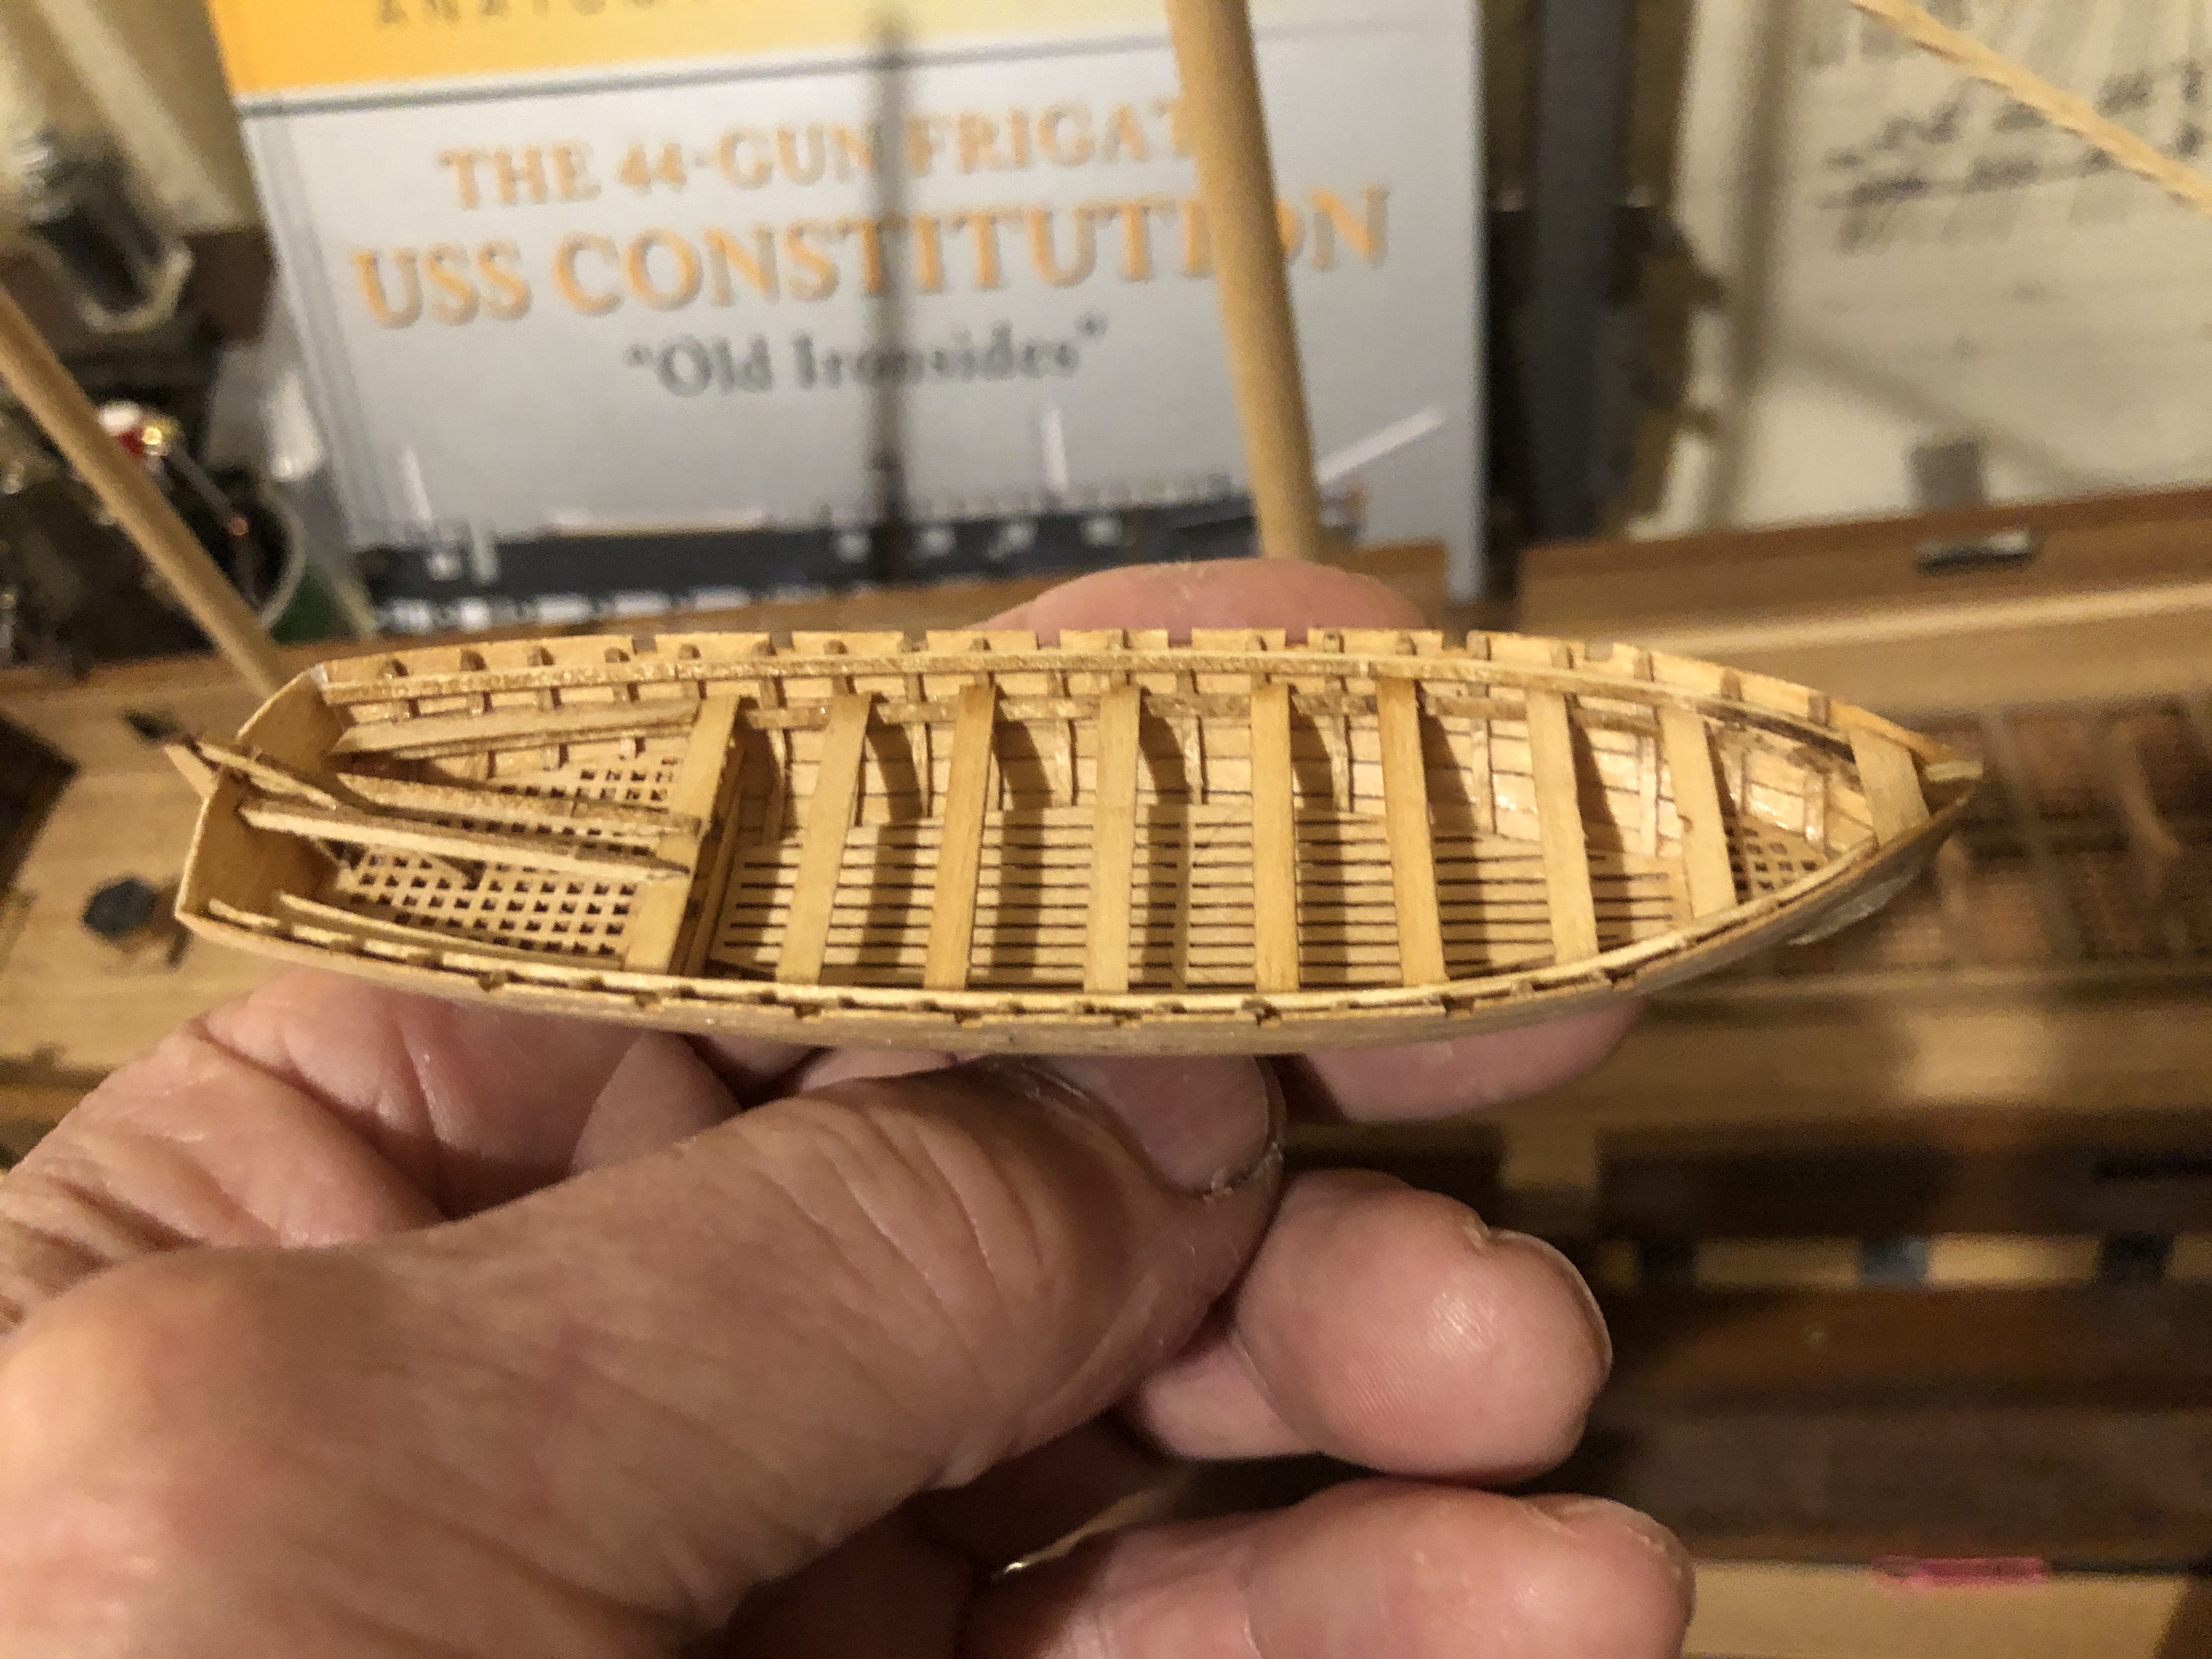
So, my 4 kits arrived about a week ago, and I spent 2-3 days making the 34 foot launch, the largest of the 4 models.
Let me state that these kits are not easy builds. The instructions are a series of drawings, and the only text is in Chinese. I made several mistakes as a result of my inexperience and the suboptimal instructions.
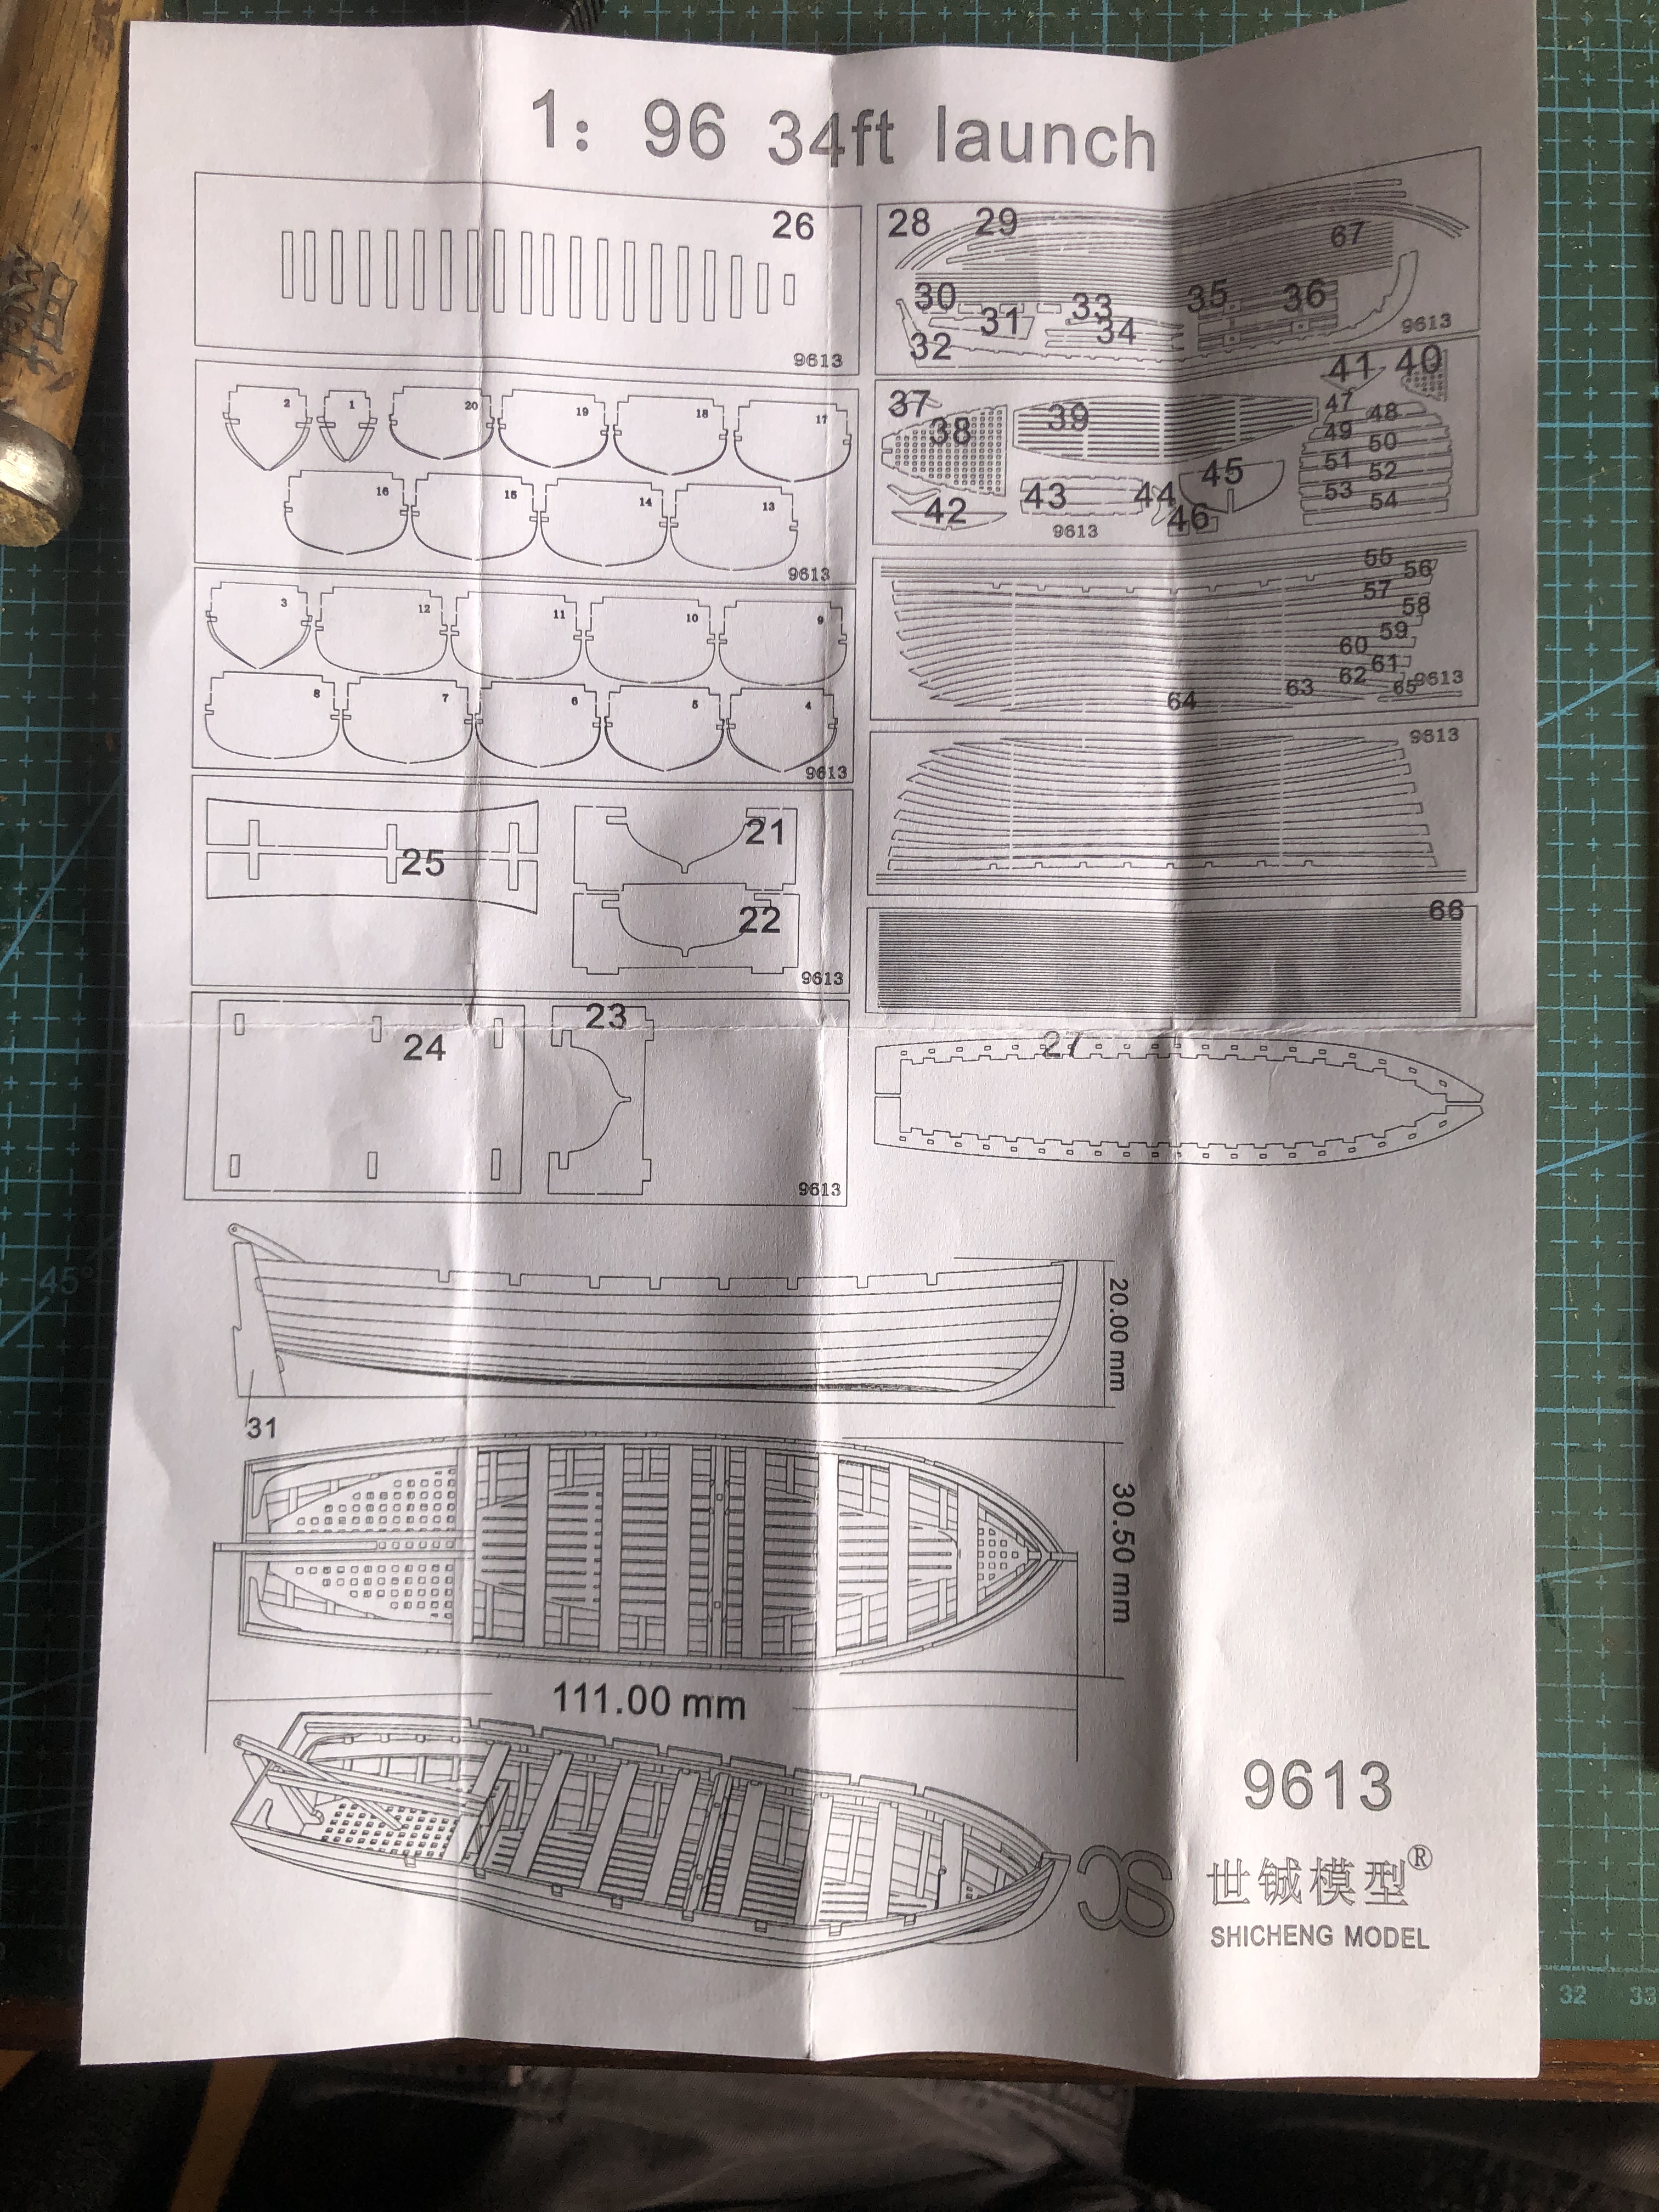

So, off I go. Now, do I go across the pictures, or down the columns?

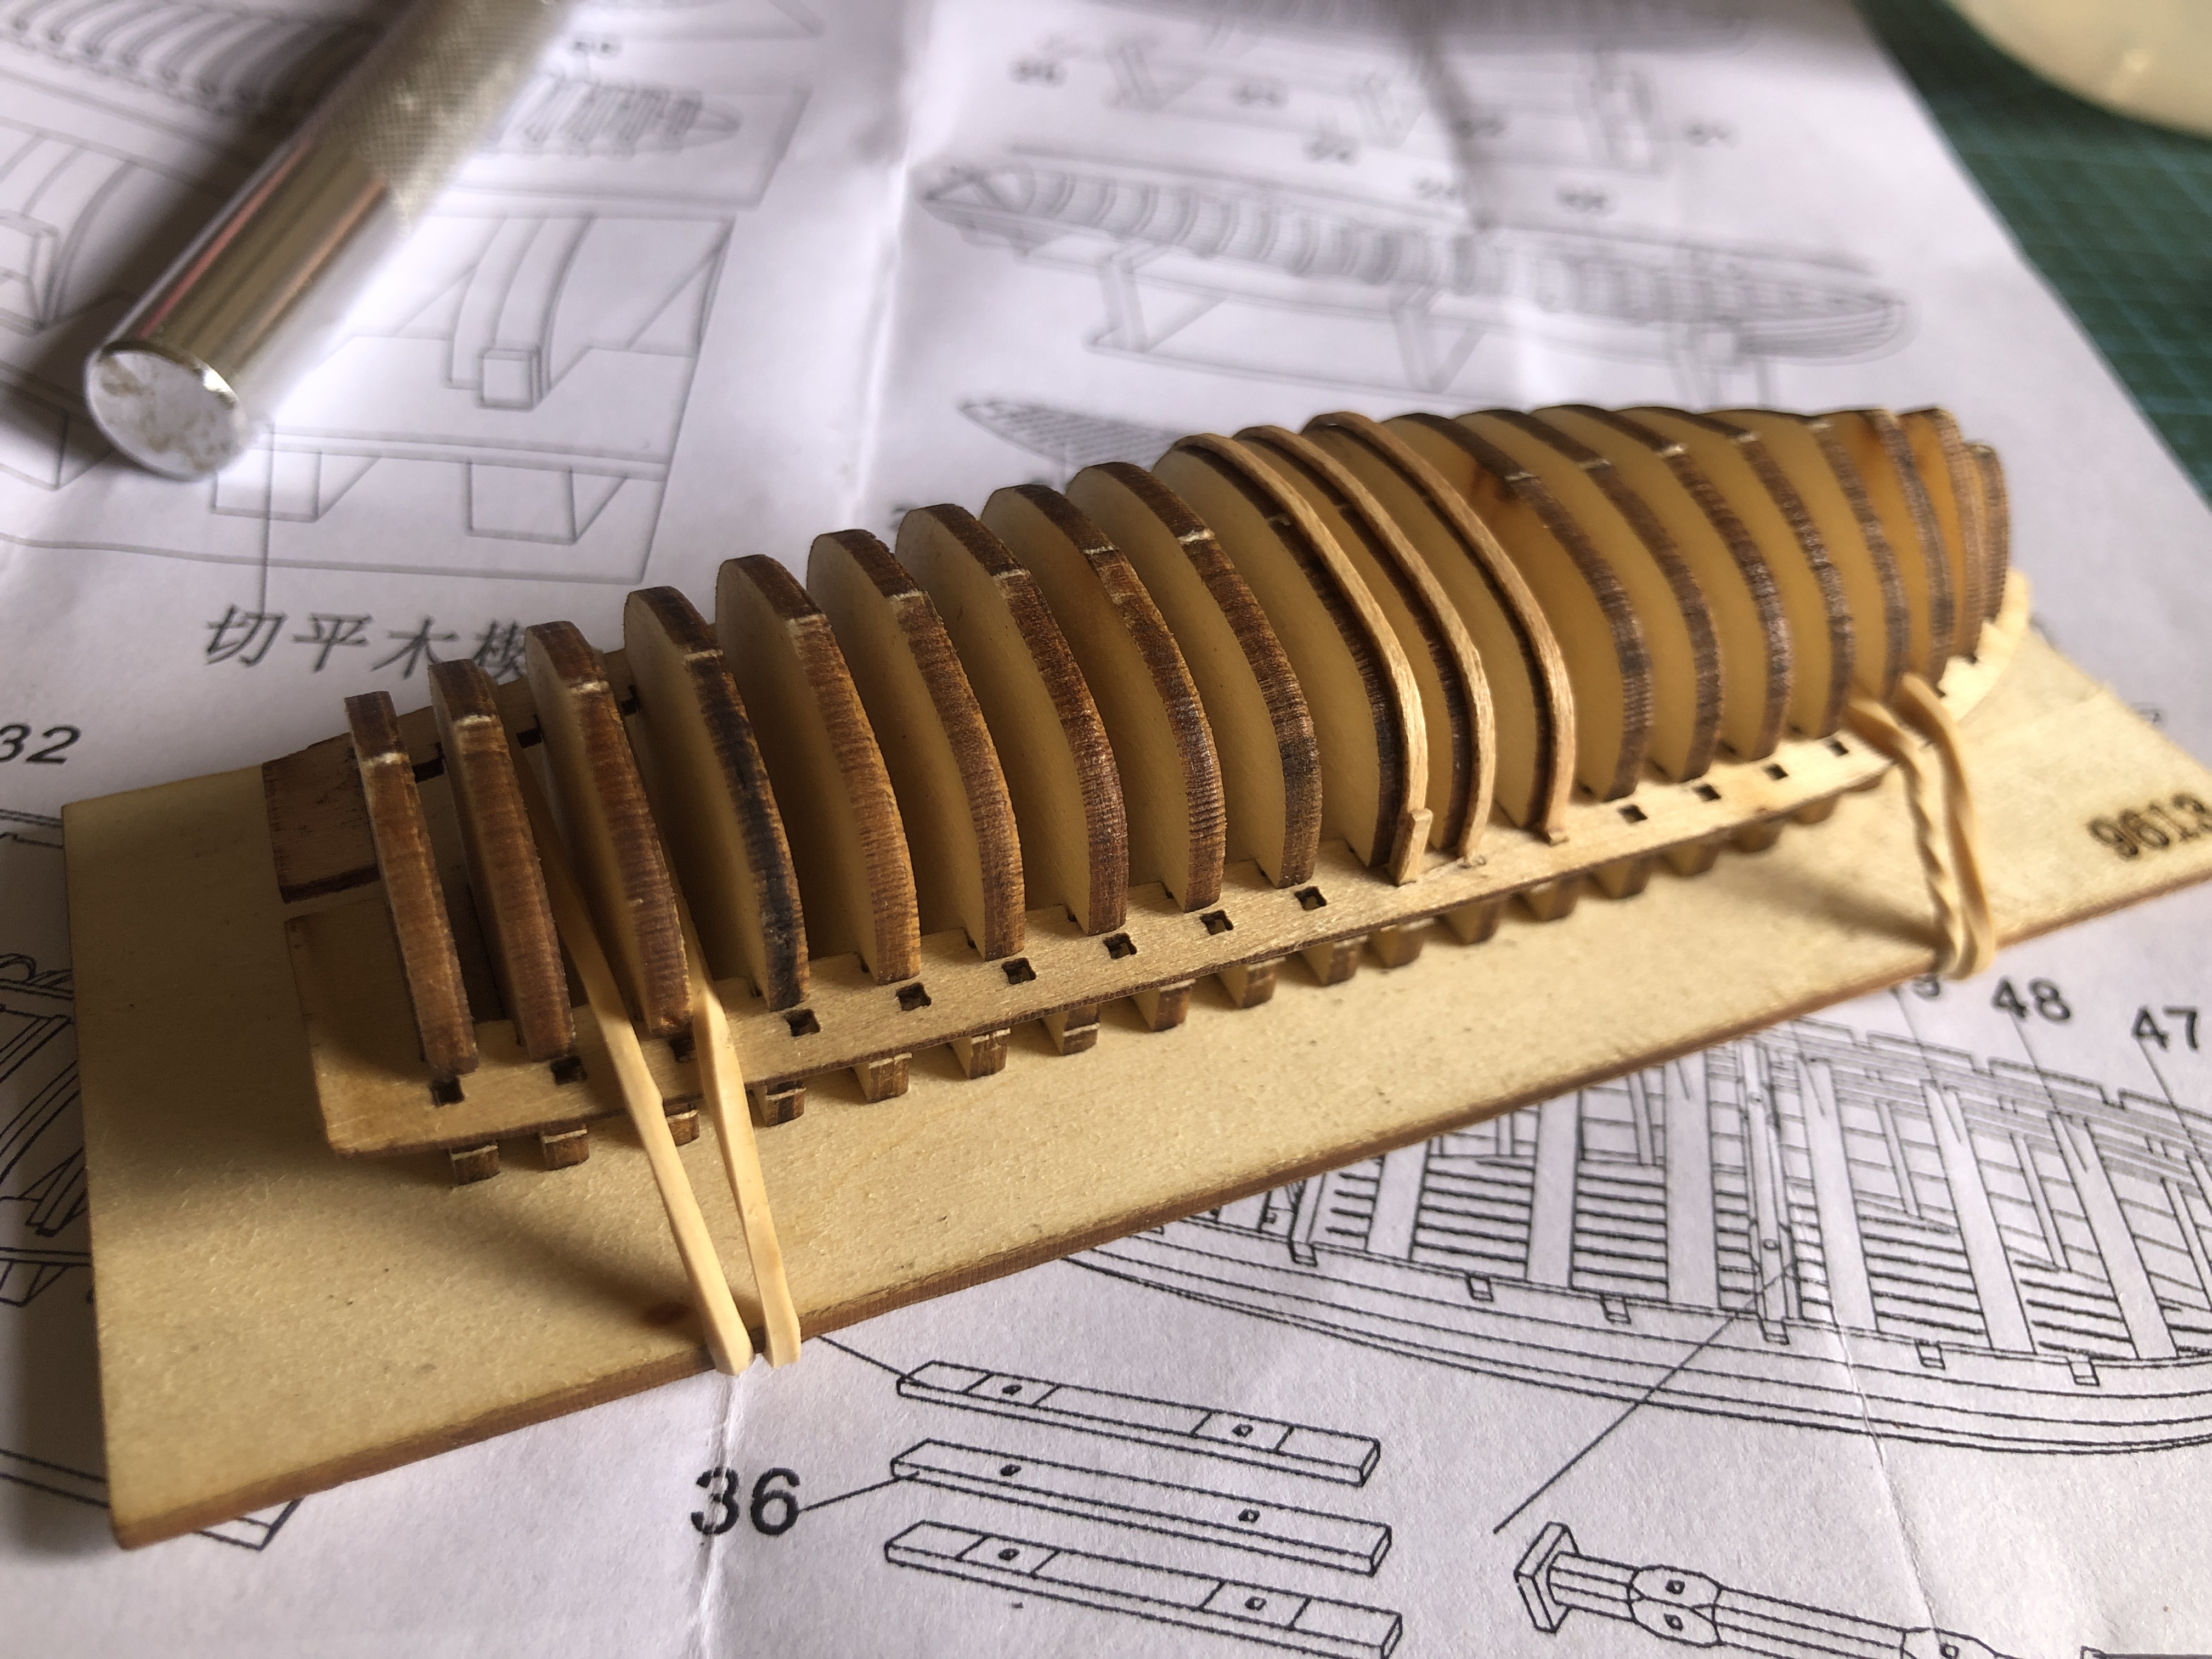

To cut this saga short, I applied the planks and finished the model. SWMBO thought that it is quite pretty. I thought “it was a learning exercise”. I ordered another kit from the supplier. An expensive lesson.


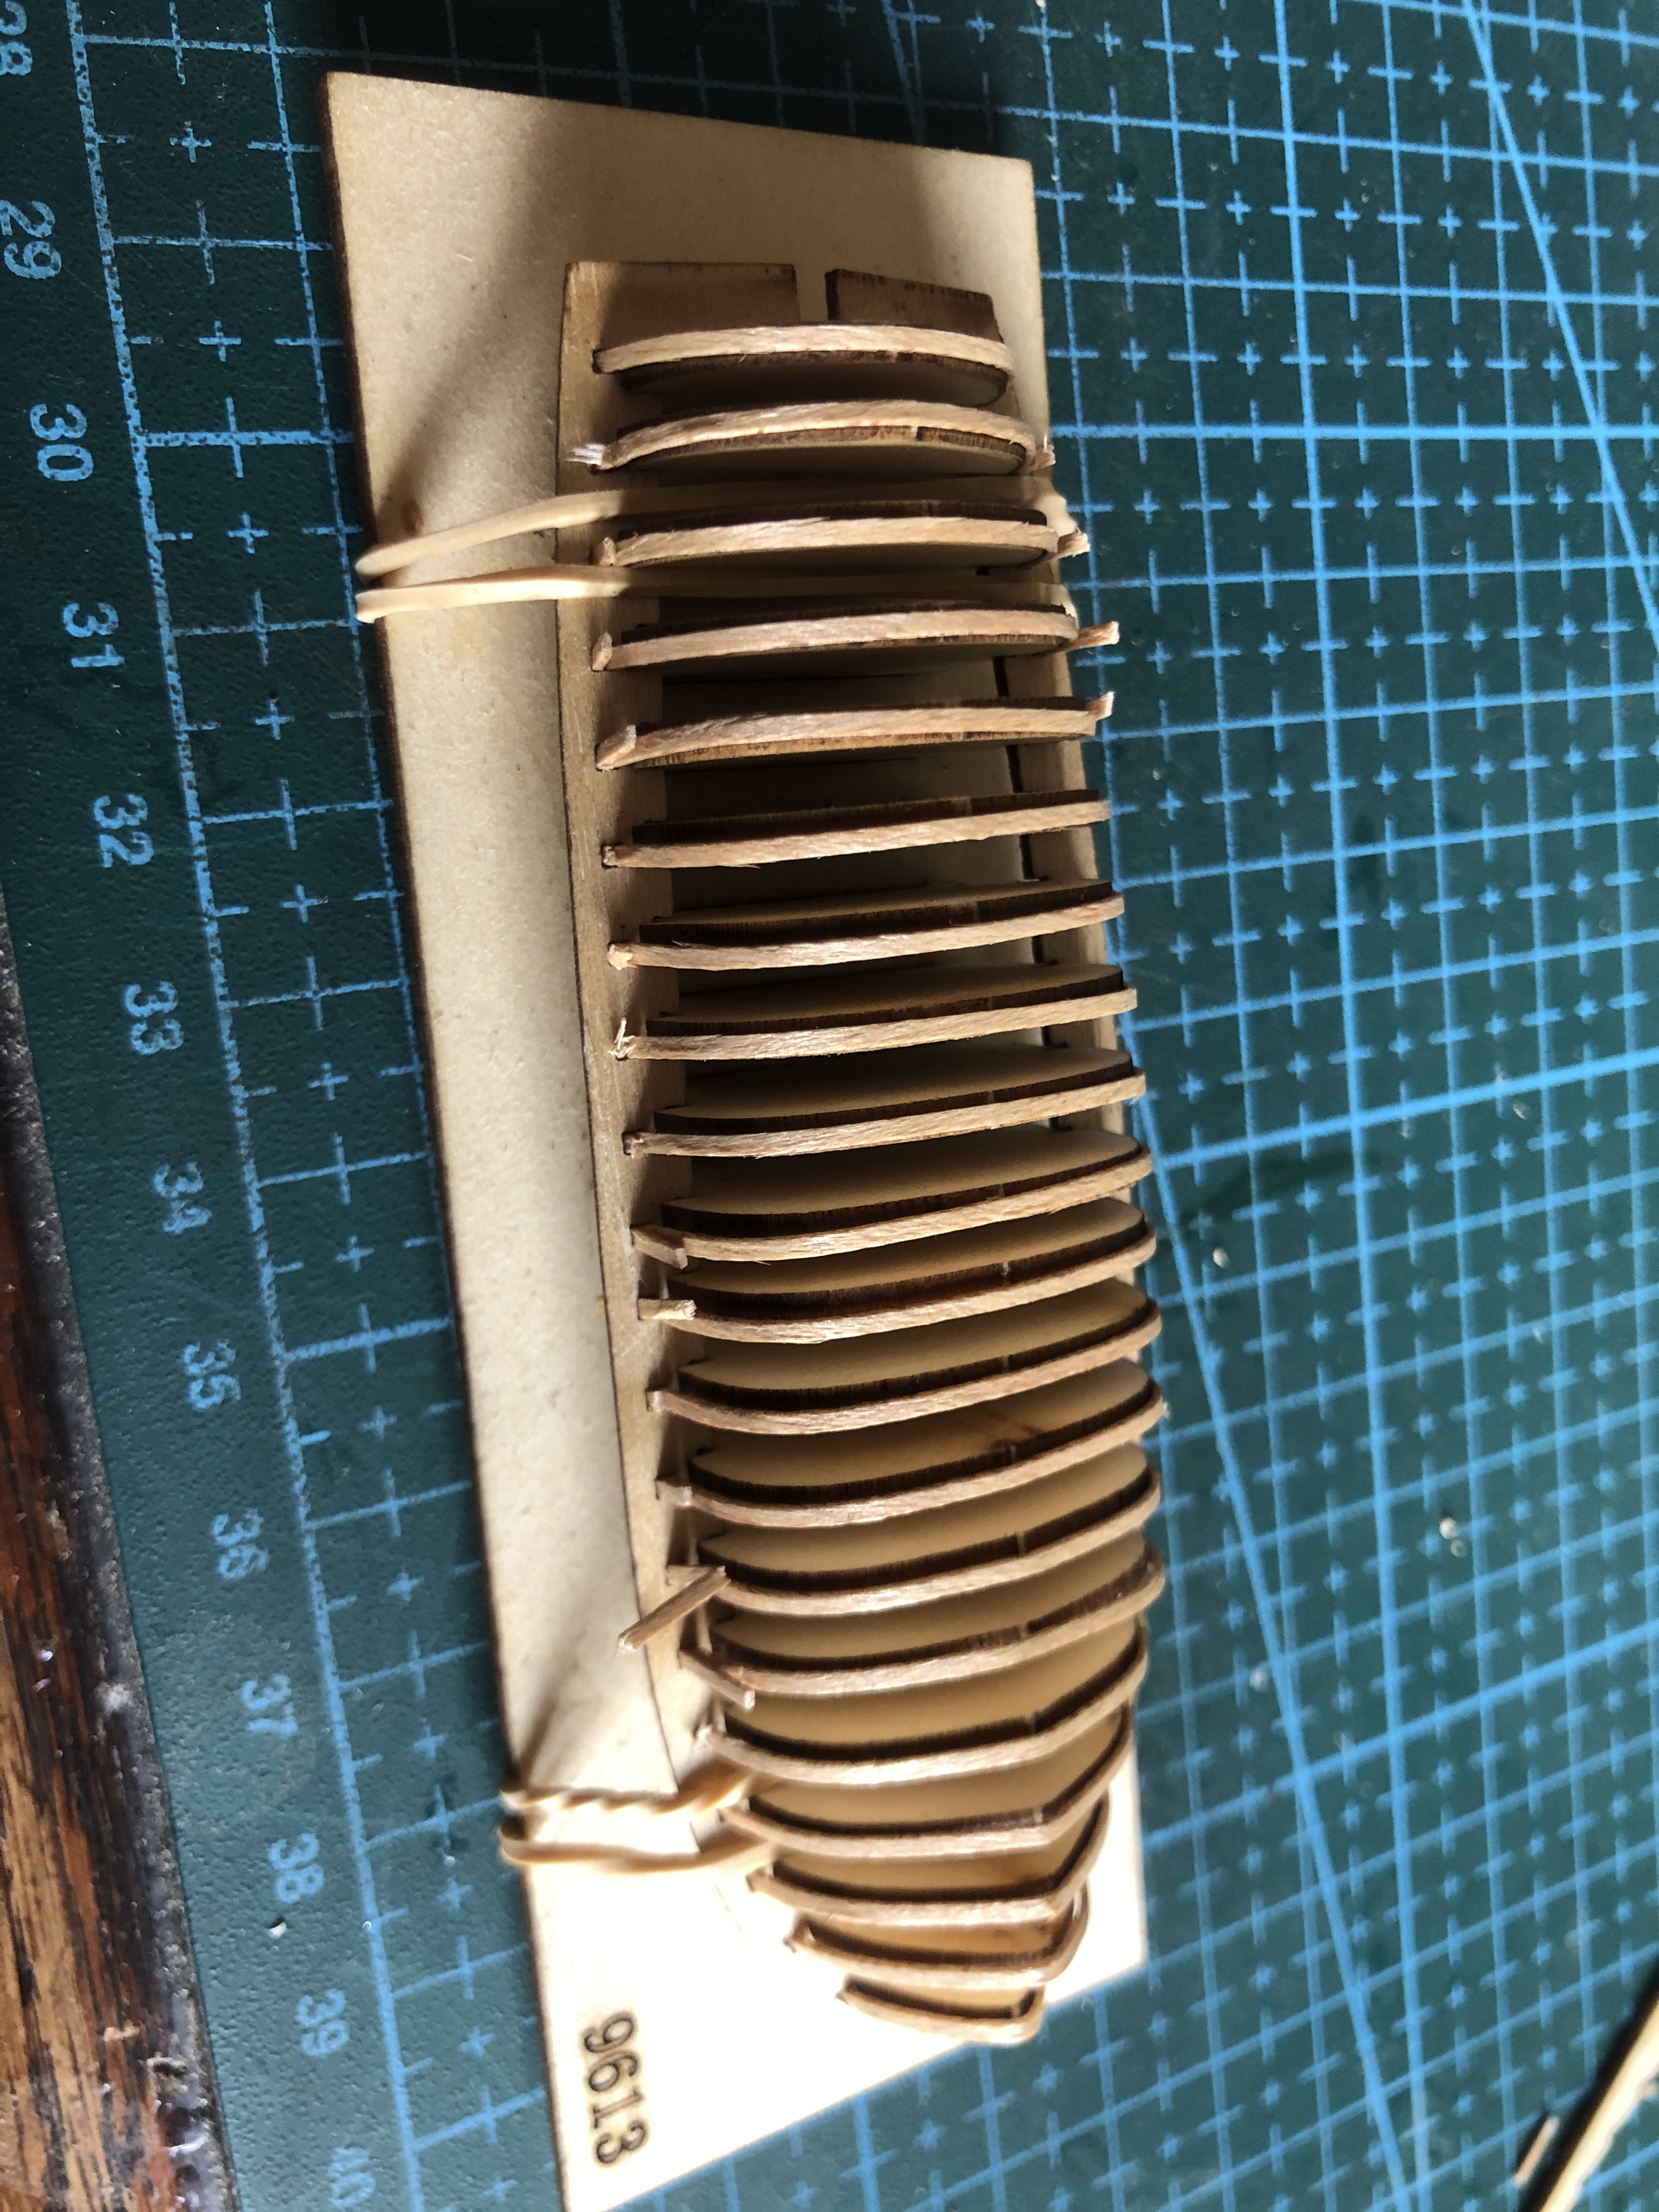
Oh OK. Here is a view from above.
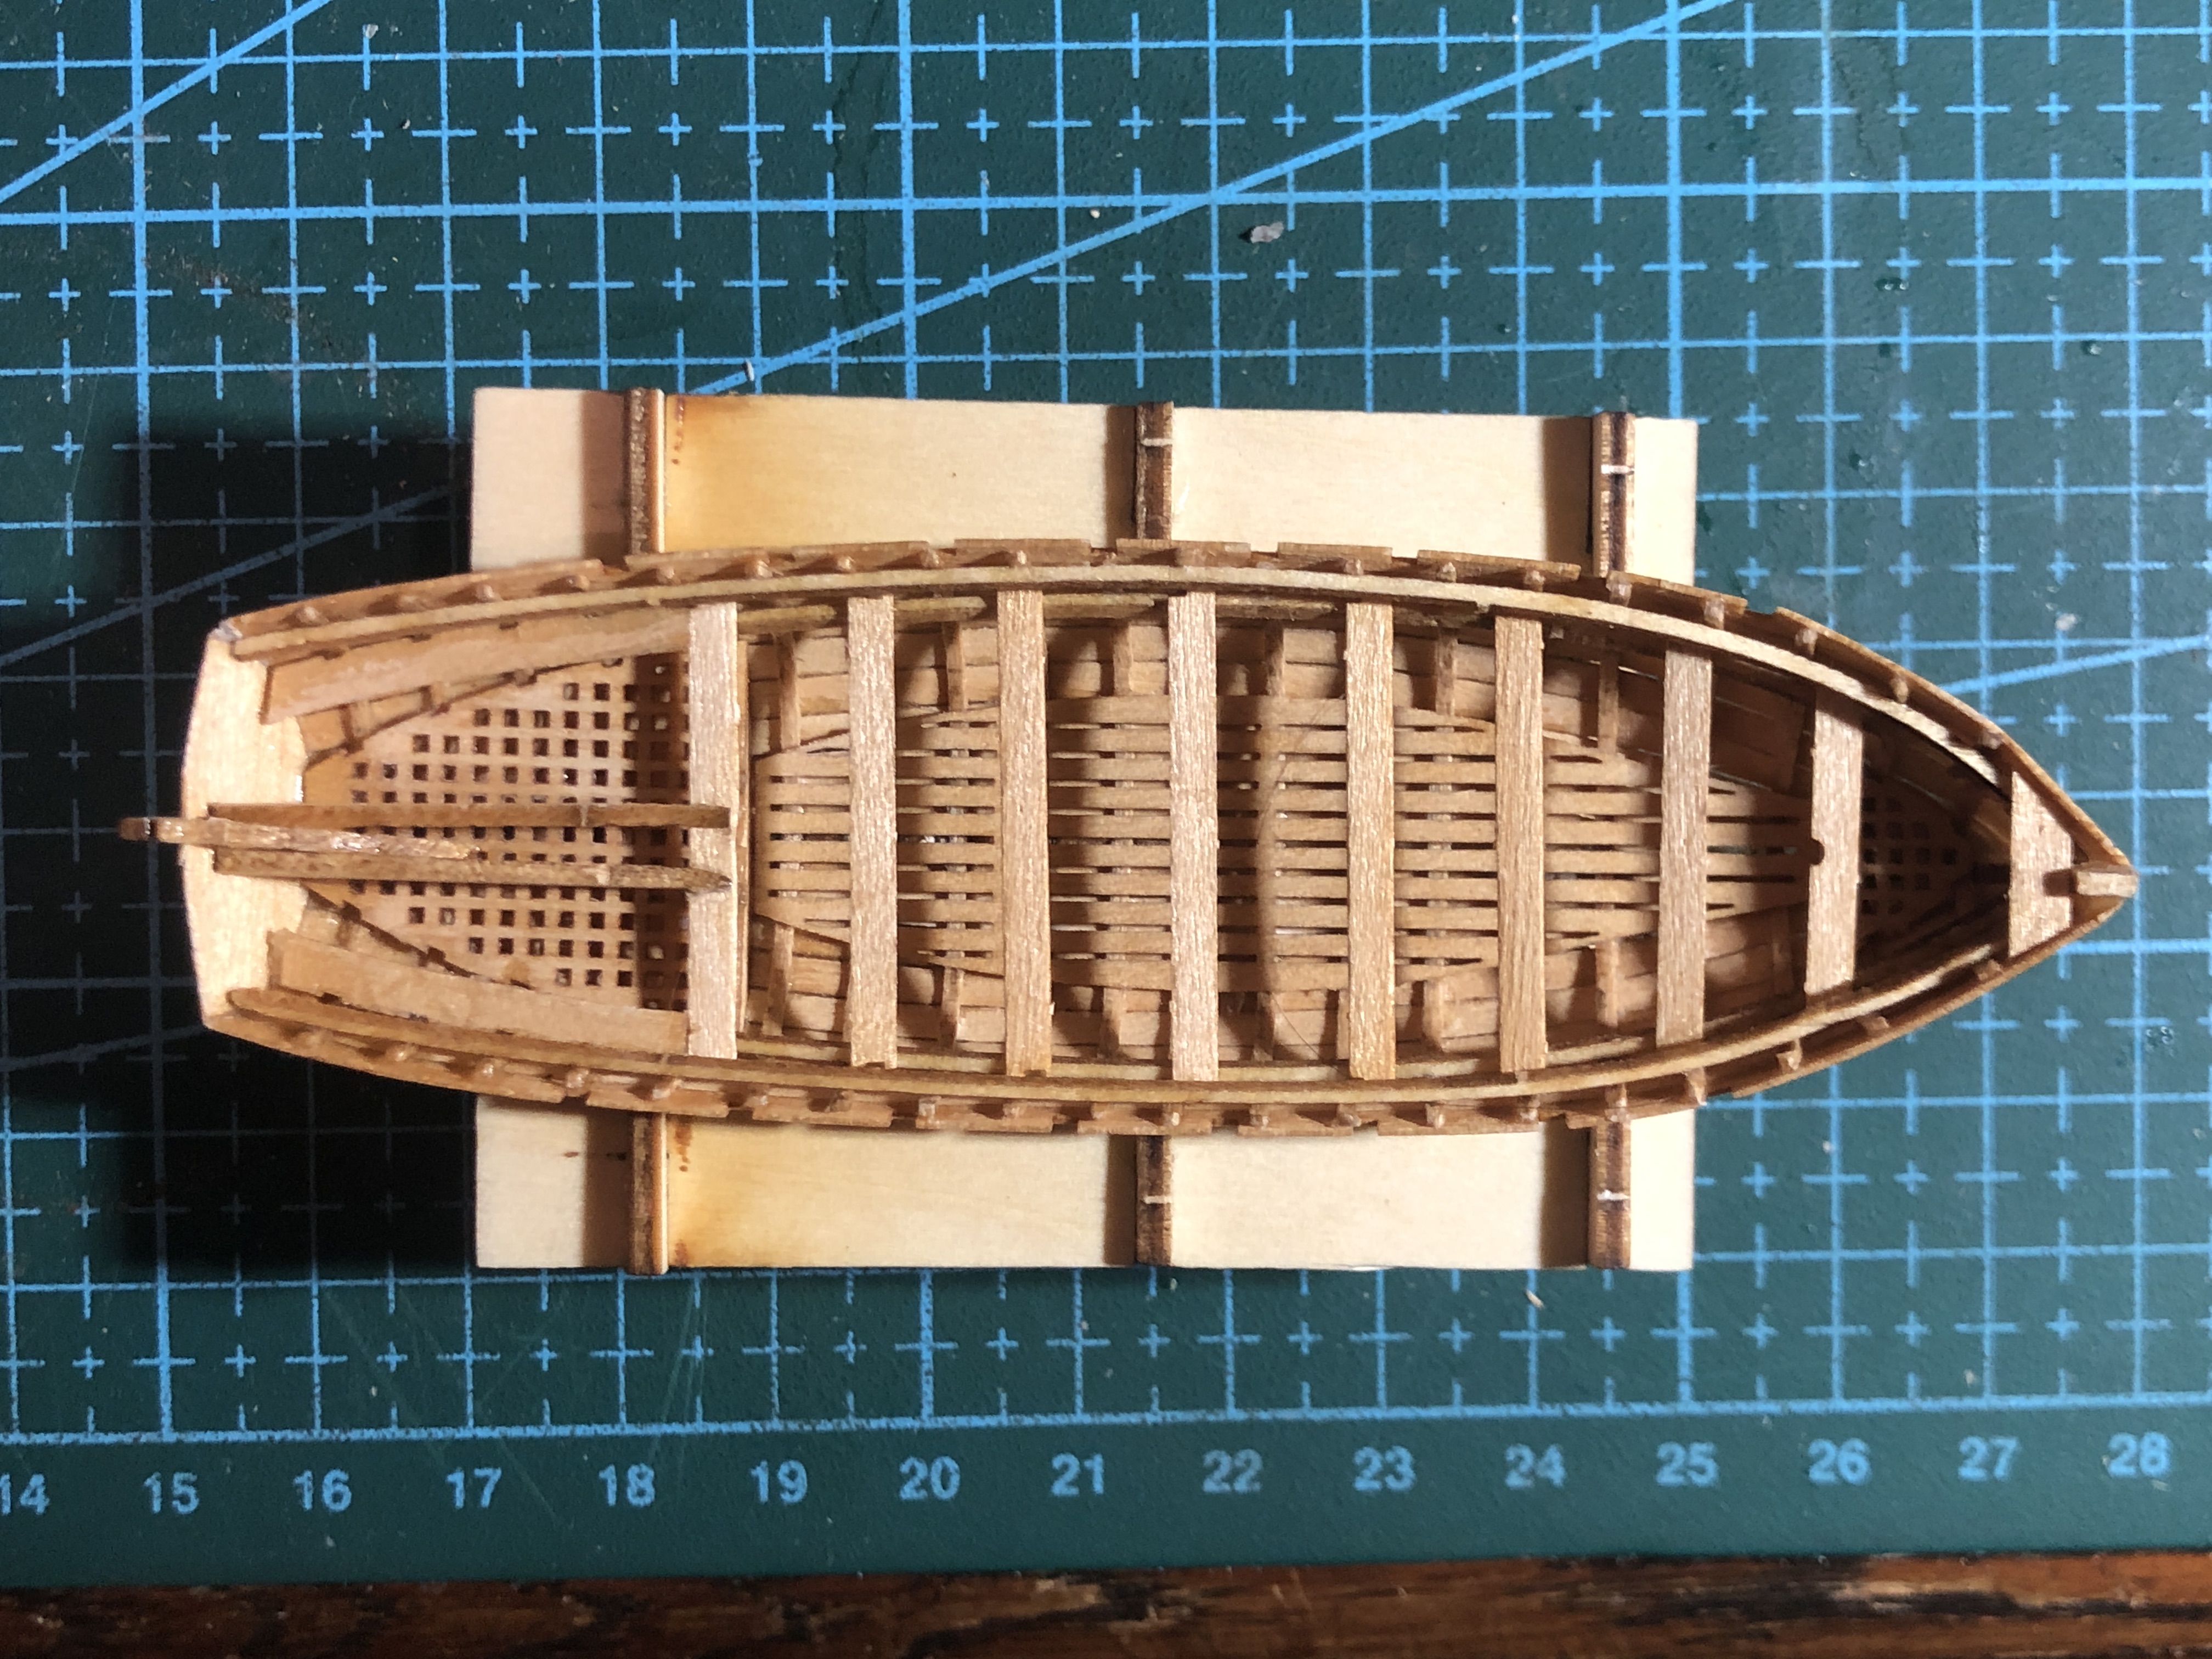
So, to summarise these models….
- They are not for beginners.
- The instructions are inadequate. The text is in Chinese only. There are no instructions about where the glue should be applied. The drawings are OK, but did not answer all of my uncertainties and questions.
- The model is small and fiddly, and too small to use clamps while the glue sets. The parts have to be finger held while the glue sets, and that means using CA glue. Very little time for adjustments.
- However, if properly assembled, the models will be attractive and enhance the full ship build. I look forward to making one properly. I have started the 32 foot barge.
And the rope maker is almost finished. I hope to have a video of making rope in the next post.

The detail of the small boats is very impressive, they will complement the larger vessel beautifully.
Cheers Neil.
LikeLike
This comes back to my first rule for woodworkers, or metal for that matter, never point out your mistakes to others. Models look pretty good at a glance!
Peter
LikeLike
But mistakes are more entertaining than perfection
John
LikeLike
I think you’re the only person who will see that. But you’re like me and once you know it’s there it can’t be un-seen. I’m sure the next one will be perfect.
LikeLike
With Hindsight the next attempt will be perfect ! Just a Thought John But have you thought about writing some English Instructions and offering it to this company ? Explain what happened and maybe you might get some FREEBIEs or A REFUND.
LikeLike
Hi Bernie, see the previous post “Shicheng Model Instructions”. In that post you will see that I have written a set of instructions albeit aimed at modelers who read my blog rather than Shicheng. John
LikeLike
[…] ship’s boats were not supplied. I built them separately. See previous post. (https://johnsmachines.com/2024/09/01/constitutions-small-boats/ and […]
LikeLike