
Rigging the Constitution
No, this is not about Donald.
Ship Modelers of Geelong (SMOGs) shamed me recently into getting on with my USS Constitution model. It has sat untouched for 3 or 4 months while I pursued rope making, and other diversions.
So, I started the serious business of frigging the rigate. Or should that be rigging the frigate?
The books suggest that rigging a model frigate should be done in the same order as rigging a full size ship. There is logic to that approach. It means that old times methods can be read and used, and one thereby learns about the old times methods, which is interesting.
There do have to be some modifications of the method, because model ships are smaller than full size ones, and access to some bits can be tight. Particularly with fat old arthritic fingers. But the principle holds reasonably true.
So, I started with the shrouds. Those are the big black strong ropes which hold the masts to the sides of the ship, and towards the back (the stern.) They are black because they were coated with tar. The tar prolongued their useful life by making them waterproof, , but also made them unpleasant to handle. They were also left handed, S twists which cannot be commercially purchased (as far as I know), so I made my own.


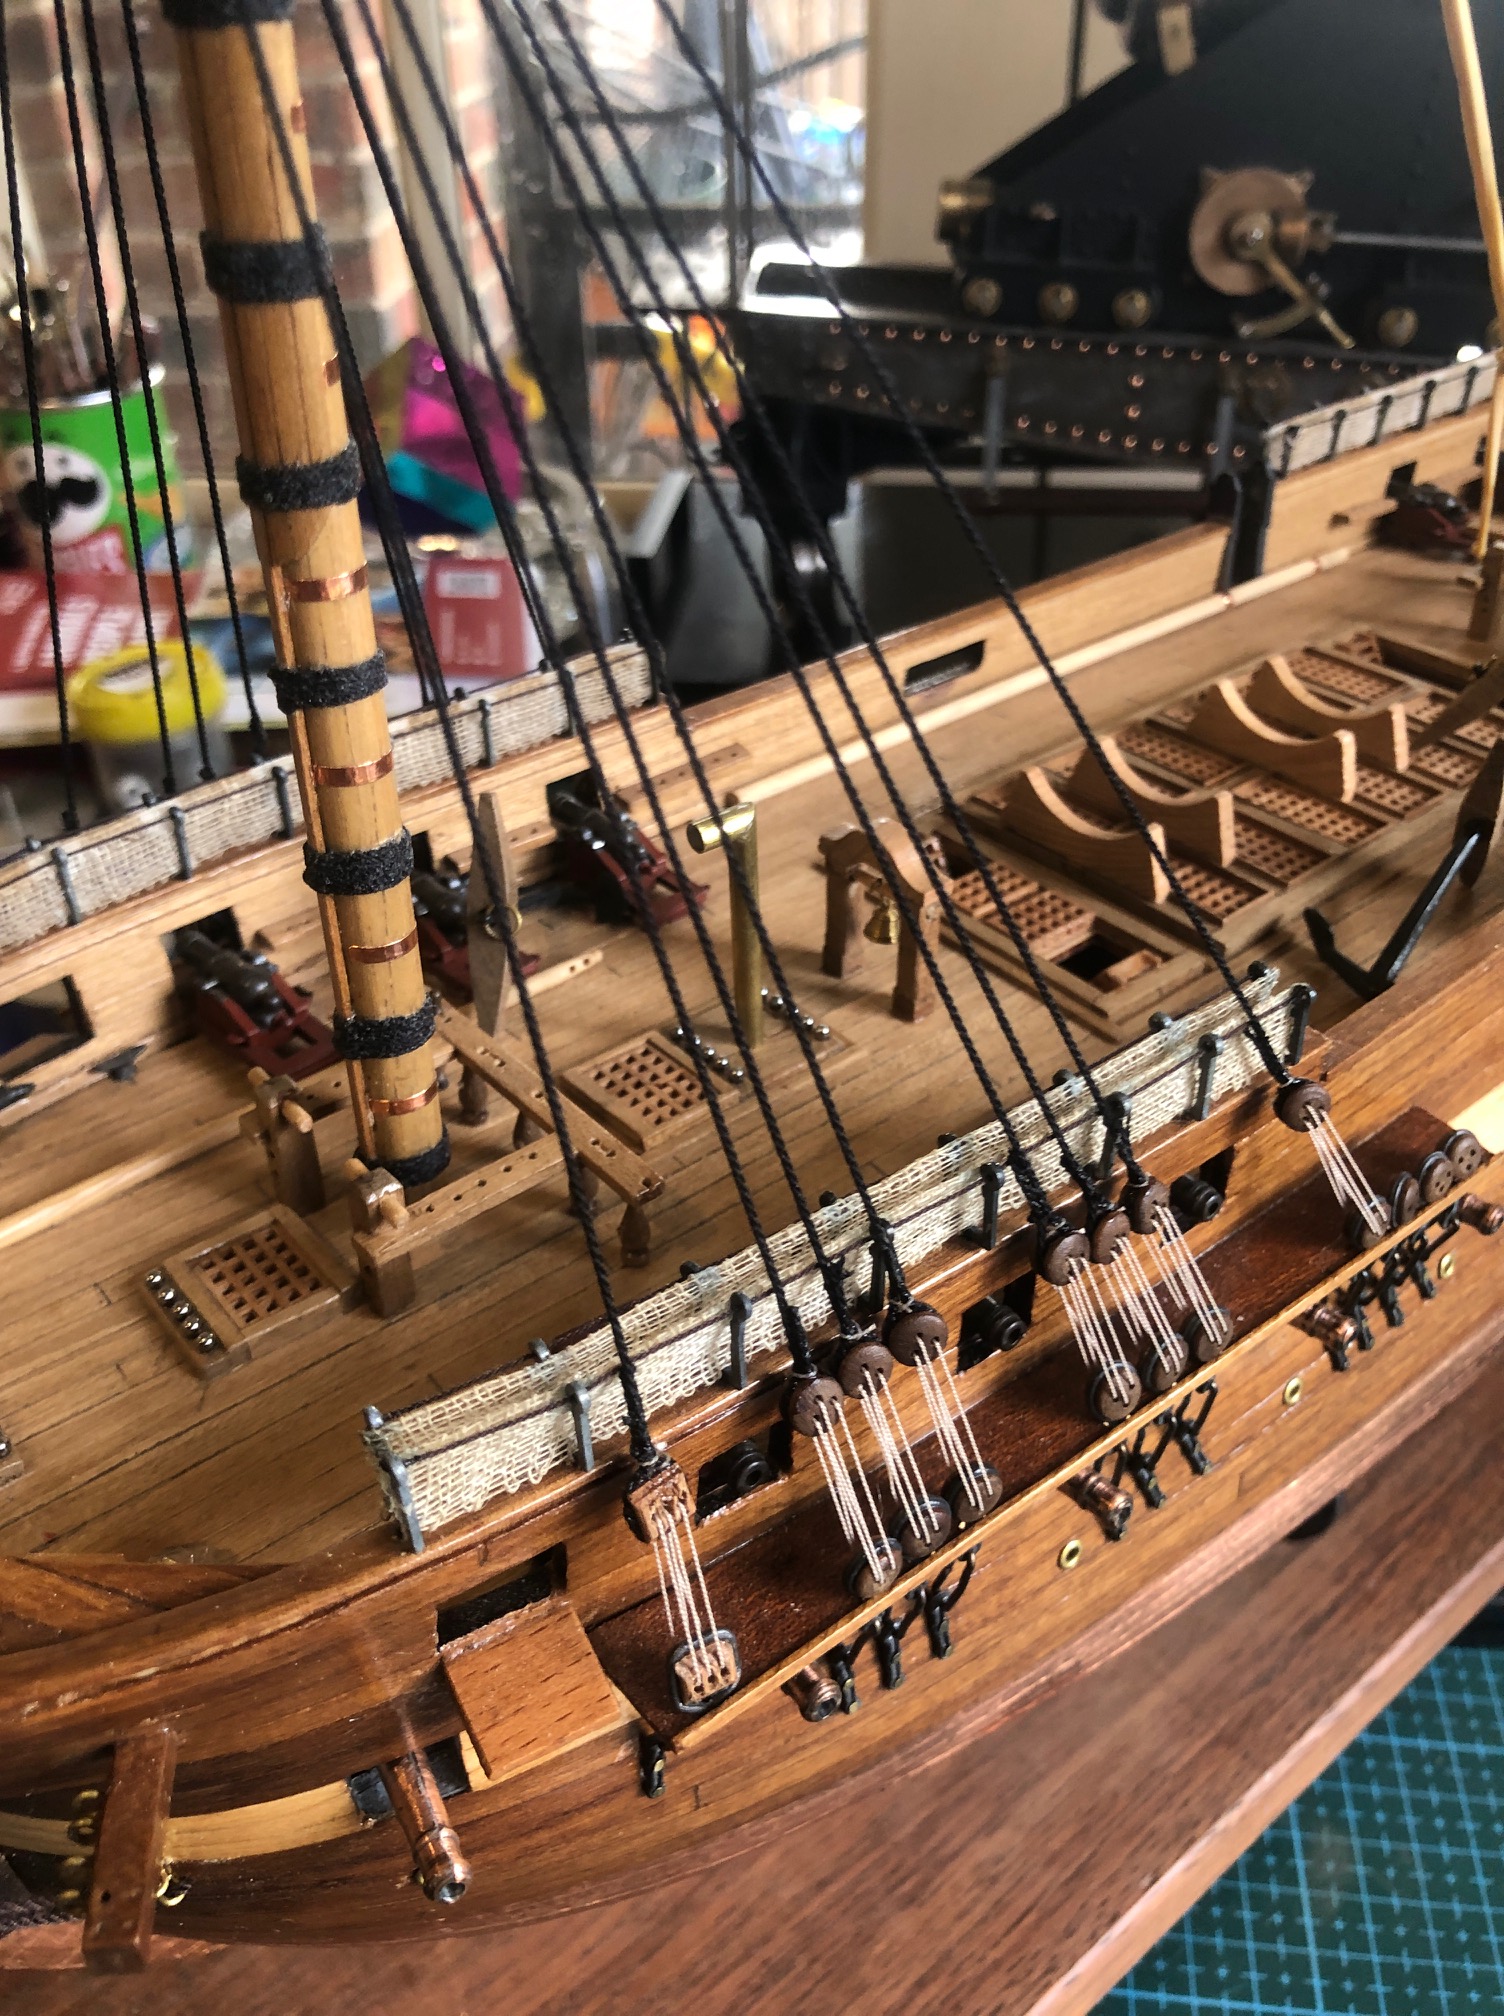
The next step is to attach the ratlines. The ratlines are the ropes which the sailors climb to release and furl the sails.

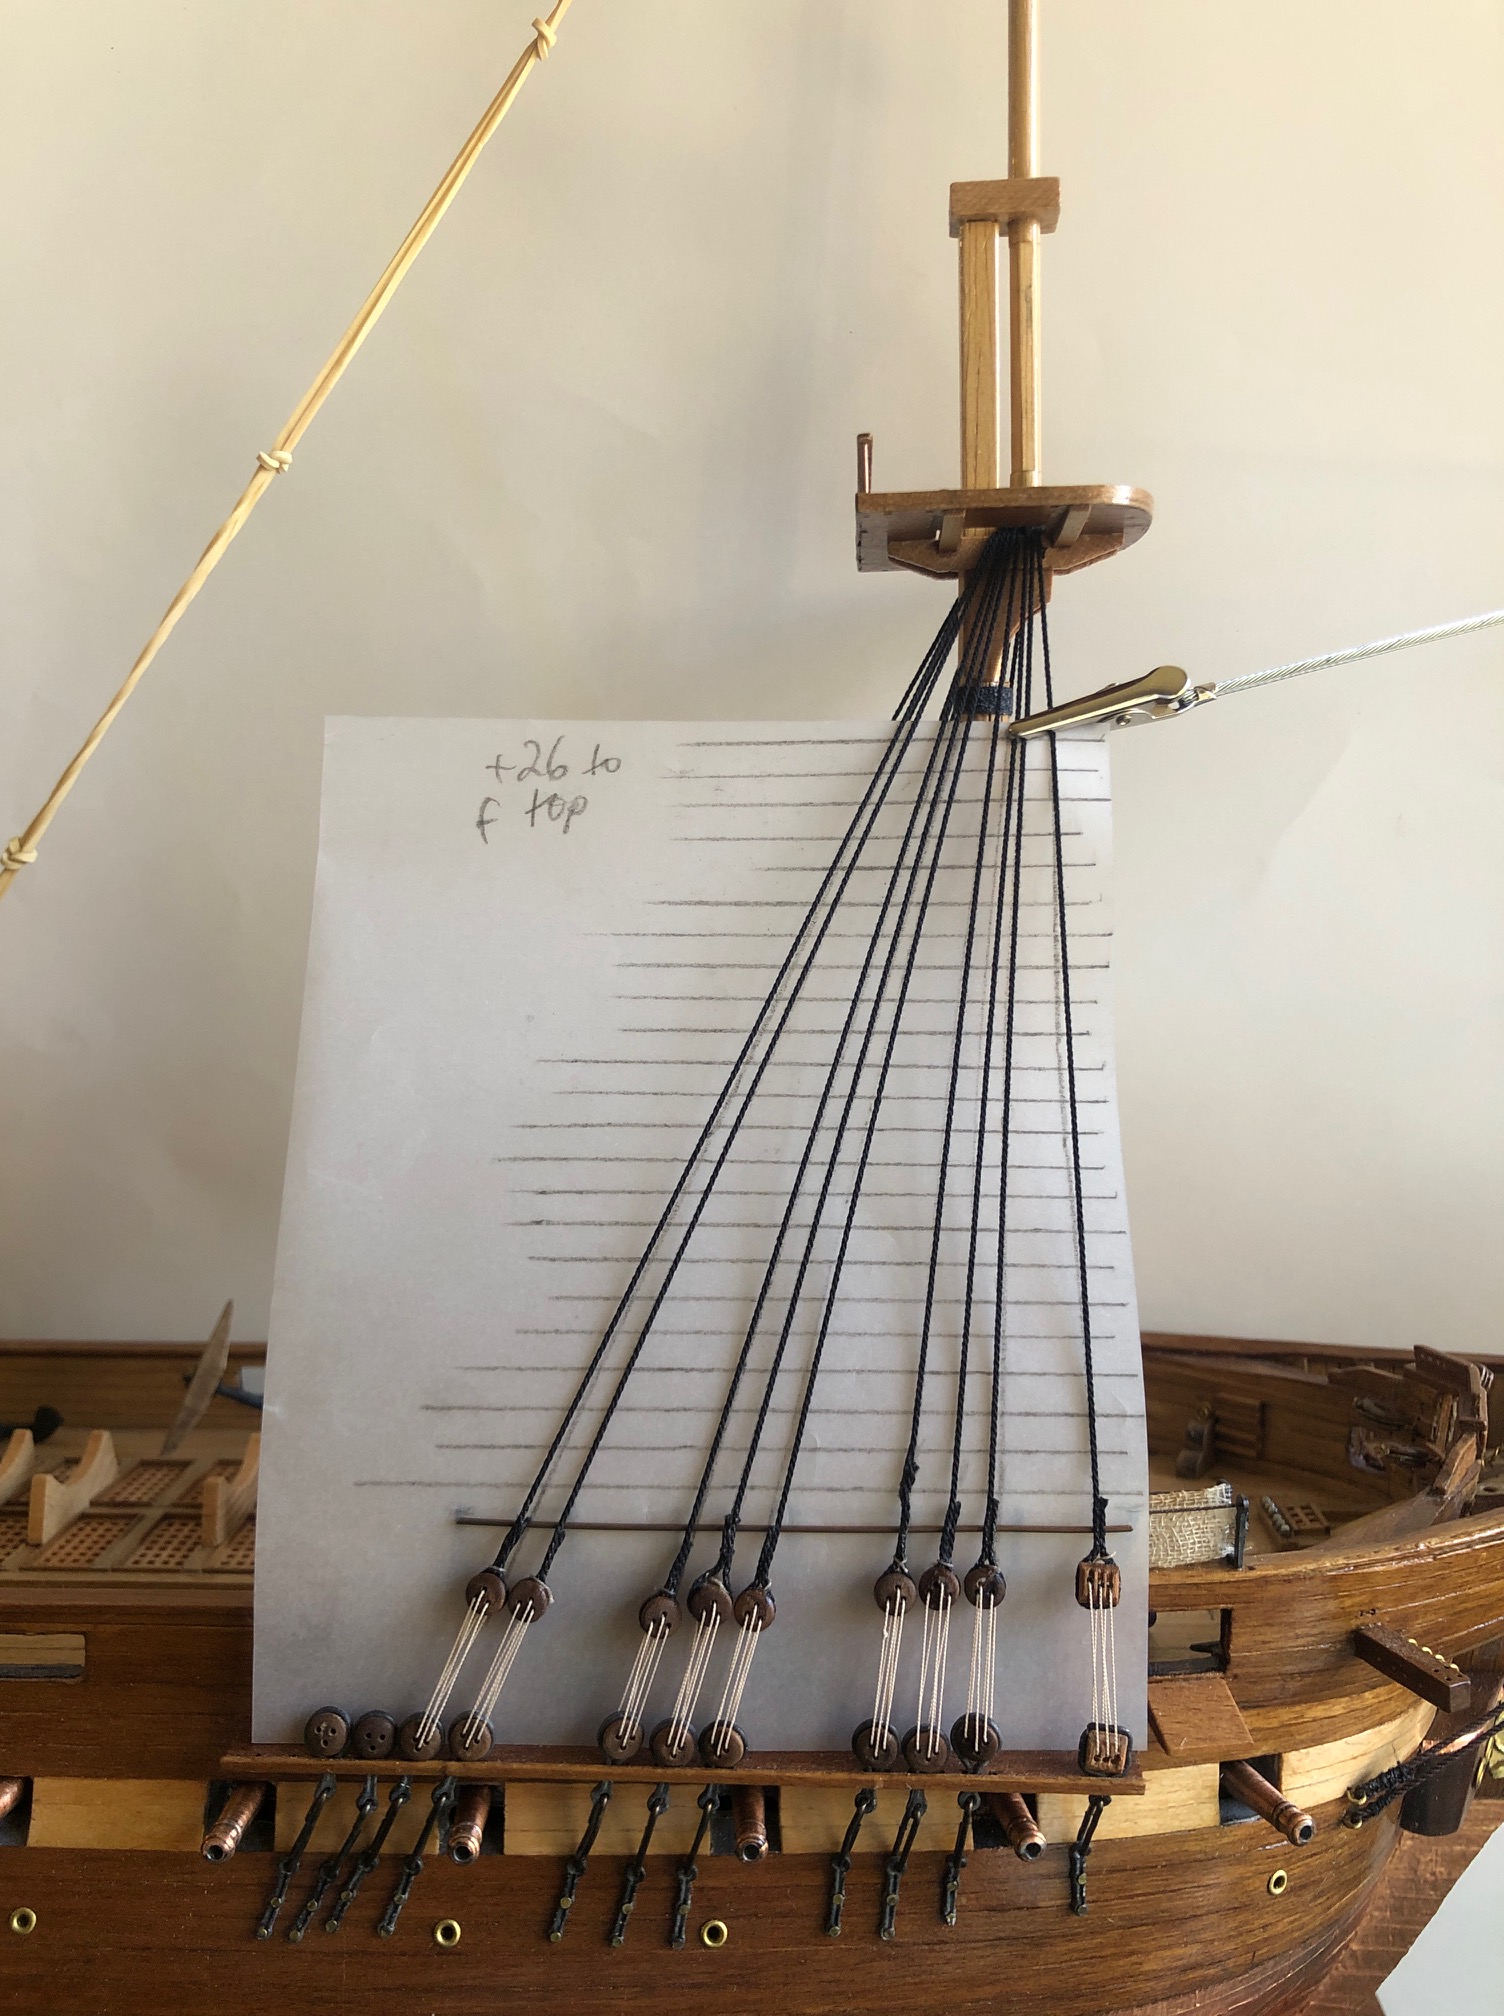
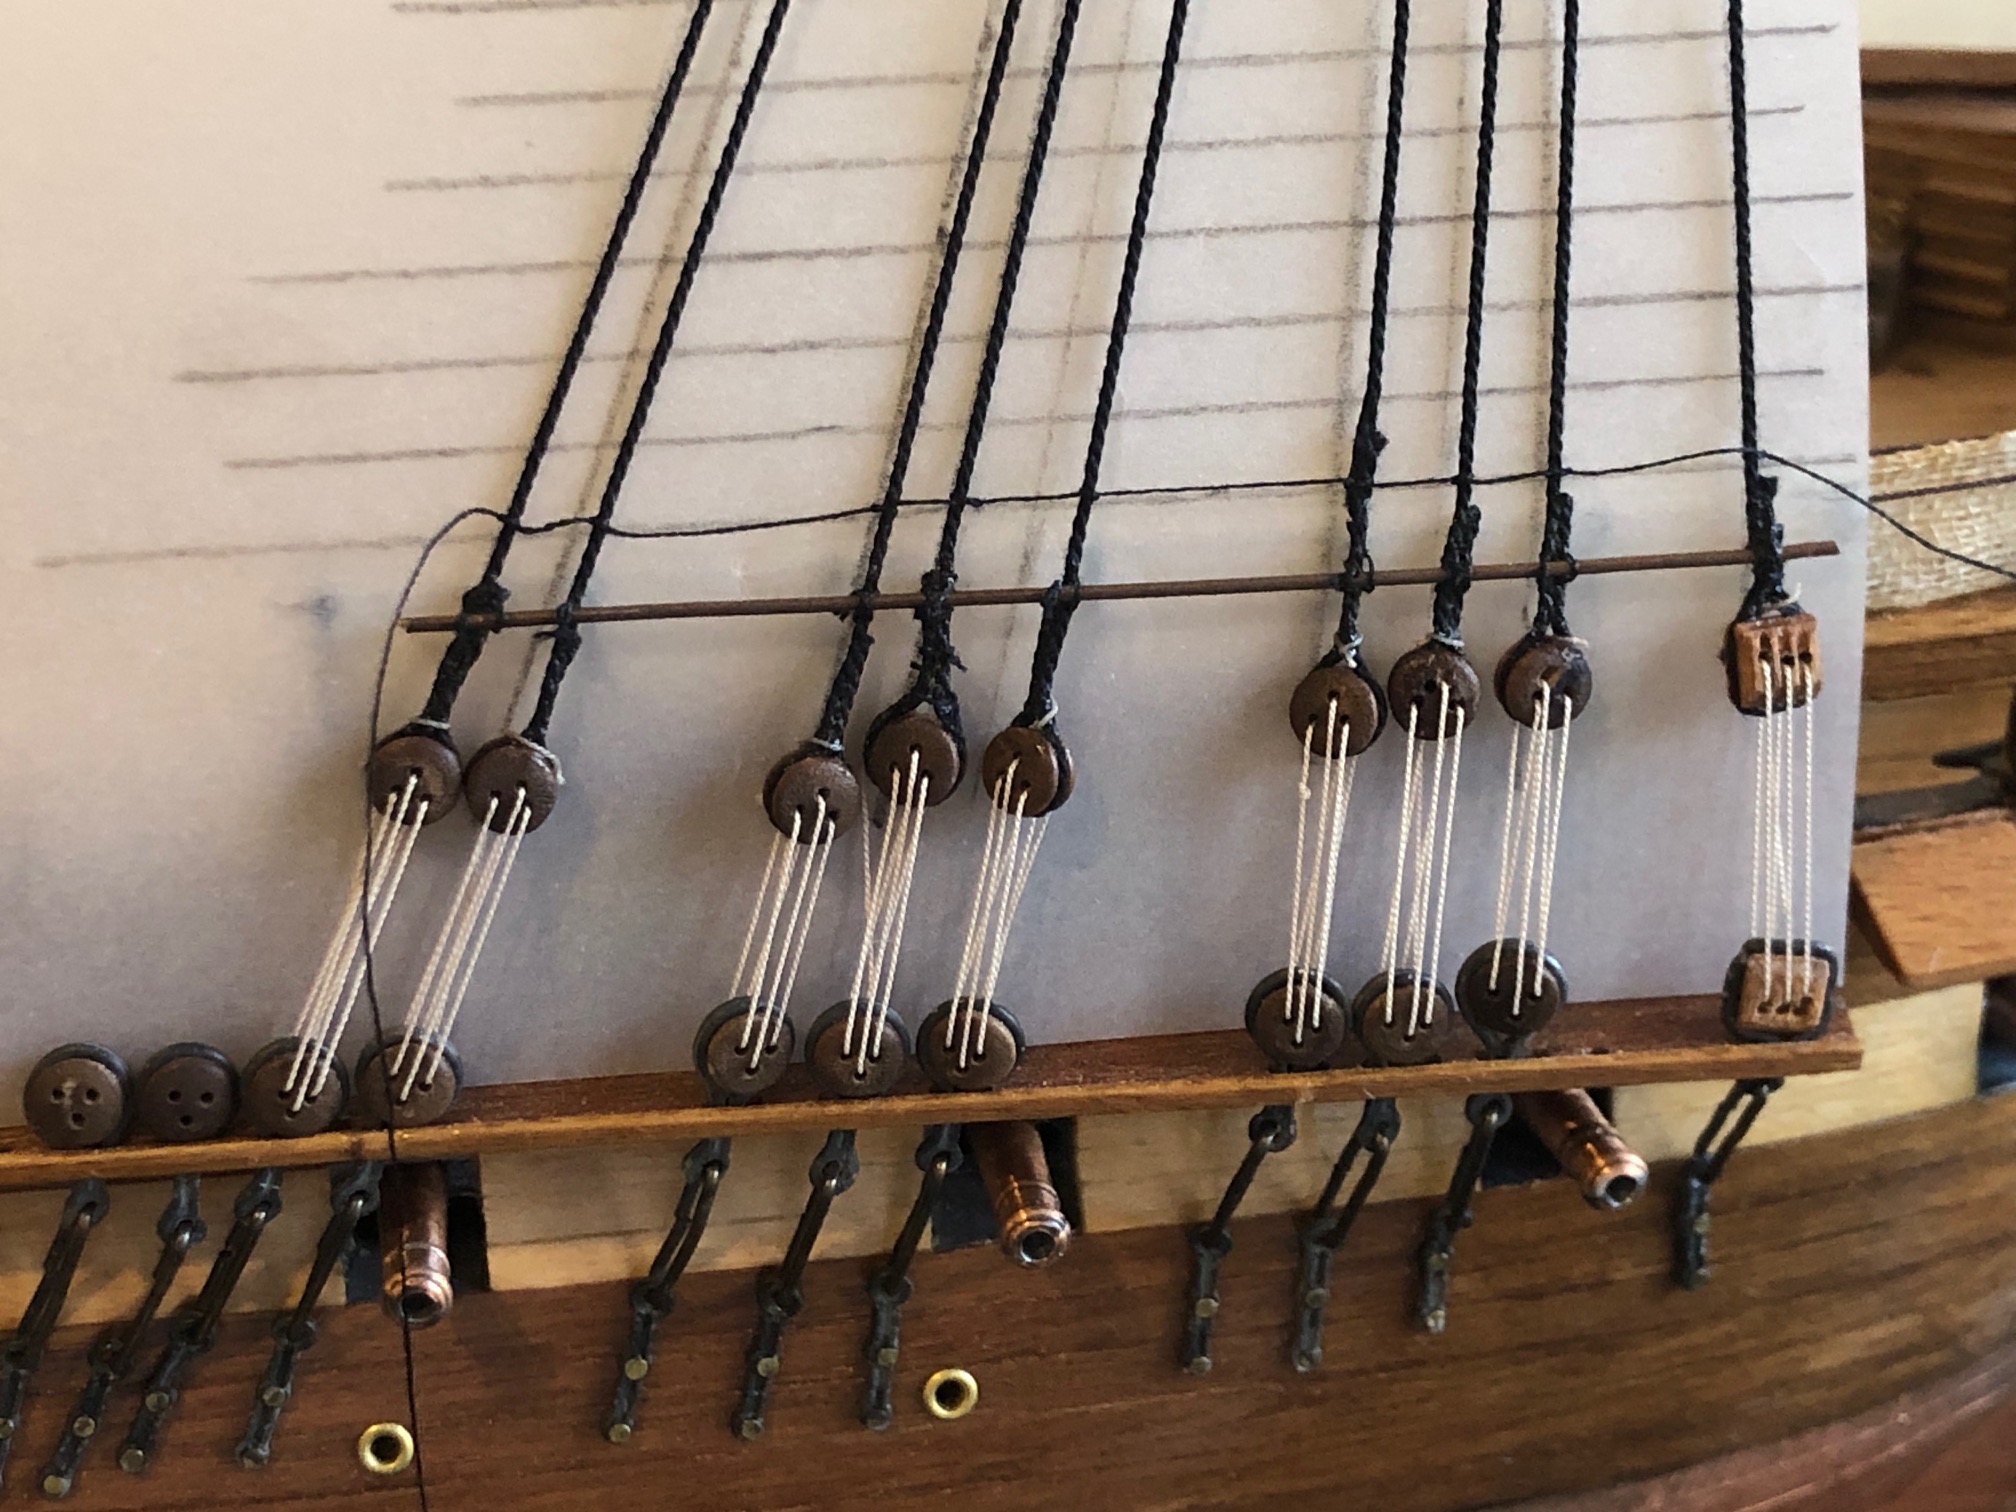
I am bit disgusted with myself for not getting those deadeyes more level. I could cut the shrouds off and start that part again. But will I? No way.
Then I ran out of deadeyes!!
I was short changed deadeyes in the kit!
Last time that I buy a secondhand kit!
More deadeyes ordered. I hope that they come soon.
