
Homemade Byrnes Inspired Table Saw -3
by John
A bit more progress.
Still waiting for the motor to arrive, and my friend who has the original Byrnes Table Saw siad that he never uses the sliding table attachment, so I have not proceeded with that.
So I made some alu brackets for the 8mm rod which the main fence attaches to. Then fitted them to the alu box base. Then attached some 8mm rods.
The accuracy of this fitting is crucial for the accuracy of the saw. The 8mm rods at each end of the saw table must be as close to exactly parallel to each other as possible, particularly the distance from each other, and the squareness to the saw blade and the machined channels in the table top. And the table top itself must be as square as possible.
The table top measures 400 x 320mm. I have a vernier caliper which measures something that big, but only to 0.05mm, which is just ok, but not ideal.
I also have a big toomaker’s square, which I bought at a factory closure auction years ago. It is 500 x 300mm, which was really useful in checking the corners and squareness of the saw box case and the table top.
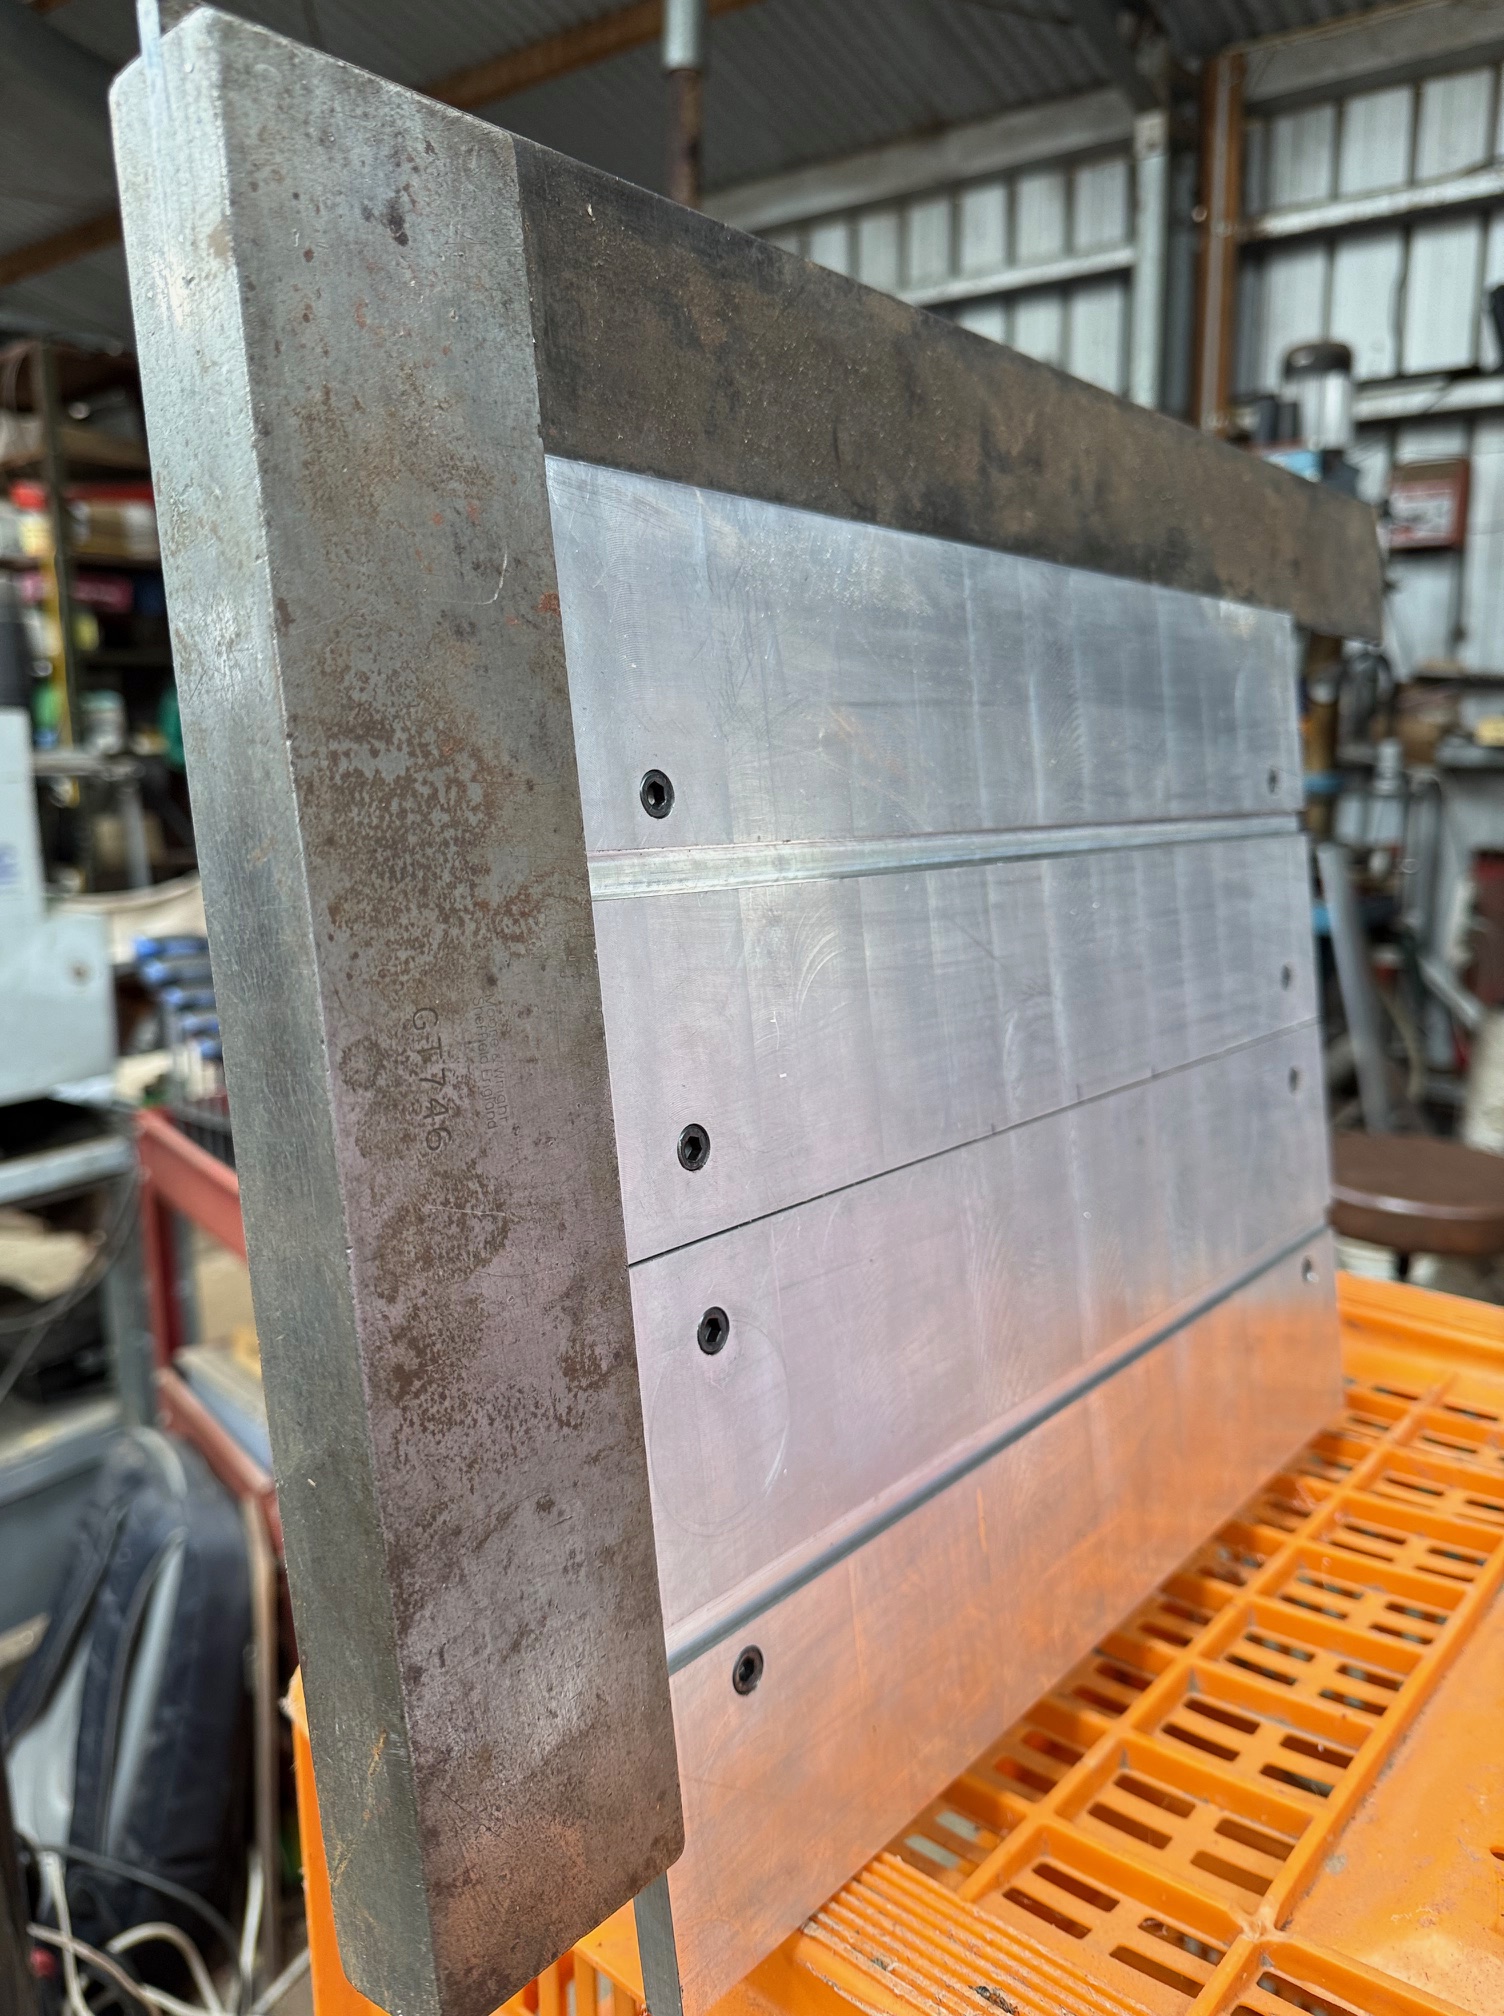
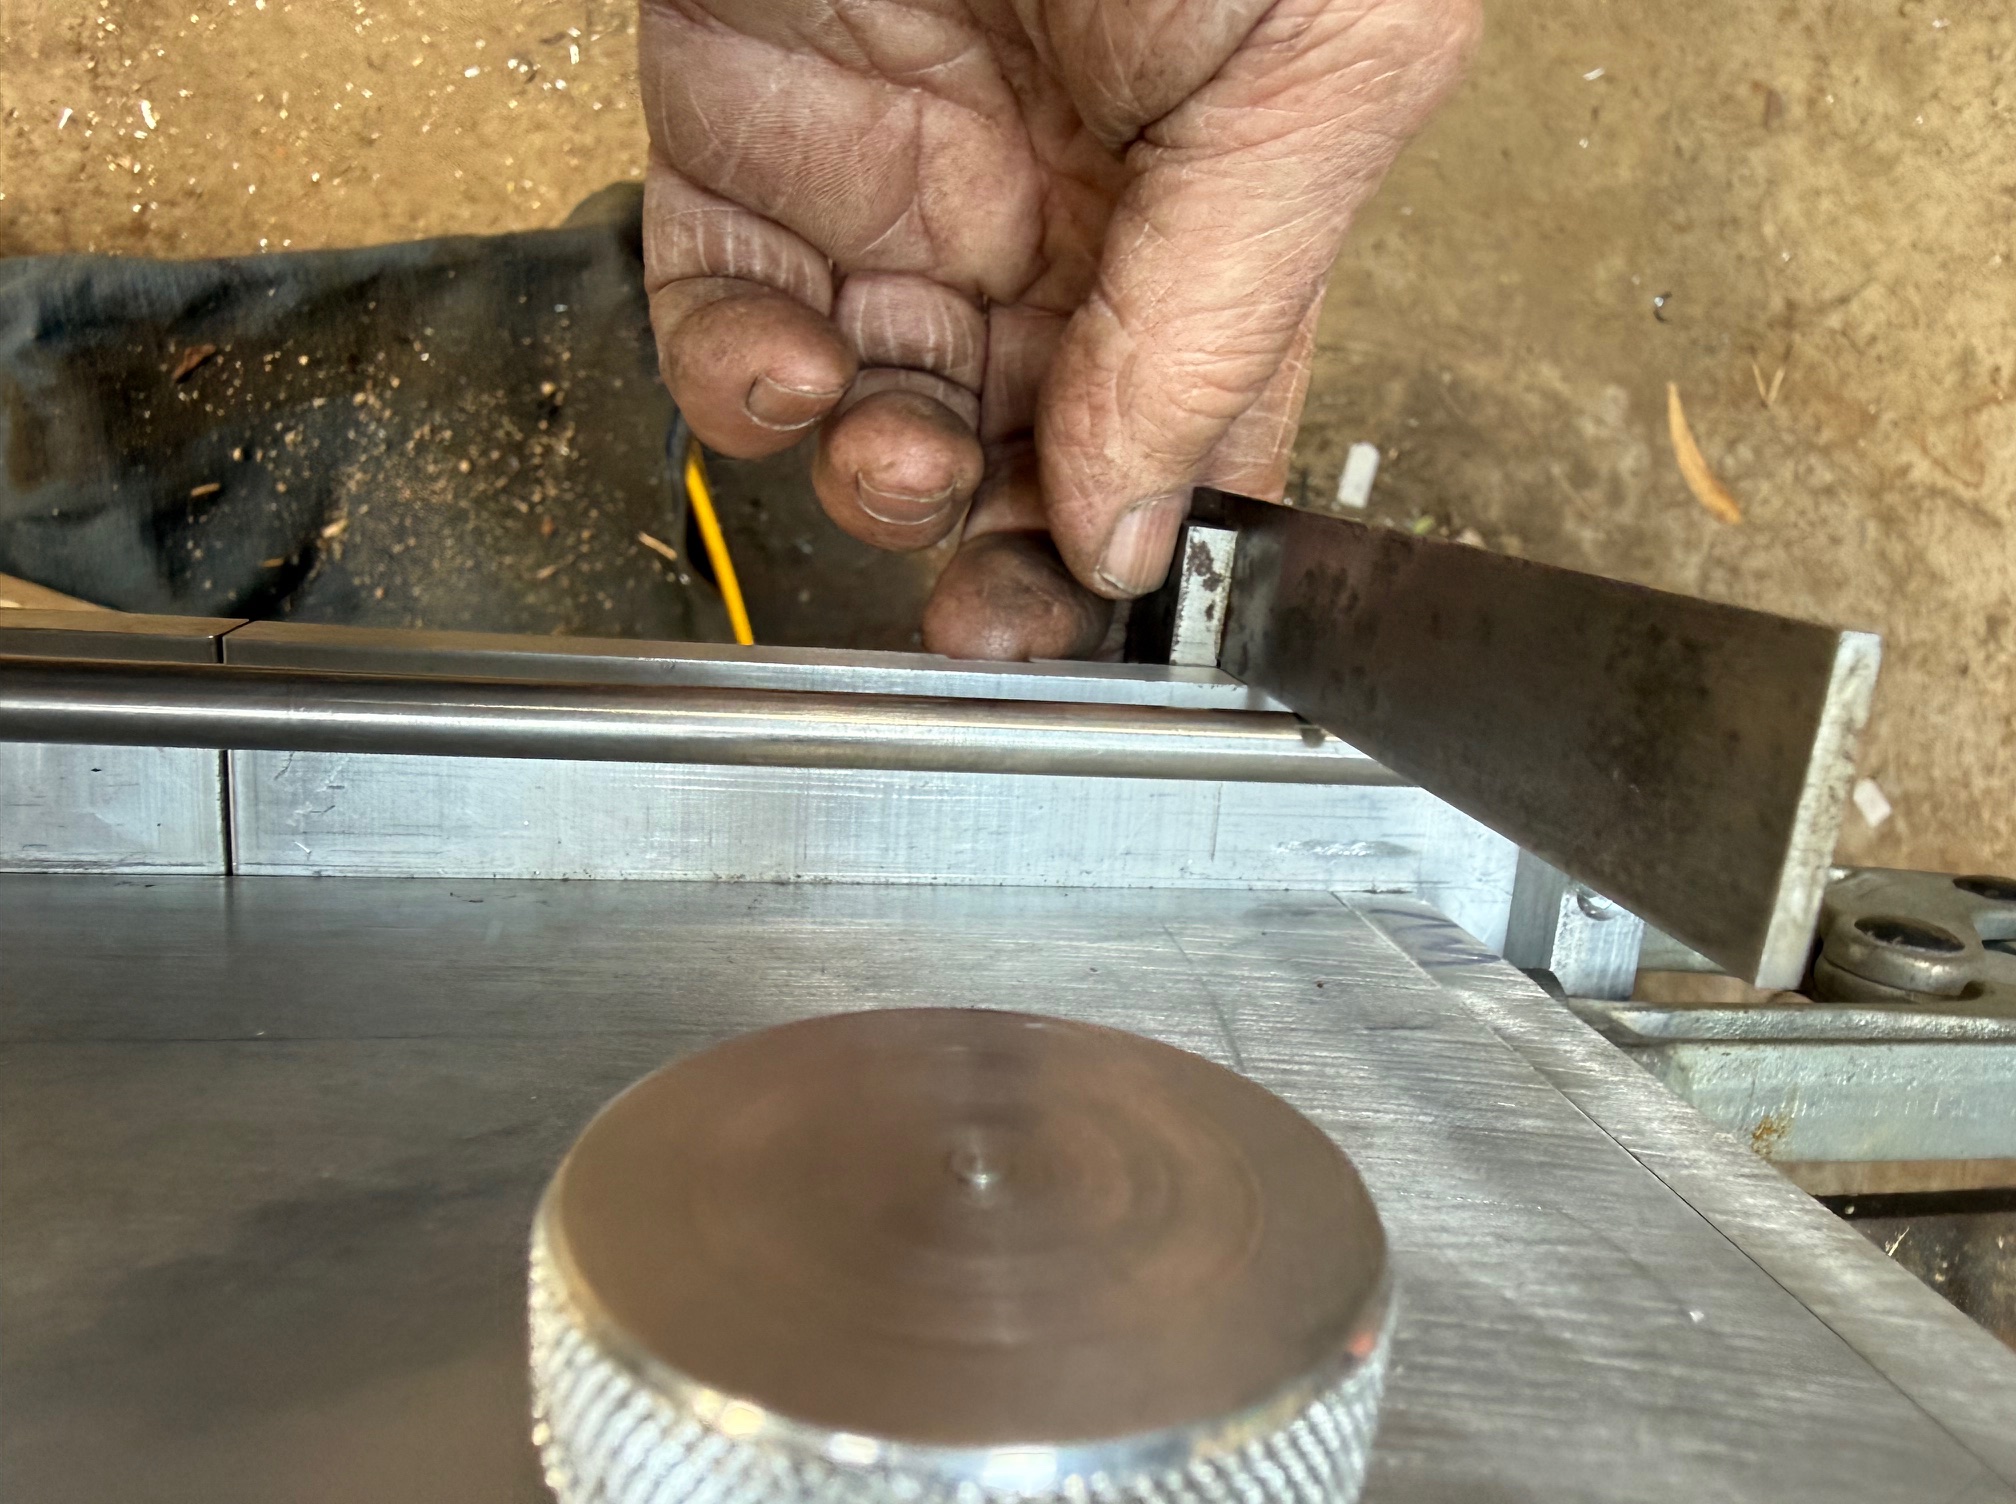
And smaller more easily handled toolmaker’s squares… here checking that the 8mm bars are parallel to and square with the table top. Incidentally, I found that 8mm rods recovered from obsolete computer printers are more accurately ground than purchased ground rod from Asia. Unfortunately, in this step I discovered that although the top is accurately square with the edges, the bottom of the top piece is not. I had machined the top surface of the top, but not the bottom surface. Looks like I will have to take it apart (again again) to machine the bottom surface. I am aware that some of the fasteners underneath are very close to breaking through the top surface, but that happens the complication will just have to be faced.
Yes, metal working is dirty. But satisfying.
Next. To make the blocks which attach to those bars, and which hold the main fence. Again, accuracy is crucial. The main fence will be bolted to those blocks, and when the positioning has been set and secured with bolts, and measured, tightly fitting pins will be inserted, so the parts can be disassembled and reassembled accurately.
