machines which I have made, am making, or intend to make, and some other stuff. If you find this site interesting, please leave a comment. I read every comment and respond to most. n.b. There is a list of my first 800 posts in my post of 17 June 2021, titled "800 Posts"
Bellerophon -5
by John
A picture tells a thousand words…but I might add a few along the way. This is the next step in making the hull of HMS Bellerophon, 3rd rate ship of the line, launched 1787. 1 year after Sydney was settled by the British and 10 years before the launch of USS Constitution.
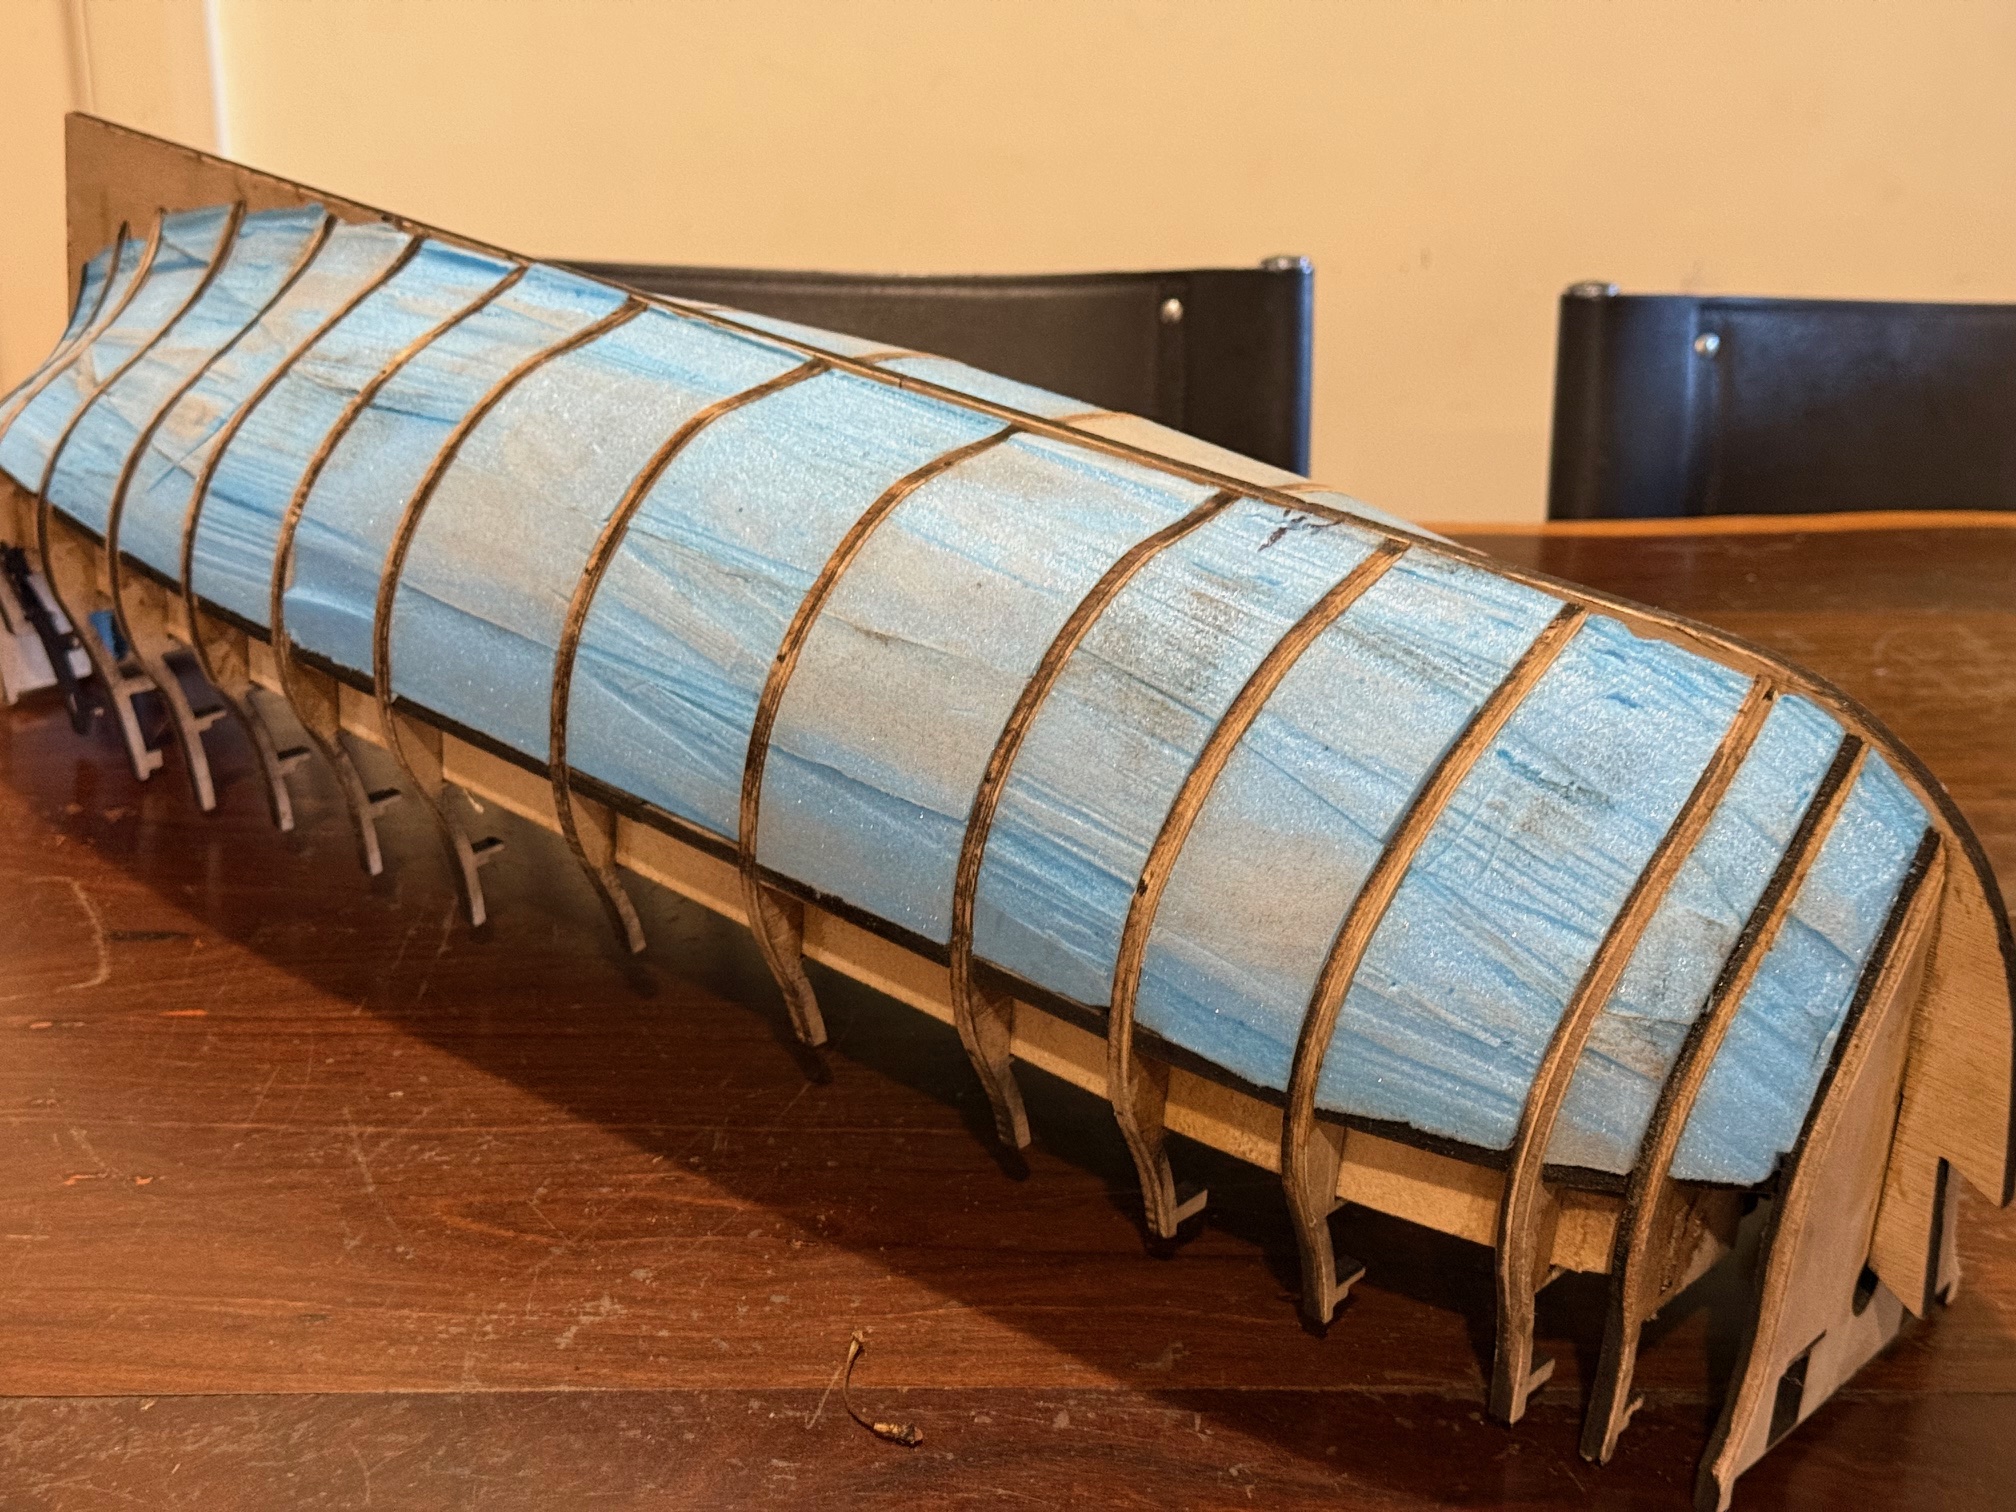
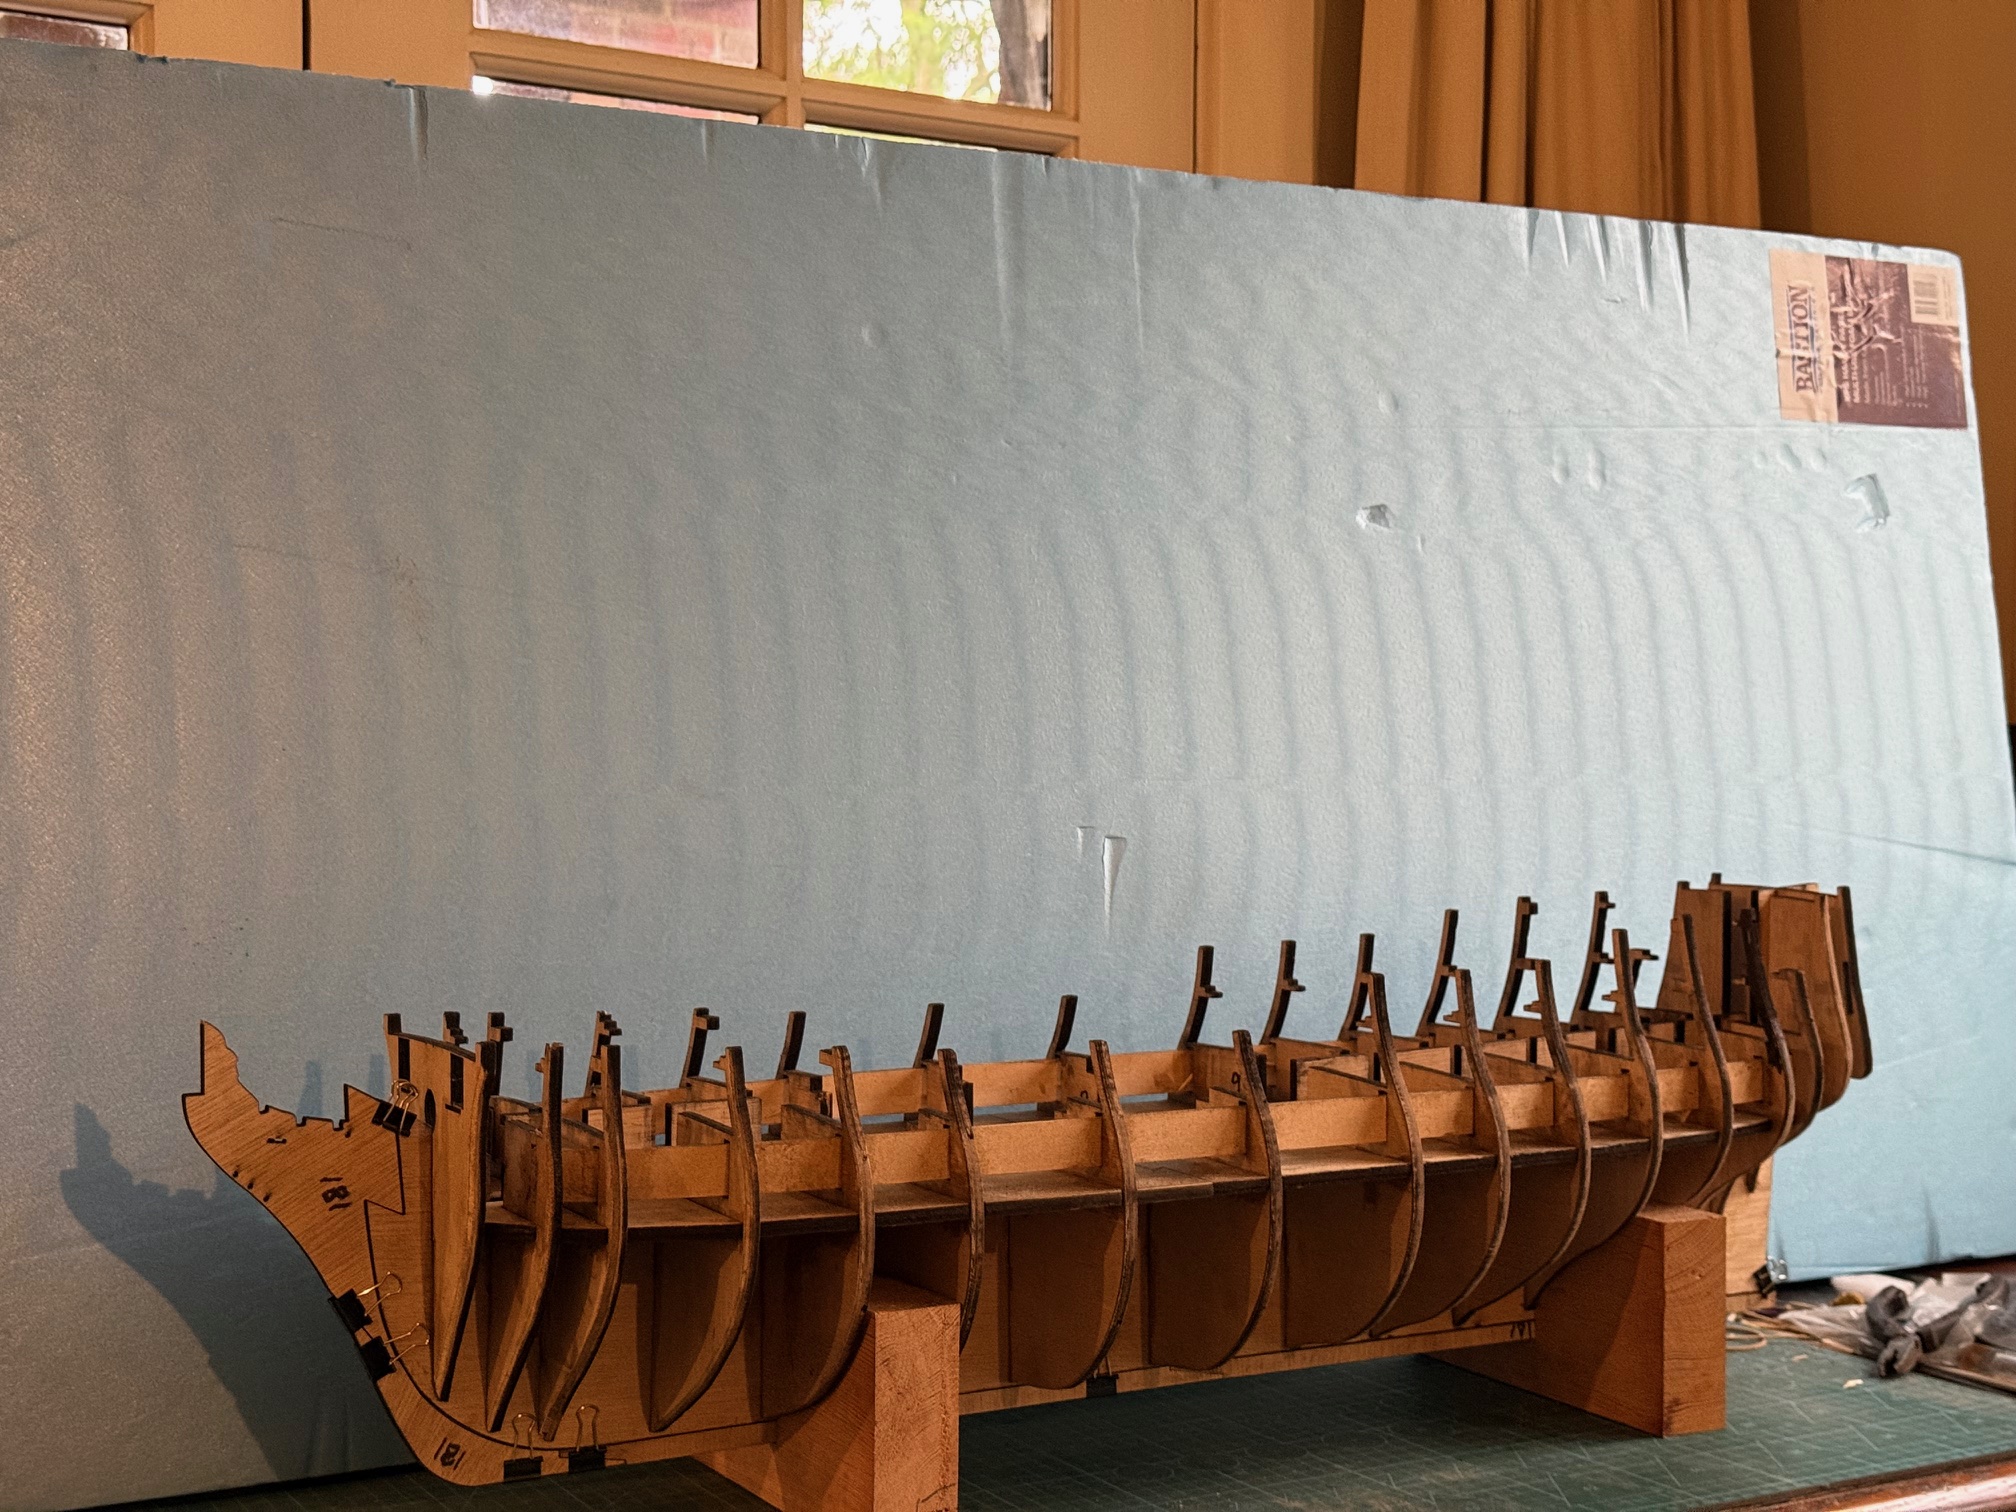
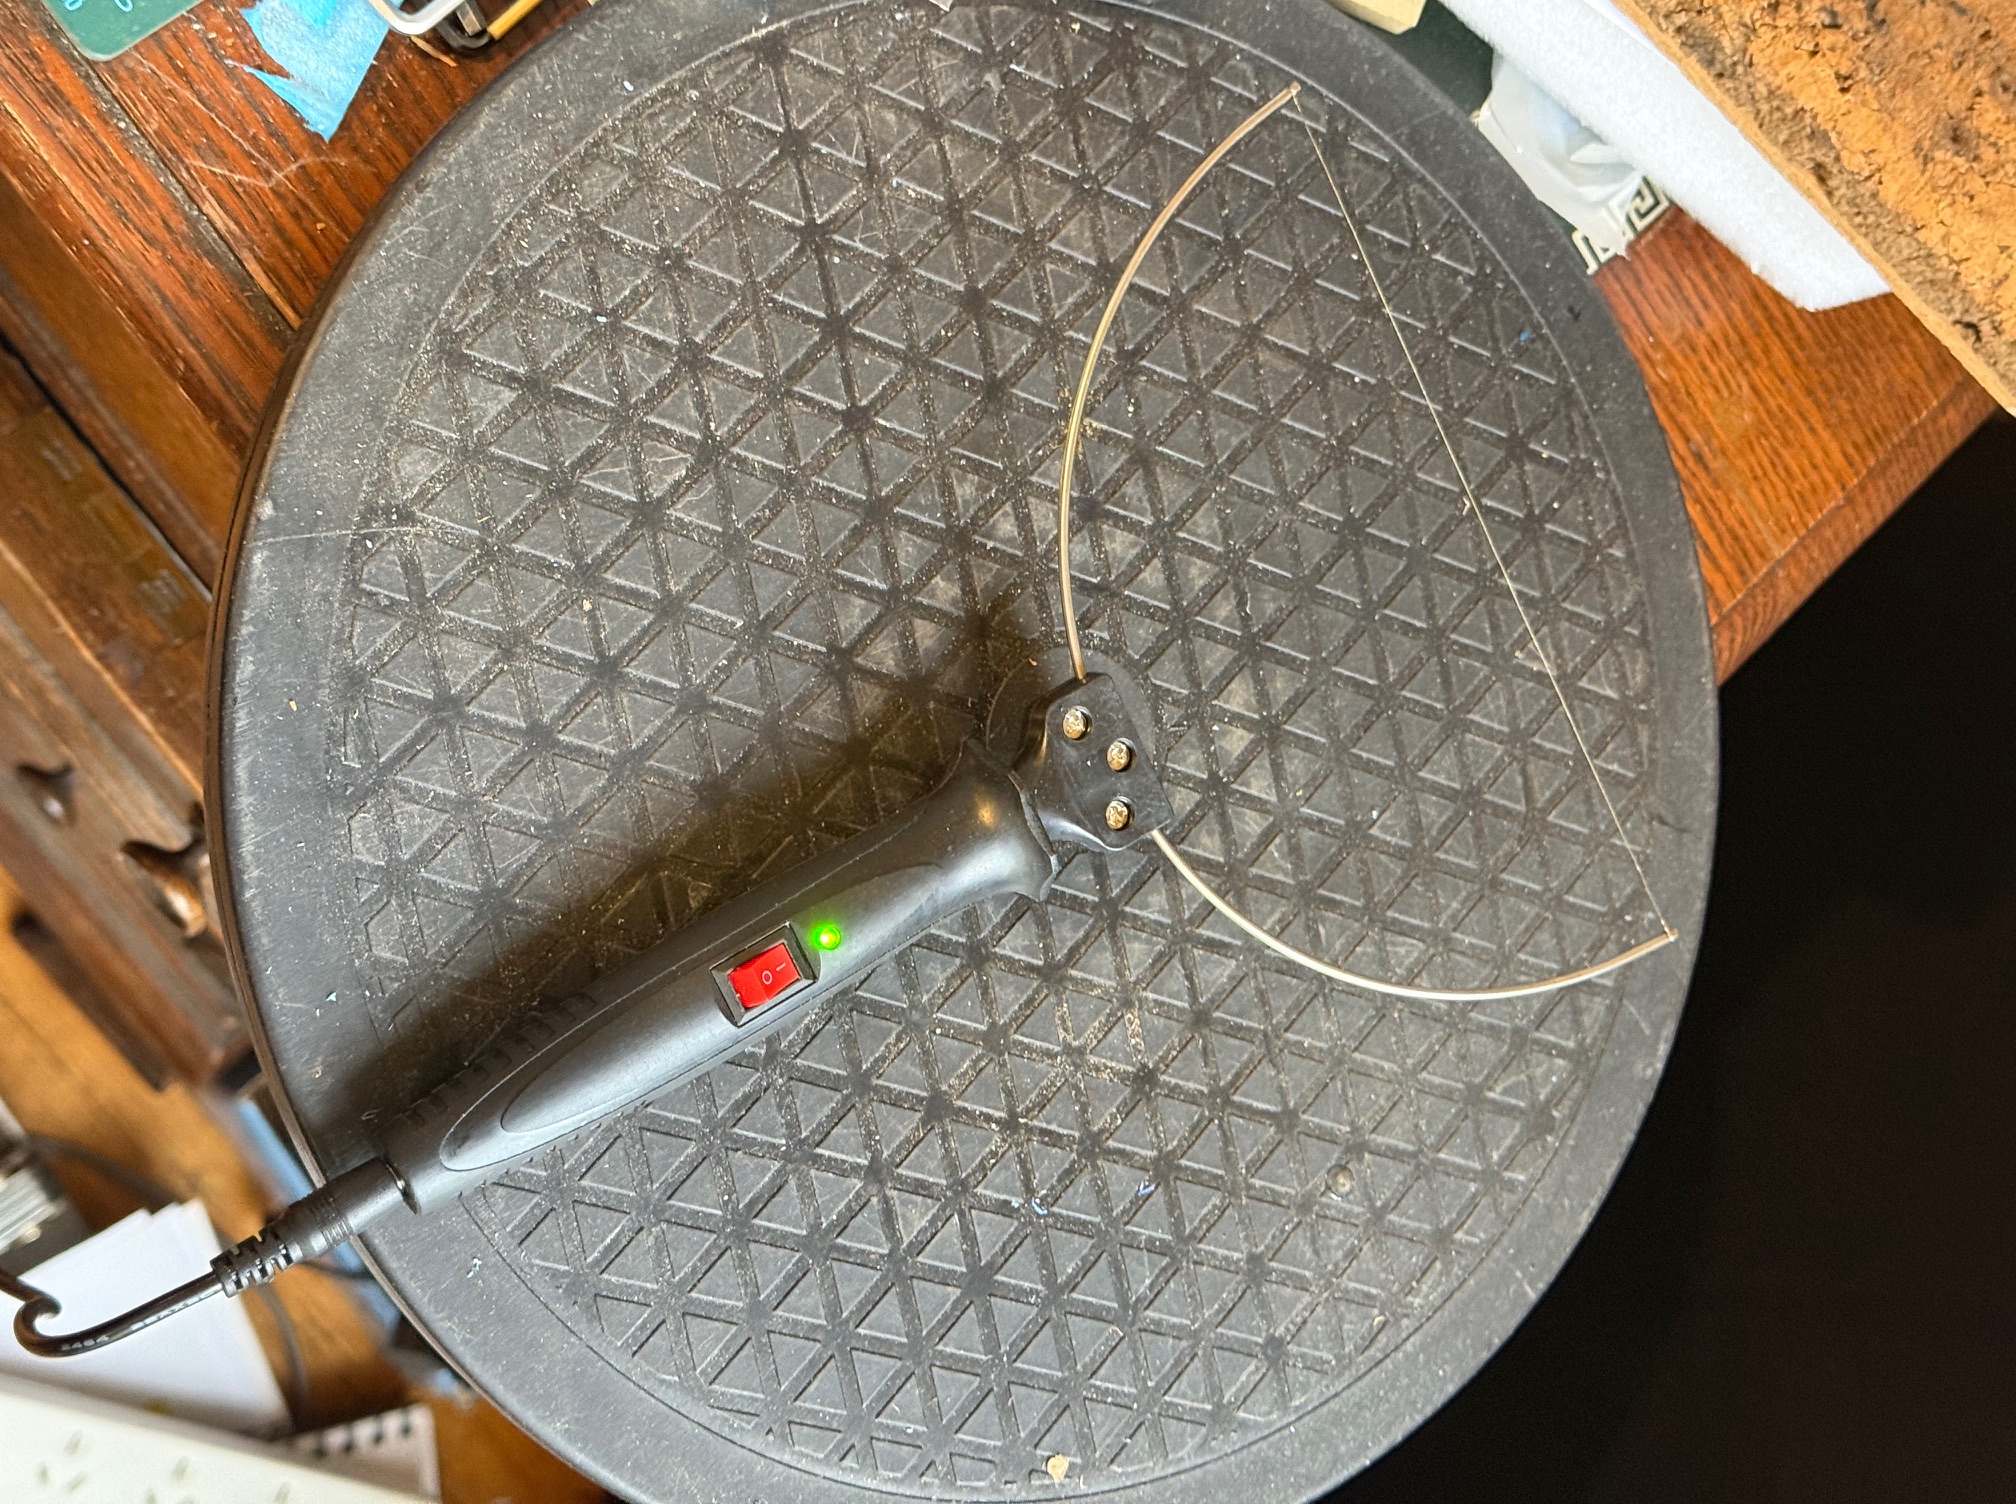
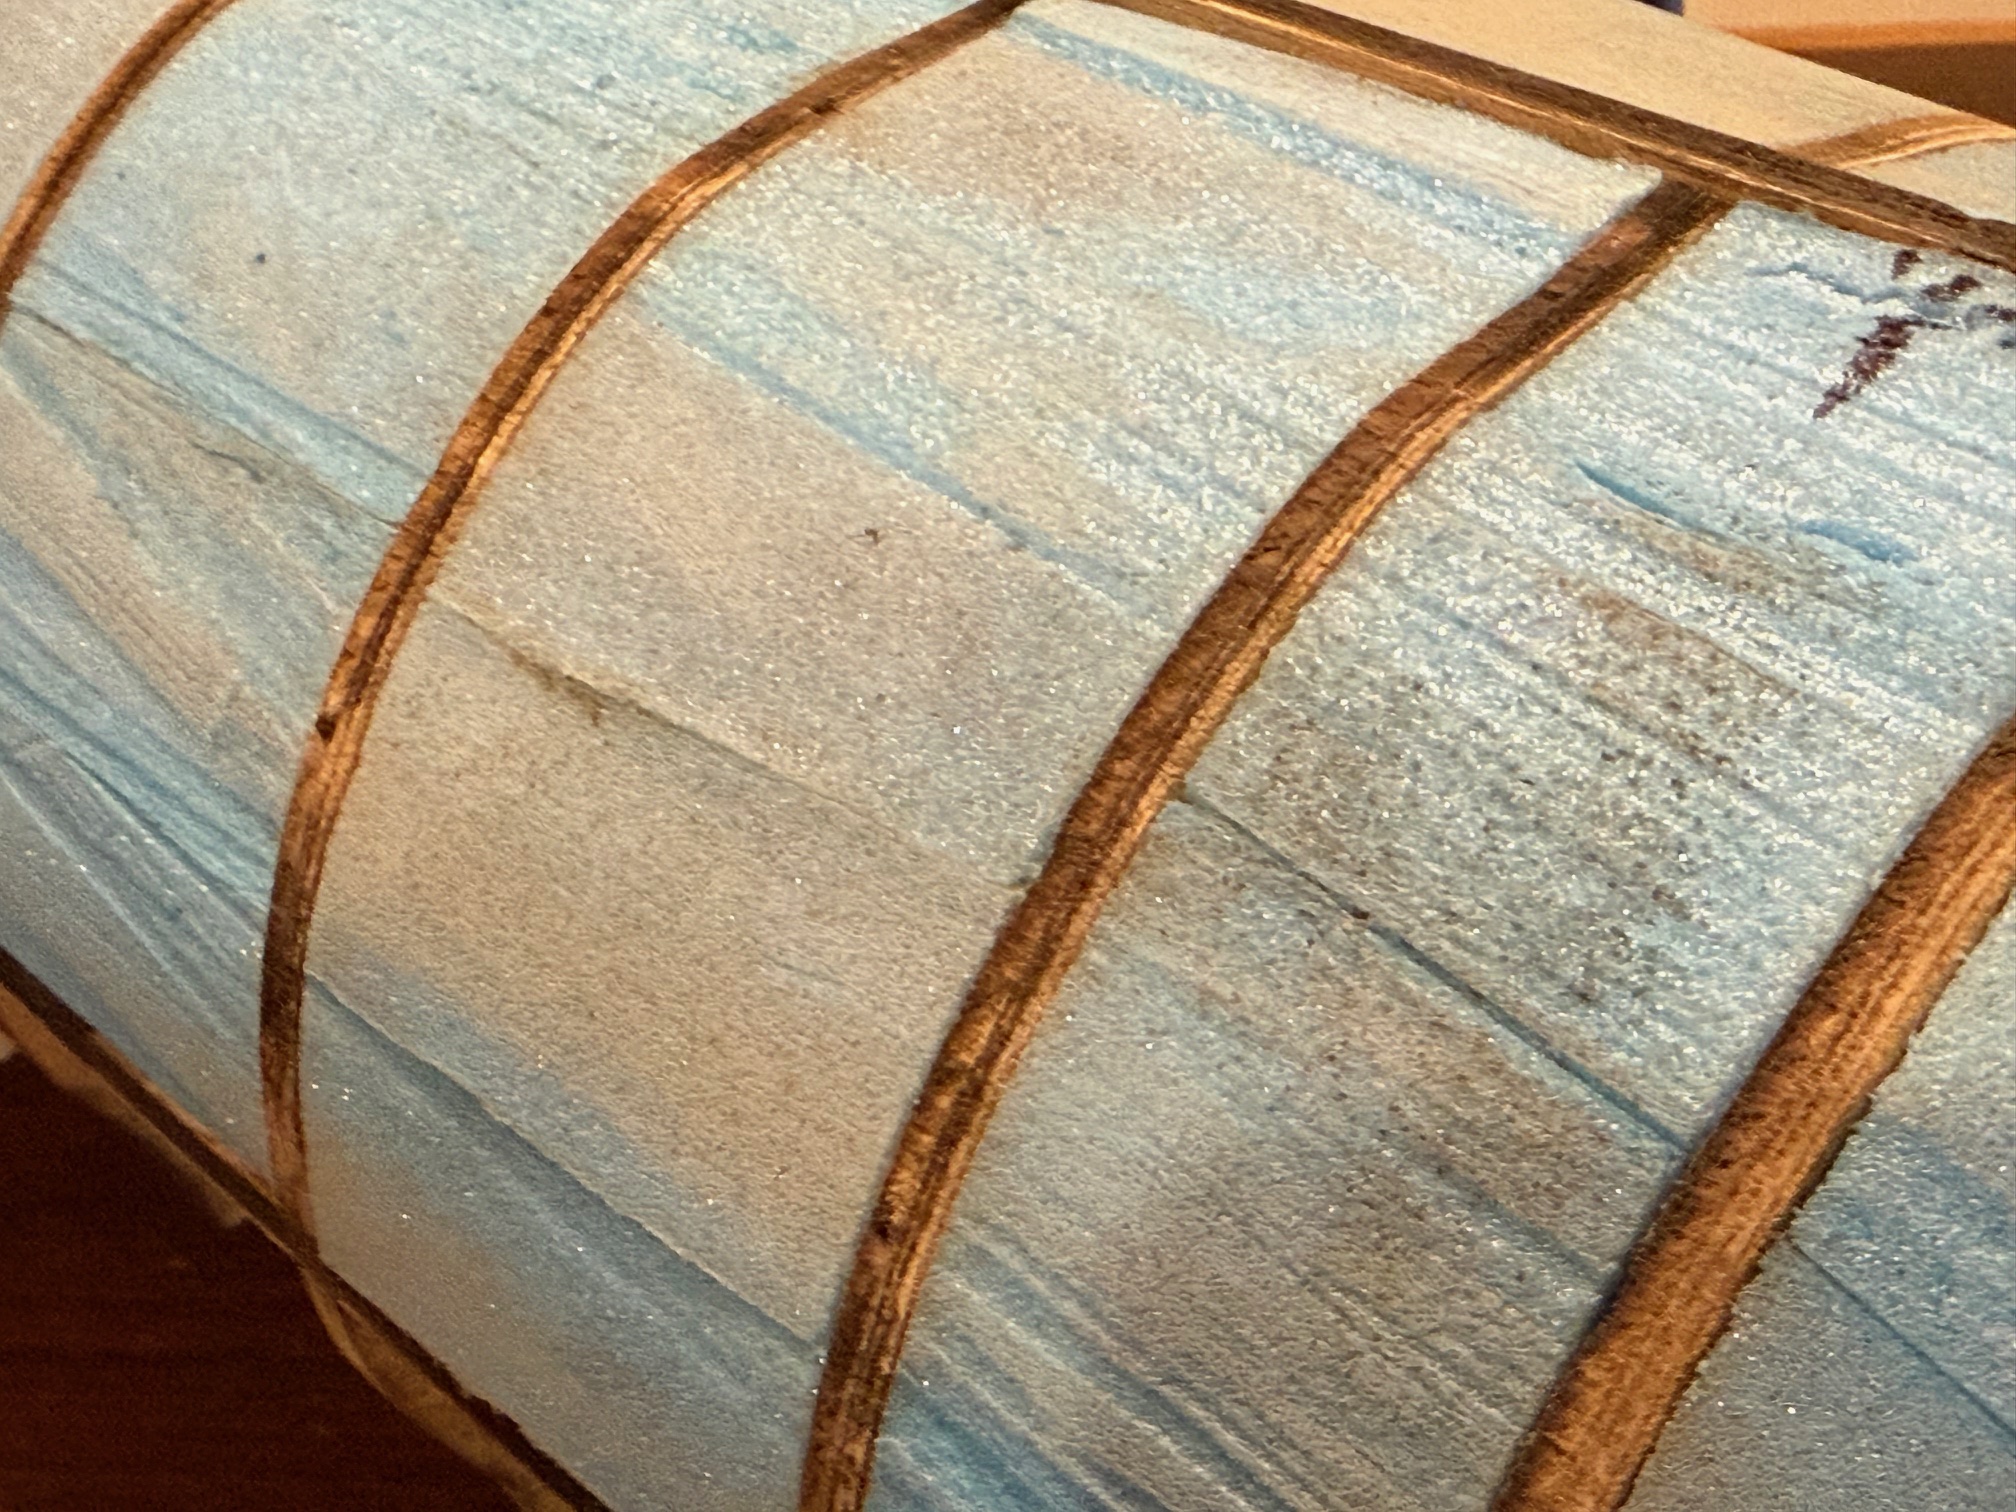
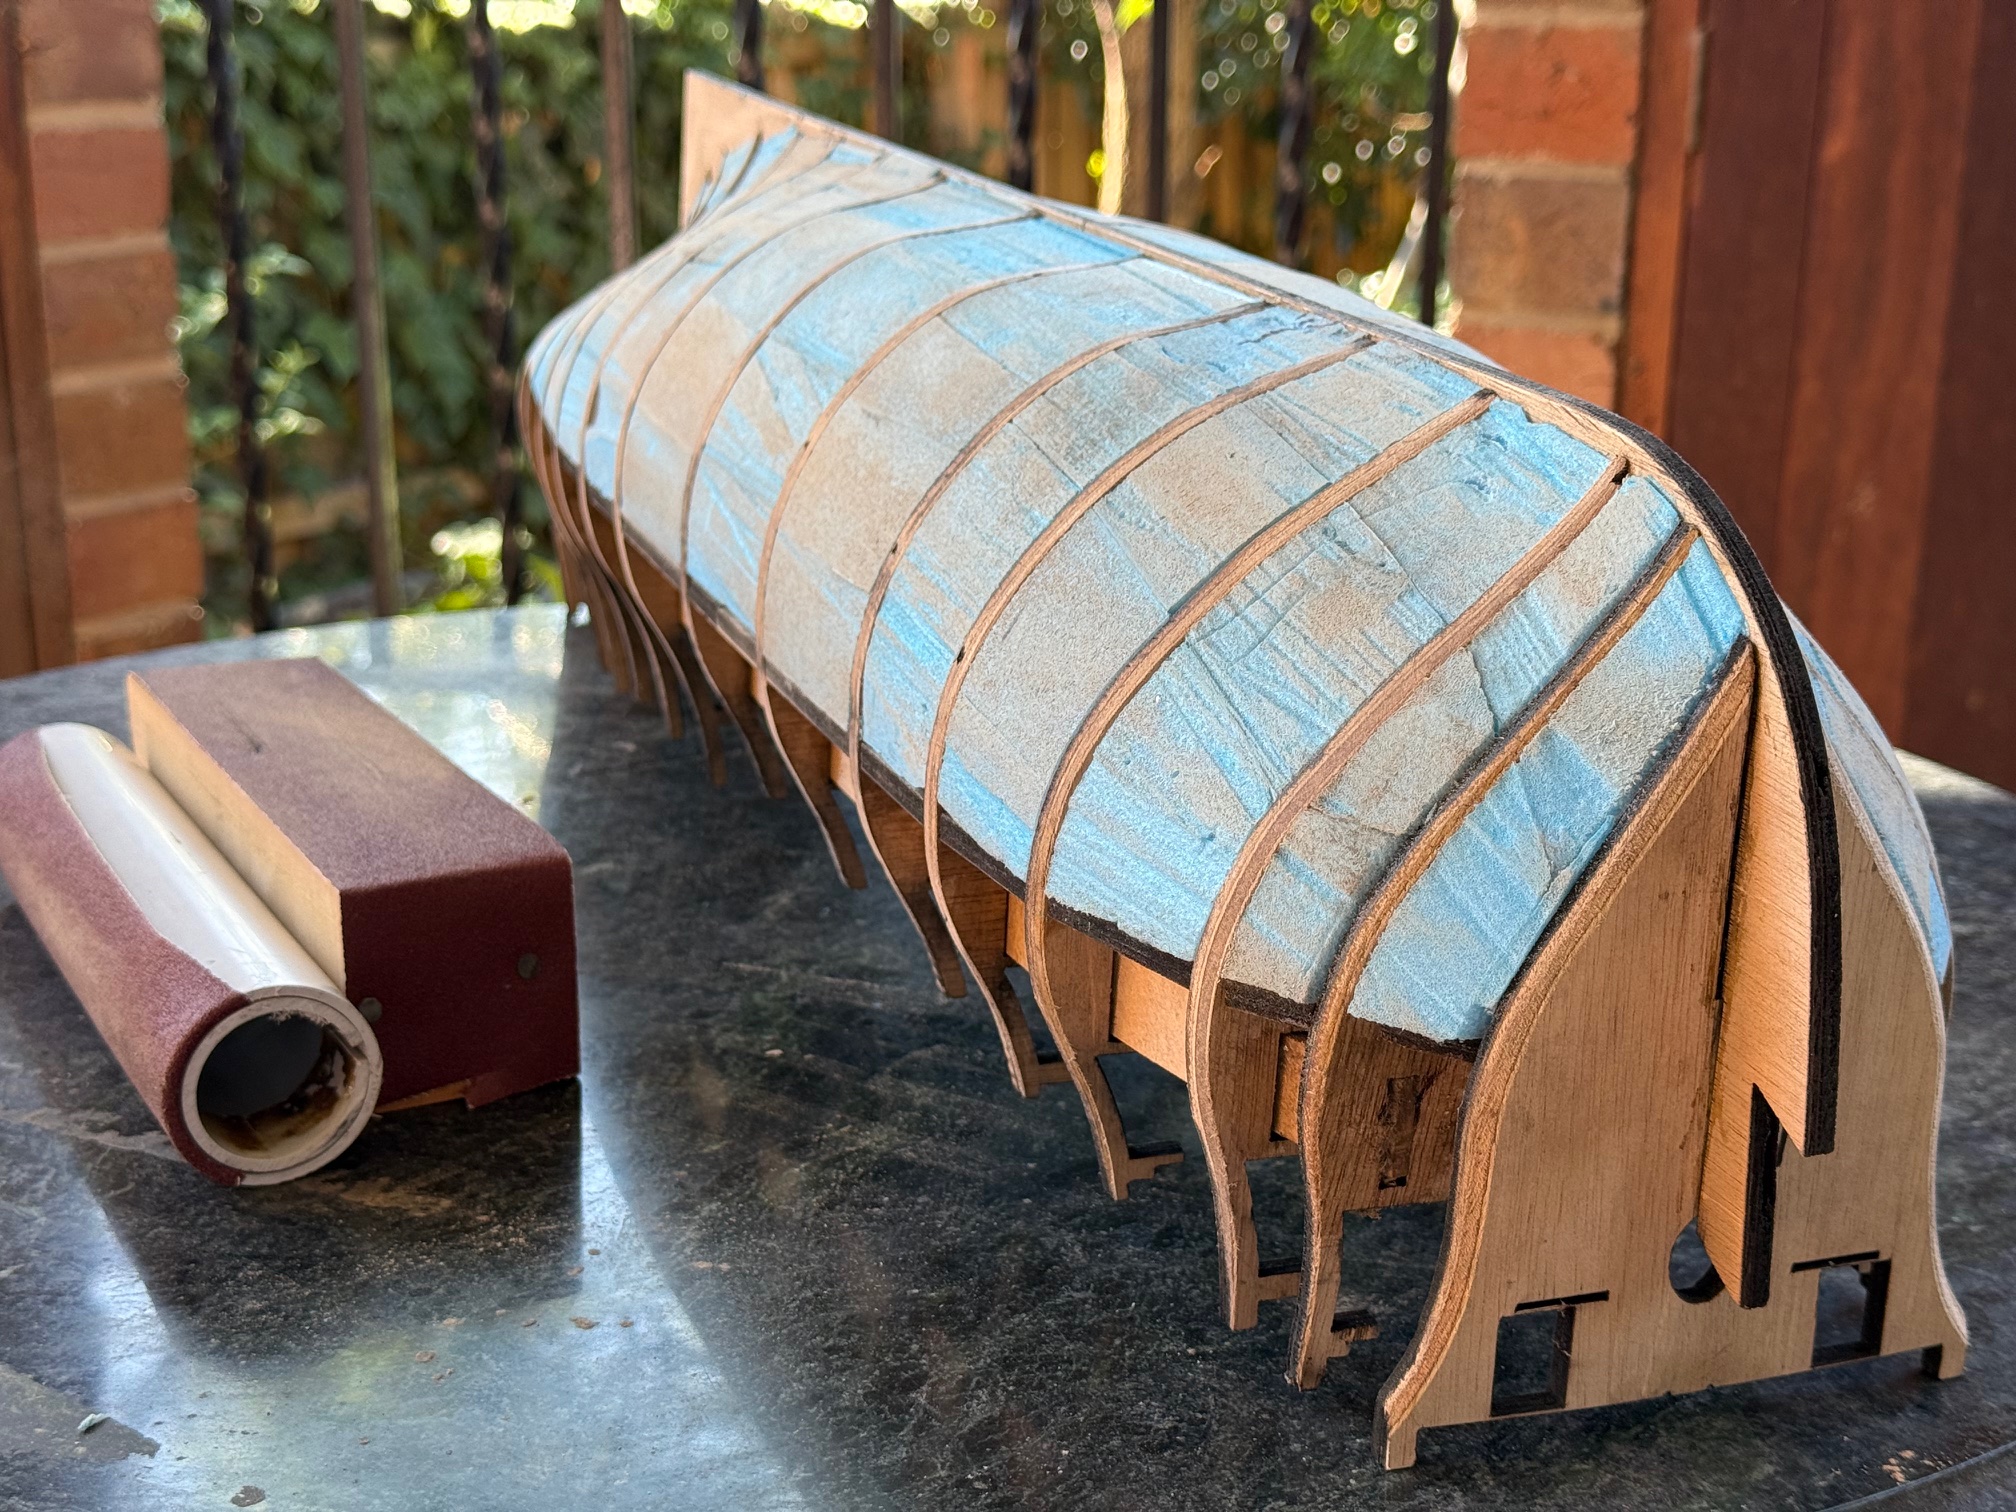
I decided to fill the spaces between the bulkheads with balsa wood, because it would assist shaping the later planking particularly at the bow and the transom, and also because some of the gaps were largish, up to 60mm. But when I tried to find the balsa stand at the hardware store, where it had always been, there was none. Just a few sticks of “plantation grown paulonia”. The paulonia was quite light, and looked a bit like balsa, but I had no experience with it, And there was none in the sizes I wanted, just piddly little sizes. So I thought of trying the toys and hobbies store and disconsolately wandered towards the exit through the builder’s timbers aisle. And spotted these blue sheets.“EPS. Extruded polystyrene. High level of incompressibility”. So I bought a sheet to try. (asked the AI first whether it would be suitable for the job, and got the thumbs up”. Much less expensive than I had expected for balsa. Only $AUD20. Incredibly light. And I could not dent it with my thumb. Here forming backdrop to my model. Incidentally the prow and keel are just sitting there for interest; not yet glued. Despite the written instructions, I was advised that it is best to finish the bulkhead sanding before glueing those bits to the frame. So I had rough sanded the bulkhead bevels. And started to cut the polystyrene XPS. On my bandsaw I cut strips of the 30mm thick sheet, to the thickness between the bulkheads, which varied from 15mm to 60mm. It cuts very easily with a woodworking blade. 3 pieces were required to completely fill each space. I asked the AI which glue was prefered for the job, and it gave me a list of 3 or 4 types, but recommended common old PVA, which I happily used.After roughly overfilling the space, I cut the surface using the bulkhead contours as a guide to the hot wire tool, which SWMBO had purchased a year or so ago, and then totally forgotten. My inention jogged her memory, the tool was found, and worked perfectly. Heats to cutting temperature in about 10 seconds. I slowly dragged it through the glued in blocks, using the adjacent bulkheads as guides. If I pulled it through too quickly the wire formed a slight arc from the straight wire, and tended to cut a scalloped concavity which was not wanted.Small concavities, like the ones below the black mark at top, will be filled later with bog, to bring the level up to the underside of the planks. After this, the bulkheads will have further sanding… The shallow lines are where I was dragging the wire too quickly.Apart from a little bit of bogging and sanding, and some bow and stern pieces of XPS to be inserted similarly, this hull is almost ready for planking. My sanders are pictured. I used 280 grit initially, but it was too slow, so I graduated to 120 grit, using a light pressure stroke.
Oh. And a word of advice if you are planning to do this. Do NOT install a phone protector screen afterwards irrespective of how carefully you clean it. Have a shower and hair wash first. Don’t ask me how I know.


Dust gets everywhere !! 😀
LikeLike
😒
LikeLike