
Planking Clamps
Another home made tool for model ship building.
The most difficult job and also potentially destructive, in model ship building, is attaching the planks on the exterior of the hull.

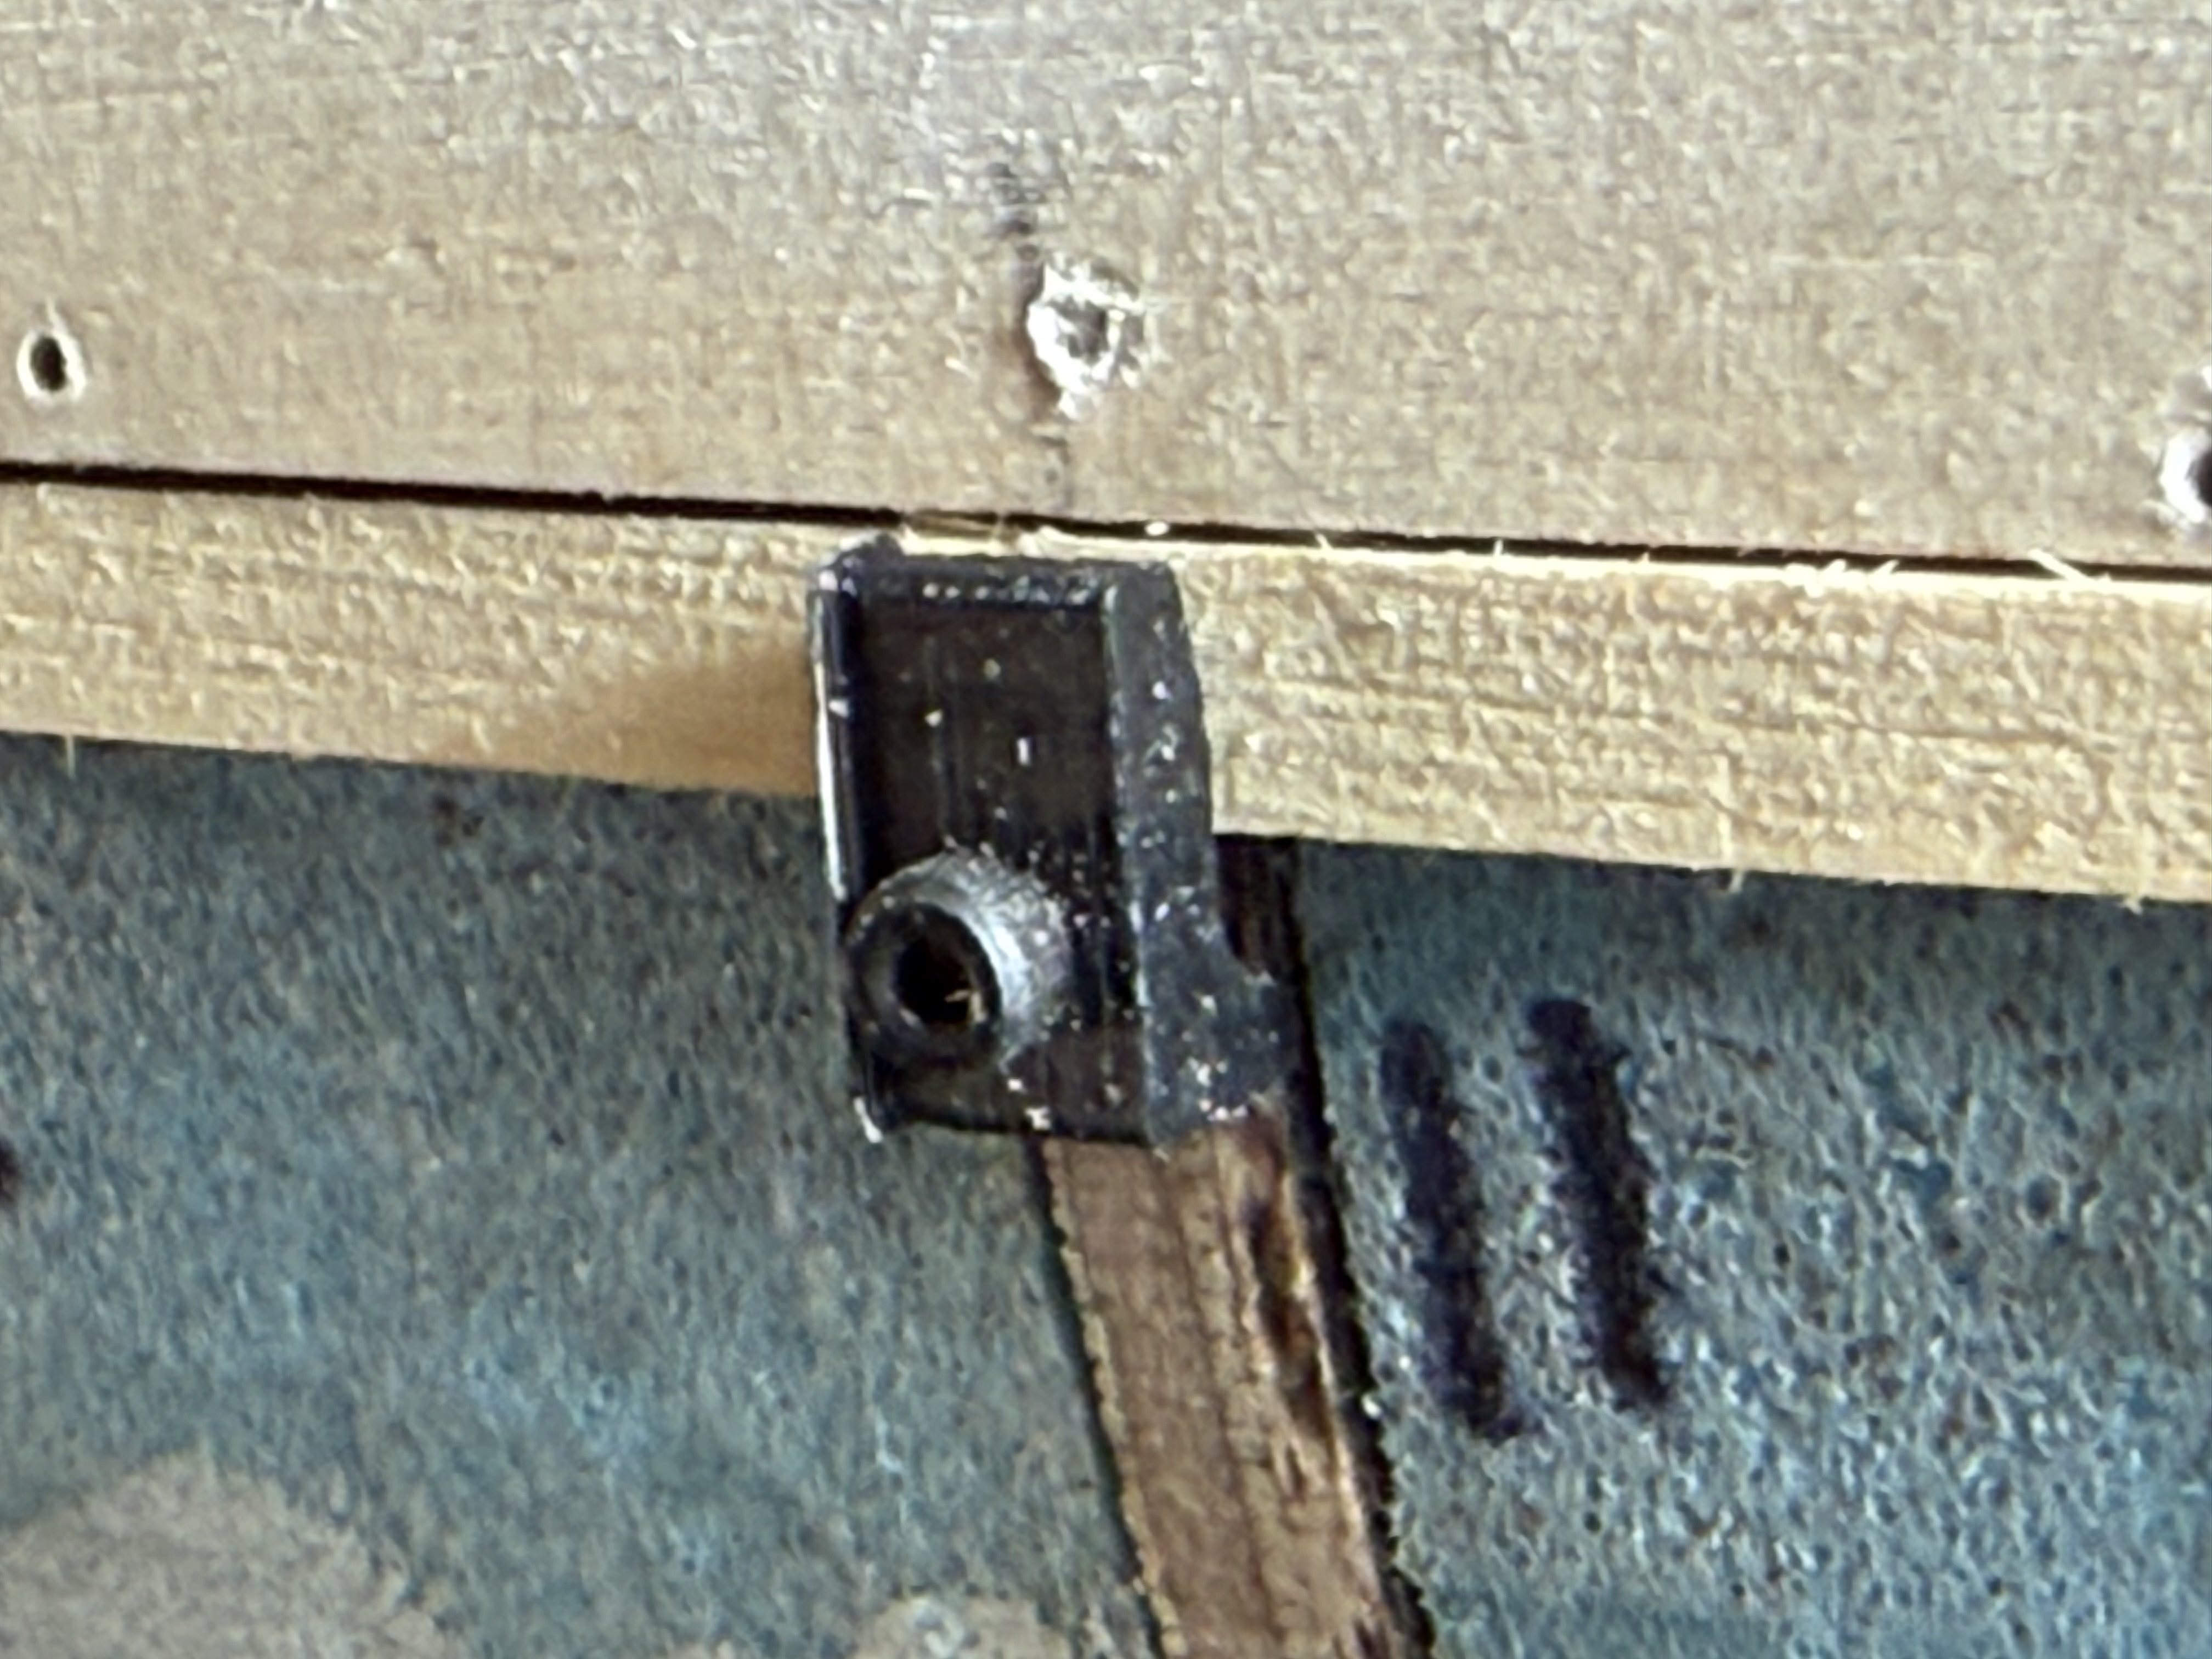
The above photo displays a less than optimal technique. Use of too thick wood, probably not soaked or steamed, use of nails, and poorly shaped planks. I wonder if it was deliberately badly done to score some reactions. Lifted from FB. The above job is salvageable, but the planks nearest the keel need to be removed and redone.
The first decision for the modeller is whether to choose single layer planking or 2 layers of planking. The original 18th century ships had a single layer of thick external planks, but for modellers this is a very demanding technique. Each plank has to be perfectly bent, edges angled, and tapered. Most model sailing ships have about 15-20 bulkheads to which the planks are fastened/glued. The original ships and models constructed to original plans, have triple or quadruple the number of frames to which the planks are attached. Models are sometimes made to similar specifications, but the technique is very consuming of wood, time, and expertise.
I was originally planning to use a single layer of planking, but as I gradually understood what would be required, I have lapsed back to the 2 layer method of model planking.
The first layer uses thicker material (eg 1.5mm) and determines the final shape and lines of the hull. Mistakes can be fixed by sanding, and using filler, because the gaps and filler will not be seen under the final layer of planks, which are only 0.5mm thick. The first layer can be used to practise the methods of shaping and attaching the planks and yes, fixing the mistakes. But there is the issue of modeller’s pride, and most modellers, including me, try to improve planking skills by making an impressive first layer.
So I have chosen wood for the first layer which is very fine grained, very flexible, and capable of being bent in 2 axes, plus twists if required. That timber for me is Huon pine. A very slow growing, fine grained, and increasingly rare timber. Only found in Tasmania, Australia, as far as I know. I was fortunate to be given a plank of the timber by a friend. And I have been cutting it into 5mm x 40mm strips, 900m long. Then cutting off 2mm x 5mm strips, which I then thickness to 1.55mm using my drum sander.
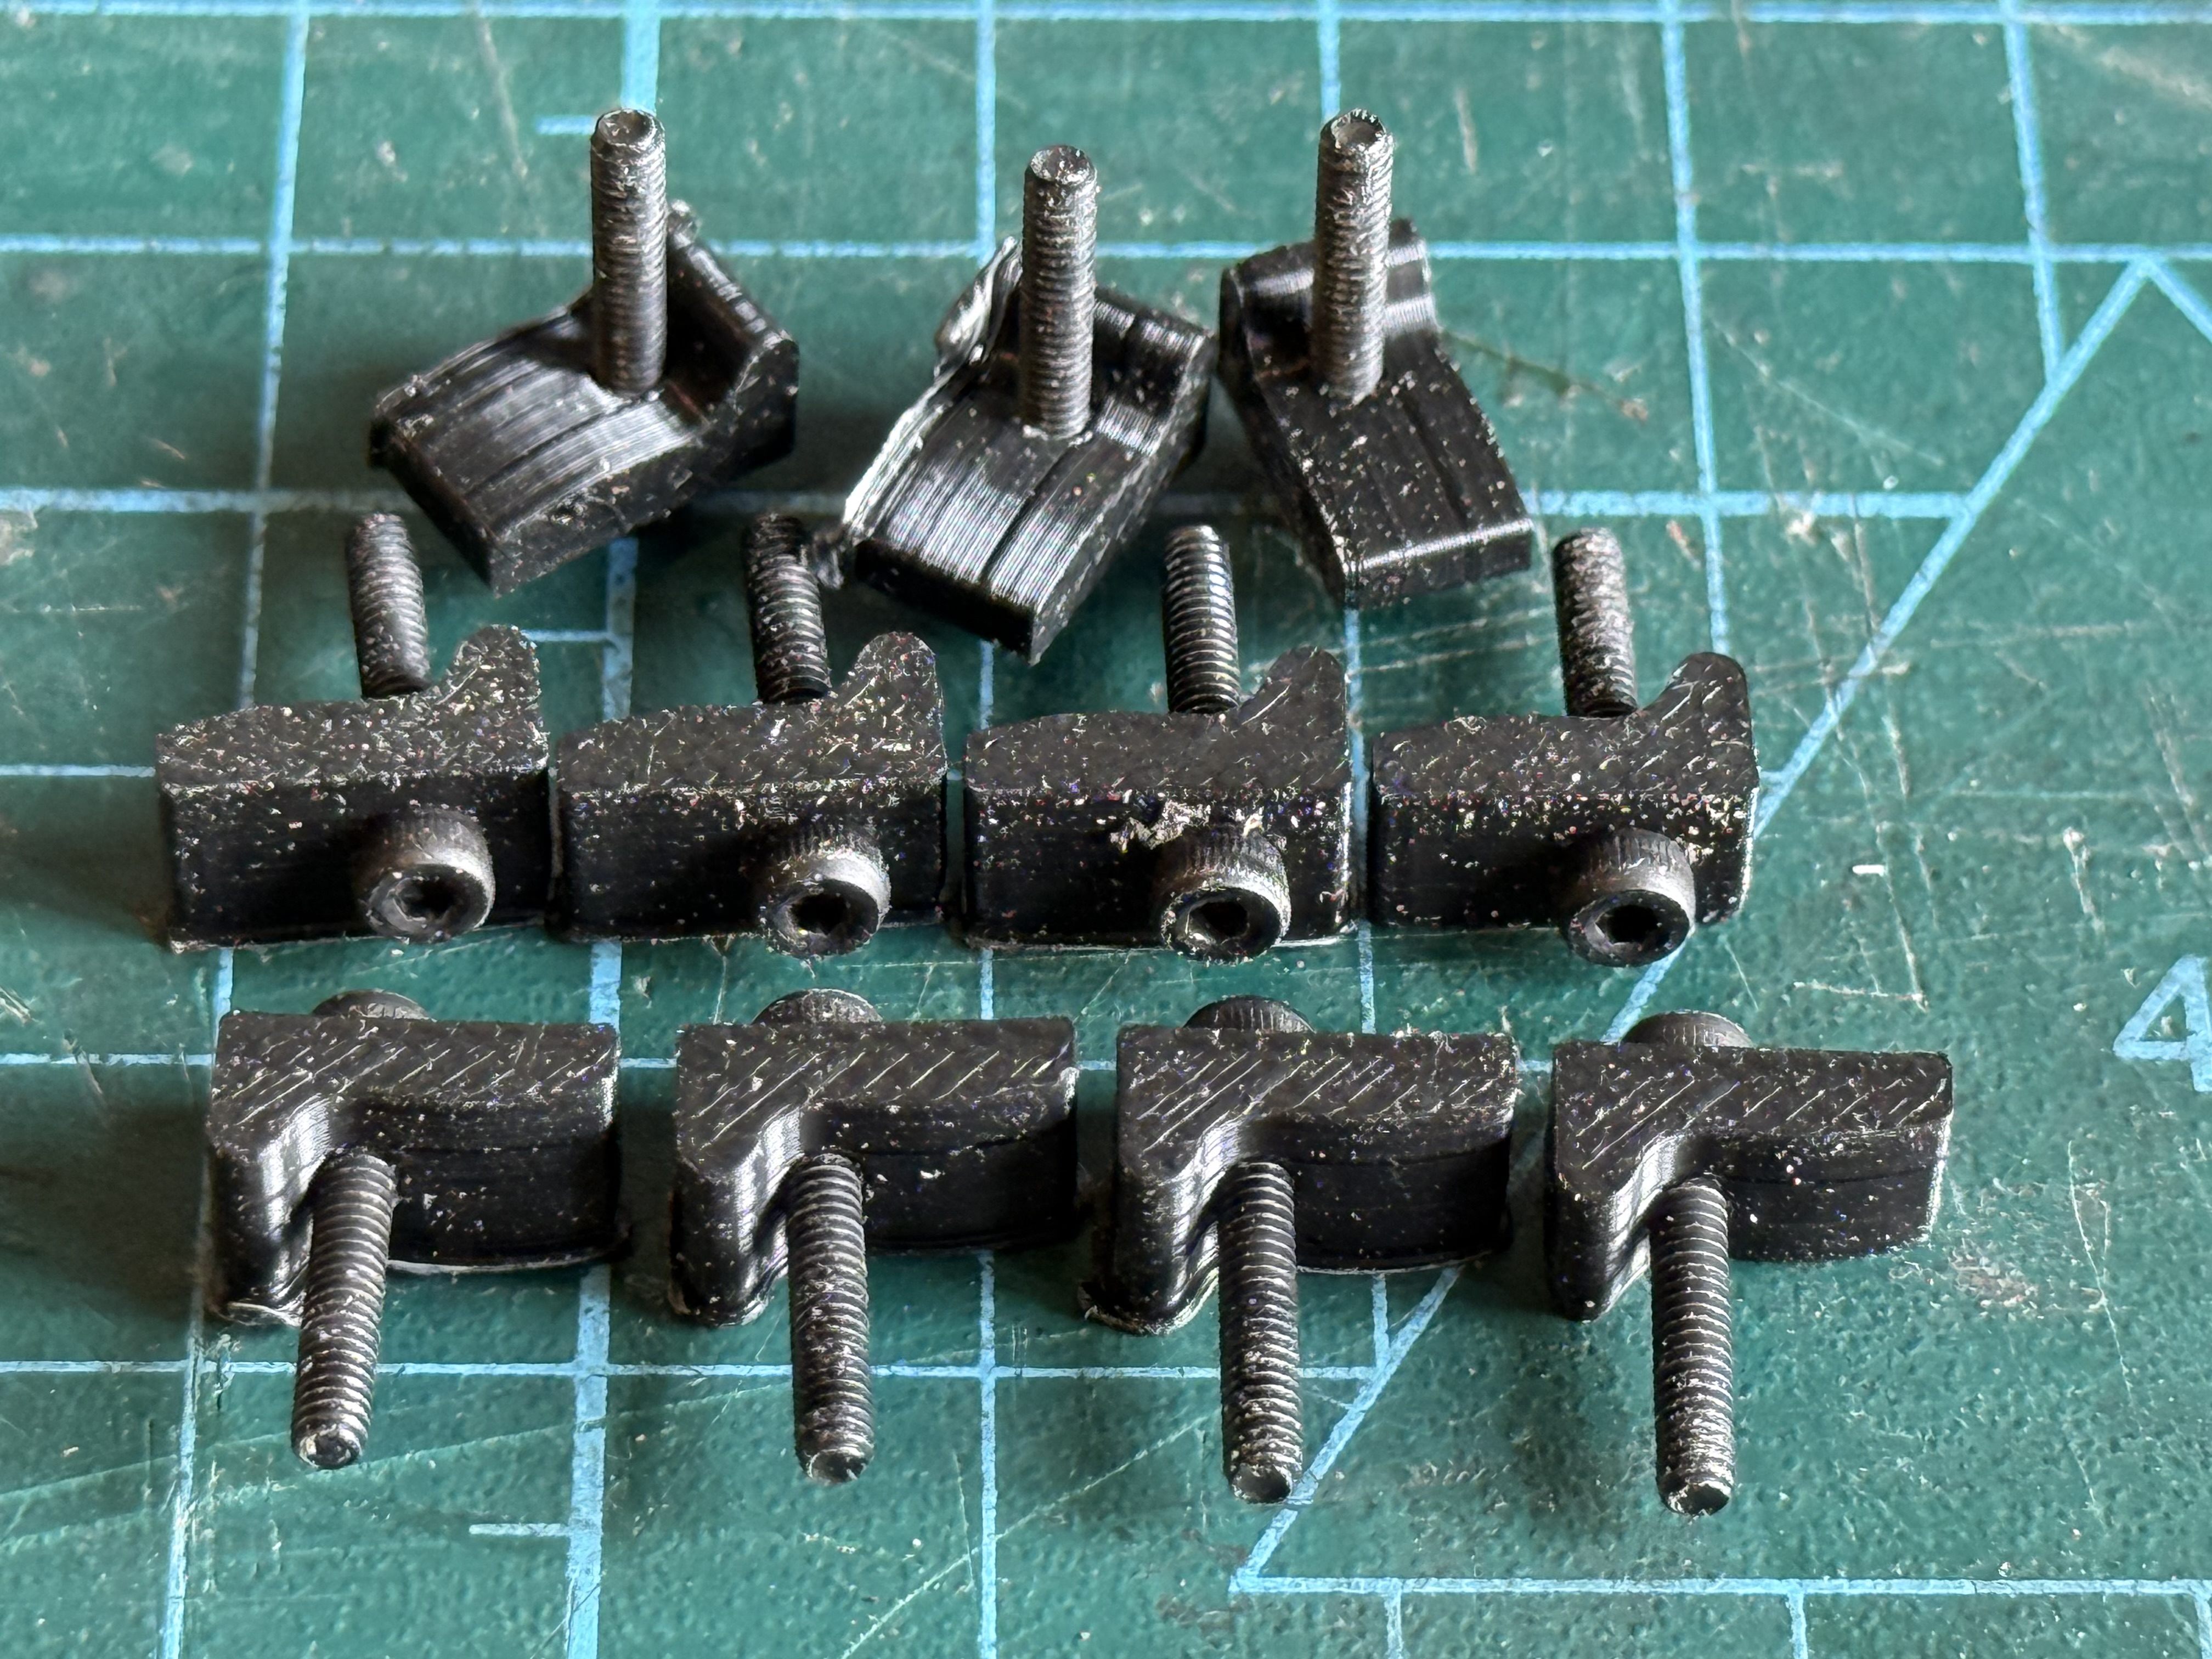
The next issue was how to attach the strips to the bulkheads of Bellerophon (yeah, it probably is going to be Bellerophon, as much as I like the figurehead of Elephant). I will not use nails because I do not like hammering on my model ship. So glue will be the attachment method. Probably mainly PVA, but CA will be used in some situations. The strips must be held to the bulkheads until the glue sets. And that means using planking clamps. On Constitution I used rubber bands, pegs, and various clamps. On Bellerophon I decided to make some bespoke clamps specifically for 1.5mm planks, 5mm wide. I need at least 40 of them.
So I printed 40 of them, using PLA, 25% infill and 10 layers top and bottom. So far I have not broken any of the printed clamps.
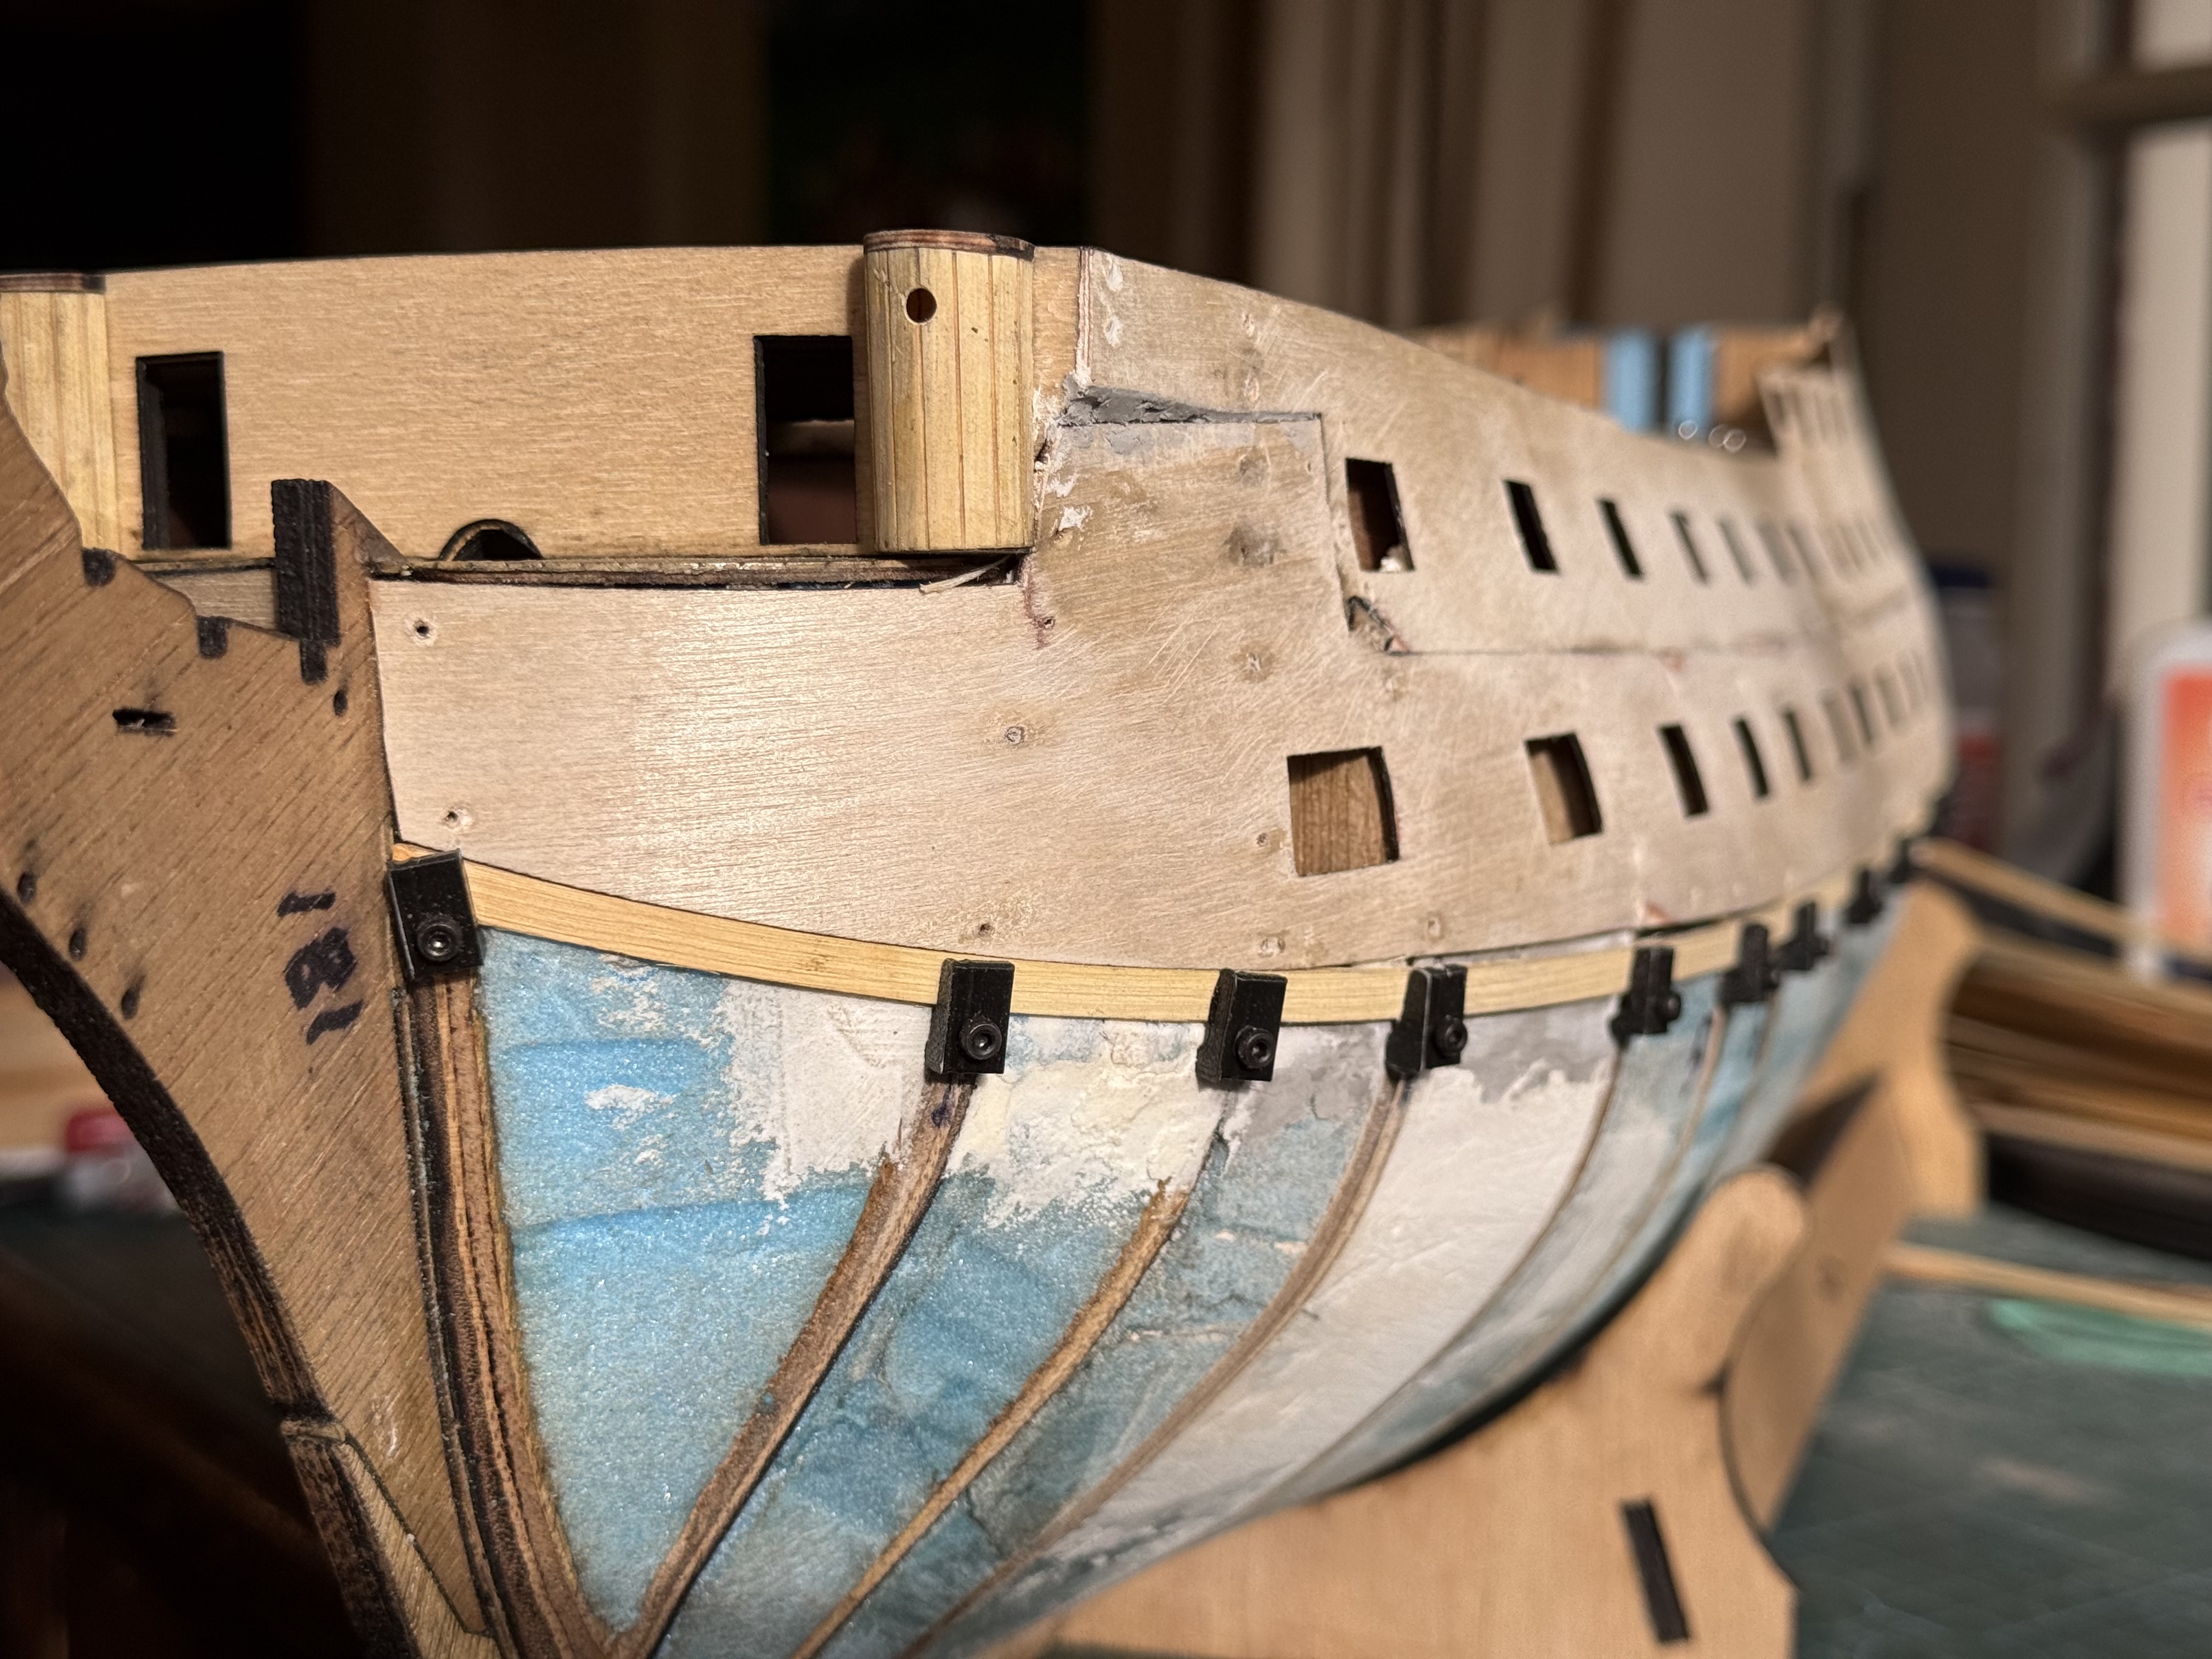
The first plank is clamped into position but not yet glued. Its partner on the port side is similarly positioned to ensure that they are mirror imaged. Gaps are of little concern because they will be filled. All of these planks, plywood, and filler will be covered with a top layer of thin planks or copper sheathing. The use of the clamps permits small alterations of position to improve the contour or curve of the planks. It looks a bit rough at this stage, but it will improve, hopefully, as the build progresses.
