johnsmachines

machines which I have made, am making, or intend to make, and some other stuff. If you find this site interesting, please leave a comment. I read every comment and respond to most. n.b. There is a list of my first 800 posts in my post of 17 June 2021, titled "800 Posts"

Tag: Armstrong

3D Printing Cannon Barrels. Constitution Masts.

A temporary diversion from finishing the mini mill, and the Constitution model. Just experimenting with 3d printing of cannon barrels.

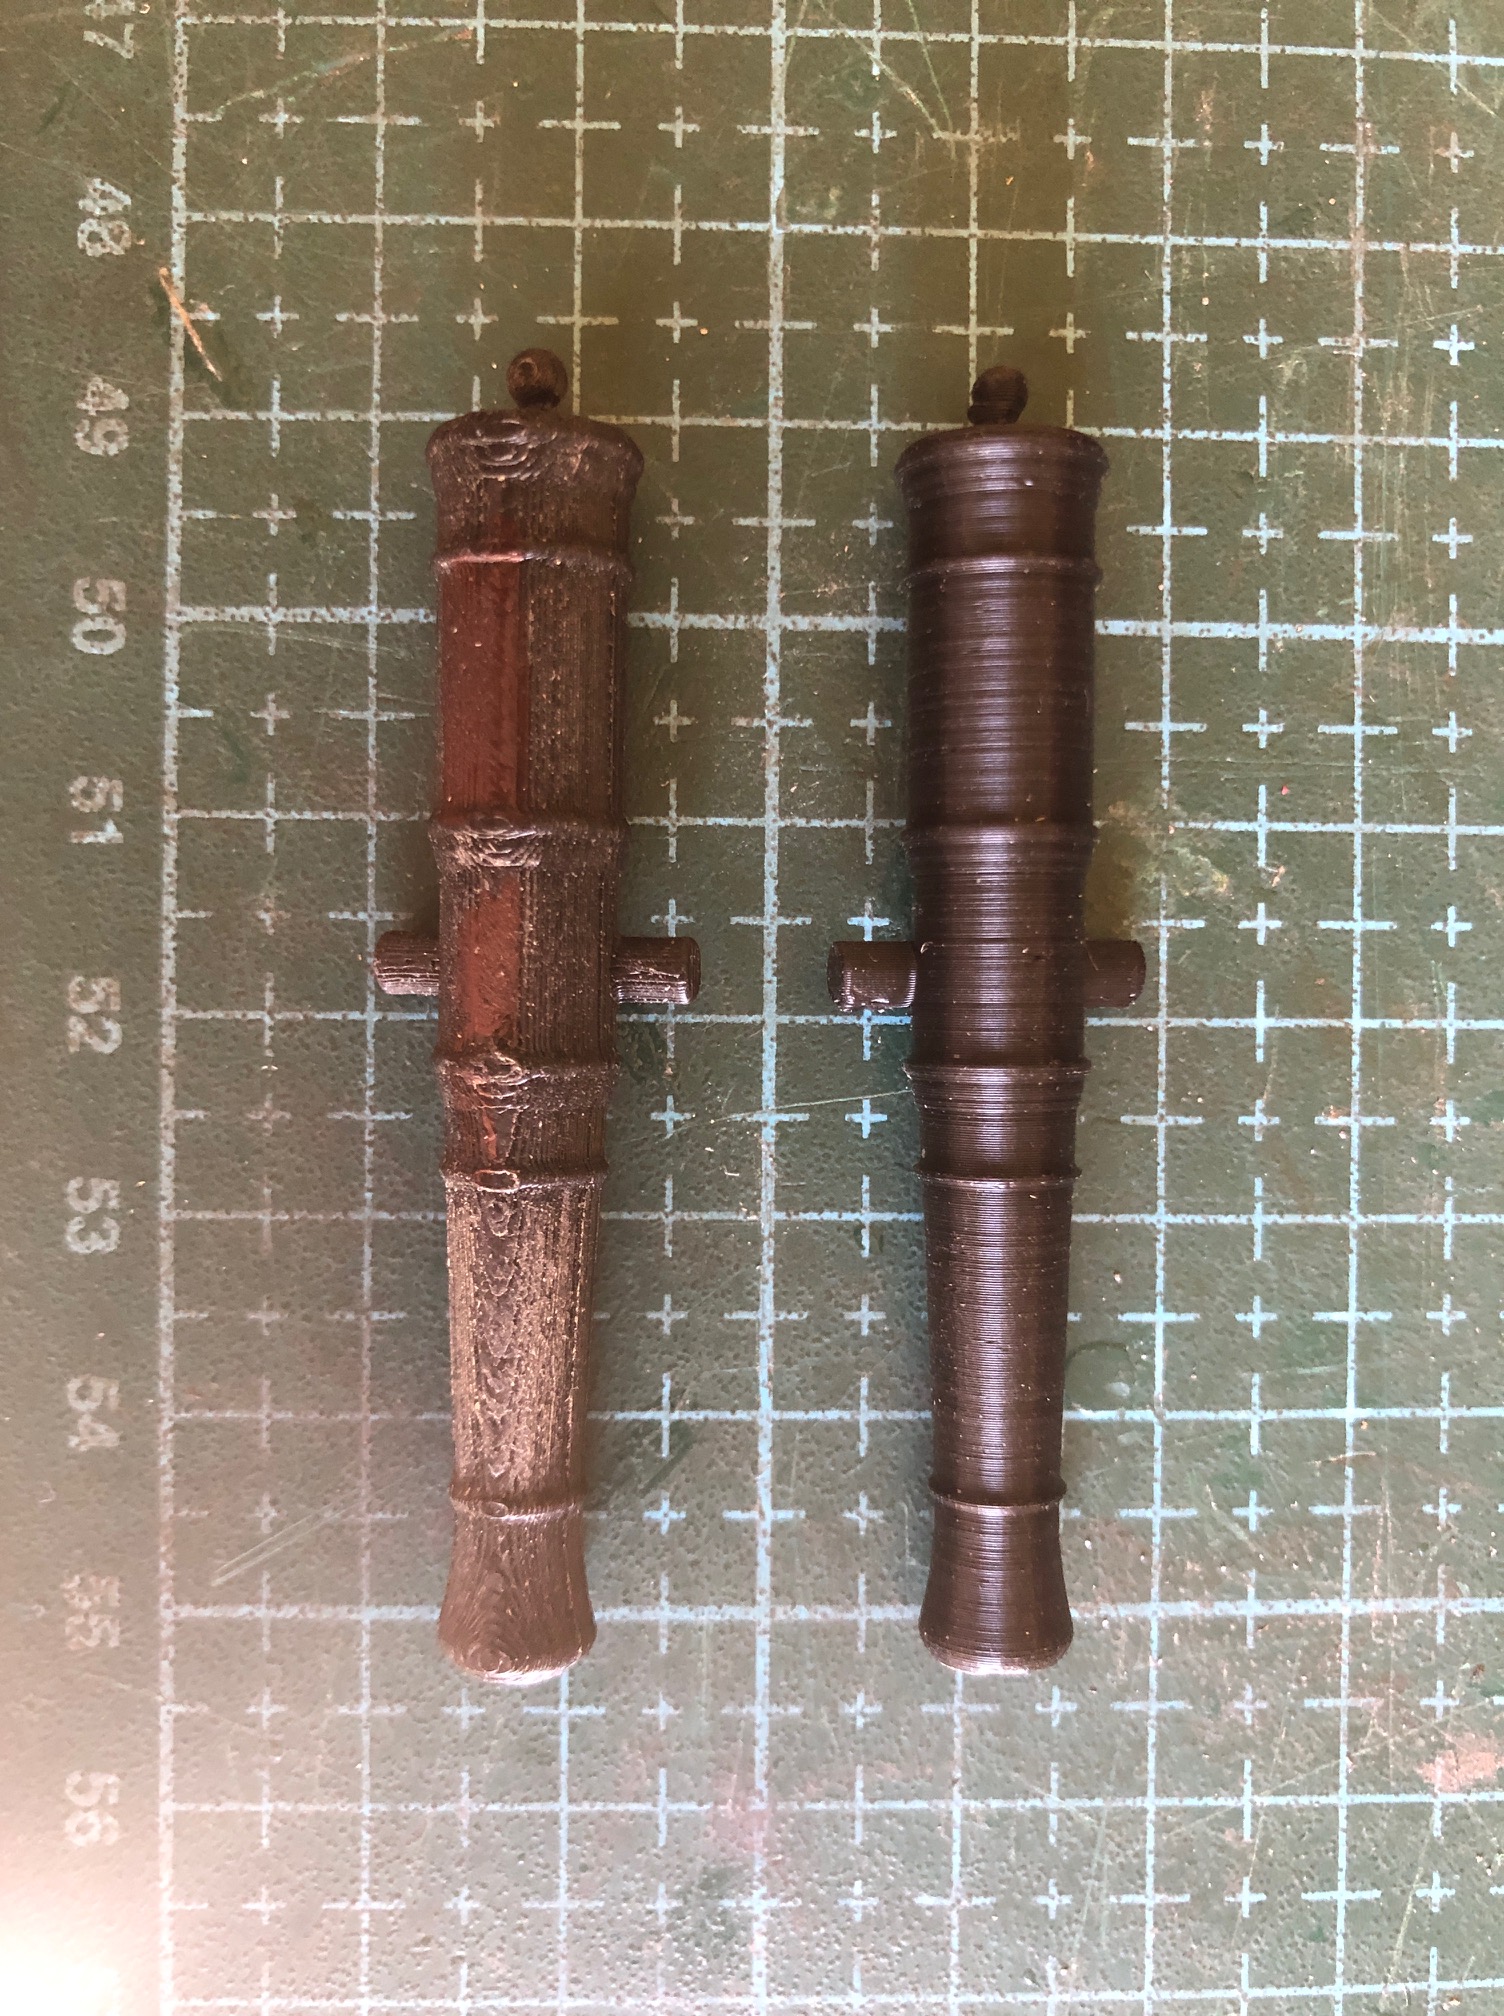
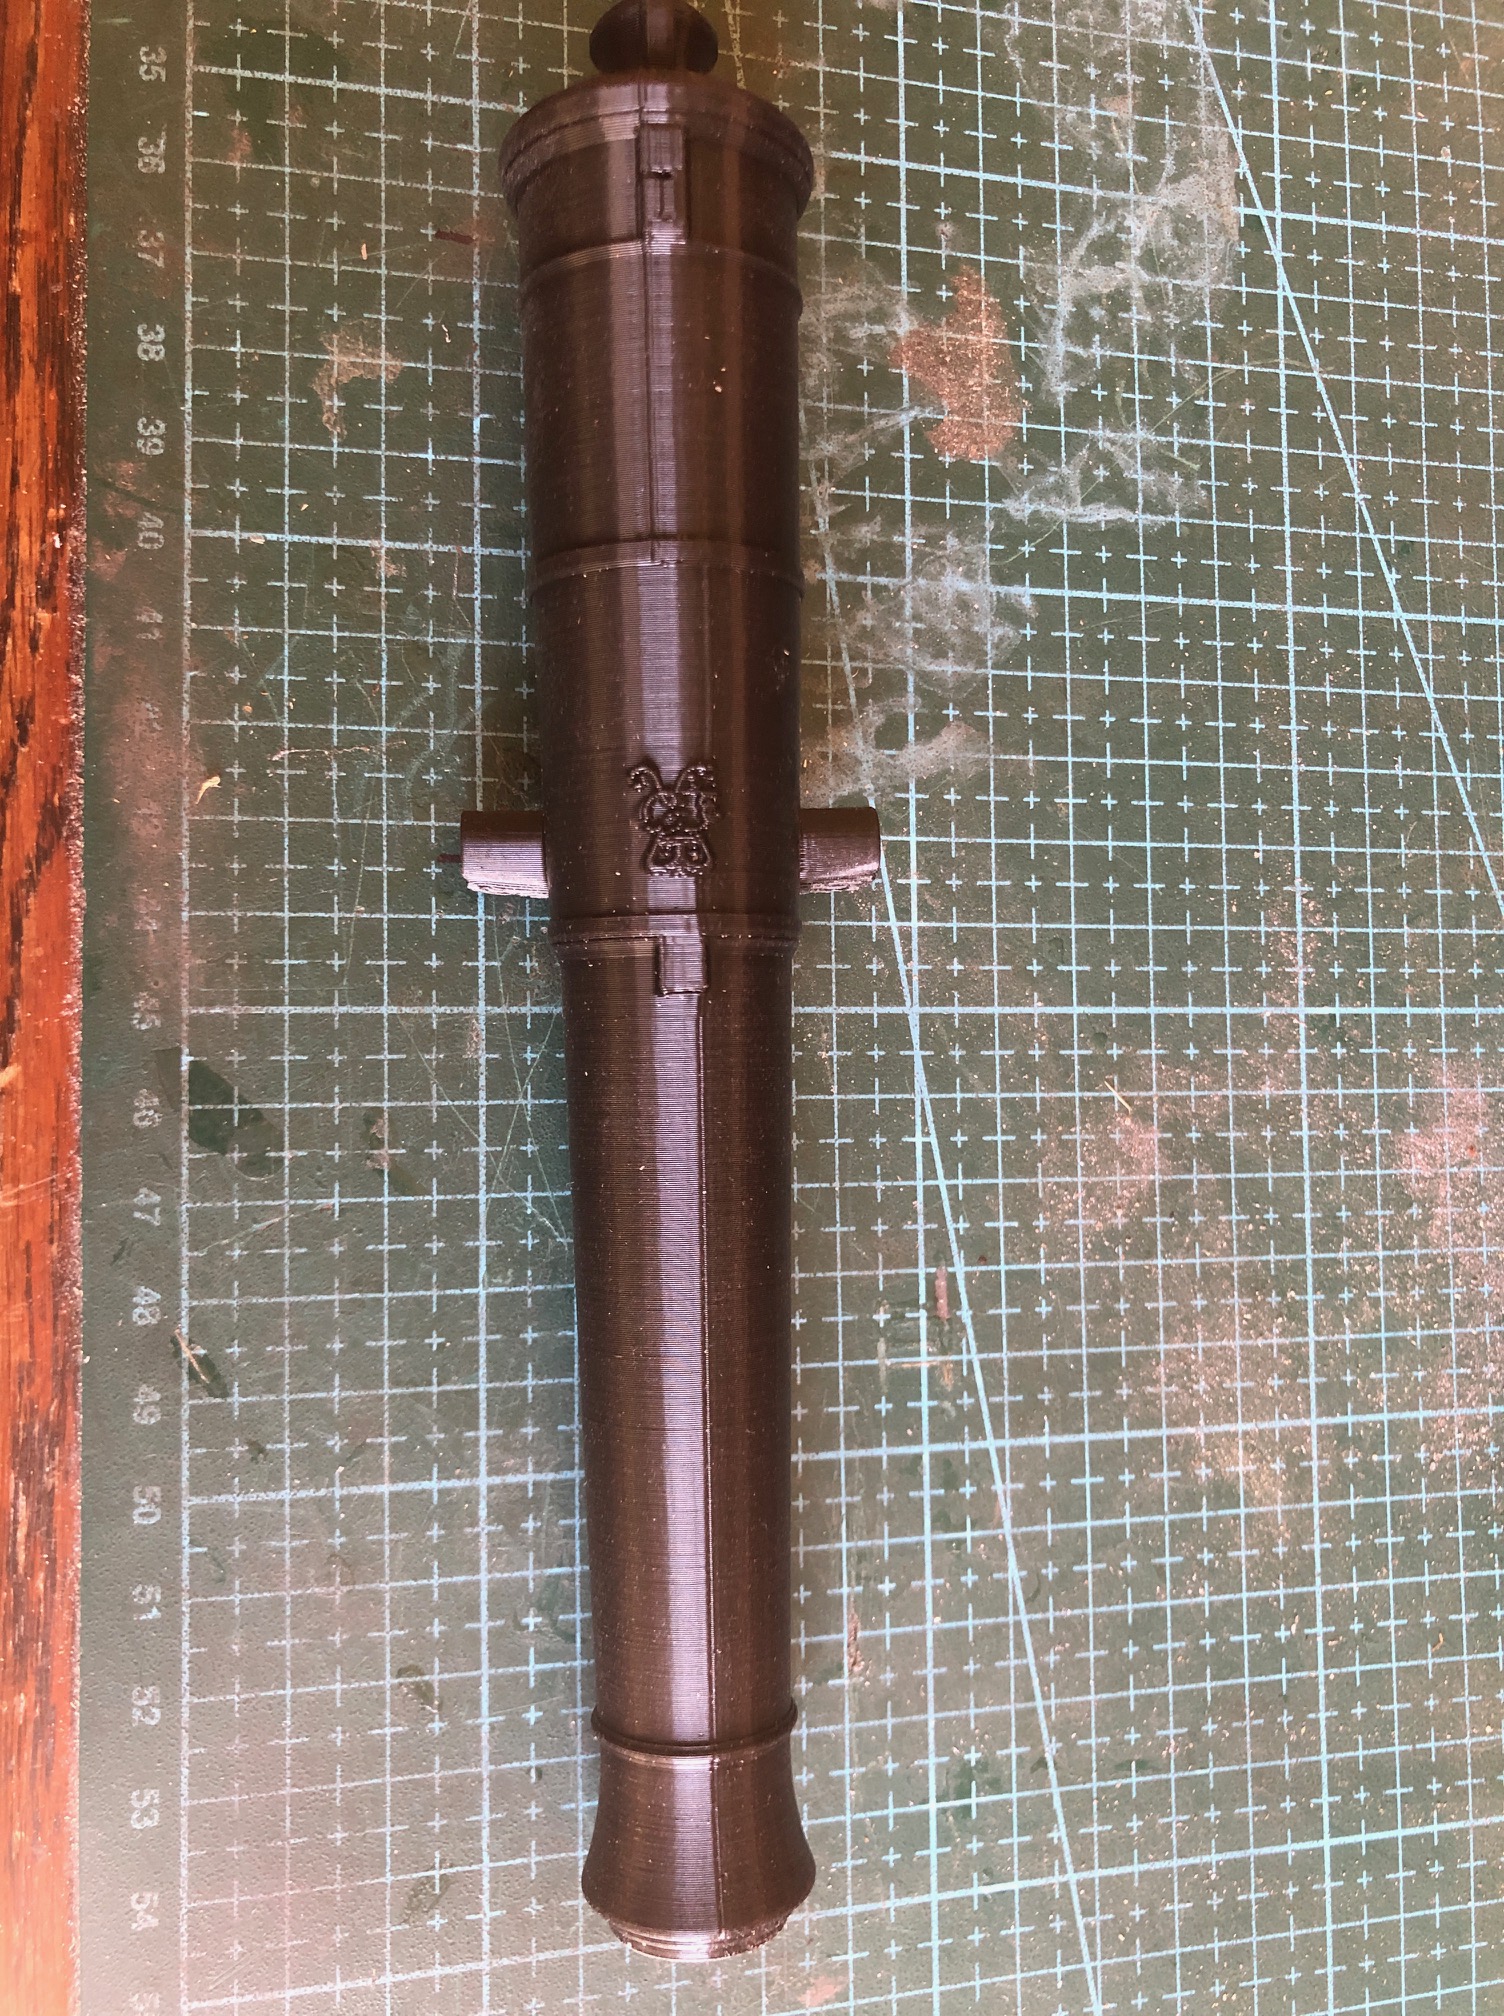
I came across a site which offered free stl files for different size Armstrong cannon barrels and I decided to test print some. The site is https://thenrg.org/page-1075420

The designs include muzzle loaders from different countries and eras and they seem quite accurate. I could not find any carriage files on that site.

These barrels were printed on the same printer (Qidi X-Max3), same filament (Qidi Rapido PLA), and the same printer default settings. The differences were that the left one was printed horizontally and the right was printed vertically, as per the next photo.. And supports were used for the horizontal version, and some fine sanding was used to clean up the rough bits. Despite appearances, the dimensions are identical. The barrels are 60mm long.
Clearly the finish on the vertical print was superior. On the horizontal print supports were used, and the finish of the underneath supported surface is worse than the top surface which is shown in the photo. Since the weakest dimension of a 3d print is the layers, the horizontal version would be more robust, but I could not break the vertical version with a reasonable amount of force, so that should not be an issue.

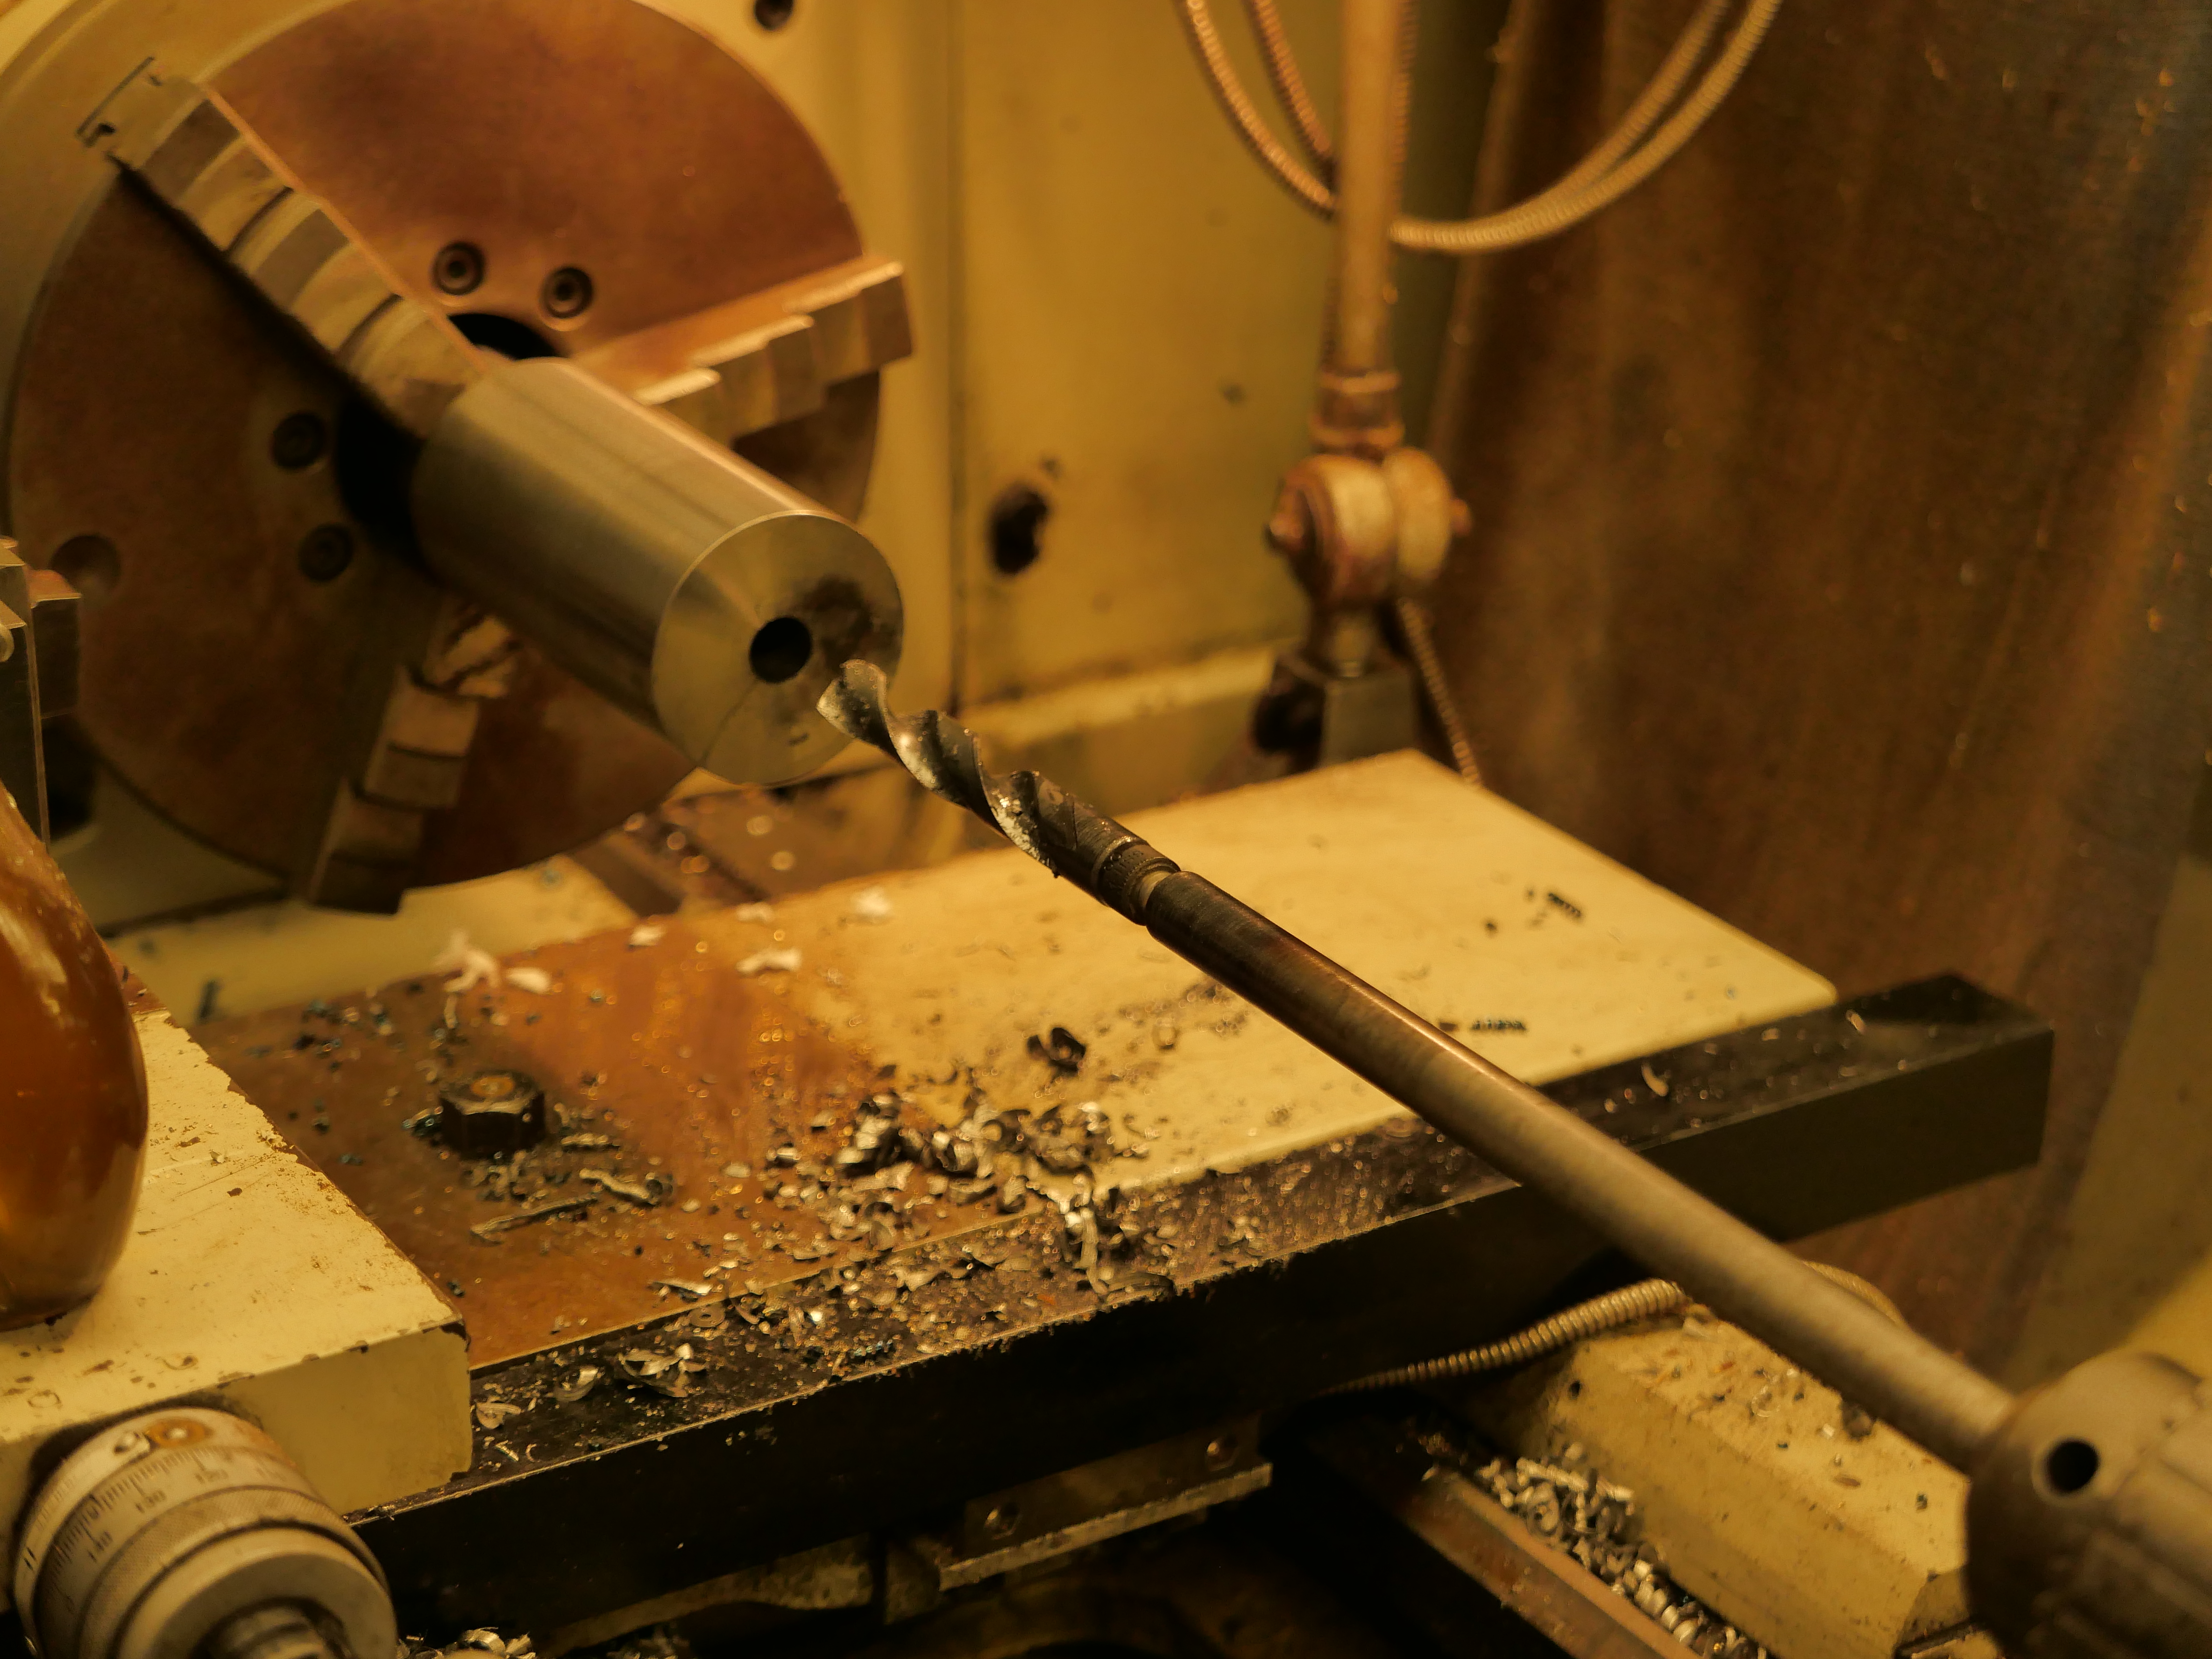
I anticipate that 3d printer users might question how the vertical printed version with its small footprint, remained attached to the build plate as the print became taller…

Well, the build plate has a textured surface, which increases the area of contact between the plate and print. I used a 5mm brim. I try to NEVER touch the build plate with fingers, and if it cannot be avoided I always wipe the build plate with acetone to remove any trace of skin oils. And finally, the X and Y axes of the Qidi move the print head only, and not the build plate, so there is very little shaking of the build plate with its precarious looking top heavy cannon.

Cannot rotate the image. 200mm version of the gun. (scale 1:15). This print is close to perfect IMO. Look at the detail of the George3 cypher. The only faults are the line running the length on top, which is where the Z shift occurred, and the small deficiency on the trunnions which occurred because I chose to not use supports at all.

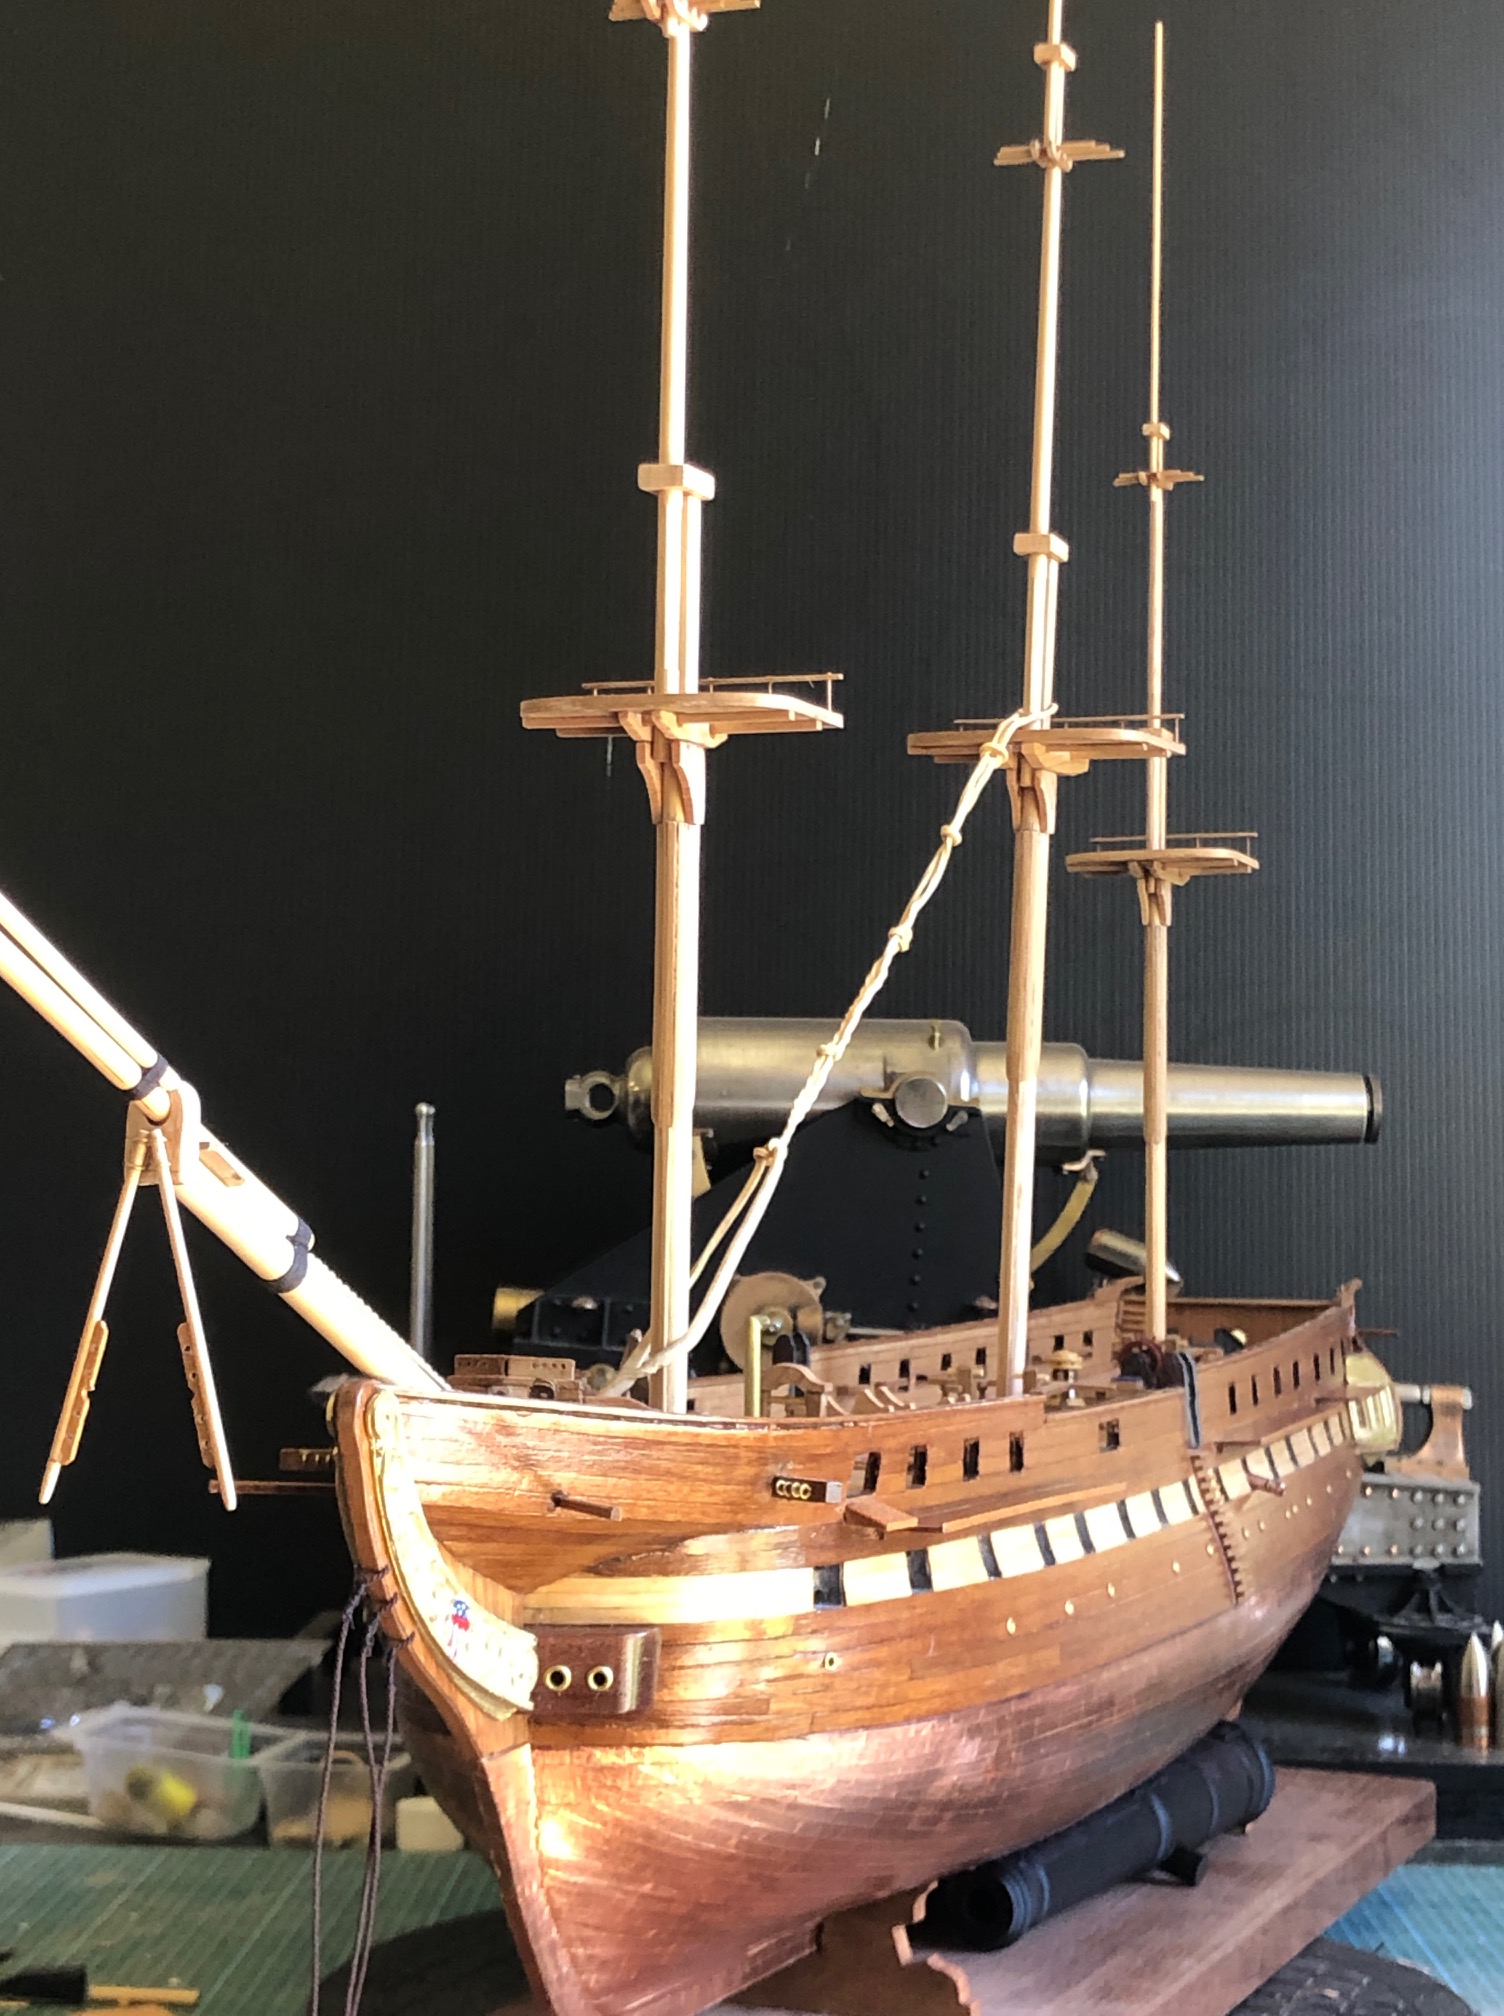
And an update on the USS Constitution model. It now has masts and a bowsprit, not totally finished, but close to getting some stays (fore and aft supports) and shrouds (side supports). So the masts and bowsprit are just sitting there, and probably not quite in line yet.

And notice that I found a use for two of the 200mm printed cannons. Wedged underneath to stop any wobbling. Hmm. Maybe I can attach the nameplate to one of them…. p.s. the 80pr Armstrong RML in the background is not going onto the Constitution.

Armstrong RML barrel

After 3D printing a plastic 1:10 barrel I decided to have a go at turning one in steel.  I had a length of steel 70mm diameter and 290mm long, which was just too short to turn the entire barrel, so I decided to make one of the breech reduction rings separately, when I make the cascabel.

I did not know what the steel grade was, but it was off a machine so I thought that there would be a good chance that it would be reasonable quality.

P1053584

The length of rod next to the printed barrel.

The turning was initially fairly routine.

P1053594

and I was really pleased with the finish which was appearing.

P1053597

Mountains of hot swarf.

P1053600

The roughed out barrel.  I used the 16mm drill bit to drill the bore from both ends, but there was still 50mm or so beyond the reach of the bit.  So I silver soldered the drill bit into a length of silver steel (drill rod).

P1053604

And quickly completed the drilled hole. 

P1053606

Then transferred the piece to the CNC lathe, and shaped the barrel exterior.

I experienced 2 problems with the CNC turning.  The tapered chase of the barrel, and the rounded fillets came out really well, but the straight sections of the breech developed chatter marks.  I was preparing to take a skim to remove the chatter marks when I bumped the manual CNC control, the cutter dug in, and I got a deep score in the breech.  And broke the carbide cutter.  I turned away the dig in, but it left the breech diameter 3.5mm undersize.

I have no more steel of that size, and it will be quite a while before I get an opportunity to buy some.  So I persisted with the slightly undersized barrel.  It will be 62mm diameter rather than the intended 65.5mm.   I still have not decided whether to scrap it and start again.  But if I can get some more suitable steel I will remake it.  I might even use the undersized barrel to make a 64lb Armstrong RML, which had a smaller diameter breech than the 80lb RML which I am making.  (note added 19 Jan 2021…  The Armstrong 64pd and 80pd barrels had the SAME dimensions.  The main difference was that the inner tube of the 64pd guns coiled iron, but in the 80pd guns was solid ended steel. “Naval Gunnery” Garbett pp52-53).

P1053610

I showed it to SWMBO.  “That is beautiful” she said, somewhat to my surprise, and being surprised by its 3.5kg weight. 

P1053614

Ah…  if only…