
Bellerophon -7. Optimizing Gun Deck Planking for Model Ships
On my 1:72 model the lowermost gun deck, which had the biggest guns, the 32 pounders, is not visible, except for the gun muzzles poking through the gun ports.
But the gun deck above, which had the 24 pounders will be partly visible on my model, so some more care is required. On the original 74 gun ships the planks on the upper gun deck were about 4″/100mm thick. The outer planks, where the guns sat, were usually made of oak. The inner ones were usually of a softwood like pine, but of a similar thickness.
I had decided to make the gundeck planks on my model from huon pine, because it has very fine figuring and although almost white, when coloured with a stain, or tea leaf water, or something similar, should look authentic.
At the 1:72 scale, each plank would be 3mm wide, and about 80-90mm long. (About 10″ x 20′ in the original). The gun deck at that scale in the model is approx 52 planks wide and 8 planks long which equals 400+ planks altogether. Times 2 gun decks, plus the poop deck and fo’castle.
Most modellers glue one plank at a time.
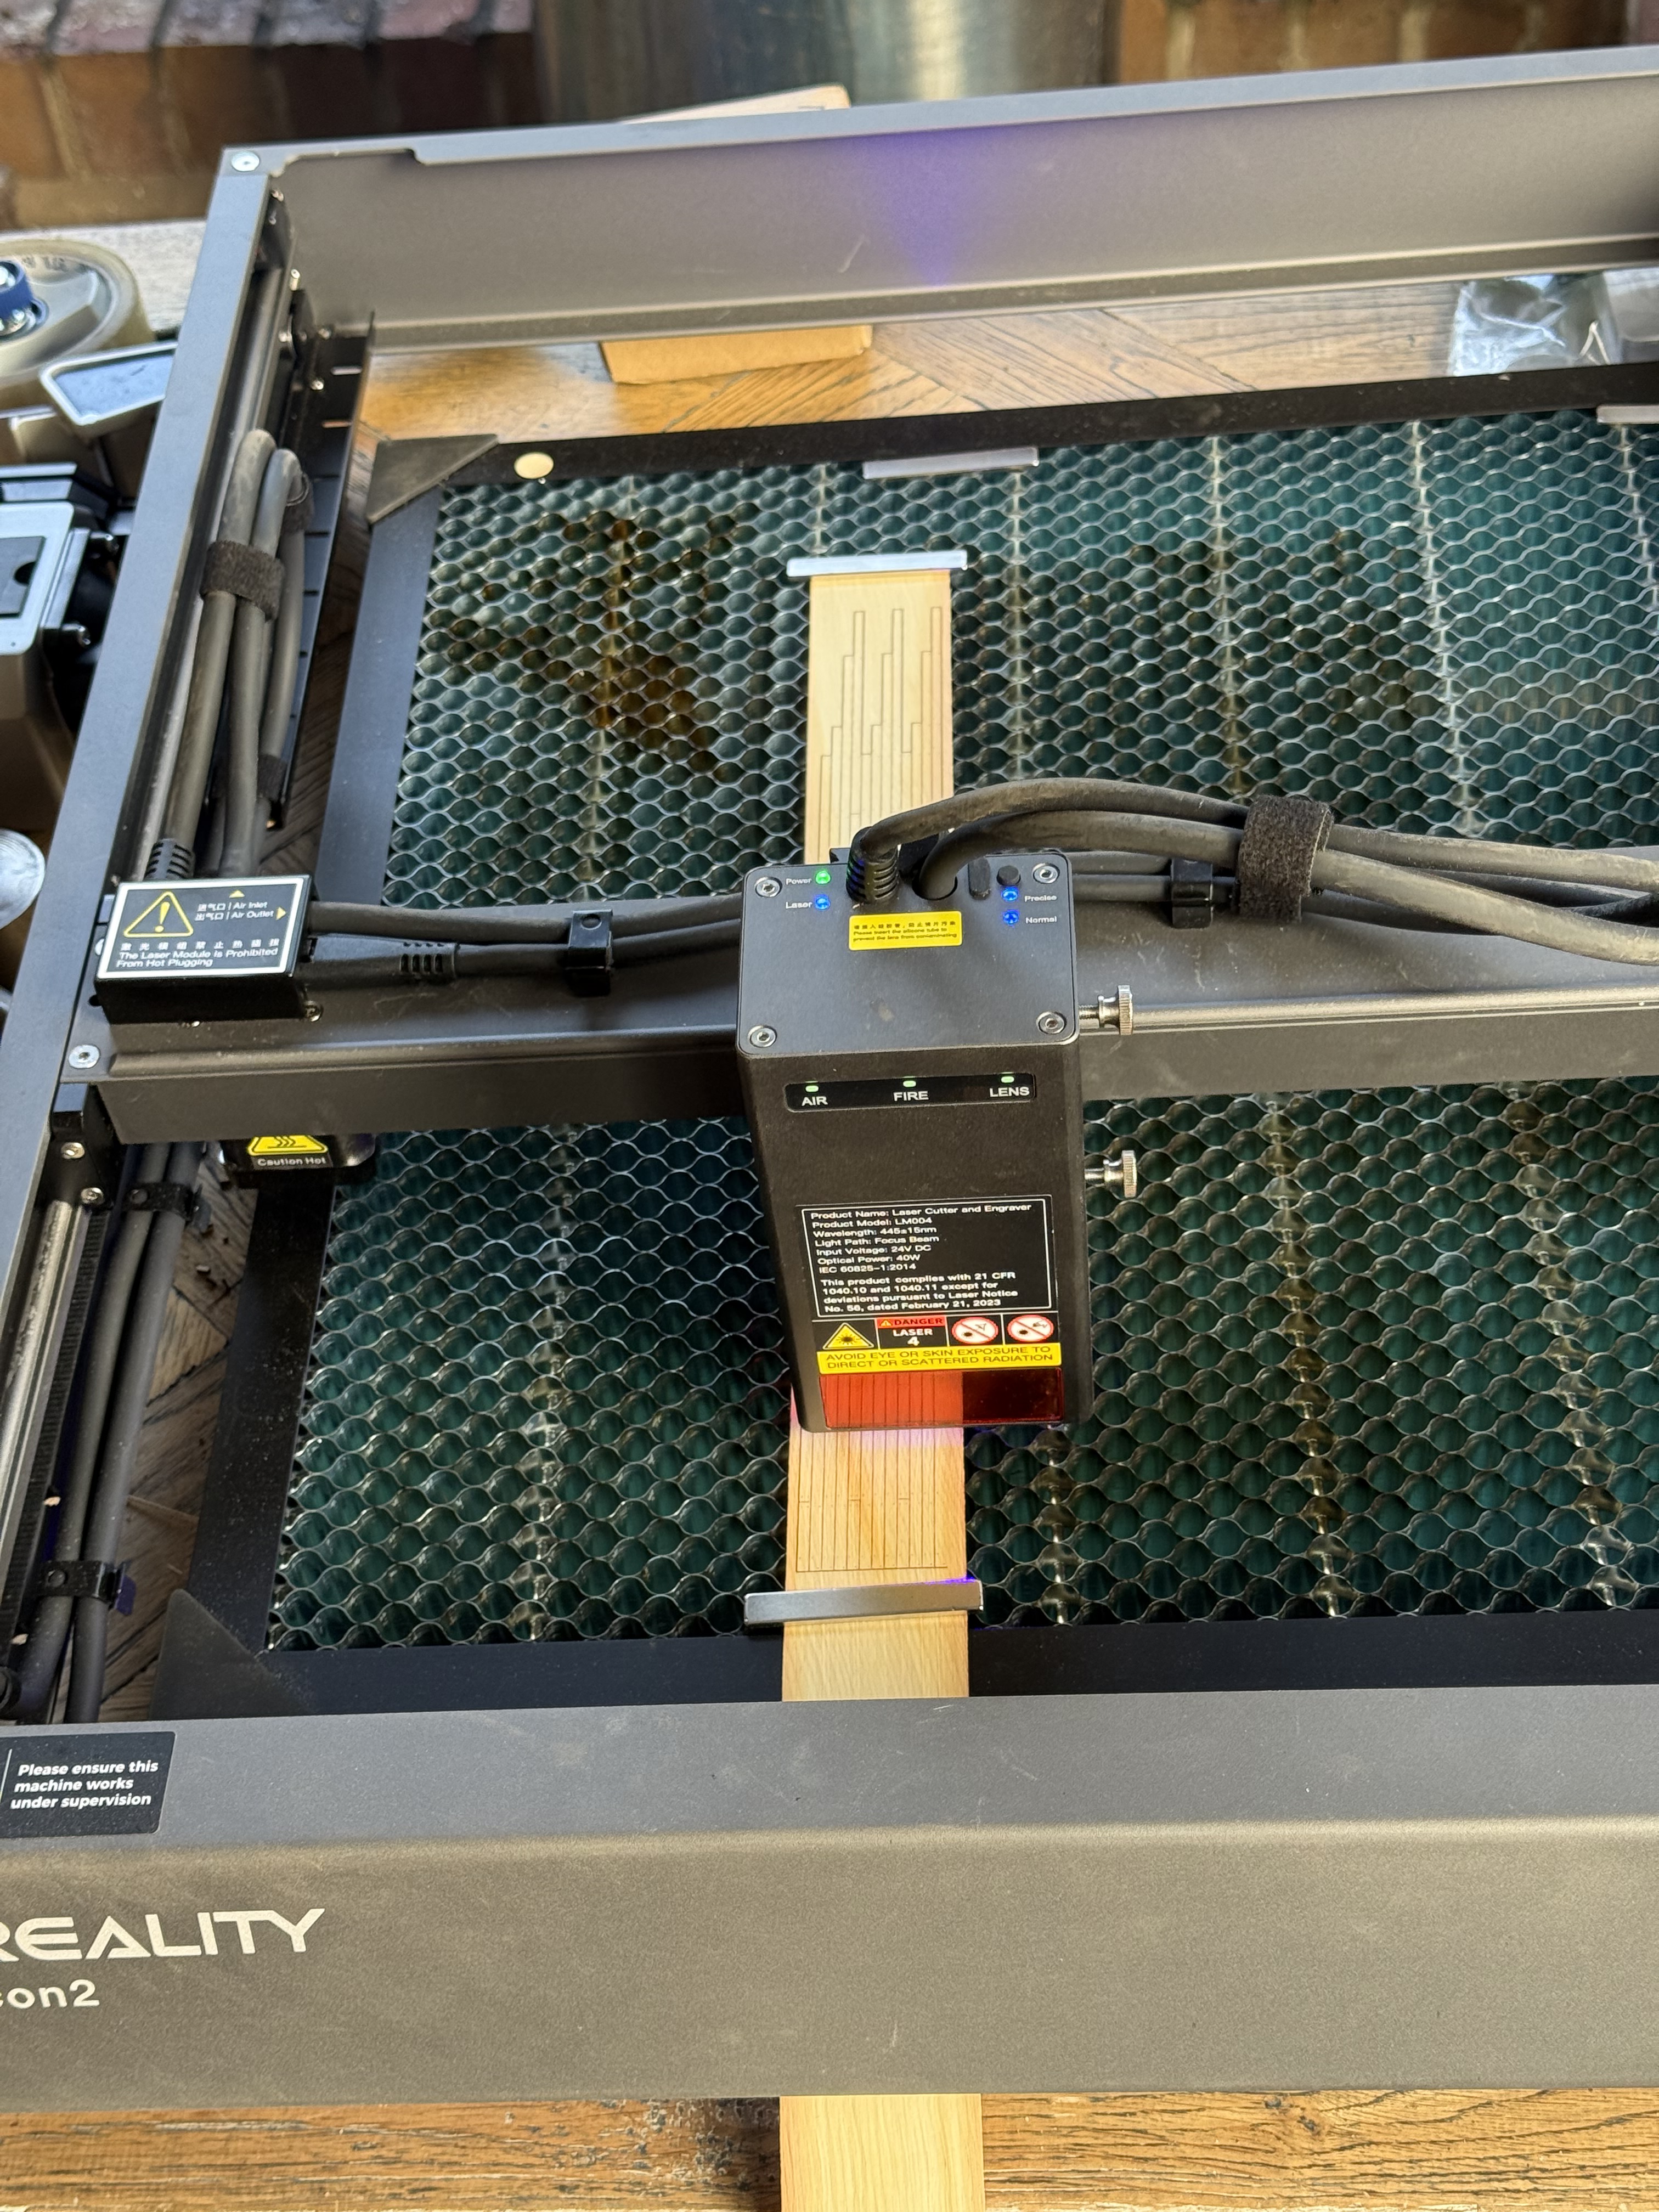
But always one for the easier solution, I thought that maybe my new laser cutter might offer an easier, quicker, lazier, solution.
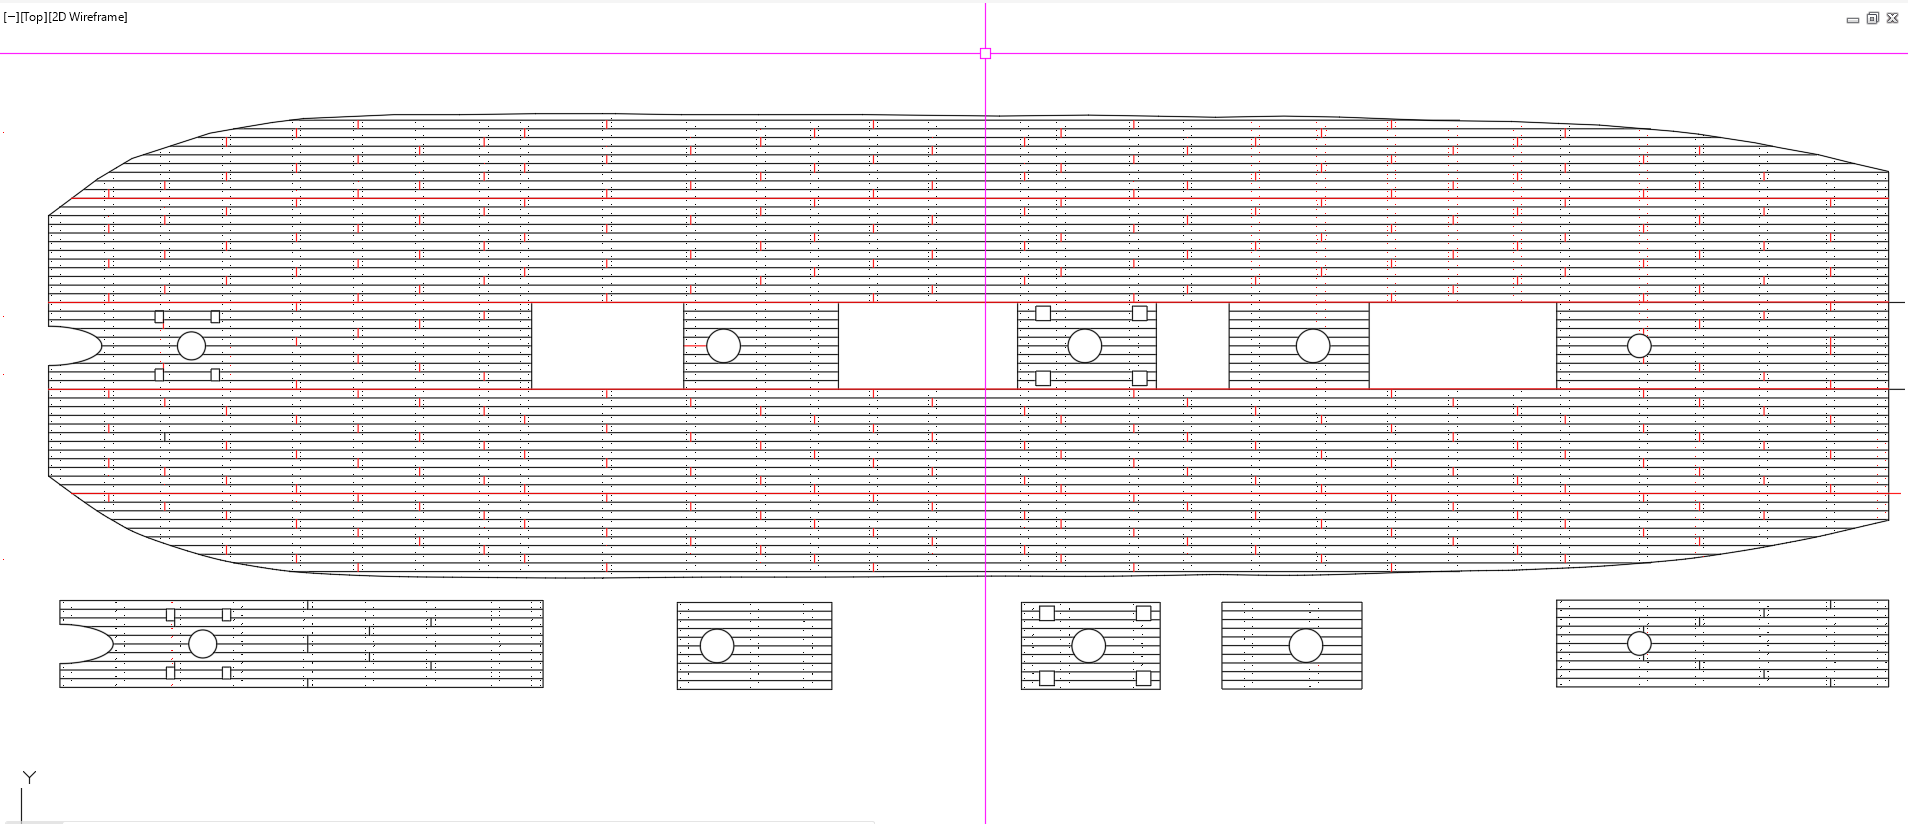
So I drew up an accurate plan of the entire gun deck planking, including every trenail, every join.
Then divided it into sections which my laser cutter cutter could fit (400 x 415mm) , and using the maximum width of the huon pine (45mm, but with machining allowances). That came to 5 rows wide, by 2 lengths = 10 pieces altogether. Actually the centre section has 4 hatches, so that adds 5 more planking sections, less 1 = 4. Plus 8 = 12 sections altogether. A bit complex, but 12 is a lot fewer than 400+. And it simplifies somewhat the placing of the end joins and the trenails.
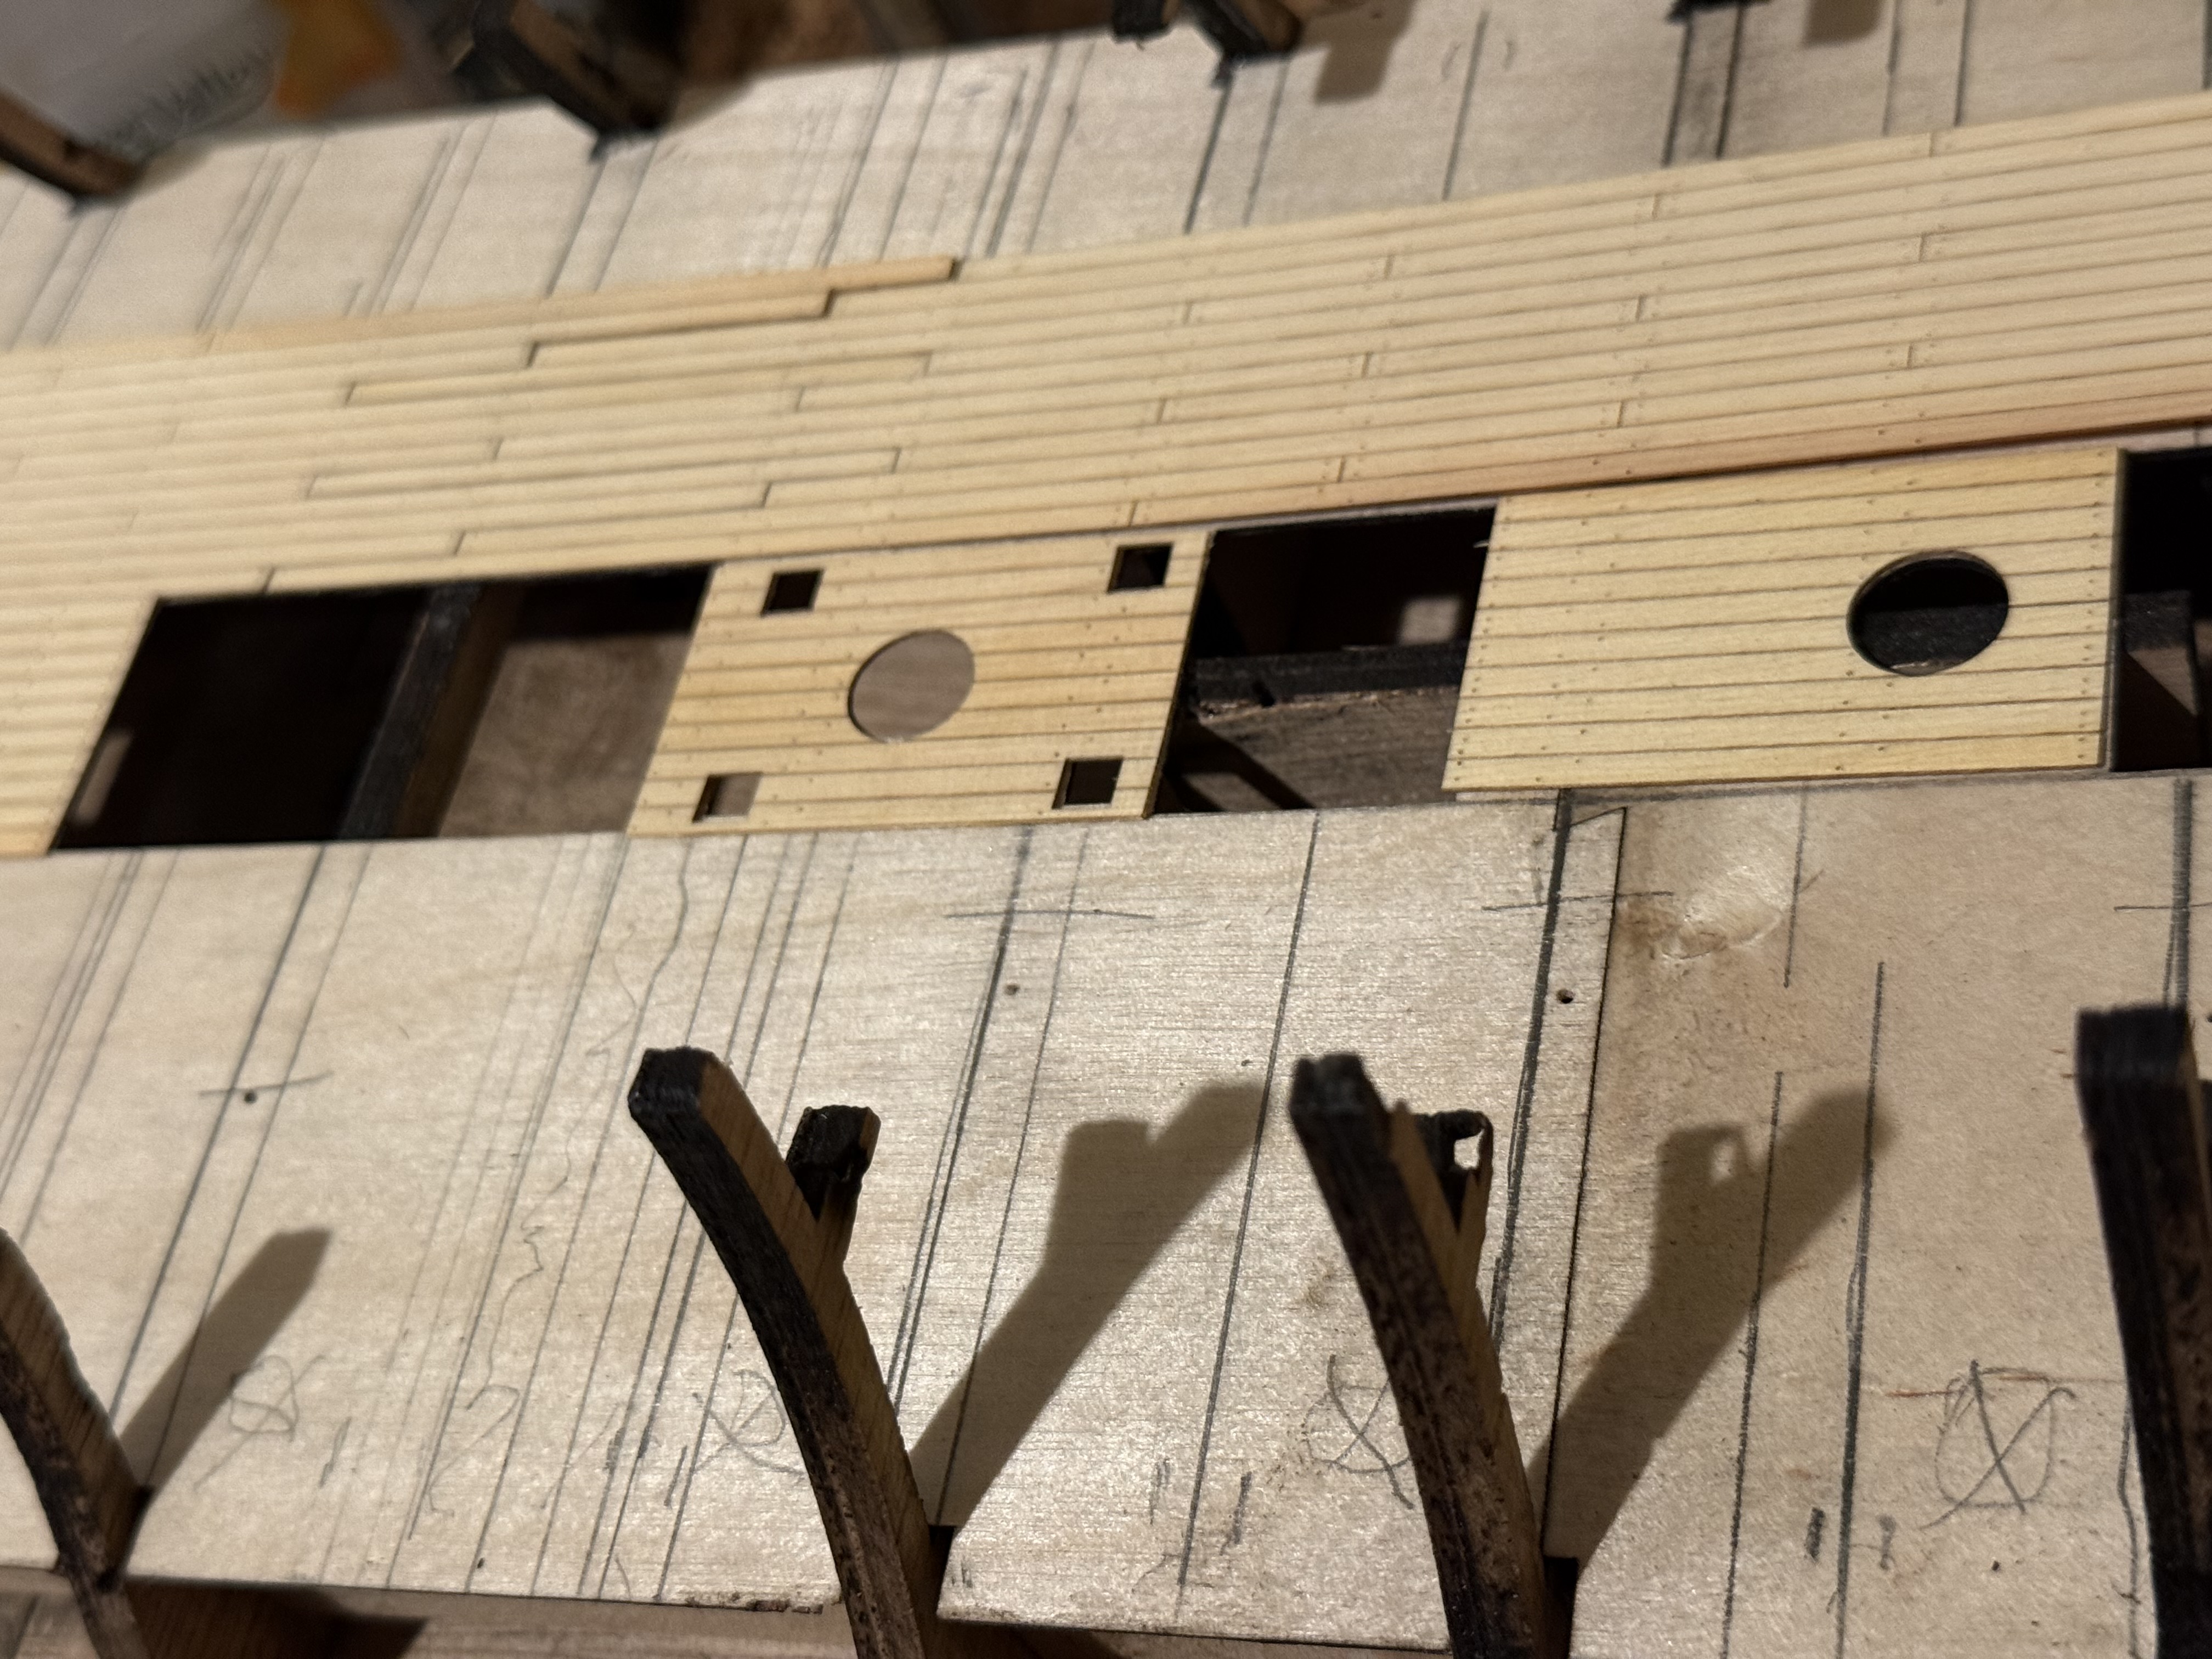
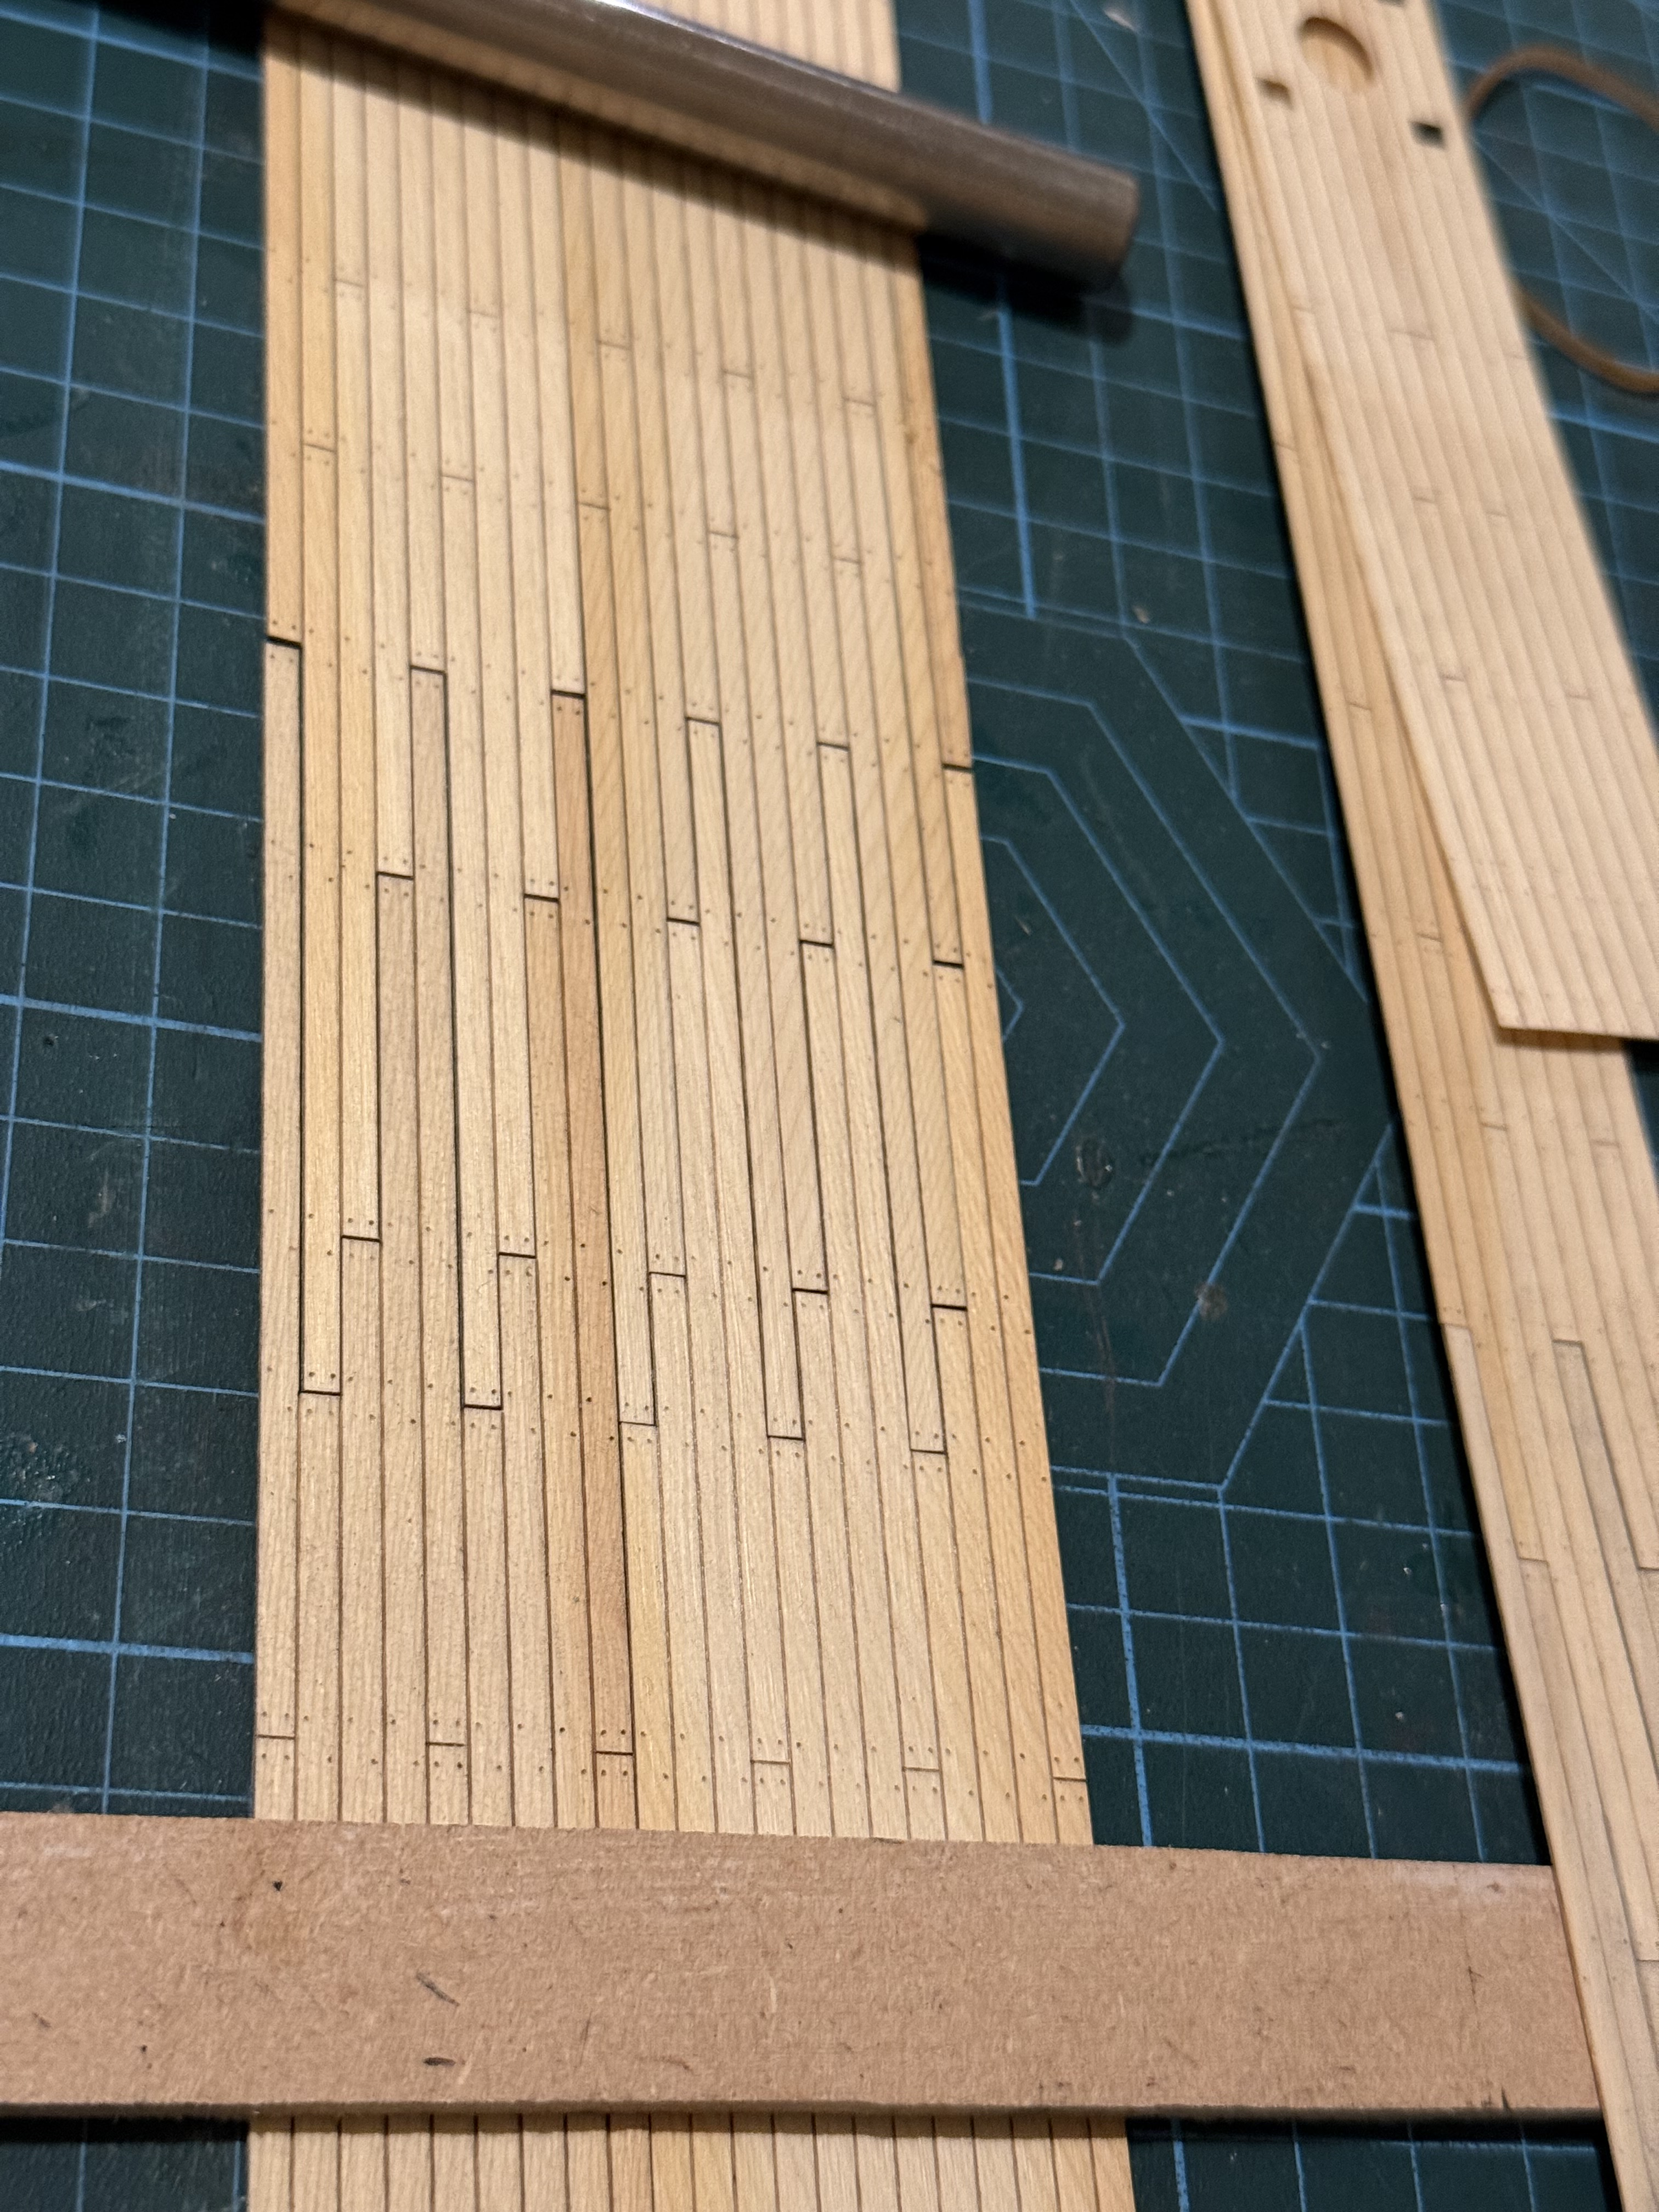
The cut ends look a bit obvious, but I hope that appearance will be less obvious when they are actually glued to the deck, stained, and a matt varnish/lacquer applied. (photos to follow).
Of more concern is the darker areas of pine. I am hoping they will also be less obvious when the planks are darkened. I will do some colour testing before I start gluing.
Some hand fitting will be required around the bulkhead stanchions, but will be hidden behind the bulwark planking and water- ways.
