machines which I have made, am making, or intend to make, and some other stuff. If you find this site interesting, please leave a comment. I read every comment and respond to most. n.b. There is a list of my first 800 posts in my post of 17 June 2021, titled "800 Posts"
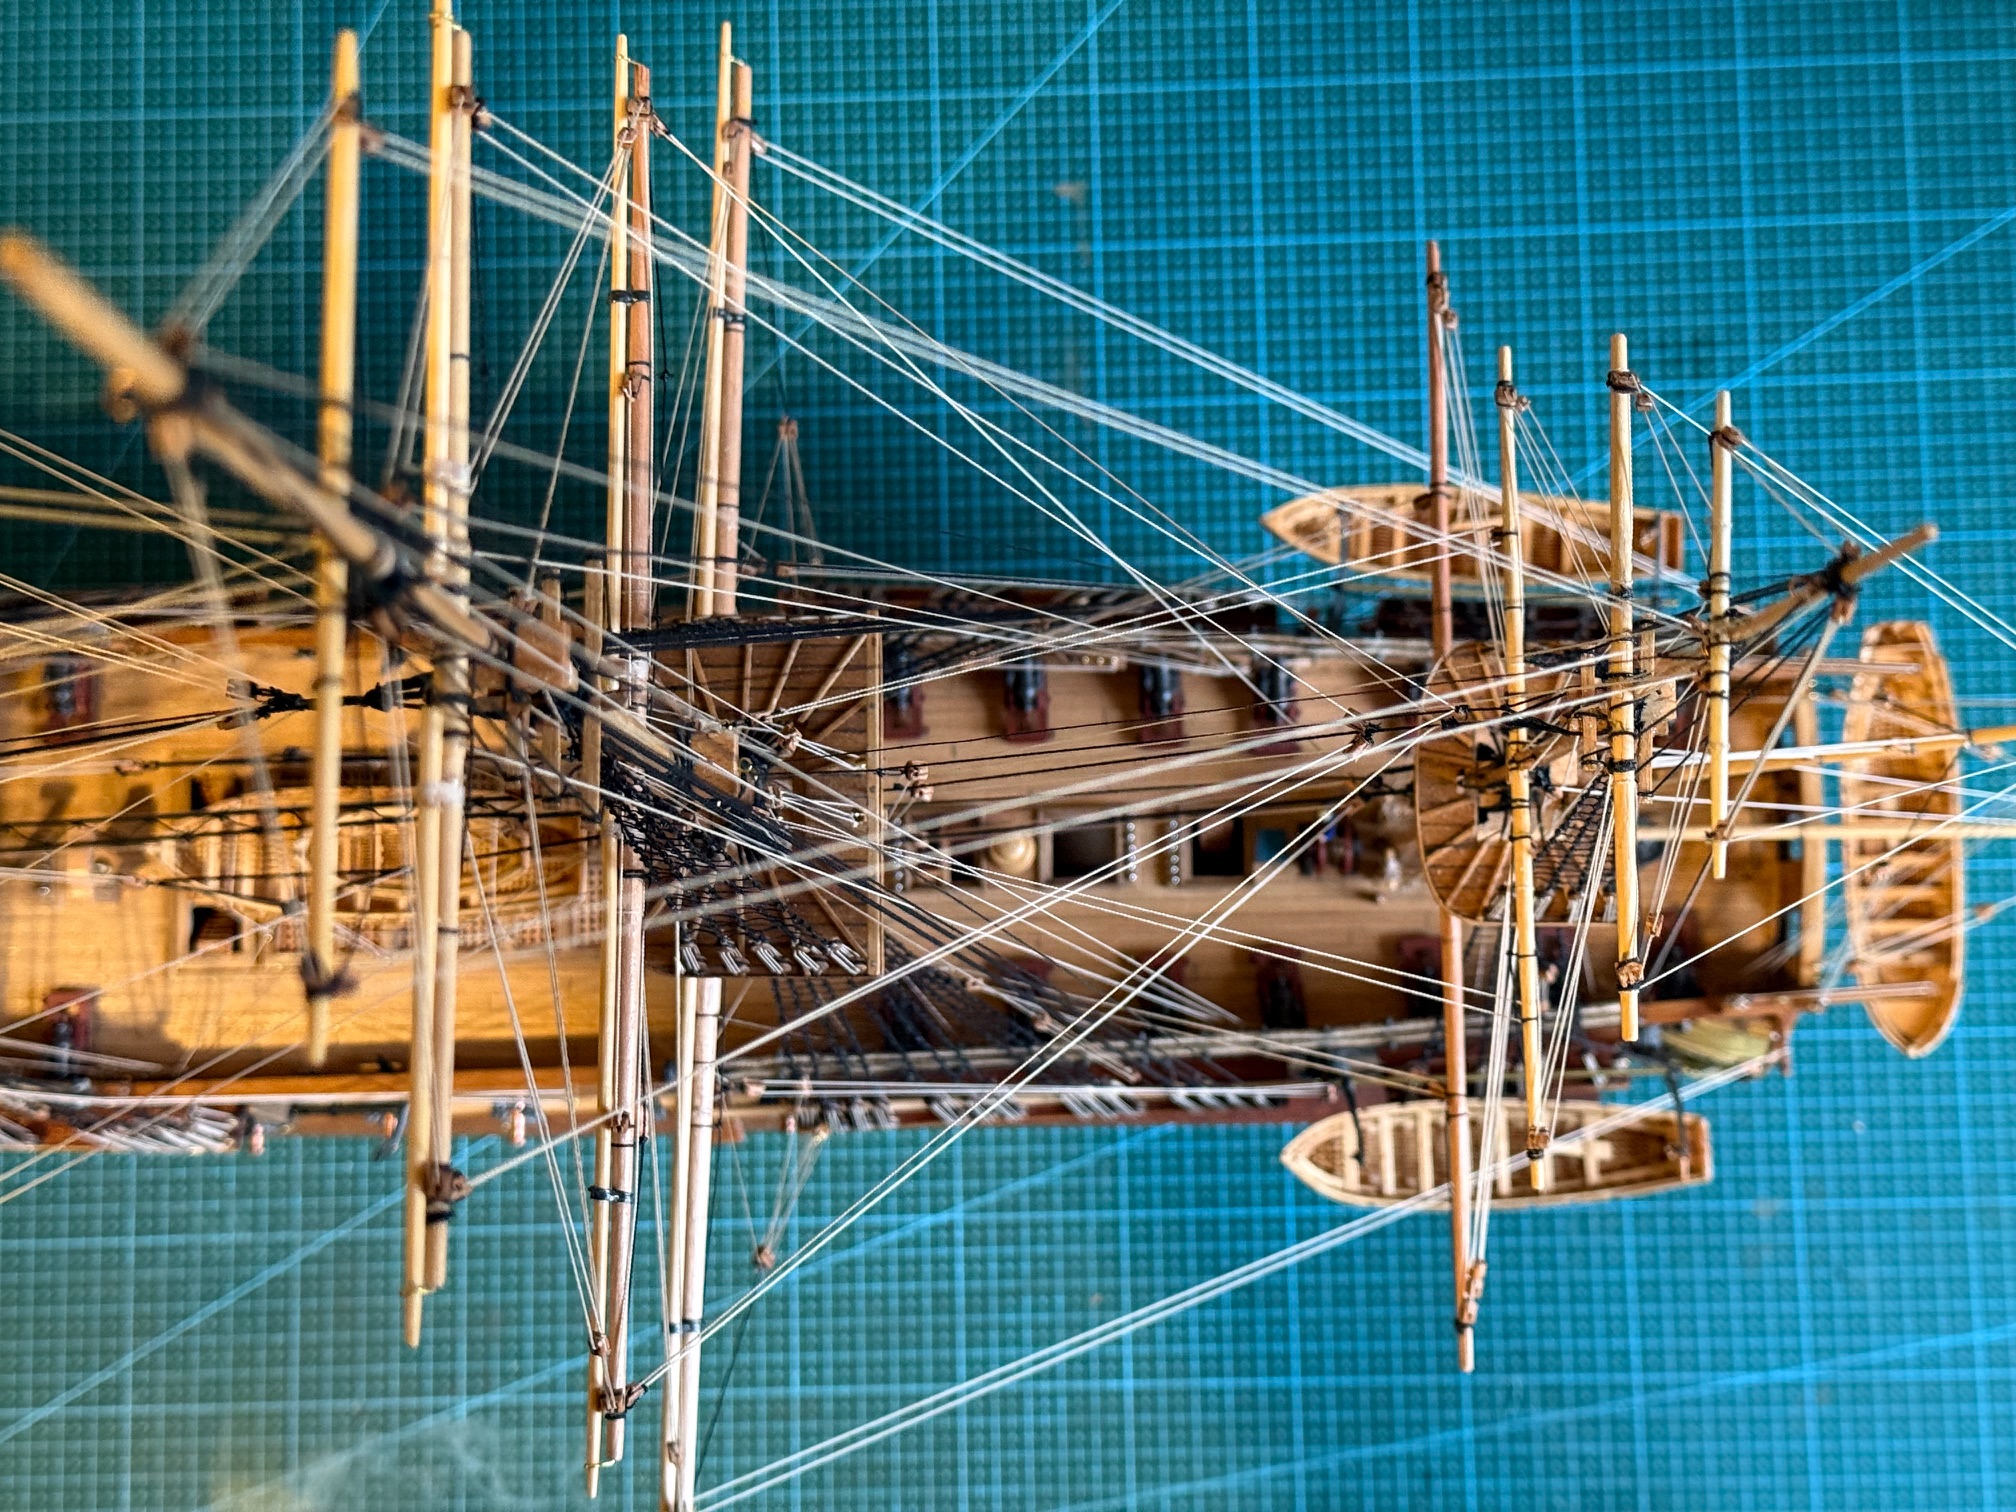
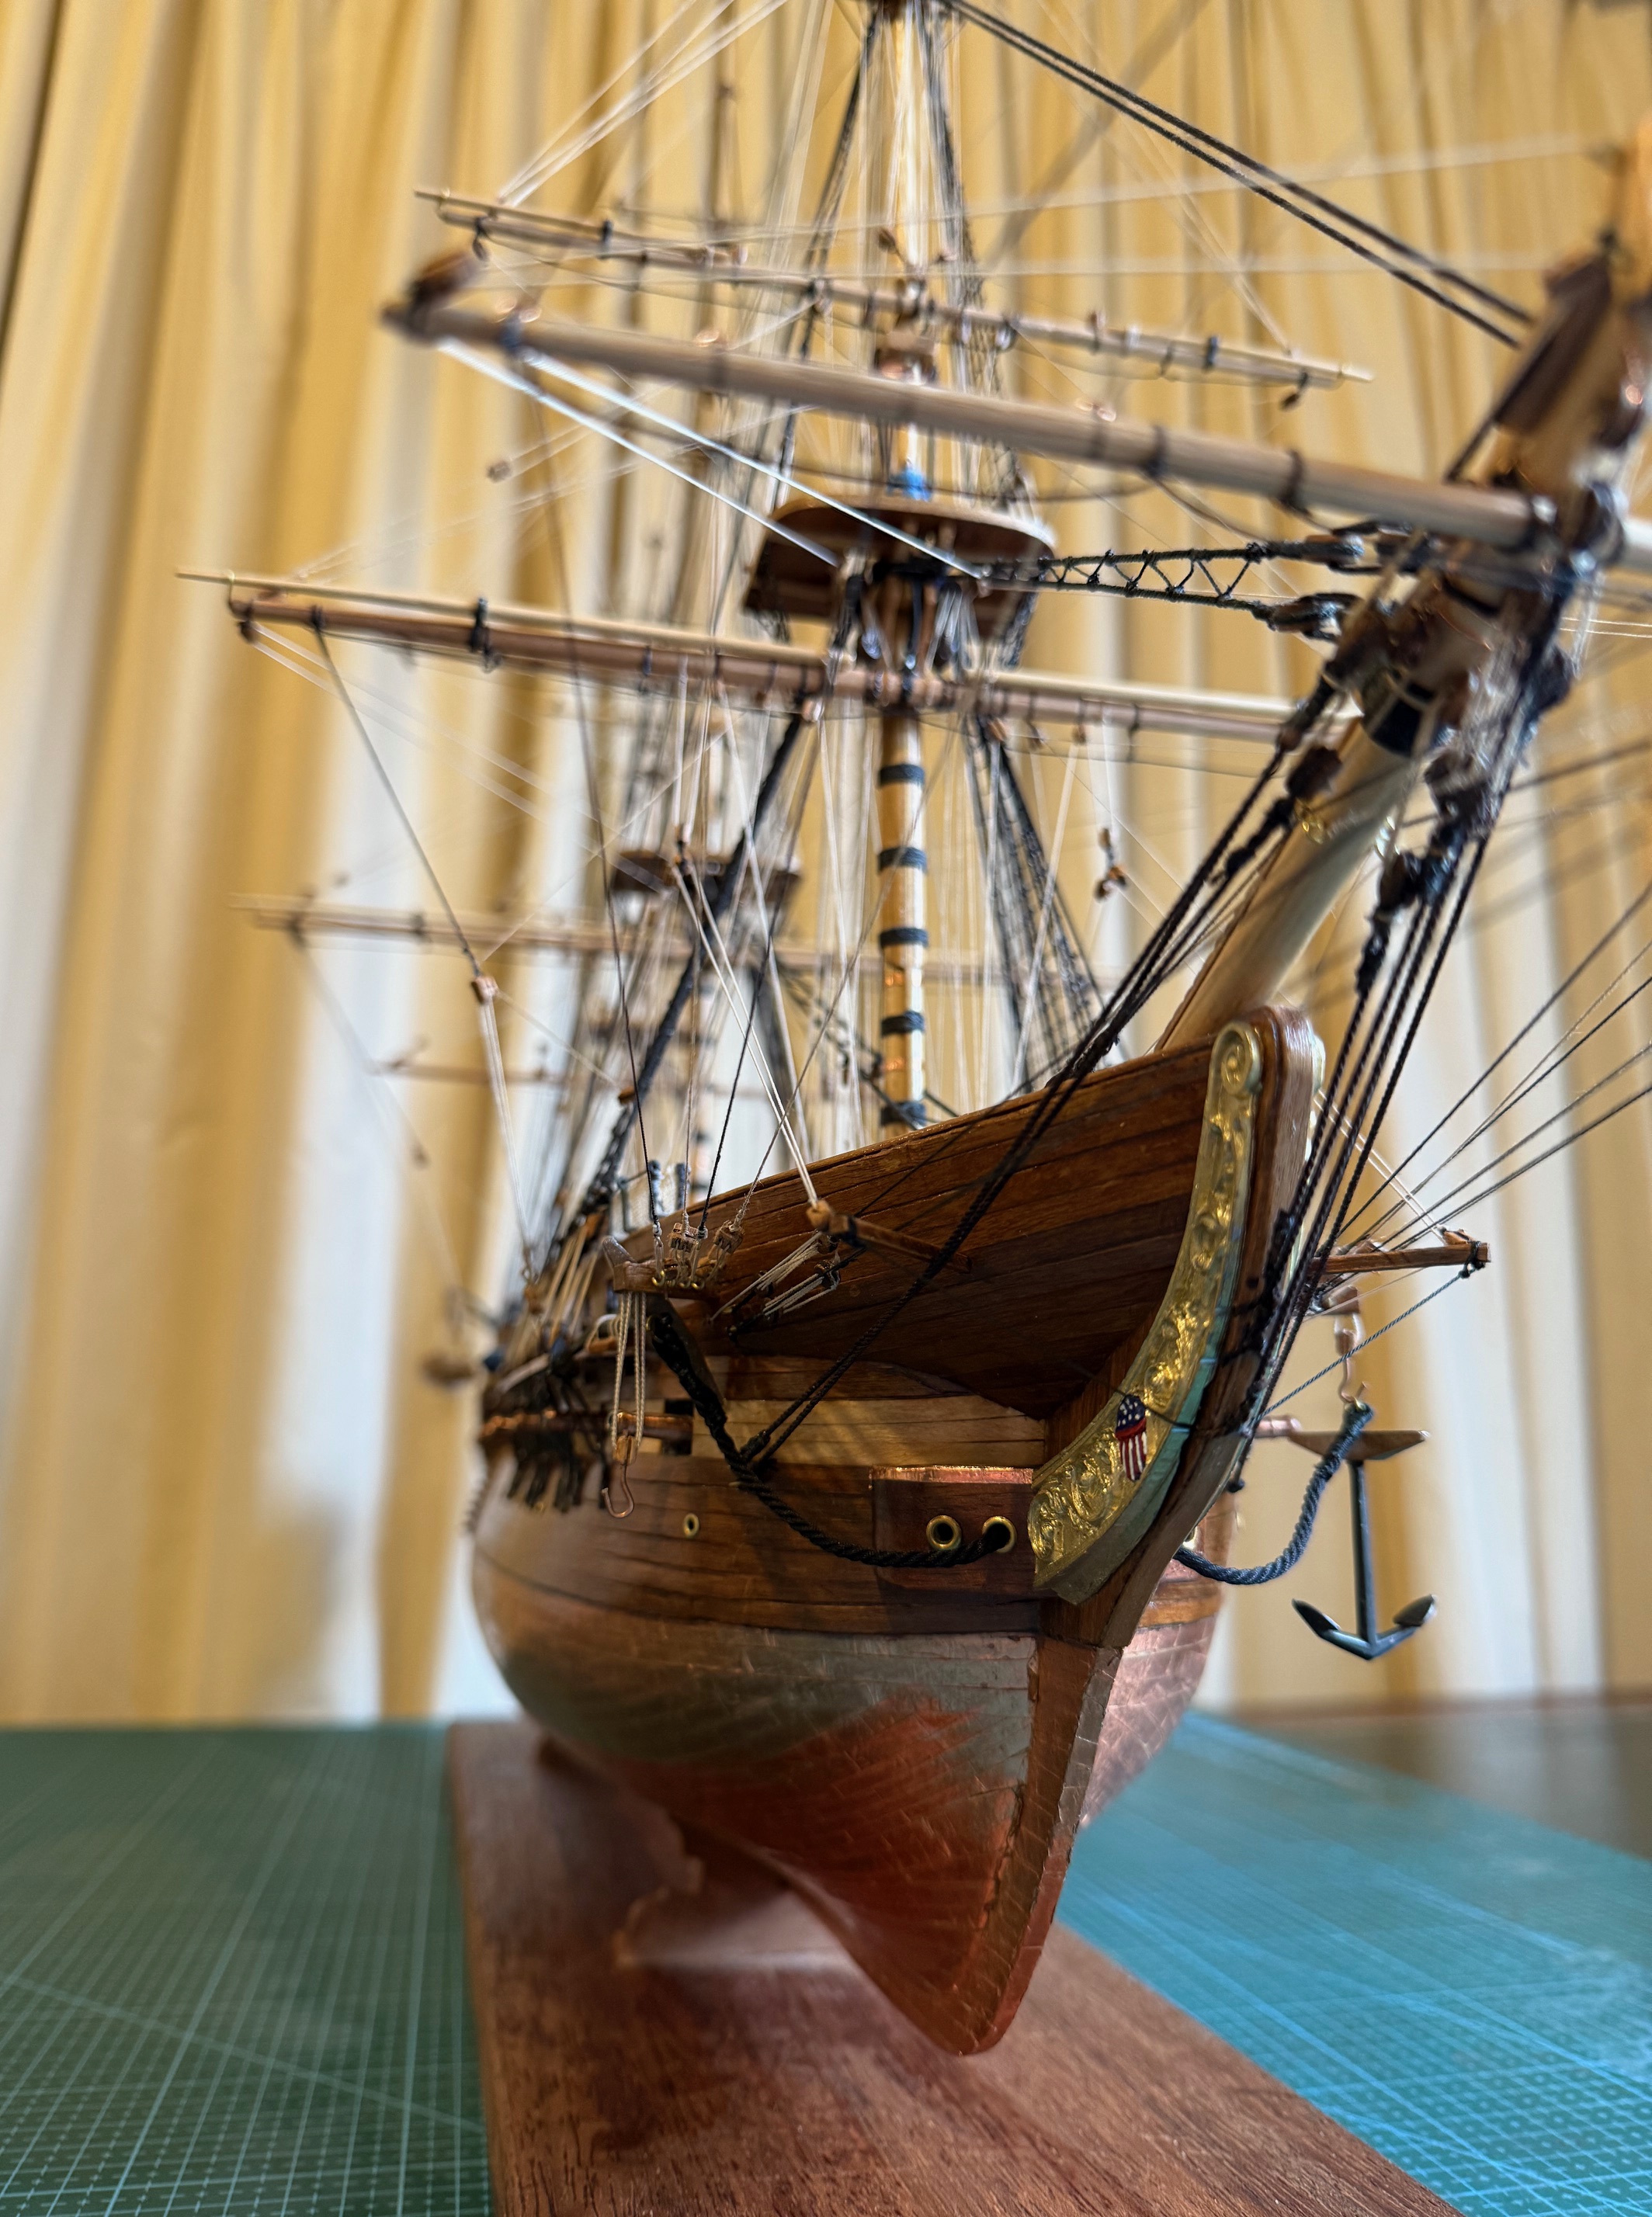
Well, almost completed. Completed enough to take and post some pictures. I still have to make a dust proof case, install carronade breech ropes, and make rope coils.
So here a some photos. And probably without extra comment.
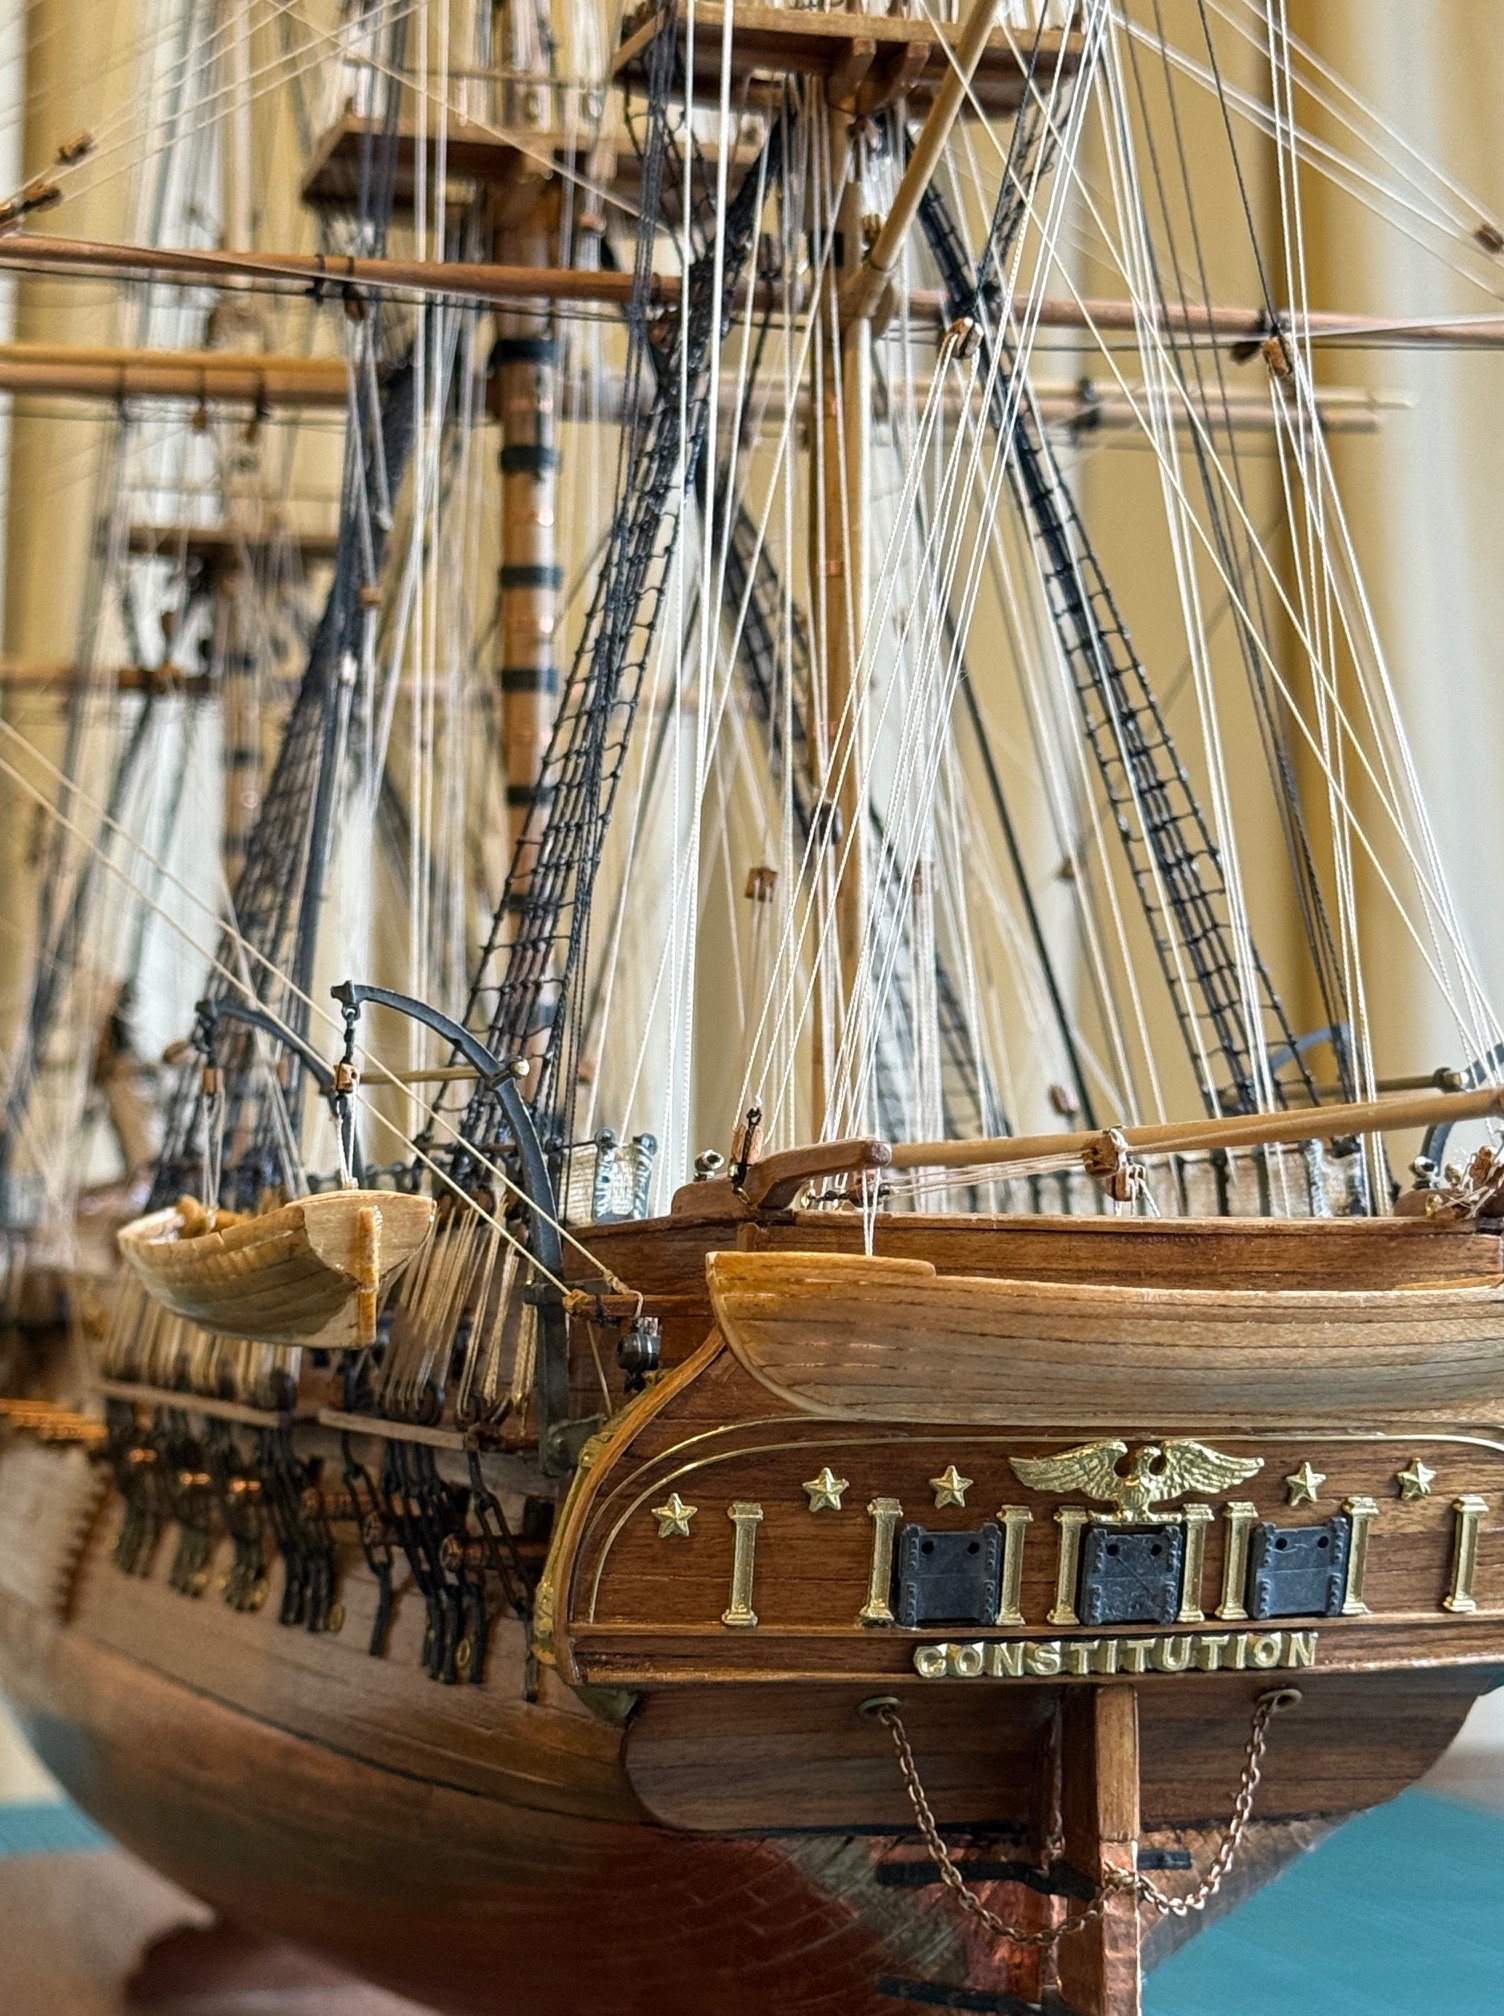
OK, I will break my “no comments” intention already. The rigging is black for standing, and light fawn for moving ropes/sheets. The black background (just a sheet of cardboard) looks good, but the black cables are almost invisible. The running rigging ropes likewise disappear with the fawn coloured curtains as background. Despite that, this one of my favourite shots.
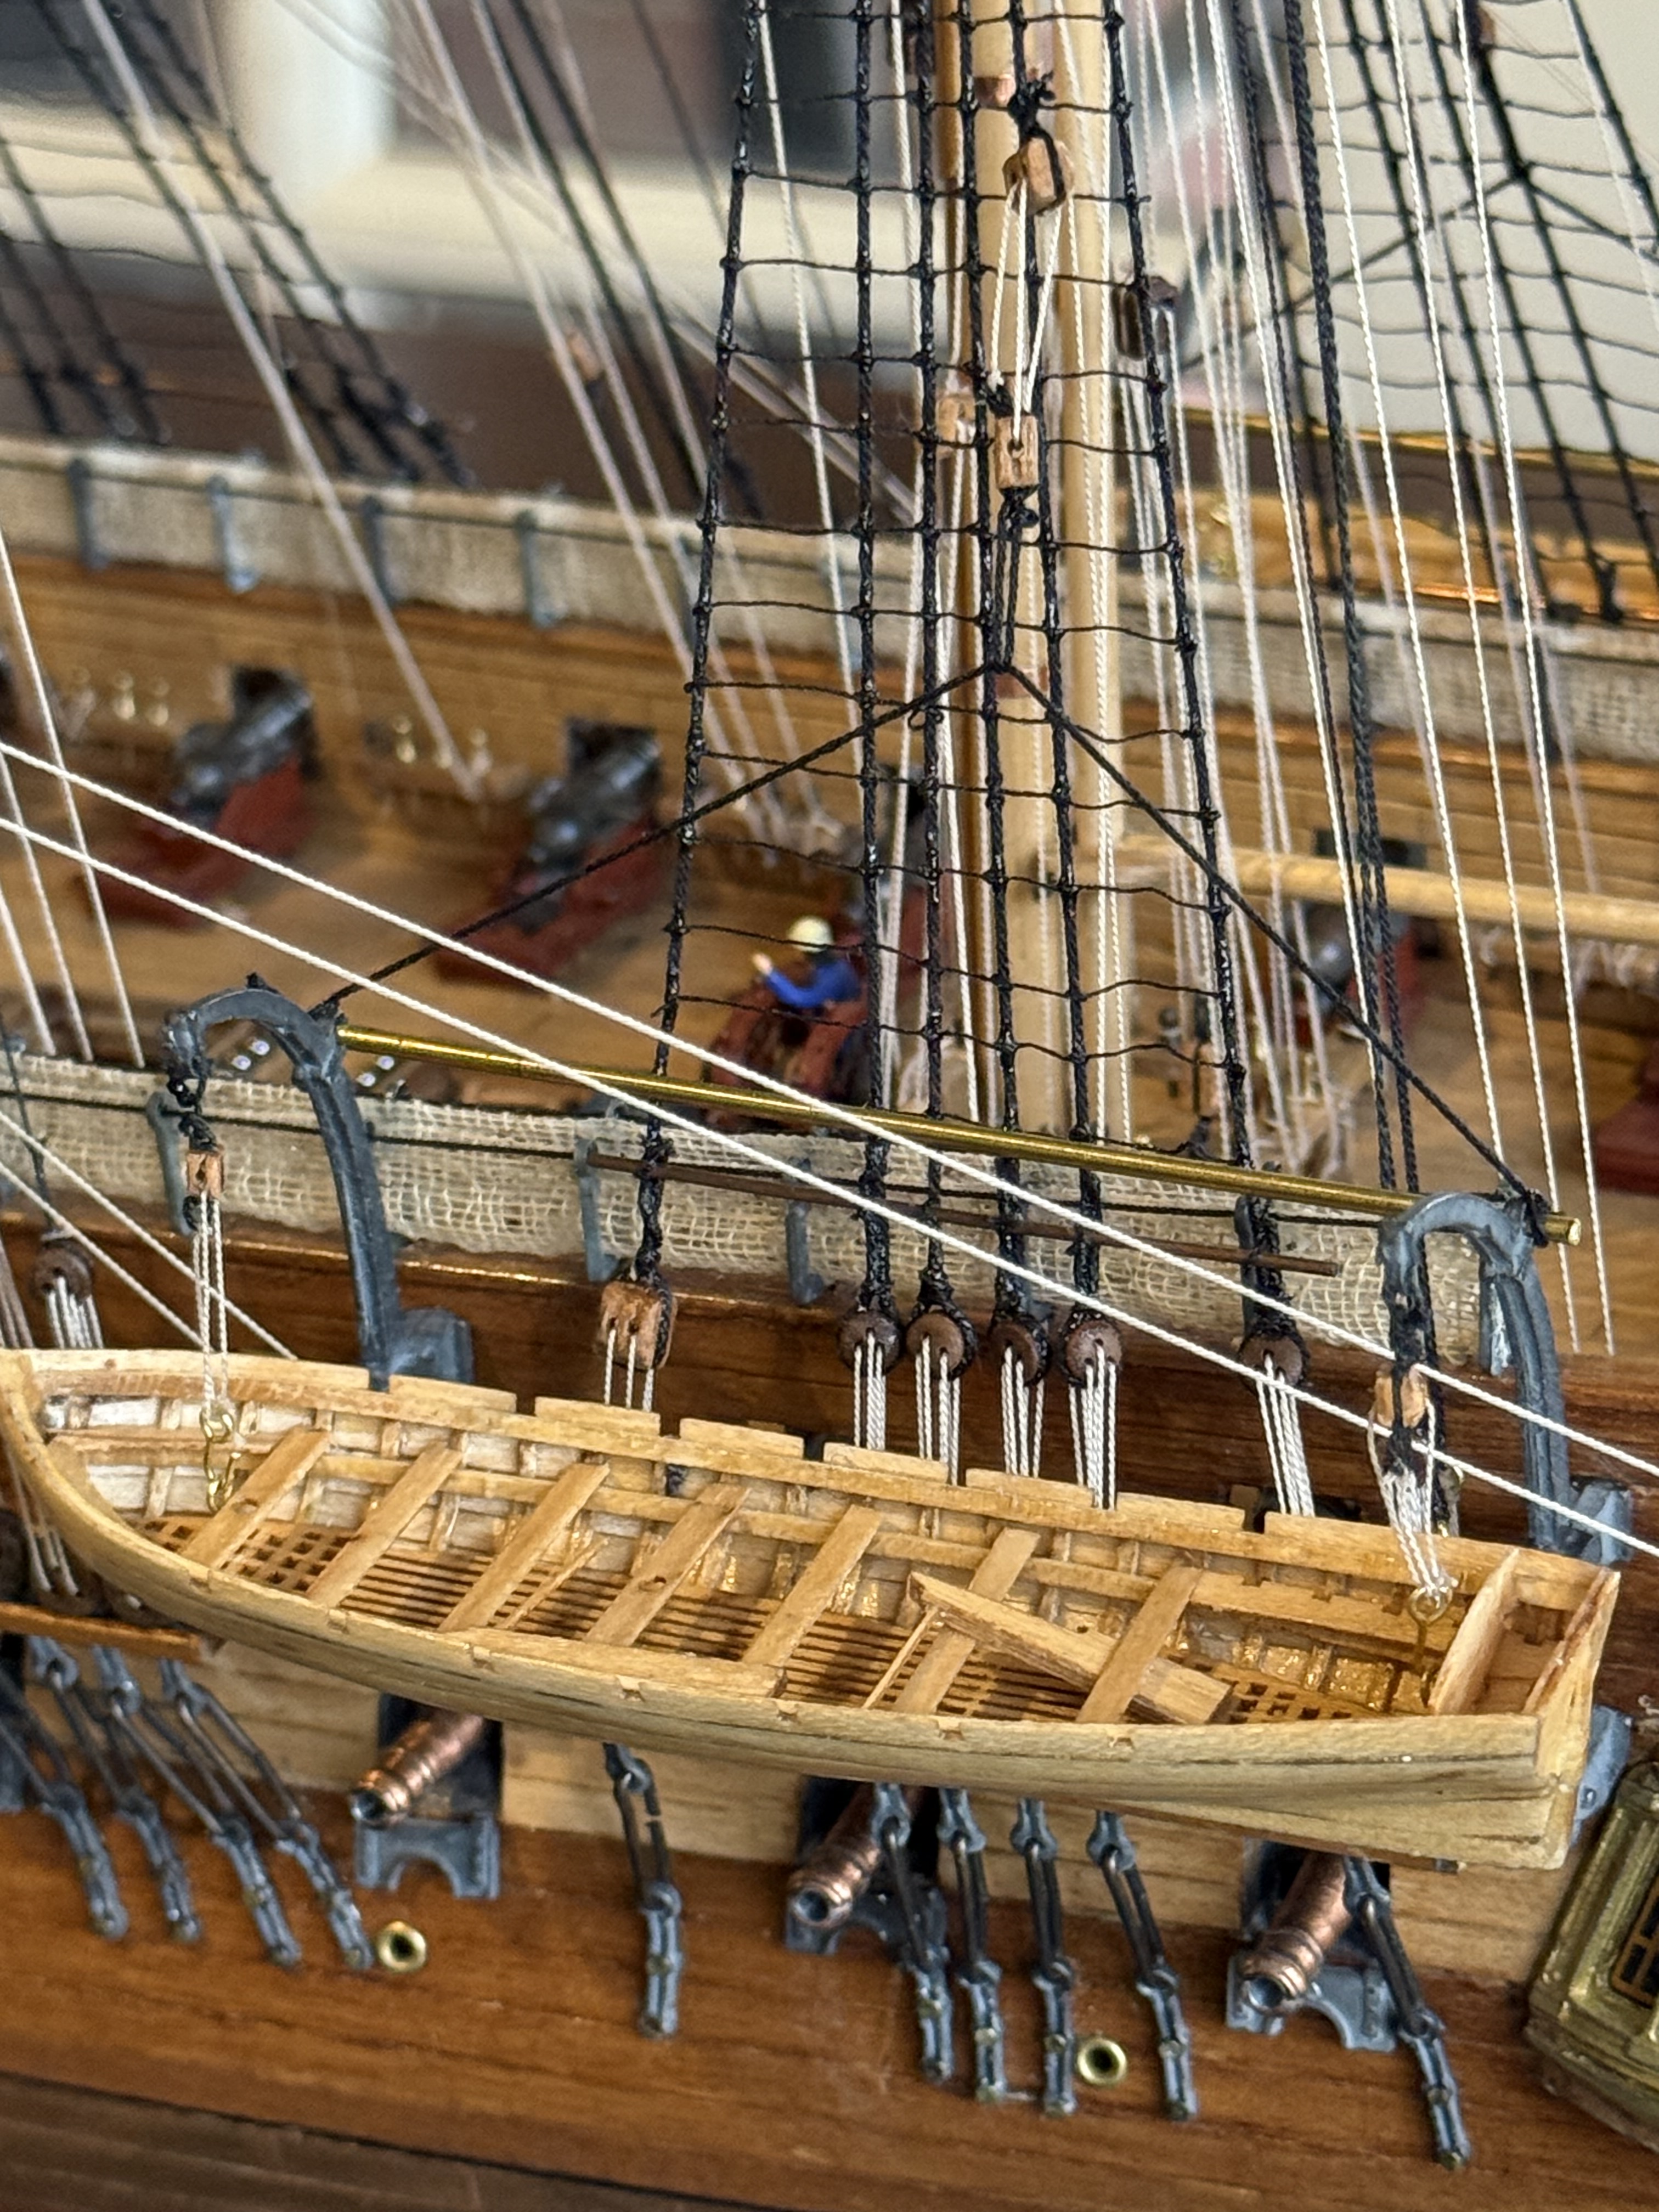
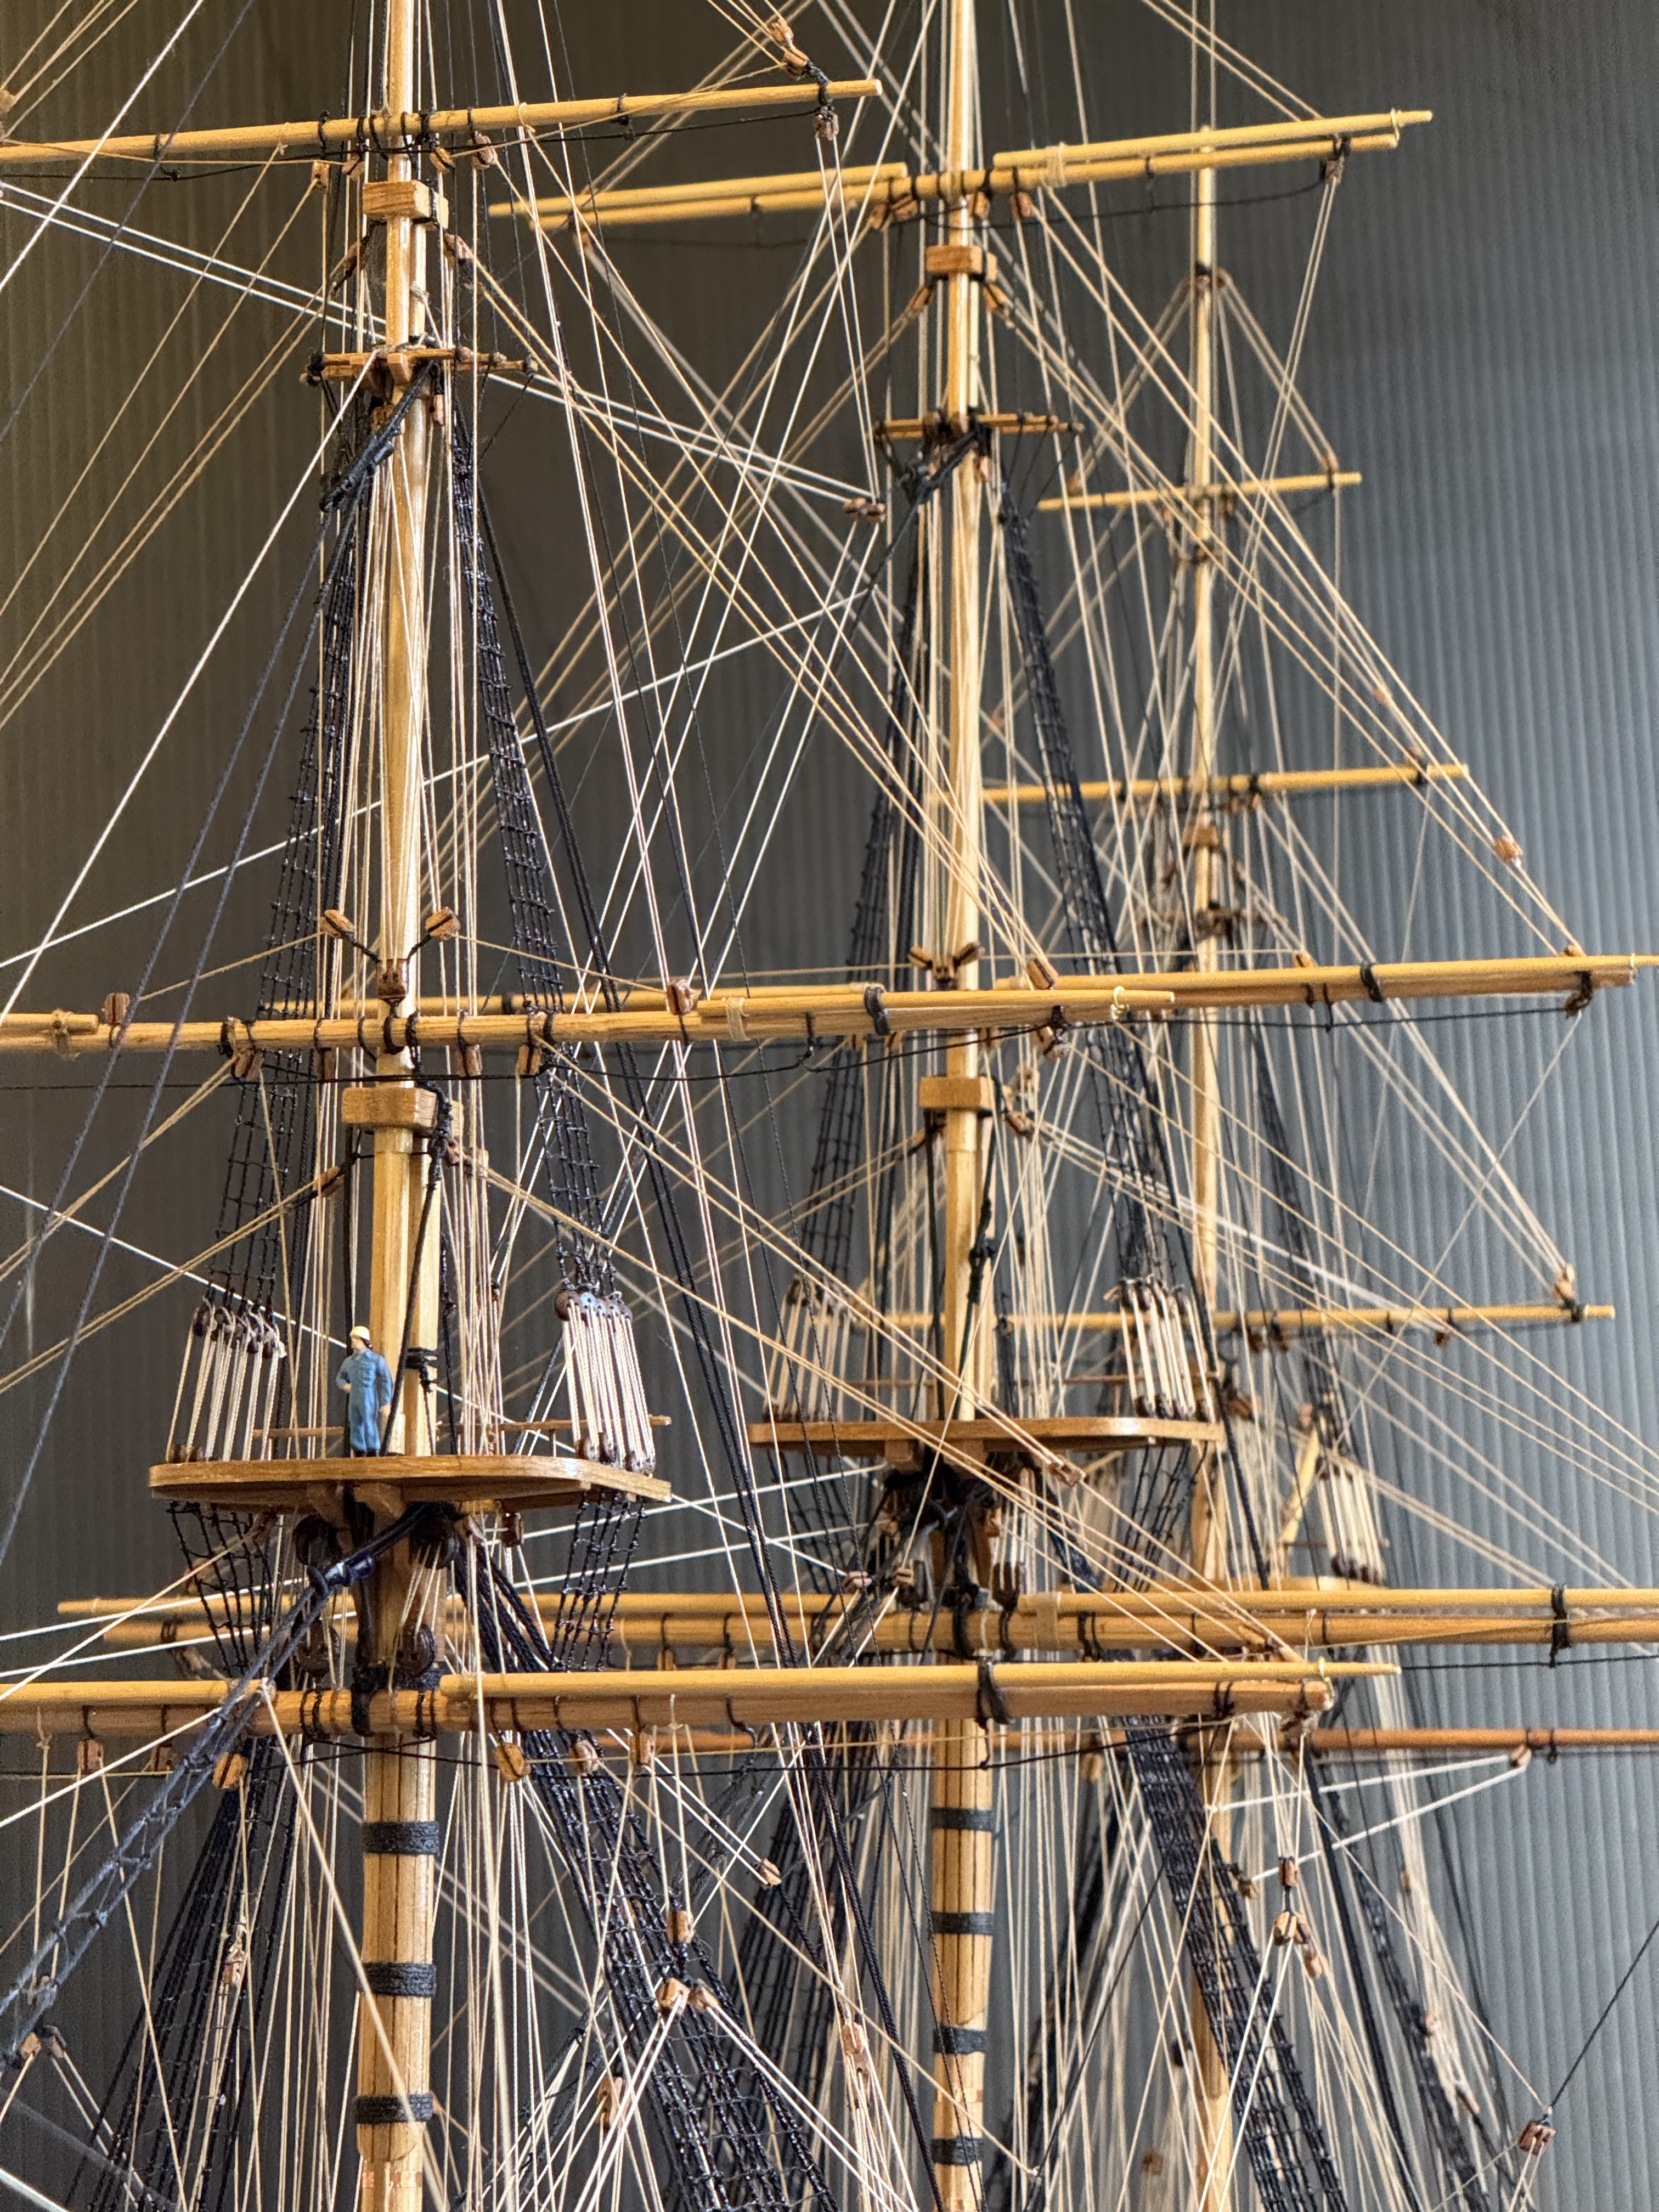
There is a figure on the fighting top, for scale. Approximately. Actually at the scale the figure would be almost 7′ tall. And forget the no comments. I cannot help myself.
The ropes are to scale.
You possibly did not know that 1797 sailors wore modern overalls and helmets?Another large fireman (1:87) pretending to steer the ship (1:93) The copper sheathing IS to scale and IS real copper.
A long time between posts. Sorry. I have been rigging the model Constitution, every day, for the past month. 4-6-8 hours every day. Obsessed and too busy to do anything else, including talking, writing, sleeping, eating.
But, it is now finished. Phew! Almost anyway. And I have taken a few photos along the way.
Mostly it was demanding and interesting.
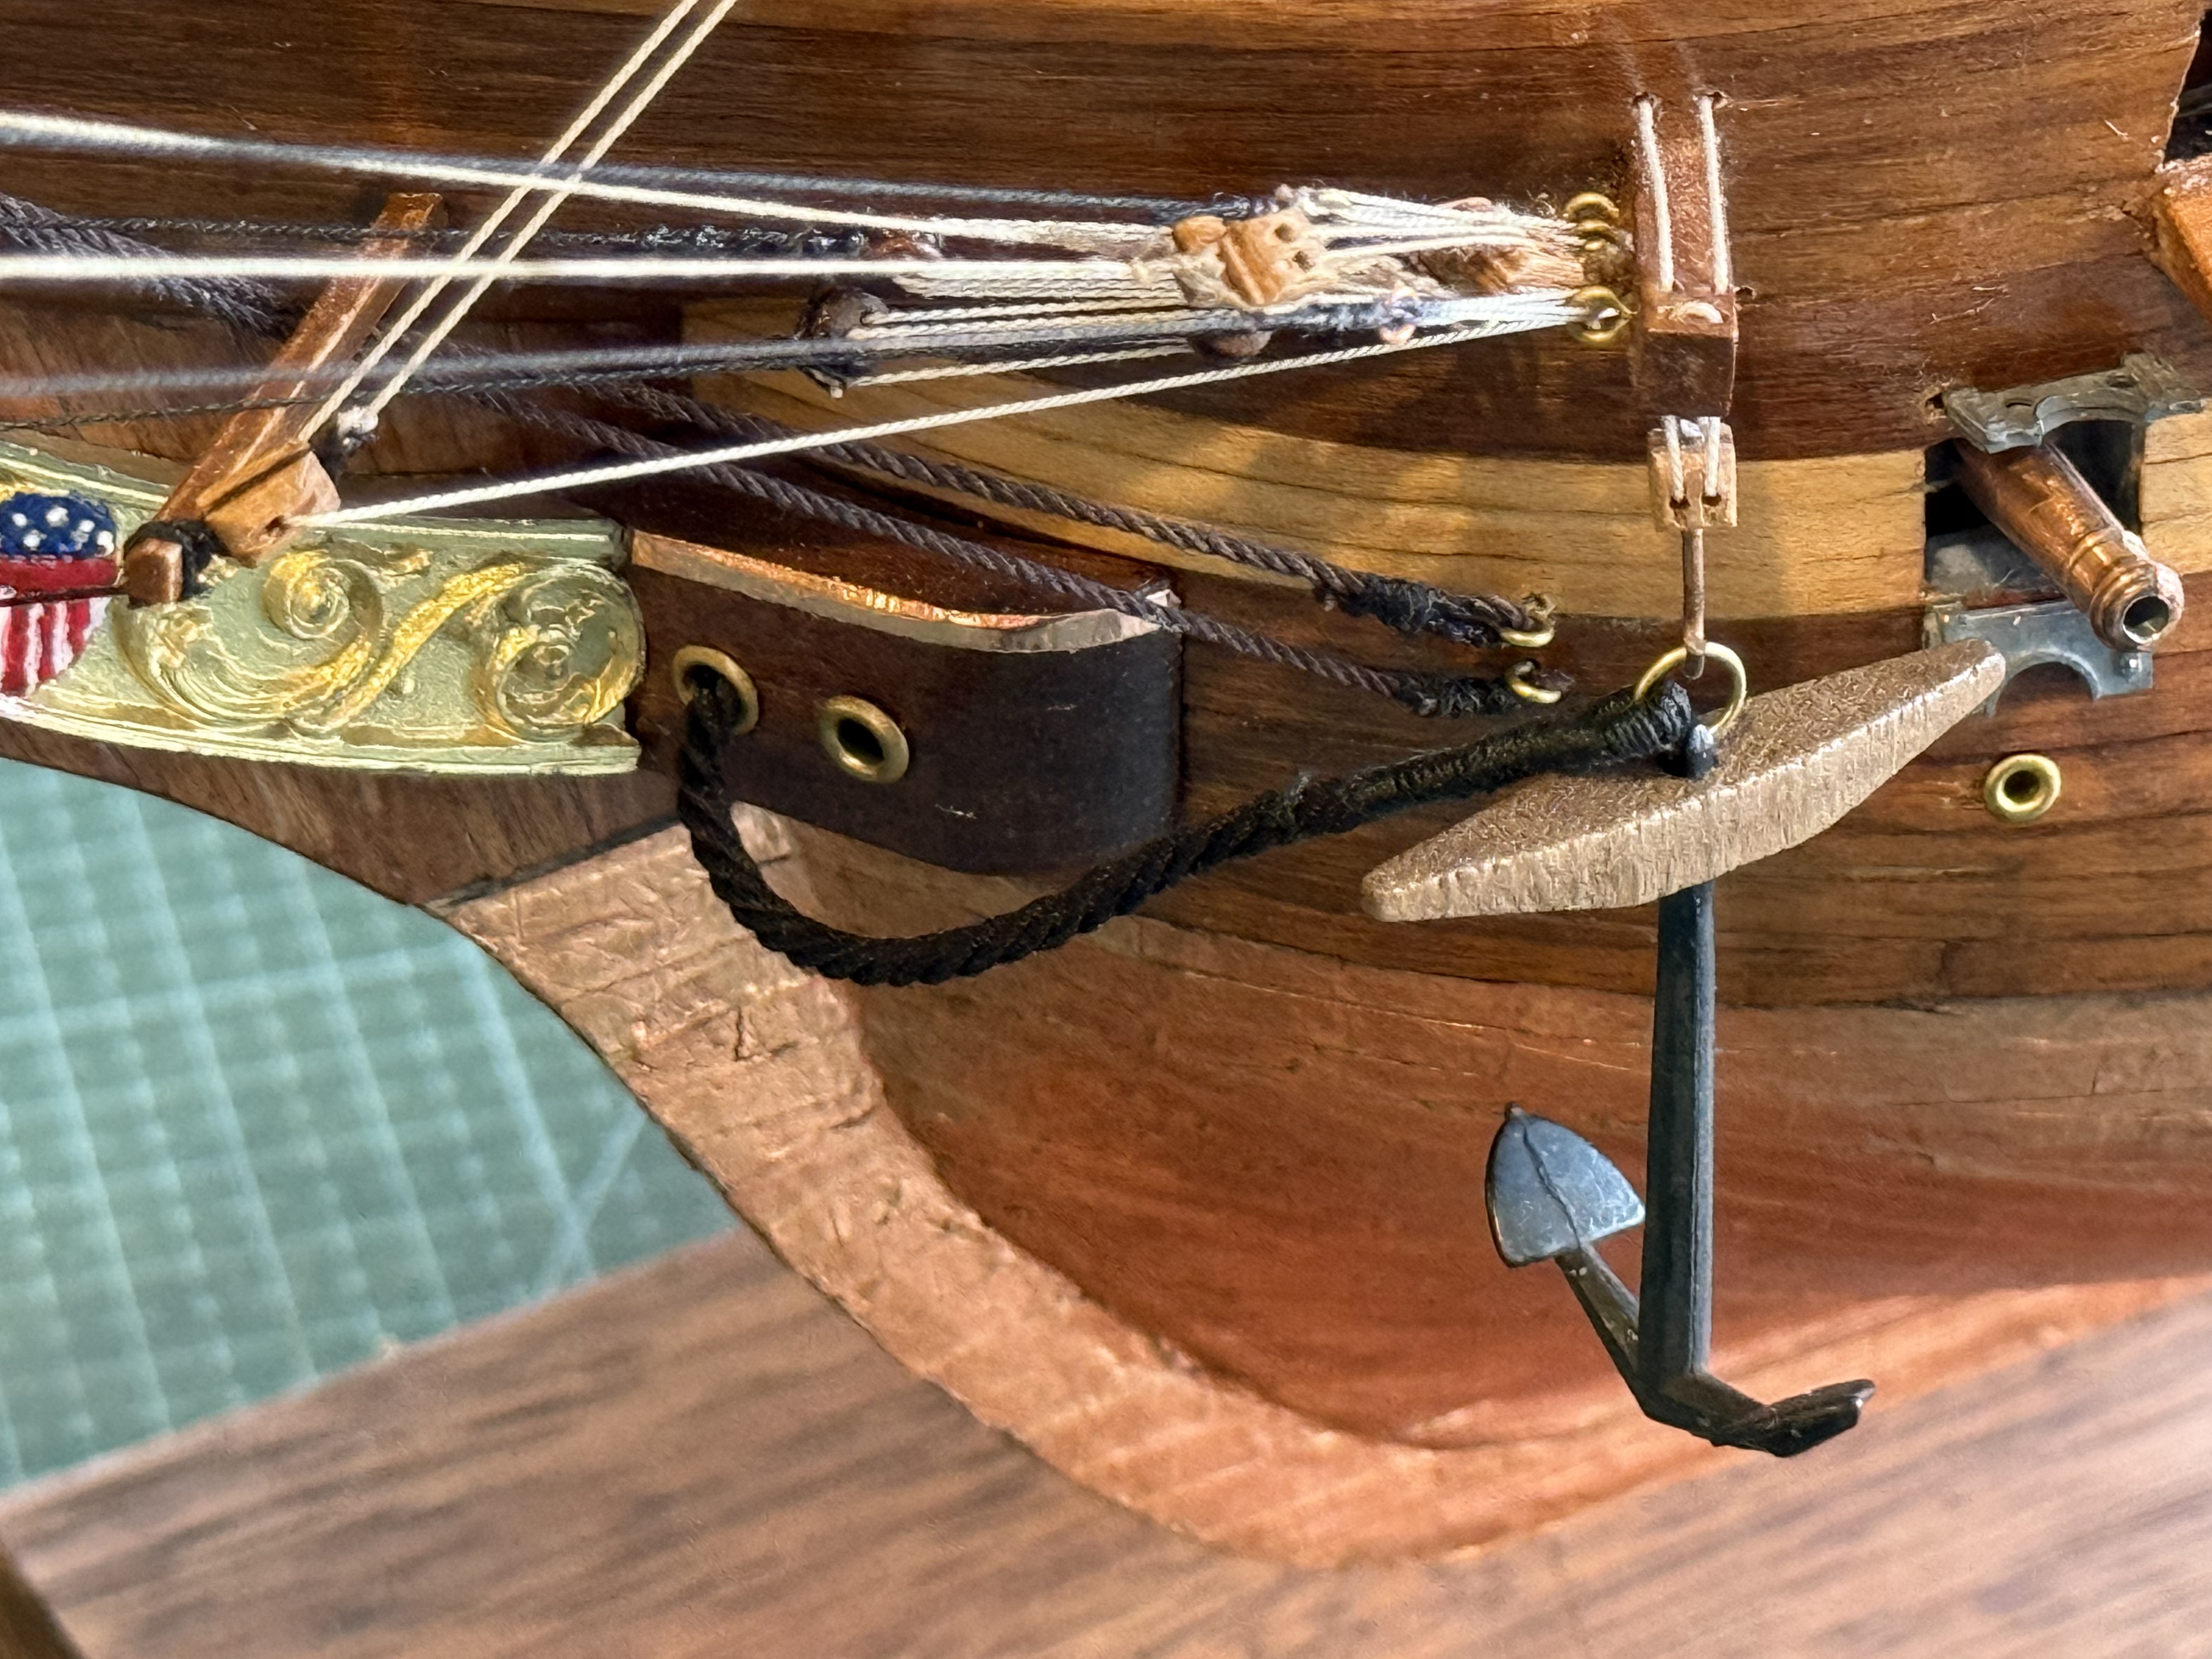
The anchor cables were different from the other ropes which I have made.
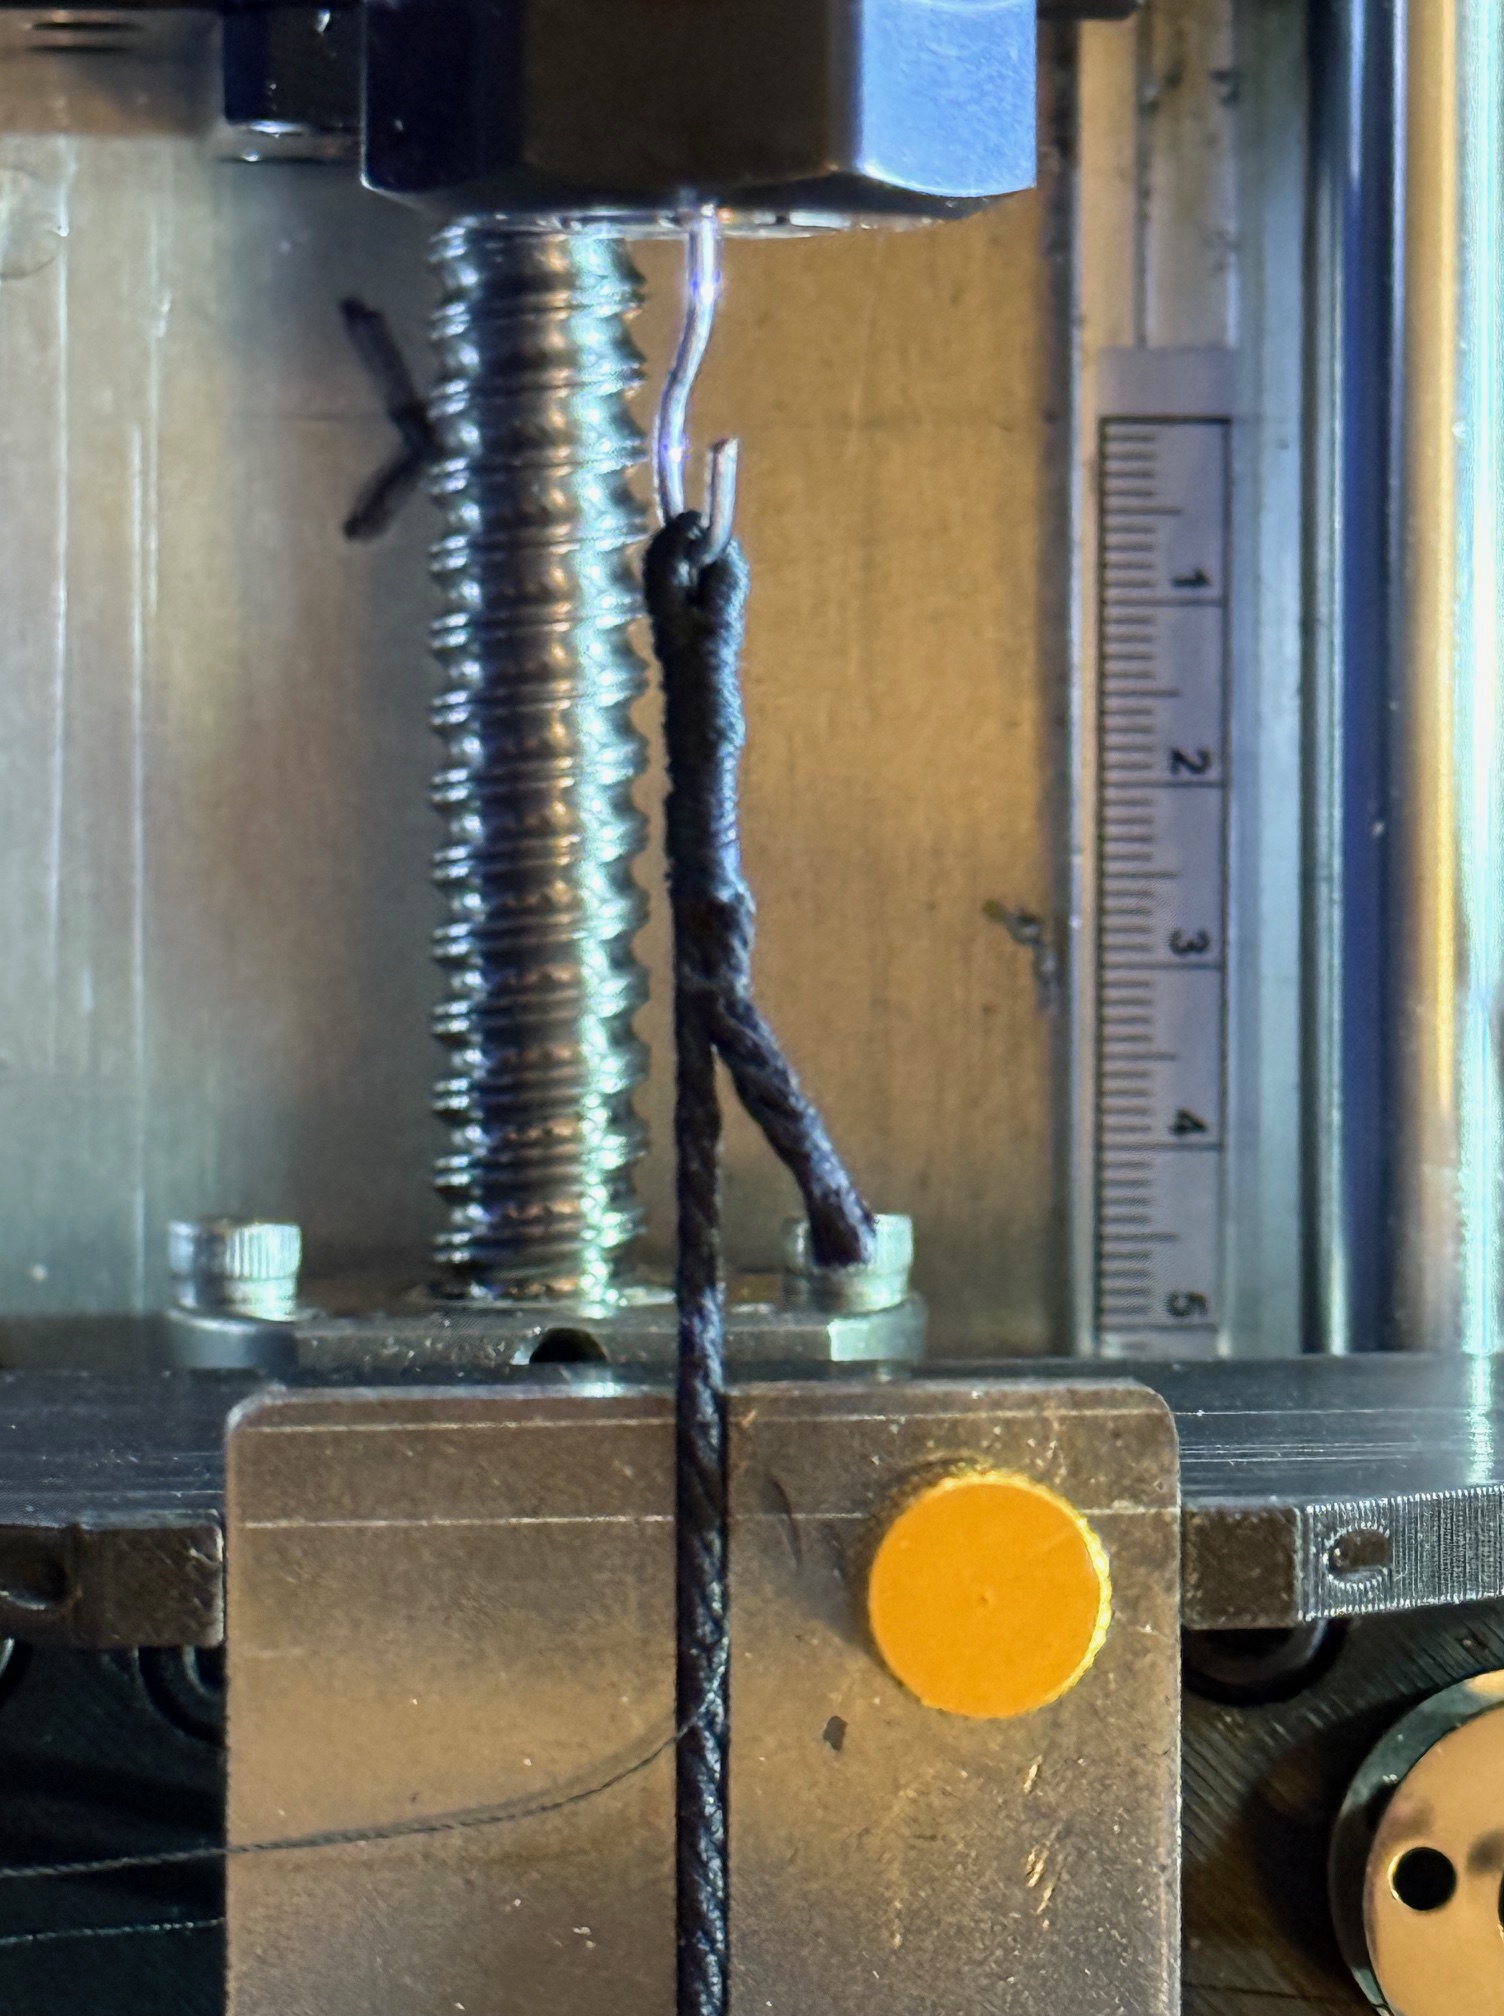
They are the biggest cables on the USS Constitution, 182mm/7+” diameter. On the 1:93 model scale that becomes 2mm diameter!! HUGE!
So I made some anchor cable on my home made rope run. It took several trial runs to achieve the desired size. Anchor cable is left handed Z twist. Research revealed that some anchor cable was tarred, and some was plain hemp. I chose to go with tarred (black) thread. 4 strands, left handed, 12 threads per strand. That was 48 threads times 5 meters = almost 250 meters of walking, just to set up the rope maker.
I made 4.5 meters of cable. Because that is the length of my rope run. But actually I needed only 2 lengths, each about 0.1m long, (so I have plenty left over if anyone else needs some).
48 threads loaded…Some (most) of the 48 Gutermann threads magnified.The threads are twisted into 4 major threads (R hand twist) from the other end of the rope run. During this process, this end, (the looper end) remains still, but the threads shorten by about 10% (450mm). The white foam disk stops the threads from tangling together. The white light is a microscope, which I use to decide when each step is completed.
Then the looper motor is turned on in the left hand direction to combine the 4 threads into the cable. Since it twists the threads in the opposite direction to the previous action, there is an initial lengthening of the cable, then as the looping continues, the cable shortens again. In this photo the cable has just started to come together. I watch the process on the microscope screen, AND the movements of the looper trolley on the tape measure which is stuck to our dining table. The cable starting to form….….. and just about completed. At this point the cable is about 4 meters long.10 diameters of the cable are just under 20mm, which is very close to my target diameter of 2mm.The anchor end of the cable needs to be served. Shown here, with the serving done on my CNC serving machine…..Remember this? My home made CNC serving-seizing machine.To make the loop which joins to the anchor, I tried, unsuccessfully, to seize the loop automatically. But the doubled cable was too thick for the groove in the machine, and I had to feed the thread manually. So it was not perfect. But not too bad. And here is the anchor joined to the cable. You are asking how I joined the fully formed cable loop to the closed metal ring?I chose to leave one anchor dangling from the cathead, and the other is lashed to the hull. Another two spare anchors are lashed to the hull amidship.
The rigging is complete.
At this time I feel that I will never try to rig another 3 master. Considering my eyesight, fumbling, shaking and impatience, it was a real trial. But thankfully it is finished. Not perfectly by any means. But it will do.
I will post some photos of the rigging, next post, soon.
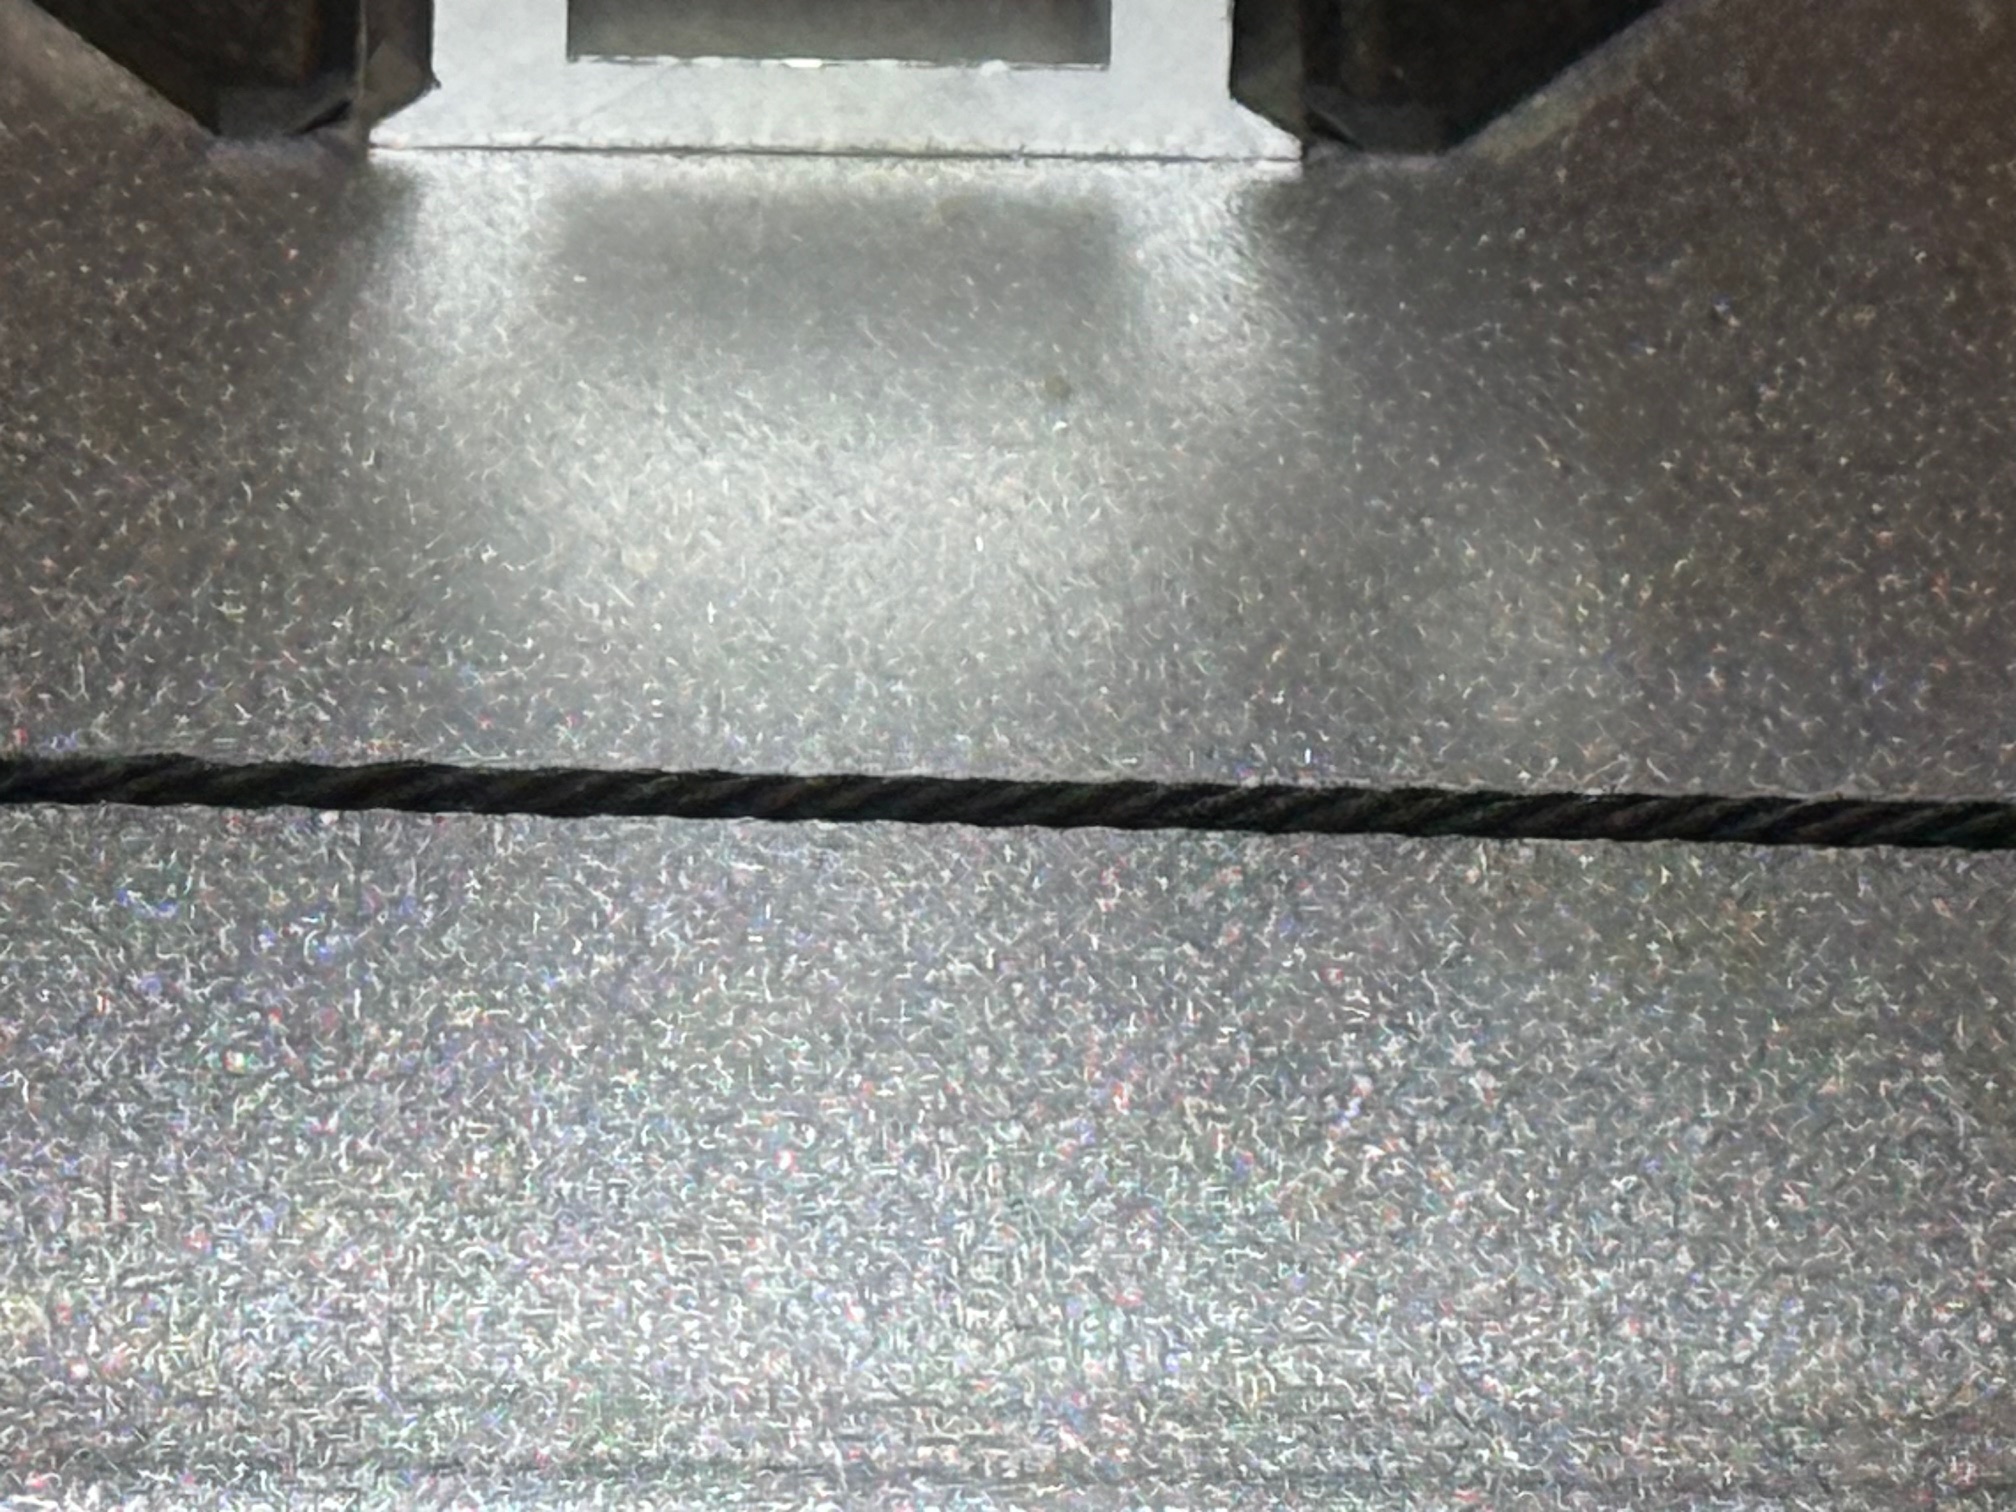
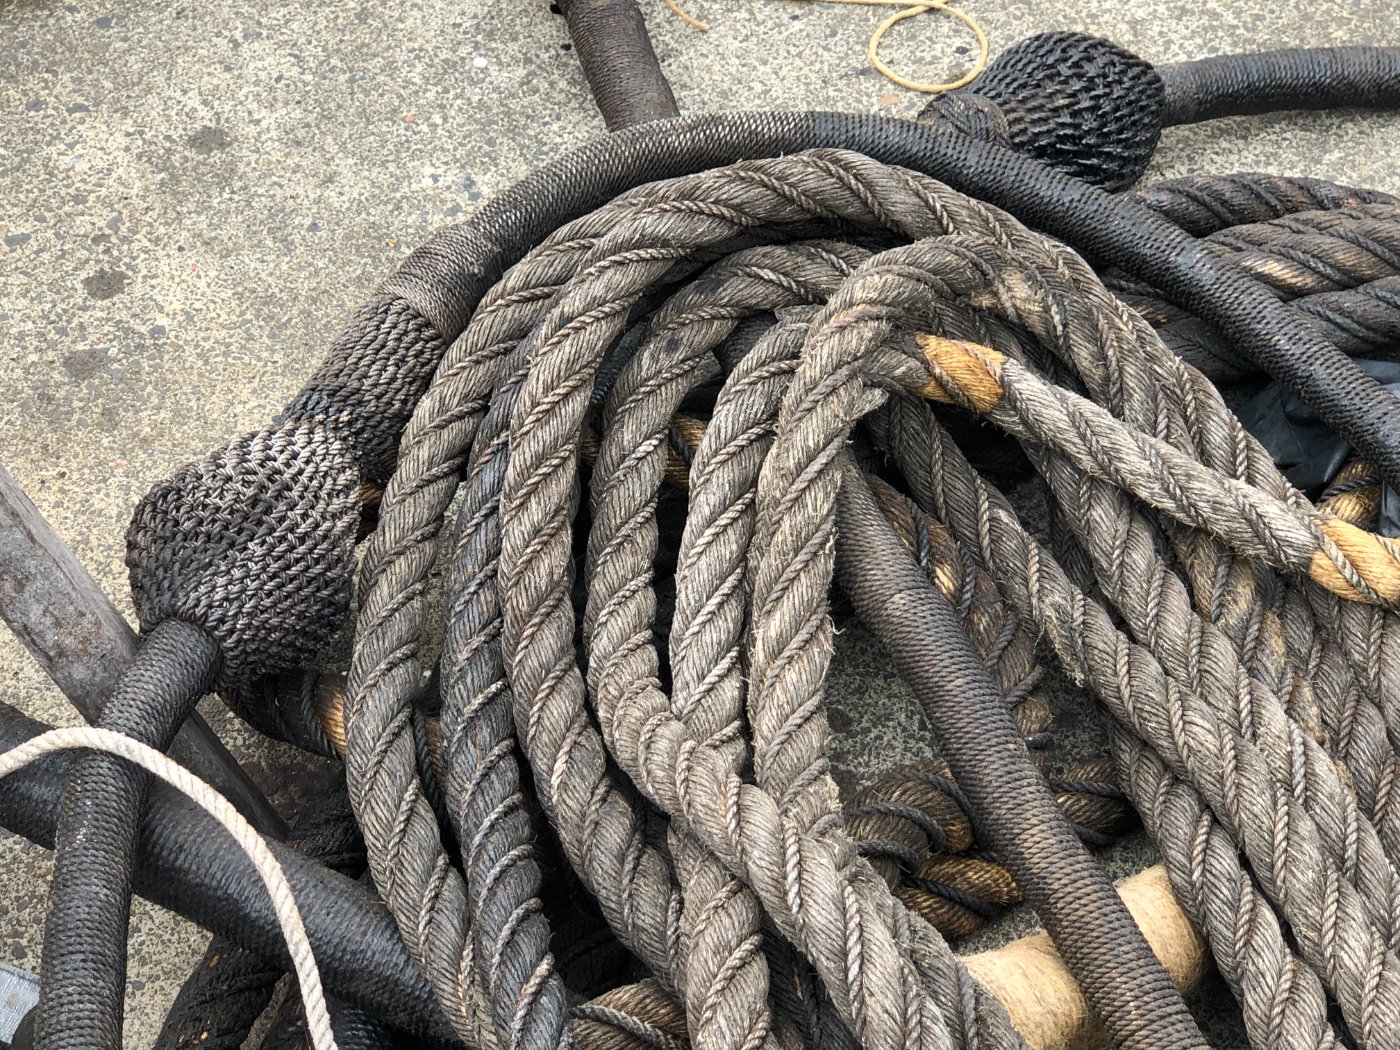
p.s. Real anchor cables of the 1797-1812 era were wormed.
Rope from the Endeavour replica displaying worming. n.b. this rope is right handed and is therefore not a cable.
I feel a bit bad that I did not worm the model Constitution anchor cables. Not sure that I feel bad enough to redo them.
p.s. note added 7 Nov 2025. No-one has picked me up for not adding a central core thread to the cable, which full size 4 strand cables would have included. I did not use a central core thread because 1: it would not be visible and 2: at this model scale the central core is not necessary. It was included in full size cables to fill the inevitable void in the center of 4 strand cables which would otherwise have held water, shortening the cable’s life, and also allowed one of the 4 main strands to partially collapse into the centre, distorting the cable and possibly weakening it. In any future 4 strand model cables I WILL add a central core strand because now that you know about it I would be criticised, no?