
Frigging the Rigging
Since the previous post I have been tying ratlines to the shrouds. The ratlines were the horizontal ropes which were tied to the shrouds, forming rope ladders.
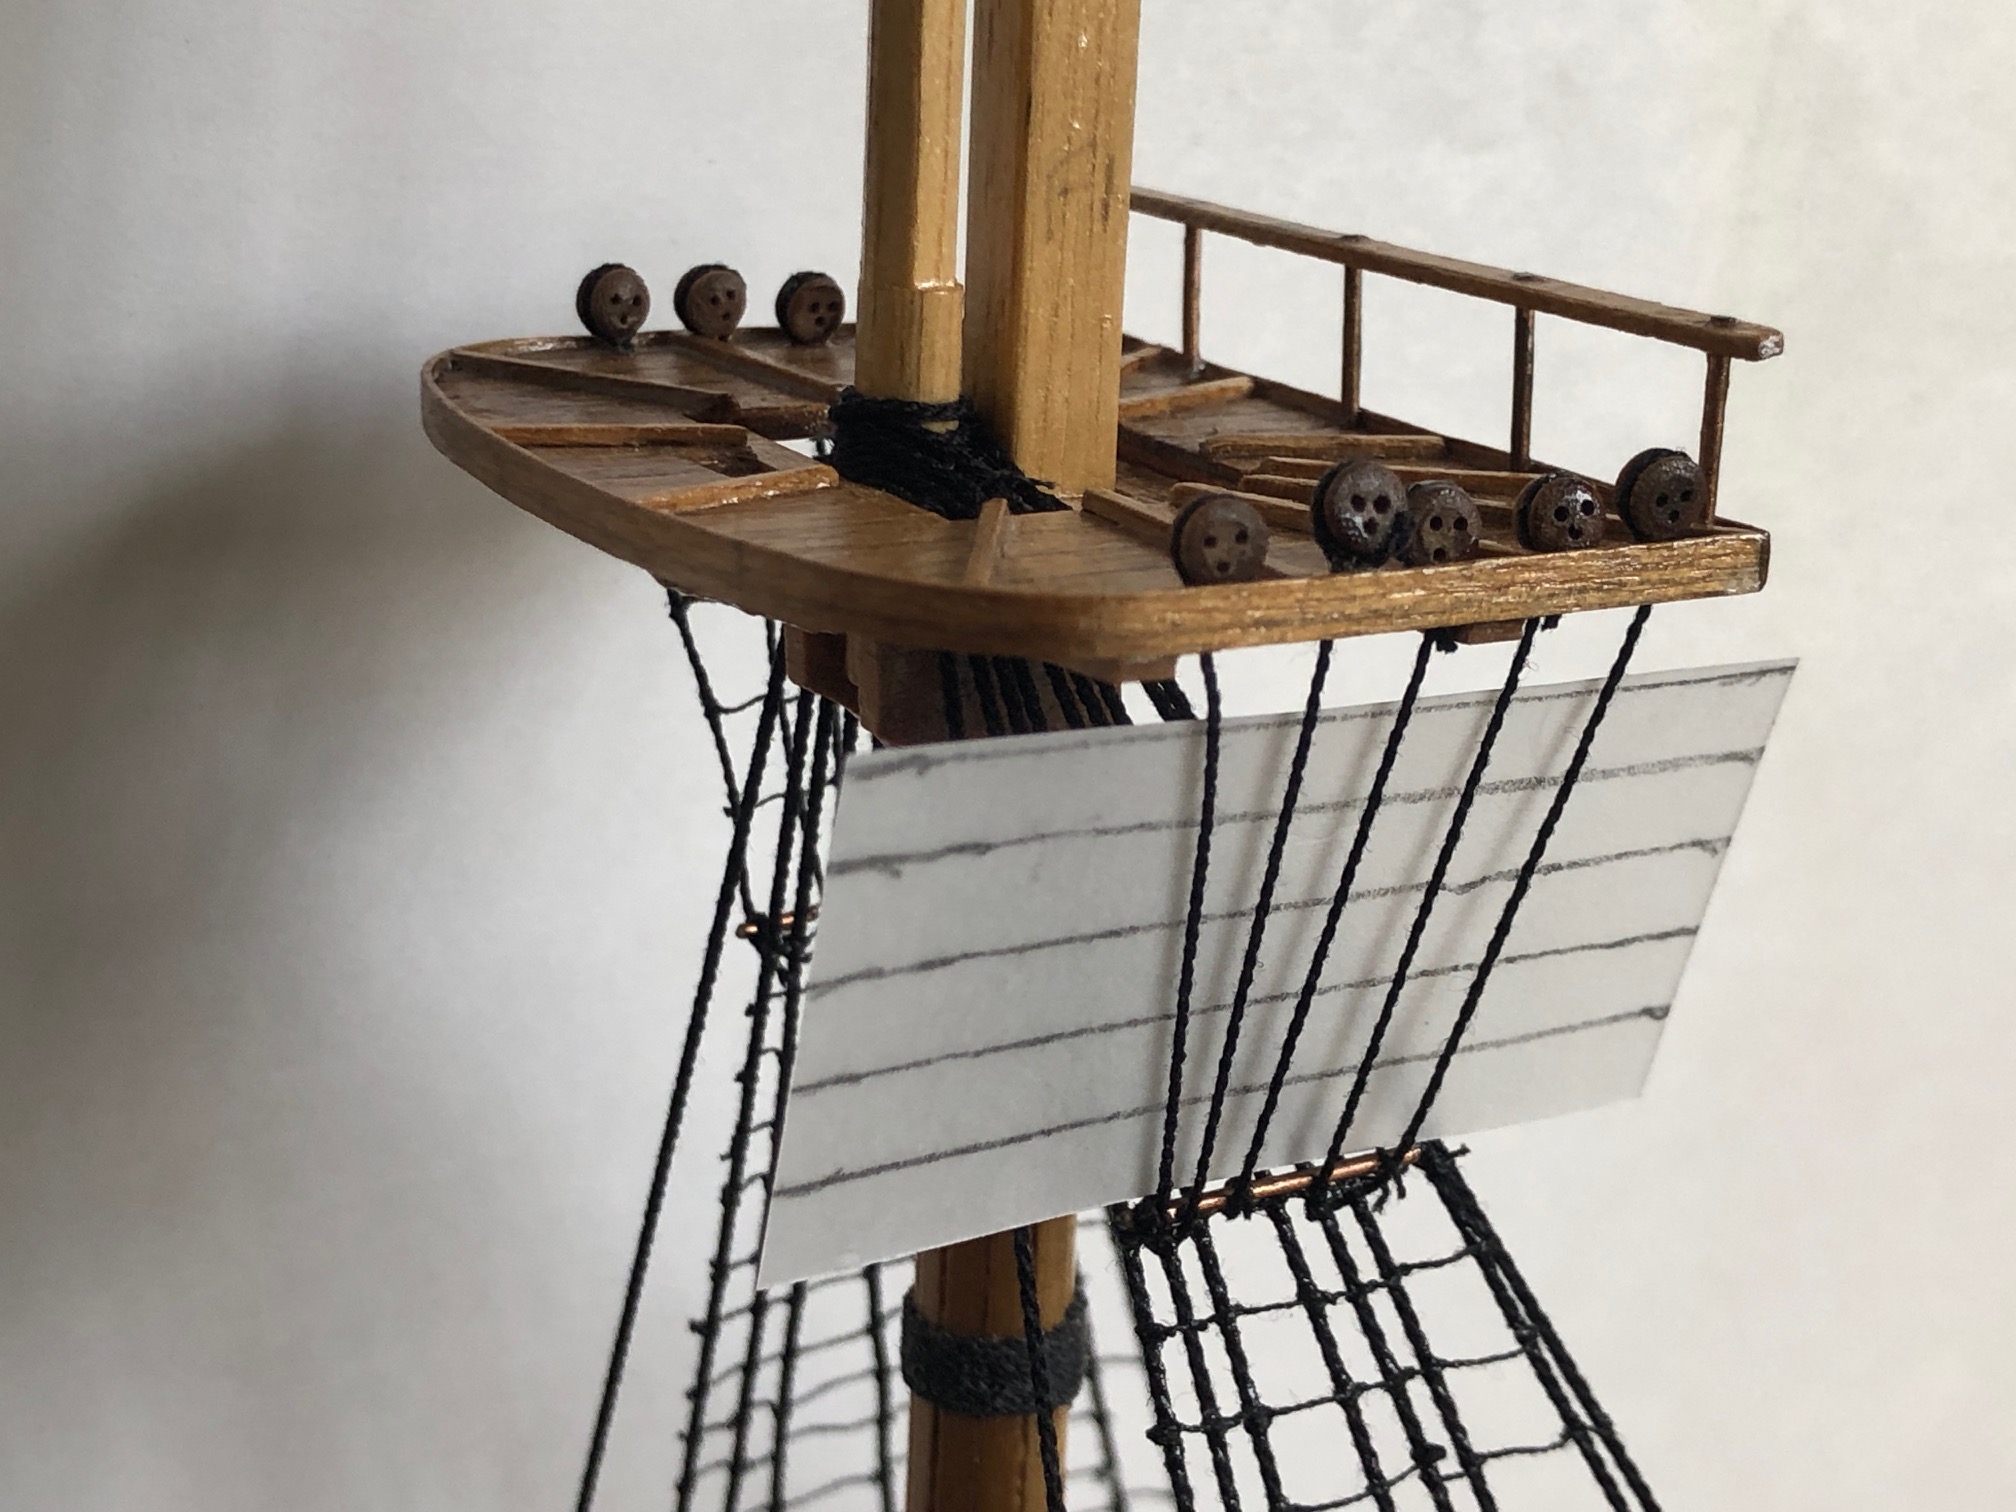
In the full size Constitution, the ratlines were spaced 13-14″ apart. Each ratline was tied to 7 or 8 shrouds with a clove hitch knot to each shroud. In the 1:93 scale model, I placed the ratlines 5mm apart. Theoretically, in the model, the ratlines should have been spaced 3.8mm apart, but I cheated slightly, placing the ratlines at what would have equated to 18″ in the full size ship. If I had followed the Mamoli plans, the ratlines would have been even further apart.
Even with that cheat, it took me 3 full days to place the ratlines on the lowermost section of the foremast, working at my limits of eyesight, patience and dexterity. And using some of my microsurgical instruments, which I had retained after retirement for just such a use.
It was not an easy task.
I could not do this after sundown. I did try, but the results were so horrible that I restricted this job to daylight hours. And I used magnification, a headlight, and superglue to secure each knot.
It is more than 10 years since I performed my final surgical operation. And it was quite a shock to realise that I had forgotten how to tie surgical knots. It did not take long to reaquire the skill, performing hand ties, instrument ties, left handed, right handed, two handed and single handed ties. Keeping tensions applied during the tying. Routine stuff for an active surgeon. And it felt good to be doing them again, even though the patient was a non complaining model ship.
When I was a surgeon I was proud of my surgical skills, particularly my suturing. I taught many medical students and junior doctors how to suture and how to tie knots. It was not a part of the medical curriculum to learn suturing. Med students are just expected to make the effort to learn how to suture and tie knots from books. With the result that many doctors never learned these skills properly. And even some experienced surgeons never understood the difference between a “granny knot” and a properly performed surgical knot. They got by using multiple throws, rather than properly performed knots with just 3 throws.
Anyway, I reminisce and digress.
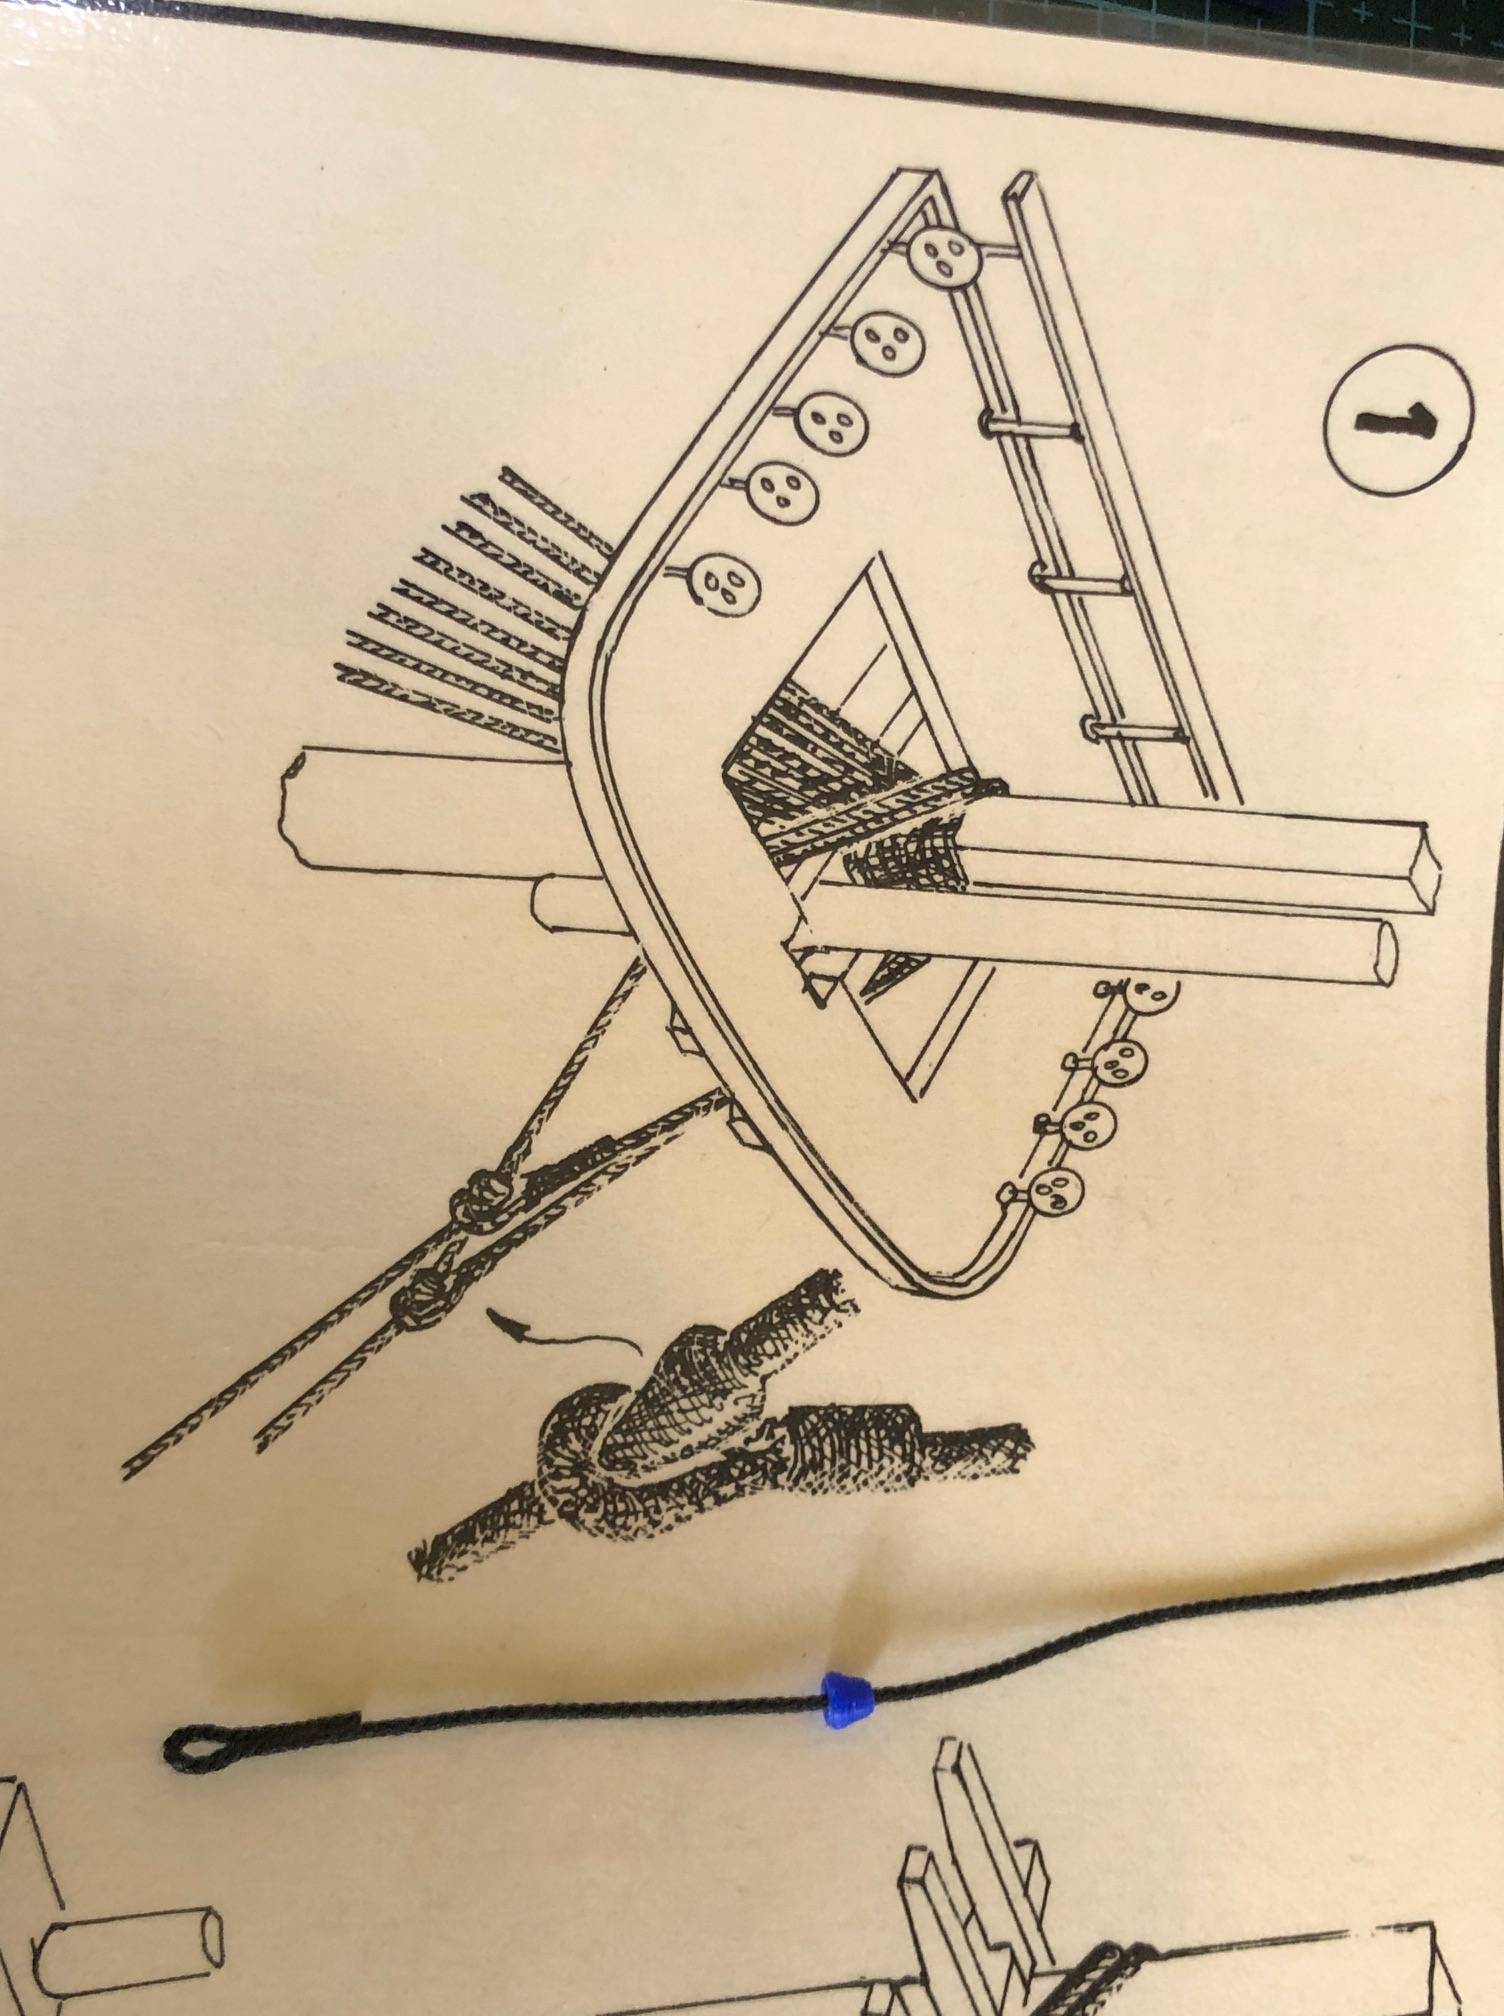
Each row of the ratlines involved 7 or 8 knots, and took about 10 minutes. There were 25 ratlines per side, say about 200 knots per side for just the lowermost section of the foremast, per side. Plus the futtock shrouds and their ratlines… another 25 knots per side. Say around 450 knots altogether, for the lowermost section of the foremast. And each knot has to be formed without distorting the shroud, remaining horizontal with the waterline, (not with the keel. Most sailing ships of the period were “stern draggers” where the keel was deeper at the stern than the bow).
And I secured each knot with a drop of CA glue. Just to be sure to be sure.
I was not totally happy with the end result. It was just OK. But it will have to do.


p.s. about 3 weeks later. I did not post this for some reason. But here it is, a bit late.
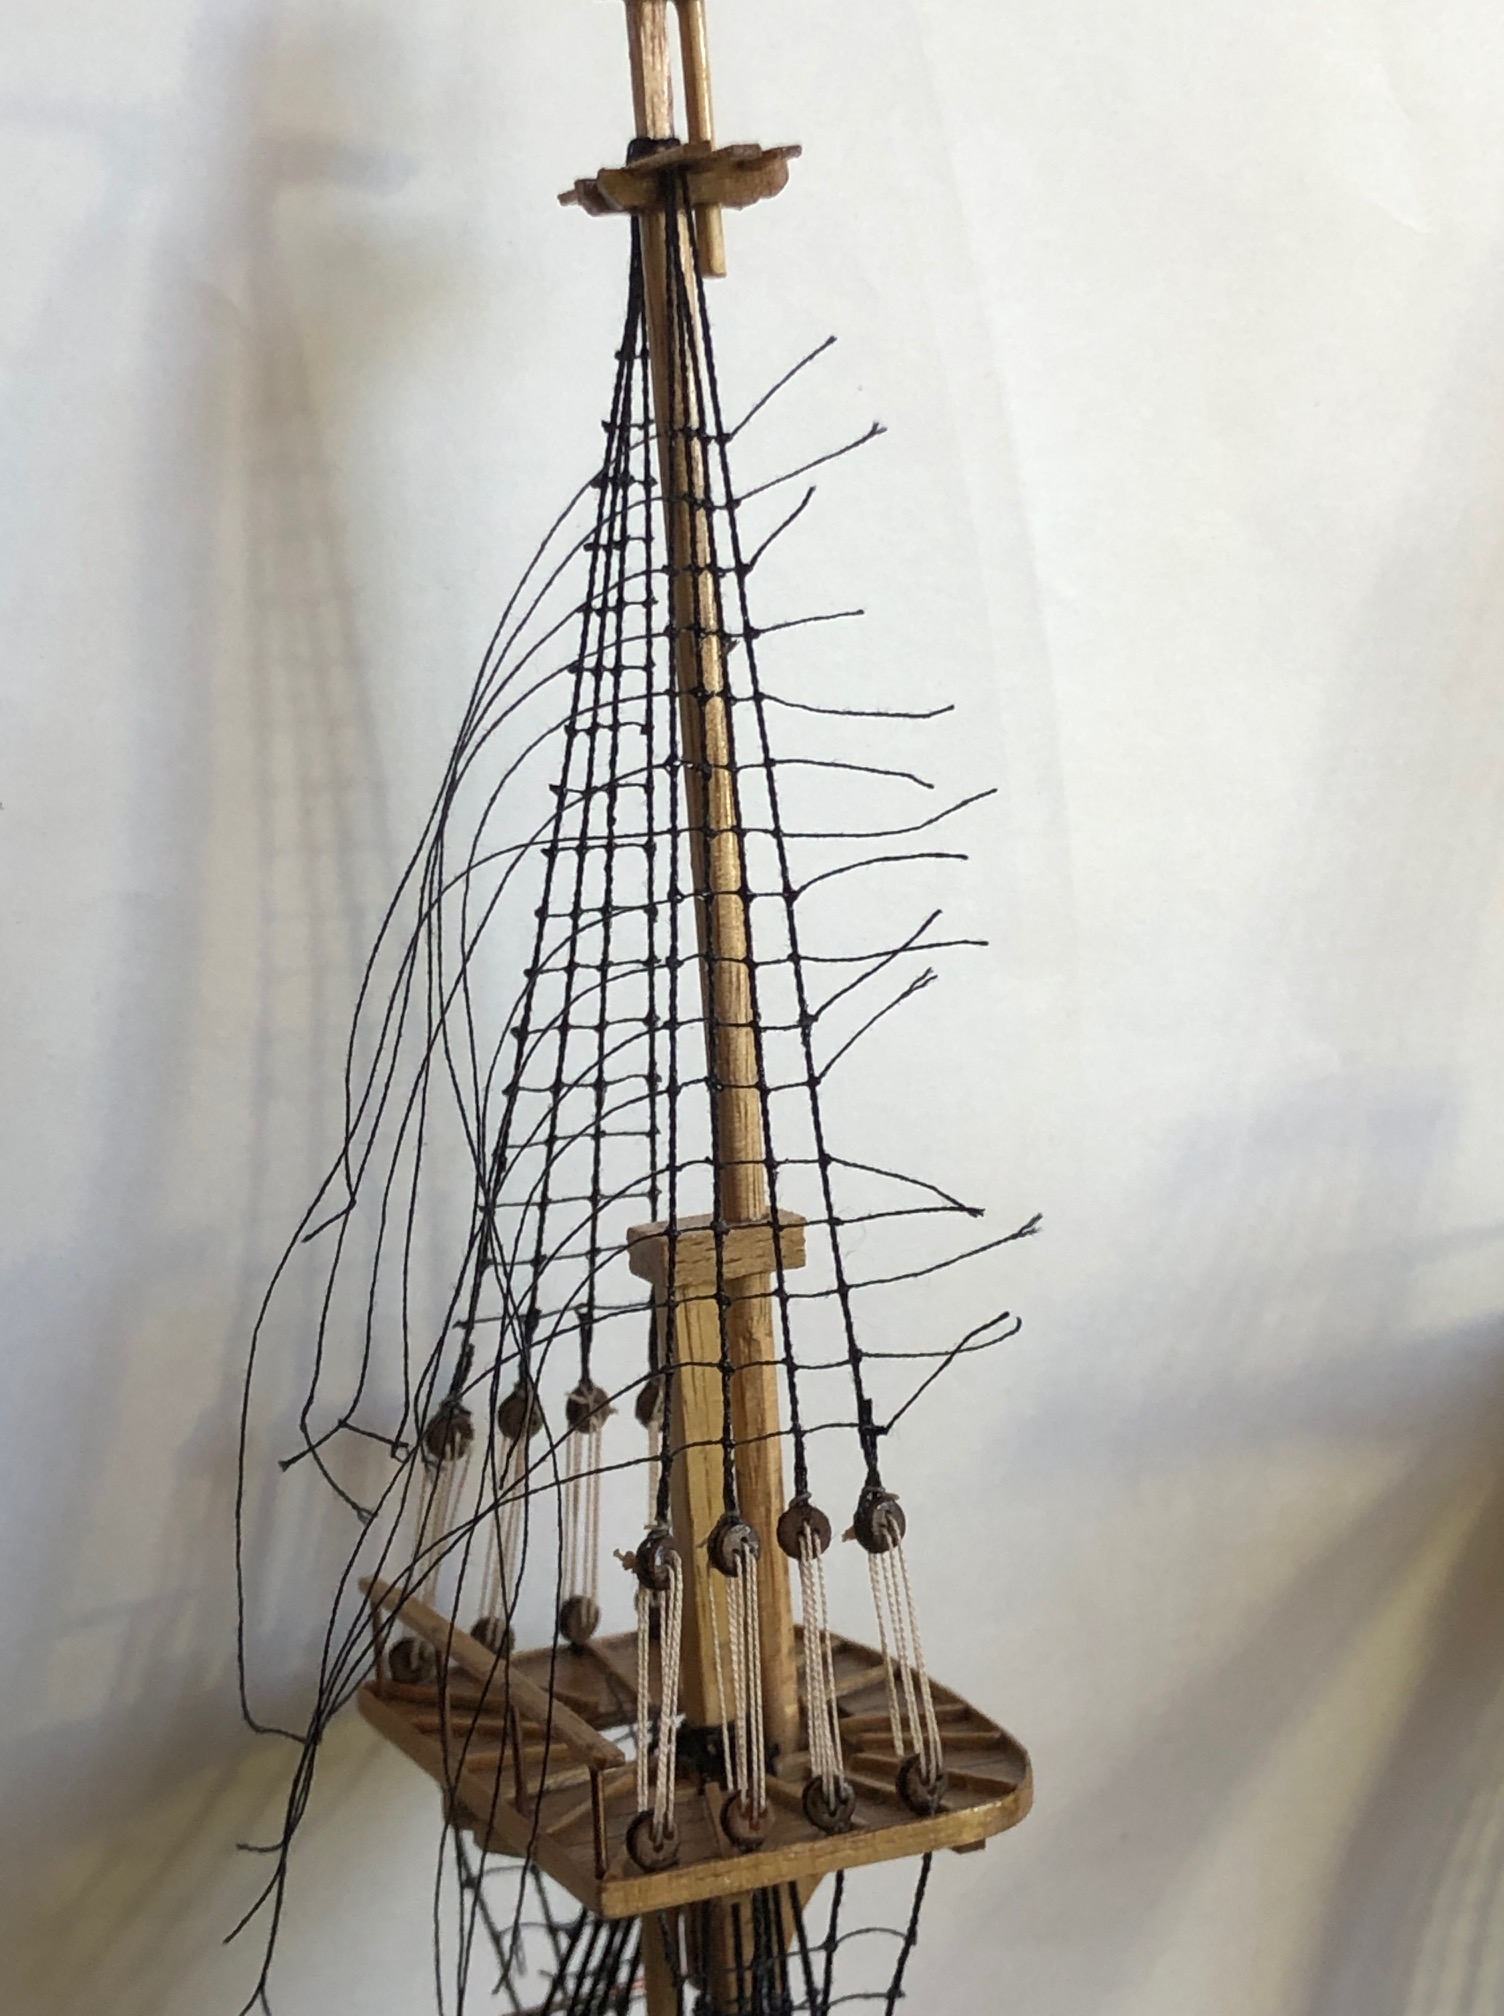
Actually, the truth is that the photos reveal a major mistake in the rigging which I probably should not reveal. Experienced ship modelers will see it no doubt. But the recipient of this model will almost certainly not, and is not a reader of johnsmachines.com.
Anyway, the rigging has made further progress since then….
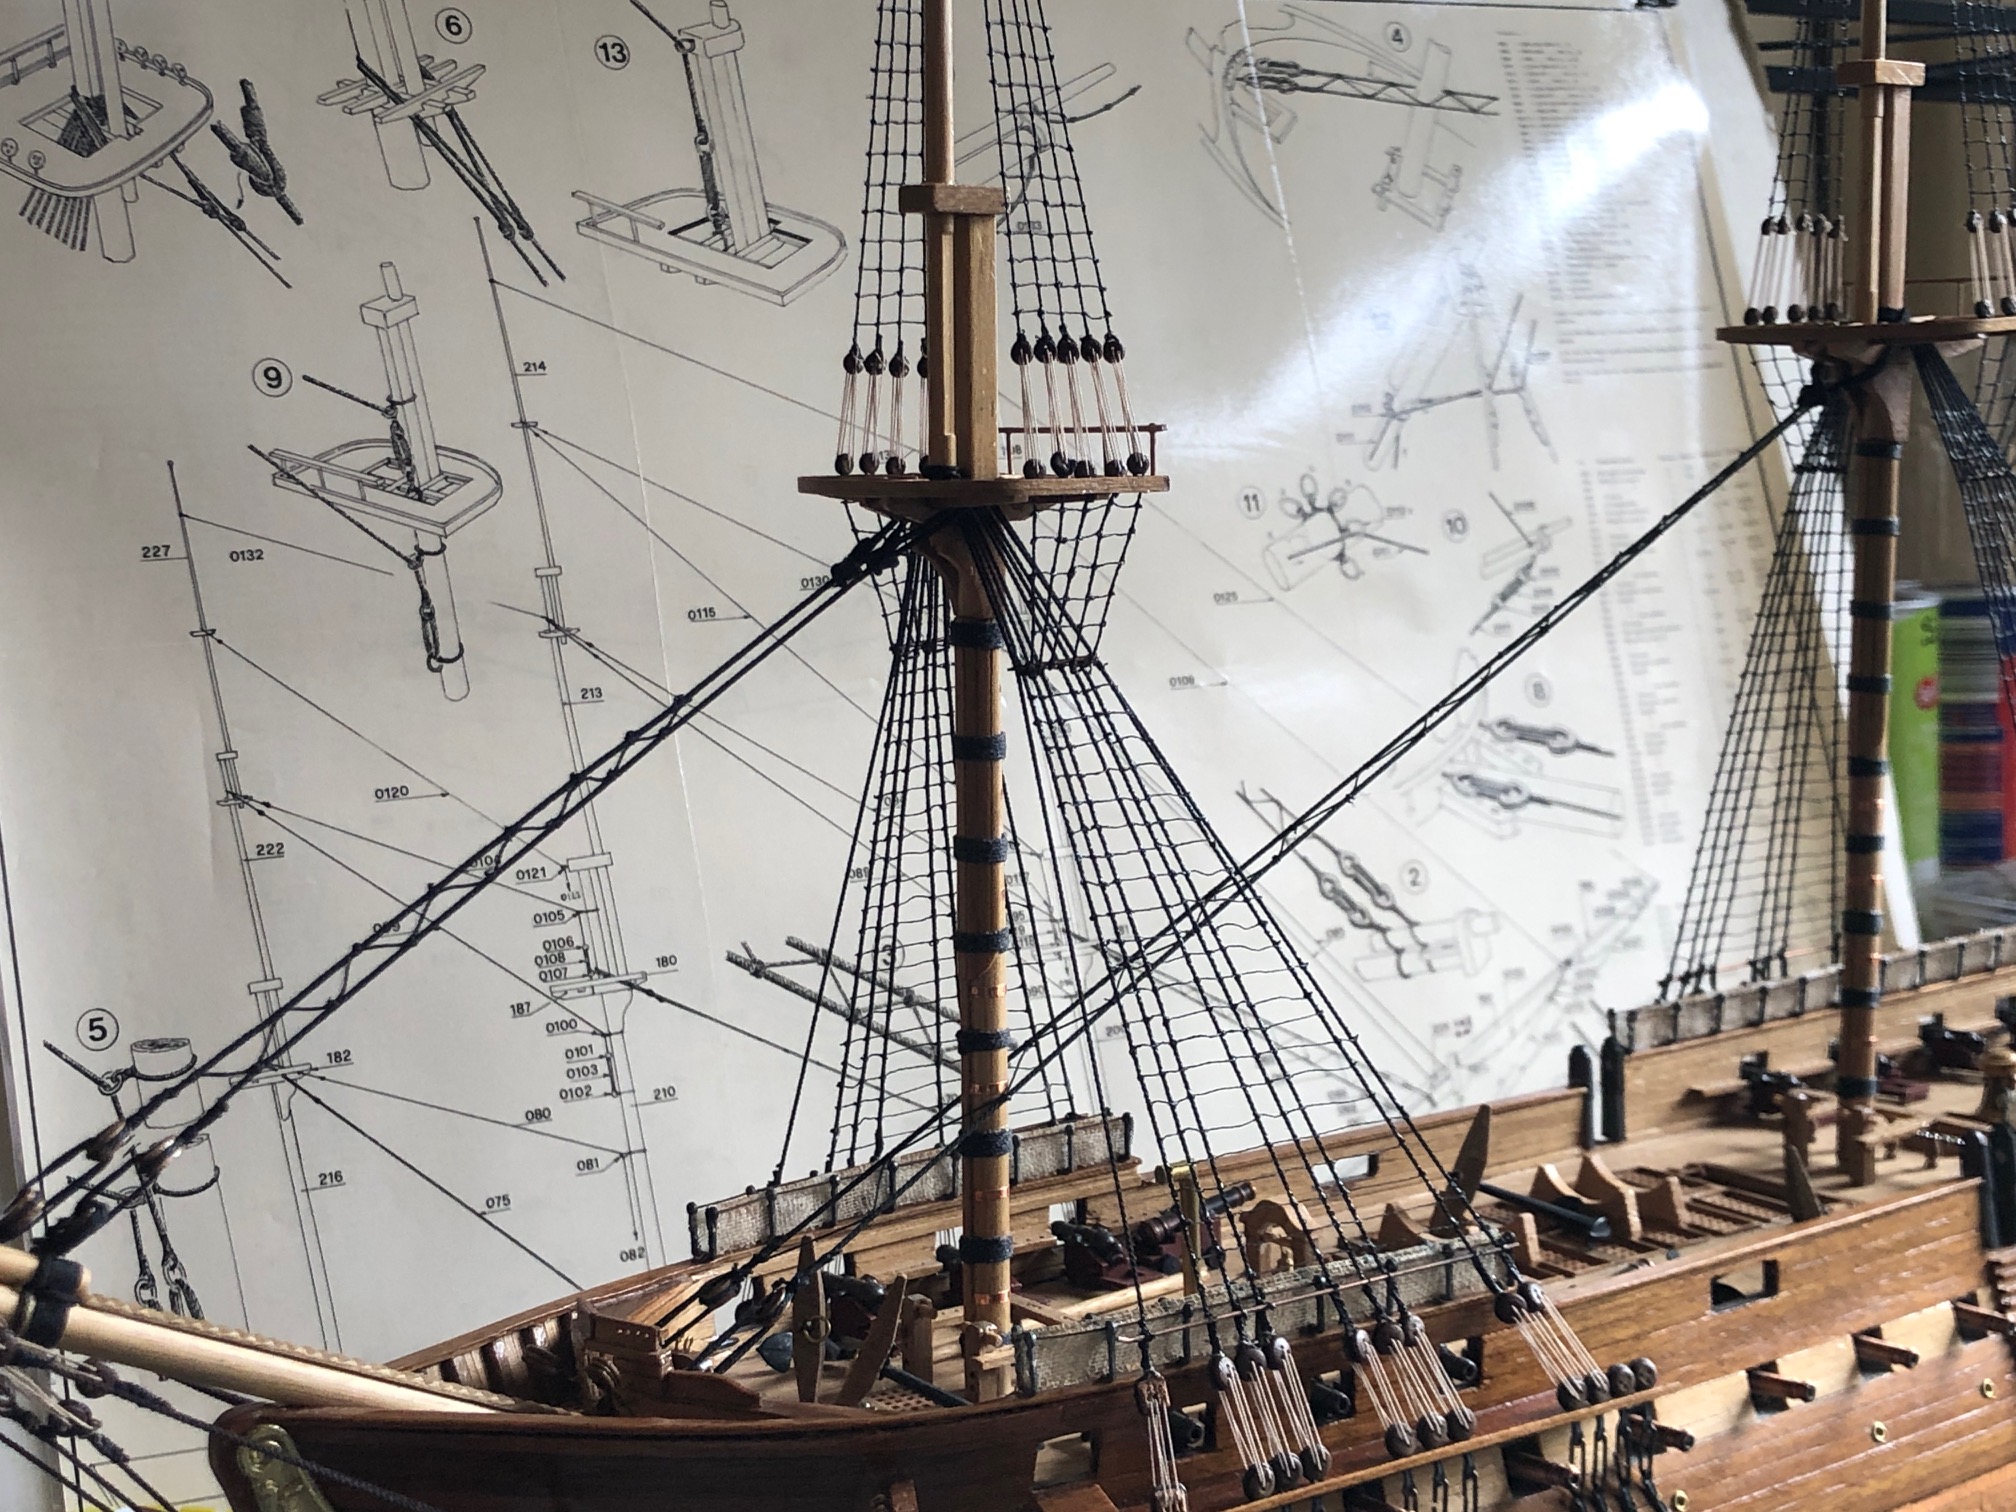
The shrouds and ratlines are finished on the 3 masts. About 2000 knots. All ropes made at home. No more major mistakes but quite a few small ones. Notice the snaking in the fore stays? After I attached the snaking on the foremast forestay I discovered that it is too heavy. The snaking on the mainmast forestay is correct. That is fixable without too much bother, just a couple of hours extra.


Just to remind you what my seizing-serving machine looks like…..

And the frigging of the rigging continues….
