johnsmachines

machines which I have made, am making, or intend to make, and some other stuff. If you find this site interesting, please leave a comment. I read every comment and respond to most. n.b. There is a list of my first 800 posts in my post of 17 June 2021, titled "800 Posts"

Tag: welding

New Gates

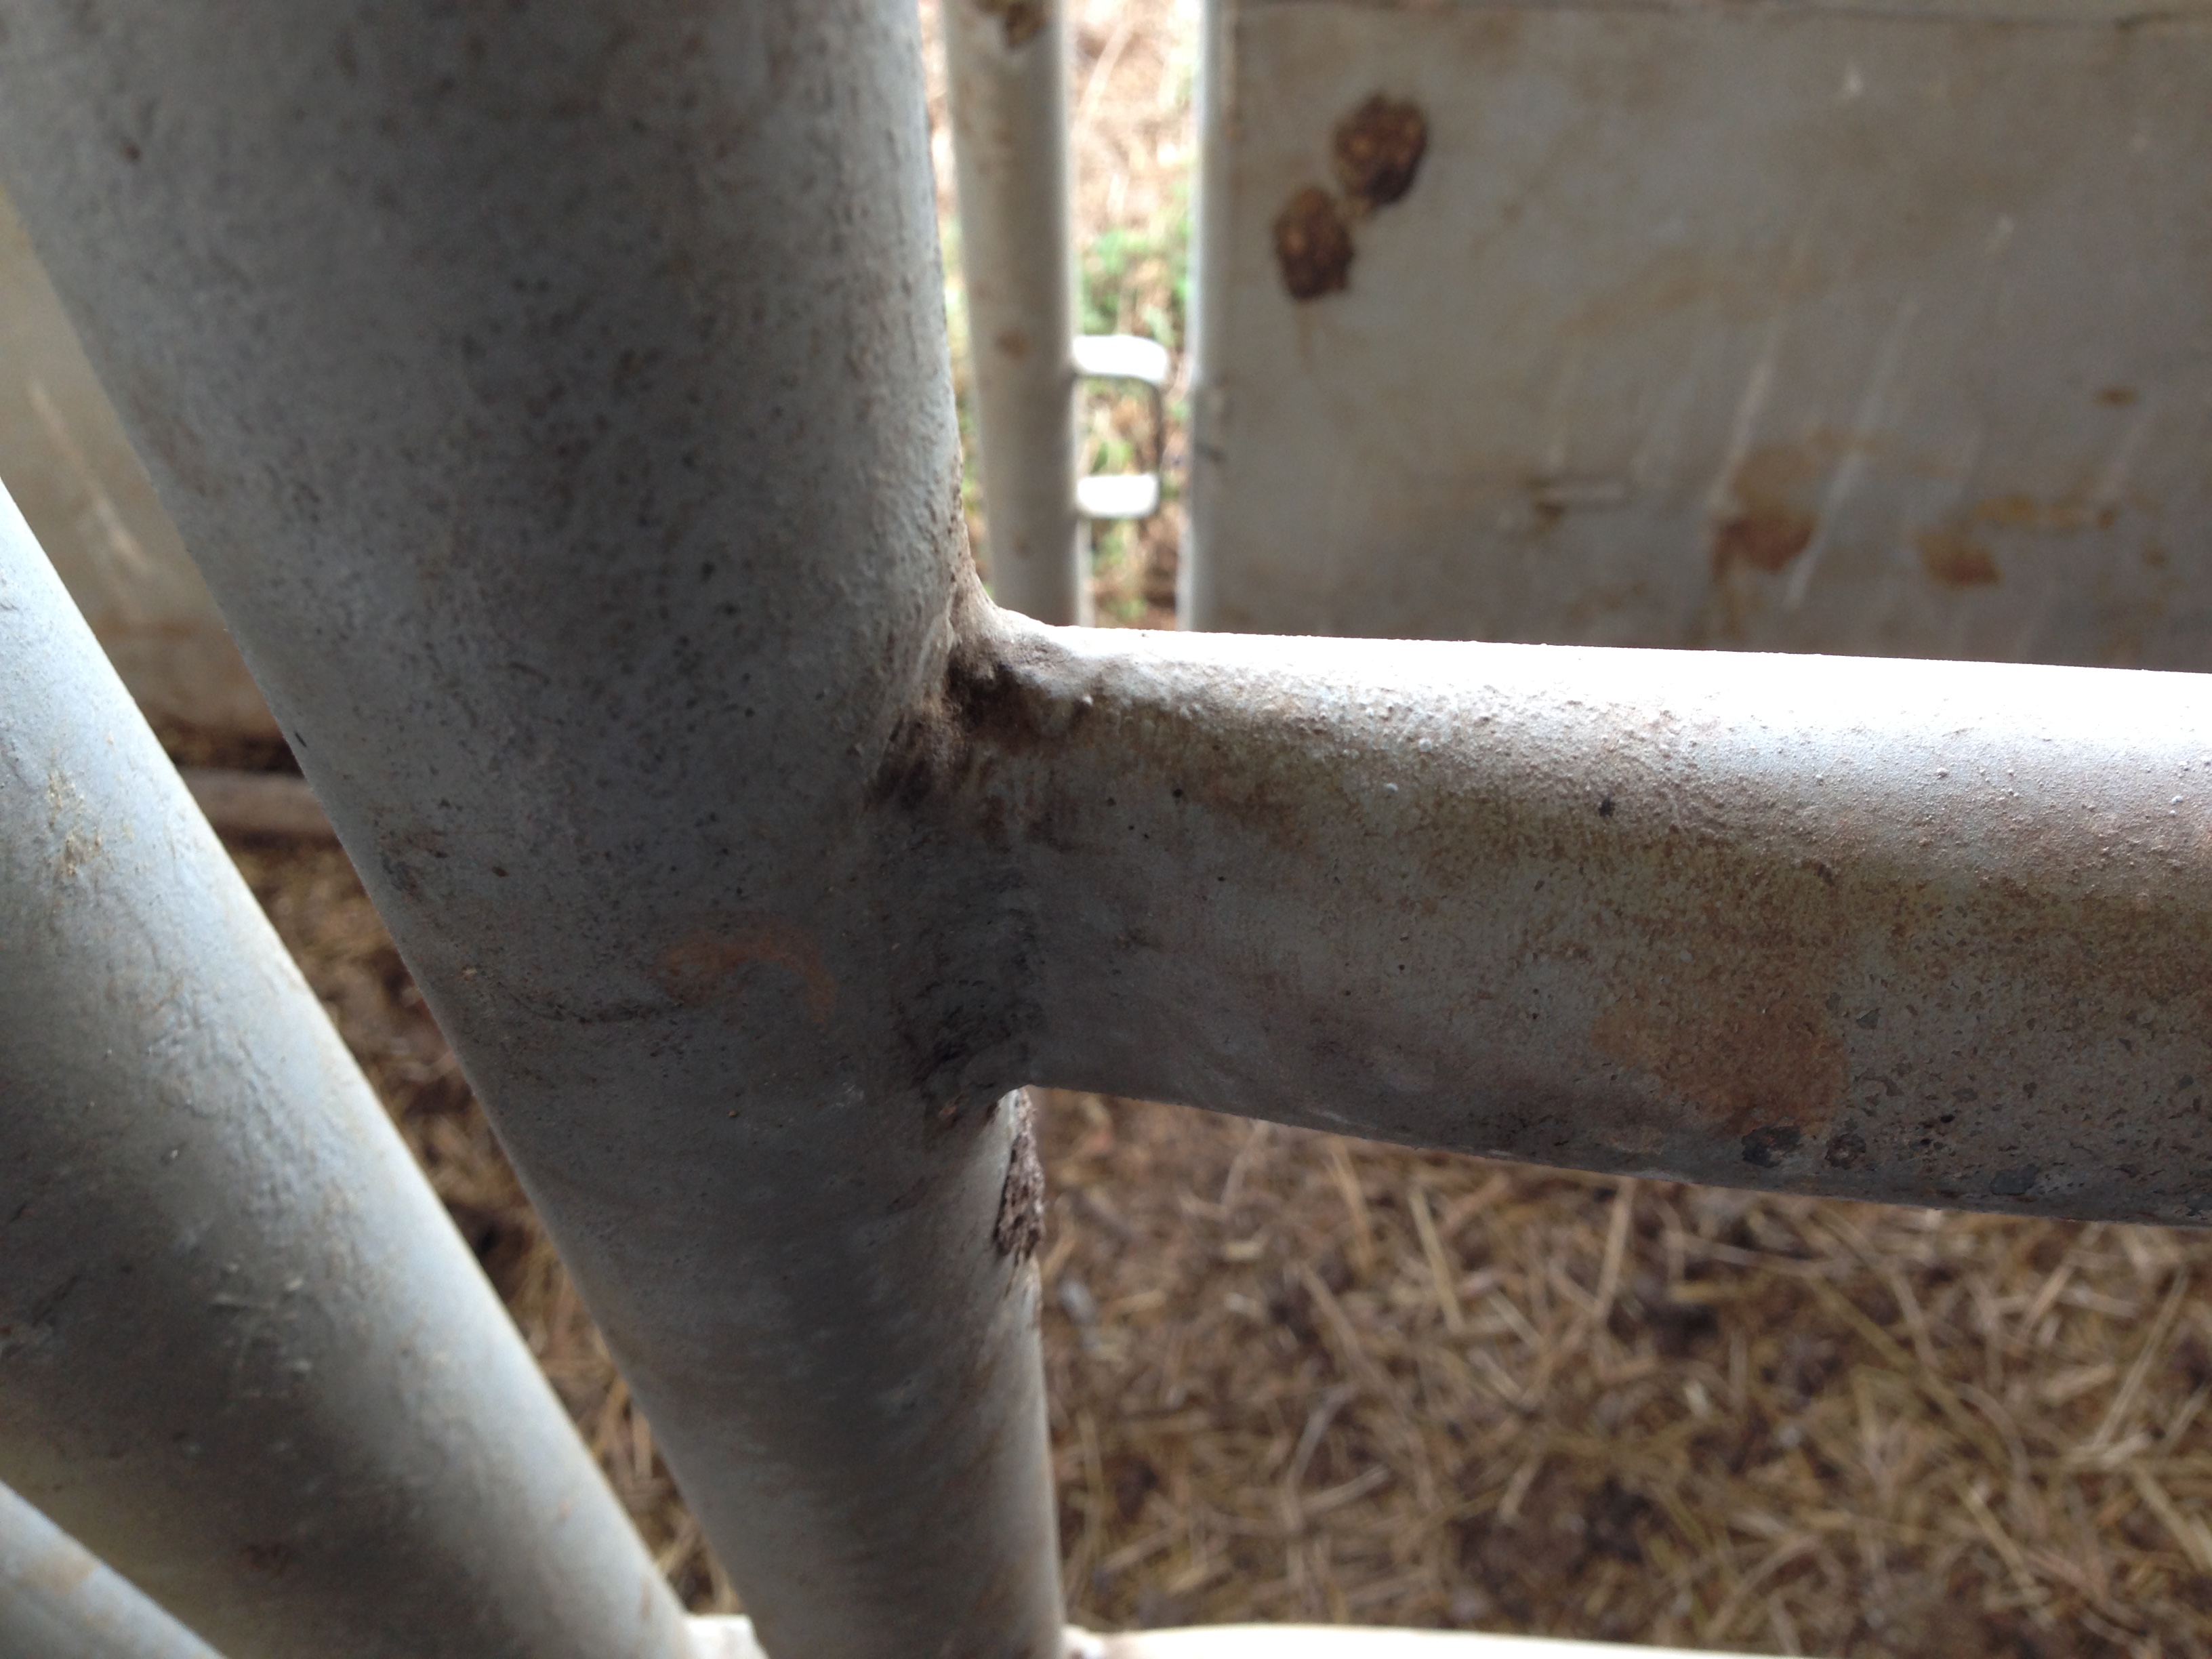
I decided (well, to be truthful, SWMBO decided) that I needed to fix the gates which divided our front and back yards.  They were about 80 years old, and I had rebuilt them soon after we moved in 40 years ago.  About a decade ago I installed tensioning wires on a turnbuckle to counteract the sagging, but wear and tear and lack of maintenance painting had resulted in the main joints rotting, and so I decided not to fix them again, but to replace them.

341 gates - 1.jpg

They are actually falling apart.

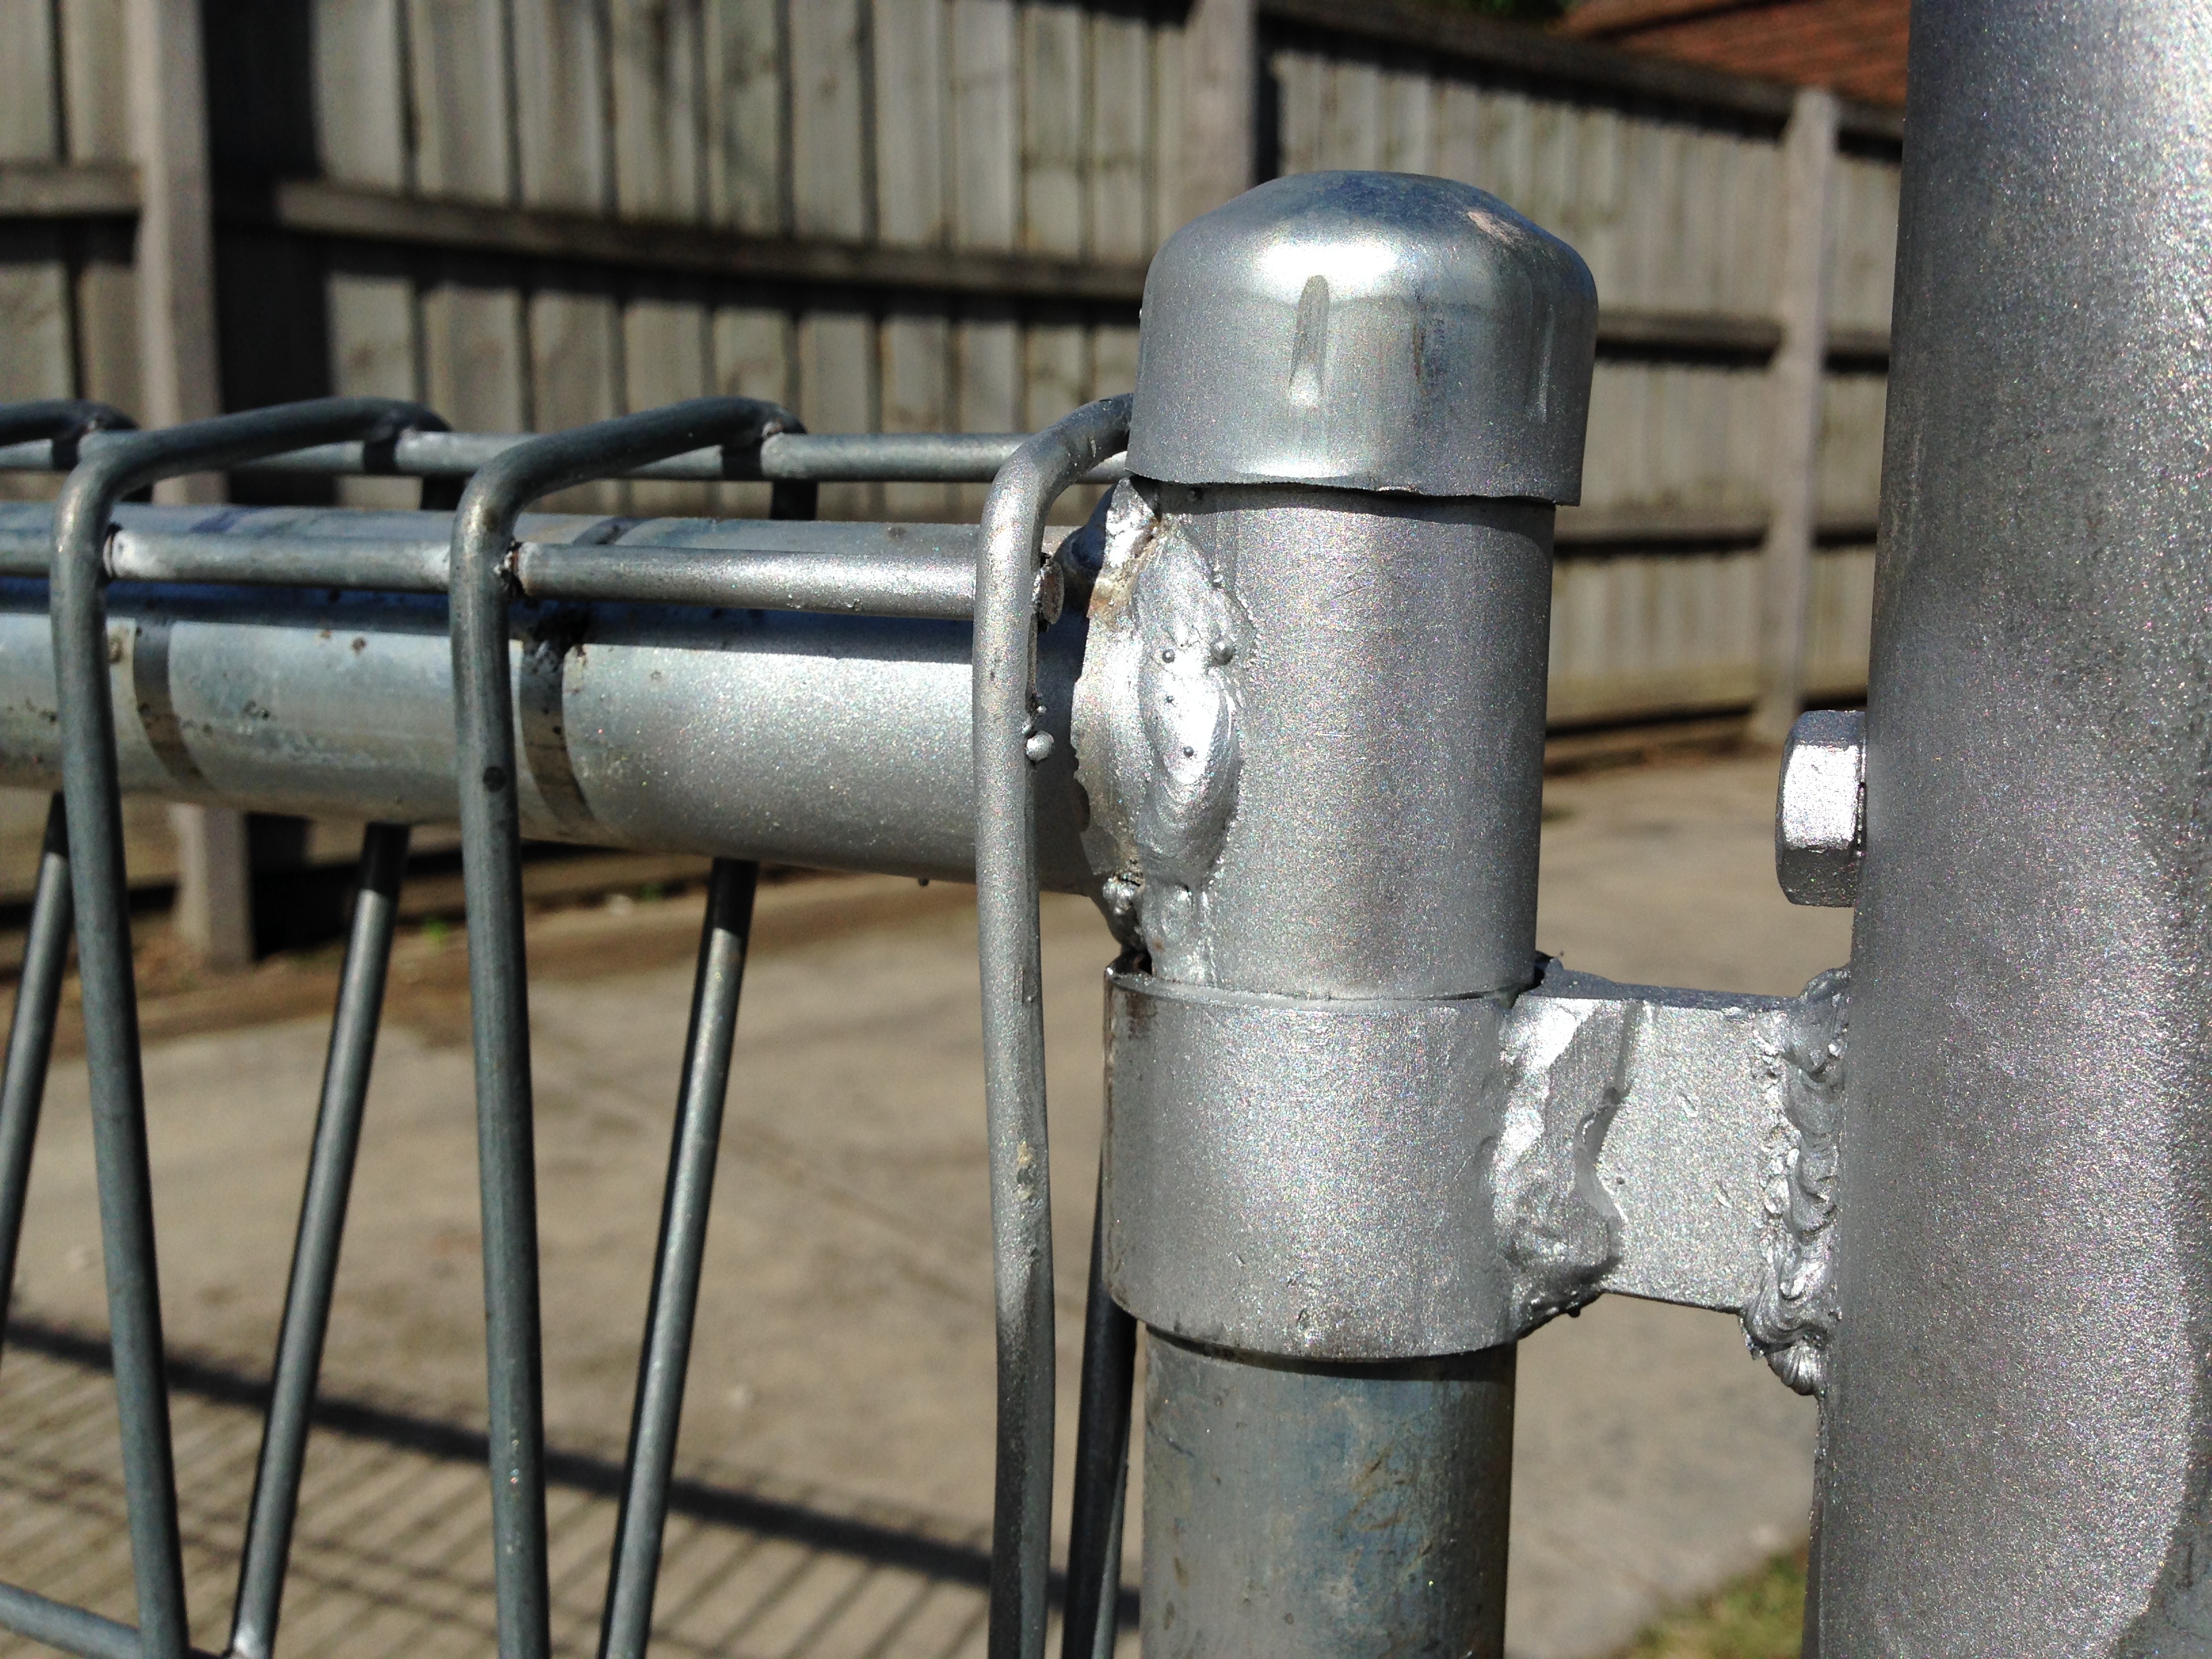
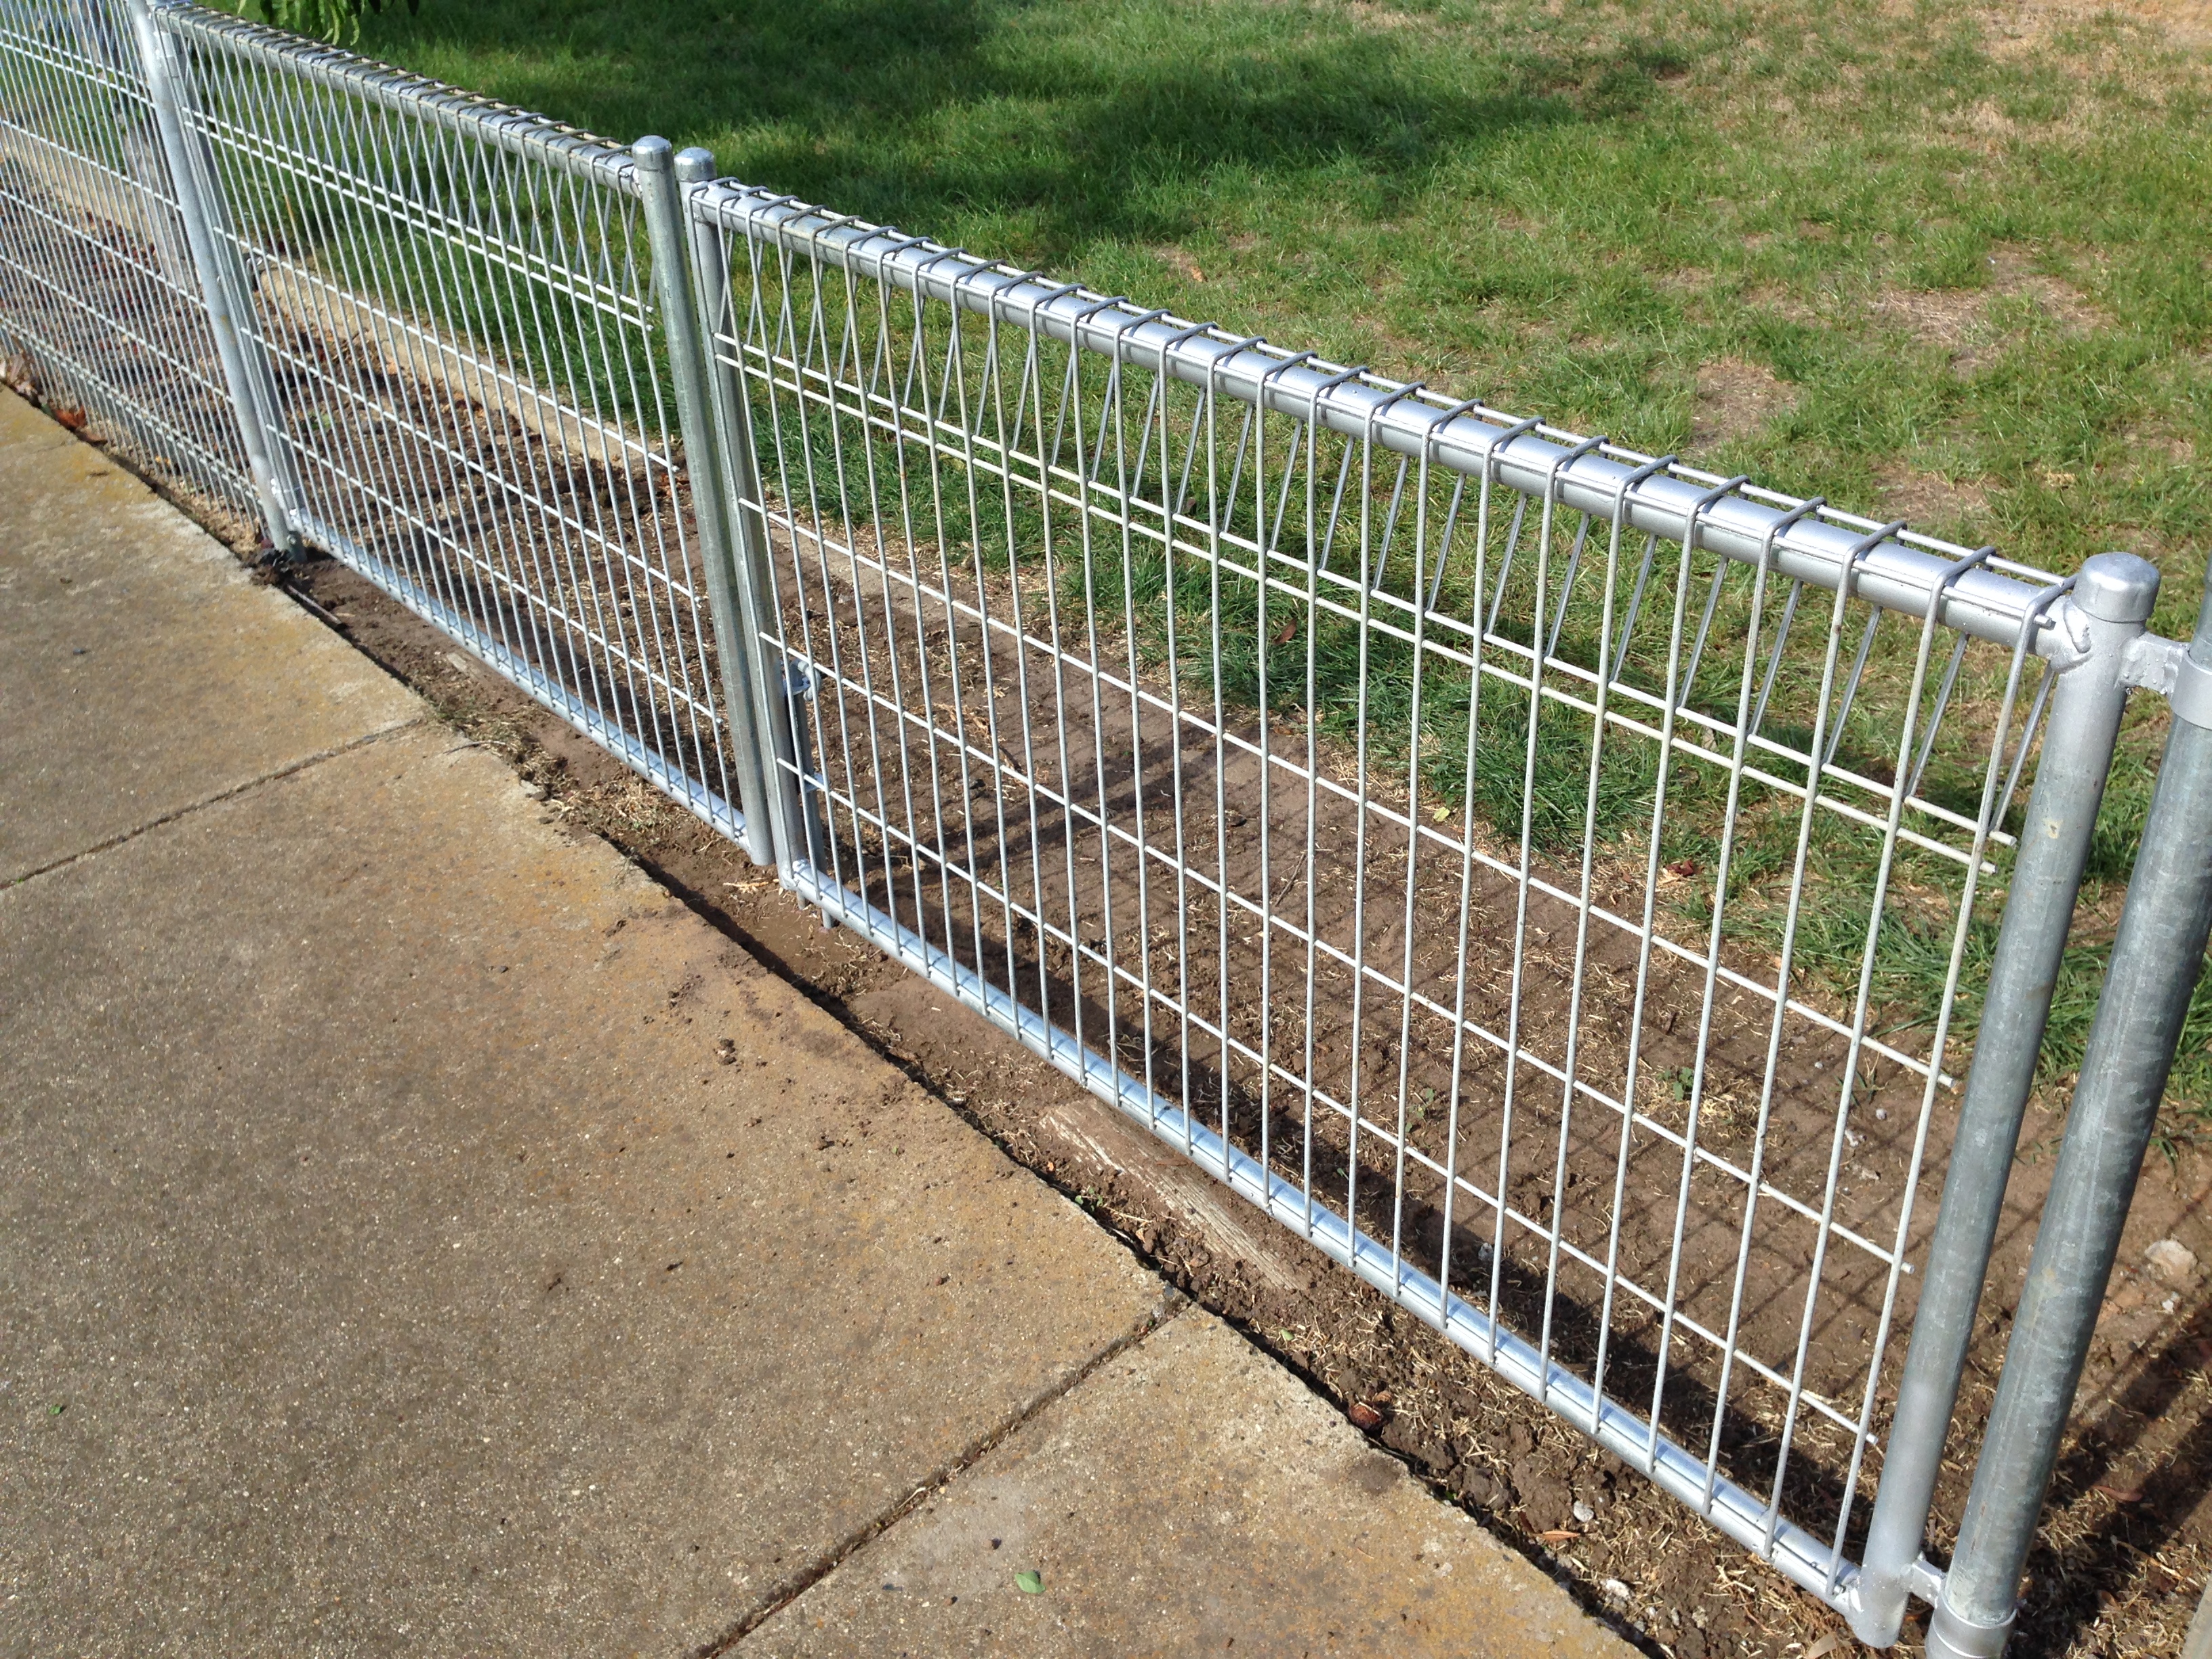
I have been progressively getting all of the iron railings around the house stripped, dipped in molten zinc, and powder coat painted.  For some reason the molten zinc dip is termed “galvanizing” here.

So the new gates would be made with steel SHS (square hollow section) frames, and aluminium slats.  I would happily have just copied the old wooden frame design, but SWMBO, who is an architect, decided that would not be “right” in steel, and that the steel frame would have to be the same shape as the surrounding brickwork, which is a sort of Tudor arch.  Why we have Tudor arches in Oz is a mystery.  Except that back in the 20th century, there was a “British to the boot straps” cultural cringe, and lots of the aspirational class houses tried to look as British as possible.  Paradoxically, although I am a confirmed  republican, I quite like the “mock Tudor” design.  And the house remains cool even in stinking hot weather…. but I diverge.

There has been some ground movement over the years, with the result that the arch is no longer symmetrical, so each gate is different.  So I used thin MDF to trace the arch shape for each gate.

With the MDF pattern, I attempted to roll the arch shape in the 50×50 SHS (2″ x 2″), but that was a failure.  The SHS did eventually eventually develop a curve, but at the cost of so much lateral distortion, bulging at the sides, that it looked terrible.

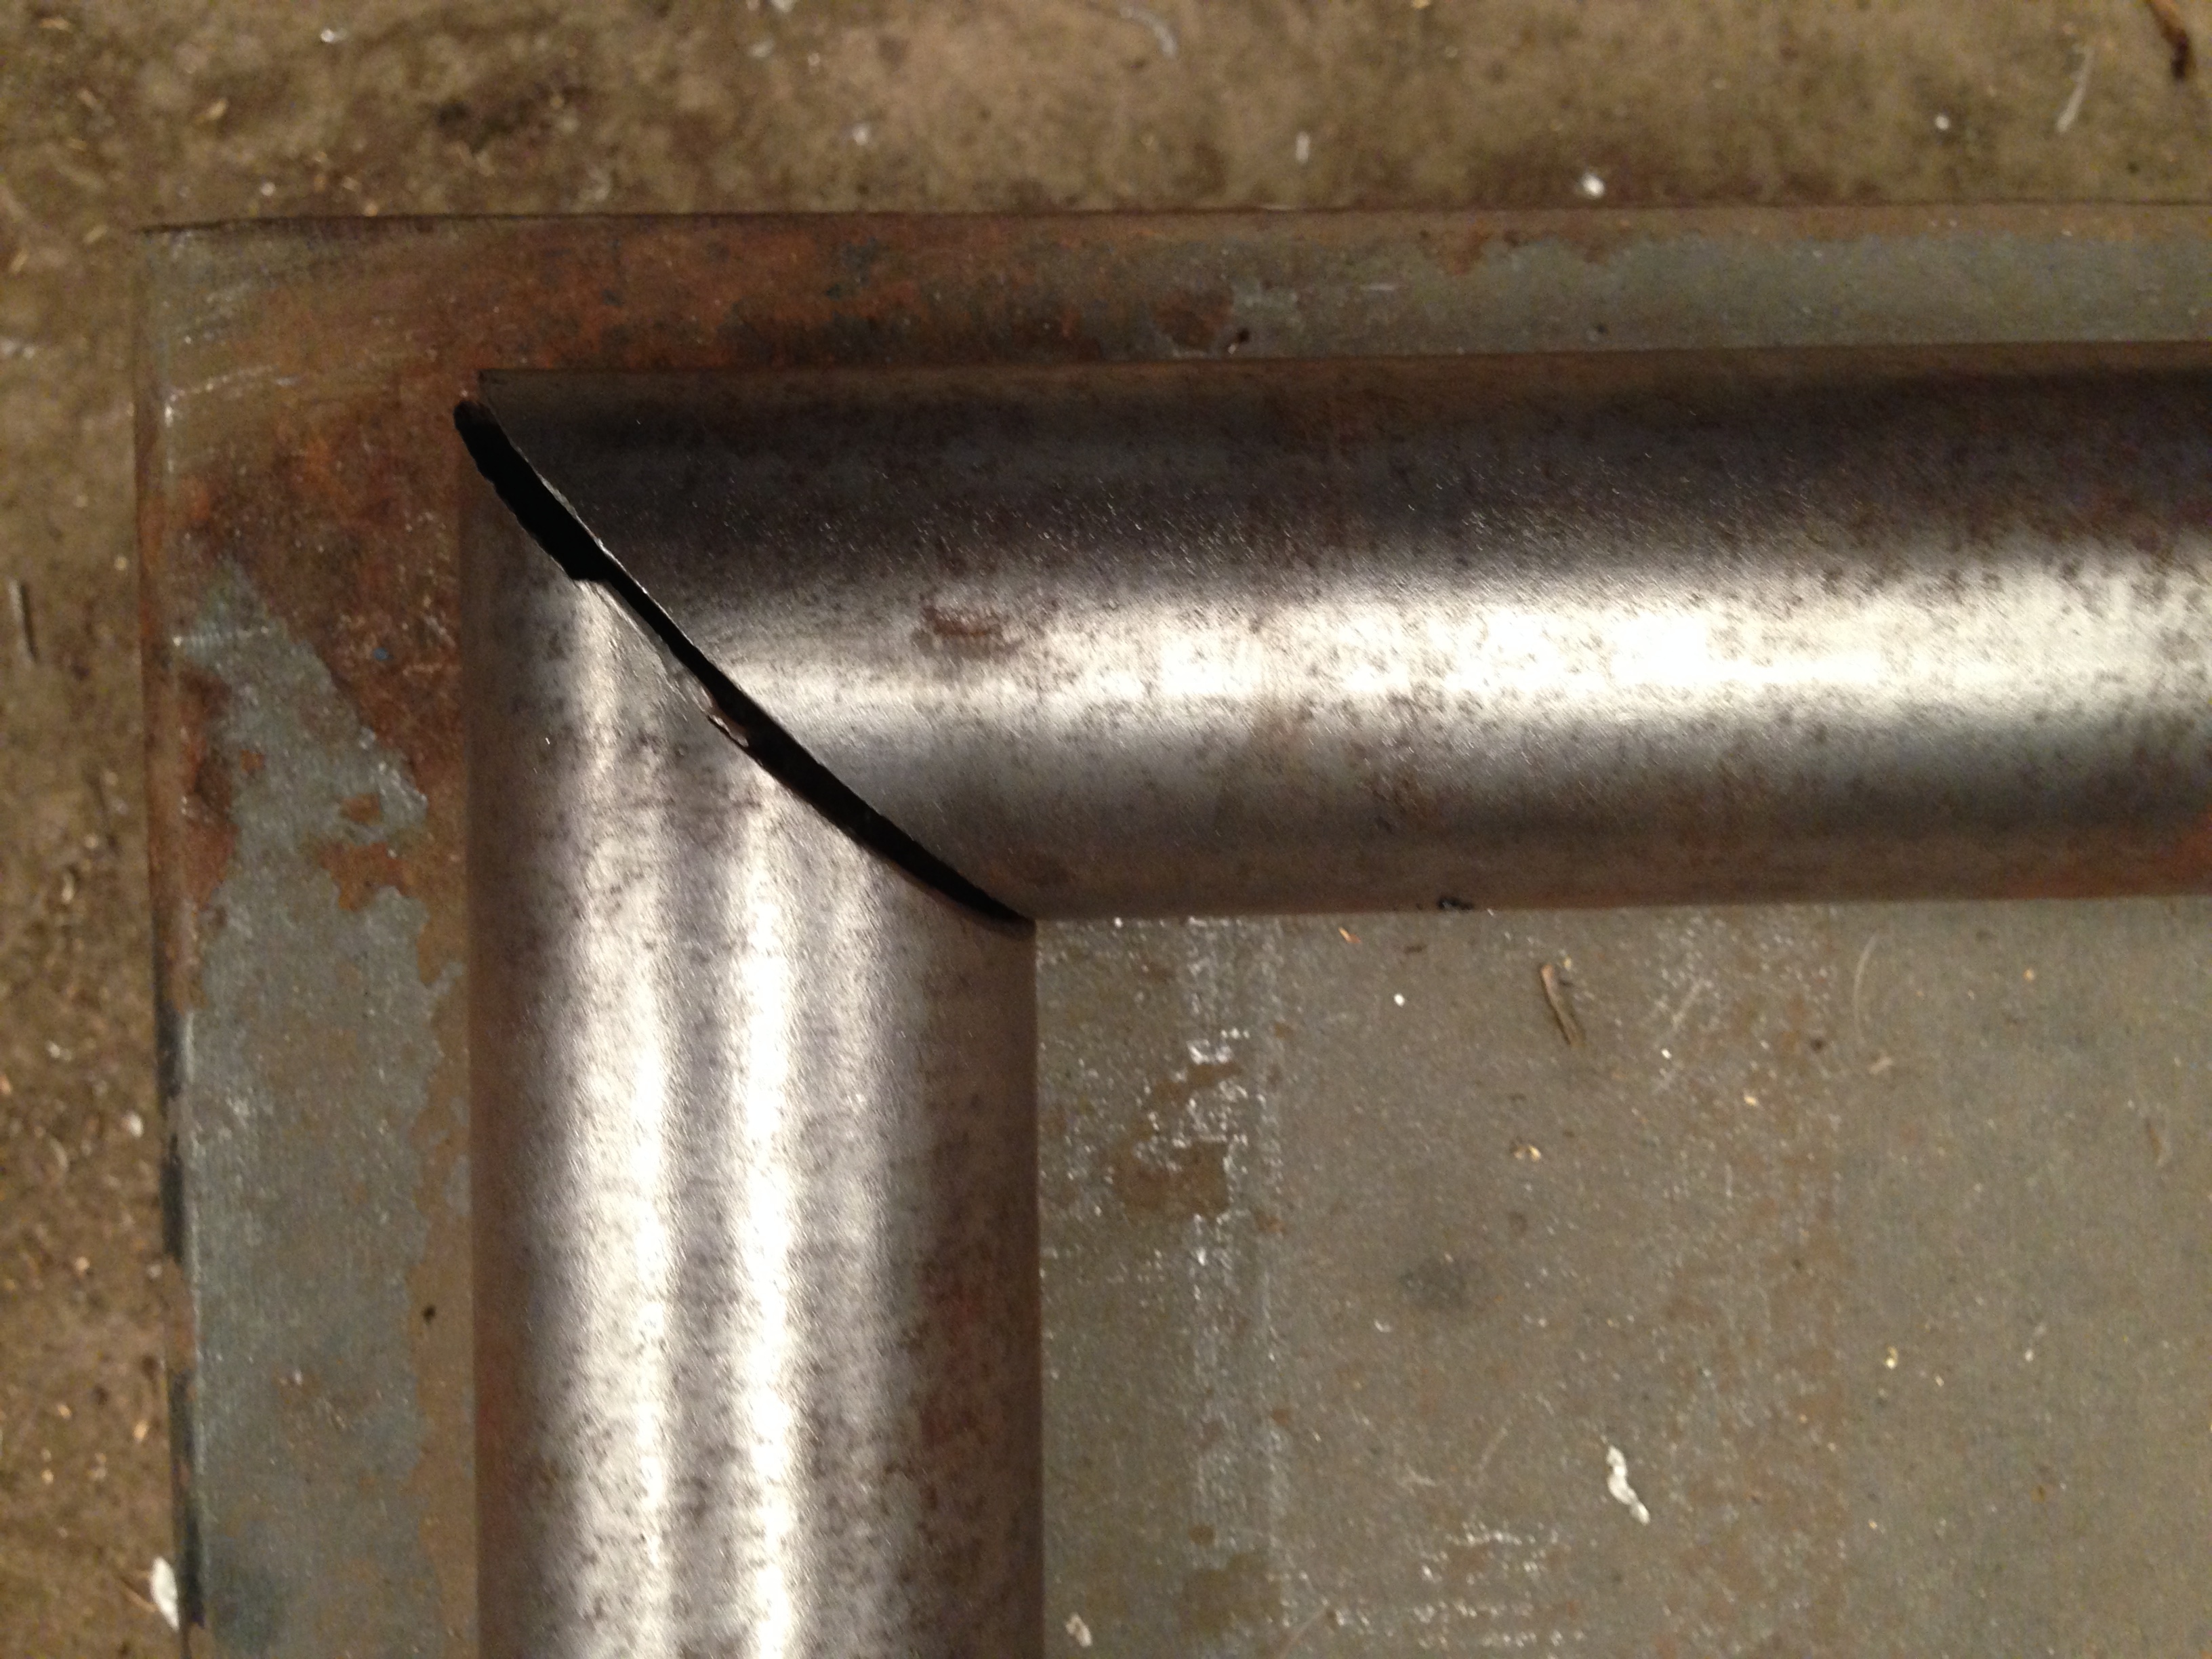
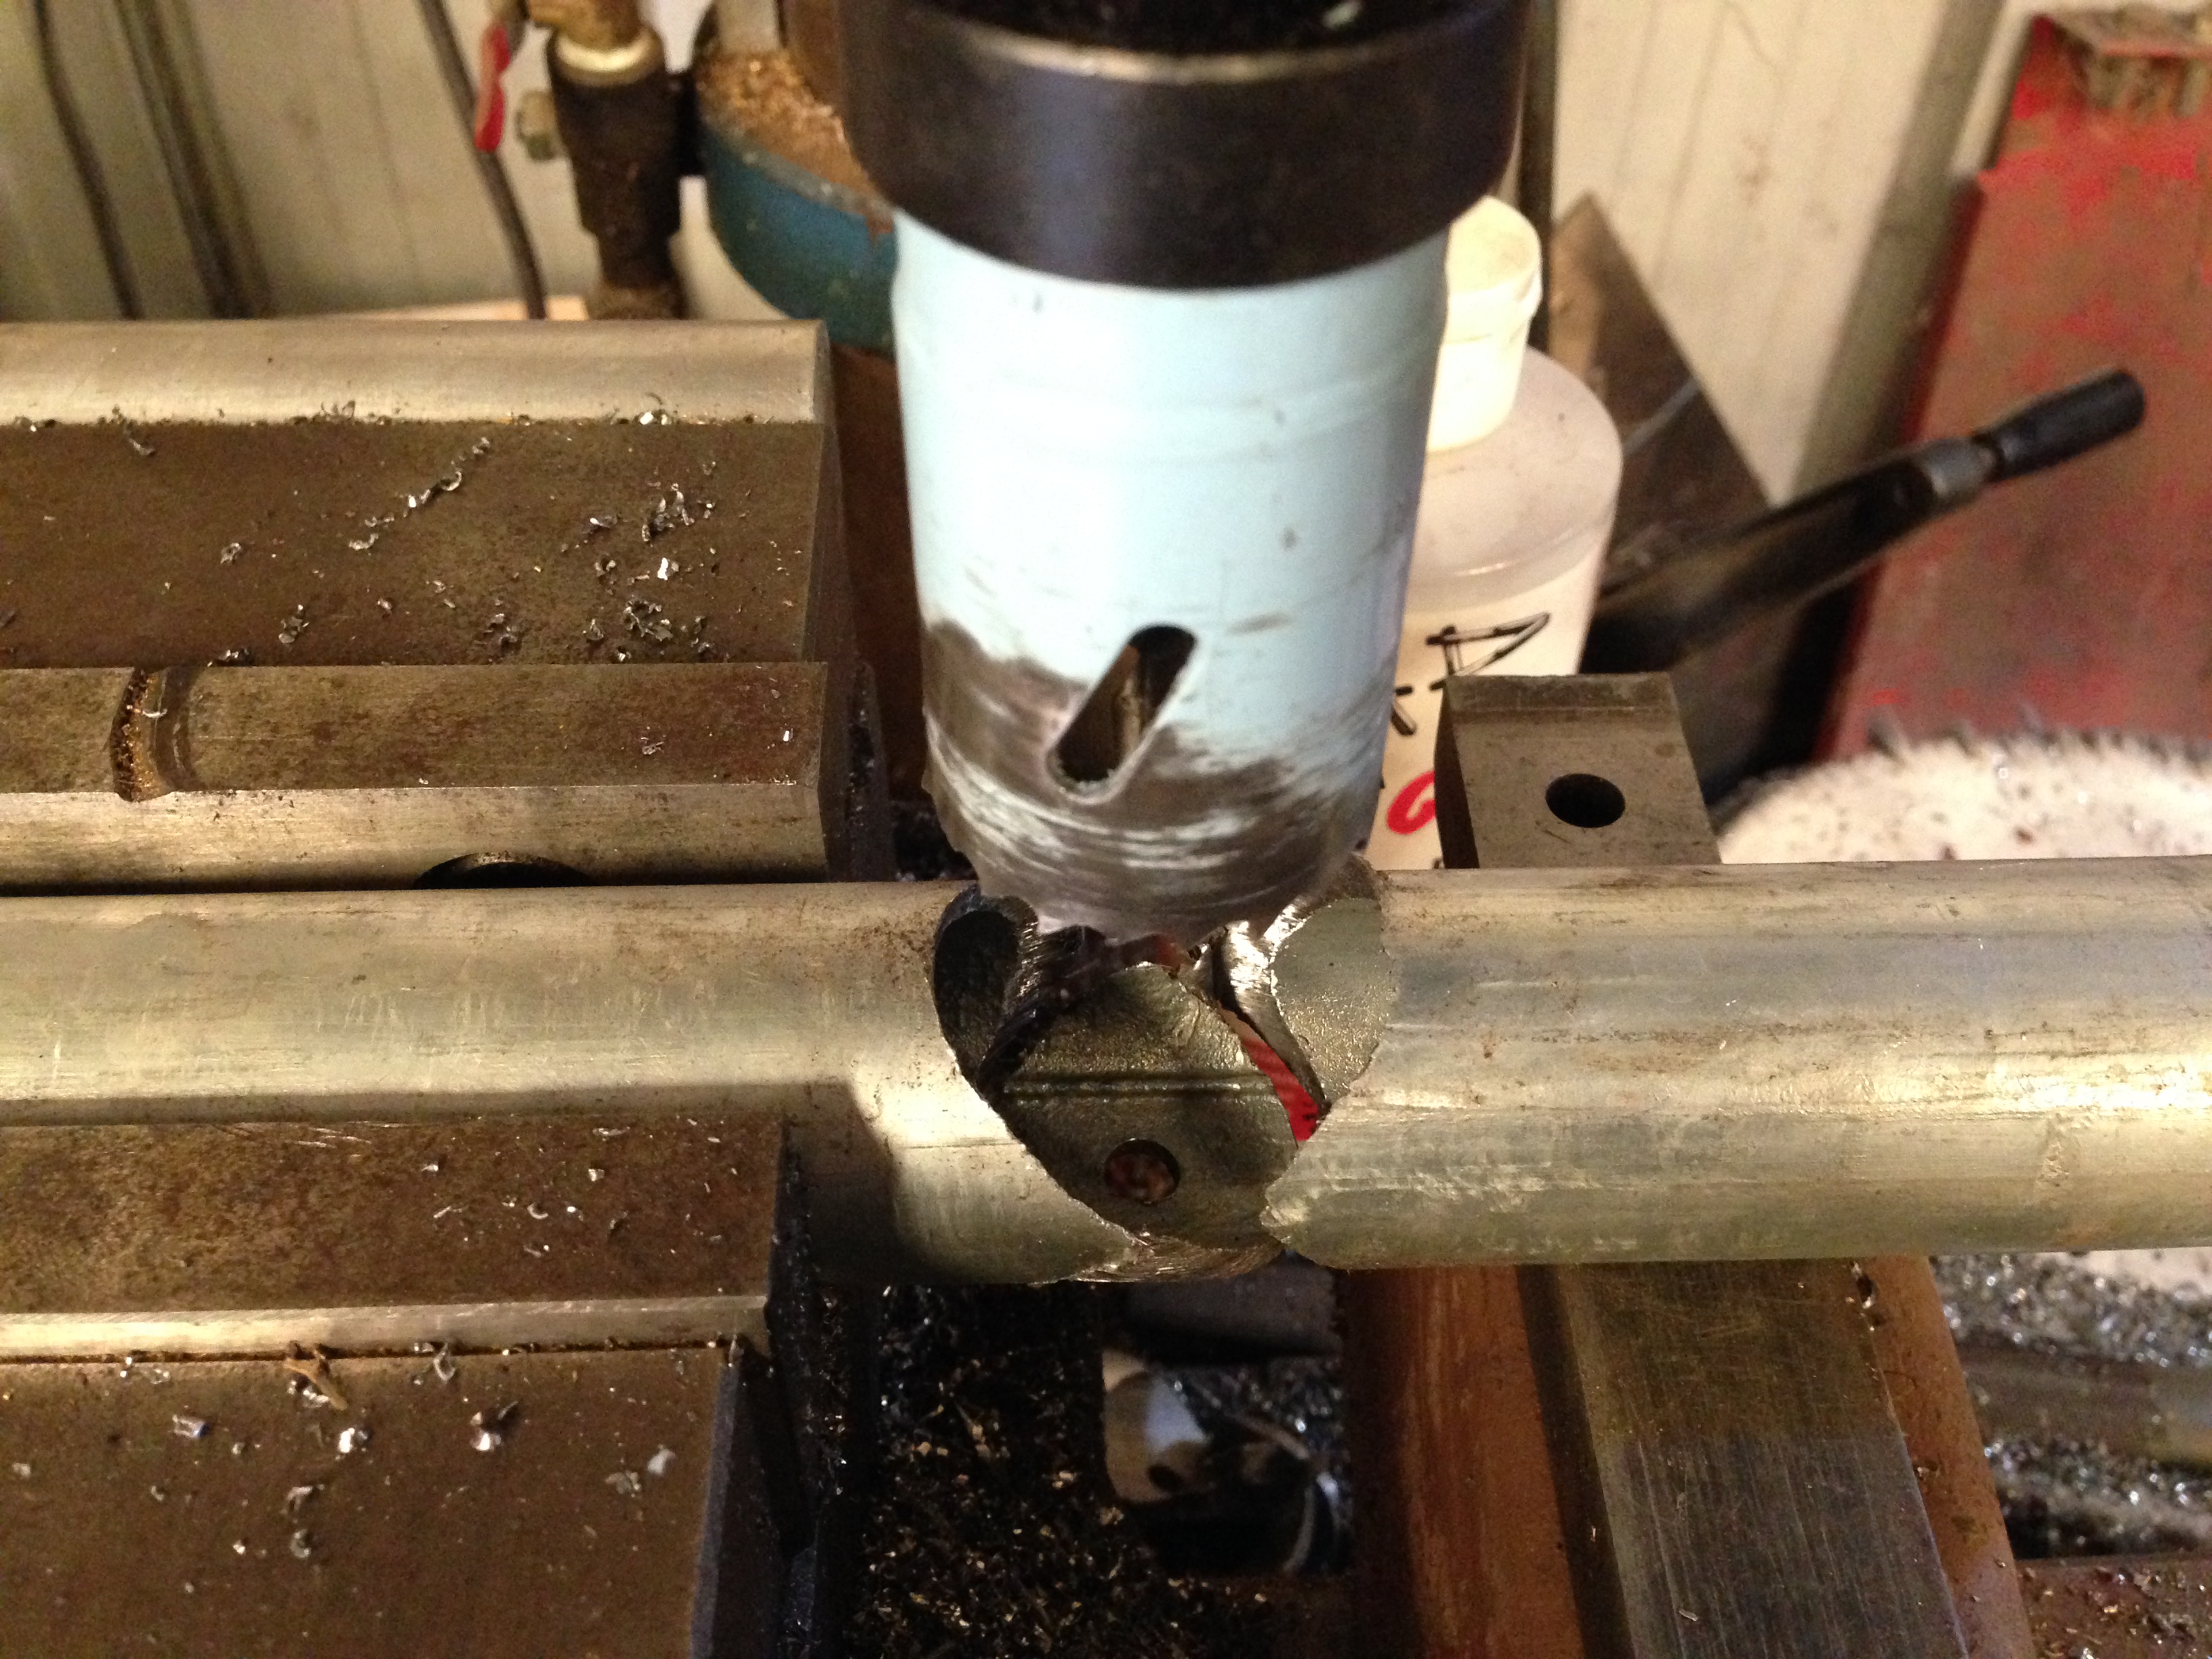
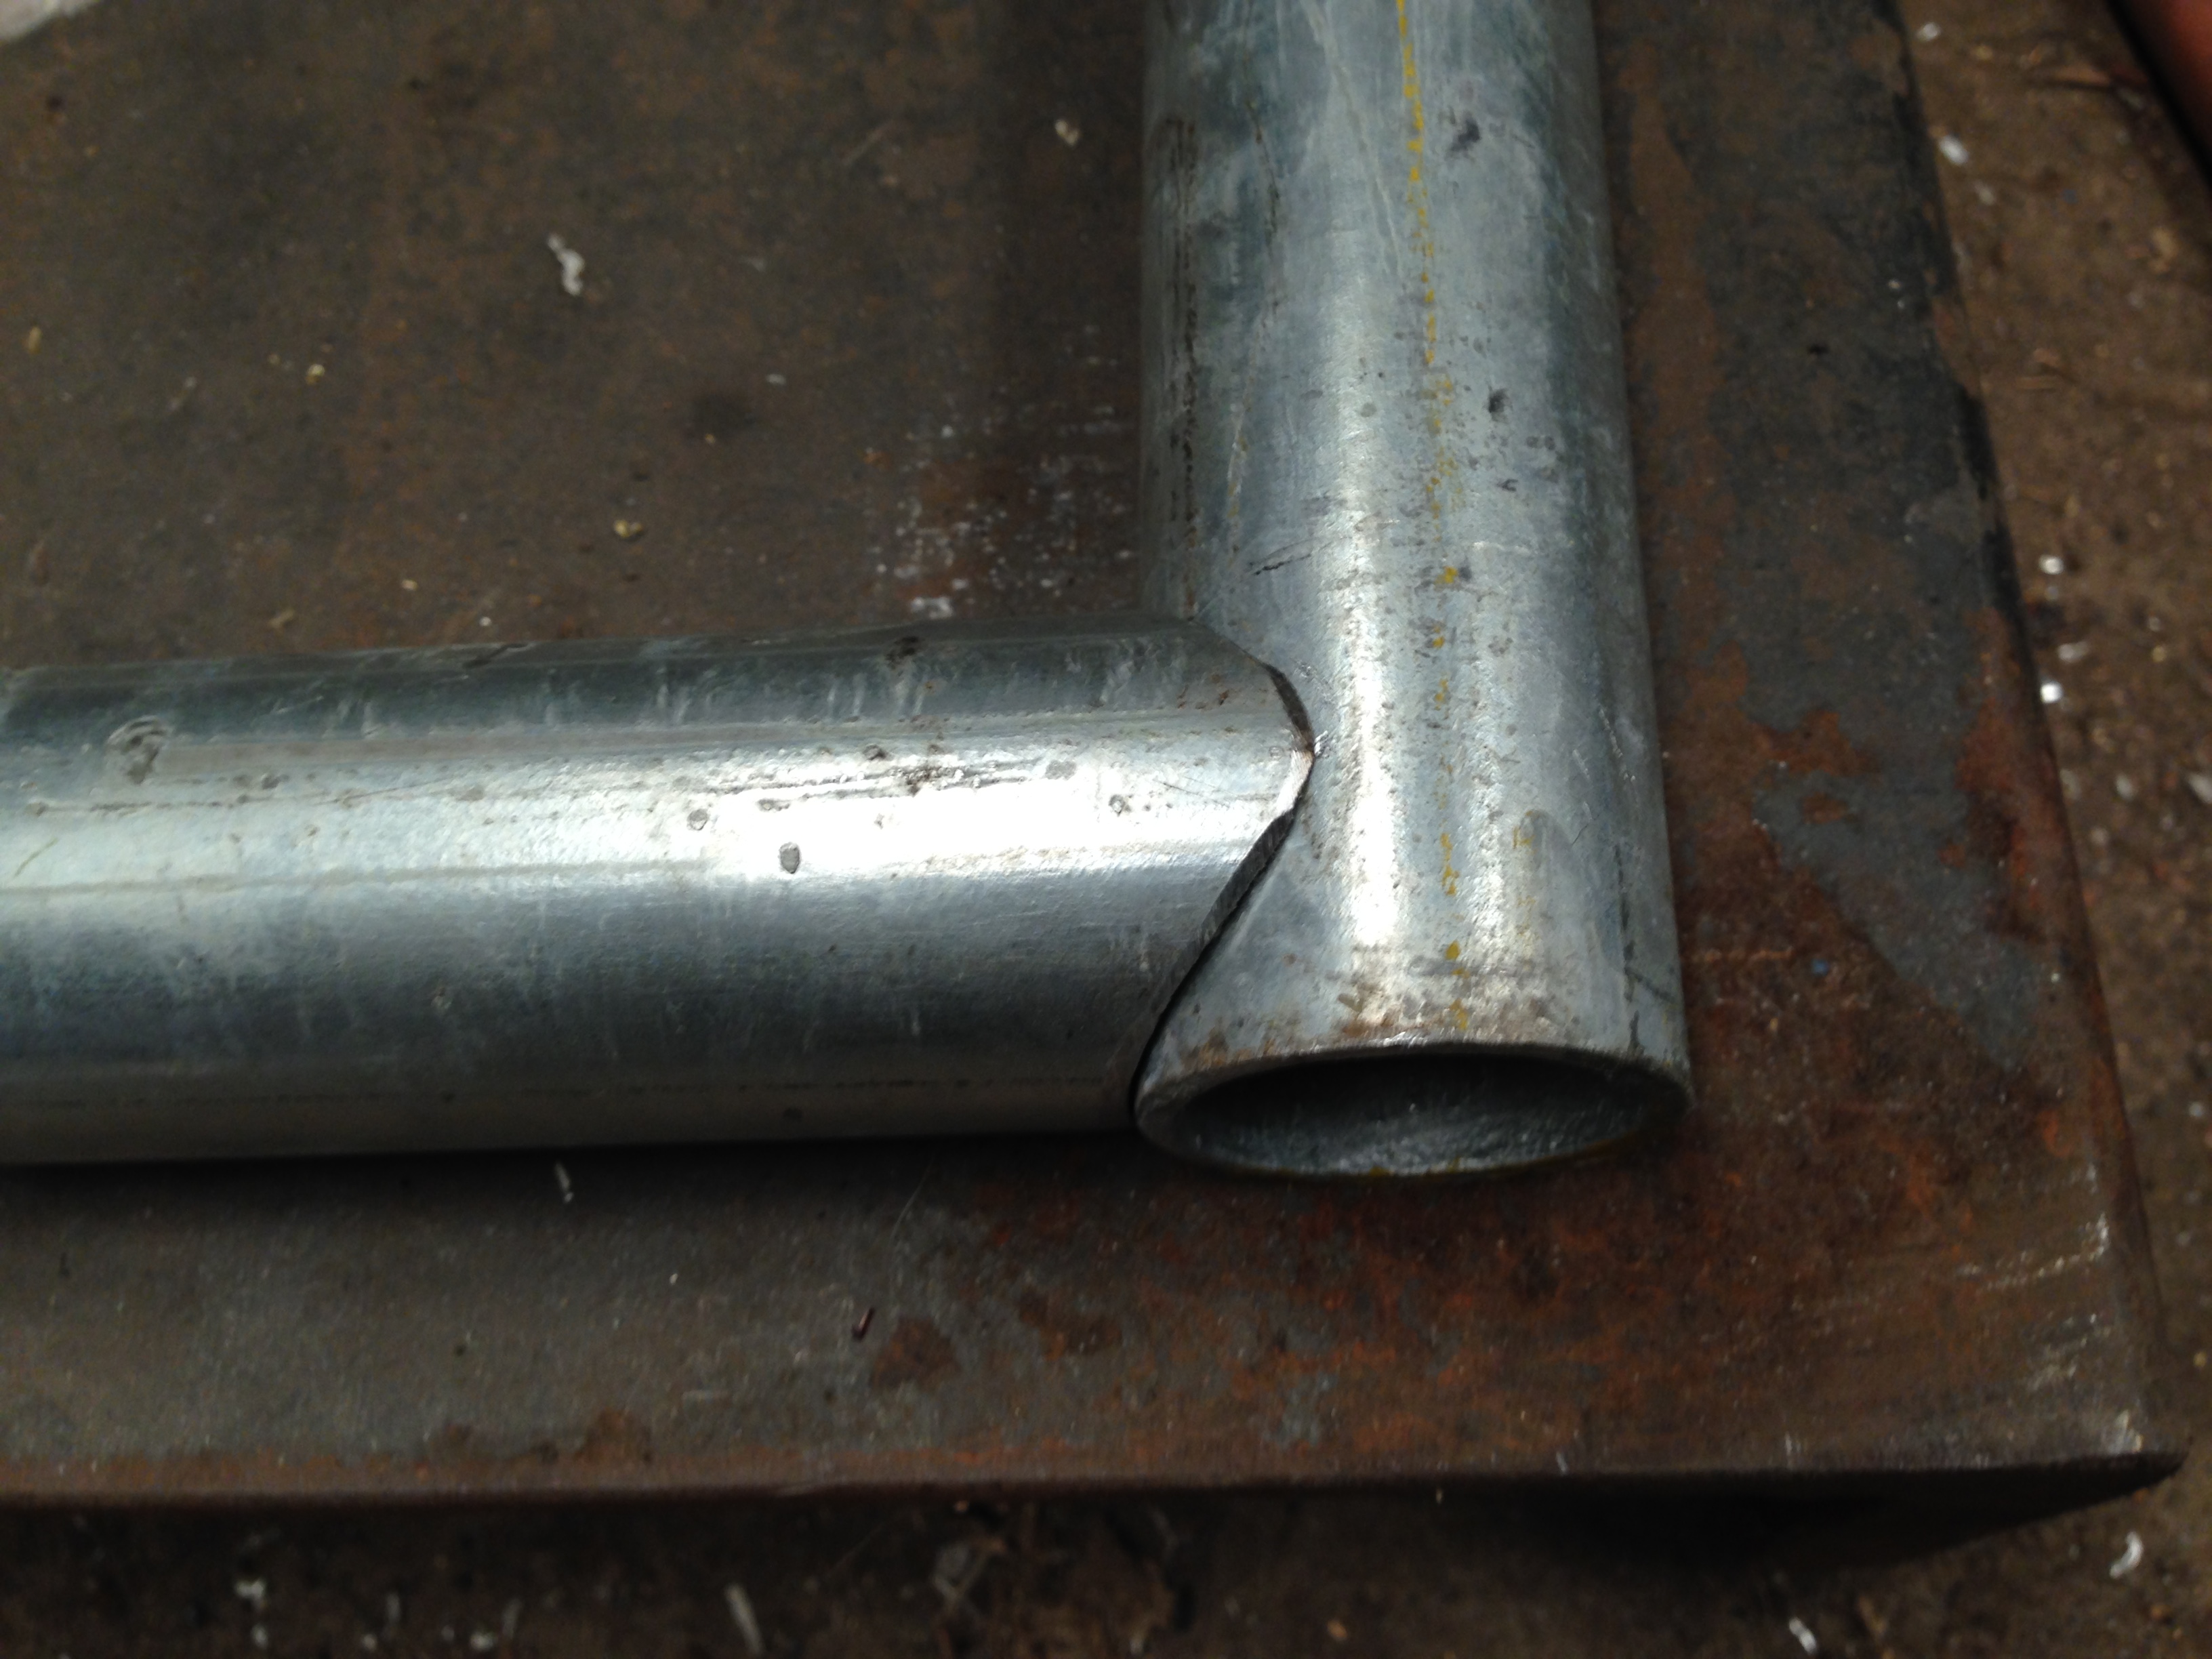
So I used a technique that I had used years ago when I made classical guitars, that is to make multiple cuts in the material leaving a thin intact edge, and then making the bends.  Each gate required 13  cuts.

341 gates - 2.jpg

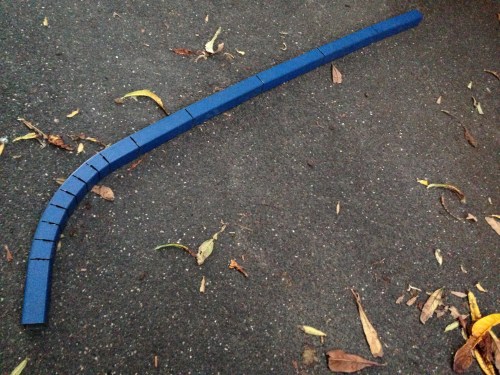
The steel SHS, roughly bent after making the multiple cuts.

341 gates - 4.jpg

Then a wire bowstring and turnbuckle were used to hold the shape, while tack welding.  The turnbuckle was adjusted after each cut was welded, to get the curve as close as possible to the line on the MDF.  Earth clamp at bottom, turnbuckle at top.

The curve is not absolutely smooth, but it satisfied SWMBO.  Lucky that her eyesight is not so sharp these days.

341 gates - 6.jpg

After welding the frames, the the frames and hinges were G clamped into position.  I used the original blacksmithed hinges.  The hinges were welded, and the frames were finish welded.  My eyesight is not too good either, and my welding shows it.

gates - 1.jpg

The aluminium slats were drilled, temporarily screwed on, and shaped.  The catches and bolts were temporarily attached, then the whole lot was disassembled. 

The steel was hot zinc dipped, then after some finishing with a file, the steel and aluminium parts were powder coated.

The whole process took about 2 weeks.

gates - 1.jpg

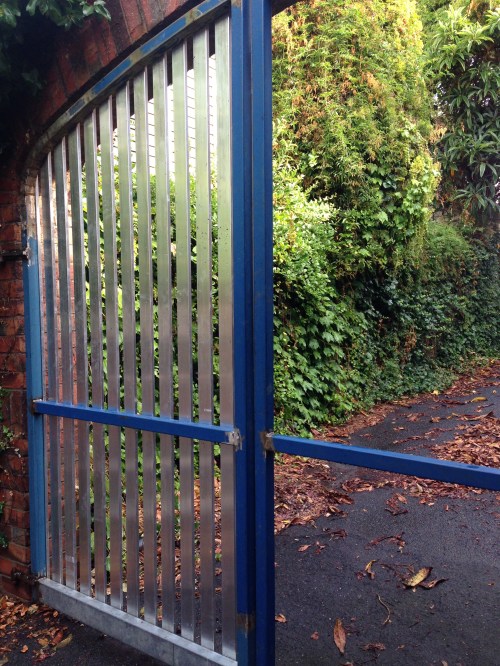
Almost finished.  SWMBO is satisfied.  Phew.

Now back to the cannon.

MAKING GATES

This is the project which has kept me away from the engines and lathes lately.

SWMBO suggested that maybe I could put all of those expensive metalworking machines to some practical use by making some gates for her current project, which is a house renovation.

Recently retired, and therefore with no reasonable excuse for declining, I had to say “but of course”.  The option was to get a professional to make and hang the gates, but I could not think quickly enough of an excuse that would be persuasive.  Wanting to get back to the triple expansion engine and the TNC lathe just would not cut it.  Cutting and welding steel in our Australian summer is usually a big No No, due to the risk of fire.  But we are having a relatively cool summer so far, after a very dry spring, so there is very little fuel around my sheds making the fire risk not too huge.

The fence has 40mm galvanised iron posts, and the fencing material itself is welded galvanised mesh.  It is only 900mm high, typical for the houses in the area.  The original gates were rubbish, so I removed and scrapped them.  The previous owner had removed a section of fence to allow access to the back yard, so 2 sets of double gates were required.

My architect wife decided that the original style of fence and gates should be retained.  I think that the style is termed “industrial boring ugly”, and has no function except to mark the boundary, and maybe to keep a very small dog, and/or child, off the street.   But mine is not to reason why…….

So I measured the openings, roughly guessed the fall over the openings at approx 50mm, and sketched an elevation.  Not complicated.  I allowed 25mm for the hinges and 25mm for the centre gap.  Bought the galvanised steel pipe (4 lengths of 6.4m x 33mm) and ordered the mesh to match the existing fence mesh.  The steel merchant obligingly cut the steel lengths in half so I could carry them on my roof racks.  Also some cold gal paint, and pipe caps. Total cost …  $A370.  The mesh panels came only in 2.5 meter lengths so I could get only one gate from each length, with a meter of waste from each gate.  But I guess that the waste will be used somewhere.  It would make reasonable reinforcing mesh for concrete.  Or maybe a personal entry gate.

Measuring, planning, and buying steel had comfortably occupied a couple of days (that’s when I managed to get some paint on the little lathe), but SWMBO was getting impatient for some real action, so I cut up the steel.

The verticals were easy,  All 800mm.  Cut one, and used it as a standard for the other 7 verticals.  The biggest problem was manoevering the lengths of pipe in my now overcrowded workshop.  The drop bandsaw quickly munched through the medium weight pipe.

The horizontals were a bit more complicated.  There are 3 possible methods of joining pipe where the horizontal butts up to the vertical.

The first simply makes straight cuts and the horizontal ends are flattened to permit a weld to the vertical.  This is the method most often used on the farm, but it is a bit “agricultural”.

Cattle yard welded joins

Cattle yard welded joins

The horizontals  and verticals could be cut at 45 degrees and mitre welded together.  Not quite the look desired.

Mitred join.  Not for these gates according to SWMBO

Mitred join. Not for these gates according to SWMBO

So I cut the horizontals with a hole saw which is the same diameter as the pipe, resulting in a very neat fit to the vertical.  I had not used this method before, but it looked feasible.  The pipe was held in a milling vice and the bi-metal hole saw was attached to the drill press.  Using a slow speed (200 rpm), cutting fluid, and a slow feed rate, all went well.

Using the bometal hole cutter in the drill press.  A staged photo, but it does show how it happened.

Using the bimetal hole cutter in the drill press. A staged photo, but it does show how it happened.

The chosen method

The chosen method

The verticals and bottom rail were welded together.  I used a MIG welder, and chose to burn off the zinc galvanizing during the welding rather than grind it off. That is a bit quicker and messier than grinding.   I cramped the pipes to be welded to a thick bit of plywood, to minimise distortion and keep the 90 degree angles, and also to keep the frame as flat as possible.  A steel welding bench would be better.  And yes I did need to put out a few small plywood fires.

The mesh was cut to size using bolt cutters.  The top rail was welded into place, after feeding it through the mesh (see photo).  The mesh was then welded to the frame.

The welds were then all wire brushed clean and sprayed with cold gal paint.  (a zinc rich paint which looks similar to galvanising).

IMG_2456

I forgot to mention that the pipe hinges were put onto their respective verticals before completing the welding of the frames.  Actually I forgot the hinges on the first frame, so I had to cut a weld to place the hinges, then reweld.  Stupid, but I made that mistake only once.

So, back to the site to weld the hinges to the posts.  But by now it was 34 degrees (centigrade), and the sun was fierce.  I could have proceeded, but my glasses were steaming up, I was tired, hot, and bothered, so I dumped the gates and decided to wait for cooler weather.

One pair of almost finished gates.

One pair of almost finished gates.  

Today (2 days later) was a bit cooler, so Tony (my blacksmith friend) and I welded the gates into place.  Vertical up welds are a bit beyond my expertise, so I was happy to enlist an expert. (Thanks Tony).

So, almost finished, rather boring, thanks for bearing with me.  John.  More on the triple expansion next blog, promise.

THE NICKEL PLATED WORKSHOP -2

A few snapshots from my iphone while I was doing the first nickel plating.

Backhoe grabber

OK. so this is a photo of a gadget which I made few years ago. It is a mechanical grabber which bolts onto a backhoe arm and bucket. Seen here picking up a 5 meter I beam which must weigh 200-300 kgs.
The grabber is very useful for picking up heavy, big, prickly, dirty, rubbish and other farm stuff. Good for grabbing fence posts and pulling them out of the ground.
I wish I could say that I invented the idea, but alas….