johnsmachines

machines which I have made, am making, or intend to make, and some other stuff. If you find this site interesting, please leave a comment. I read every comment and respond to most. n.b. There is a list of my first 800 posts in my post of 17 June 2021, titled "800 Posts"

Cheap Engine Turning

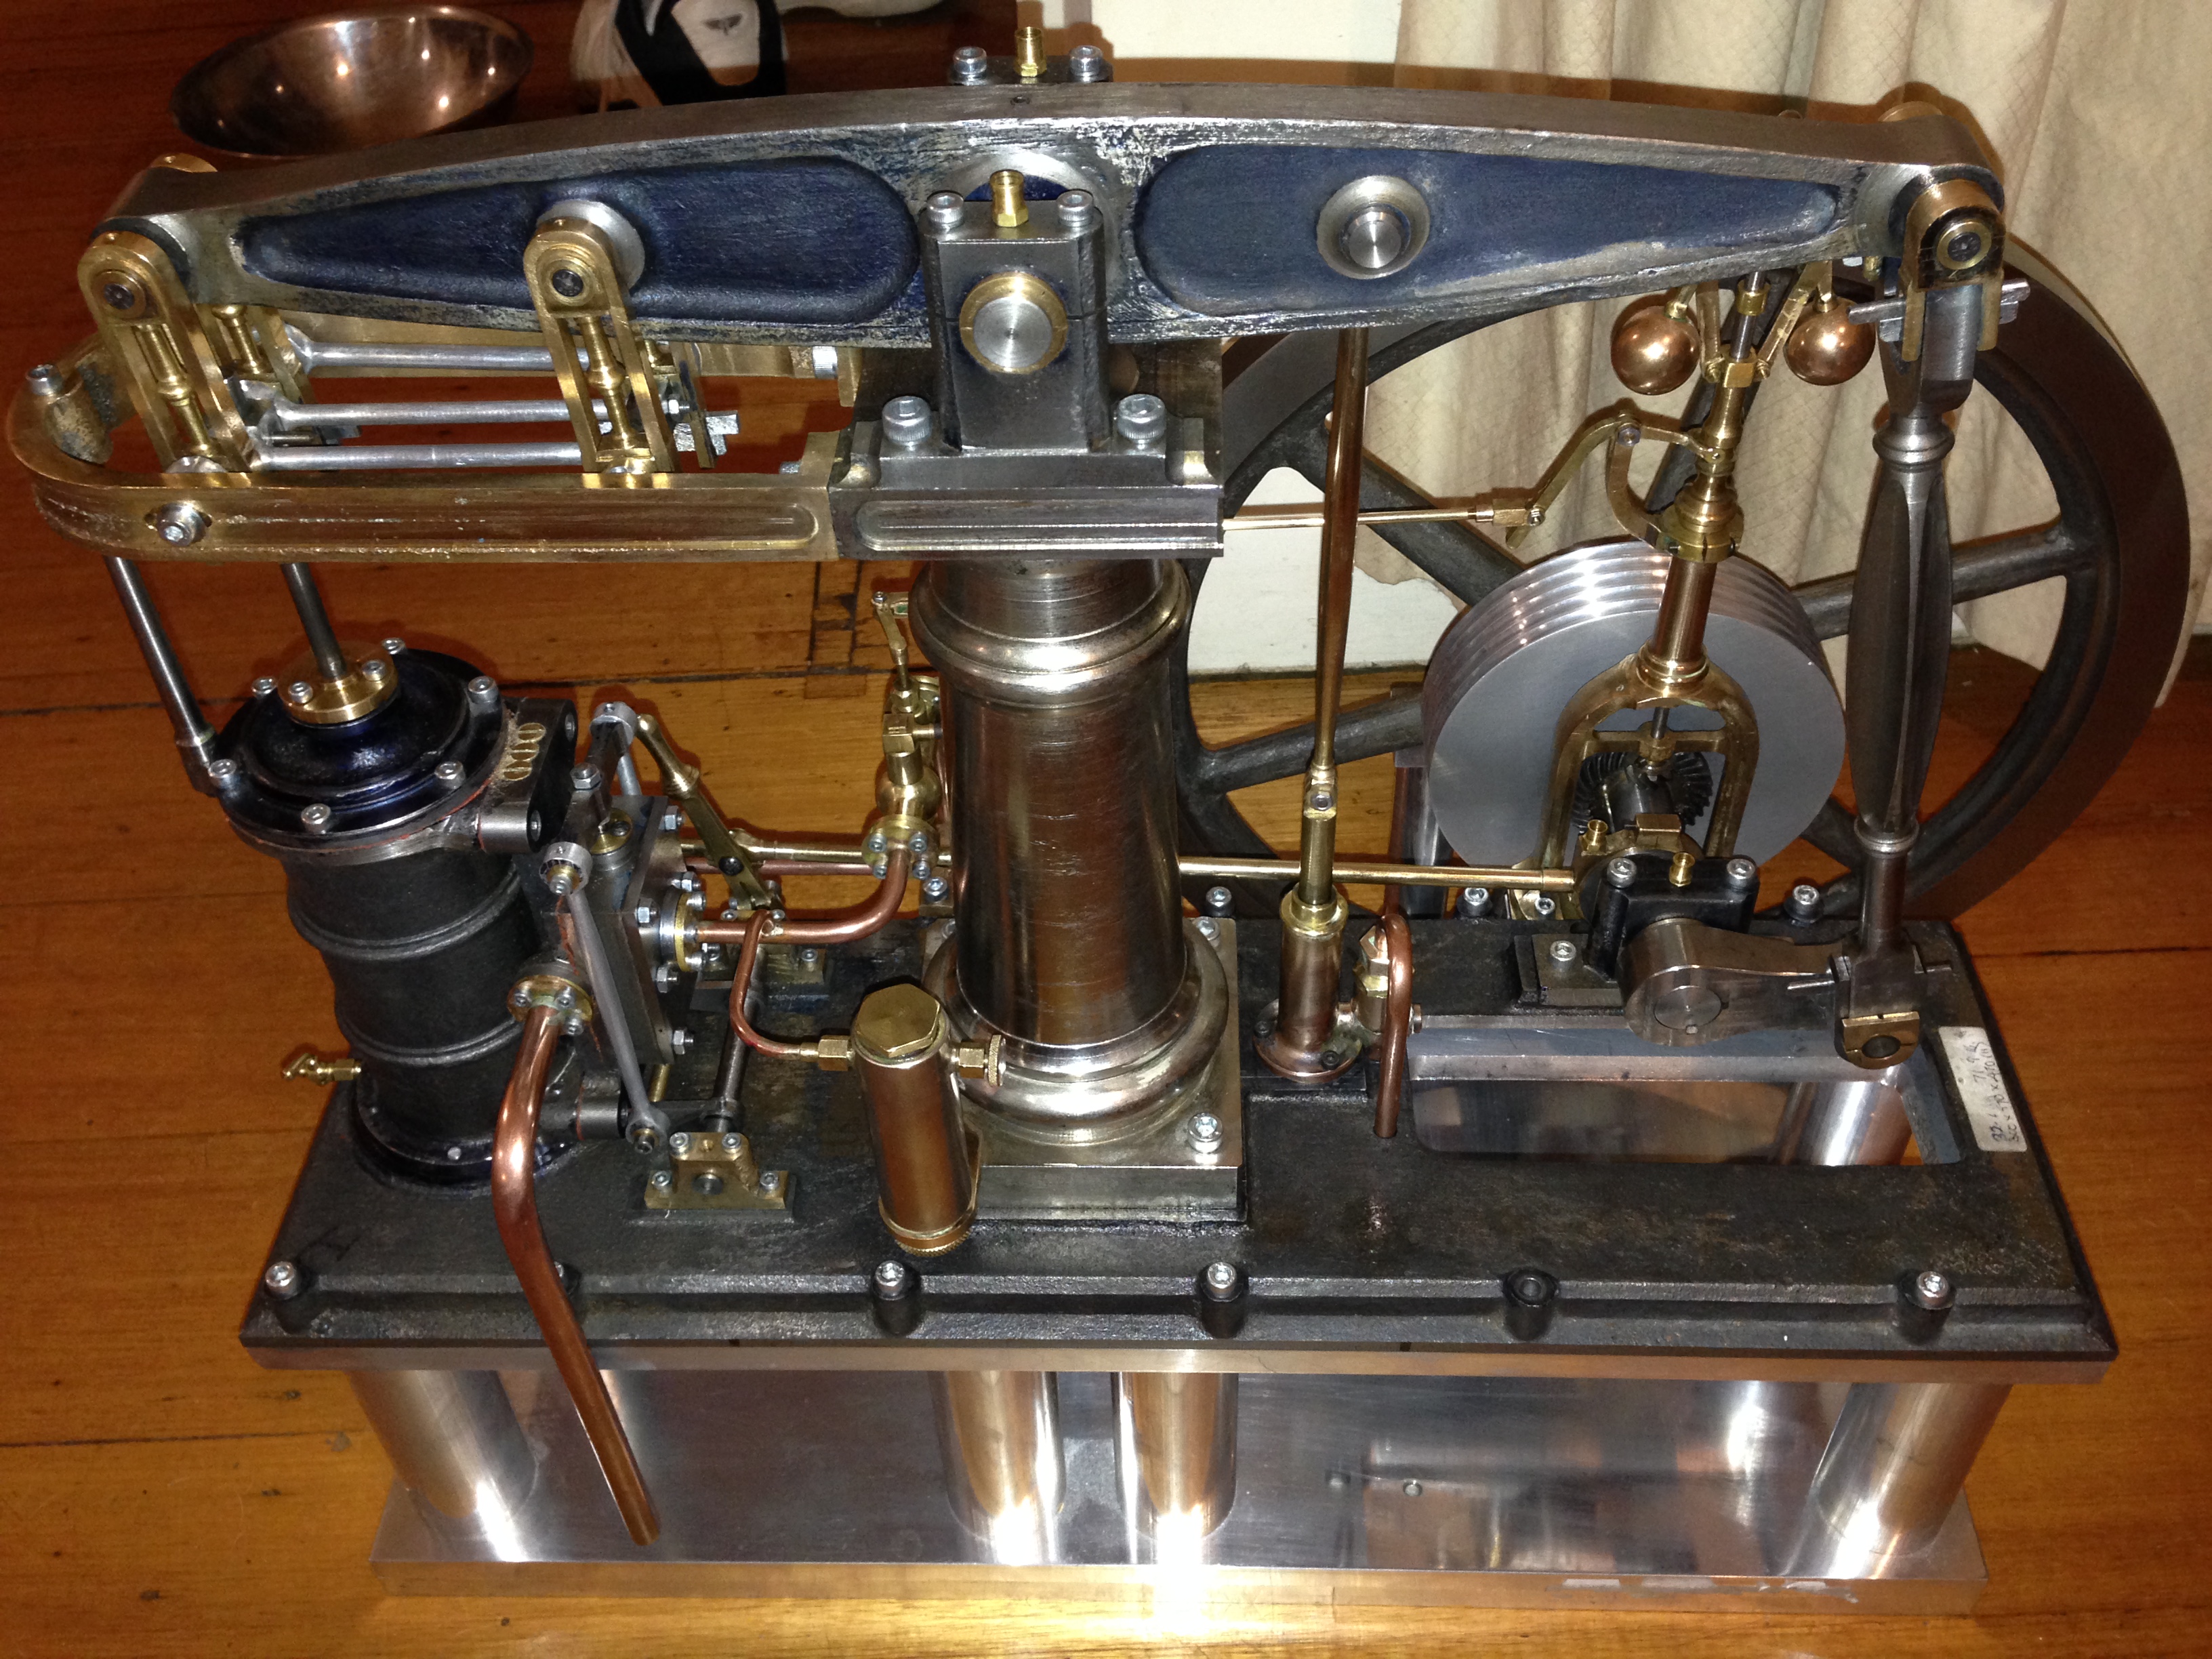
A few posts ago I posted some photos of the Koffiekop Stirling Engine, the top plate of which I had decorated with “engine turning”.  I had borrowed the engine turning tool and it worked well.  But I really wanted the circles to be bigger than the 5mm diameter which the Brownells kit produced.

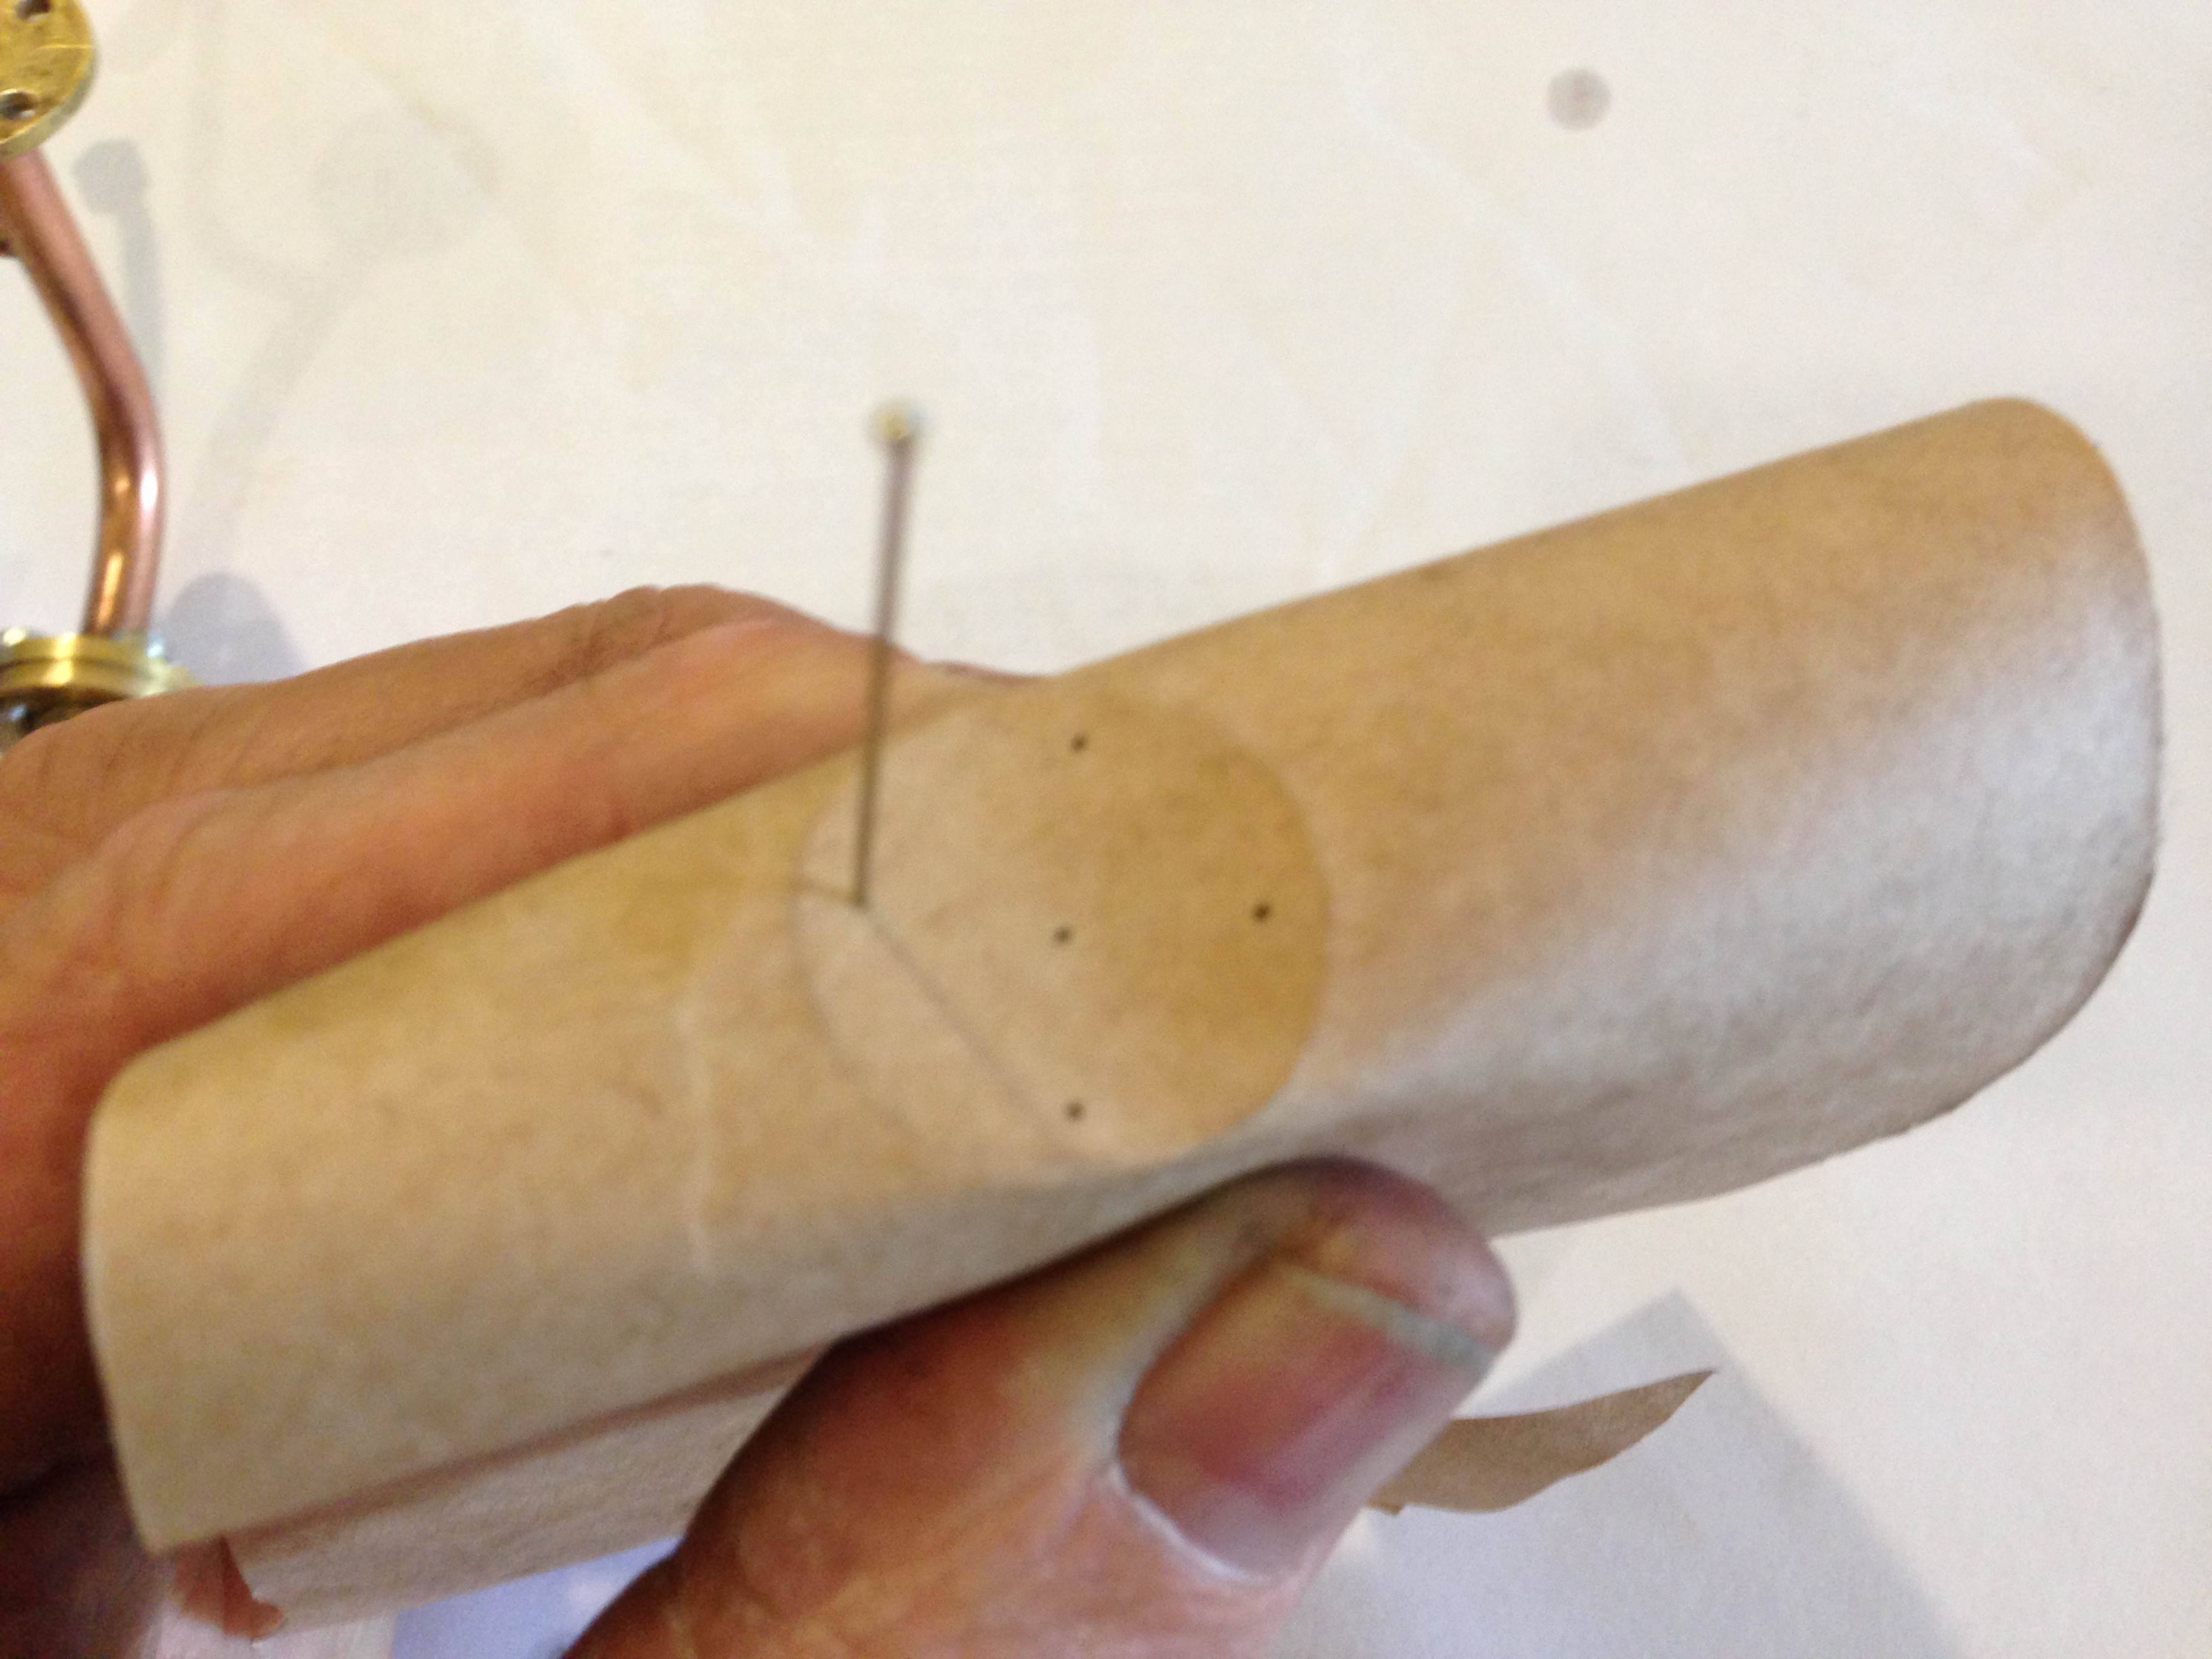
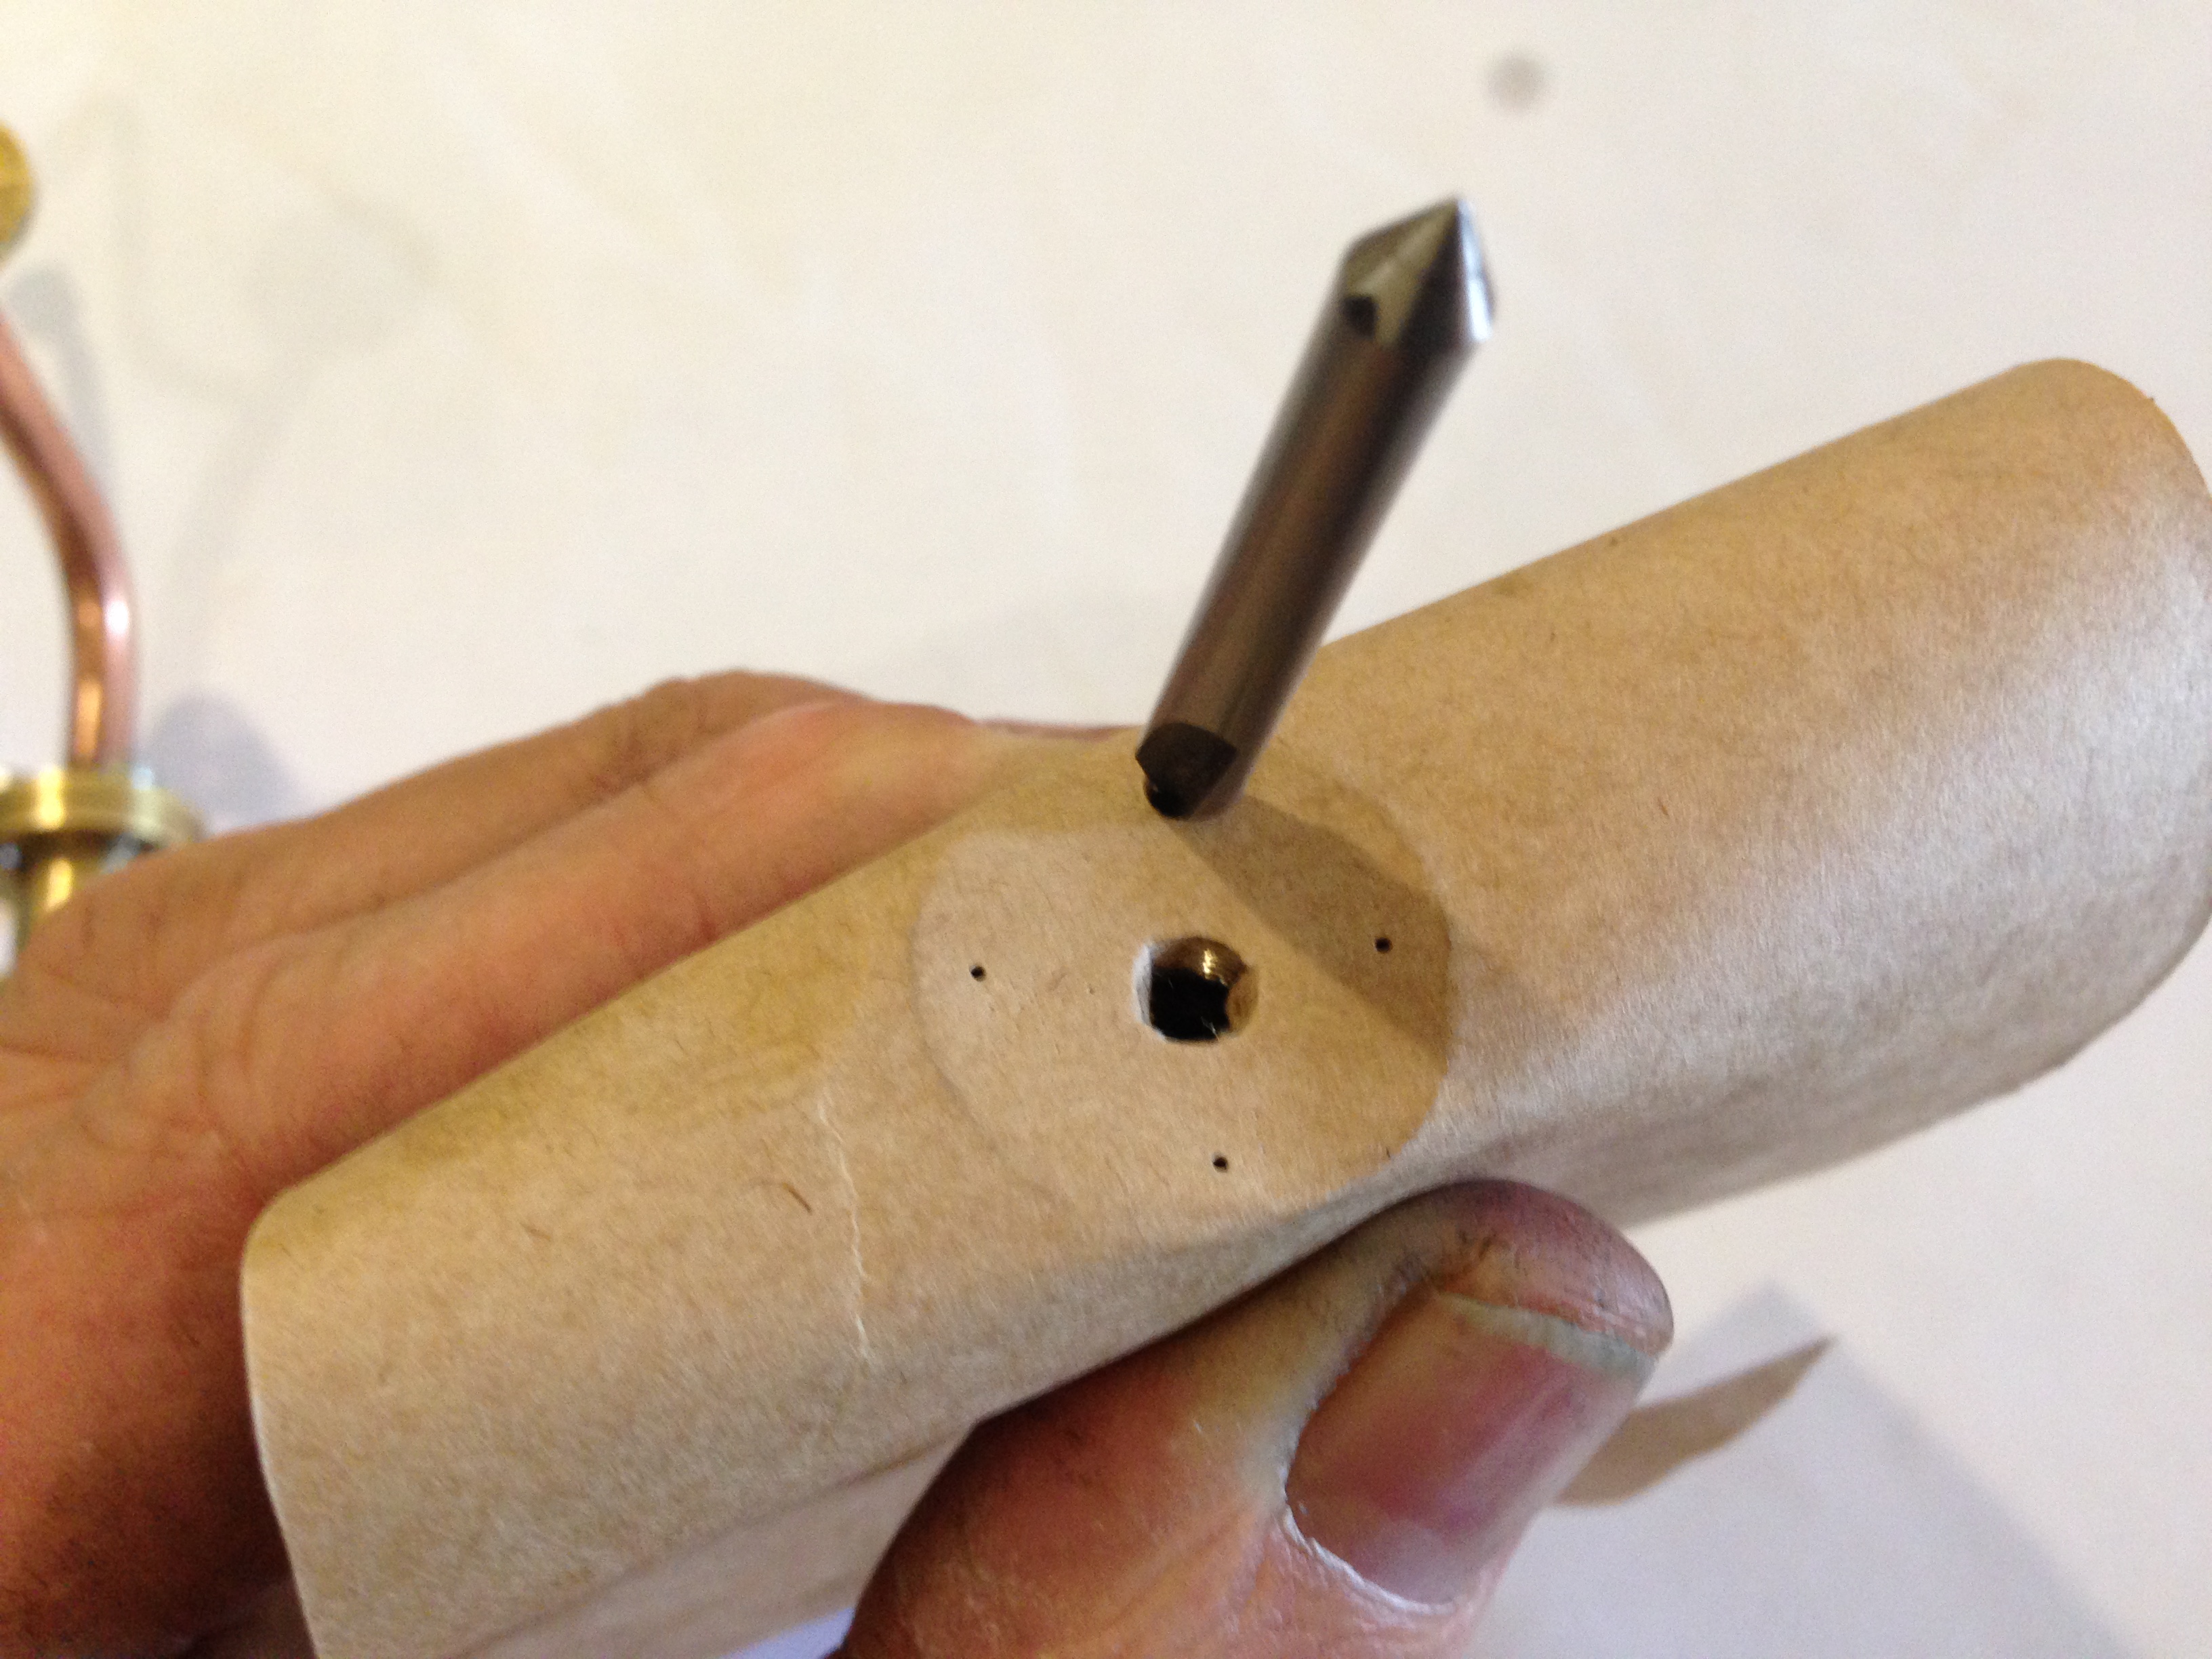
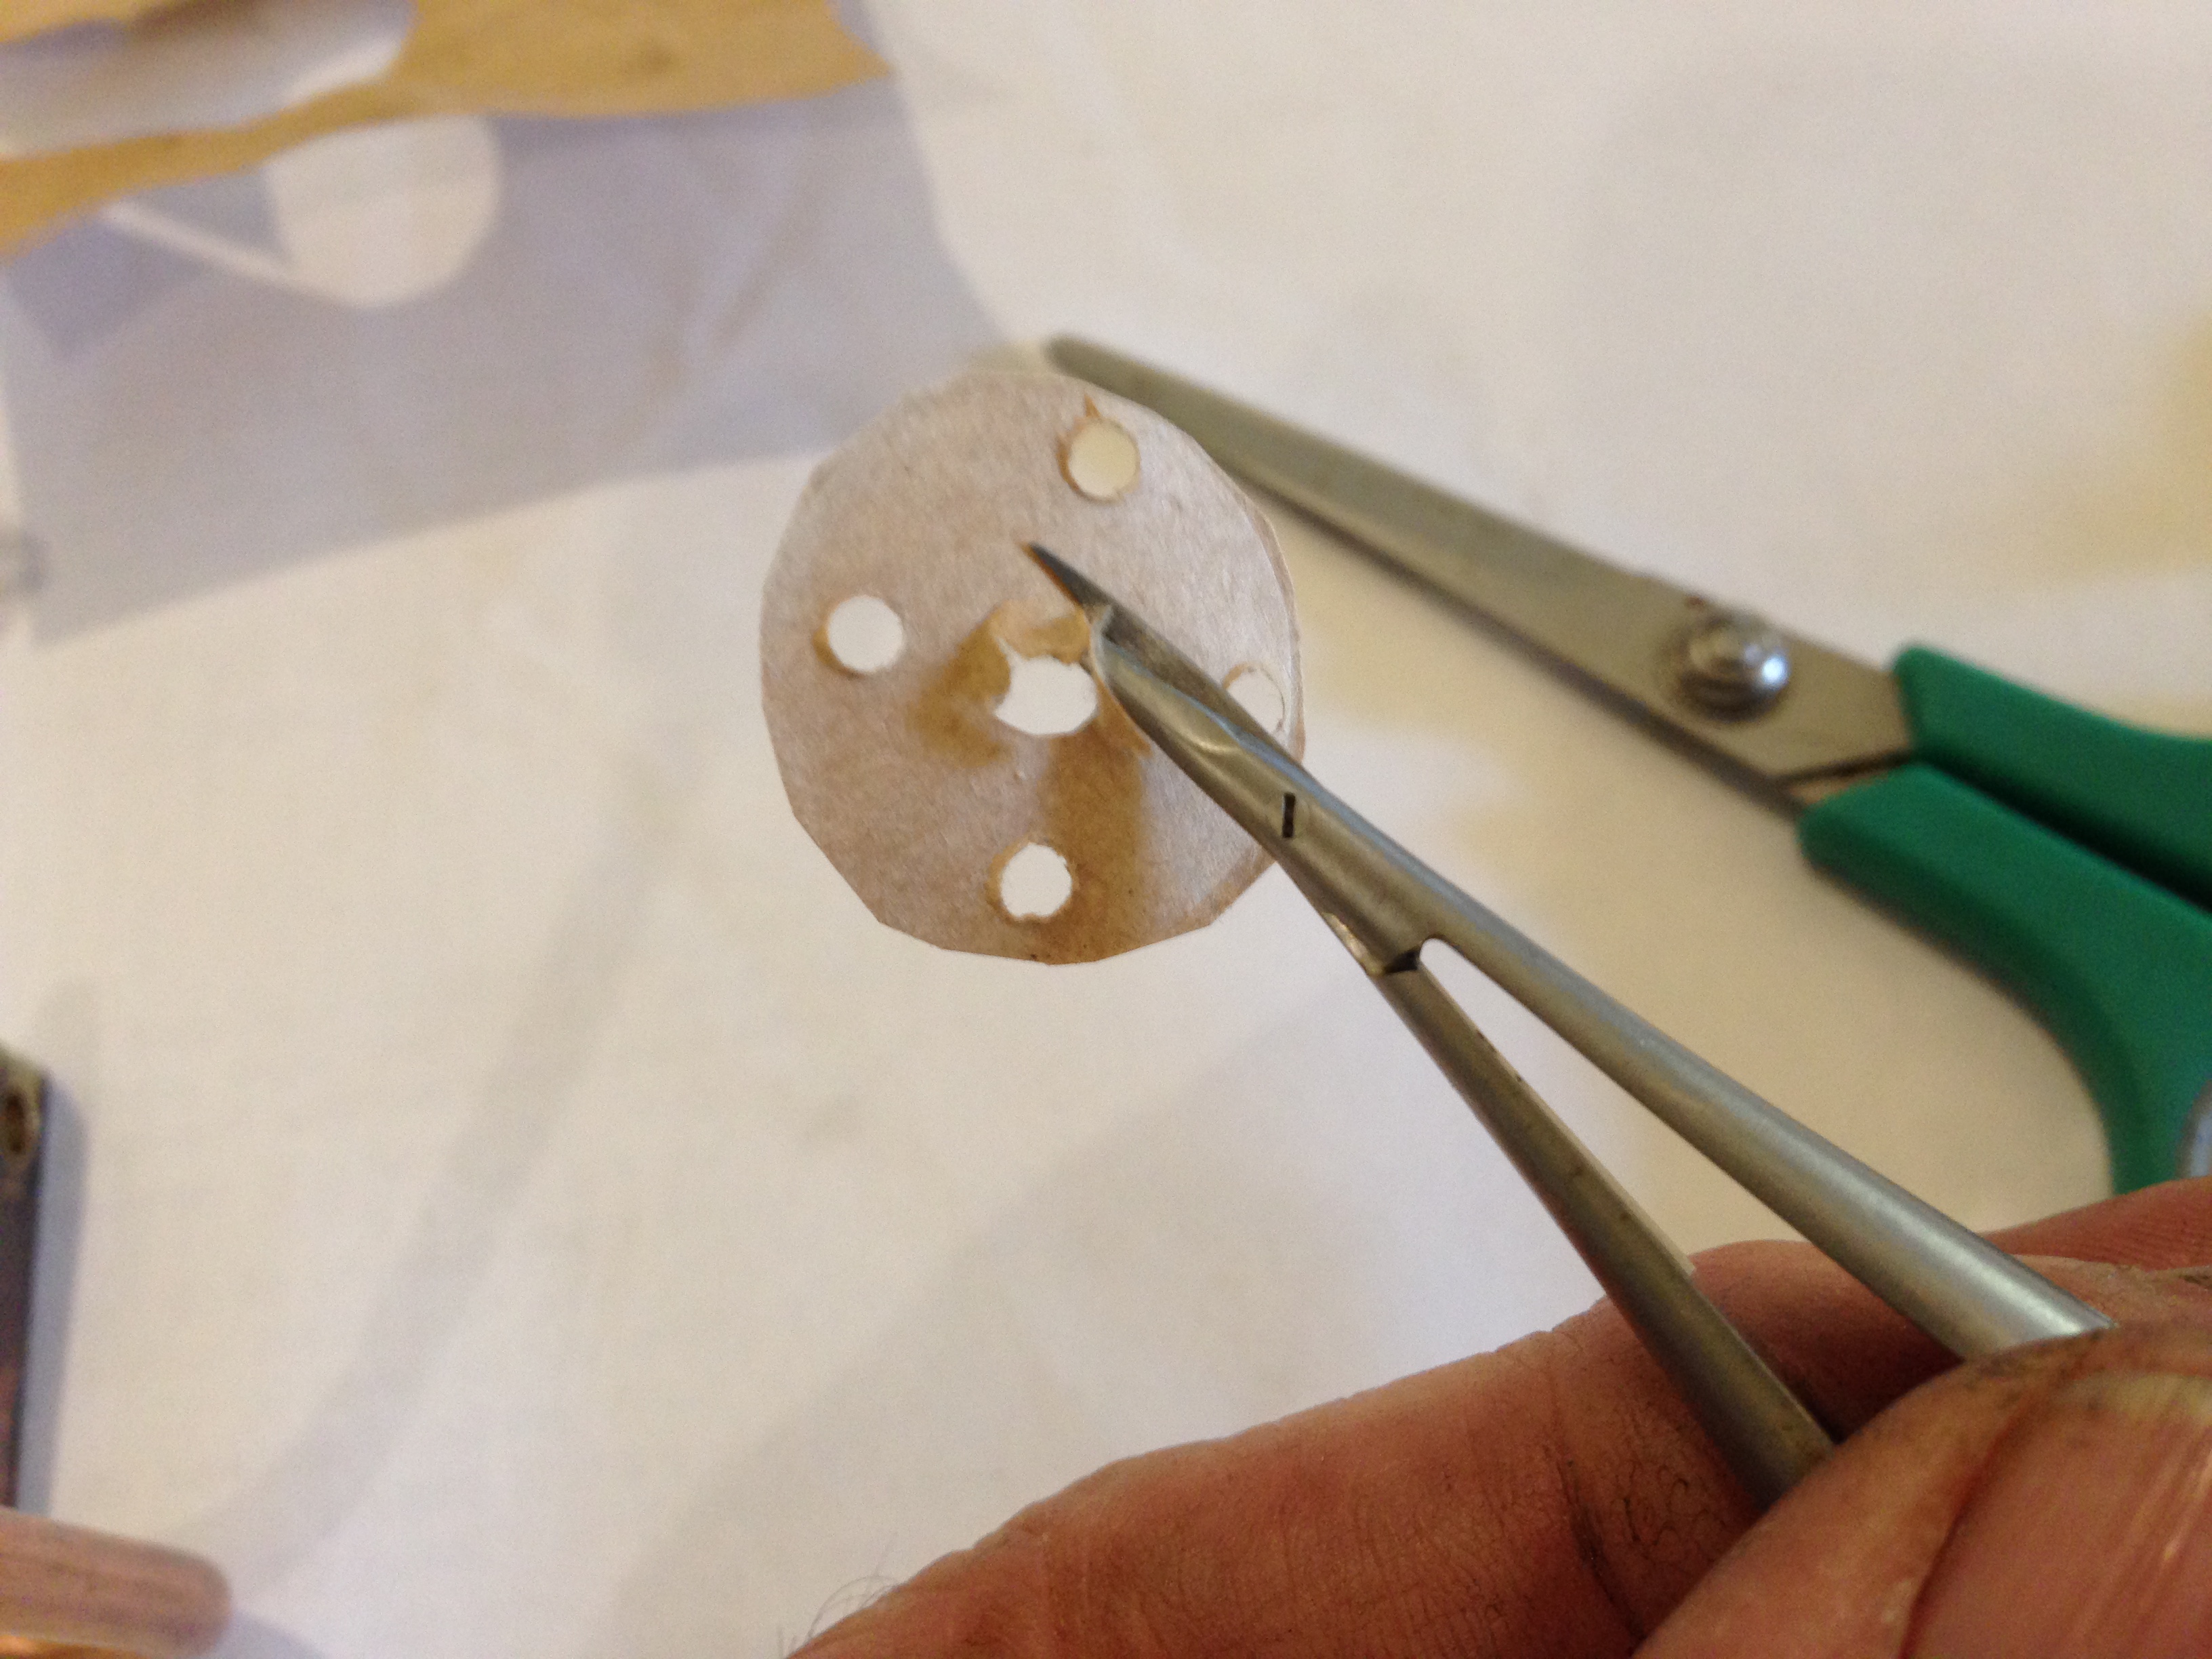
Today I experimented with disks punched out of metal polishing material, glued to the end of same diameter dowel.  (1/2″ = 12.7mm diameter).    I used Super Glue, and no problems with adhesion.

The dowel was attached to a chuck in a drill press.  Running at about 200-300 rpm, and pressing firmly.  No extra cutting compound ( I imagine that these metal polishing pads already have an imbedded cutting compound).  If I was using washing up Scothbrite  type material, I would expect to have to add a cutting compound.

The steel I was testing had surface rust.

Very happy with the result.  Next time I will use CNC positioning to pattern the circles, and overlap the circles so the crappy rusty steel disappears.

I understand that if engine turned surfaces are oiled, they are relatively rust resistant.  Presumably some oil remains in the microscopic grooves.

IMG_3170

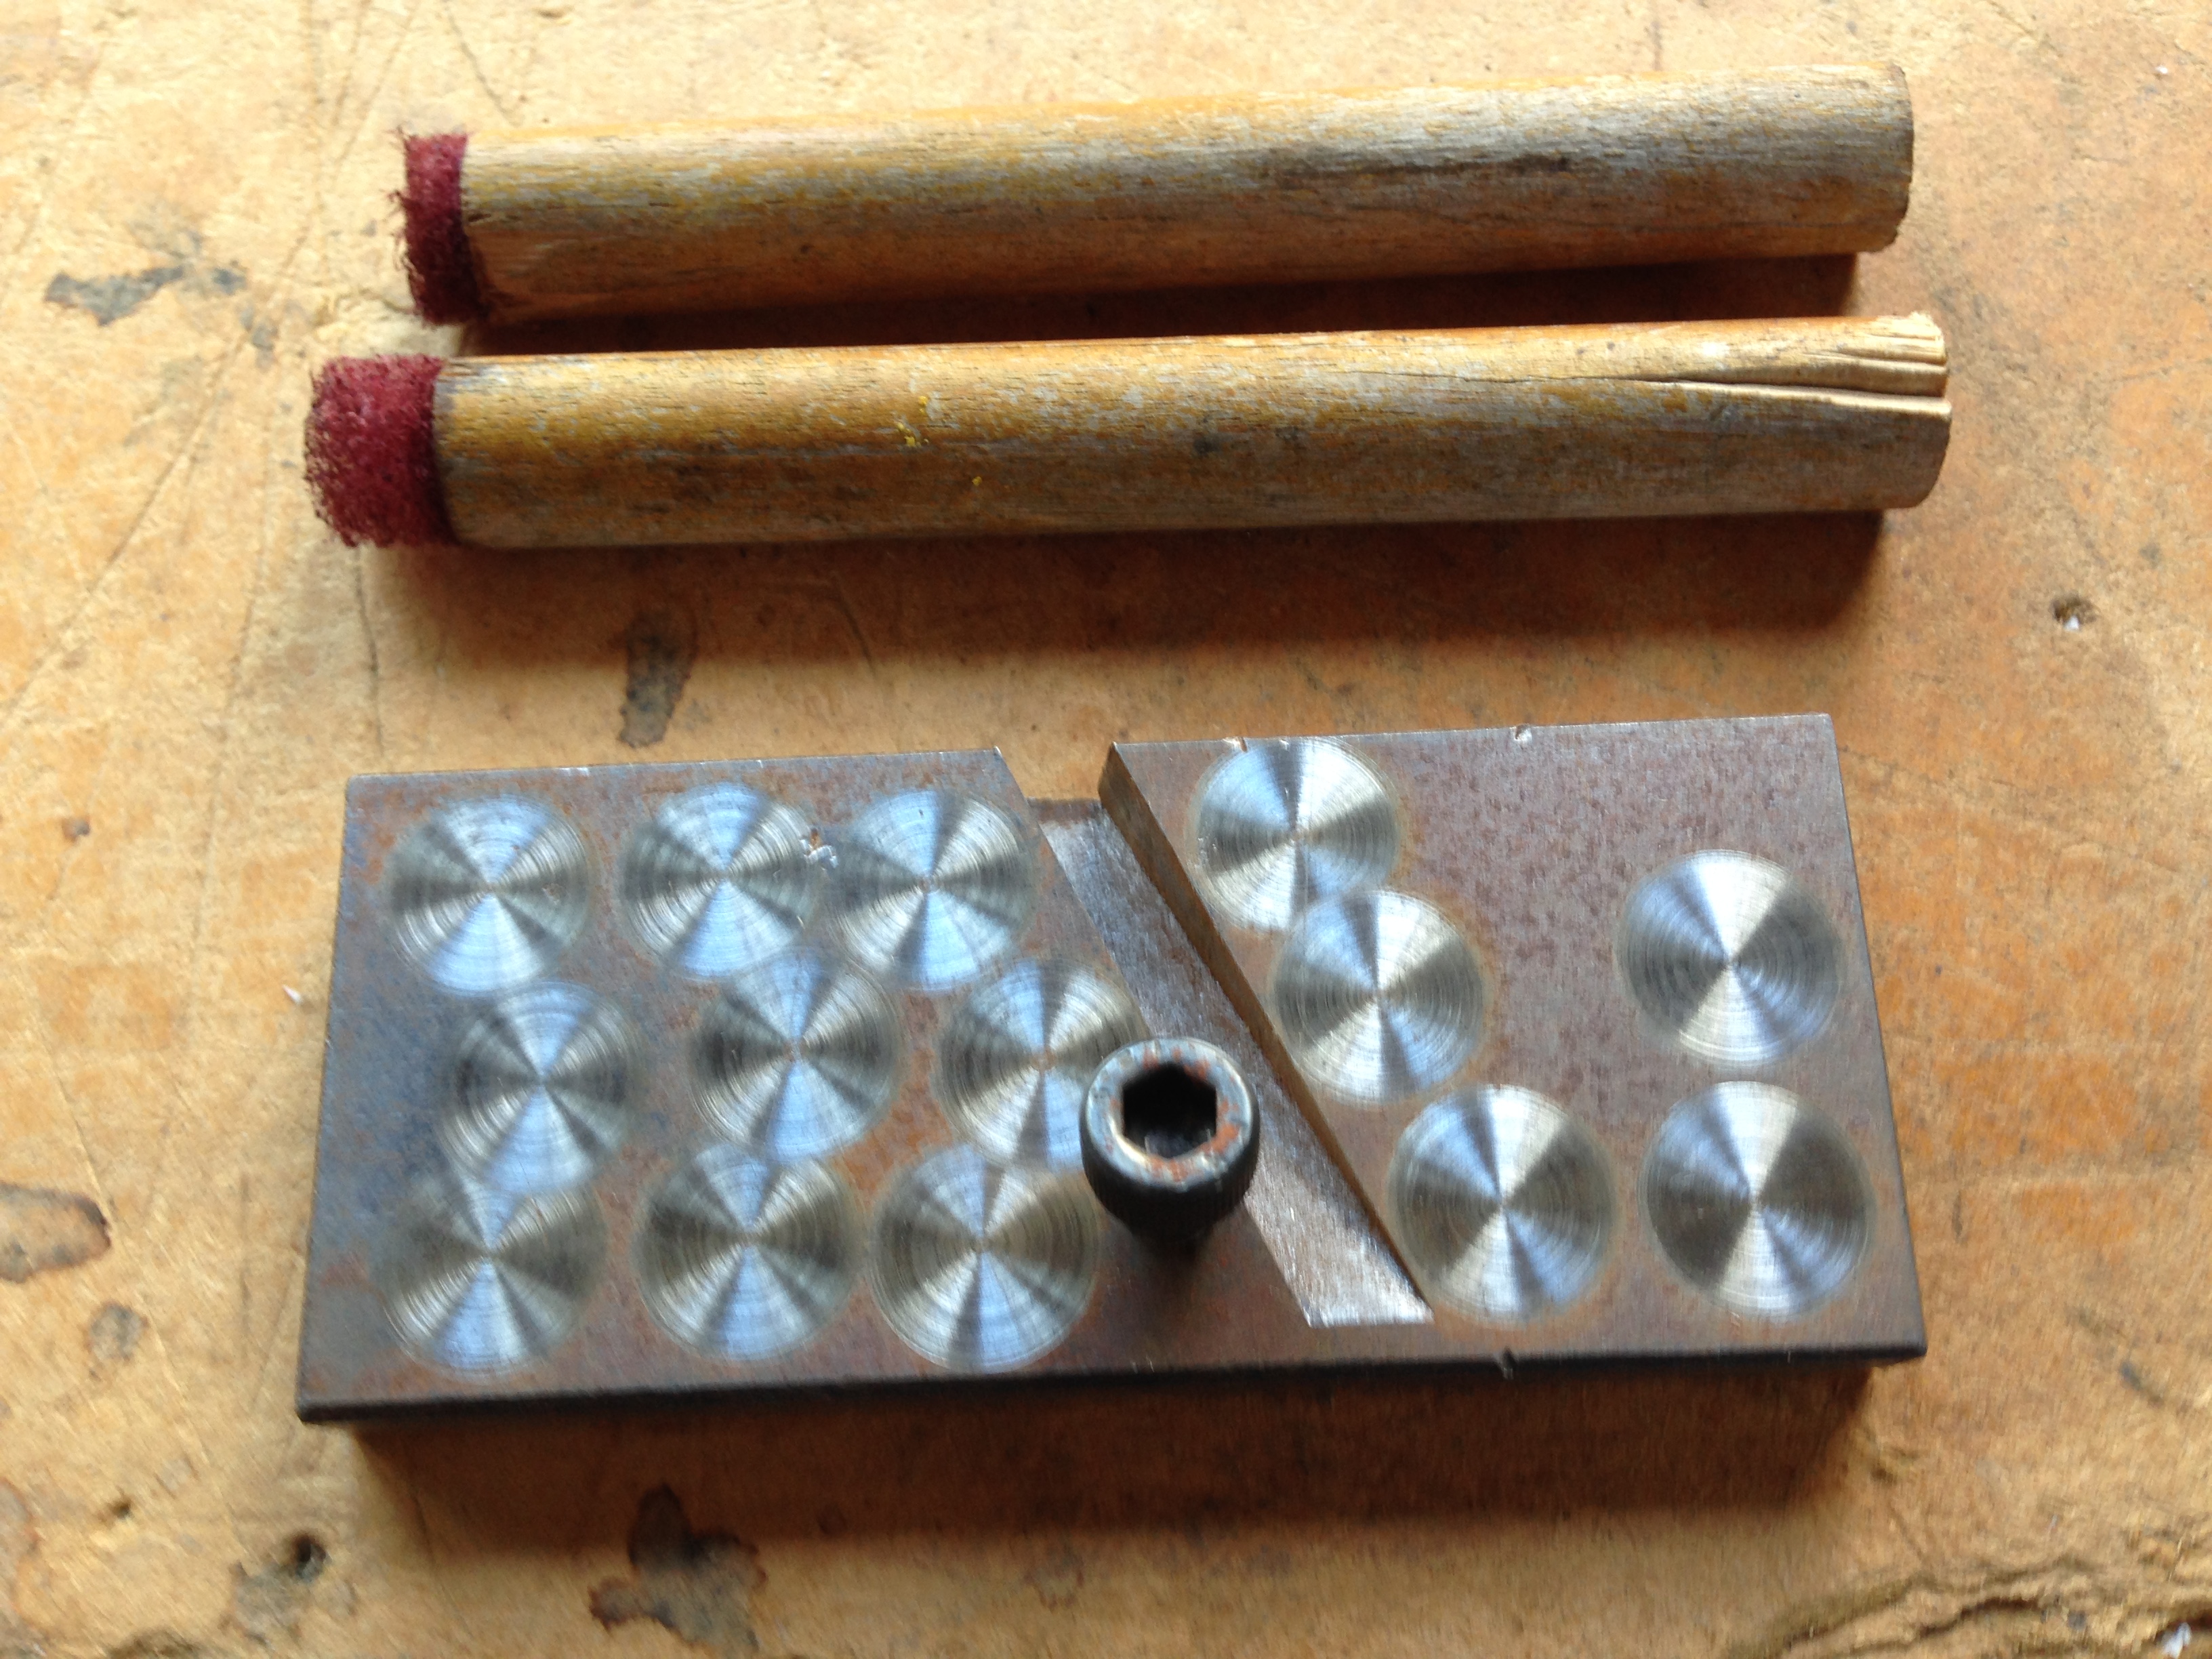
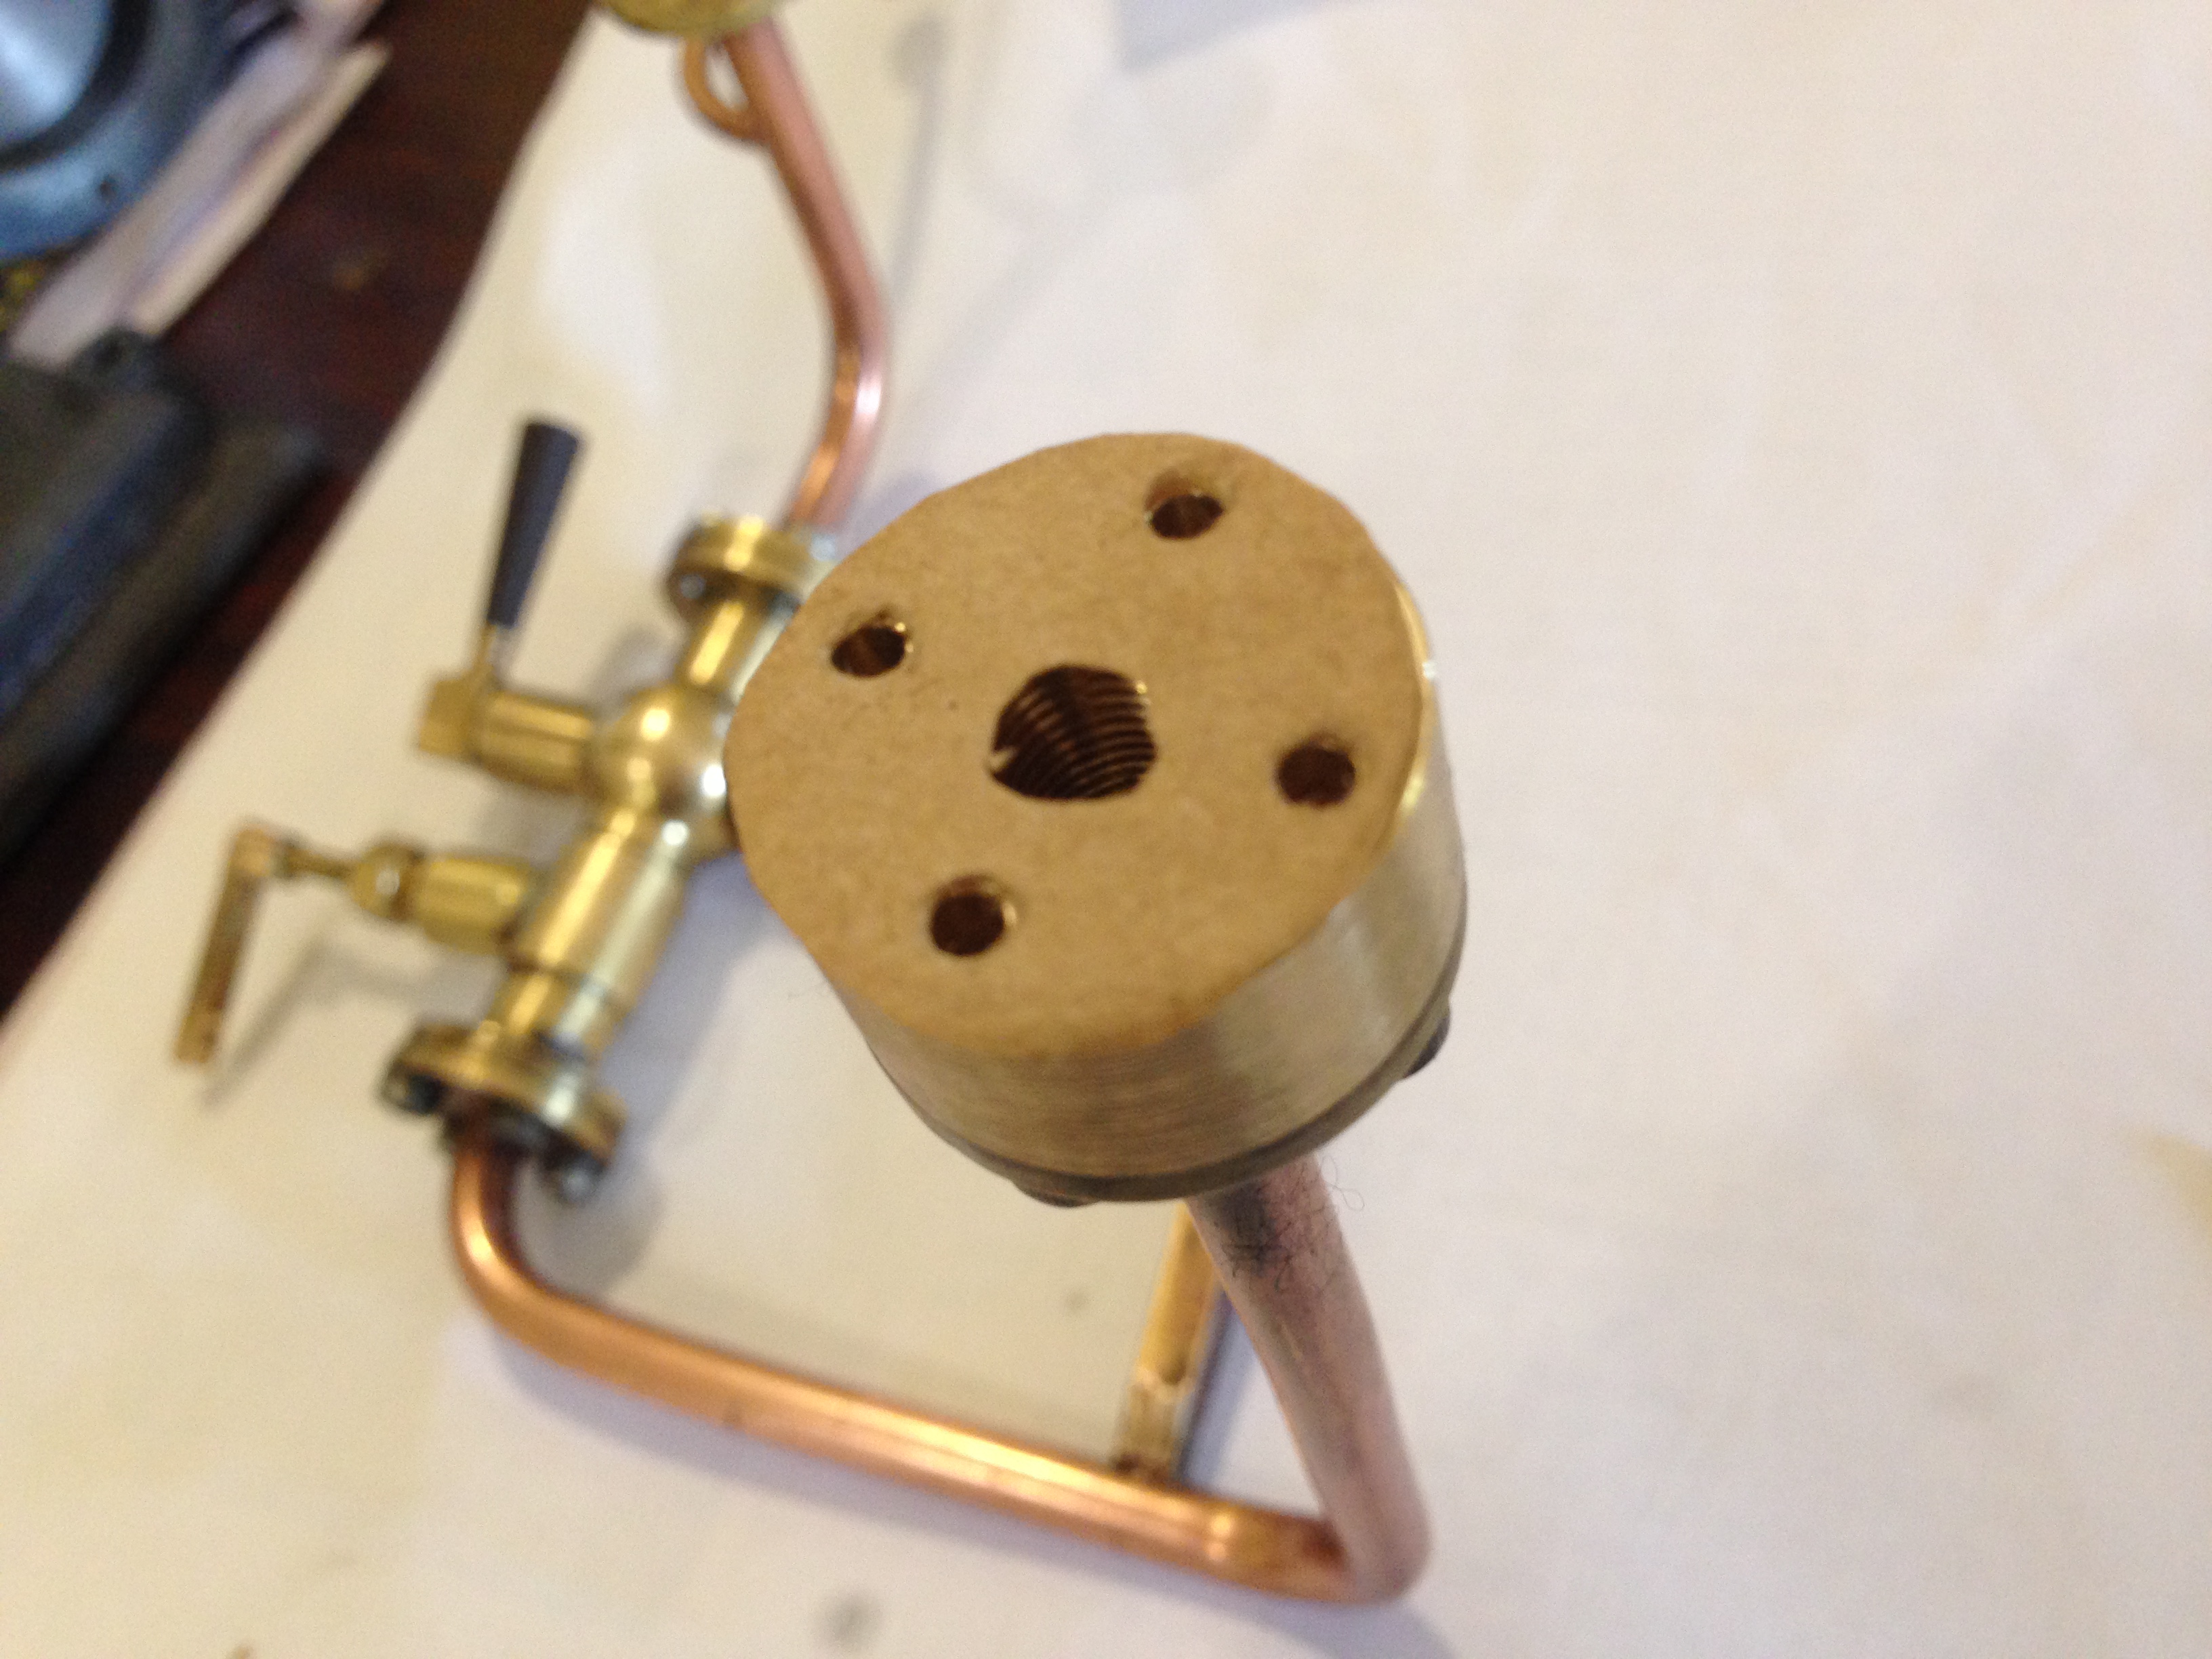
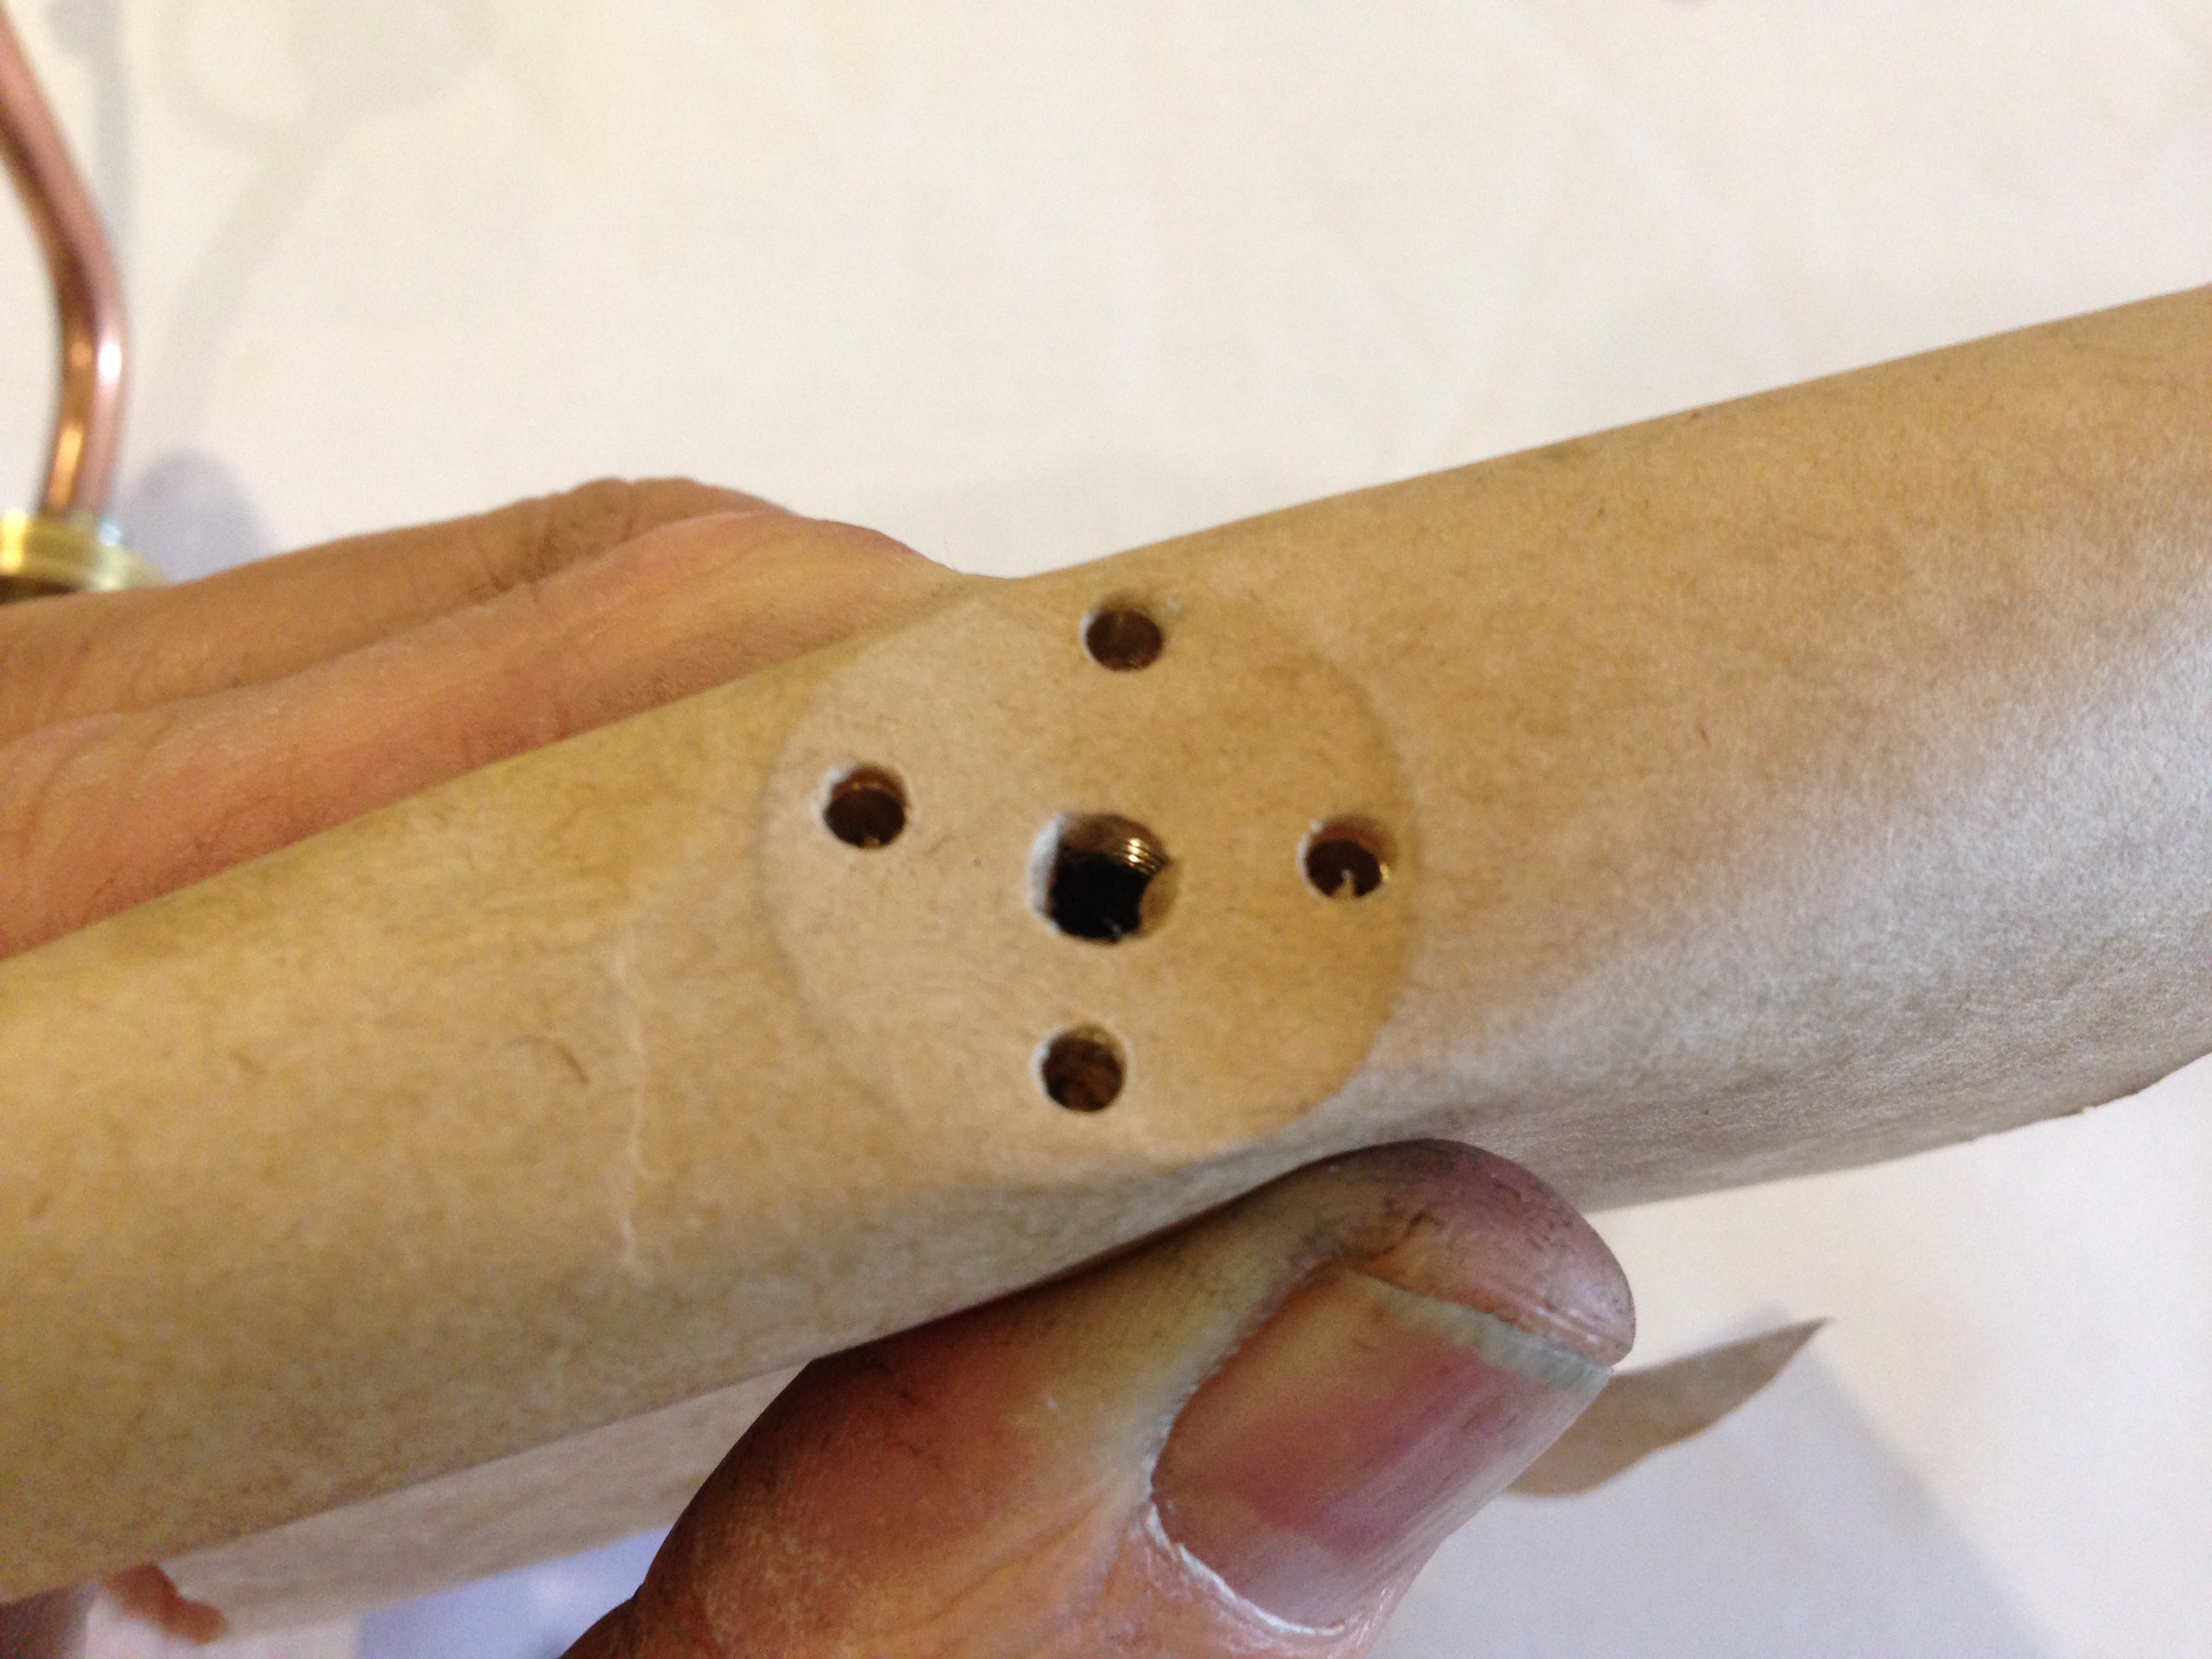
The top tool shows the tool after considerable use. It is a bit worn, but the thinning is mainly compression of the material. Compared with an unused tool below. And the surface rusted steel, which has had the tool applied in a semi random pattern, at the bottom of the snap.   (it is a home made tangential lathe tool sharpening jig).


Making Small Gaskets

My Bolton 12 Beam Engine is a steam engine, but to date, has run only on compressed air.

Compressed air, is invisible. Any leaks, might make some noise, and show up as a dirty oil leak, but are not visible to a casual observer.

In contrast, steam shows up every leak.

Our club is having its annual exhibition at The Geelong Show, in 2 weeks.  (See the post from 12 months ago about The Geelong Show)

Steam is available so I have decided to show my Bolton 12 beam engine, and to have it running on steam.

That has required making a steam connection and removing the compressed air connector, And more importantly, making every joint in the steam-air line,  steam proof.

So every join has been opened and a gasket inserted.  Some of the gaskets are oiled brown paper, and some are more permanent “liquid” gaskets.

Making the gaskets was a new and interesting experience, so I decided to make a photographic record.

I made the gaskets from brown paper.

I required 6 of these small gaskets, and 2 larger ones.

IMG_3158

More components ready to have gaskets installed

IMG_3159

Step 1. Make an impression of the surface in the paper using finger pressure.  Do not allow the paper to move.

IMG_3160

Step 2.  Continuing to hold the paper securely, locate the bolt and steam holes using a pin.  

IMG_3161

Step 3. Using an old centre drill, enlarge the pin holes. Rotate the centre drill anticlockwise to avoid tearing the paper. Push the the drill firmly while rotating it, and continue to hold the paper firmly against the surface.

IMG_3164

Step 4. Use the fine scissors to remove the dags. A delicate touch is required.  Use the ordinary scissors to cut the outline.

IMG_3165

It looks like it should do the job.


IMG_3167

The reassembled beam engine.  The displacement oiler, and rope driving pulley have been added since the last photos were posted.

Amazingly,  after reassembly, I had no left over bits.  If it works on steam as planned, I will post a video.  Watch this space.