
Small Tube Bender
I have recently been busy installing a steam powered water injector on the 3″ Fowler traction engine. Involved quite a few bends in 1/4″ copper pipe.
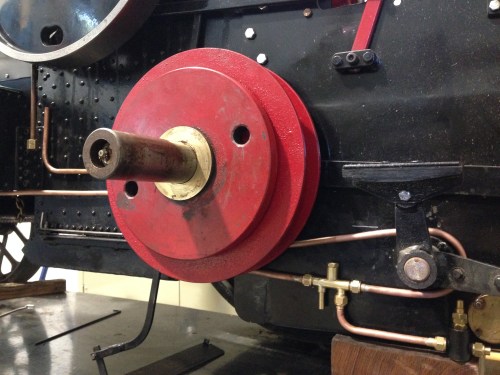
Some of the new pipework on the traction engine. Since this photo, I have also made the winch functional. (pics of that in future post)

Hand pipe benders.
I was not totally satisfied with the regularity in the bends, or the straightness of the runs in the pipe. That provoked some discussion at our model engineering group, and one member (Stuart T) showed us the pipe bender which he had made some years ago.
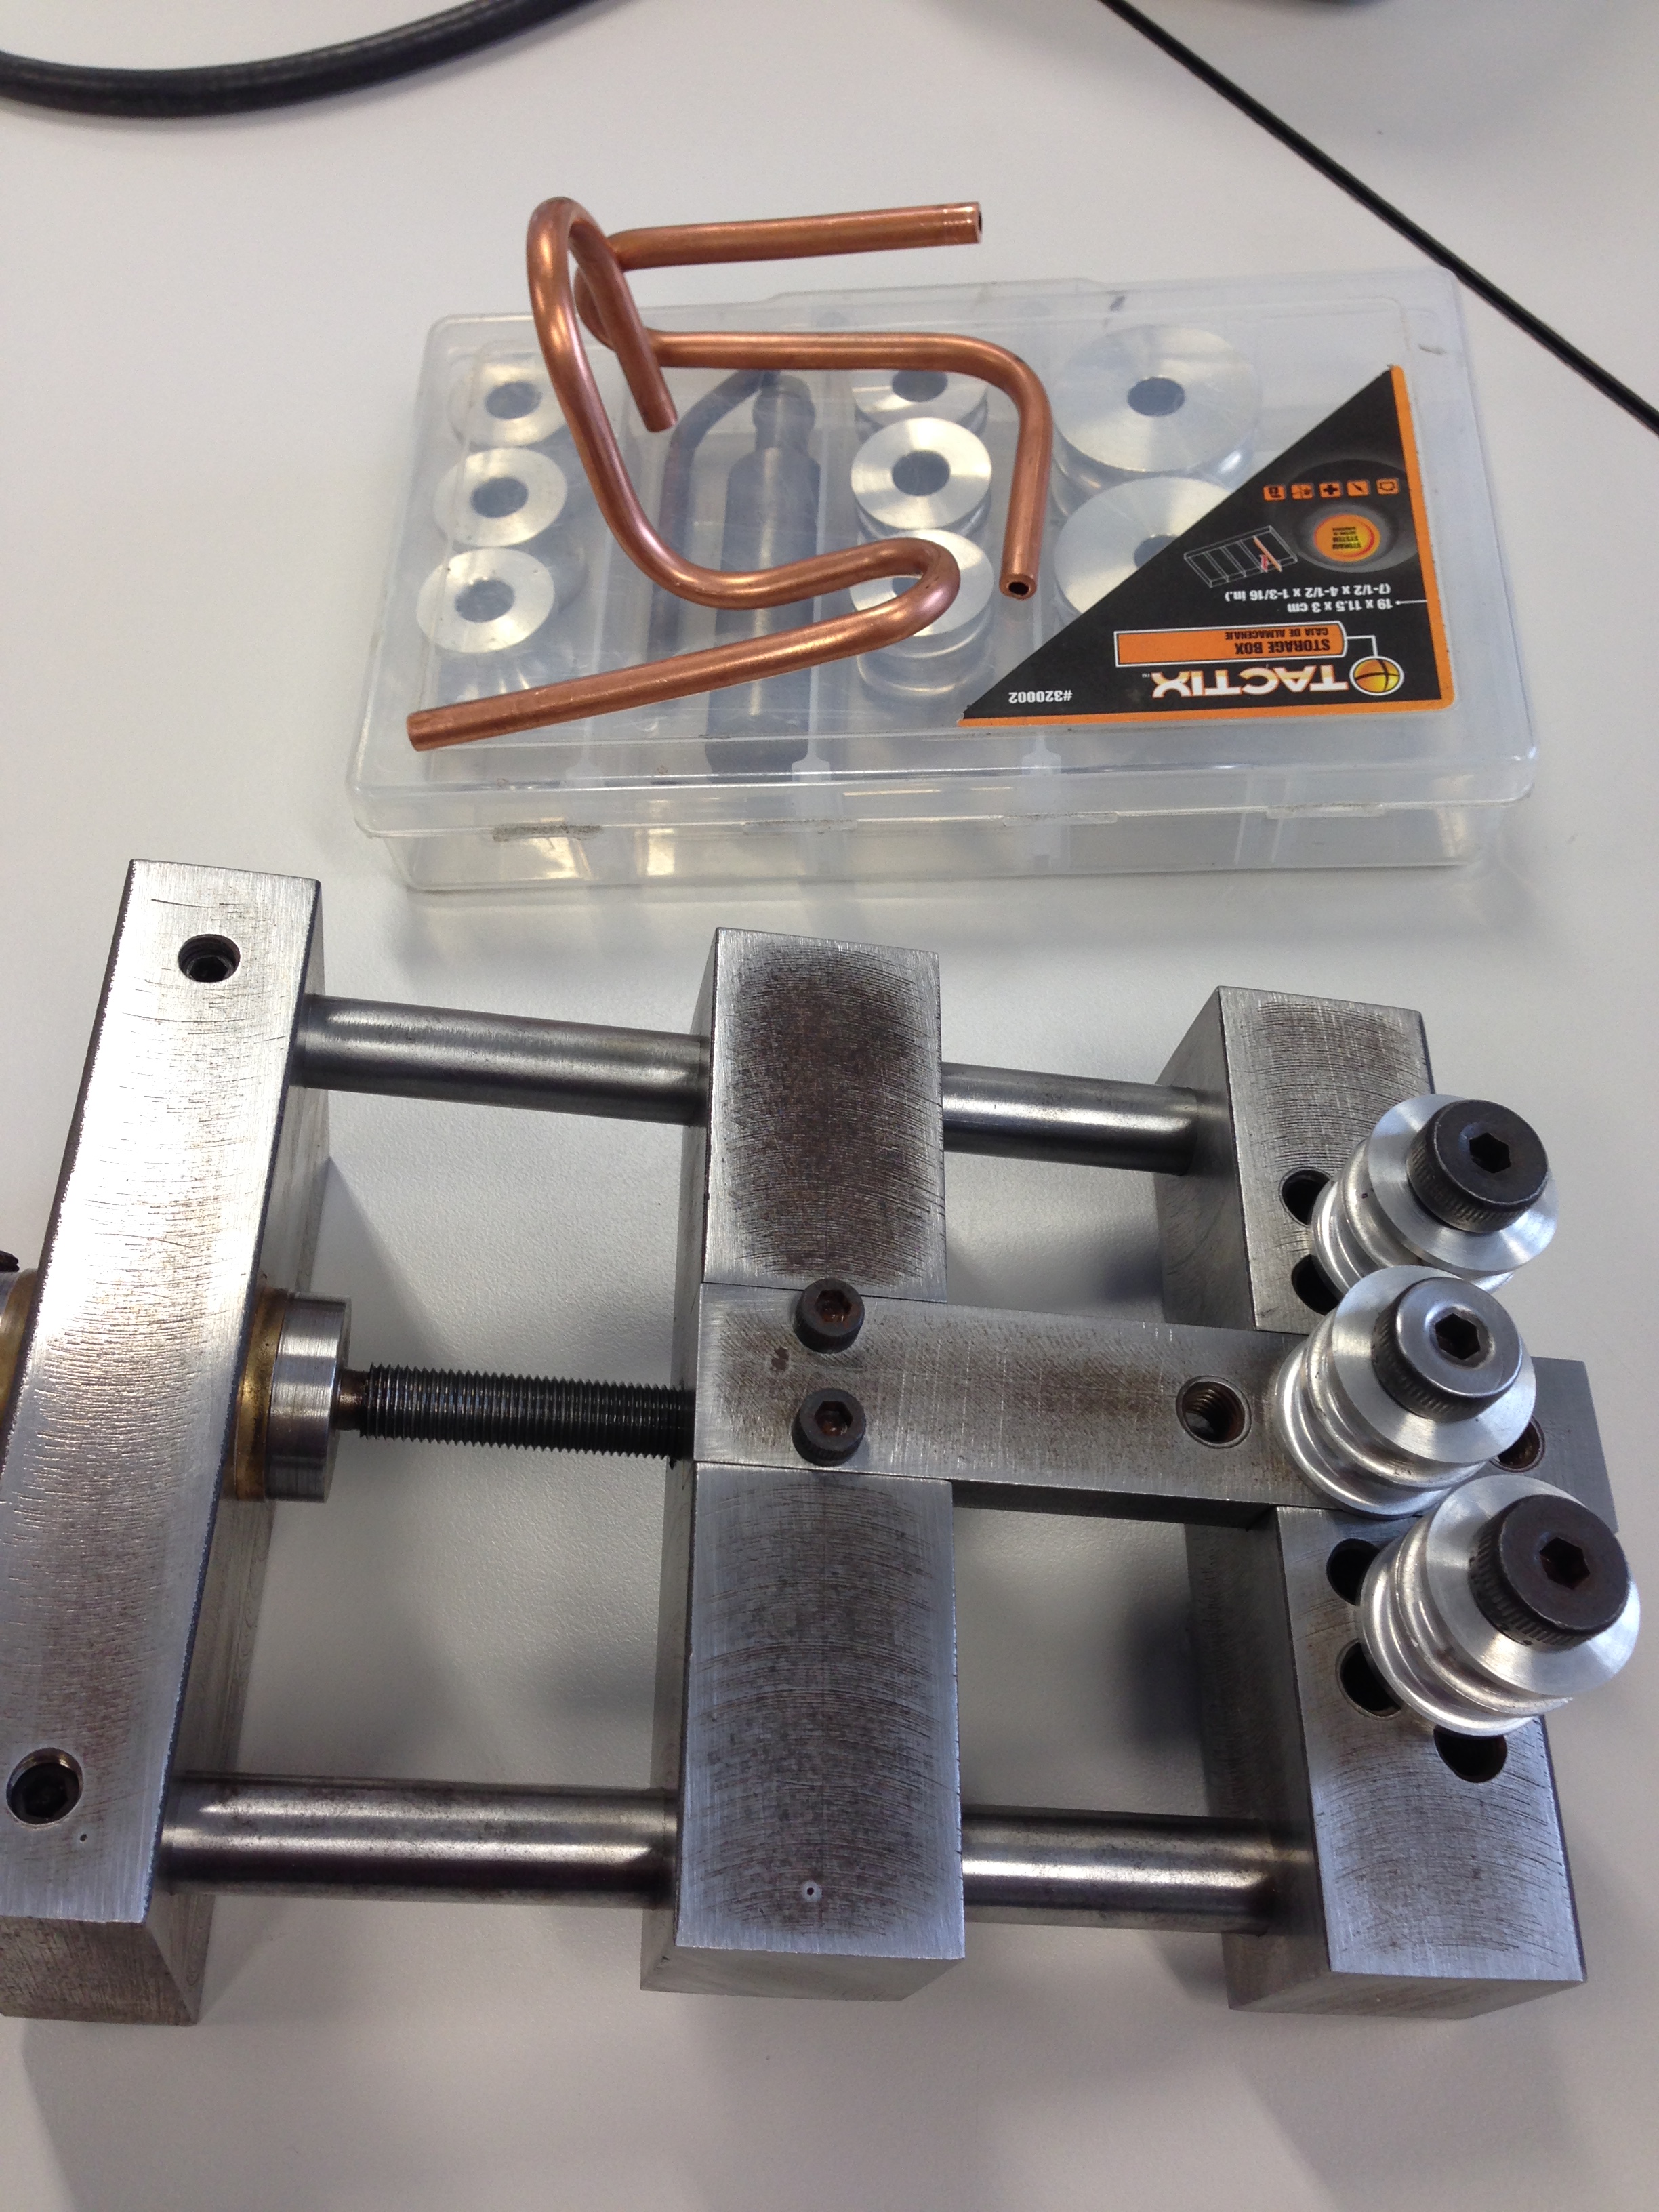
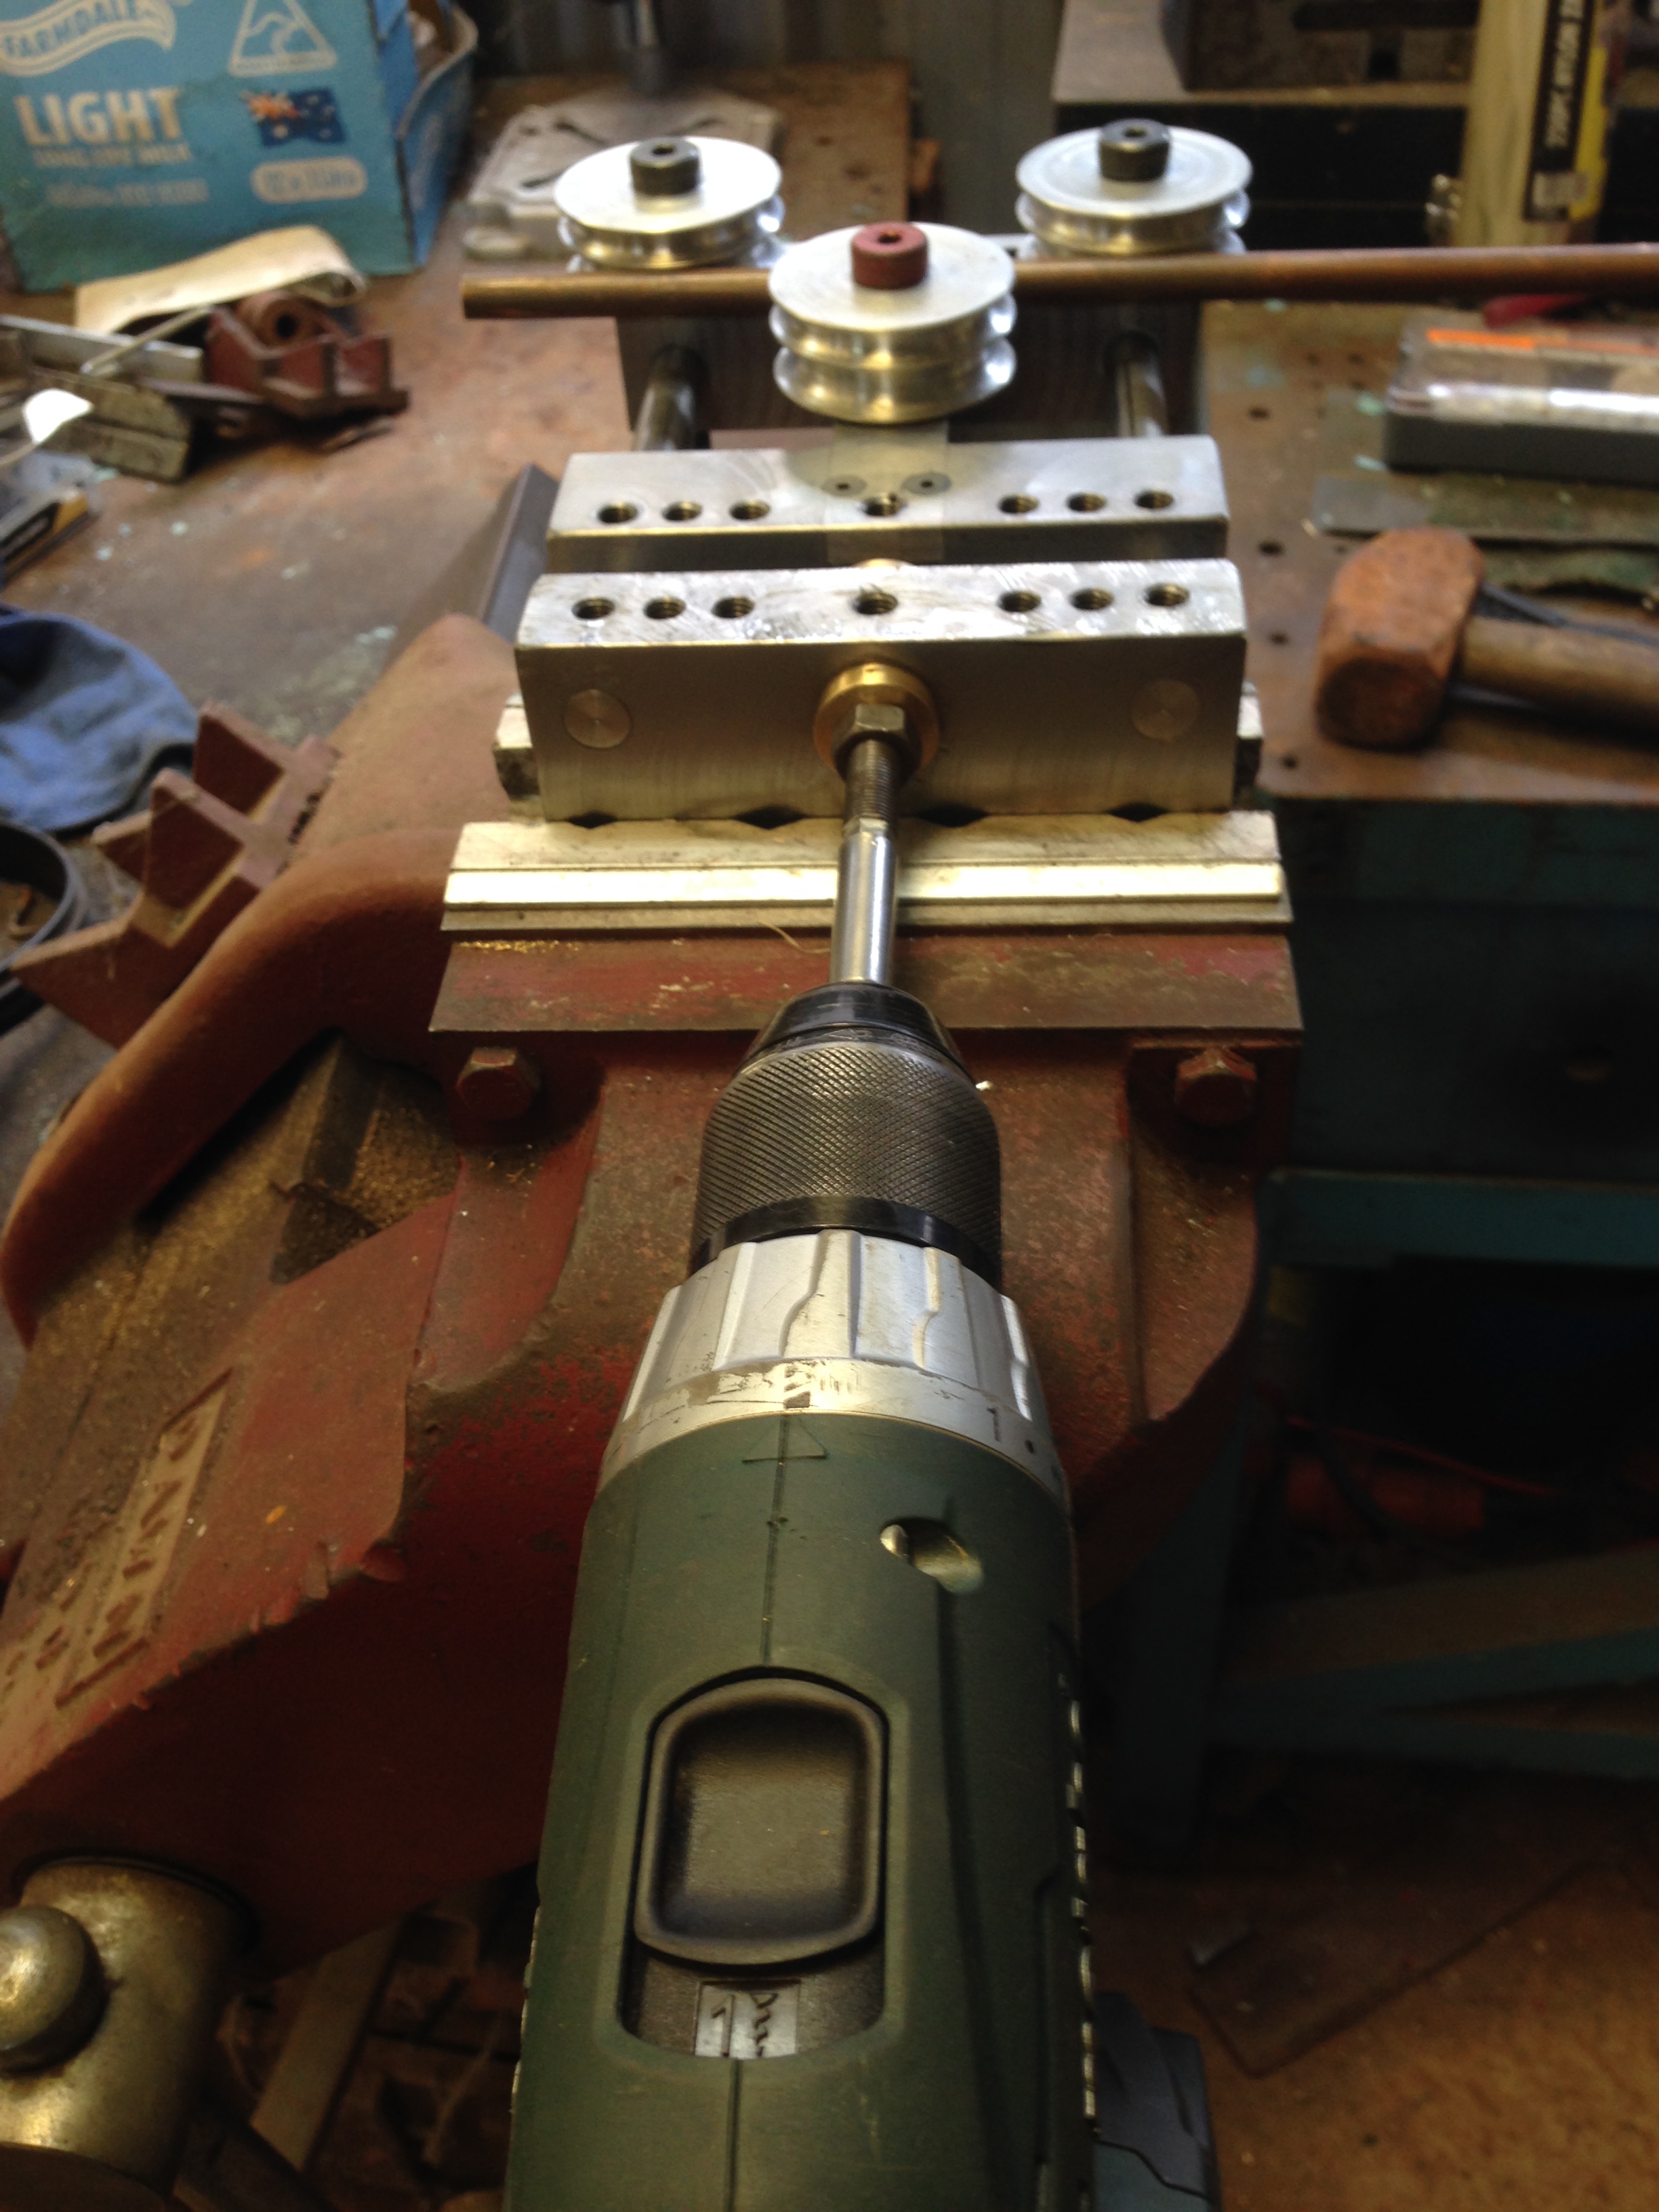
Pipe bender designed and made by Stuart Tankard.
As you can see it has a heavy duty frame, shoulder bolts holding the rolls with machined slots for various sized pipe, and a 19mm hex connector for the driving battery drill. A demonstration of pipe bending on this machine convinced me of its superiority to the hand held benders
Fortunately for me Stuart still had the plans which he had drawn up, so I made my own bender. I made a couple of changes to Stuart’s design. I made a 1/4″ hex on the driving screw, to accept the commonly used connector for battery drills. And I did not have any suitable bronze for the main bush, so I made a brass bush, which incororated a thrust ball bearing which engages during the bending procedure. Probably unecessary but it was there in my junk drawer so I used it.
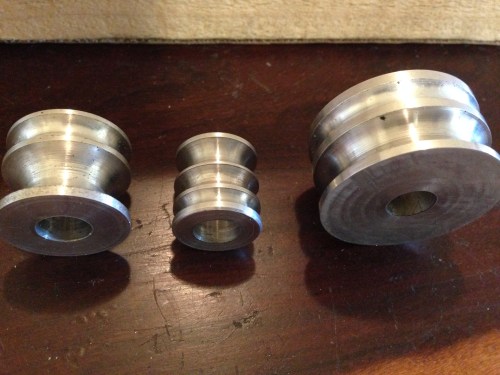
The radius of the bend in the tube is determined by the radius of the roll. 1″, 3/4″ and 1.5″. Each radius has grooves for 1/8″ 3/16″ 1/4″ 5/16″ 3/8″ and 1/2″ tube. Since then I have also made 2″ rolls.

Aluminium rod for the rolls.

Using a bearing to centralise the tailstock end before center drilling.

The lathe tools used to make the grooves.

3 rolls turned from each length, with an allowance for parting. Then drilled and reamed, and parted in a lathe big enough for the 2″ bar to be securely held.
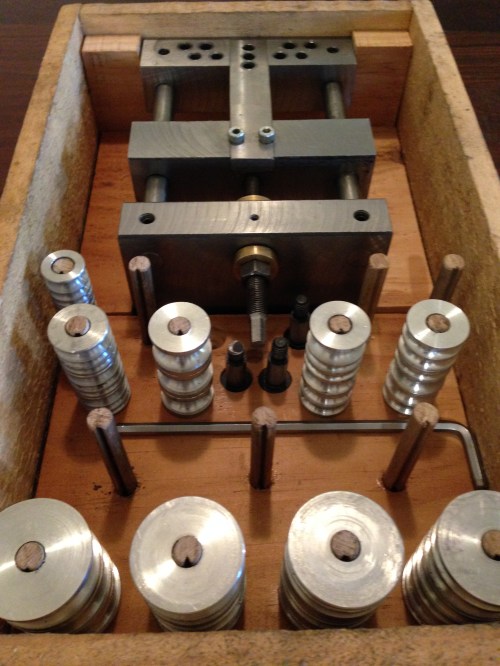
Completed bender. The wooden box keeps the components organised. Not a tribute to the craft of wood working but it will do. The vacant pegs are for 2″ rolls which are yet to be made.
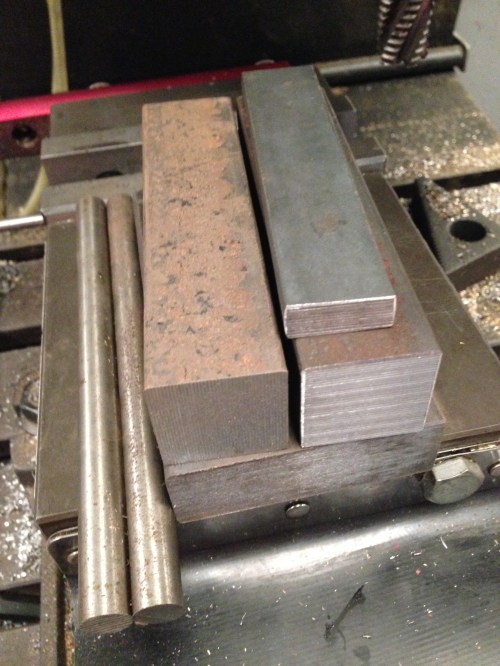
The raw materials for the tool. 1″ X 3″ and 1″ square mild steel, and 1/2″ silver steel.
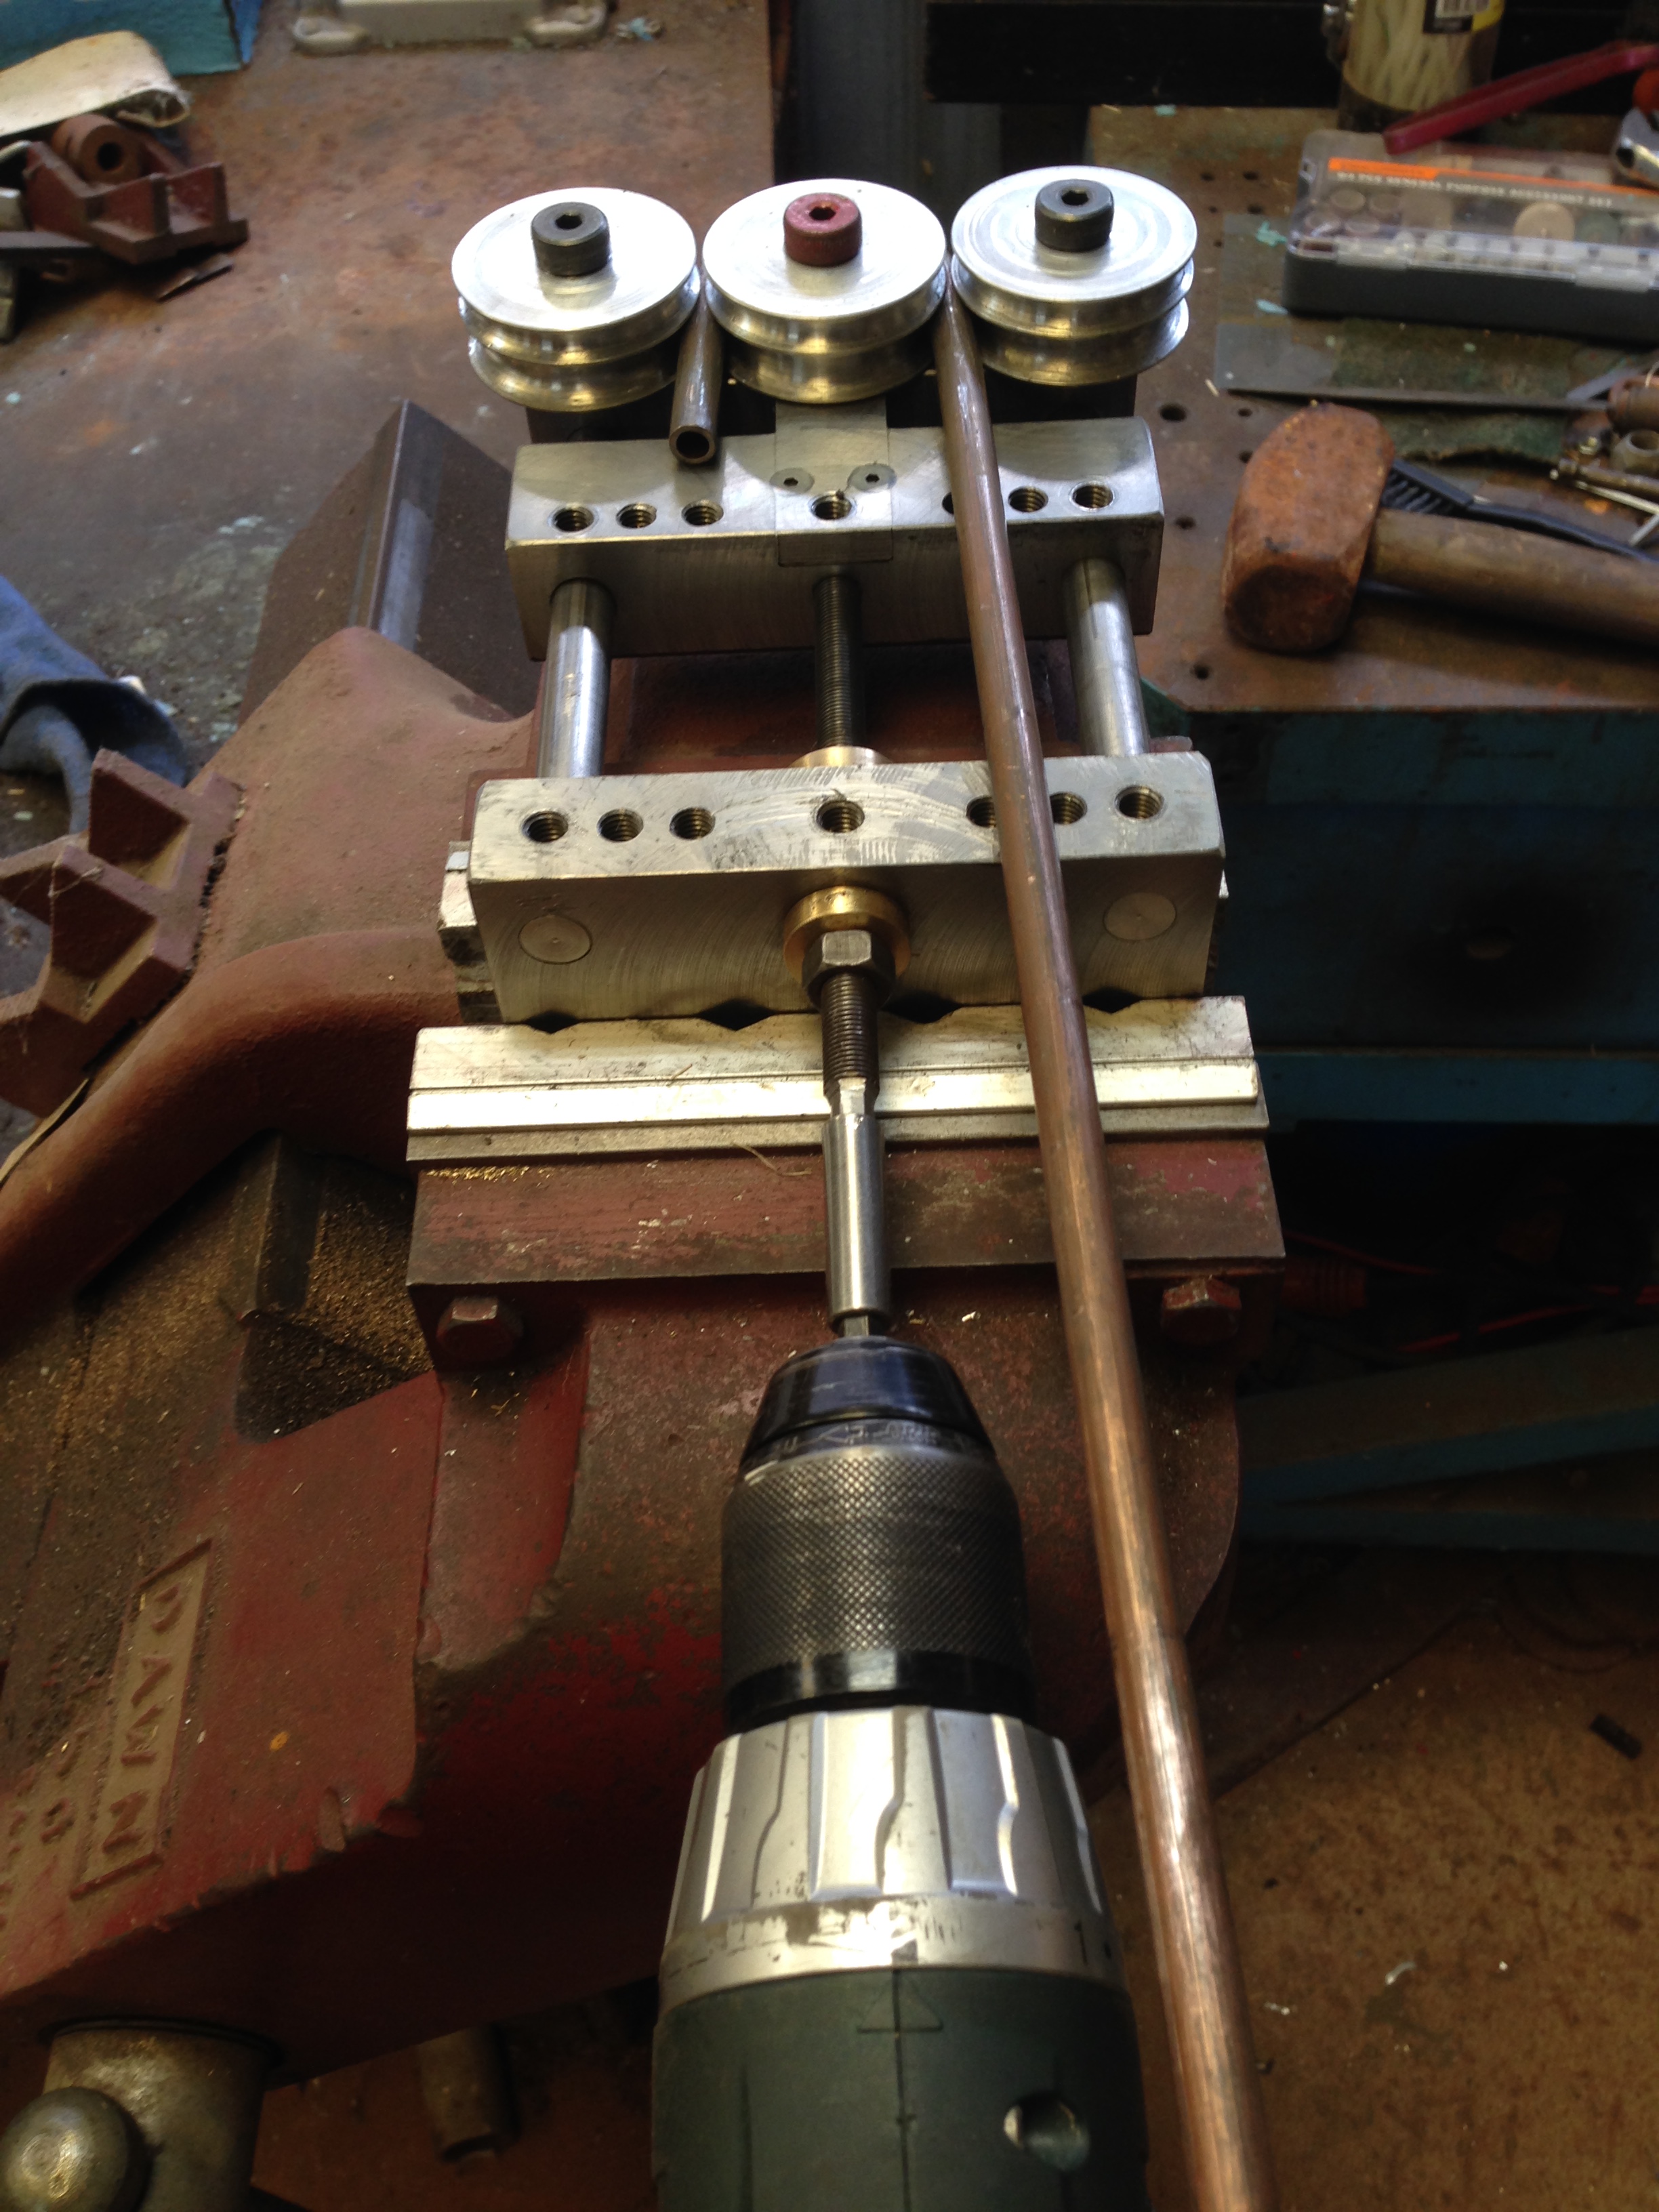
The bender is held in a bench vice. The bending process is quick and controllable using a variable speed battery drill.
The symmetry of the rolls (as opposed to the asymmetry of the hand held tools) means that the centre and the mid point of the bend is totally predictable.
Since then, I have made some further changes in the design of the pipe bender.
- I have added some feet so it sits squarely on the bench and does not require a vice for support, although it can be held in a vice if preferred. The tool is quite heavy, so small jobs can be managed without a vise.
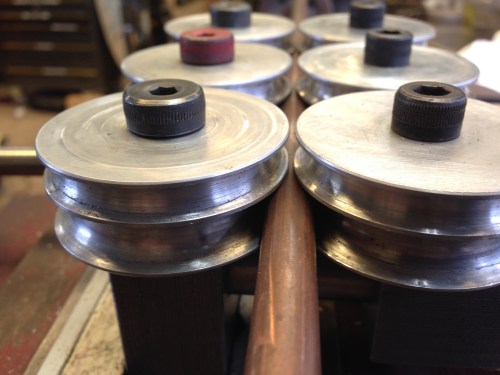
- I drilled and threaded some extra holes, to accept 2 rows of 3 rolls. See the photo below. That pipe bender has now become a pipe straightener. I made some extra rolls, so now there are 6 rolls of the 2″ size. As long as the 3 rolls in each row are identical, the rolls in the 2 rows can be different for the straightening process, but ideally there should be 6 rolls for each pipe diameter. Straightening copper pipe is easy, as long as there are no kinks or very sharp bends, and the copper must be annealed. The pipe should be approximately hand straightened, cut to length plus about 2″, then pulled through the rolls which have been adjusted so the rows are almost touching. 3 or 4 passes, with some rotation of the pipe each time results in a near perfect straight pipe. Any slight residual bend can be eliminated by rolling the pipe on a flat surface.

Some extra threaded holes added pipe straightening to the tools functionality.
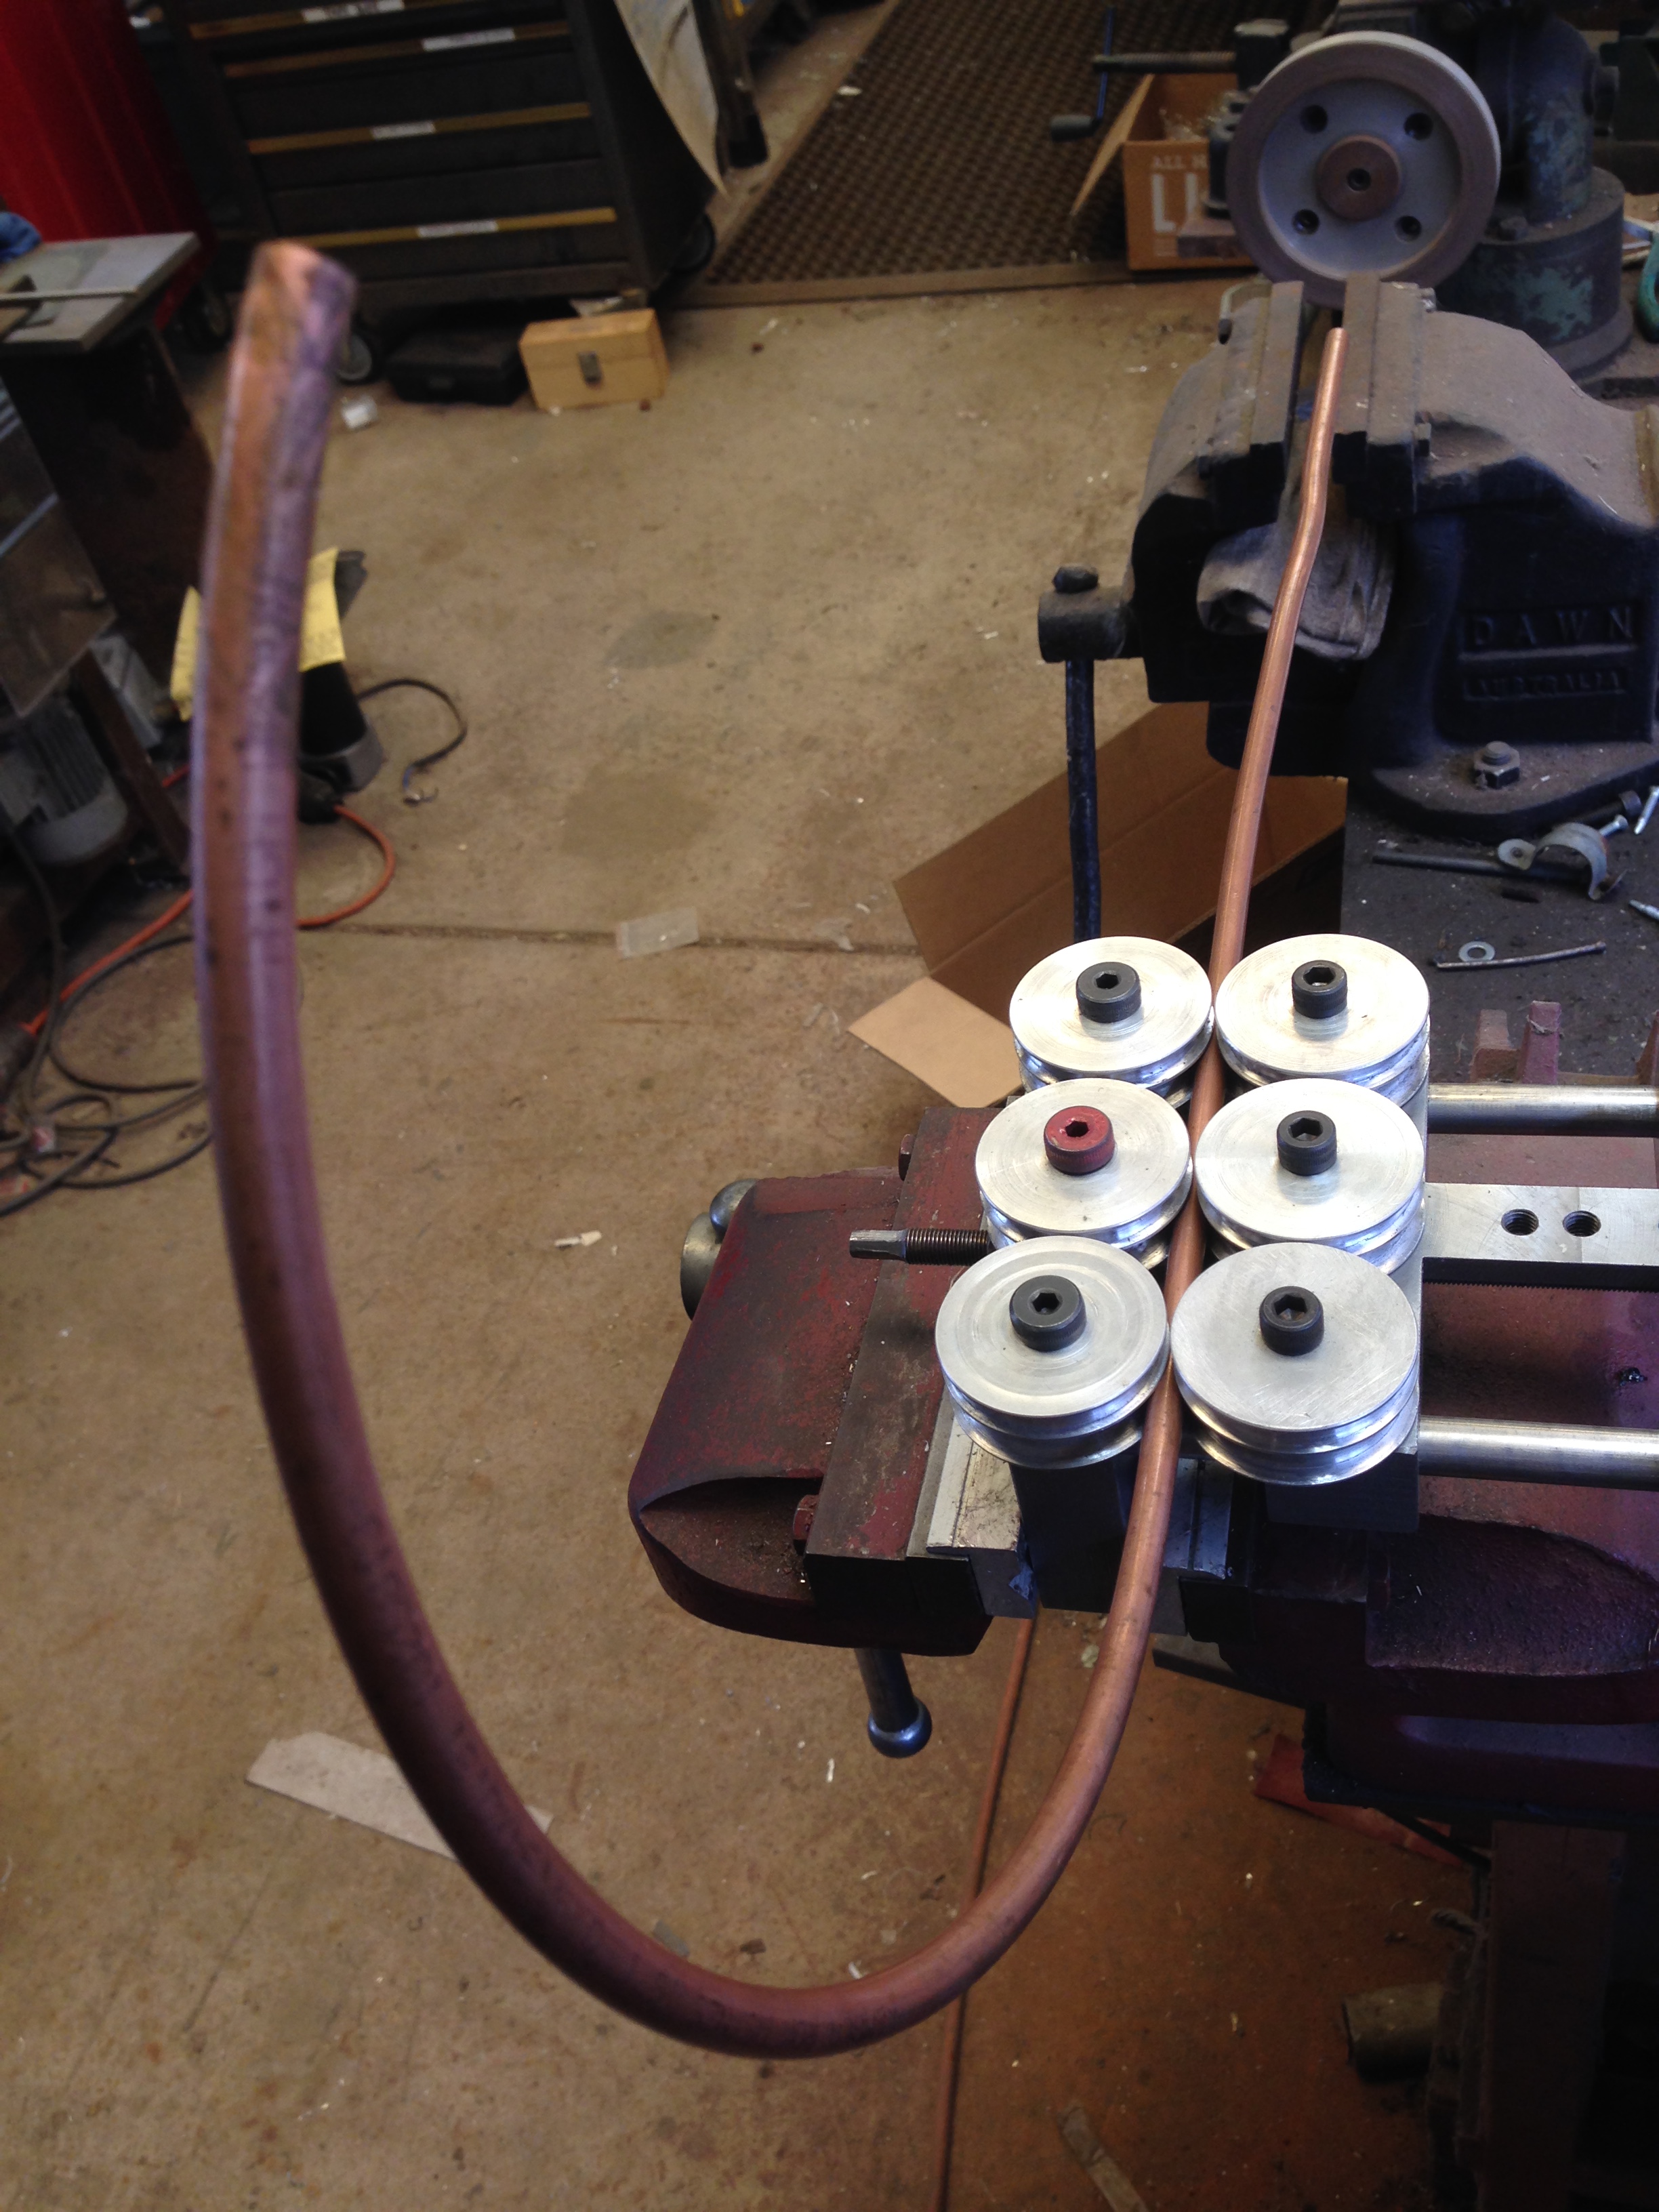
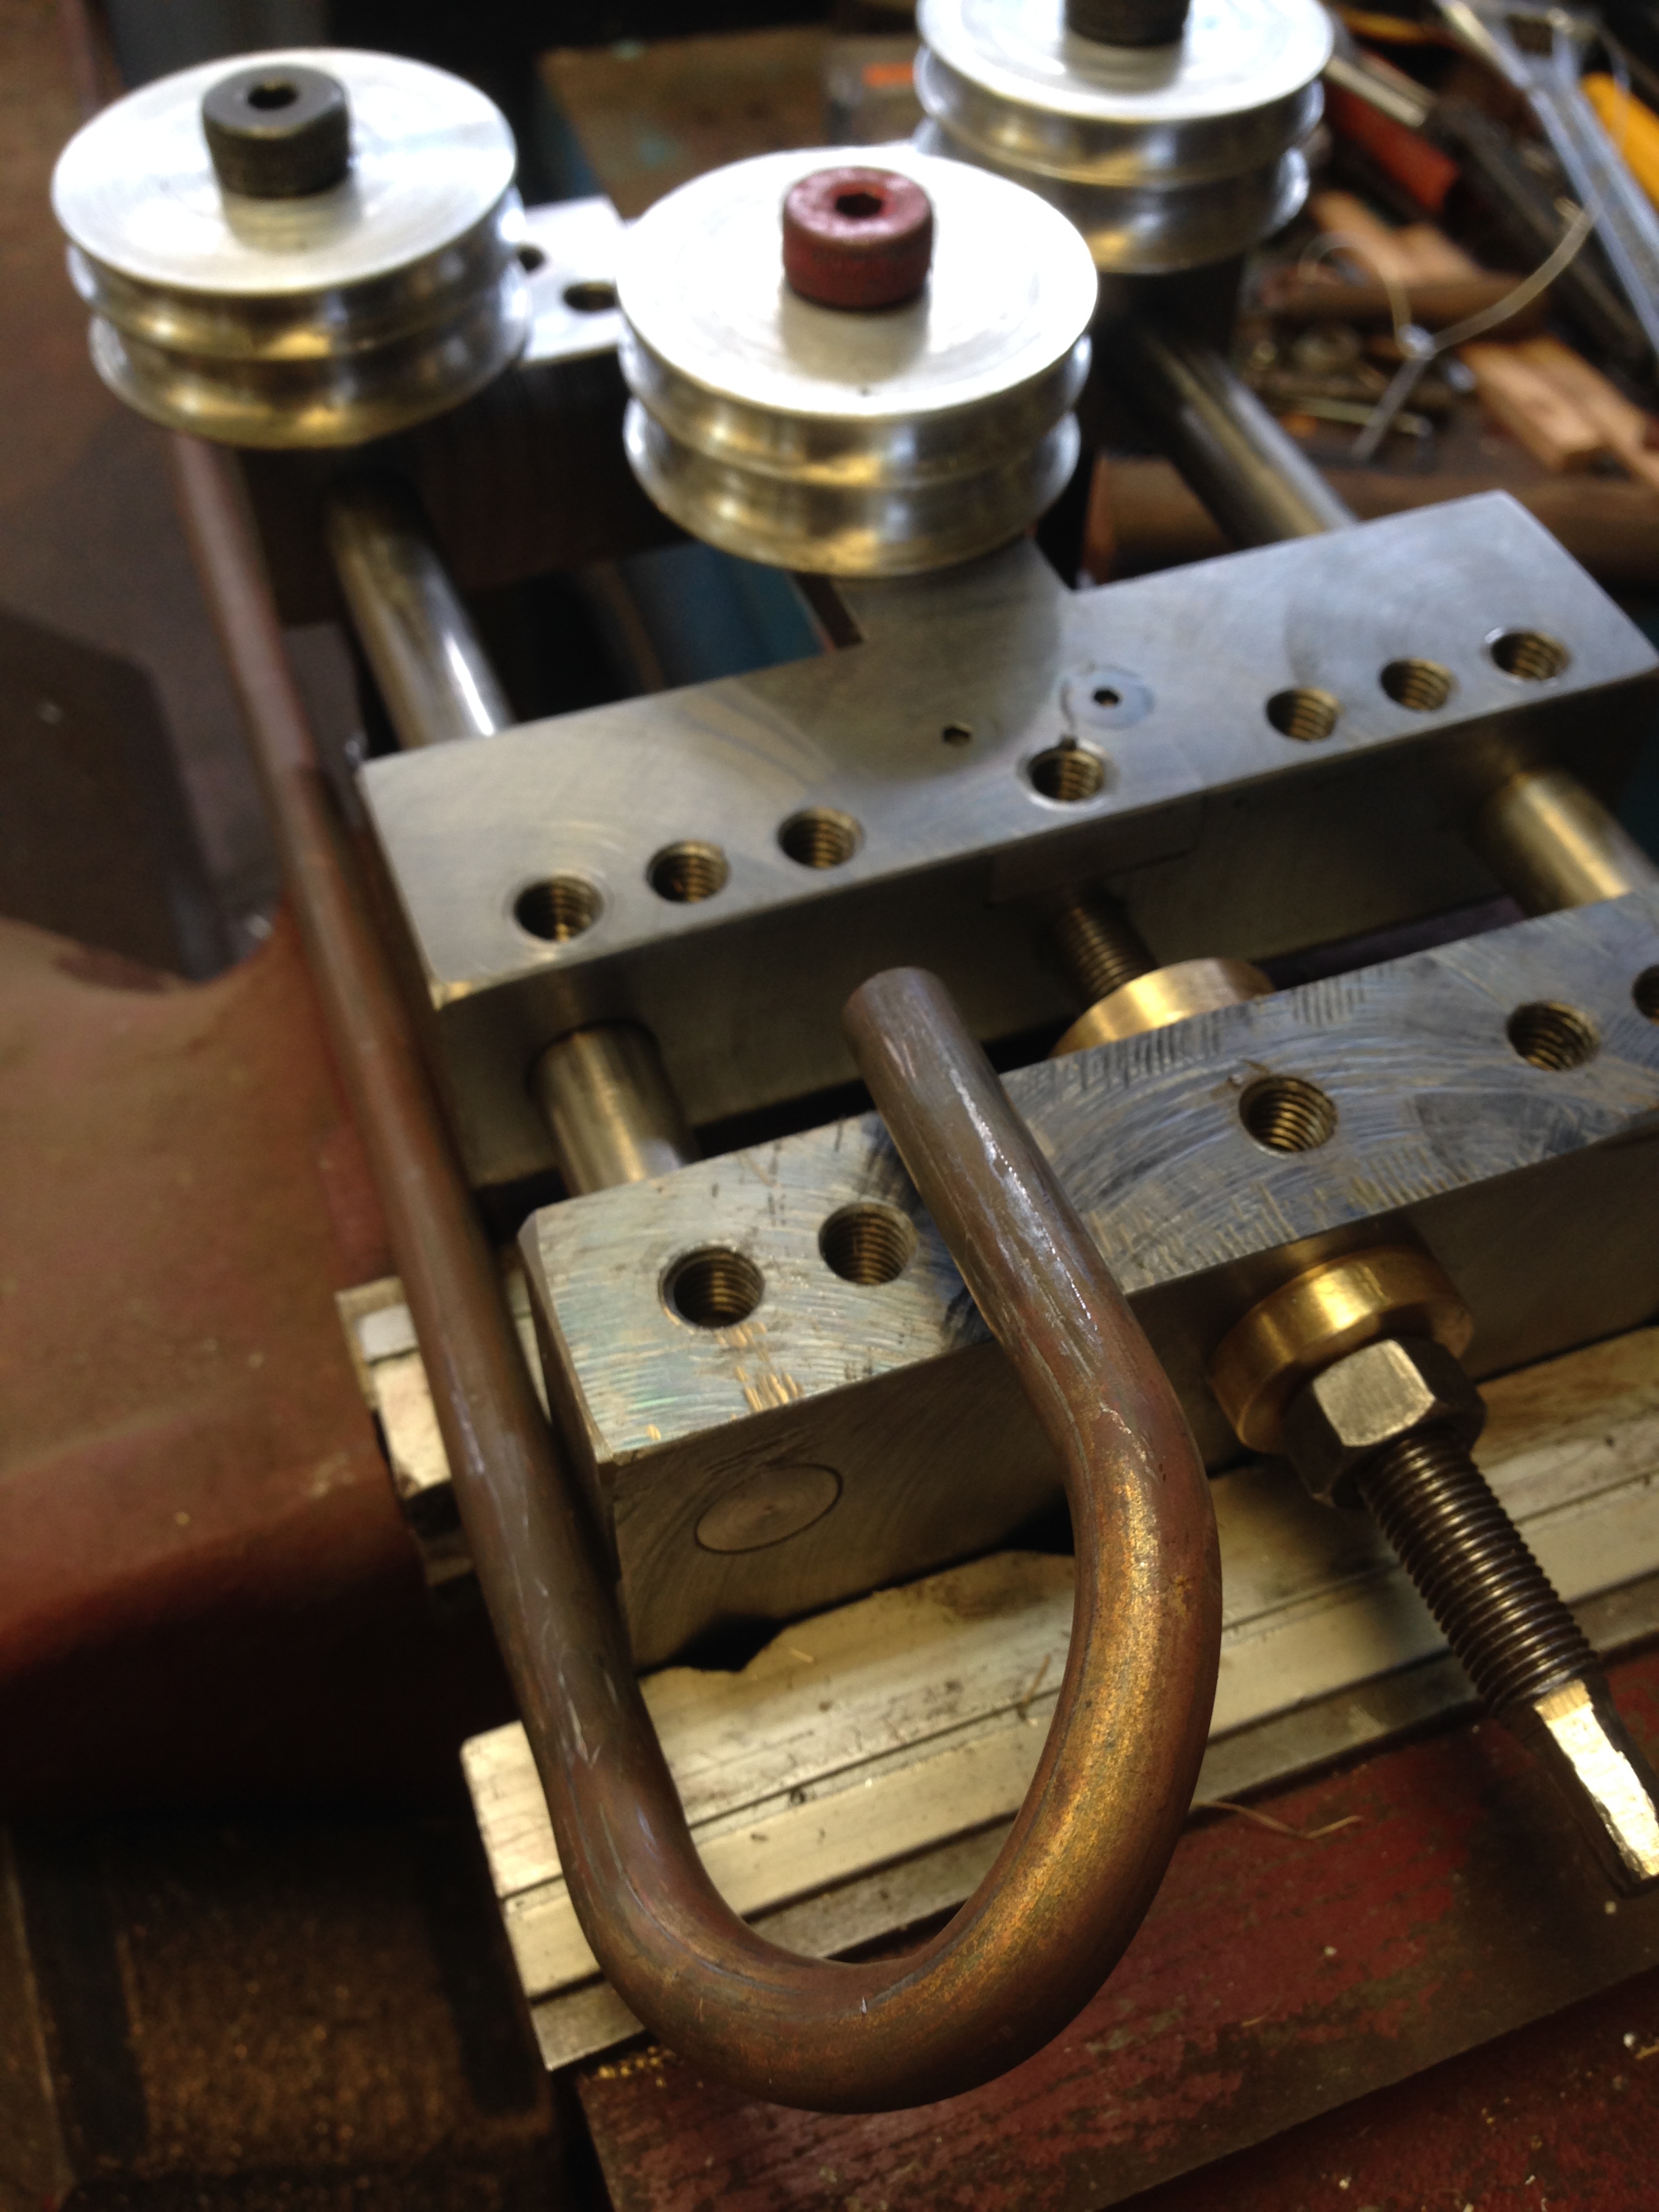
Two rows of rolls are needed to straighten bent pipe. So I made 3 extra wheels in 1/4″ and 3/16″ sizes. Later I realised that the extra three rolls do not have to be identical diameter to the first three, as long as each triple are identical. The tool straightened this bend quite nicely, although with some experience, I would now probably hand straighten it a bit before putting in the tool.
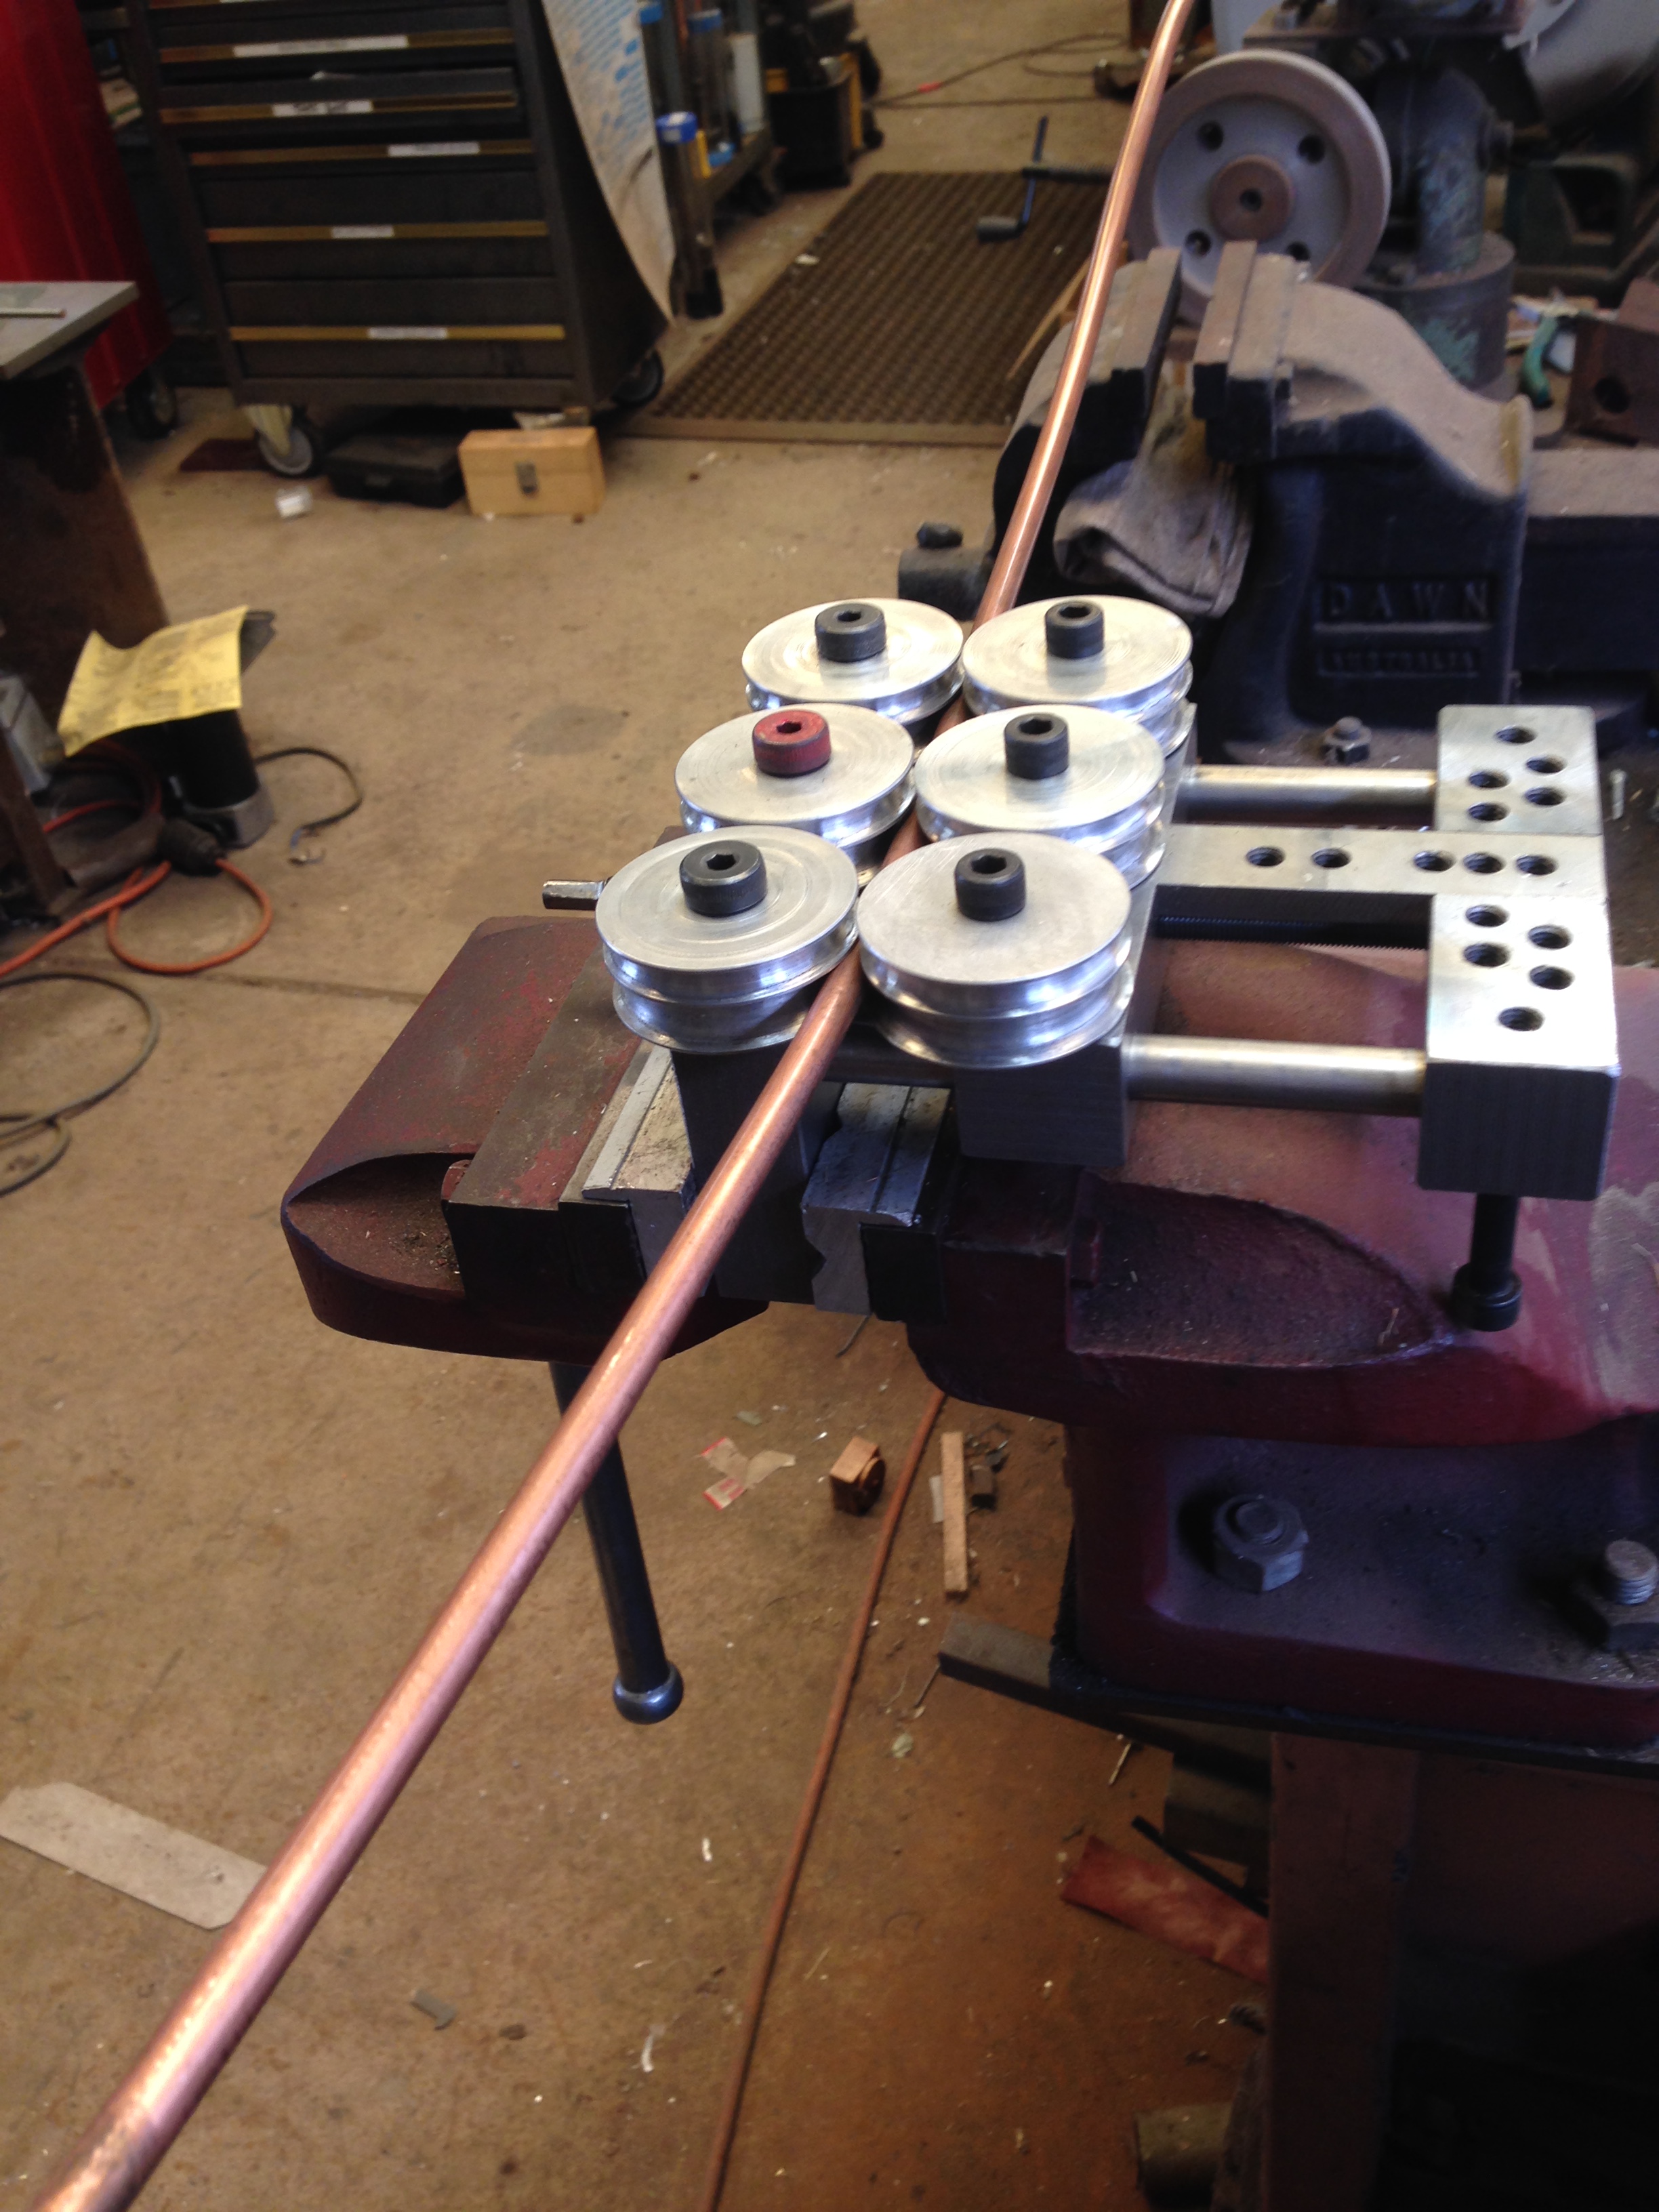
After 2 or 3 passages.
And some rotation with each pull through
The copper does have to be annealed to get a good result.
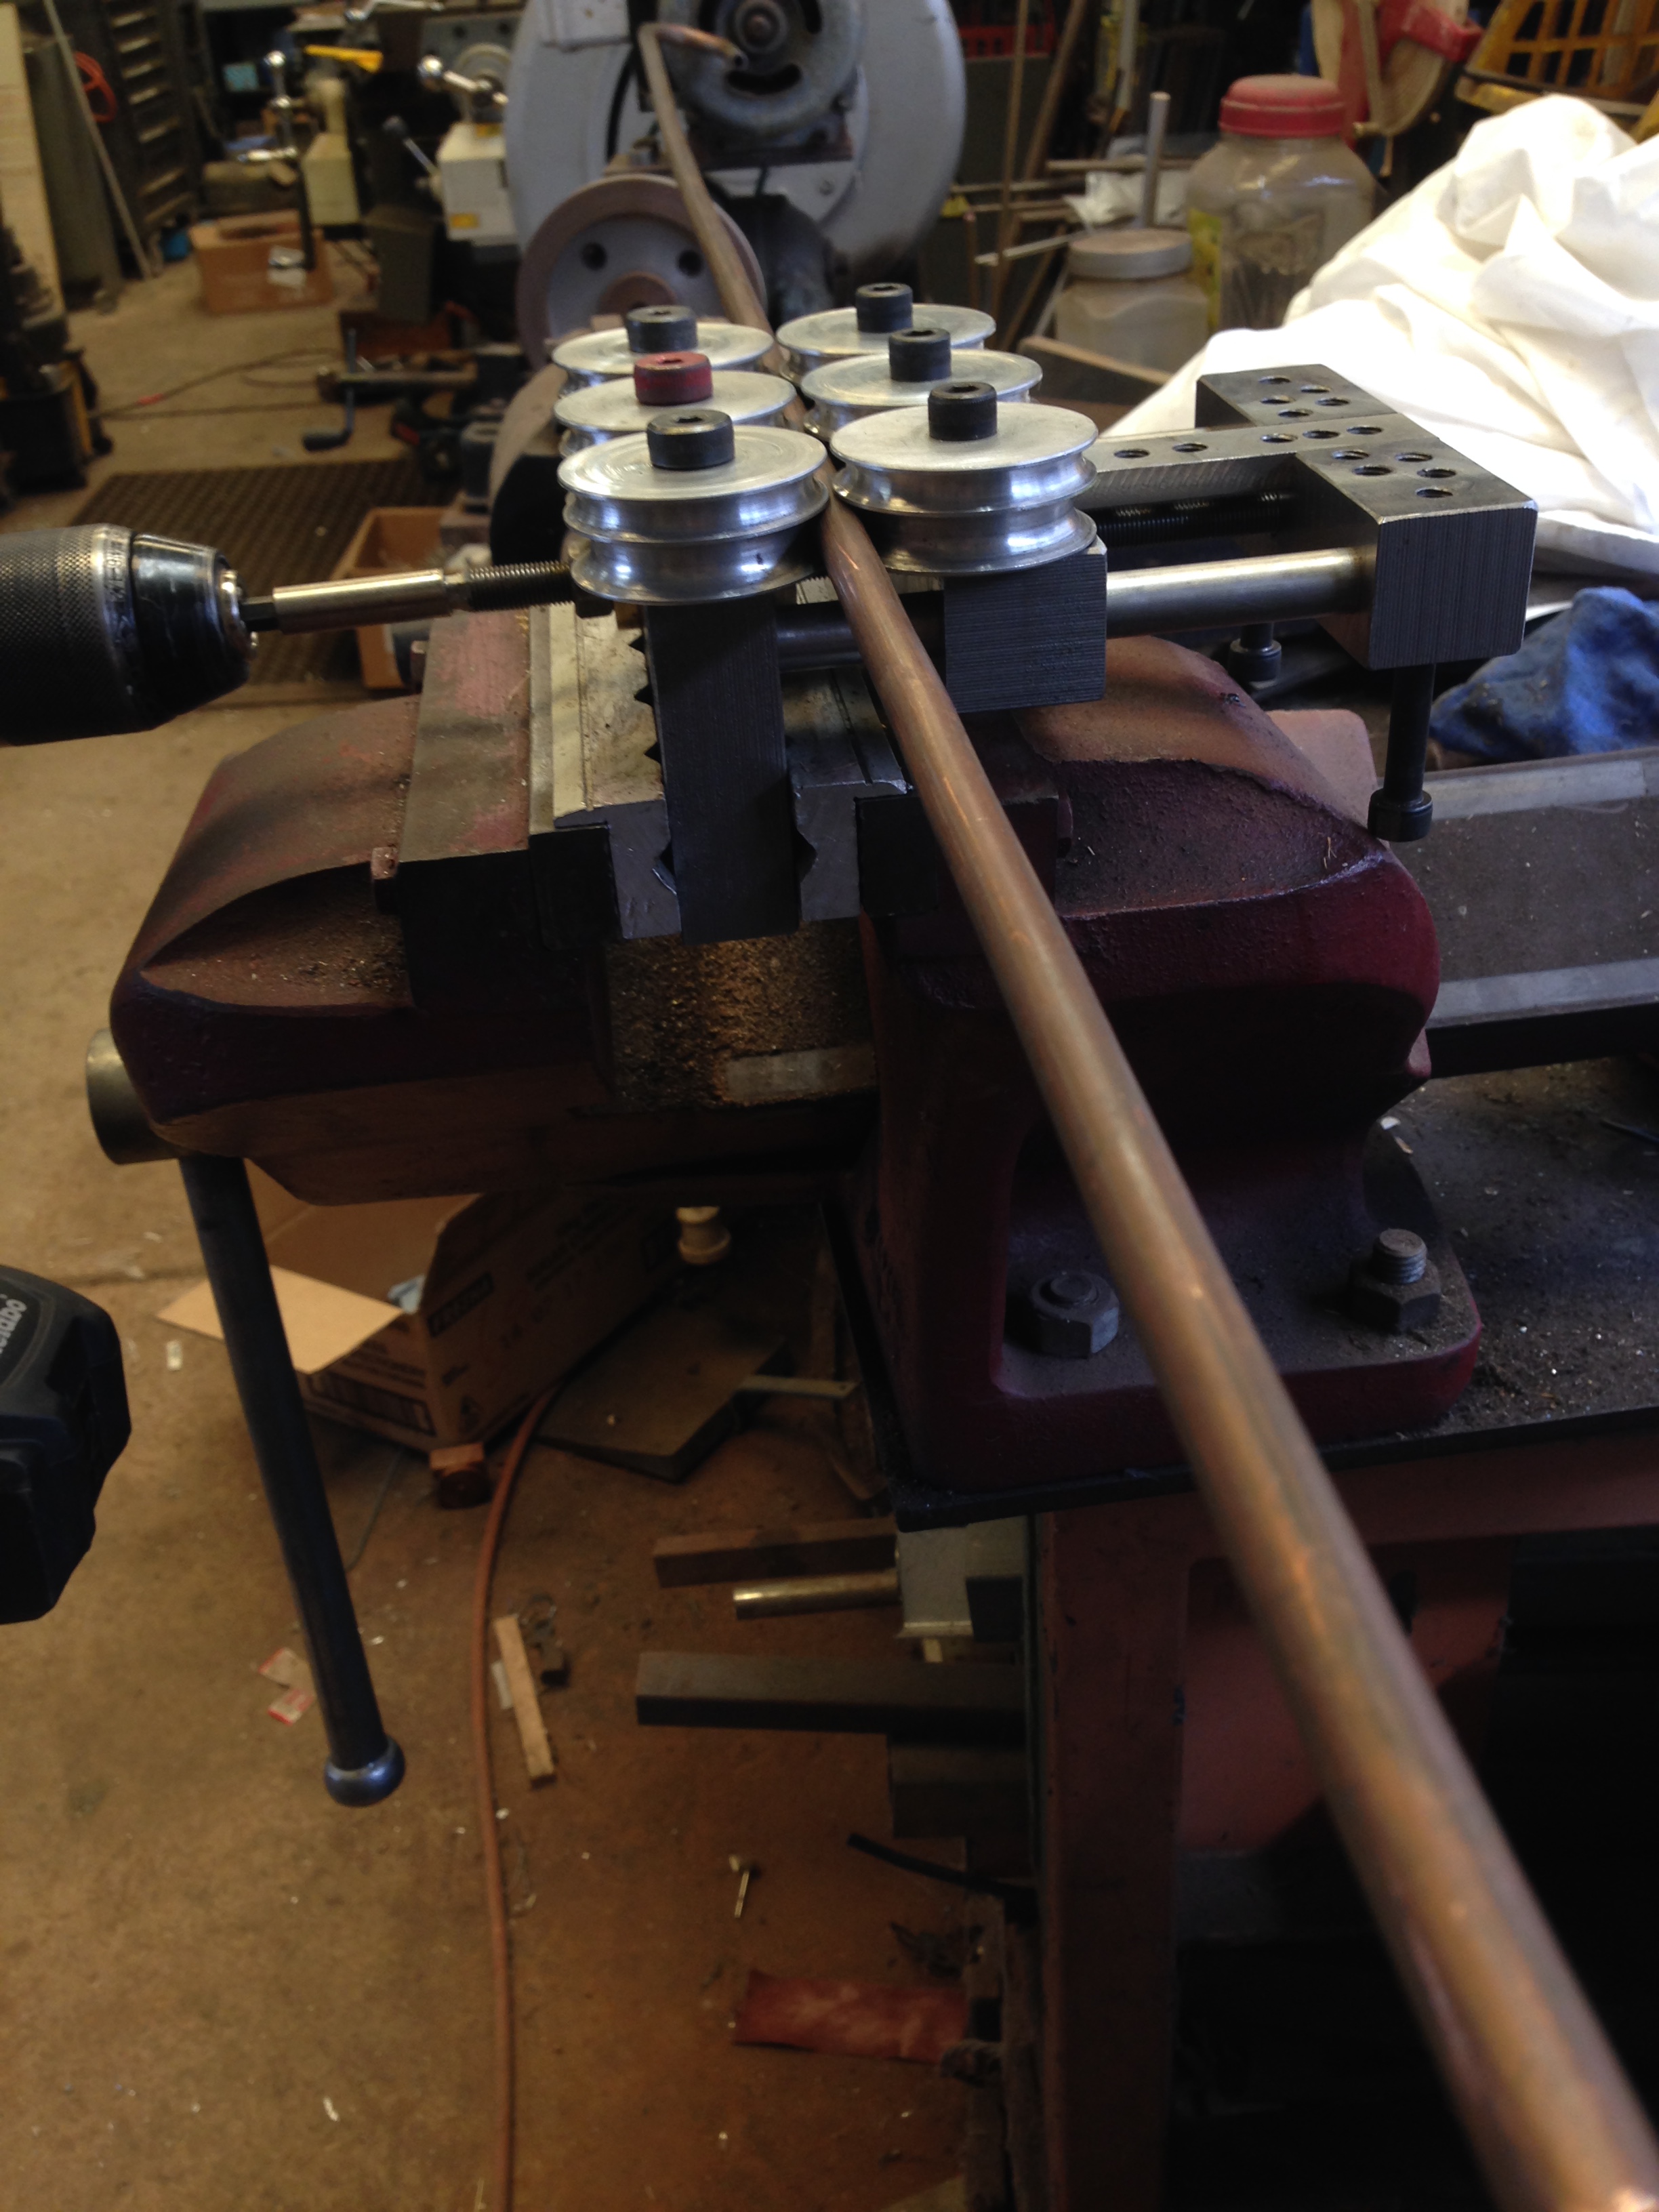
And to put a bend in that nice straight tube… some shuffling of the roll positions….attach the drill (slow speed setting)
And a quick and easy bend.
Pretty good

- The underside. Substituted cap screws for grubscrews, so the tool sits flat on the benchtop. quite adequate for light bending jobs, but straightening needs a vise.
