
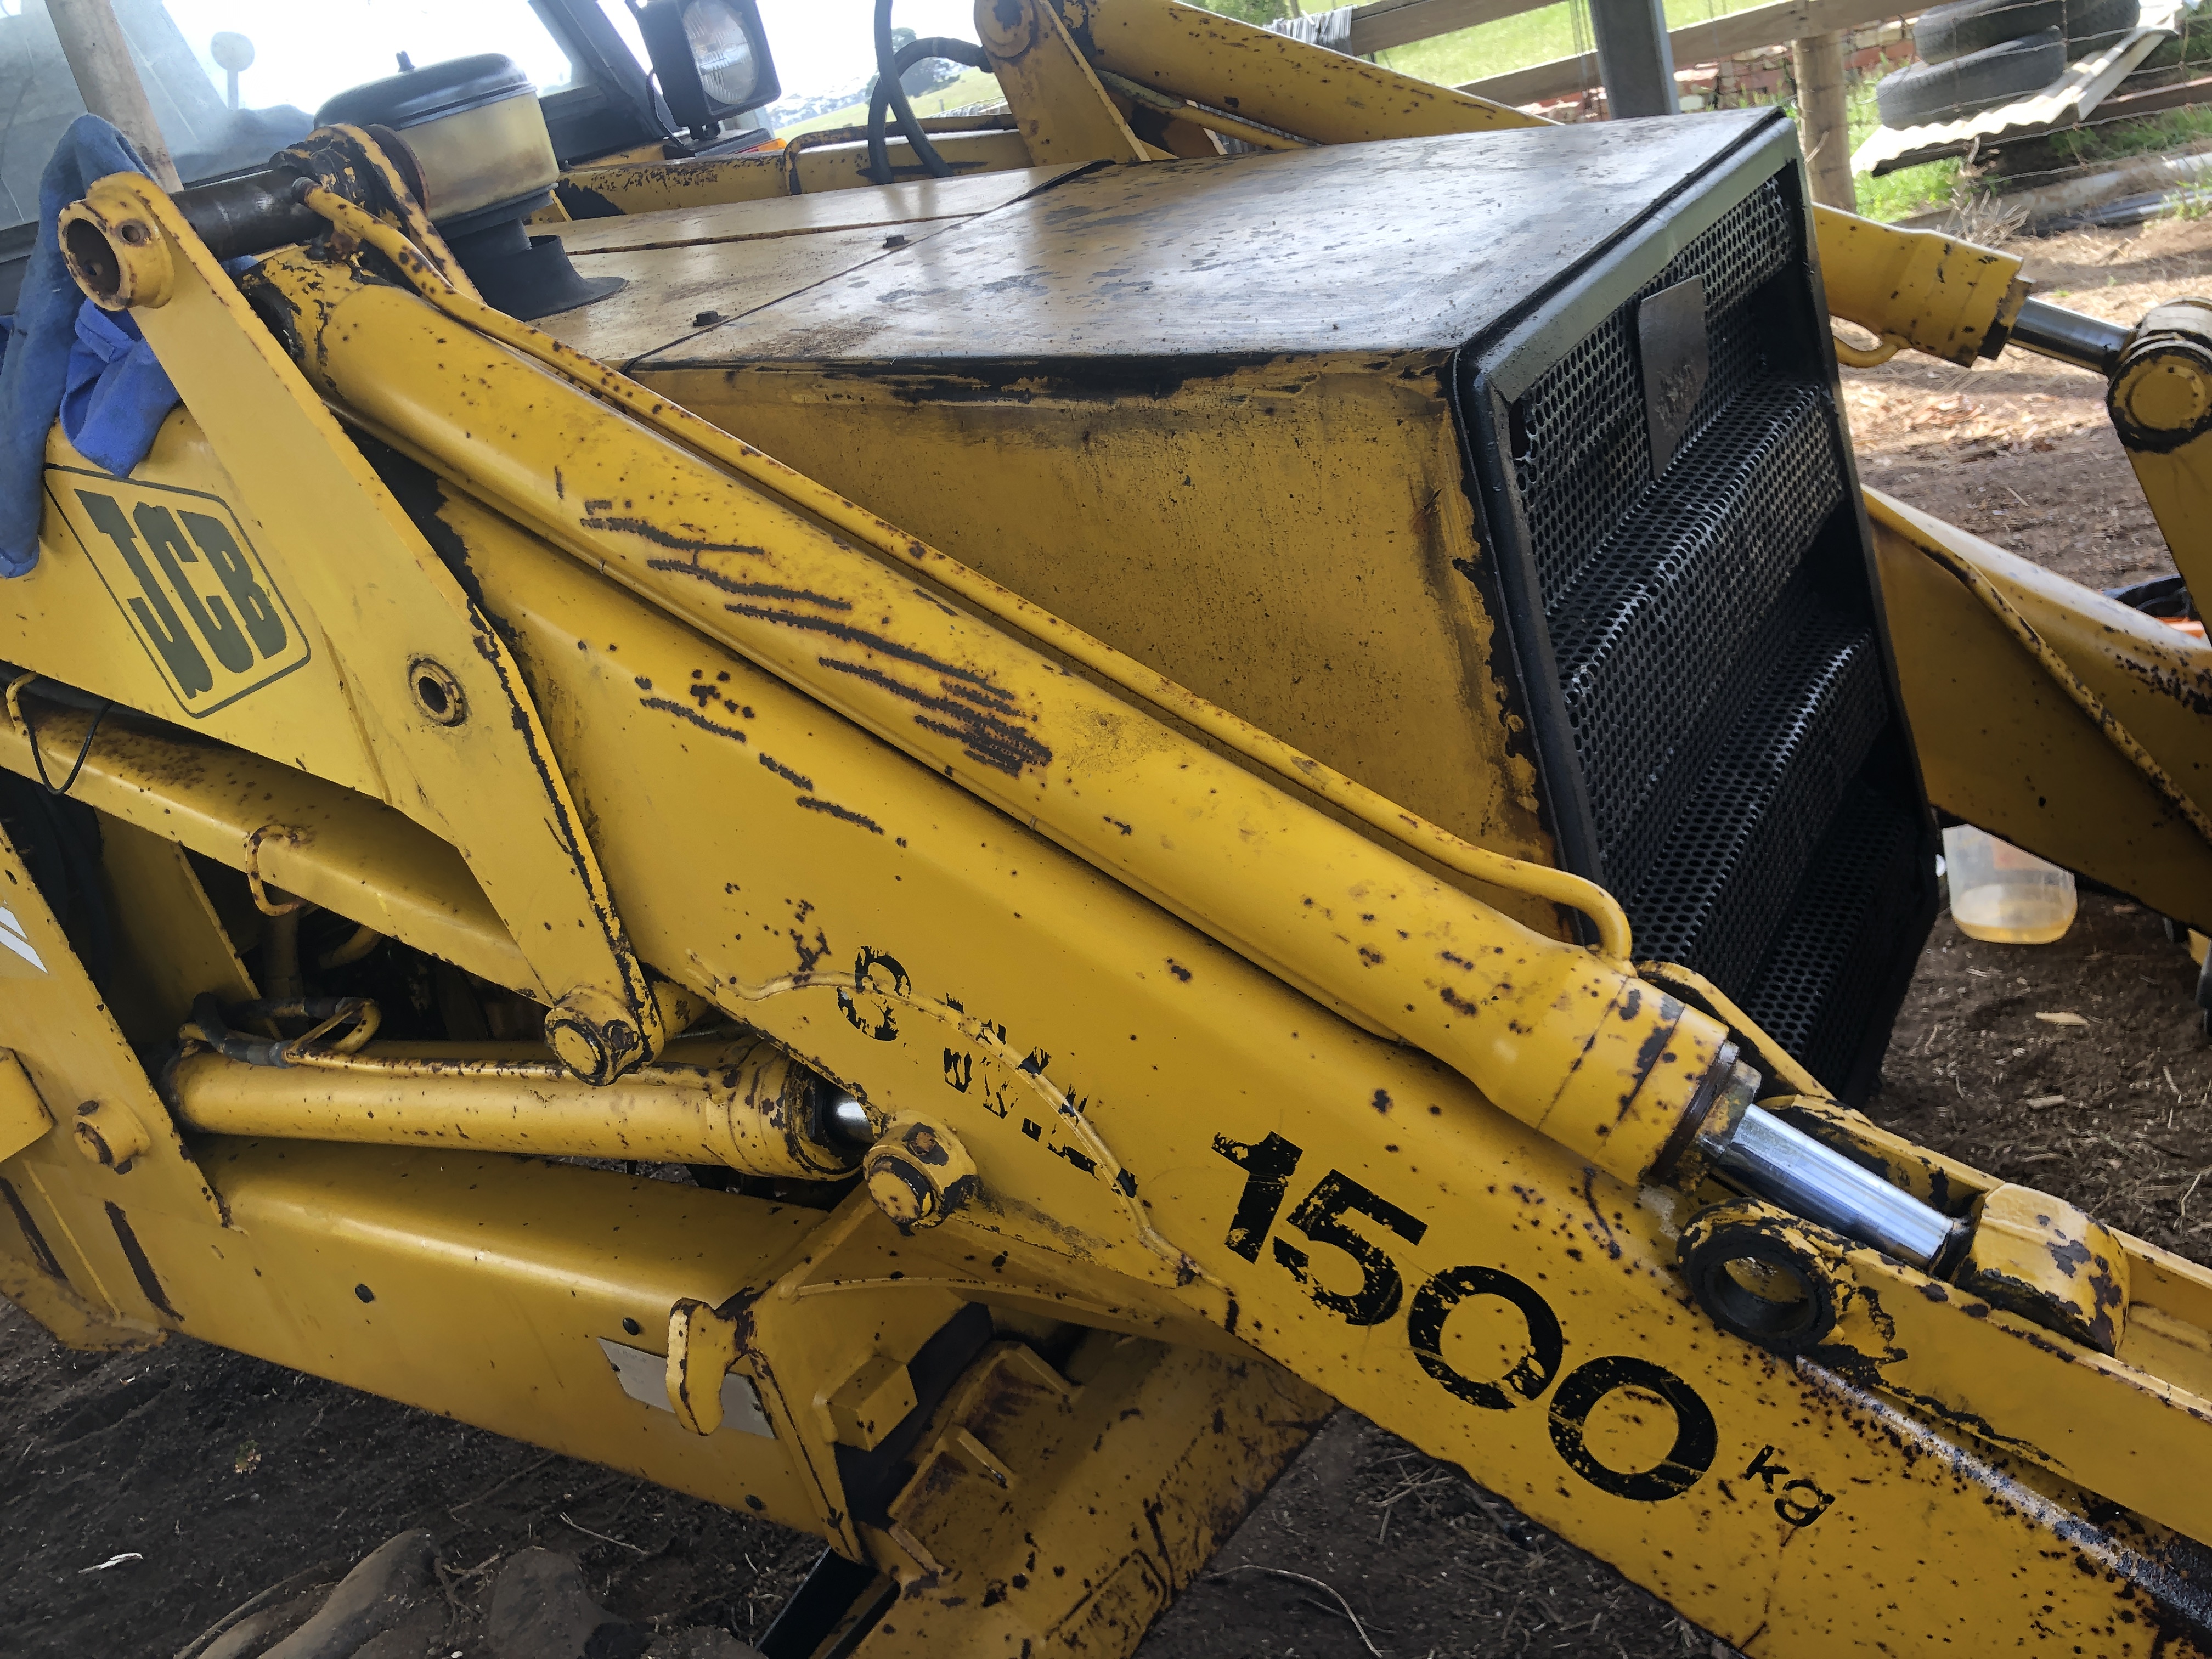
JCB CX3 Backhoe Cylinder Seals

My JCB is a 1986 model, 35 years old. I have owned it for 10-12 years, using it for manure handling, as a yard crane, tree transplanting, and twice to lift a 50,000 litre water tank onto a tray truck. (in combination with a front end loader). Despite its age and hours of work (about 7200), it has been very reliable.
When I first bought it I engaged Enzed P/L to inspect and change any suspect hydraulic hoses, because many of them showed signs of cracking and delayering of the exteriors. And one had burst. I think that the onsite Enzed engineer remade and installed about 8-10 hoses.
Then recently, the hose to the rear bucket and boom controller burst. Well, actually it was the metal fitting which was crimped to the hose which split and allowed the hose to separate from the fitting, spilling quite a bit of hydraulic oil onto the ground. Enzed were on the job within a day, and an hour later the new large diameter hose and fittings were installed.
The hydraulic oil level was well down, and topped up with 20 litres.
I had been aware that one of the hydraulic cylinders had been leaking for many months, so not all of that 20 litre deficit was due to the burst hose. It had been leaking at the rate of one drop every 6 seconds for a long time, and increased to one drop per second recently.
I had recently purchased a kit of new seals for the leaking cylinder. After watching some YouTube videos, I decided to have a go at replacing the seals myself. No big deal really, except that I had not worked on a cylinder this large before.
The large gland nut was loosened before I removed the end pins. I had been warned that the nut would be extremely tight, and that it would be easier to loosen the nut while still attached to the JCB. The only spanner/wrench large enough was a Stillson wrench. I did not enjoy using it because it bit into the nut and marred the smooth surface. I had priced a new open ender spanner, but the cost was high so I used the Stillson. The Stillson was about a meter long, and the nut would not budge, despite using all of my strength and weight. Using a 1.5 meter pipe extension, the nut finally moved, and I loosened it until it stopped fighting. I caught much of the hydraulic oil which spilled out in a bucket, not to be reused of course.
I carried the ram into my workshop. At that moment I decided that any future resealing jobs on larger rams would be done professionally. It was quite heavy.

In the workshop I completed the removal of the large gland nut, discovered that the gland O ring and the main seal were in pieces.
Then removed the piston and its rod from the cylinder by pulling carefully.

The piston seals looked OK to my inexpert eye. But I had purchased a whole new kit of seals, including the piston seals and guides, so I replaced them all.
By the way, I had obtained a JCB service manual for my machine online, from Best Manuals, (USA) for $US19.99 and downloaded electronically. It had some very useful information. Including that replacement seals might be different from the originals. And they were. They looked different.
The seals went onto the piston fairly easily, with the assistance of a large cable tie, which was used to pull the large central rubber seal into its groove. The remainder of the piston seals were split, and positioned easily. The gland seals fitted easily, except for the large internal rubber seal which required considerable pushing and effort.
The gland was then pushed onto the piston rod, then the piston was screwed on, after cleaning the threads, treating them with Loctite 7471, and thread retainer 720. Then tightened with wrench and 1.5m extension.

Then I attempted to insert the piston into the cylinder. But it would not go. So I pushed harder. Still no go. Tried wiggling. twisting, pushing harder. No Go. Bummer. 4pm on a Friday afternoon. Long holiday weekend imminent. Threw the parts into the boot and drove to Enzed. About 15″ away. Maybe there is a special tool or press to push the parts together?
They helped me immediately. I guess that my previous business a few days earlier and quick payment of their bill helped. They mounted the cylinder in a chain- pipe vice, and pushed and strained, but no better result than I had. The piston with its new seals just would not fit into the cylinder.
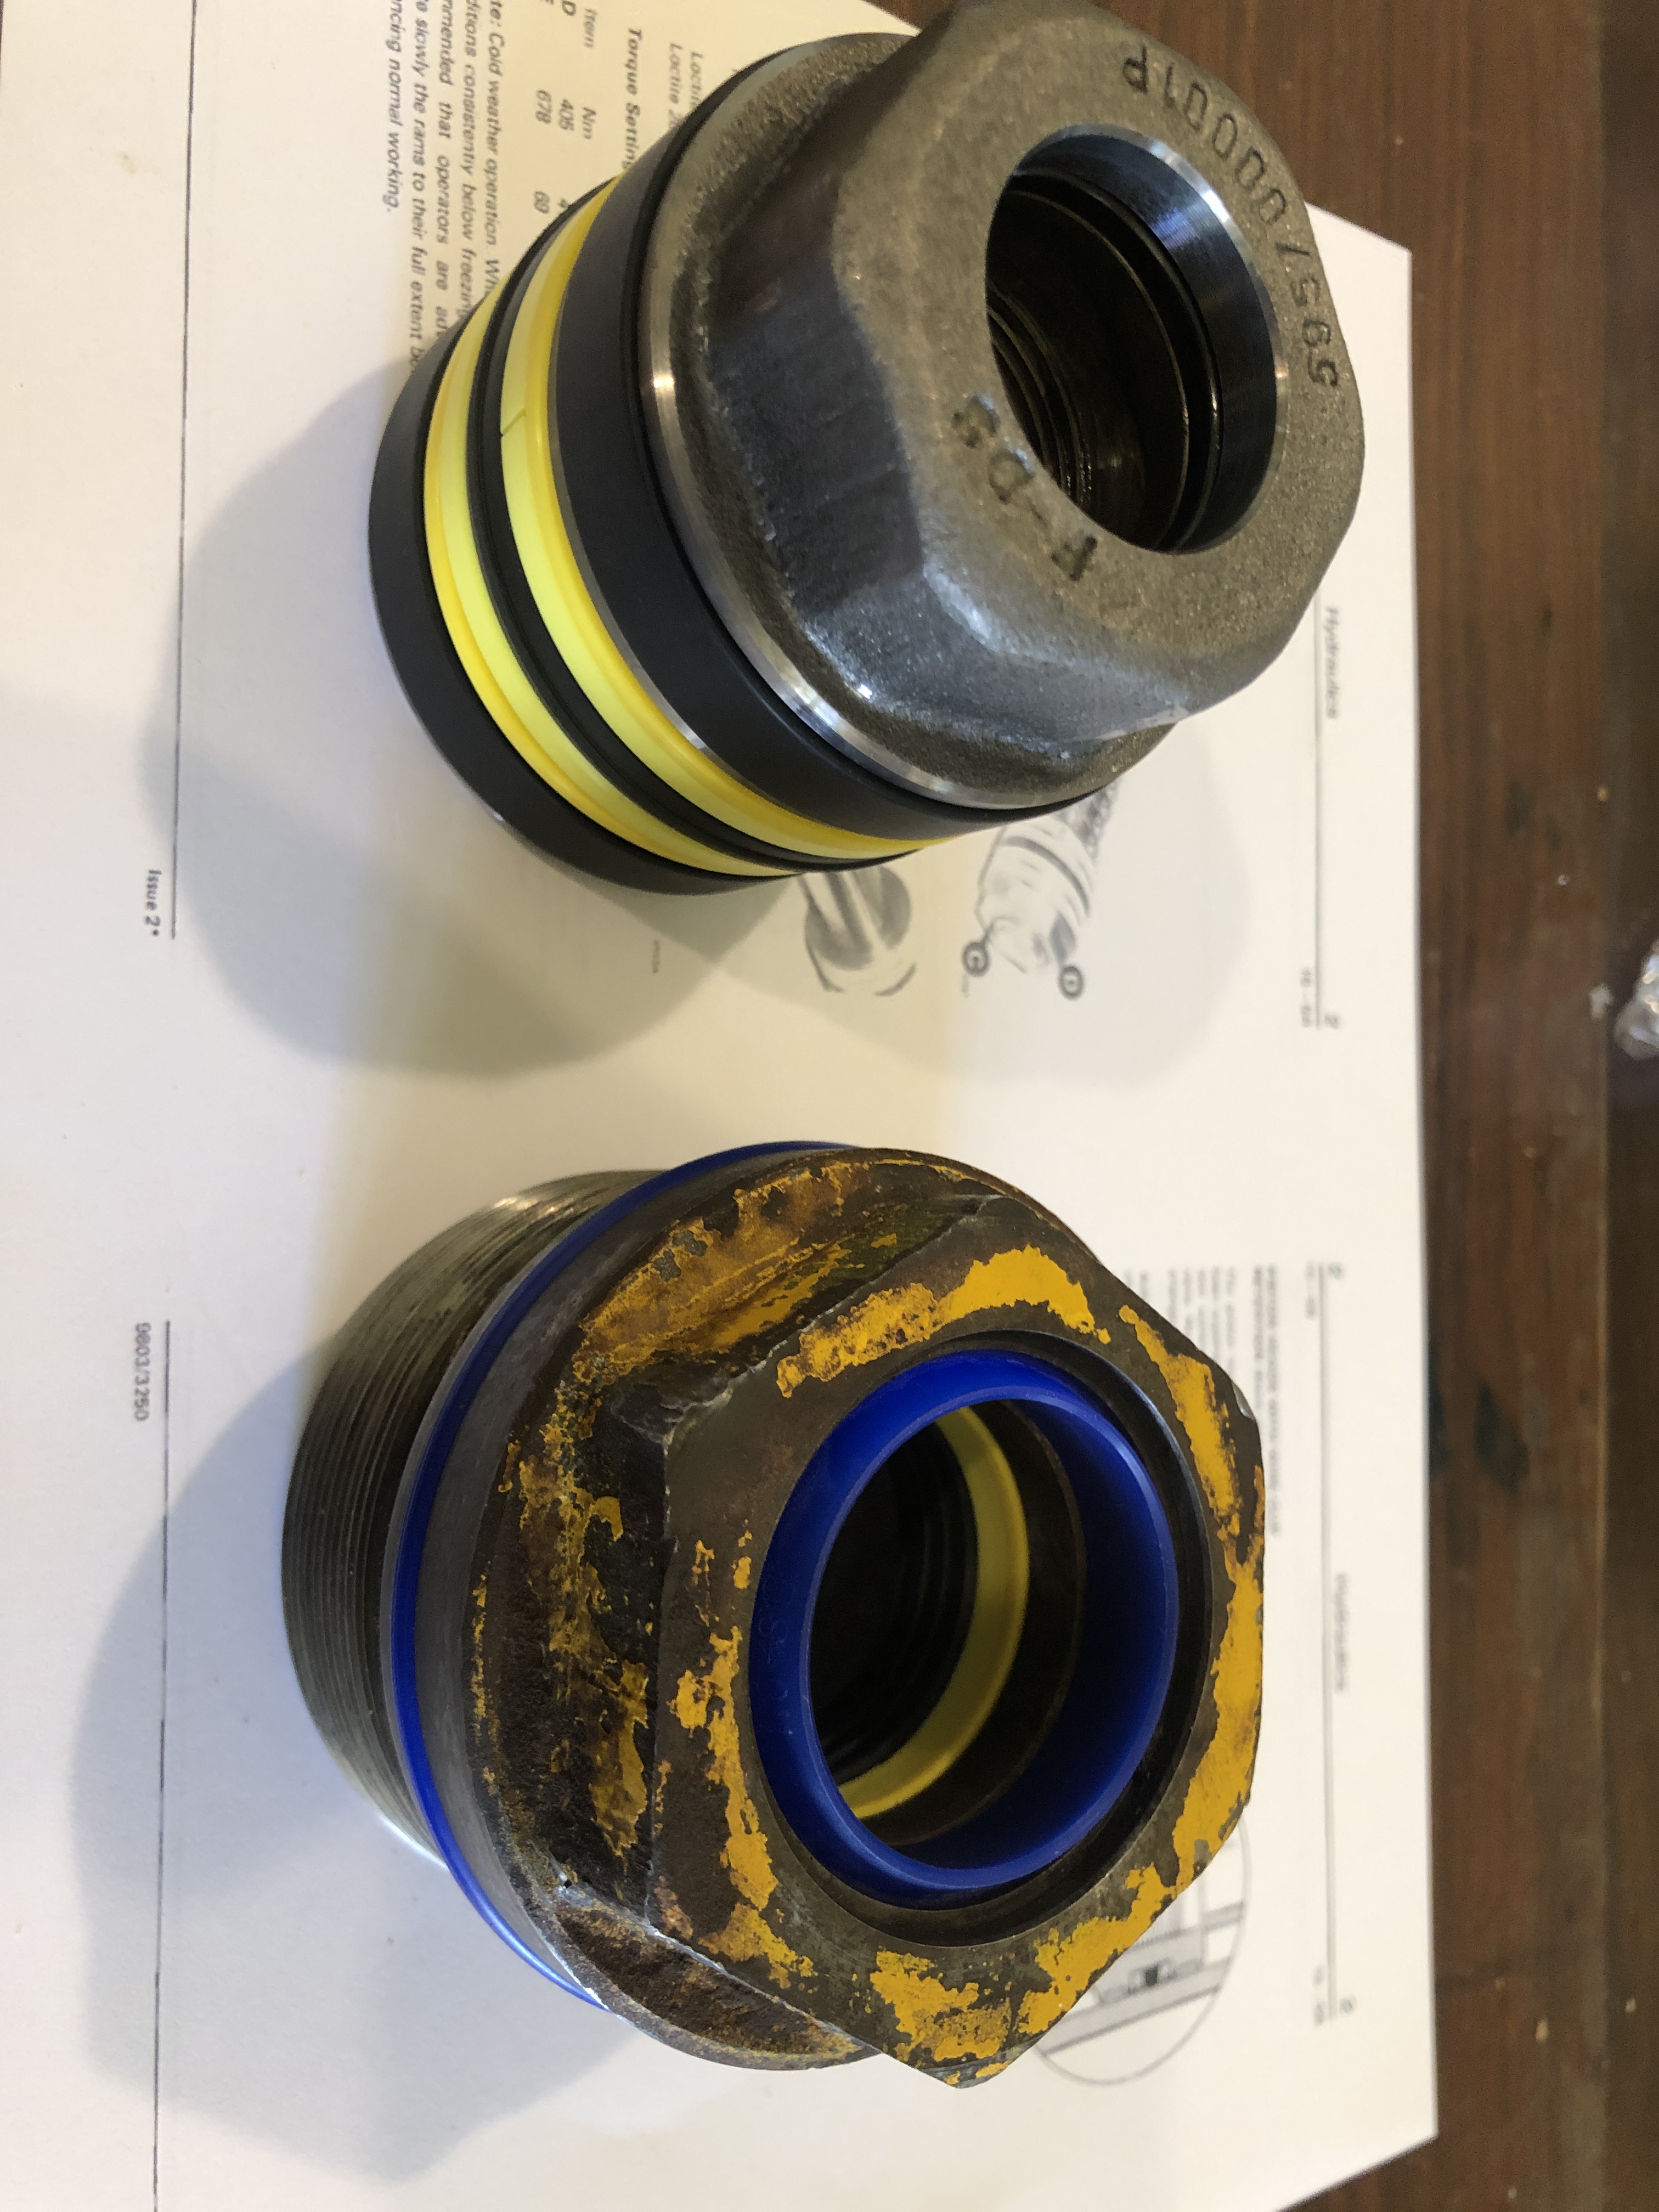
So, he compared the old and the new seals. The new ones were 0.3mm thicker than the old ones. And the diameters seemed larger. I had bought the seals from a JCB dealer, who had said that they were “after market”. Originals no longer made for such an old machine.
Discussion. Decision. Use the old piston seals. The new gland seals seemed fine, so keep them. The old piston seals appeared to be in good condition, and they were installed. And guess what? The piston slid into the cylinder with some pushing. The gland nut was tightened. (with a Stillson I noted).
The charge for 30 minutes of heavy, dirty, specialist time??? $AUD 23.00. I said, “that seems too cheap”. “That’s OK” he said. They will continue to get my business.
Today I re-installed the ram on the JCB.
Fired up the diesel. No leaks!
Operated the bucket control……no leaks, but no movement! Bummer! What now.
Hmm. Could I have put the hoses on back to front? No. They looked correct.
But hang on, the cylinder is facing the wrong way! The paint scuff marks which were on the outside are now facing inside!
I HAD INSTALLED THE RAM 180º ROTATED!
So, left the ram as was, switched the hoses, and tried again.
WOO HOO! No Leaks! (including when I tried different ram positions off camera).
