johnsmachines

machines which I have made, am making, or intend to make, and some other stuff. If you find this site interesting, please leave a comment. I read every comment and respond to most. n.b. There is a list of my first 800 posts in my post of 17 June 2021, titled "800 Posts"

Smith’s Elevating Screw -4 (hopefully final)

Another hot summer day today, so I arrived at my workshop early, before the heat set in.

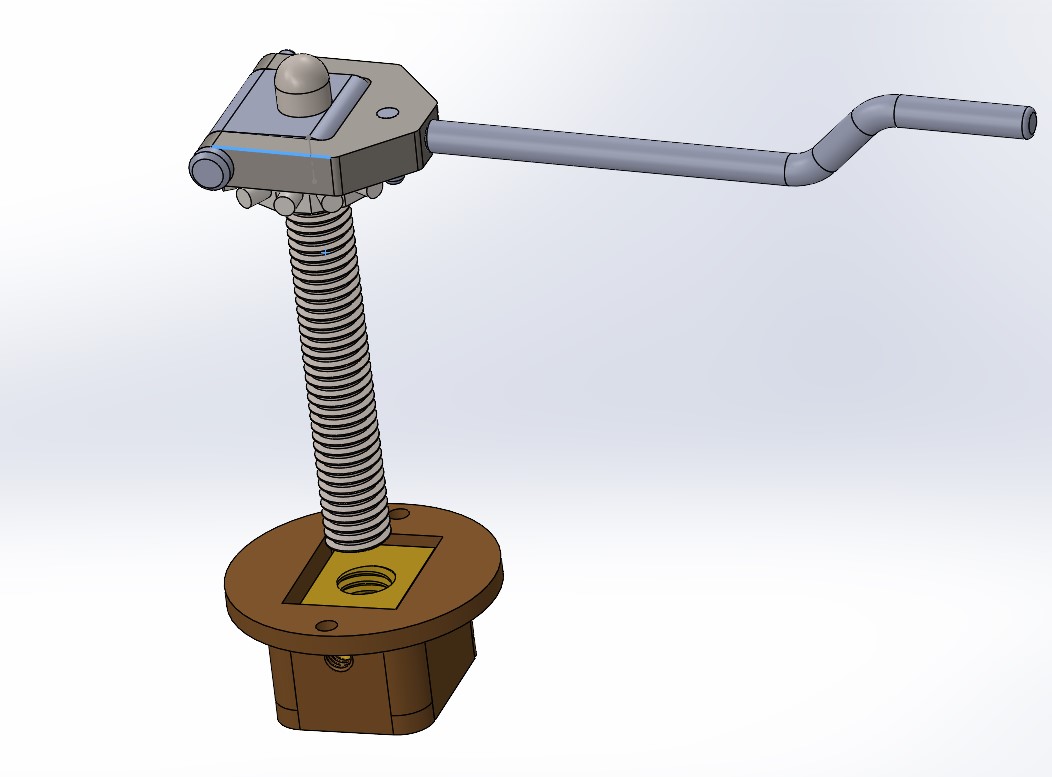
First I drilled a 1.5mm hole through the Smith’s screw yoke and bracket, for the pin which completes the hinge mechanism which engages and disengages the screw handle. Sounds simple? Well, actually, my intention was insert a 1.0 mm pin, but the first drill bit broke. Now why didn’t I make that sensitive drill press when I first considered it?

So I had to disassemble the parts, and grub and poke around with a fine tungsten probe until all of the bits were out. Then set it up and drill it again. Used a 10BA bolt and nut as the hinge pin.

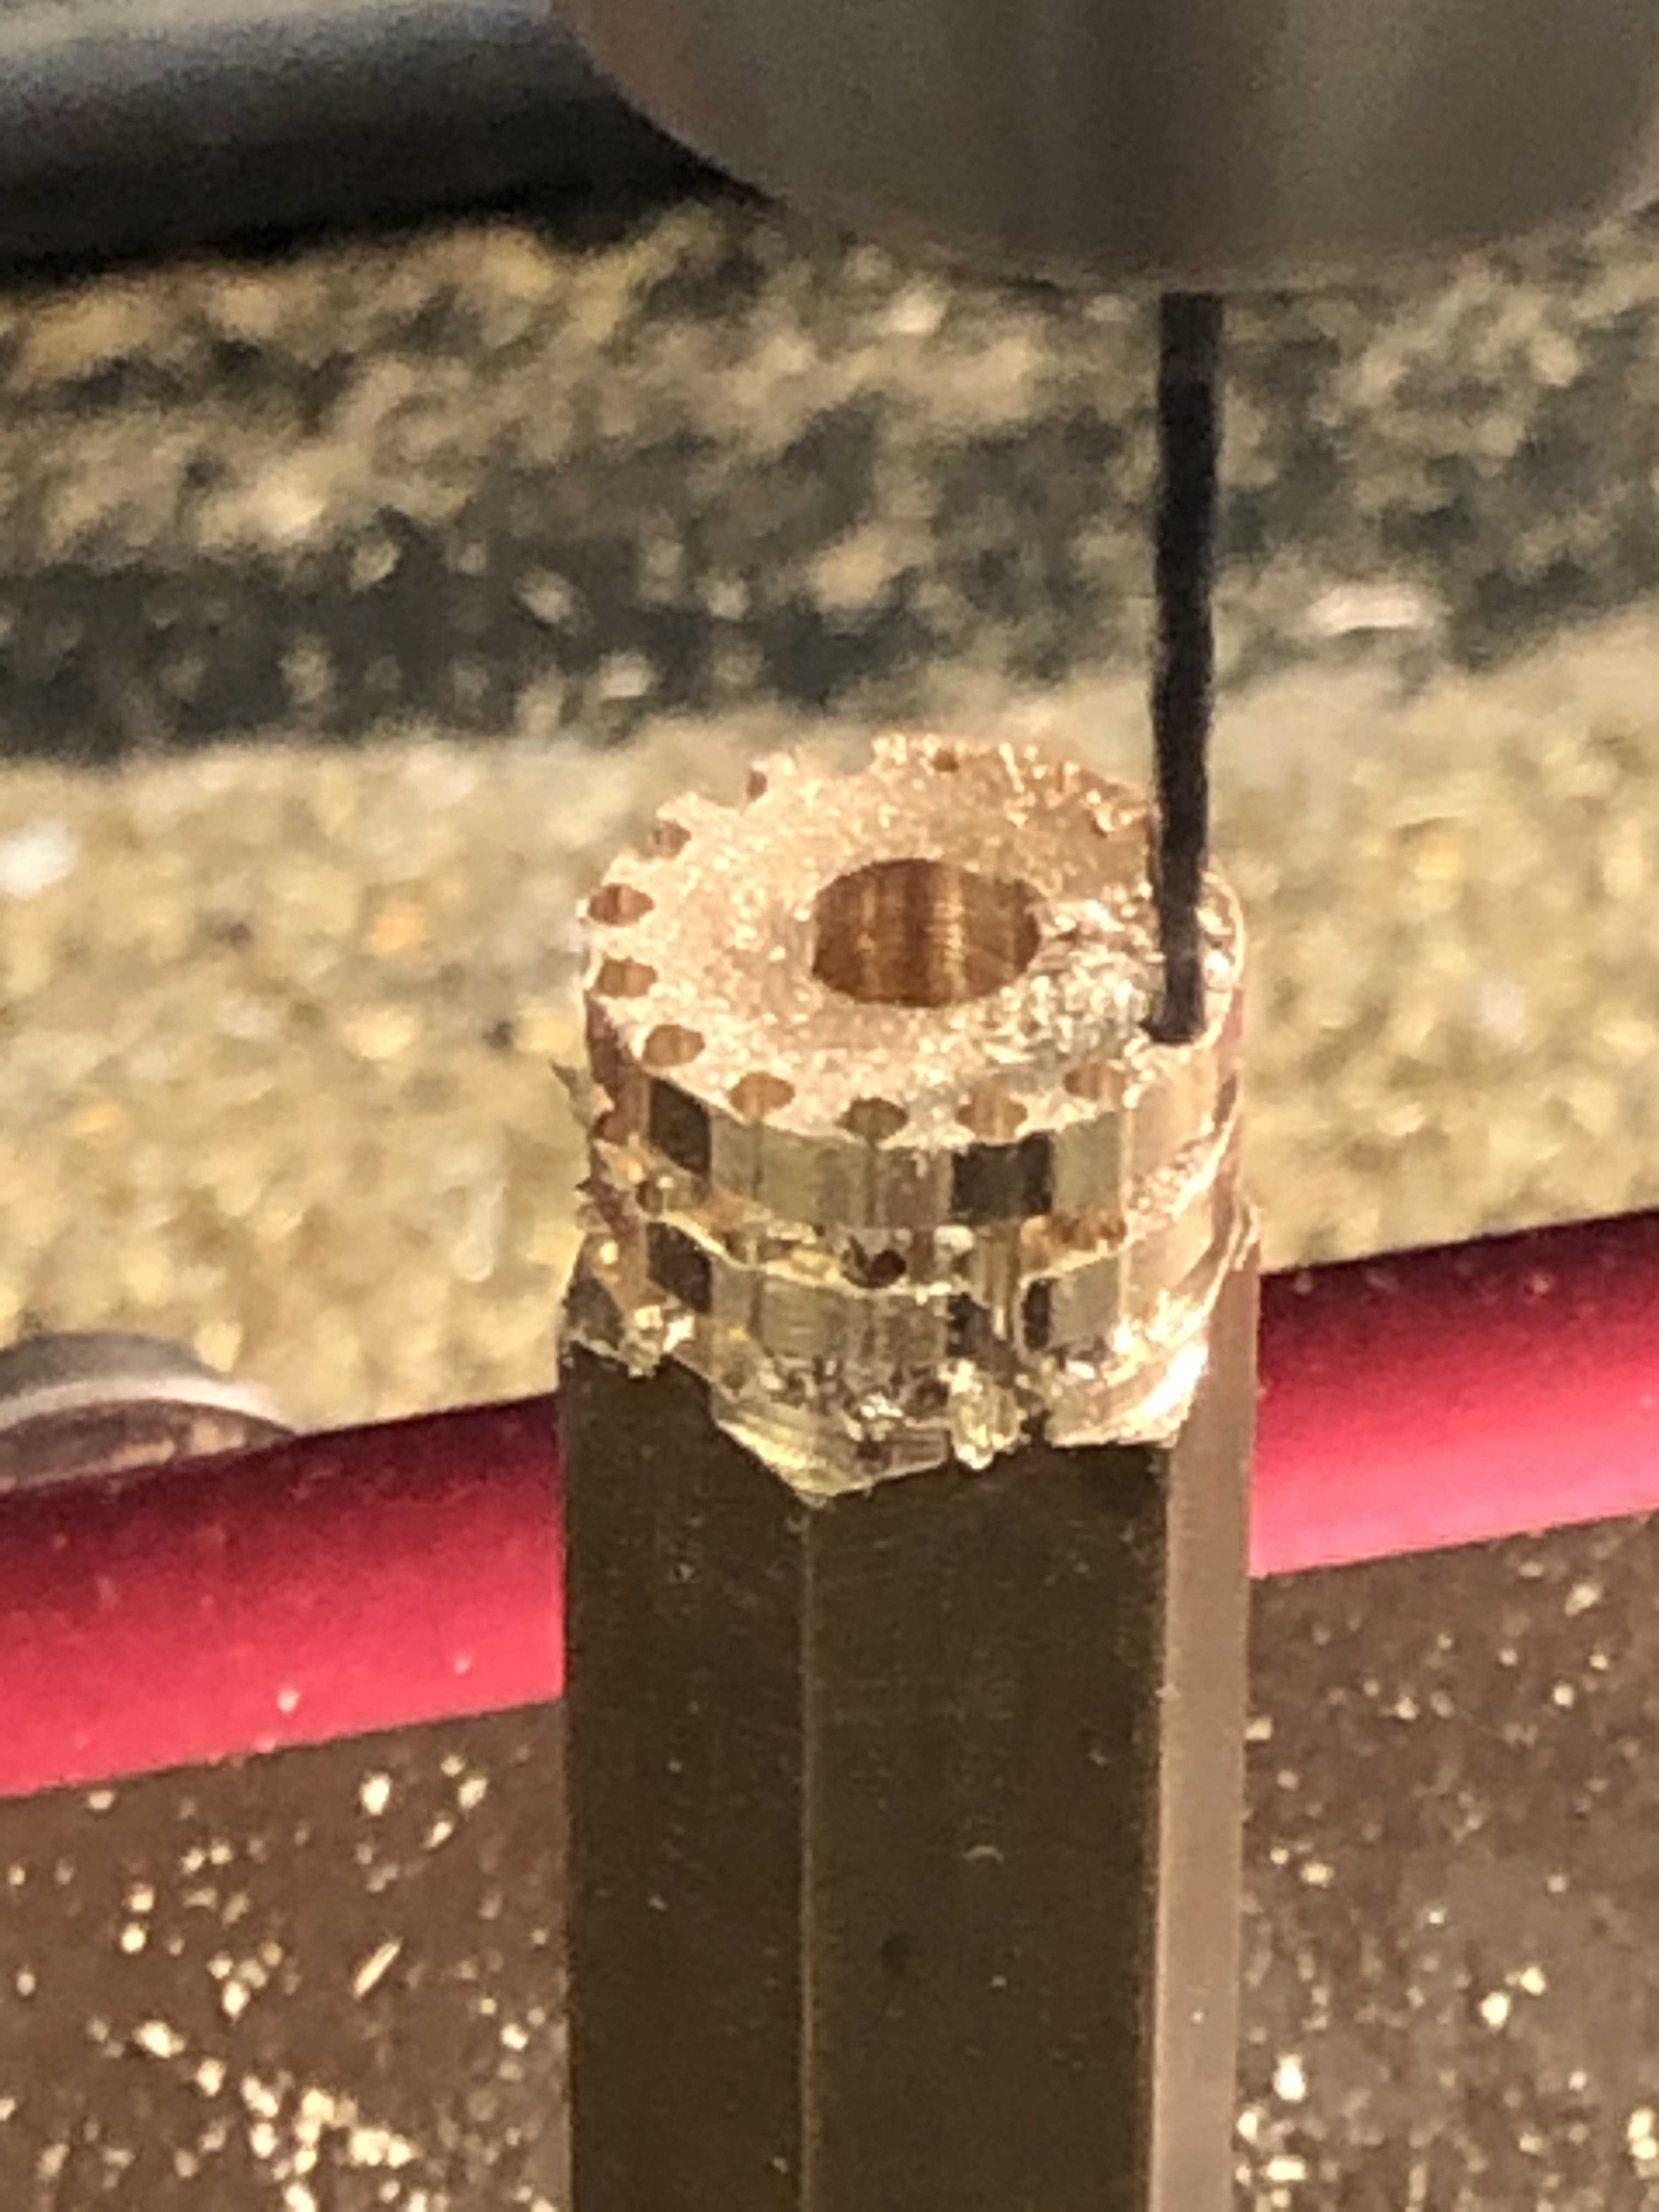
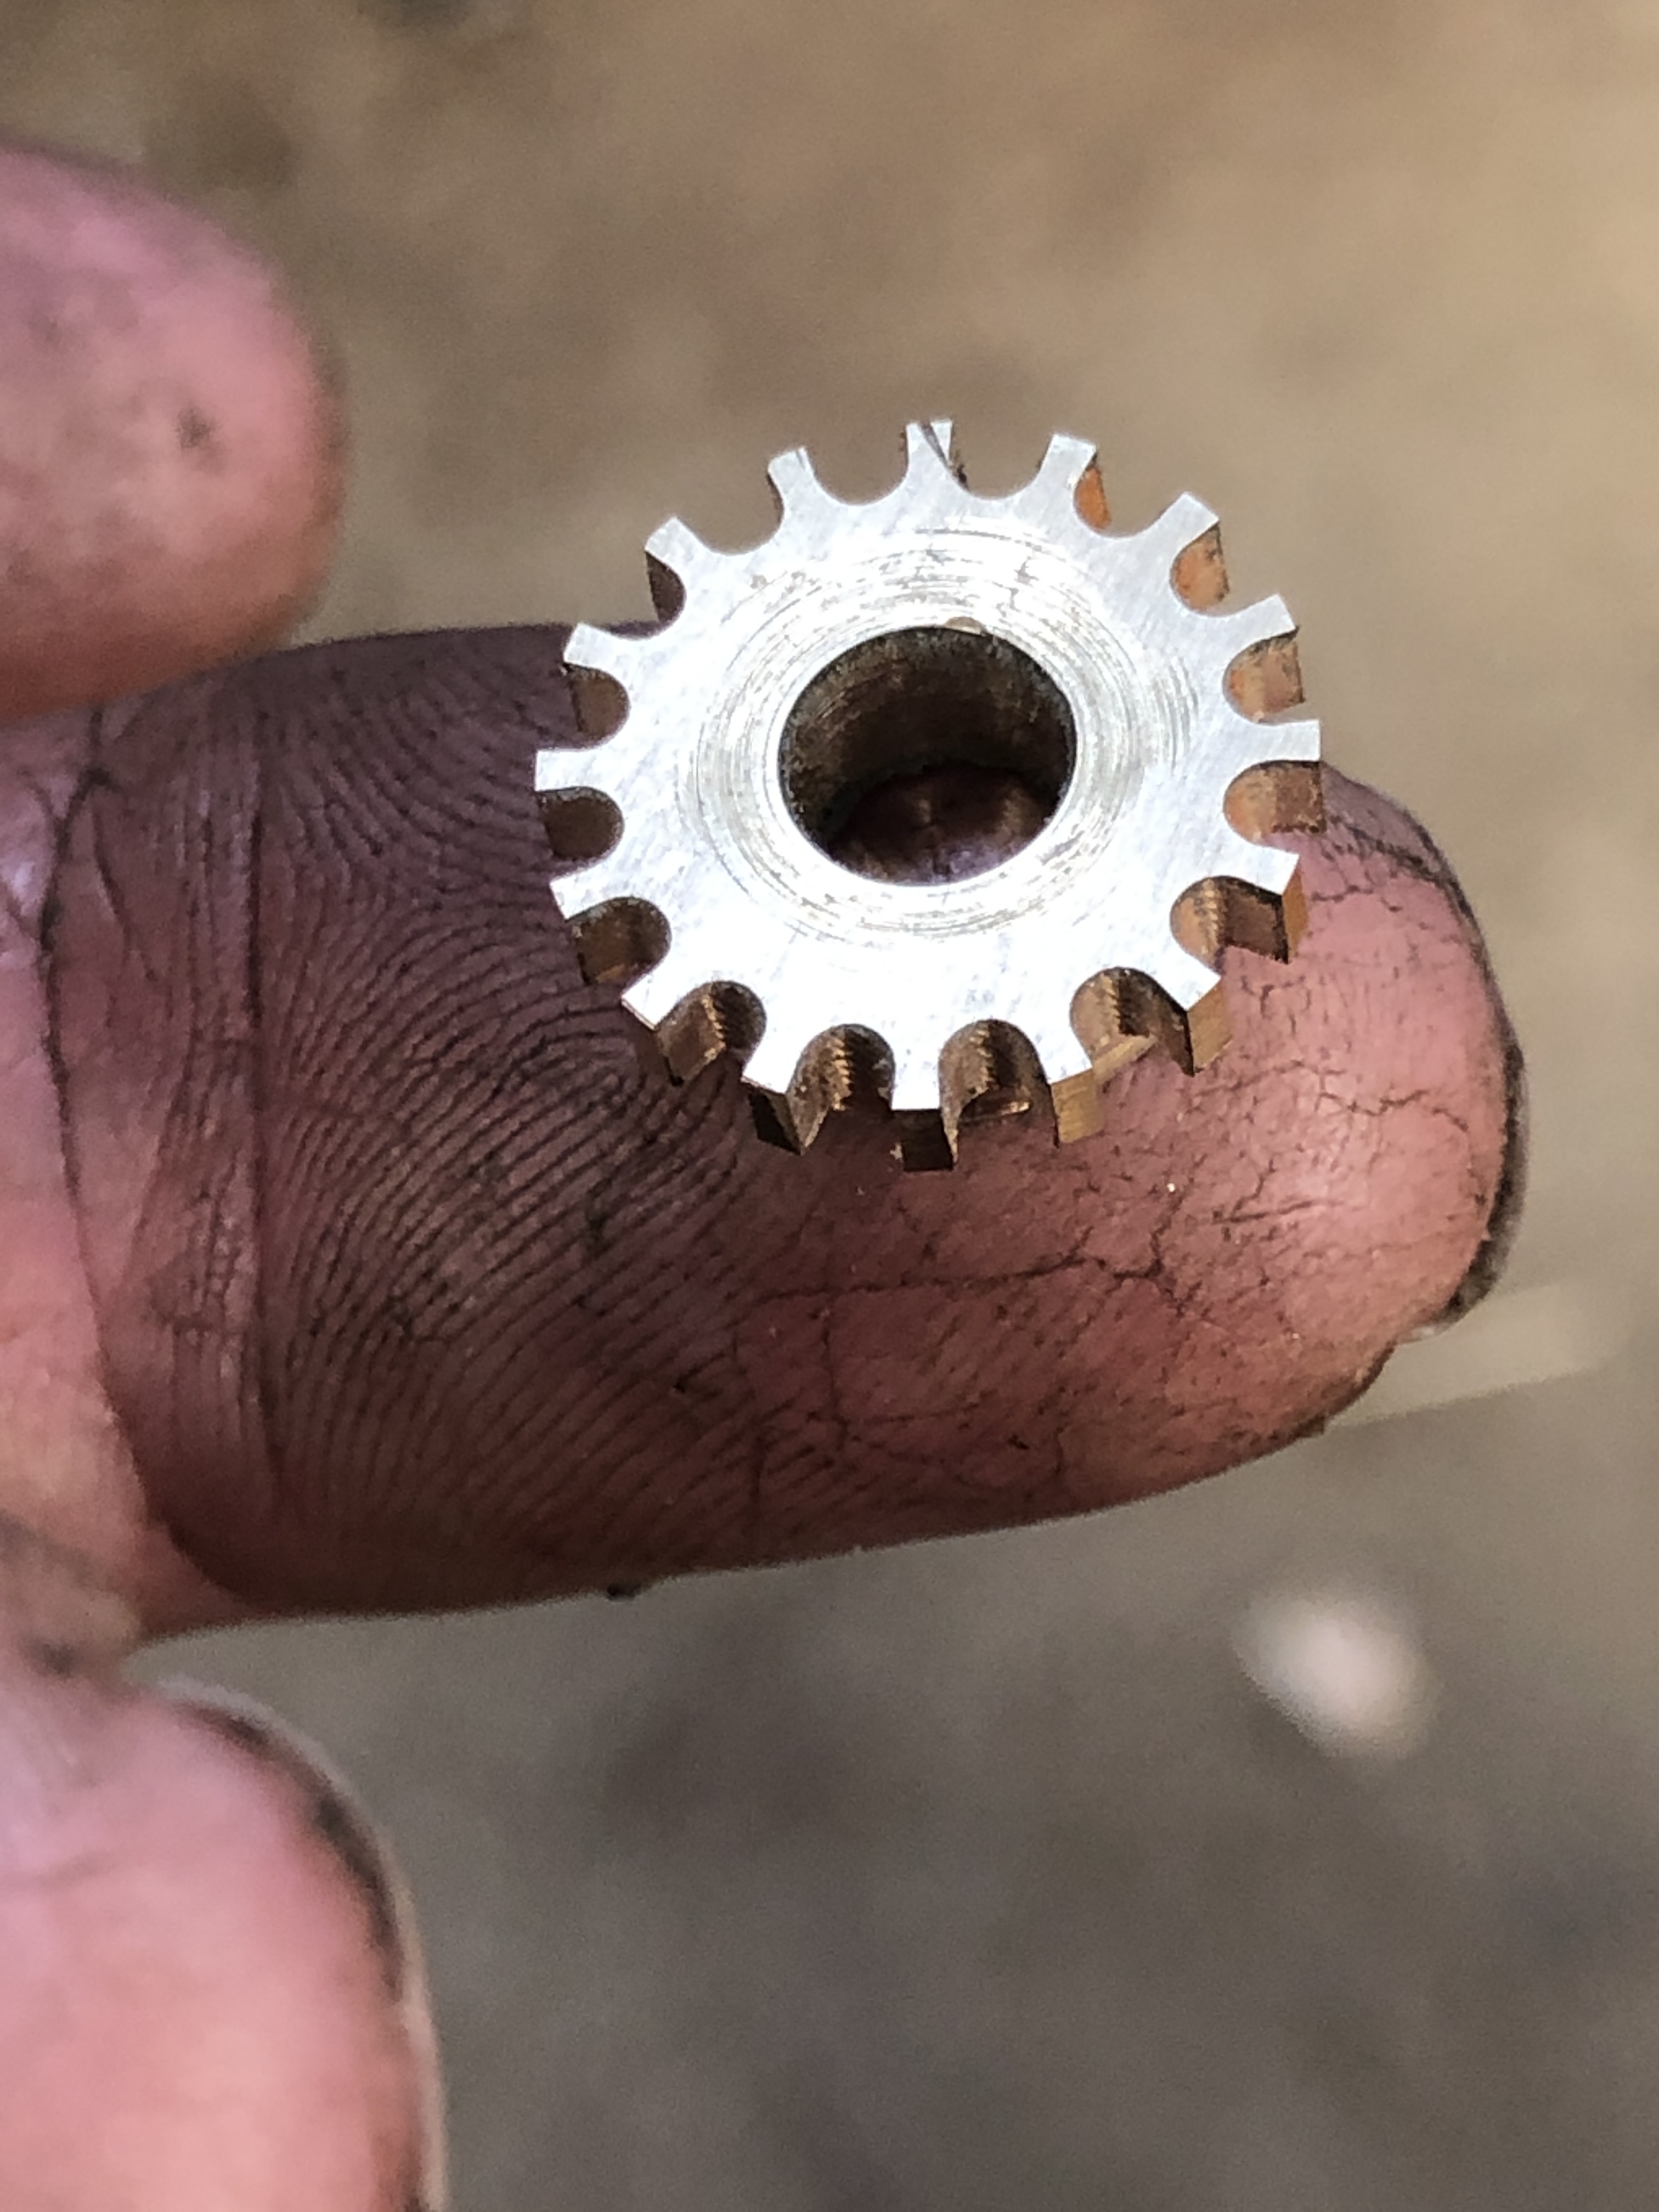
Then silver soldered some 1mm old drill bits into the previously drilled pin holes as the driving pins for the screw gear.

Parts fluxed, ready for heat and silver solder. I use 50% silver, with cadmium for these tiny parts. After soldering, a quench in water, brief soak in sulphuric acid to remove any remaining flux, another water wash, then the drill bits are cut to length, and tidied up. Why did I use drill bits? Because they were the only drill rod/silver steel which I had in this diameter, and it is a good use for blunt drill bits.

By this time the day was really heating up.

So, I threaded at 2.5mm some 3mm brass rod, then heated the sections where I needed to apply the bends, and made the handle. Also form turned the hemispherical head using a 2mm radius rounding over milling cutter on the lathe as described in a recent post.

The threaded post length might need to be adjusted, because I made it slightly longer than thought necessary. I have some spare length at both ends if necessary to adjust.

In position. It works even though I still need to fix the gear to the threaded post, and fix the truncated cone at the top to the post. I intend to use Loctite.
and I have yet to machine a hemispherical cavity to the underside of the iron (brass actually) bed.

Smith’s Screw -3.

Another half day workshop session saw some more small parts made for the Smith’s Elevating Screw at ~1:10 scale. As close to 1:10 scale as possible, but I decided to make the parts about 20% bigger than the dimensions I scaled off the poor quality drawing, to fit with small drill bits and end mills in the tiny end of the range. The smallest end mill which I used was 1.5mm diameter!

CNC Drilling the gullets in the gear with a 1.6mm drill bit, after turning the OD of 15.9mm. I made 2 of these parts, just in case.

This is the gear after completing the gullets with the 1.5mm end mill. 3000rpm, 0.5mm depth of cut, 30mm/min feed rate. (metal working is not great for hand beauty)

The Smith’s Screw square thread, yet to have a hemispherical head turned after sawing off the excess length, the brass half cylinder nut, the gear, the yoke and the shaft bracket. A hinge pin will be inserted first, then some relieving of the hinge edges. The yoke and shaft bracket were CNC’d from 3.5mm brass plate.
and a handle to be added, and a restraining collar. Oh, and the 3 steel driving pins to be silver soldered in the yoke holes.

One more session should see the Smith’s Elevating Screw completed.

Did you notice that I have modified 6 details since drawing this?