machines which I have made, am making, or intend to make, and some other stuff. If you find this site interesting, please leave a comment. I read every comment and respond to most. n.b. There is a list of my first 800 posts in my post of 17 June 2021, titled "800 Posts"
USS Constitution. Hull Progress.
by John
Sorry, people. No posts for 3 weeks. I have actually been putting a lot of time into the hull of the constitution model, and this post will fill in some of the gaps. I must say that the lack of reader feedback about the previous posts has been a disincentive for me to spending time on further posts, but I have been told that it is now more difficult for my readers to post comments. I am unsure what has changed with WordPress, but it is frustrating for me. Feedback/communication with my readers is what drives me to write and post about what I am doing. I think that you have to register your email with WordPress to post comments. Free, but annoying. But please do it if you want these posts to continue.
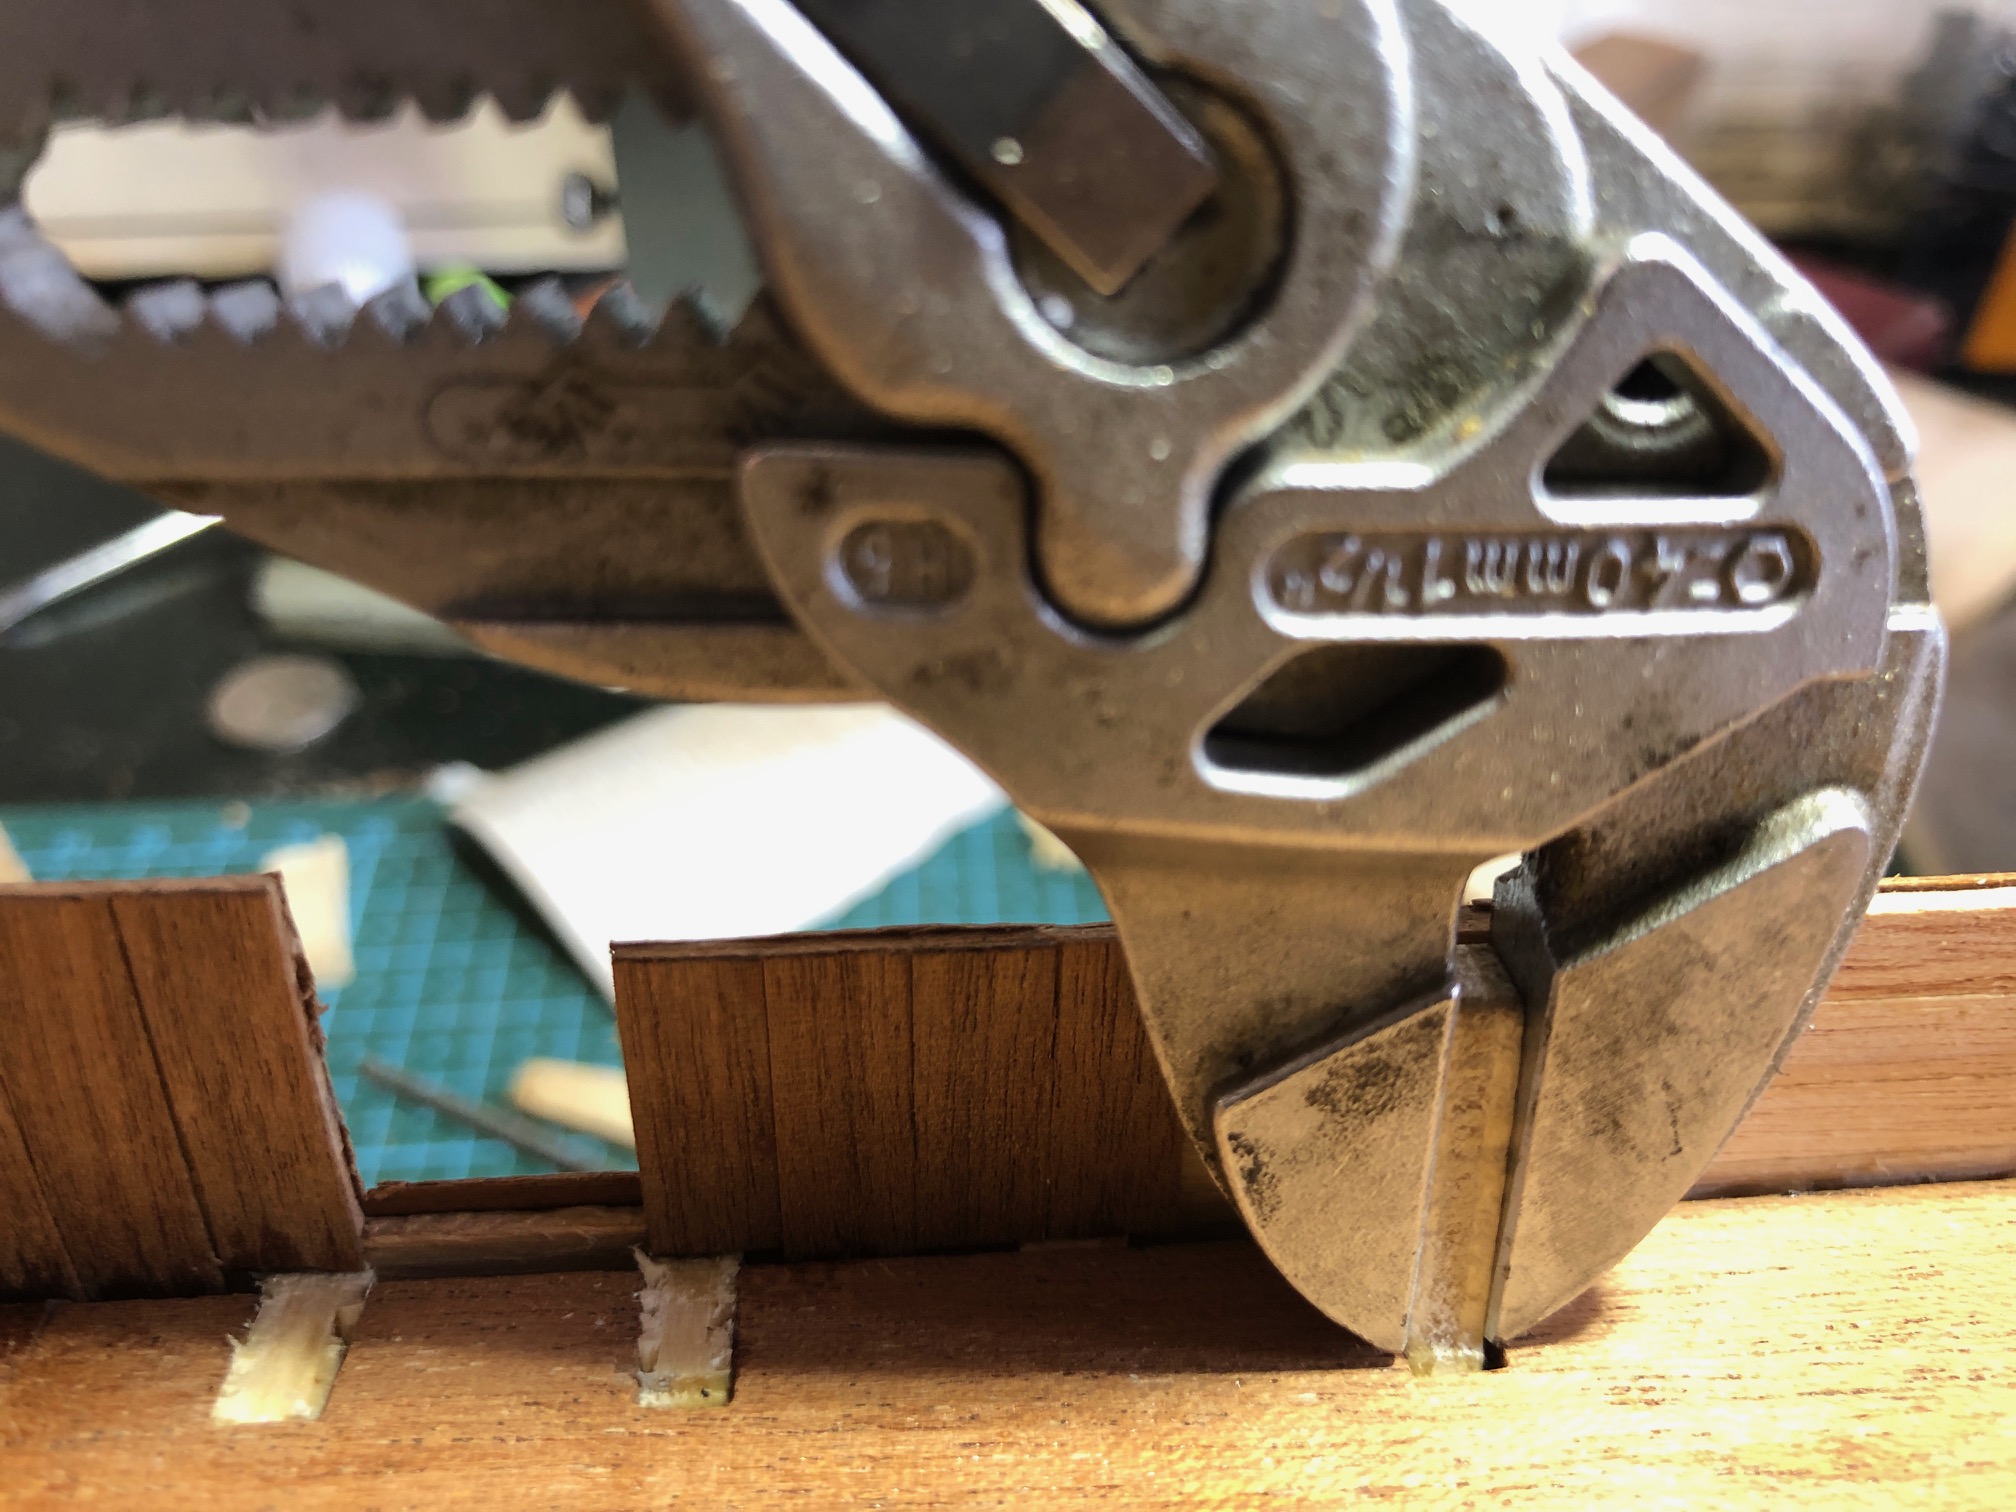
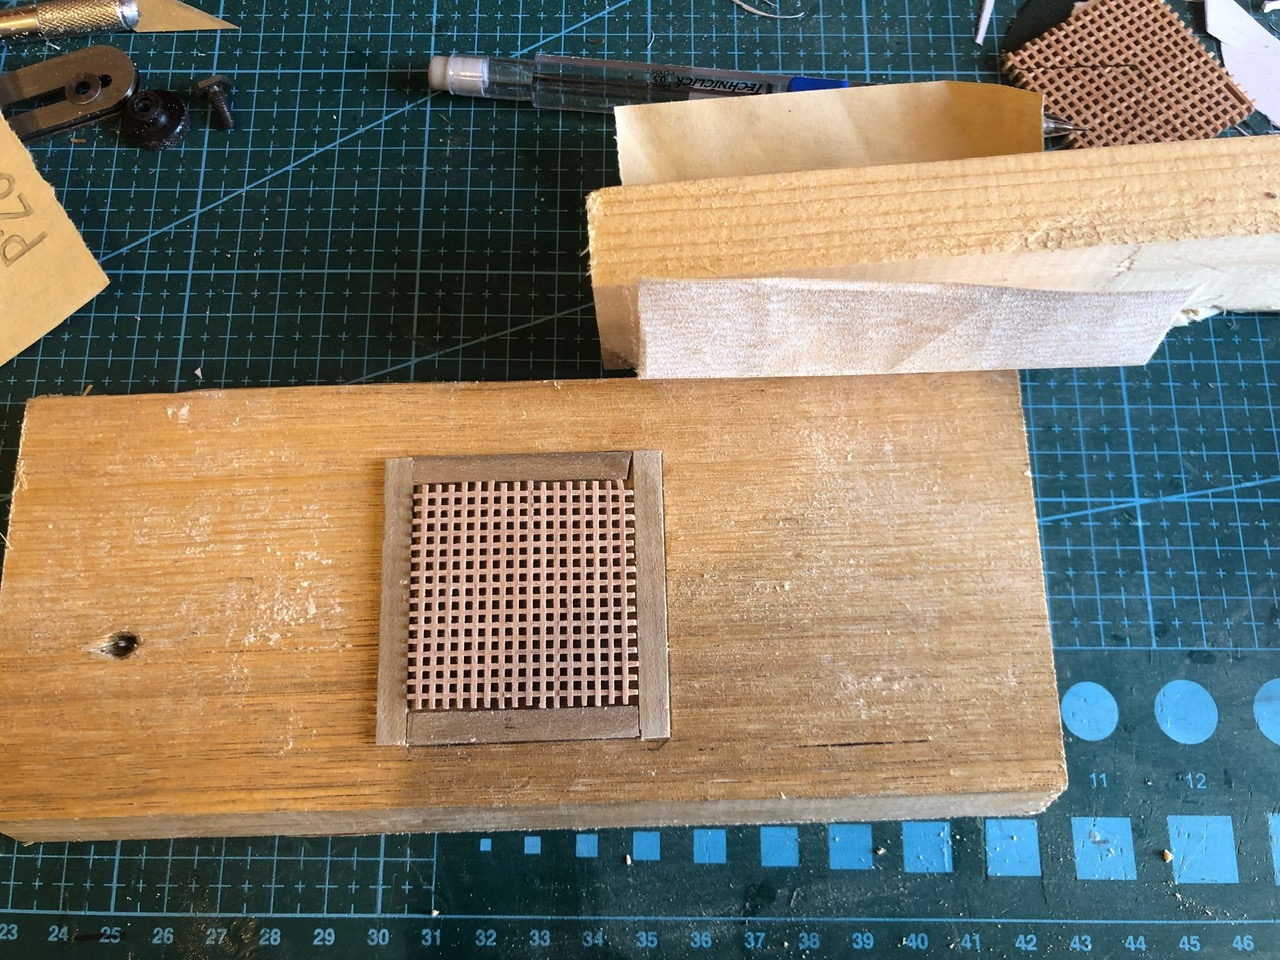
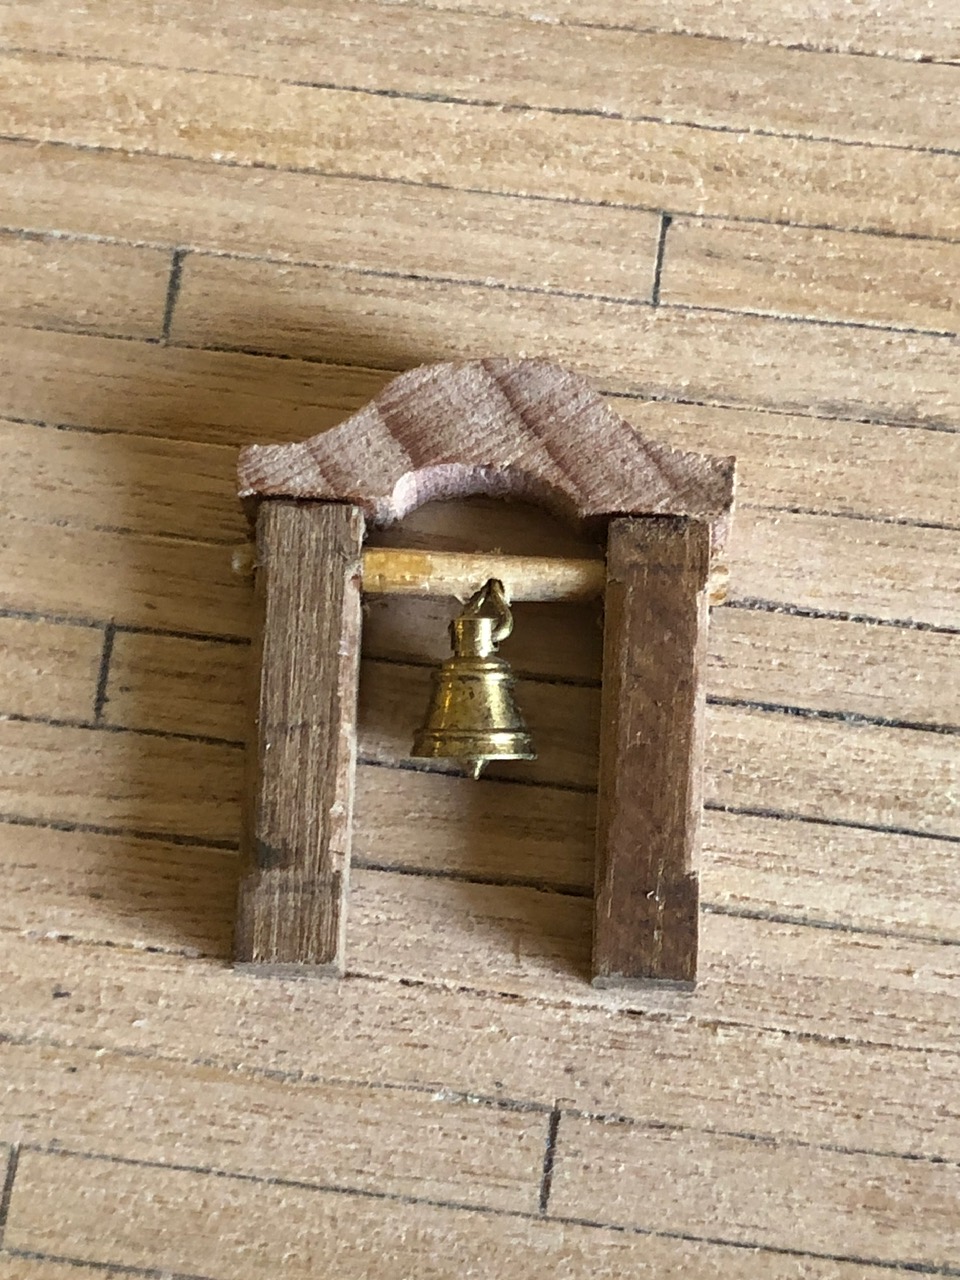
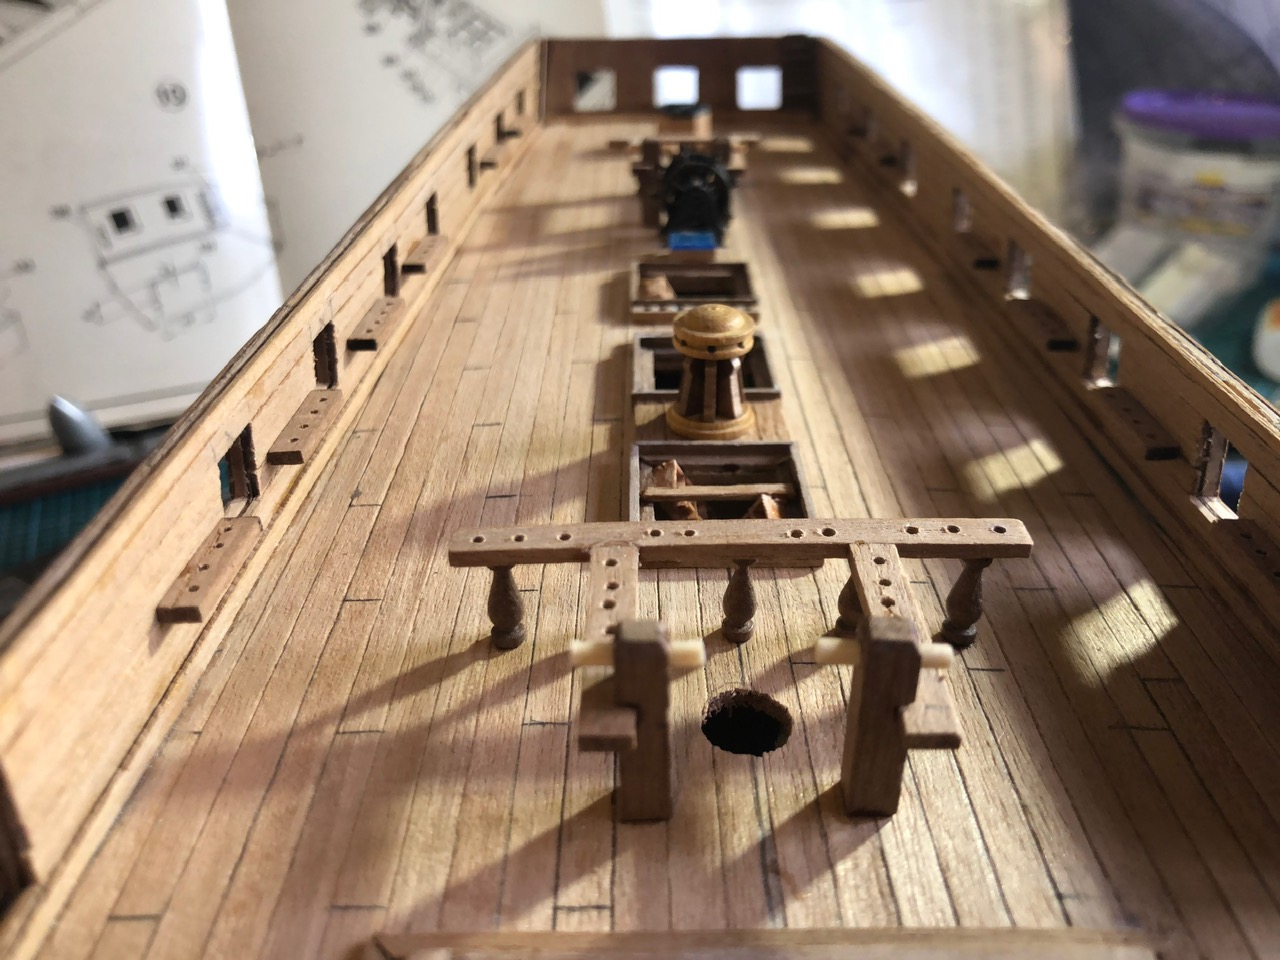
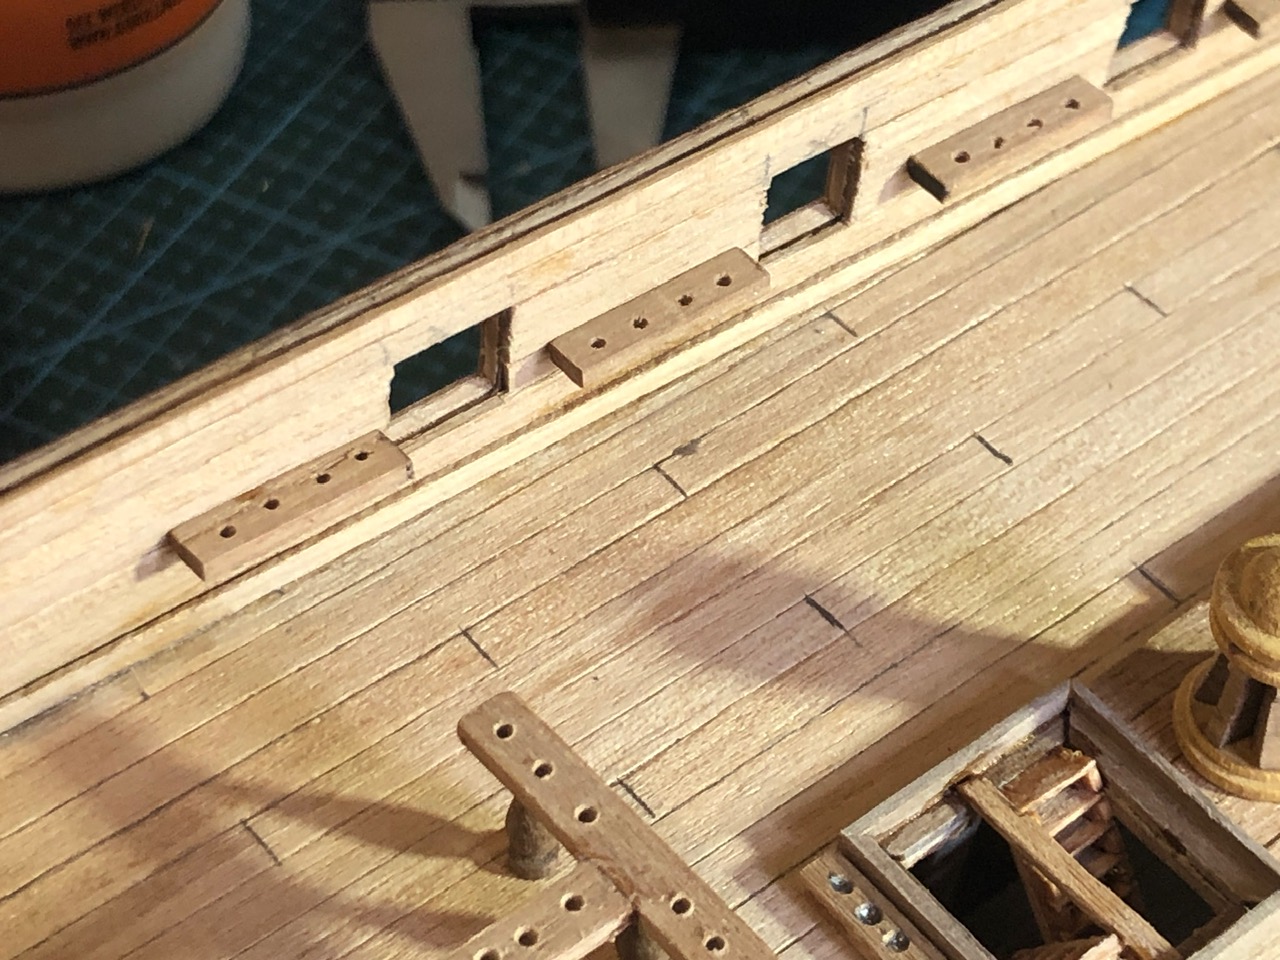
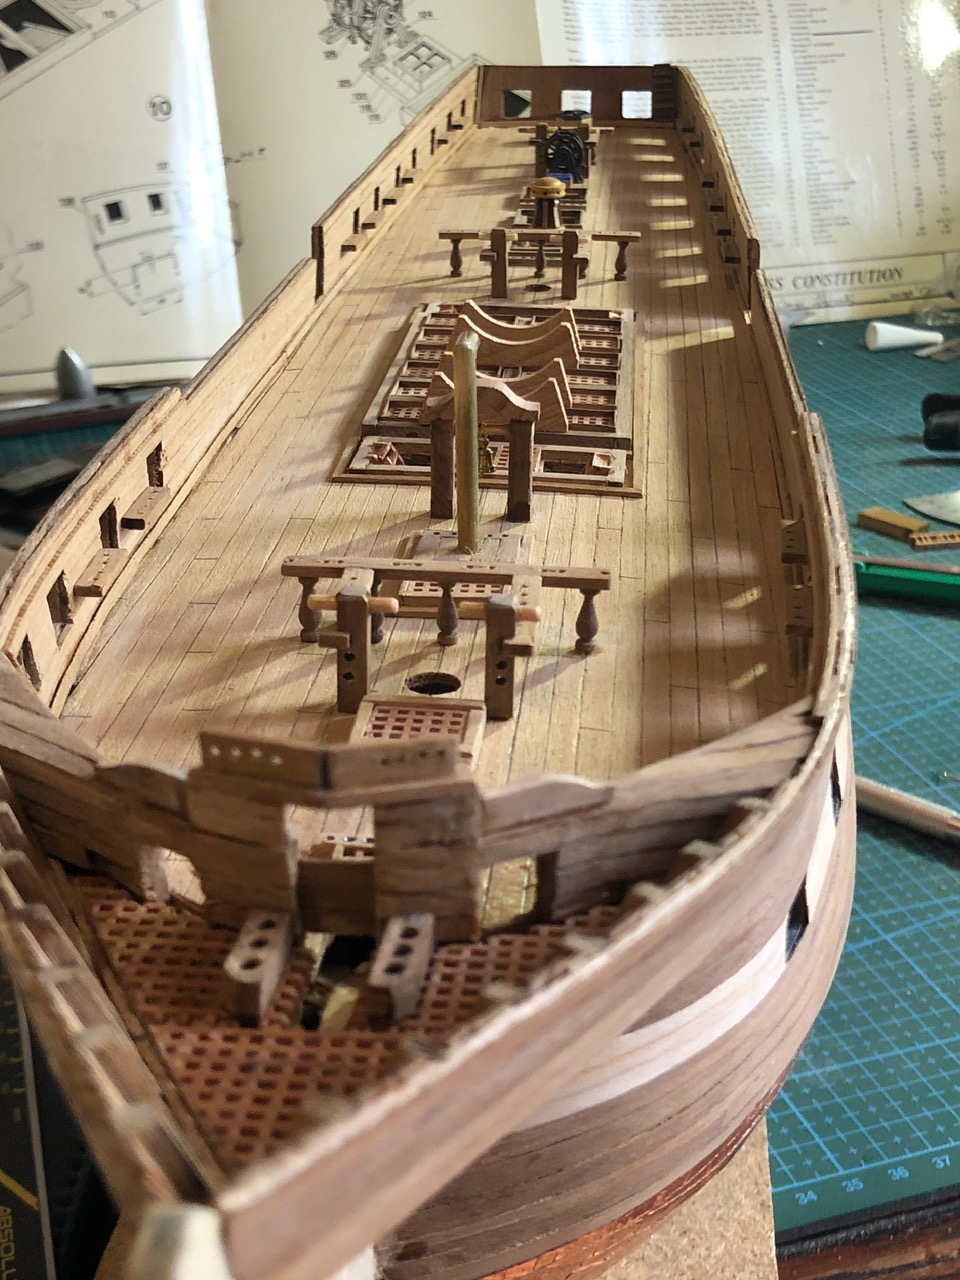
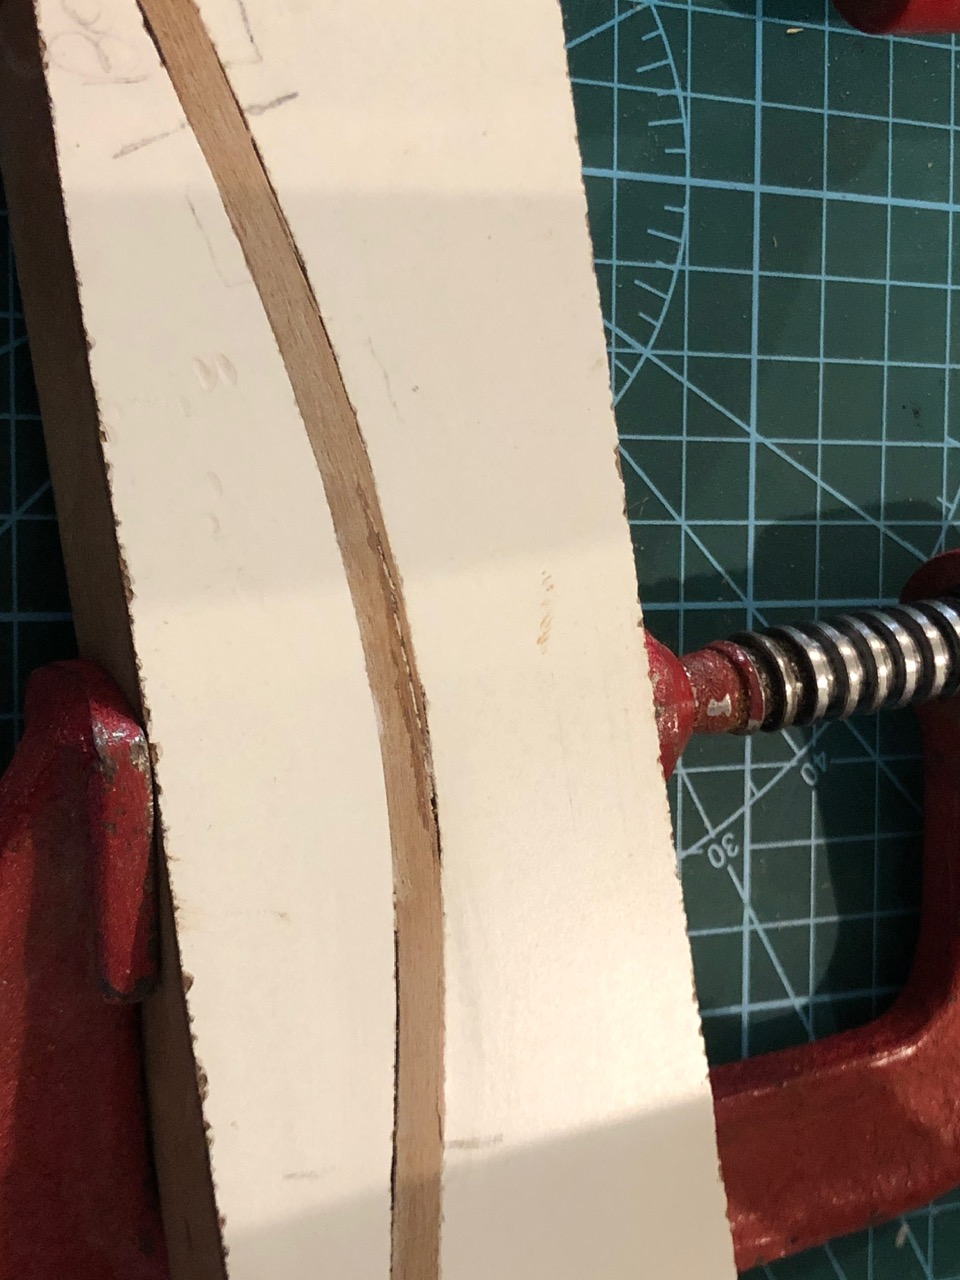
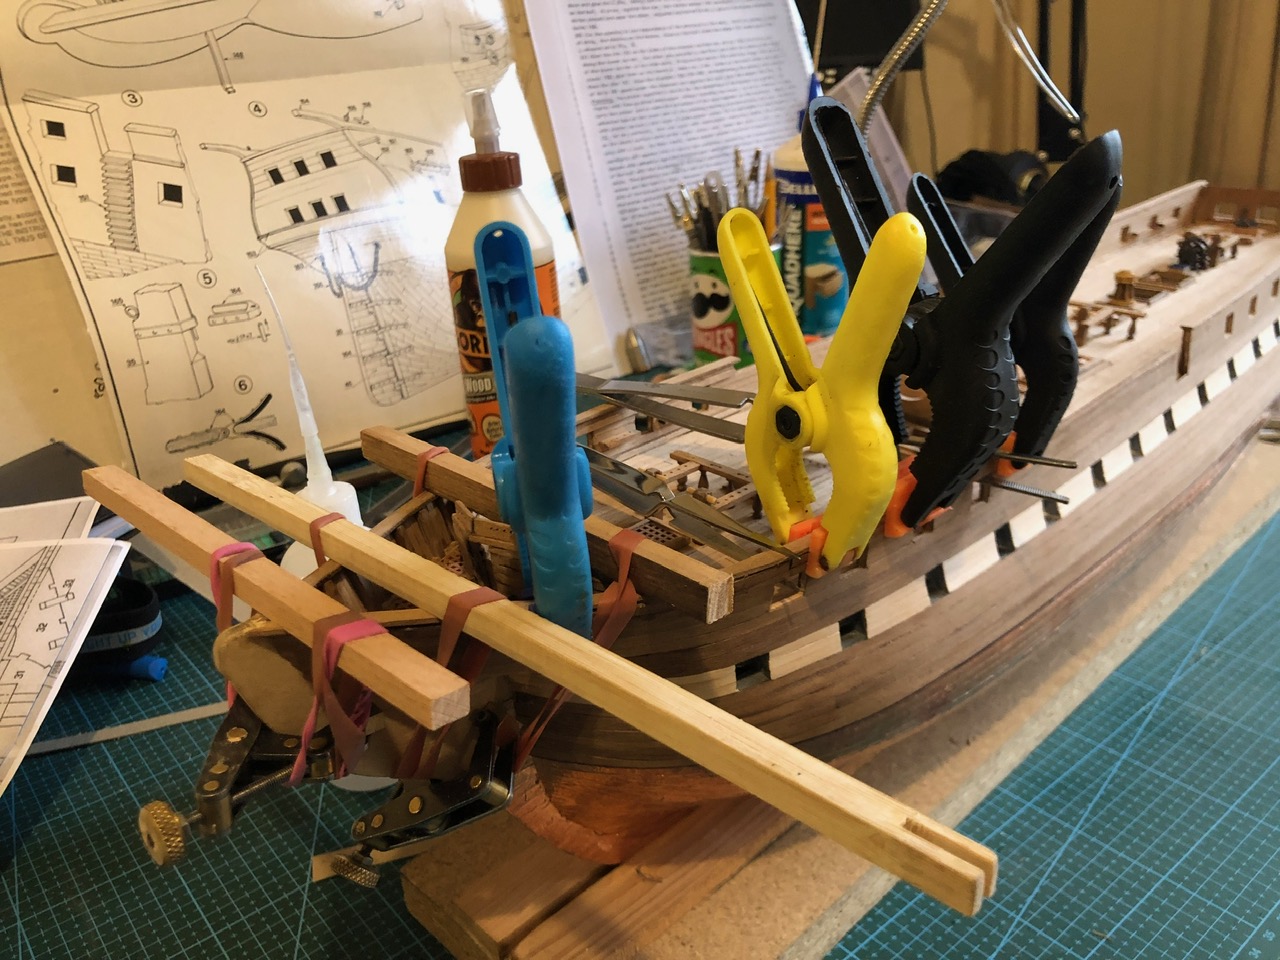
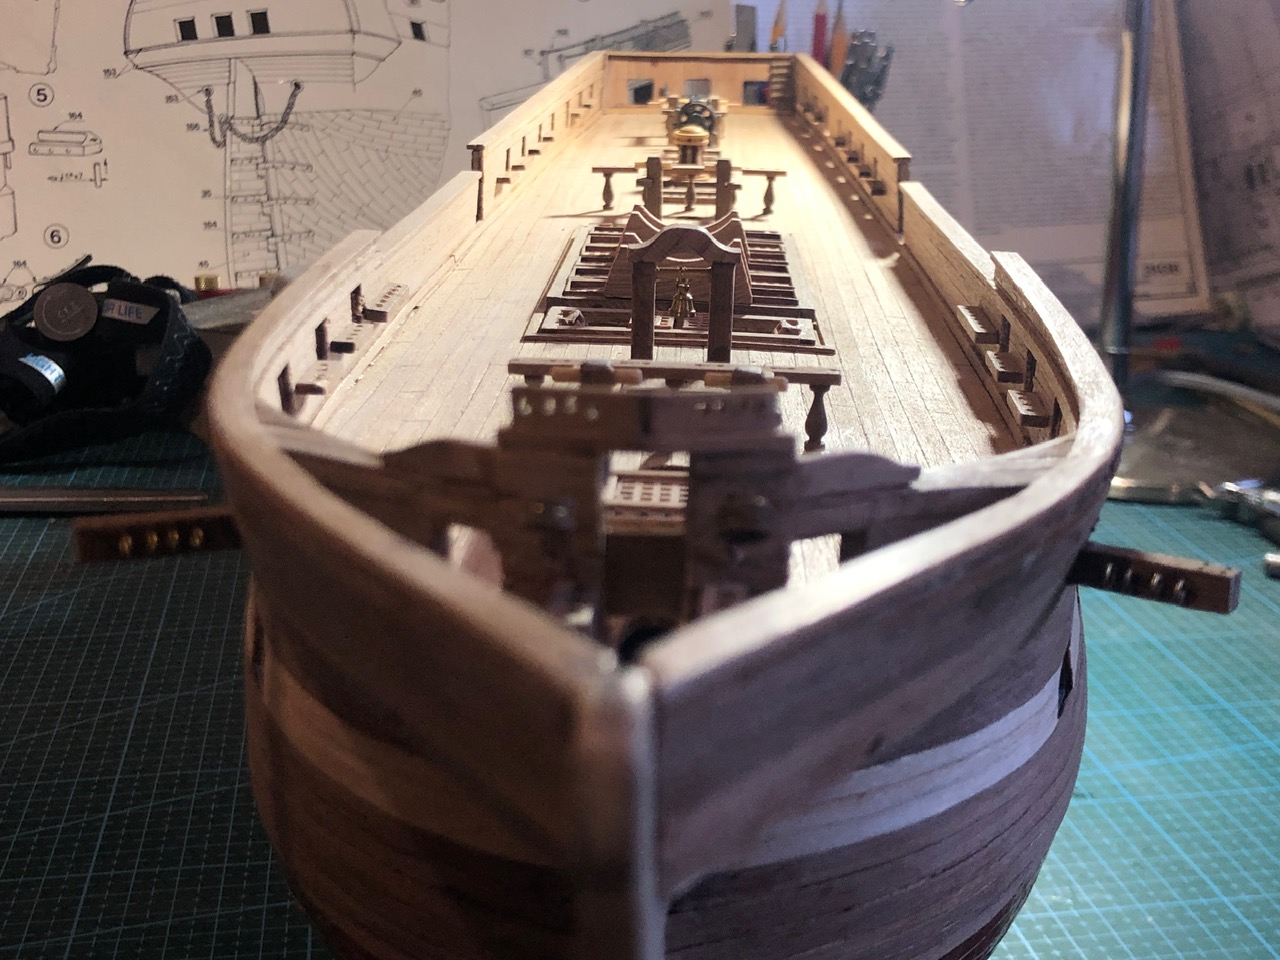
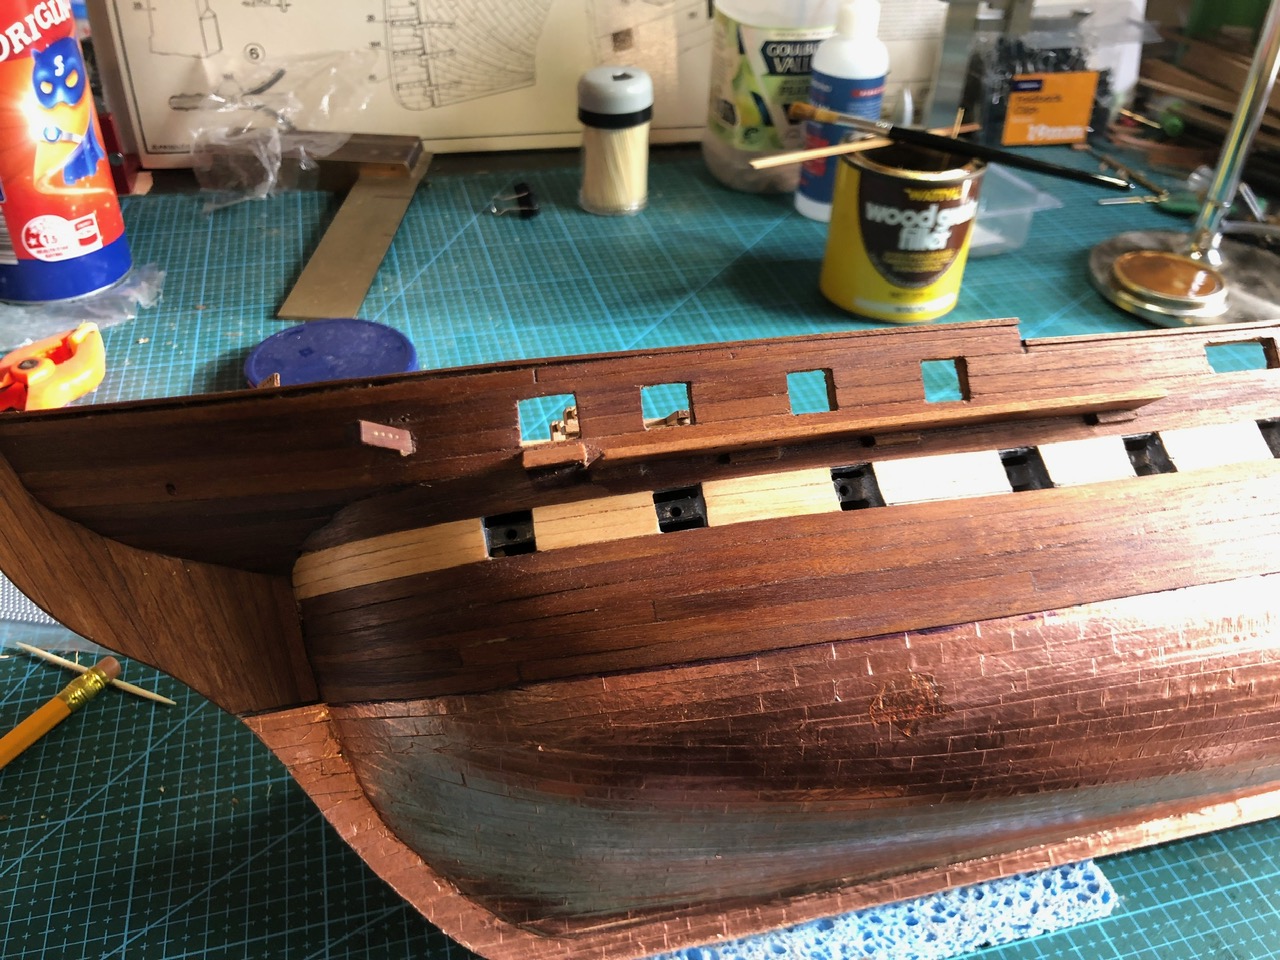
Breaking off the above deck protrusions using Knipex parallel jaw pliers. Worked like a charm!I cannot remember if I had posted about cutting and gluing the top deck planks. But here is the start of the process. The pale wood is Tanganyika. The process is fairly easy. But I should have RTFM. (Read The Manual). I did read that the edge of the planks should be blacked with lead pencil, and be 180mm long. But that was as much as I could take in. I chose to lay the strips as long as possible, cutting fake joins with a partial thickness cut using a knife, and accentuating the cut with a black lead pencil. I did not make marks for fake fasteners, deciding that they would not be visible at a scale of 1:93.The next step was to make the gratings. Very sensibly, IMO, for once, I made a square jig and assembled the bits so they remained squared. Mamoli suggested that the assembly was soaked in diluted white glue, which I did. But it did not work and under stress the glued assembly fell apart. So I painted the grates with Super glue and that worked well.The shape is glued into position. Some awkward corners required filler later. Oh. The 6 little round holes are crewmen’s “comfort seats”. Go figure.These rather nice windows enclose the “comfort seats” for the officers, at the stern. Metal castings in the model, glued together and filed to fit the hull with great difficulty…. and reinforced with JB Weld then painted gold, and glued to the hull.Various little deck structures assembled and glued to the deck… Note the closeup of the deck plank fake joins. As I said, several days ago….Including future bits to hold the rigging in place…. The deck planking joins are scored with a knife, and pencilled with lead. Not bothering with fake nail heads.And handrails on the bulwarks. I found the limit of bending 5mm x 1.5mm handrails. Superglue fixed it!Which were a bit difficult to hold in place while the glue set.Just a nice shot.Then I applied some wood grain filler to the walnut planks. Looks good hey? Some of the filler spread onto the copper sheathing, but it just wiped off. And left the copper gleaming. And darkened the bits of pale planking underneath which I had failed to conceal. A bit of serendipity there.
So, the hull is almost finished. 90% of the original ship cost. I still have to coat the deck planking, assemble the 50 odd cannons and carronades, and do the rigging. But I reckon about 50% of the build done?
Hello John, and thankyou. If you can read this, I very sincerely thankyou for your friendship. I had a very sad message from your wife, which causes me immense sadness. John.


Hi John, please do continue with the posts as I find them very inspirational (even if I don’t normally comment)
Tom
LikeLike
Thankyou for the feedback. Much appreciated.
LikeLike
Hi JOHN
Love your blog please do not stop I very much enjoy.
Cheers
John Emery
LikeLike
Hello John, and thankyou. If you can read this, I very sincerely thankyou for your friendship. I had a very sad message from your wife, which causes me immense sadness. John.
LikeLike