
Making Model Rope
by John
The biggest ropes* on USS Constitution were 3″/75mm circumference equals 1″ /24mm diameter (approximately). So 3″ ropes, at 1:93 scale, are 0.8mm diameter. The anchor cables were 7″ / 178mm diameter, and made by twisting smaller ropes together. (*p.s. further information from “The Frigate Constitution” by F A Magoun states that some ropes on Constitution were 4.75″ and 5″ circumference, = 40mm diameter, but most were 3″ or under.)
Standing rigging was black, the result of painting them with tar. And they were left handed. Running rigging was hemp colour, and was right handed.
The ropes supplied in the Mamoli kit were OK, but were only a light brown/fawn colour. And they were all right handed. And the more that I read about ropes, the more interesting they became.
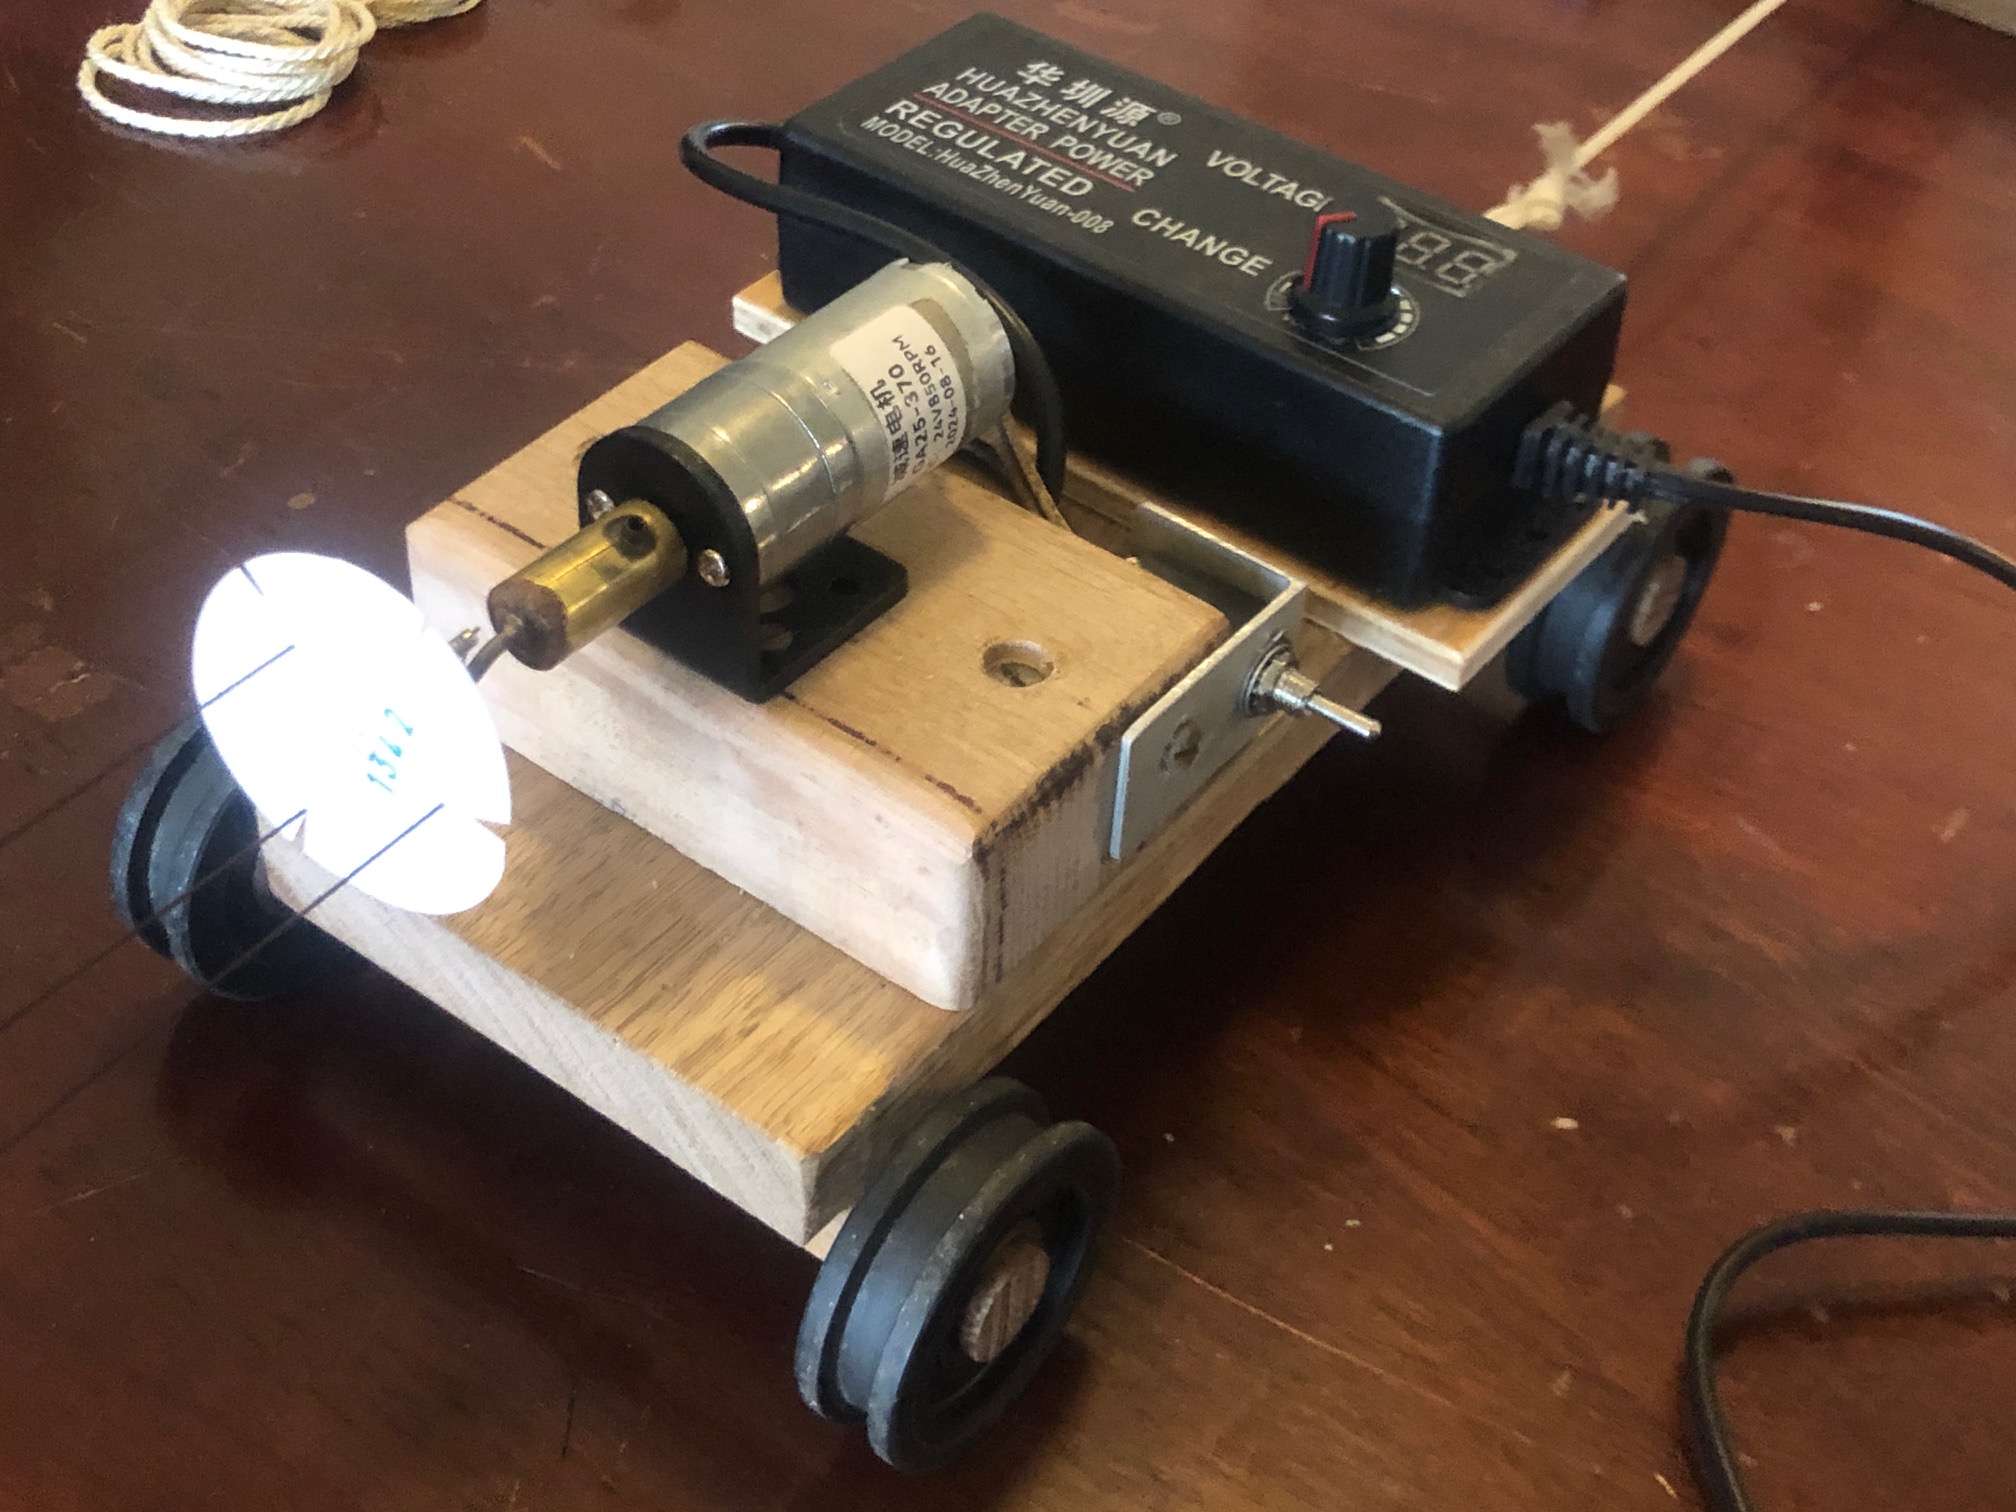
So, I decided to make a rope run. It actually sits on a table, so it is more of a rope sit.


The looper is configured to make up to 6 strands. Here it has 4 looping hooks to make 2, 3 or 4 strands, and a central non twisting attachment point if a central strand is added eg. to an anchor cable. As set up, there is a central motor driven 64 tooth spur gear, and 4 surrounding looping gears. The gears were bought inexpensively on AliExpress, and were advertised for model car enthusiasts. The gear shafts are mounted in ball bearings. I might get around to painting it one day, but probably not.


And here is the first home-made rope applied to my USS Constitution….


I have some ideas to improve my rope run, and I have also designed a machine to apply serving/seizing threads to the rope which is permanently fixed, as in the picture above. That serving was applied by hand, and is not as neat as I would like.
There are a few instructive videos on YouTube about model rope making. One of the most impressive is by a Ukranian lady, Ohla Blatchvarov, who is an expert model ship builder. https://youtu.be/qPCD2wQvc8k?si=NRothhRSQiTs0Xke

hi John
Tried to send you pictures of my rope making device, but got a message that your email system do not respond
Roy
LikeLike