
A Case for A Constitution -2
by John
I forgot to add these photos to the previous post.
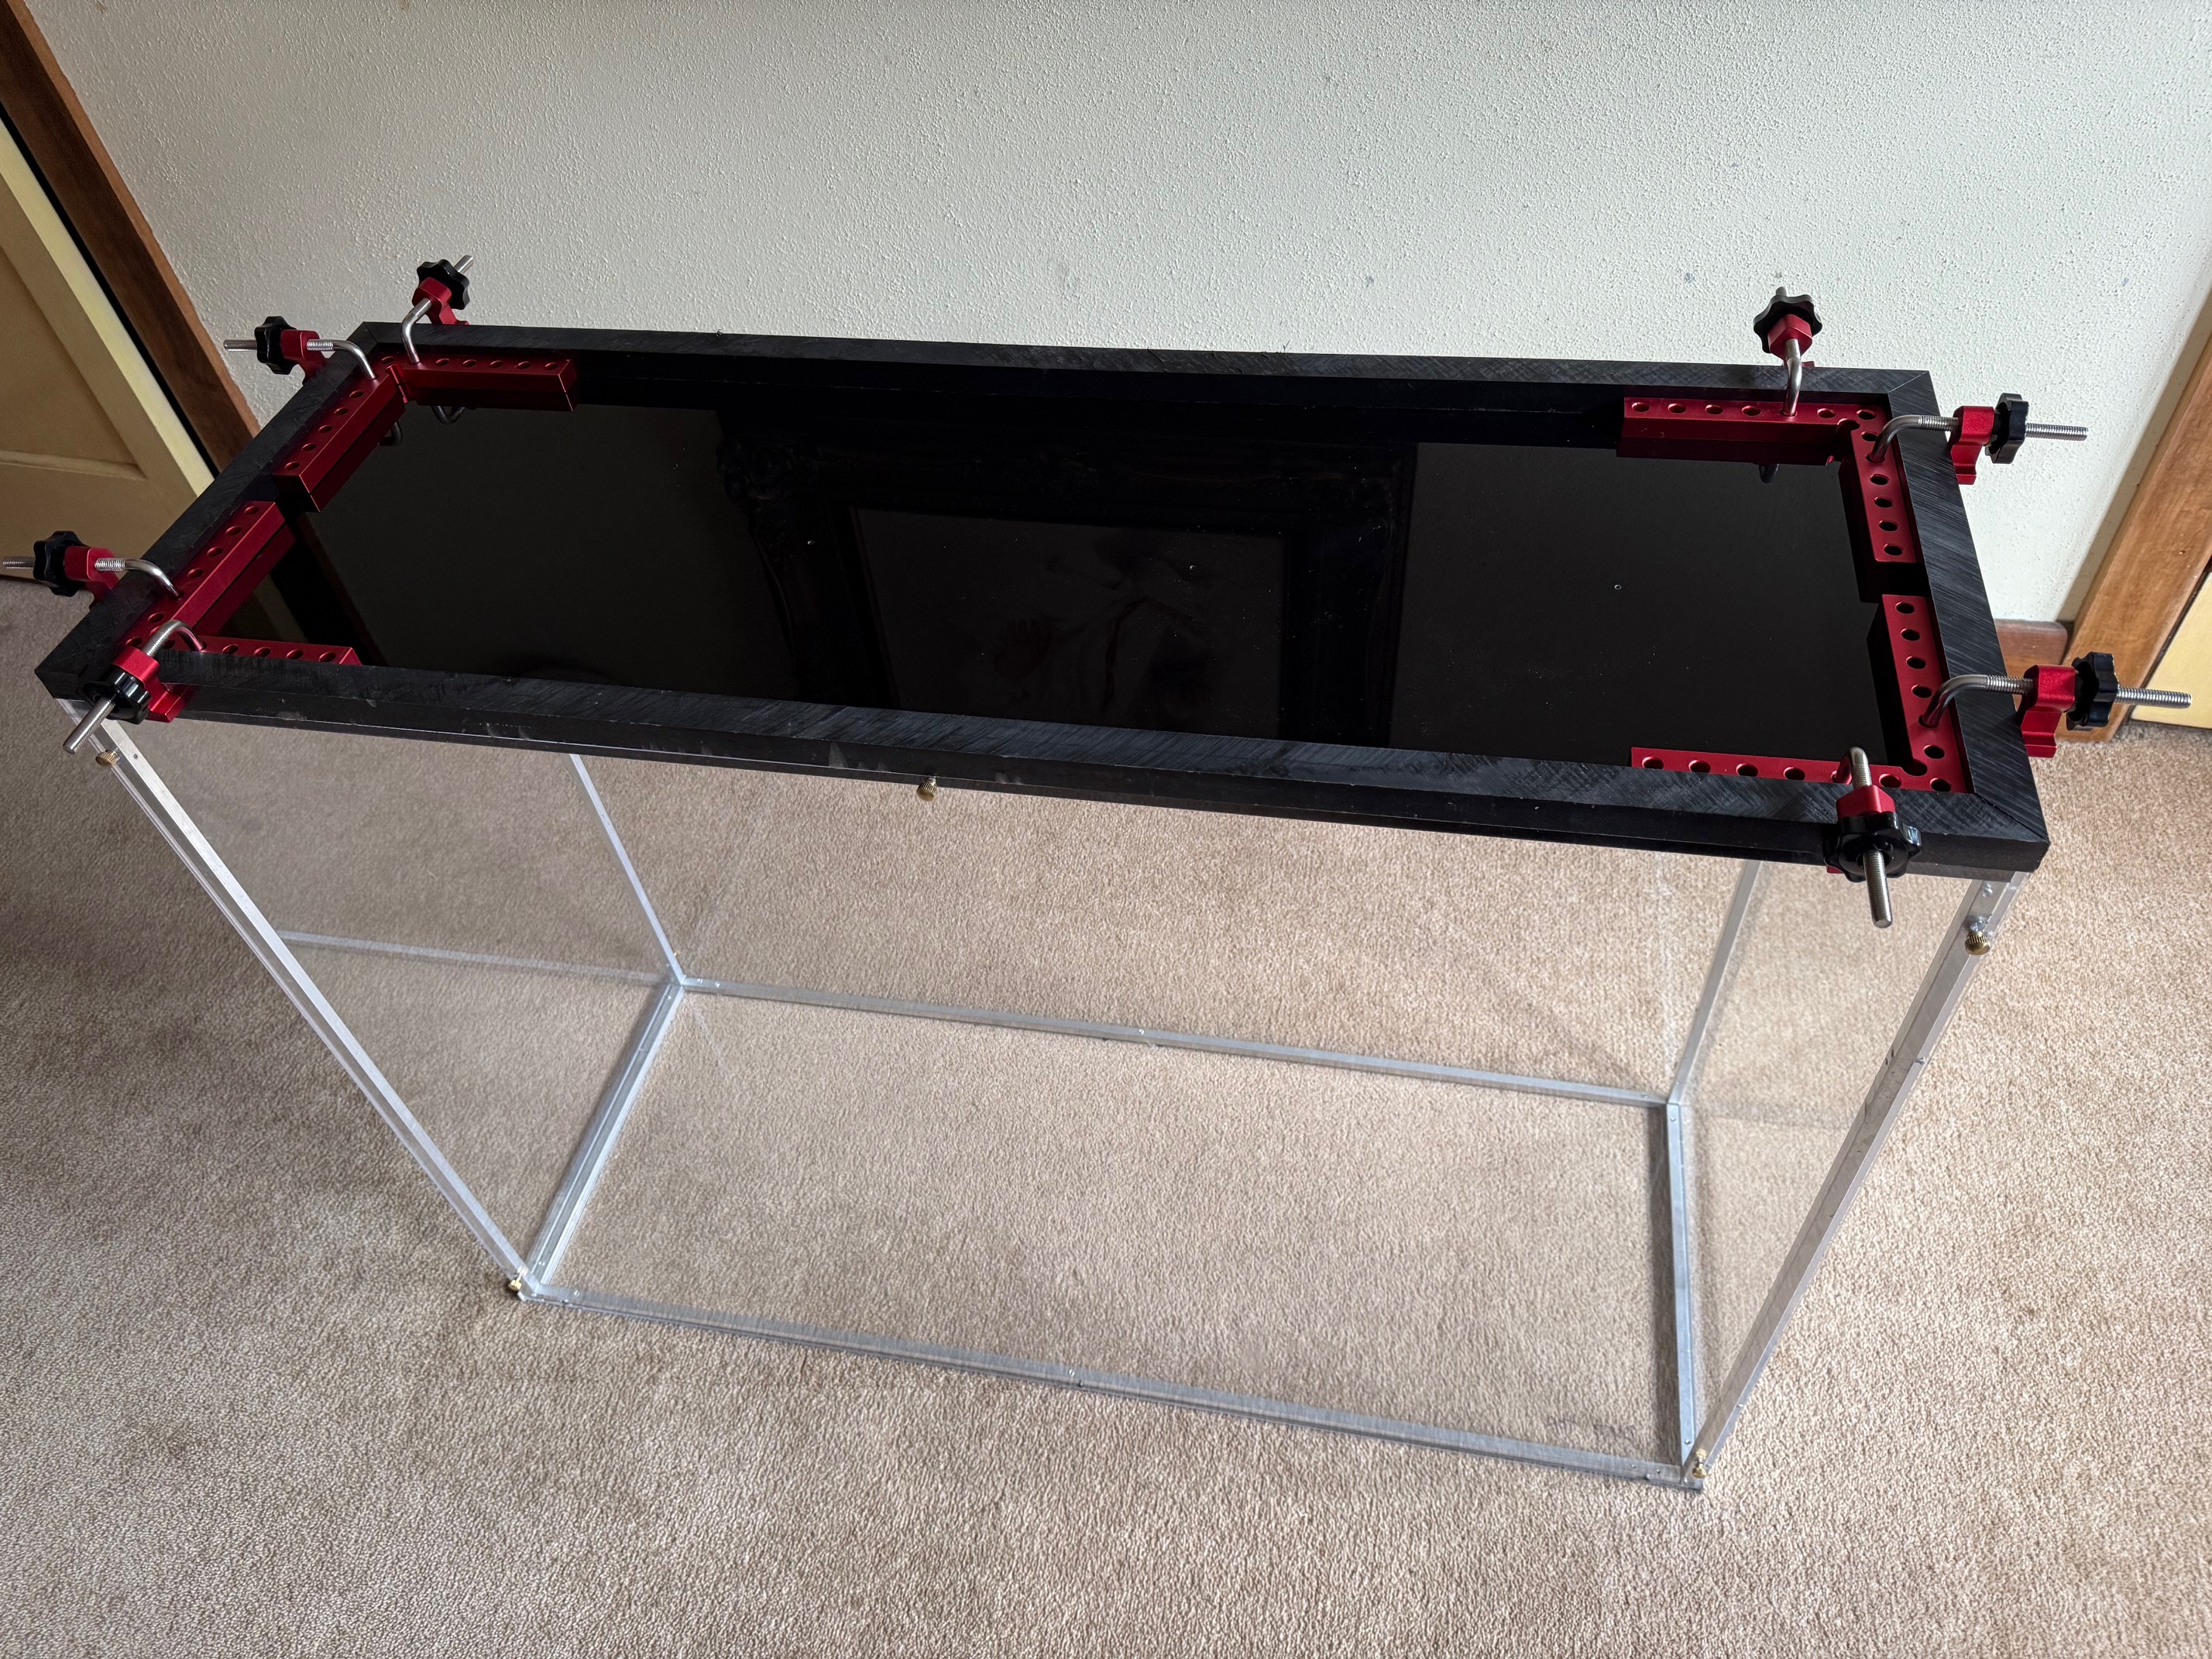
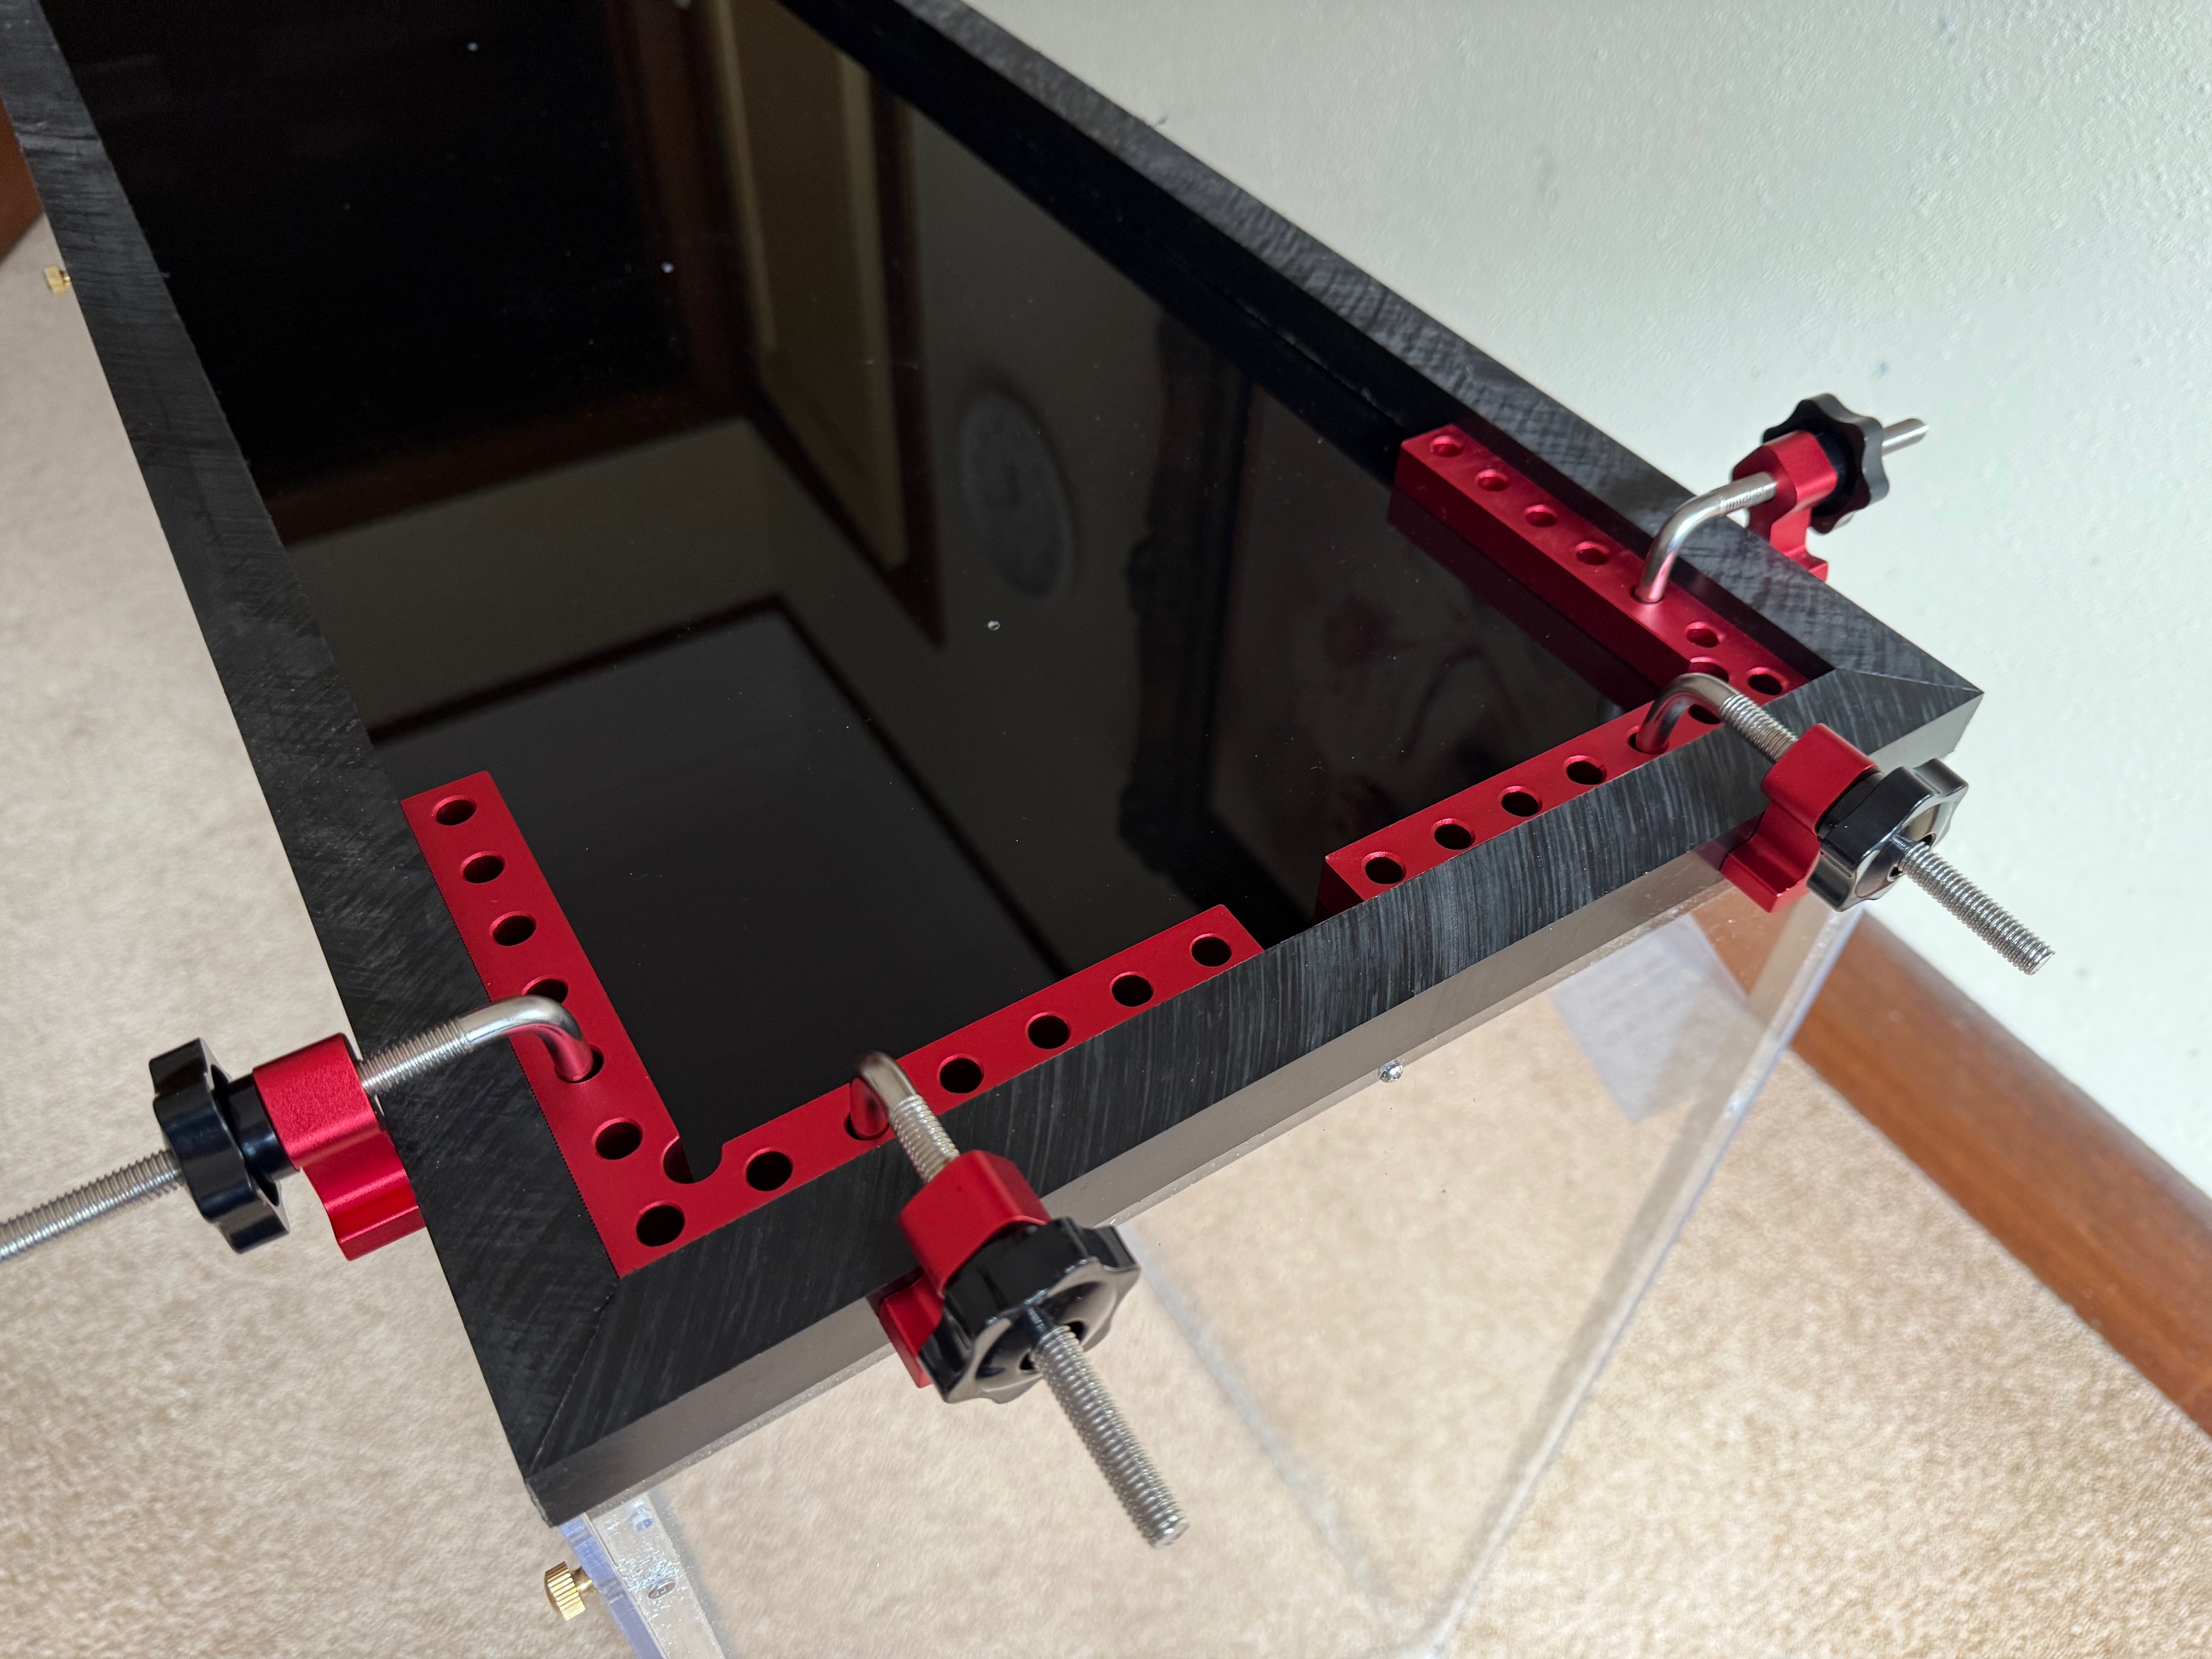
I had decided that the base of the case needed to look a bit more substantial, and after considering several options chose to add some 25x20mm acrylic strips to the base. I also chose to miter the corners of the plinth rather than square butt them. In order to hide the fact that the added plinth is in fact added, I did not want any fasteners to be visible. So I had an interesting conversation with ChatGPT about gluing the black acrylic strips to the black acrylic base, with the glue not showing through the base.
The final choice narrowed down to an expensive glue or quite inexpensive double sided tape. Apart from the cost, the glue does have some time for massaging the positions, is extremely strong, but once set it is very difficult to separate the pieces. The tape is cheap, and is fairly strong but is separable, and there is really only one shot at getting the position correct with bugger all hope of moving it once it grabs.

The issue of having only one shot at the positioning was eased by using the red clamps bought recently from AliExpress….
So now the USS Constitution sits in its case, not gathering dust, and with care, transportable. Until it goes to its new home it can sit as shown below.

Note the brass thumbscrews which allow the front or rear panels to be easily removed; and the rigging which is highlighted in the early morning sun.
