
Ducks in a Row and Bevel Gears.
Another small bronze pour yesterday, and it was my best one yet. No bubbles. No voids. And excellent surface definition. What did I do that was different?
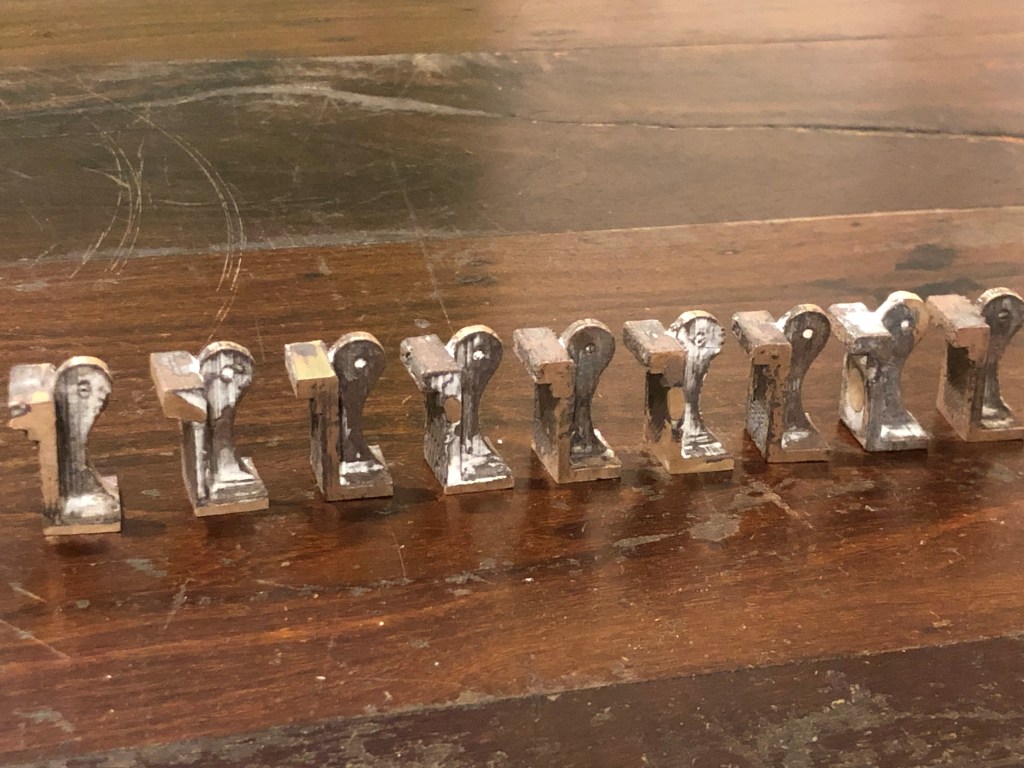
First, the 3D parts were printed already attached to the tree. So the trunk and branches were 3D printed with the parts attached. That meant that I could determine more accurately the bronze flow, the gaps, the spaces. The only “failure” was that I added some wax air vent sprues as an afterthought. And those wax parts were the only part of the pour which failed. Fortunately, the absence of the gas vents did not seem to matter.

Next, I painted the tree with a slurry of investment. The slurry was much more watery than the normal investment, but it was thick enough to leave a thin layer of investment on the surfaces, paying particular attention to the corners and internal edges.
Then I used my new, 1 hp vacuum pump to degas the investment mixture. It took about 15 seconds to reach maximum negative pressure, compared with about 1-2 minutes which the 1/4 hp unit was taking.
Then, after pouring the investment, I placed the full flask containing the tree and investment, and degassed the entire unit. I was shocked at how much extra air bubbled out.
The rest of the process was as usual, drying for 4 hours (except that this time it started at 6am, having put the process on an automatic start timer), burnout 2 hours, and baking 3-4 hours.

BEVEL GEARS

While the investment flask was cooking, I experimented with the bevel gears which move the cannon barrel elevation. I had cast some bronze gears, teeth and all, some weeks (or was it months?) ago, but was not happy with the result. So, I had bought some bevel gears on Ebay. They are spare parts for an RC model car. Not quite the correct size, but close. The metal is HARD. Sintered? But, machinable with carbide cutters. (ps. added weeks later. Even carbide cutters struggled with machining these gears, so for the second set I used a tool post grinder on the lathe. That worked well, and produced a better finish.)
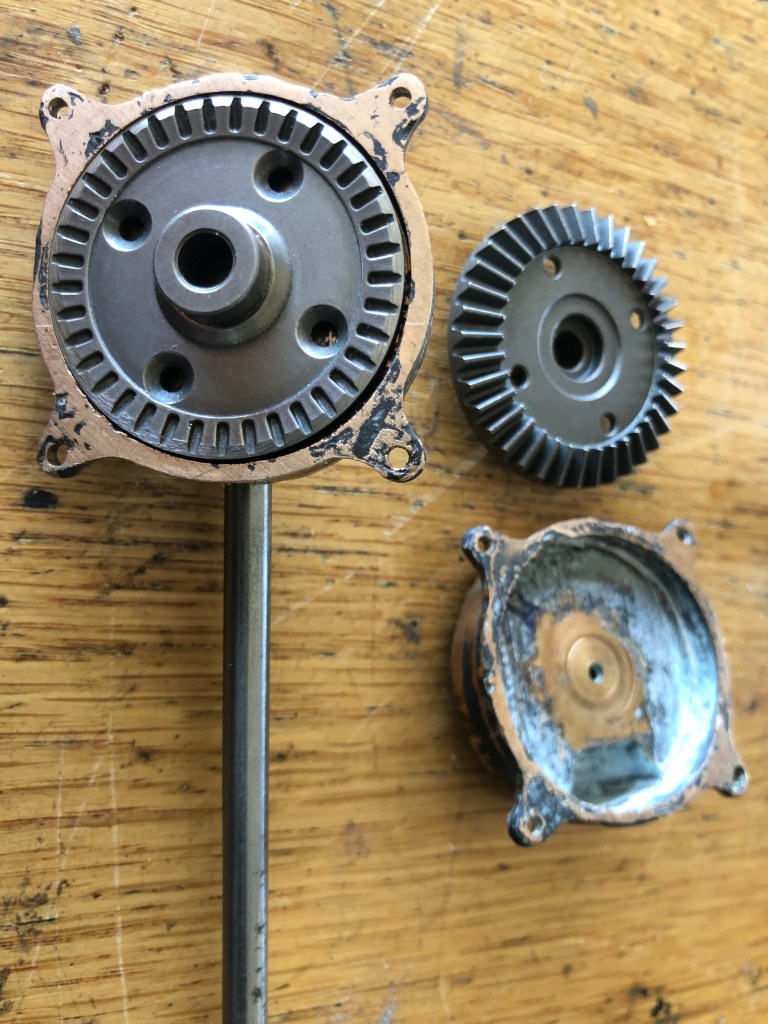
Now before you all start shouting at me to make the bevel gears from scratch, let me just say that I might do just that. Not yet decided.
