johnsmachines

machines which I have made, am making, or intend to make, and some other stuff. If you find this site interesting, please leave a comment. I read every comment and respond to most. n.b. There is a list of my first 800 posts in my post of 17 June 2021, titled "800 Posts"

Tag: copper rivets

Solid Copper Riveting. What I have learned.

Armstrong 80pr RML cannon carriage sides.
after some finishing and painting.

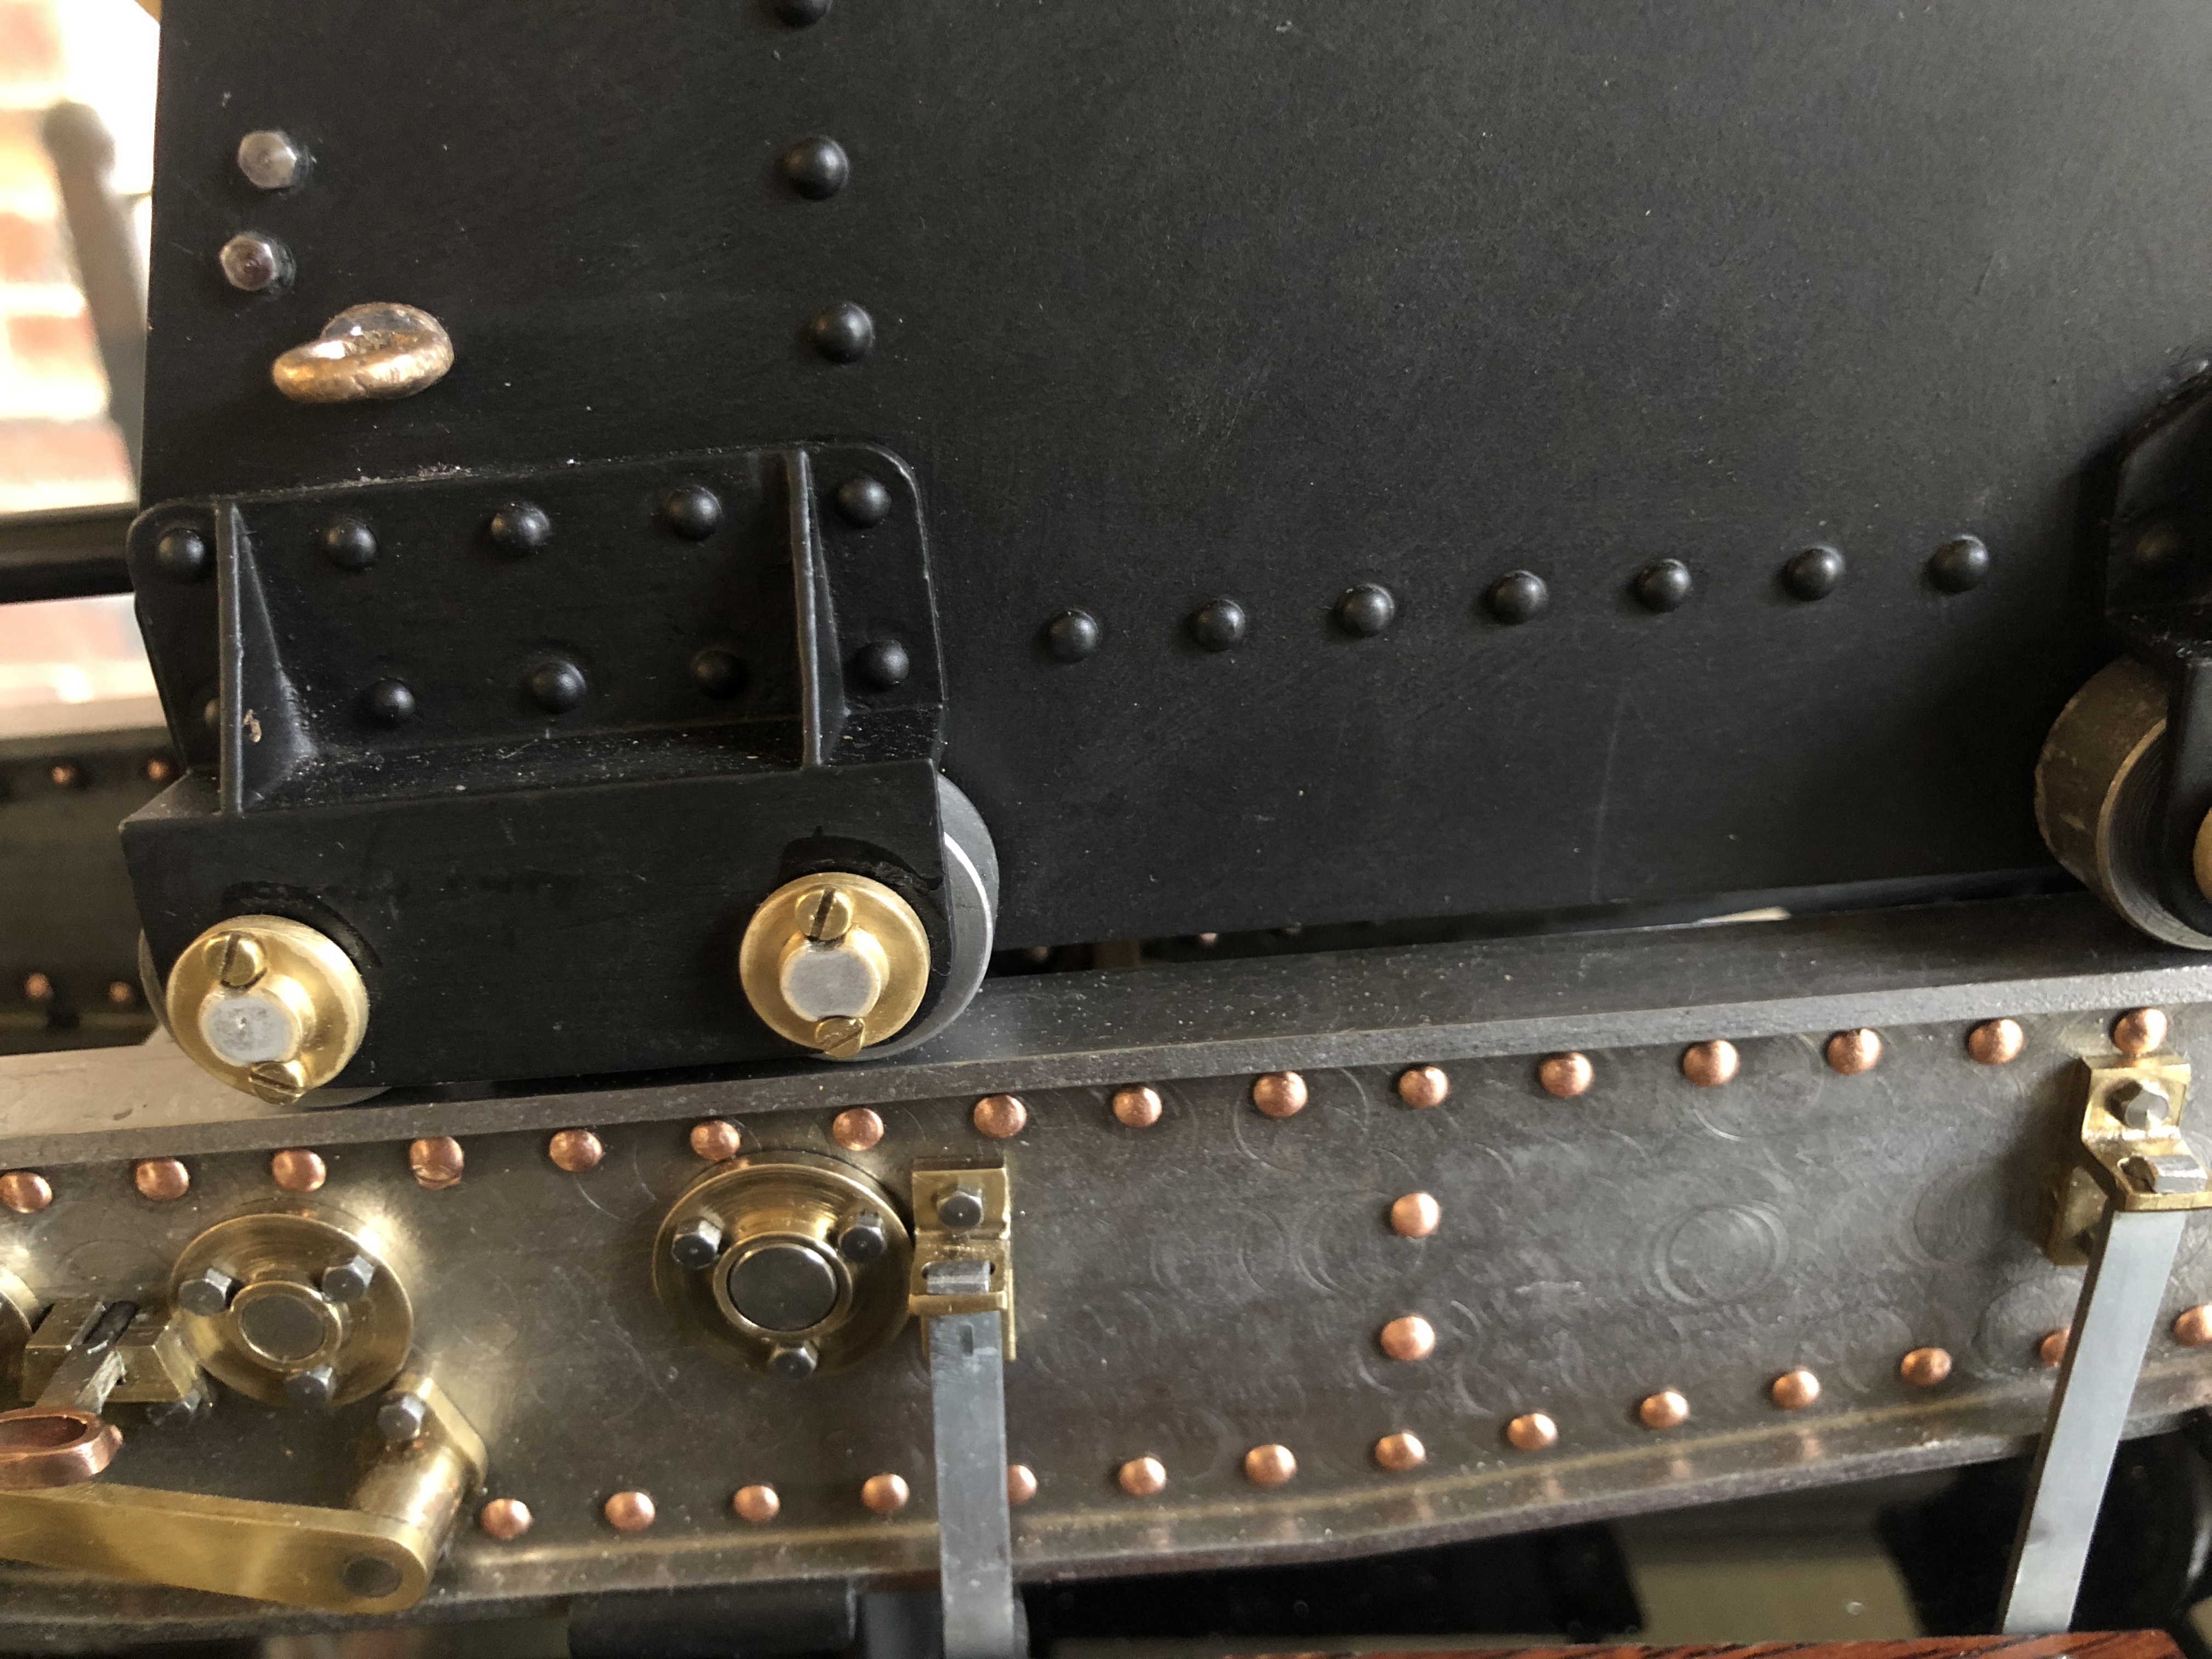
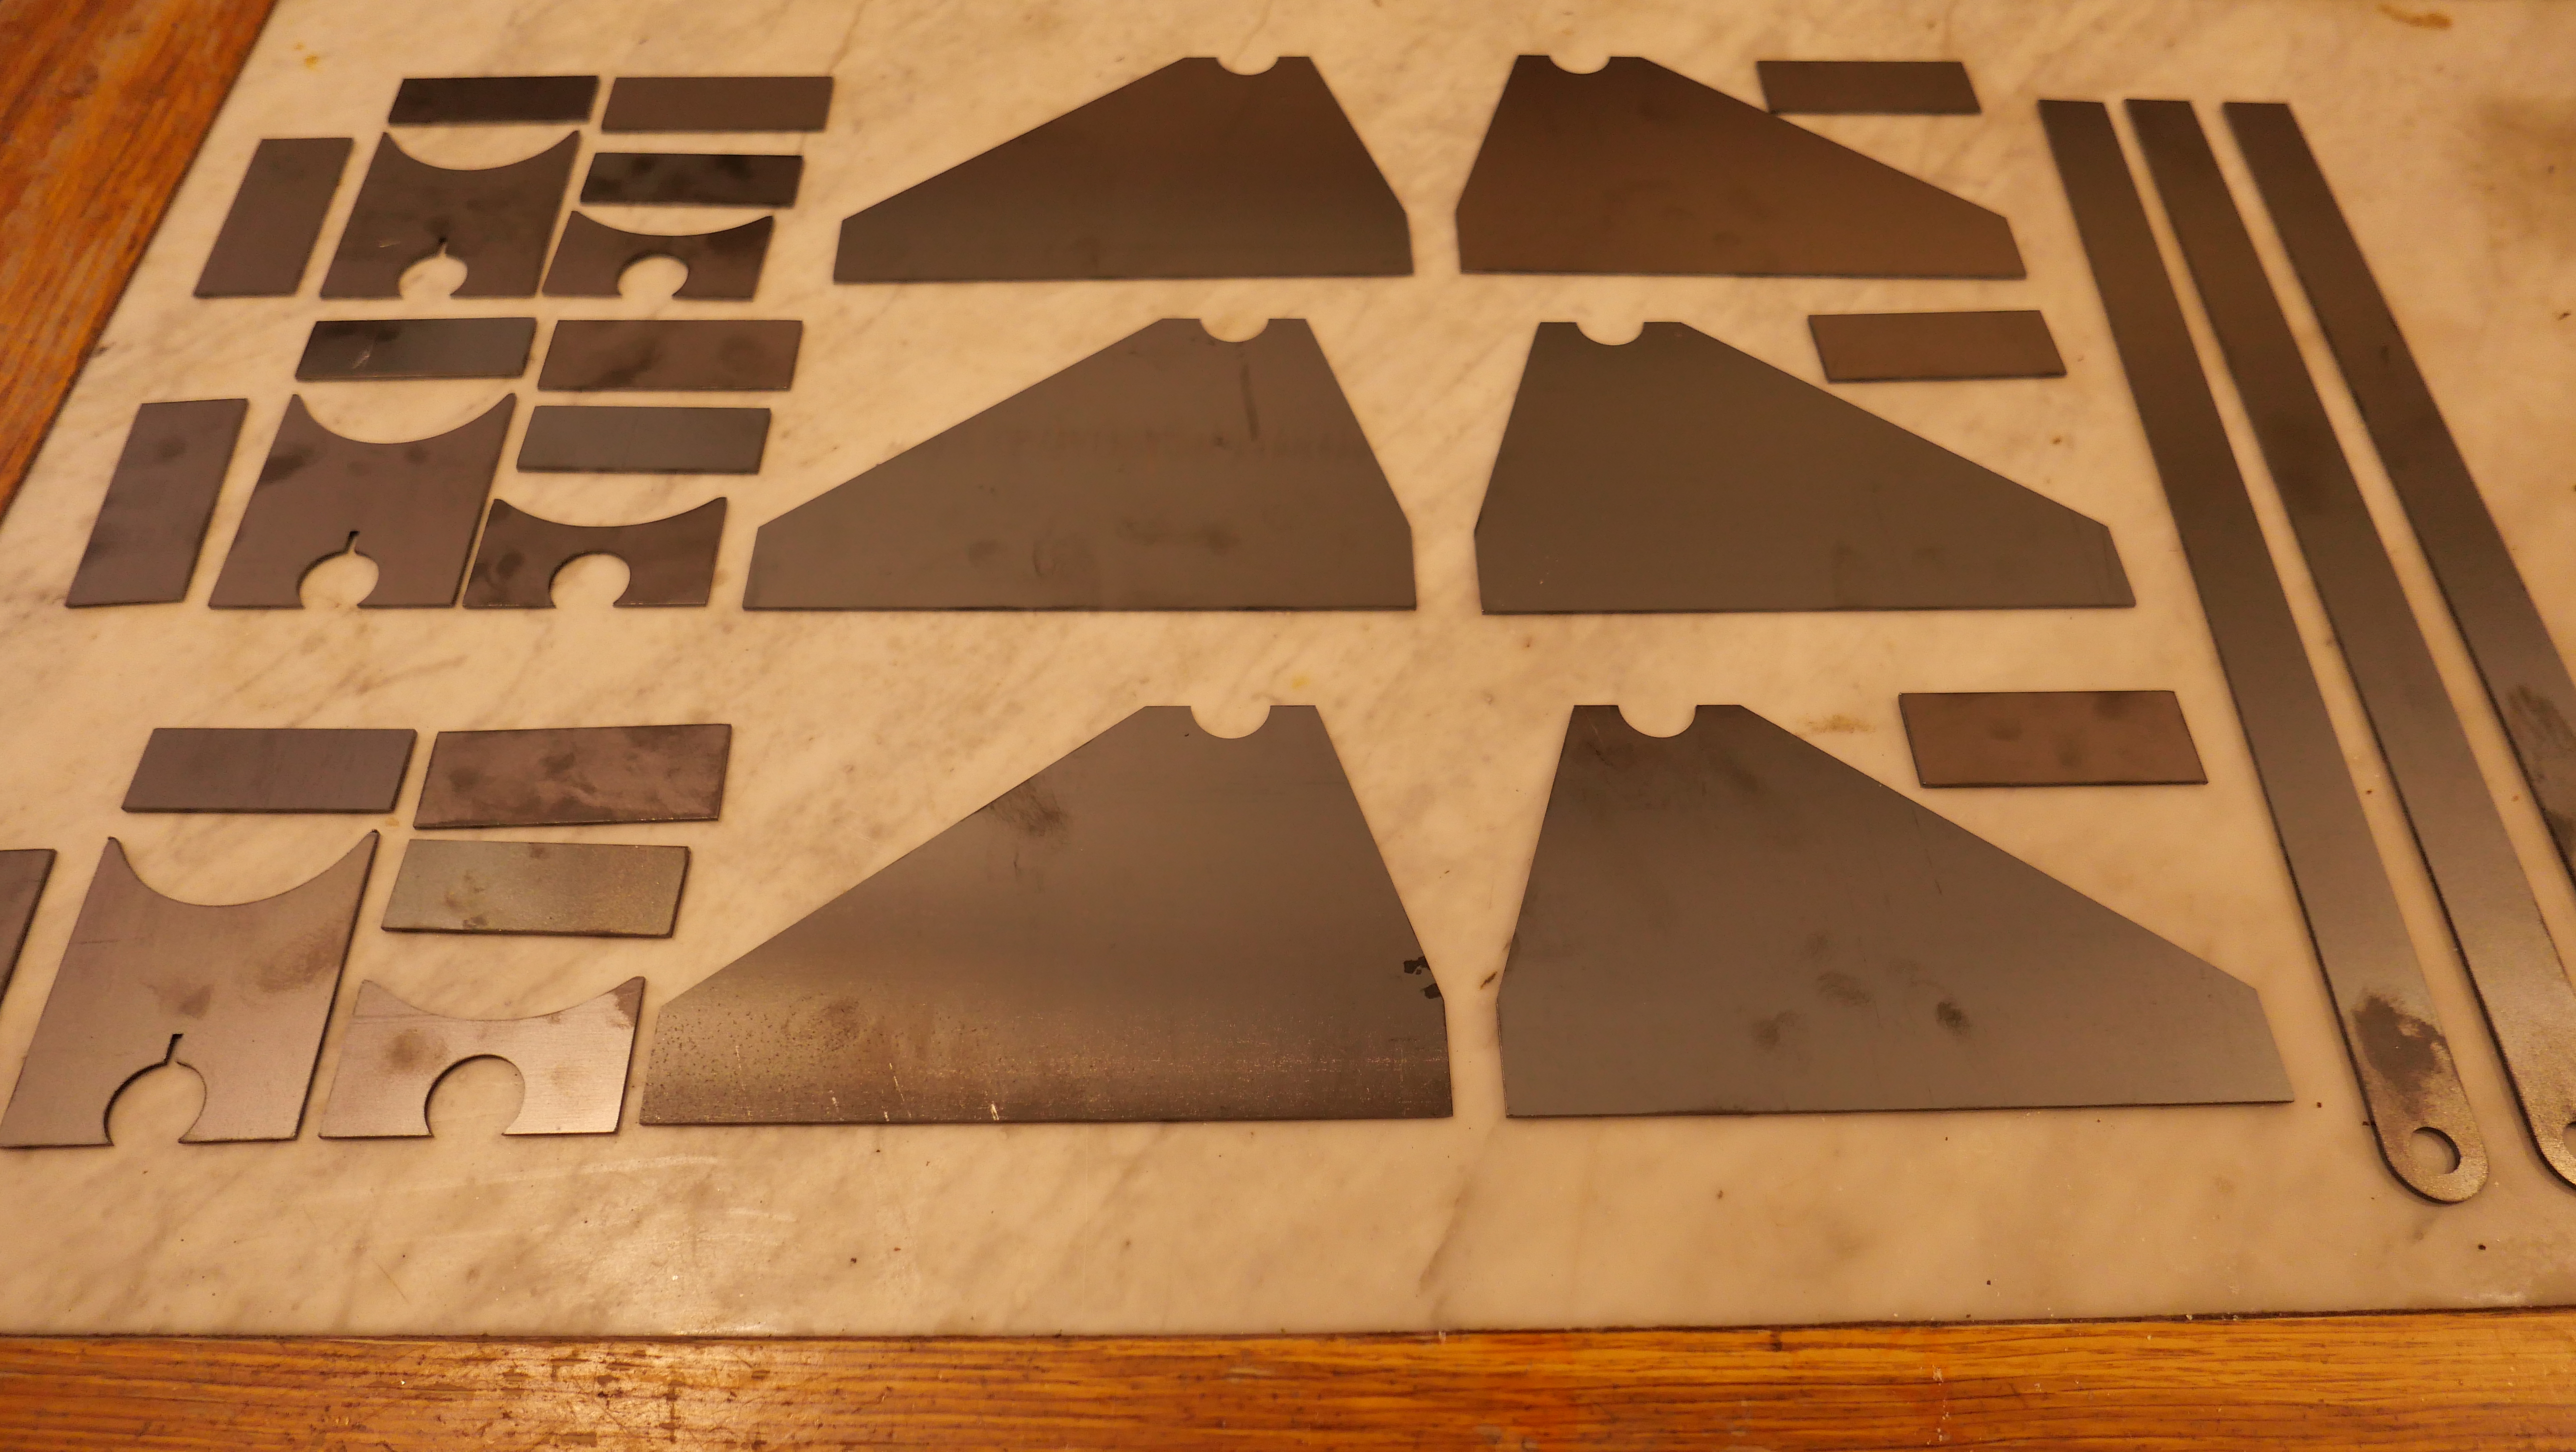
I started with virtually no knowledge about this subject, but I had to learn quickly in order to finish my 1:10 model Armstrong rifled muzzle loading 1866 cannon. I finished the job, not perfectly, but adequately, and this is what I have learned so far.

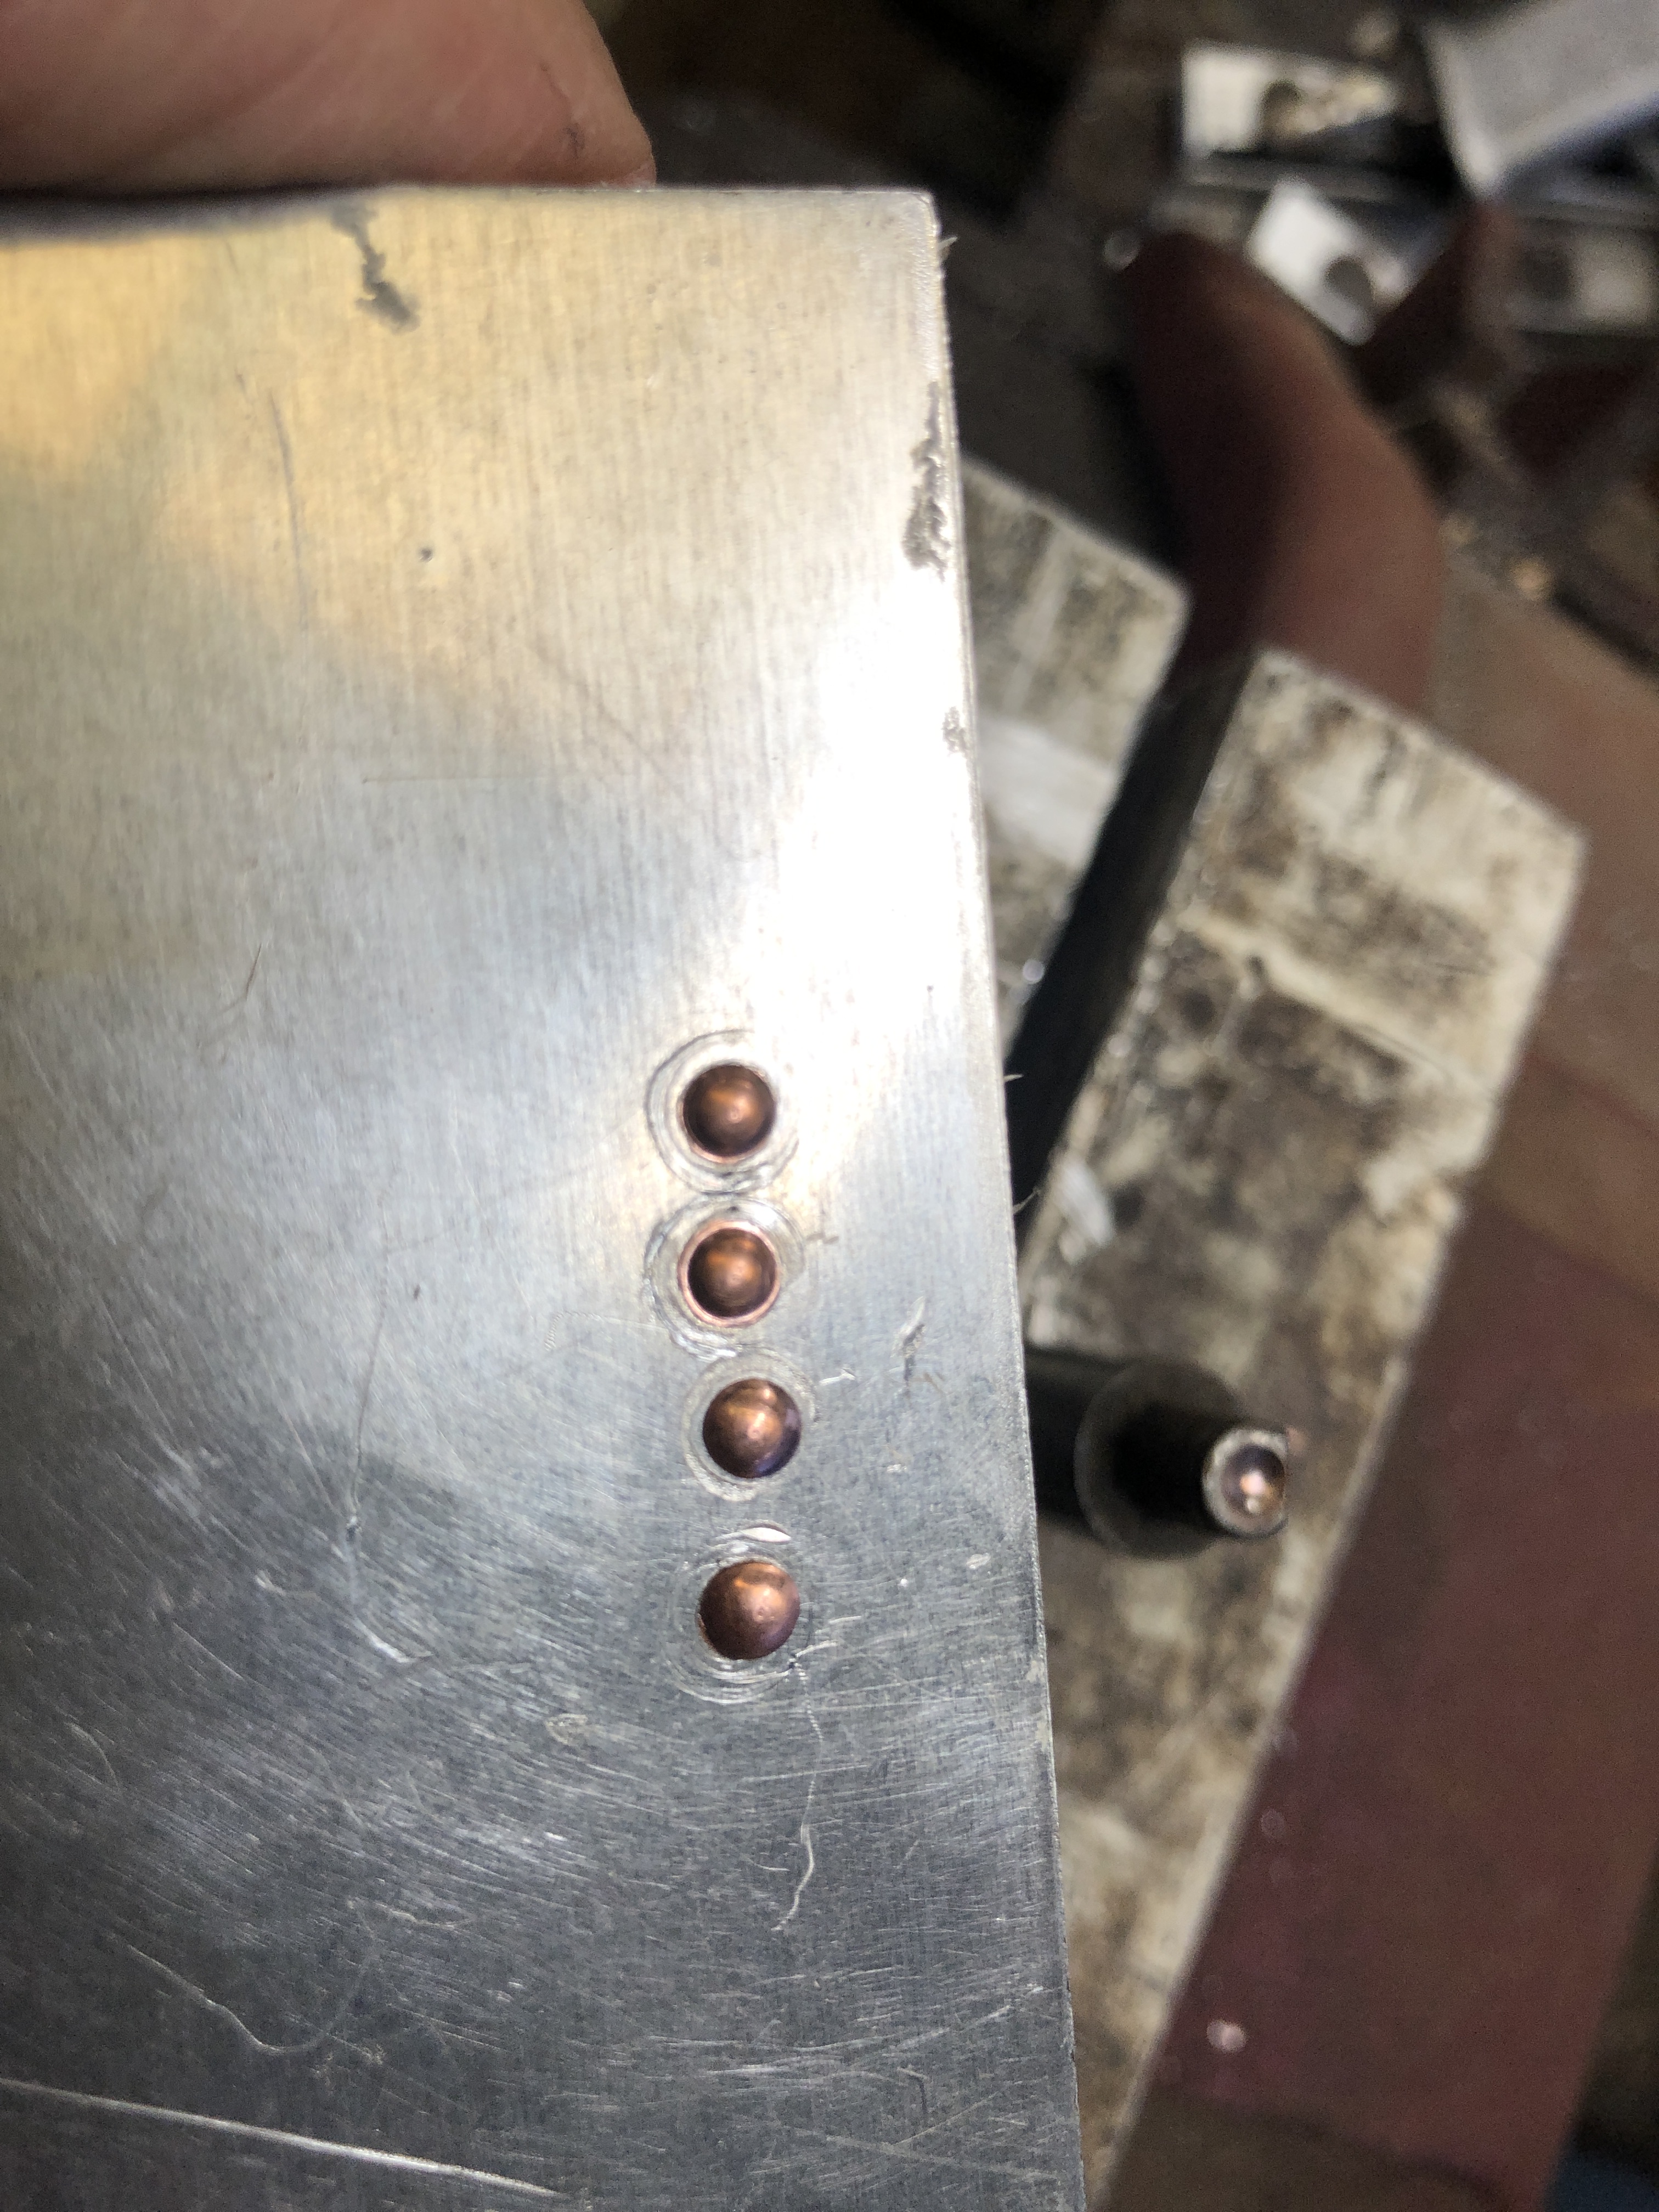
  1. Copper rivets are annealed when purchased, but as soon as you start hammering them, they harden.
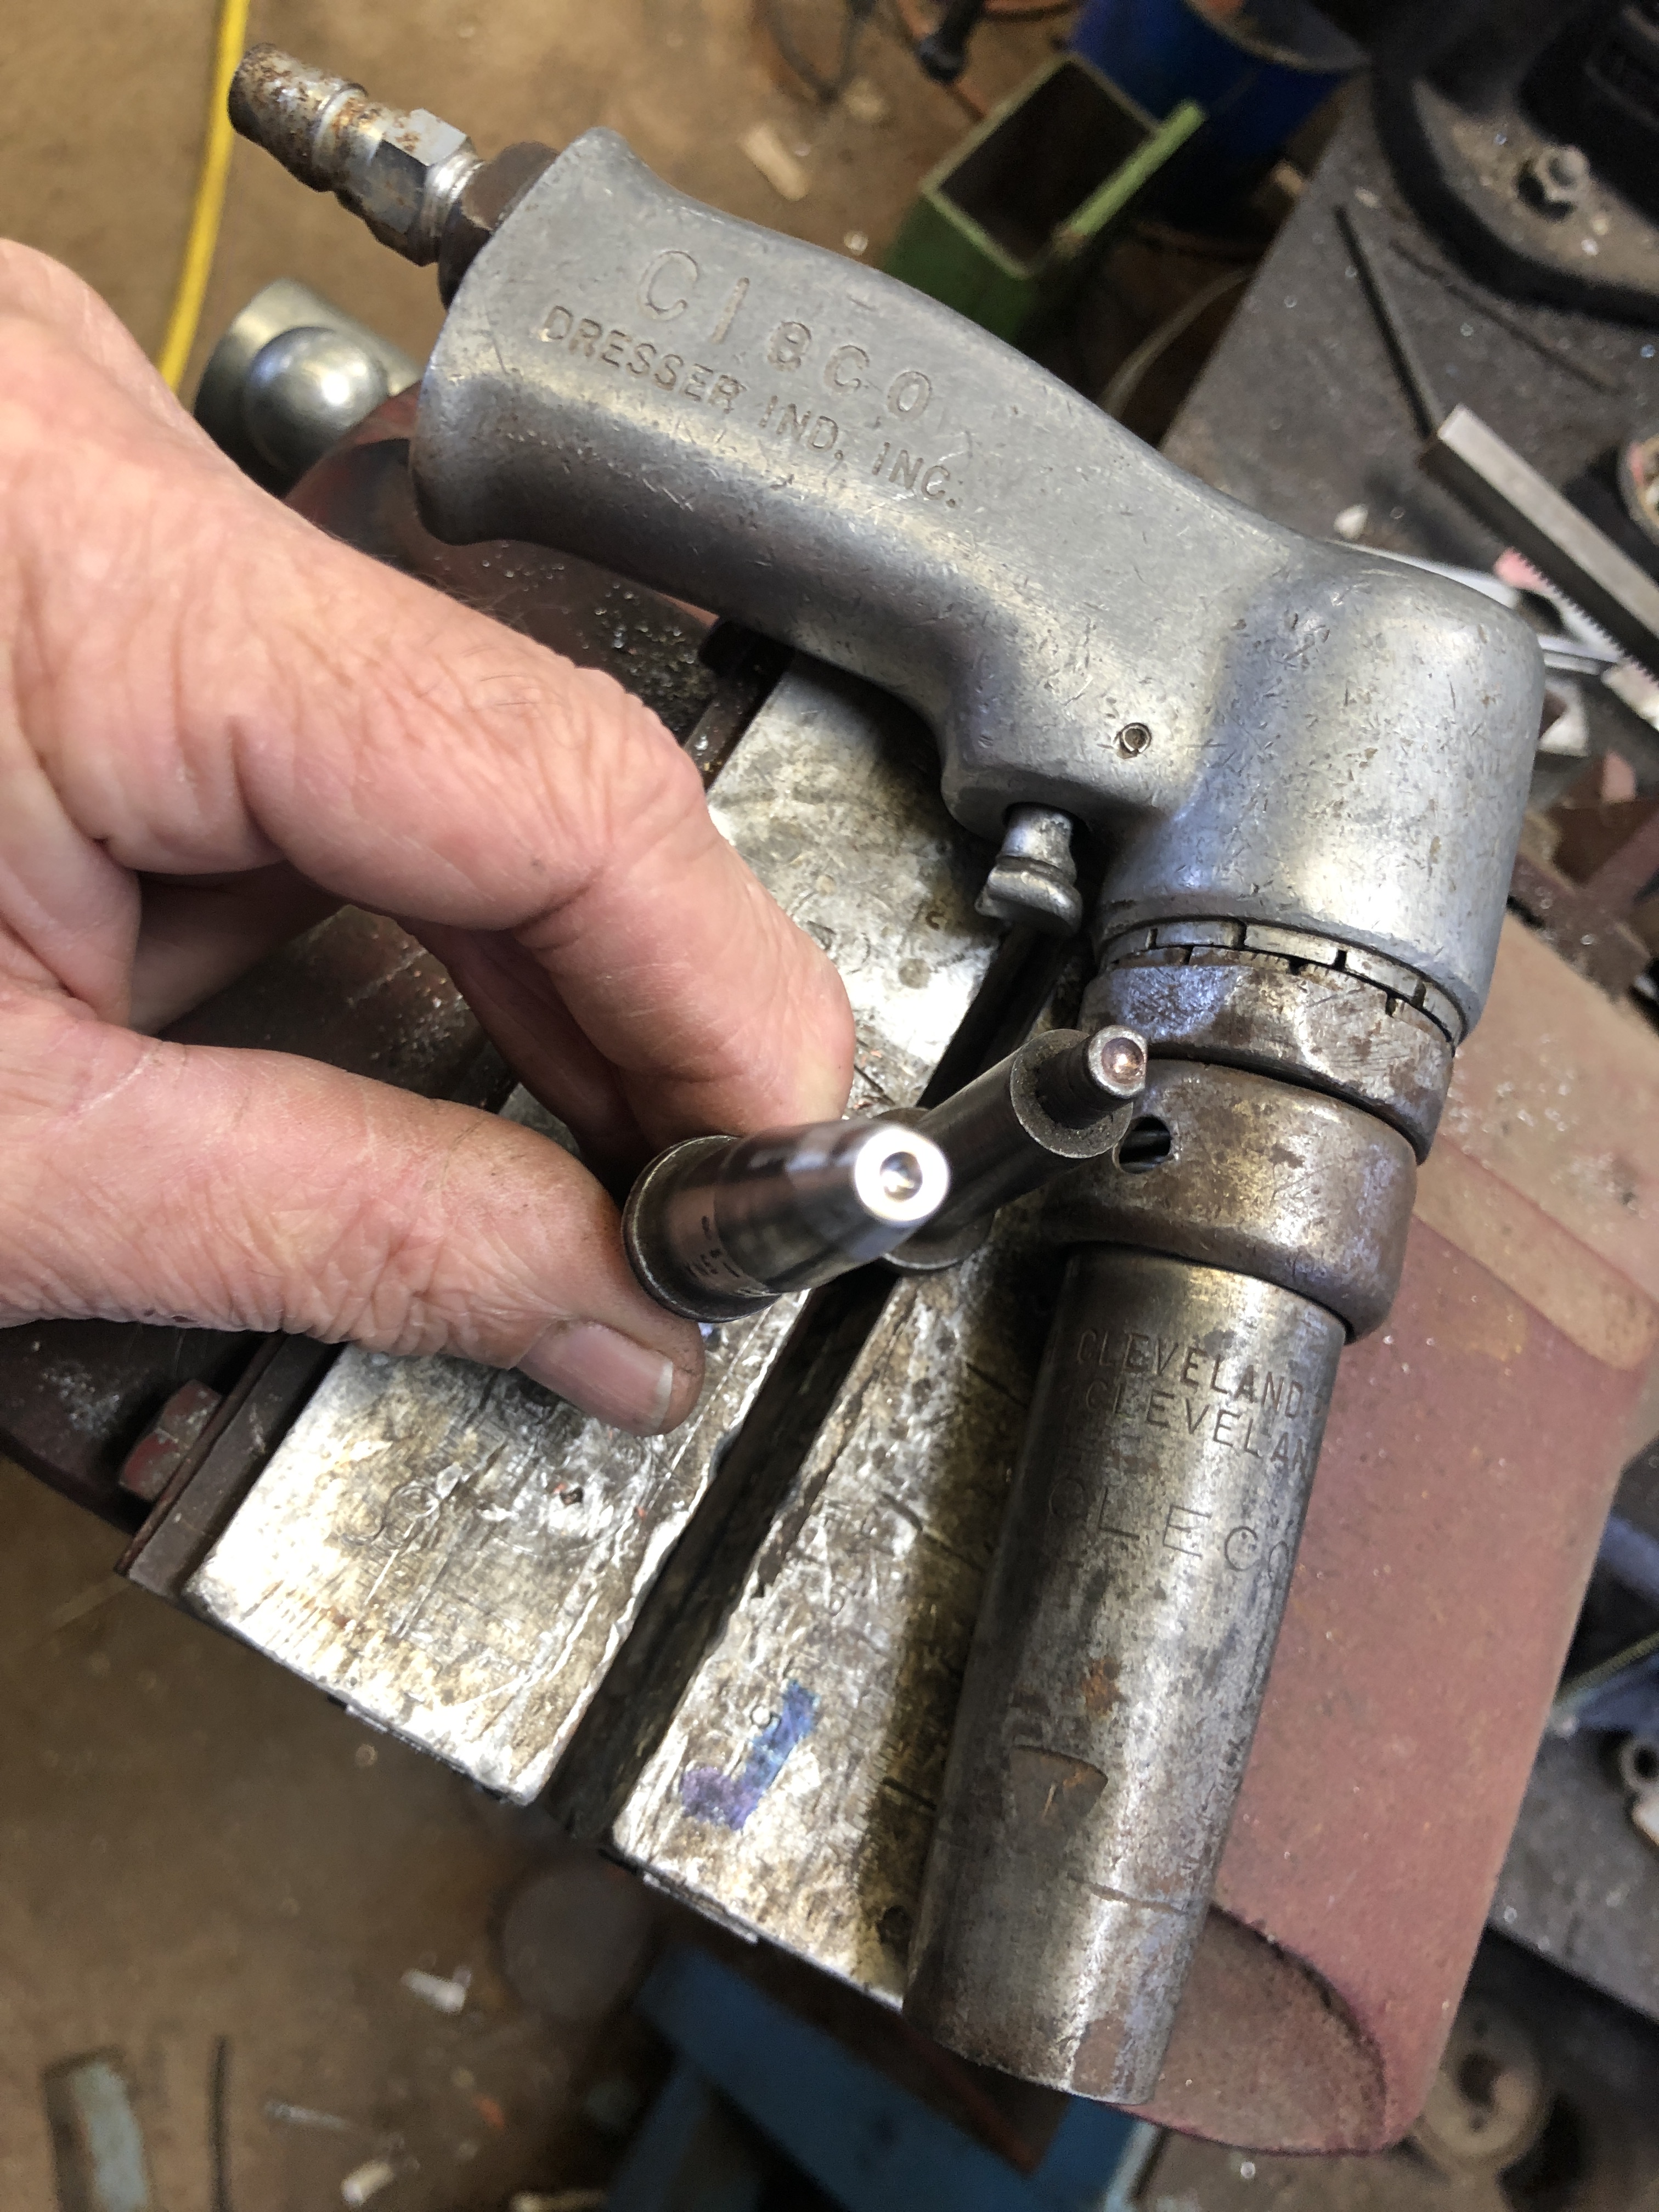
  2. You need one hand to hold the work. If you use a hammer, and hold a snap, that uses 2 hands. So either use a third hand or use a pneumatic hammer with the snap attached. That leaves a hand free to hold the job. The pneumatic hammer size must be appropriate for the job. I purchased one from the country of Taiwan. It cost $AUD120. Seems to be excellent quality.
  3. The compressor pressure is critical. The air setting on the hammer is critical. Experiment on waste material first!
  4. Hold the fixed snap in a strong vise.
  5. The snaps need to be accurately made for the rivet size. Try them on waste material before using them on the job.
  6. Rivets of the same size but from different manufacturers will differ in finished appearance. Get your rivets from a single supplier in one batch. Order 10-20% more than you think that you will need. You will lose some, and muck up the insertion in some.
  7. The surface of the snaps should be smooth, with rounded edges. A polished finish is best.
  8. A complex job, with internal rivet ends, requires custom made snaps. Be prepared to make them. For the carriage parts I used 5 different shaped snaps. For copper rivets, mild steel snaps were quite adequate.
  9. Some rivets will not insert well. Just remove them, and try again.
  10. To remove a rivet, grind off one head. It might then push out with a steel pin. If necessary, drill through the shaft with a small drill (say 1-1.5mm for a 2mm rivet), then punch the remains out of the job.
  11. The rivet length must be precise. The head which is formed by the snap was best if the shaft length was 2.5mm longer than the total thickness of the materials to be joined. There are tables to determine the lengths.
  12. To shorten copper rivets, drill a hole in steel plate which is the exact thickness of the desired rivet length, the exact diameter of the rivet. With the rivet in the hole, snip the rivet to length with wire cutters, then belt sand it to length. Push the rivet out backwards.

With grateful thanks to Neil M for expert advice on this subject.

Armstrong RML Model Cannon Parts

Firstly, on the subject of metalworking lubricants, I have previously mentioned my homemade mixture of kerosene and olive oil.   And here is my favourite lubricant…..posing with the not quite finished cannon chassis girders…..

PANA3760 2

For this model cannon I need quite a few sheet metal parts.  At 1:10 scale the final metal thickness is 2mm and 2.5mm.  Having had a good experience with laser cutting the HSS cutters for the rifling tool, I decided to send an electronic file to the laser cutting firm, and see how the parts turned out.  I decided to not include the rivet holes, thinking that the final positions might not be completely predictable.  If all goes well I will probably include all of the holes in future orders.

PANA3762

I ordered enough parts for 2 cannons, and some spares for the inevitable stuff ups.  (or should it be stuffs up?).  If I do not use the spares I might offer them for sale later, along with my plans.

The accuracy and quality of the cuts seems excellent.  All of the parts will require final fitting and drilling for rivets, shafts, etc.   I was pleasantly surprised at the modest cost of these 30 parts.


So next I can start assembling the chassis.  Lots of riveting.  About 500 rivets per cannon. Another skill to be acquired.  Fortunately for me, one of my model engineering club colleagues used to work in aircraft manufacturing, and he has spent a session teaching me the ins and outs of installing solid rivets.  And loaned me a riveting gun suitable for the 2mm rivets which I have chosen.  Thanks Neil!

IMG_8612

The gun is about 40 years old but it works well.  The snaps are all imperial, so I made one, and modified one to fit the metric 2mm size.

IMG_8608

The blank snap in the ER collet is an unhardened punch blank.  Here being drilled with a carbide ball nose end mill.  Not exactly the right size, but with some fiddling I got it very close.  Since I am intending to use copper rivets I will not harden the snap.

IMG_8613

My initial riveting practice run in aluminium was a bit unimpressive…..

IMG_8614

….but I did improve.  These are almost up to scratch.   In aluminium.

And finally for this post, I drilled some holes in the muzzle of the barrel.  Do you know why they are there?

IMG_8616

A staged photo, using the 3D printed barrel, to show the drilling setup.