johnsmachines

machines which I have made, am making, or intend to make, and some other stuff. If you find this site interesting, please leave a comment. I read every comment and respond to most. n.b. There is a list of my first 800 posts in my post of 17 June 2021, titled "800 Posts"

Tag: deep drilling

Armstrong RML Cannon Sights

The sights were the final parts to be made for the model Armstrong RML.

There were reasons for delaying these items. They are tiny, easily dropped and lost, have tiny almost invisible details (to my eyes), and involve fine and very deep drilling into the barrel, on which many hours have previously been expended.

First I looked up every reference I could find about the full size originals. I could find no picture of the sights on the 80pr Armstrong, but I did find some diagrams of the sights on the Armstrong 64pr, on which the 80pr was based. Another problem was that there were rapid developments in sight technology, and I had to decide which period I would choose. The later periods (after 1880) had complexities which did not exist in 1860. In the end I just made decisions, knowing that they might not be exactly correct, but thinking that if further information surfaces I could make and install new sights.

This is the design I chose. The 64 pr had 3 pairs of sights, the 80 pr had only one pair, on the right hand side.

The next step was to drill some 2mm and 3mm holes into the barrel.

The drilling setup. The barrel was held firmly between brass strips. The breech end of the barrel might need a bit more finishing.

First I milled 3mm flats. The first milling bit, solid carbide, just snapped as it bit into the barrel from the side. A HSS bit was more long lived.

A complication was that the foresight was vertical, but the hindsight was sloped 2º inwards to adjust for slight lateral deviation of the projectile which results from the rifling.

Next, a 2mm hole was drilled right through the barrel, missing the bore, and exiting through the bronze bracket which supports the elevation quadrant gear. At 40mm deep that hole qualifies as deep drilling. Tension drilling.

I did not have a long series 2mm drill bit, so I silver soldered an extension, leaving 40mm of the 2mm bit exposed. No photos of the deep drilling. I had other things on which to concentrate. The drilling was actually uneventful.


Showing the drill sitting in the hole
Fabricating the sights involved silver soldering 0.5mm brass strip to 2mm stainless steel rod. This was the soldering setup. The the sights were shaped by belt sanding and filing.

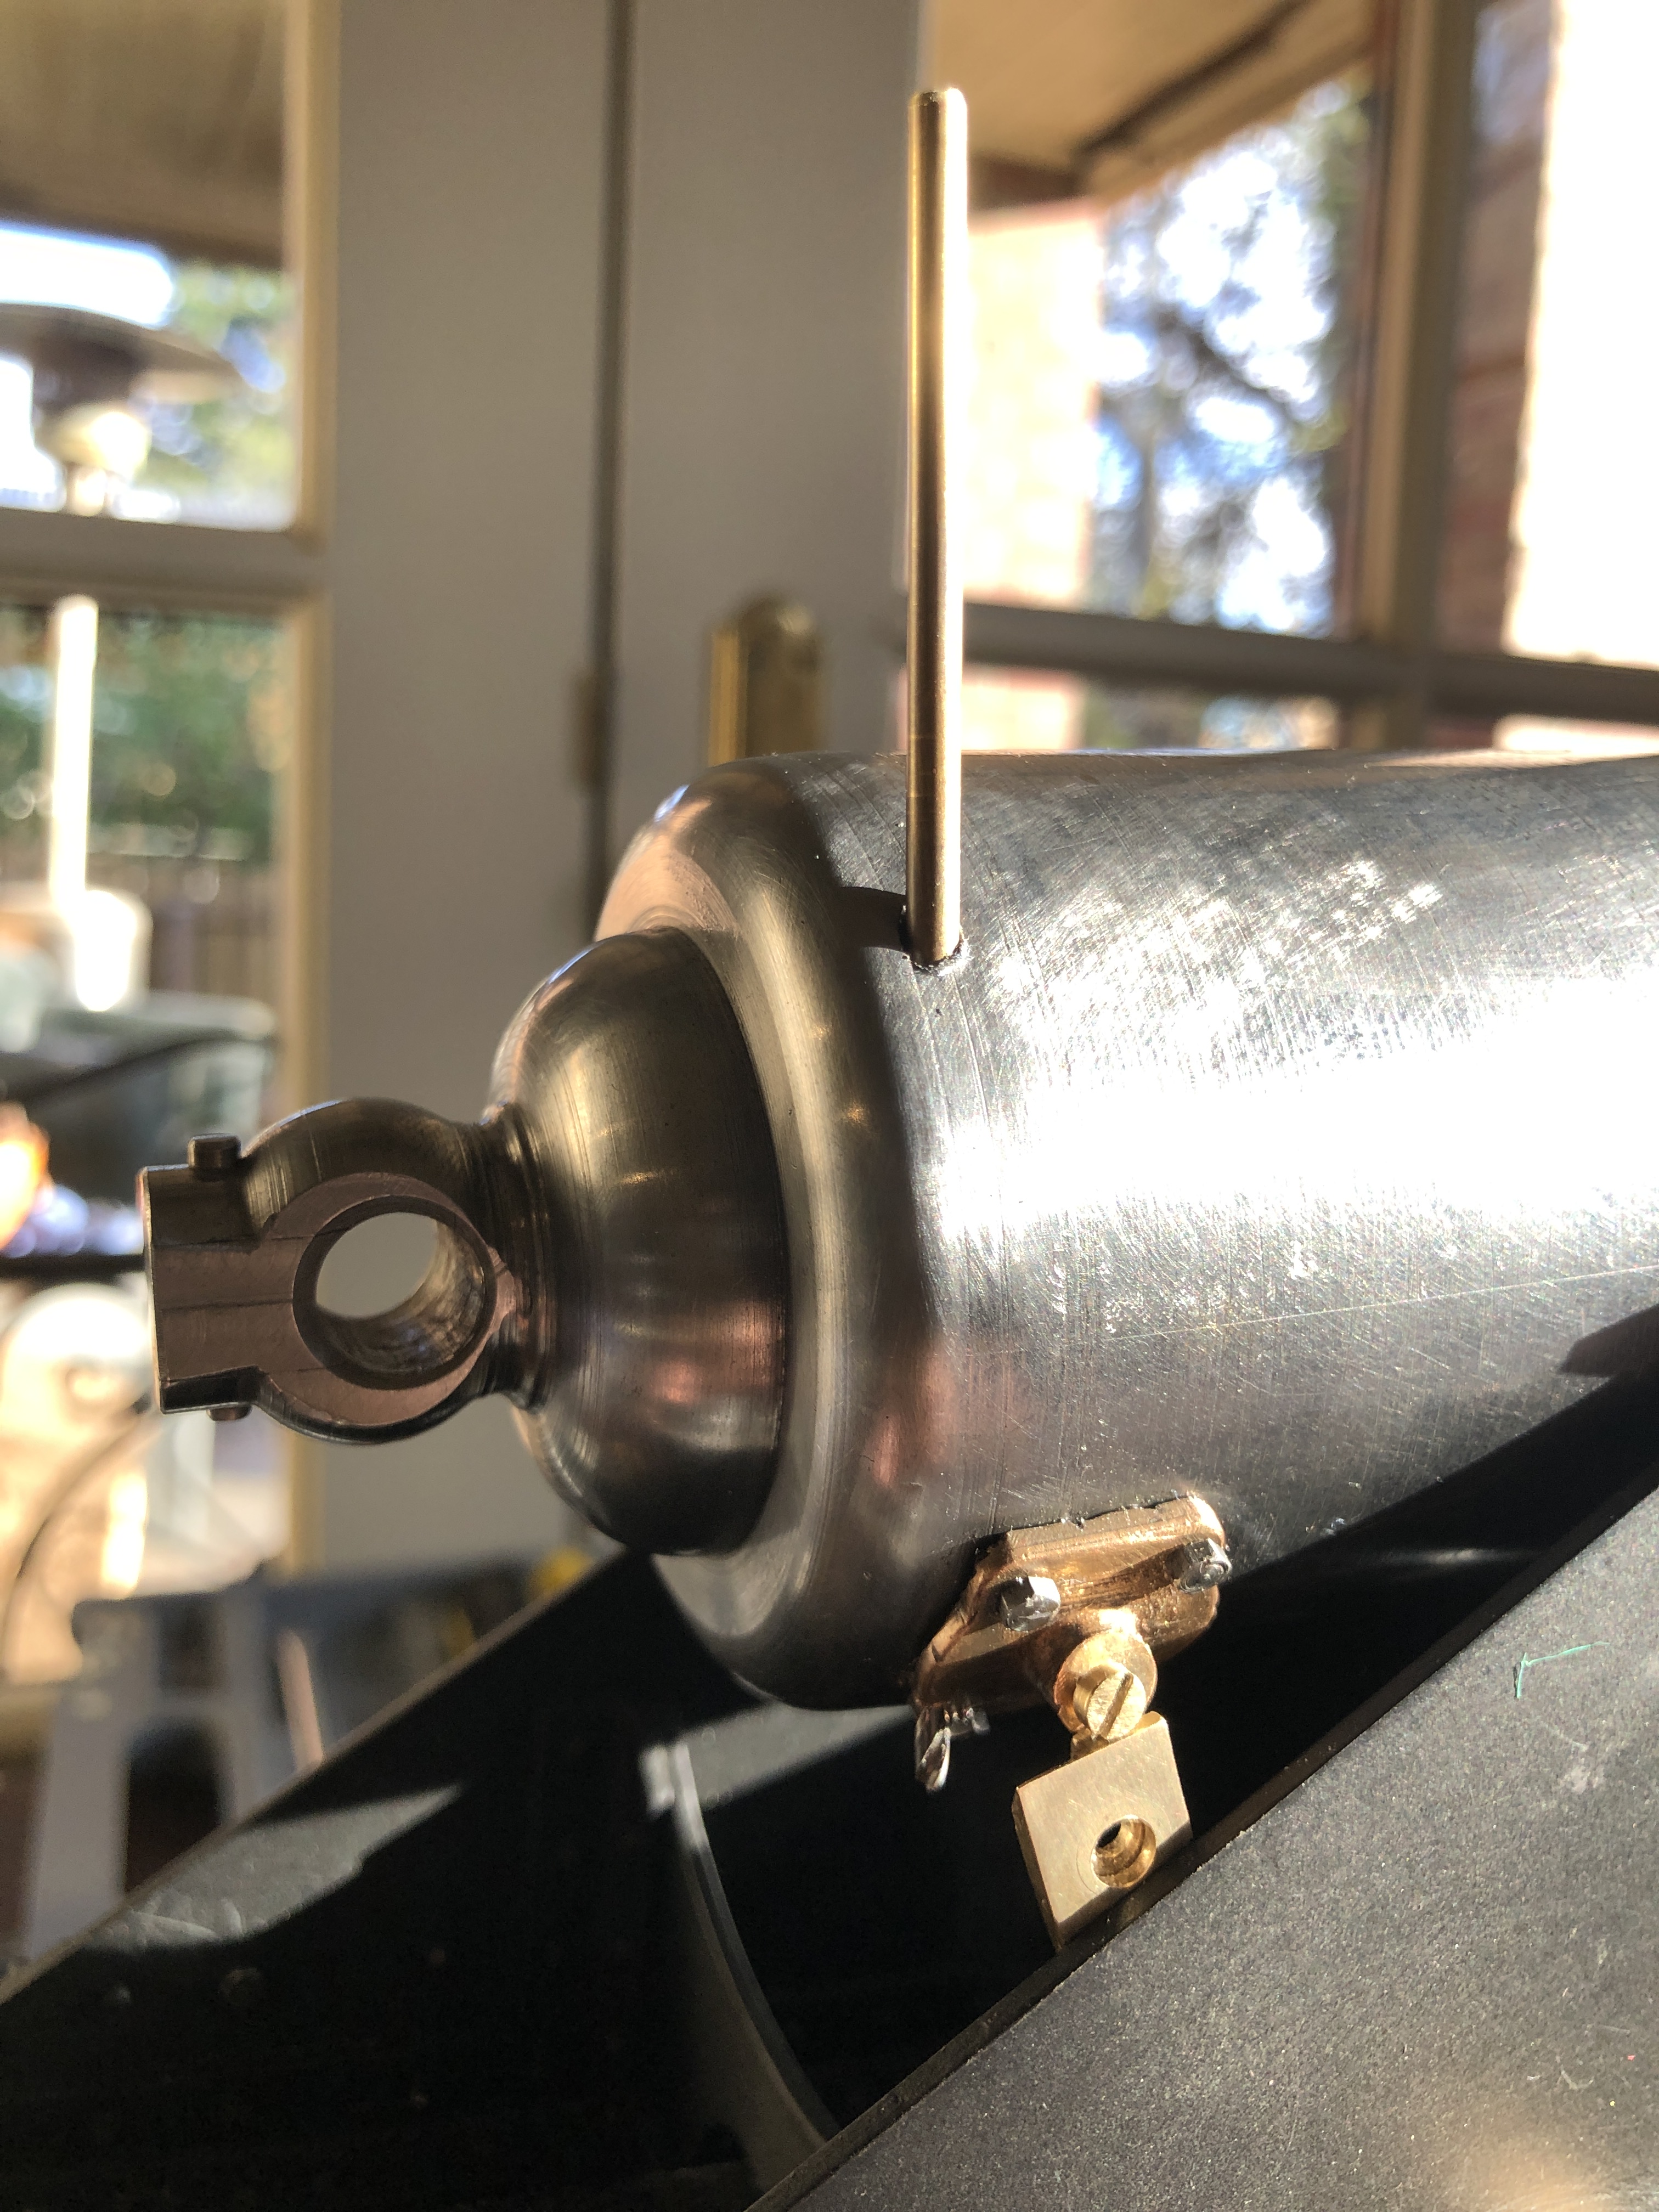
And now for some sights of the sights on site.

I will polish the sights.
Apart from dusting the base, and some final polishing, the model Armstrong cannon is now completed.

Drilling is not boring

Firstly the base.  I wanted to drill all of the wooden pieces together, to make sure that they aligned, even if the lengths weren’t absolutely accurate.  Wood is like that.

So, using the bottom piece as a pattern, and squaring each piece as it was placed, I glued them together using PVA glue.

IMG_7571.JPG

And squaring each piece as it was placed.

IMG_7572.JPG

Those angle blocks made handy glueing weights.  The short bits are intentional.  That allows the flywheel crank room to rotate.

img_7573.jpg

My workbench.  I needed some room, so I tidied it.

IMG_7574.JPG

That is better!

Now some short videos of the drilling.  Sorry the videos are so short.  If my Internet connect was better I would have stitched them into one video, but alas…

I was intending to show making a 5mm drill bit longer, by silver soldering a piece of 5mm drill rod to the bit, end to end.  I have done this before, quite successfully.  Silver solder is very strong.   Almost as strong as the parent metal.  But in this case it was unnecessary, as the videos will show.


Error
This video doesn’t exist

Error
This video doesn’t exist

Error
This video doesn’t exist


Error
This video doesn’t exist

Error
This video doesn’t exist

Error
This video doesn’t exist

IMG_7582.JPG

With the base complete and bolted to the engine, I made the last pipe connection joining the feed pump to the pre-heater.

IMG_7584.JPG

Ready for the first run on steam next session!

Making a Cannon Barrel is boring

The bore in my 1779 naval cannon is 14mm diameter, 270mm deep.

I made a D bit from silver steel, as per the Jerry Howell plans.  I tried it without heat treating, but it blunted after  boring a couple of centimeters  so I heated it red hot and quenched it in water, then annealed it  and resharpened it. There were  no further issues with edge holding.

I then tried it without, then with, a preliminary drilled hole in some scrap.   I have decided that it is better to give it a starting hole of the correct diameter.

cannon - 2.jpg

This is the setup.  The 50mm brass rod is held in a 3 jaw chuck, and the tailstock end held in a centre while the chuck jaws are tightened.  The bore is then started with a drill which is accurately sharpened.    Then the D bit is fitted, and the deep boring job starts.  I used an accurate 3 jaw chuck in the tailstock to hold the D bit.  The headstock does not accept 50mm stock, but the 3 jaw chuck does, albeit with some stick out.  Once the D bit enters the workpiece, it acts to stabilise the workpiece.  The whole process was easier than I had anticipated.


cannon - 3.jpg

Each peck of the  bit advances 2-2.5mm.   The D bit is withdrawn and the chips are cleared.  Initially I used  a small brush, but as the hole deepened, the brush was replaced with a compressed air blast, delivered through a small bore copper pipe.

The 270mm bore took 2 hours to complete.  It was not a boring job.  I was anxious not to muck up the hefty lump of brass.

Next to drill the trunion holes in the barrel stock.  That will be straight through all layers of the barrel.  (retrospective note added later…  The trunnion holes were stopped short of the bore, and I was just very careful to keep the holes at 180 degrees and in line)

Then to turn the exterior of the barrel.  There will be a video if that is successful.

Then to silver solder the trunnions to the barrel in one piece.  Then to use the D bit to rebore the barrel, removing the trunnion rod which is obstructing the bore.  Some readers will not agree with this method, and it is not according to the Jerry Howell plans, but it does ensure that the trunnions are exactly in line with each other.  Silver solder, if properly used, is said to be as strong as the parent metal, so I believe that I will not be compromising the integrity of the barrel.   The main disadvantage is that the finished exterior of the barrel will need to be held in the 3 jaw chuck during that final D bit reboring.  I have not quite worked out how to do that, while avoiding marking the finished brass surface.


ACHLUOPHOBIA or ATYCHIPHOBIA?

The Bolton 9 triple expansion steam engine build has stalled, and it is all due to achluophobia

Achluophobia, in case you are not fully aware of the term, is fear of dark places.

The next step in the build, is to drill or mill  the steam passages (the dark places).

These passages are slots less than 2mm wide, and up to 14mm deep.  The plans call for 6 of these deep, narrow, dark slots to be made in the cylinder blocks, upon which many many hours of work have already been lavished.   In addition, the slots have a 90 degree bend in the depths.  And that bend is only 2mm away from the cylinder.

The thought of a broken drill bit, or milling cutter, at those depths in the cylinder blocks, fills me with apprehension.

So I have done what I usually do when facing a difficult task with potentially disastrous consequences….  nothing.

I am waiting, thinking, and hoping that some thought bubble will pop, and give me the answer as to how to accomplish the task with some certainty of success.

Any suggestions would be welcome.

Maybe it is not achluophobia.  maybe it is atychiphobia.

IMG_2742 IMG_2743