johnsmachines

machines which I have made, am making, or intend to make, and some other stuff. If you find this site interesting, please leave a comment. I read every comment and respond to most. n.b. There is a list of my first 800 posts in my post of 17 June 2021, titled "800 Posts"

Tag: Failed 3D printing

3D Printer Plate Adhesion Problems

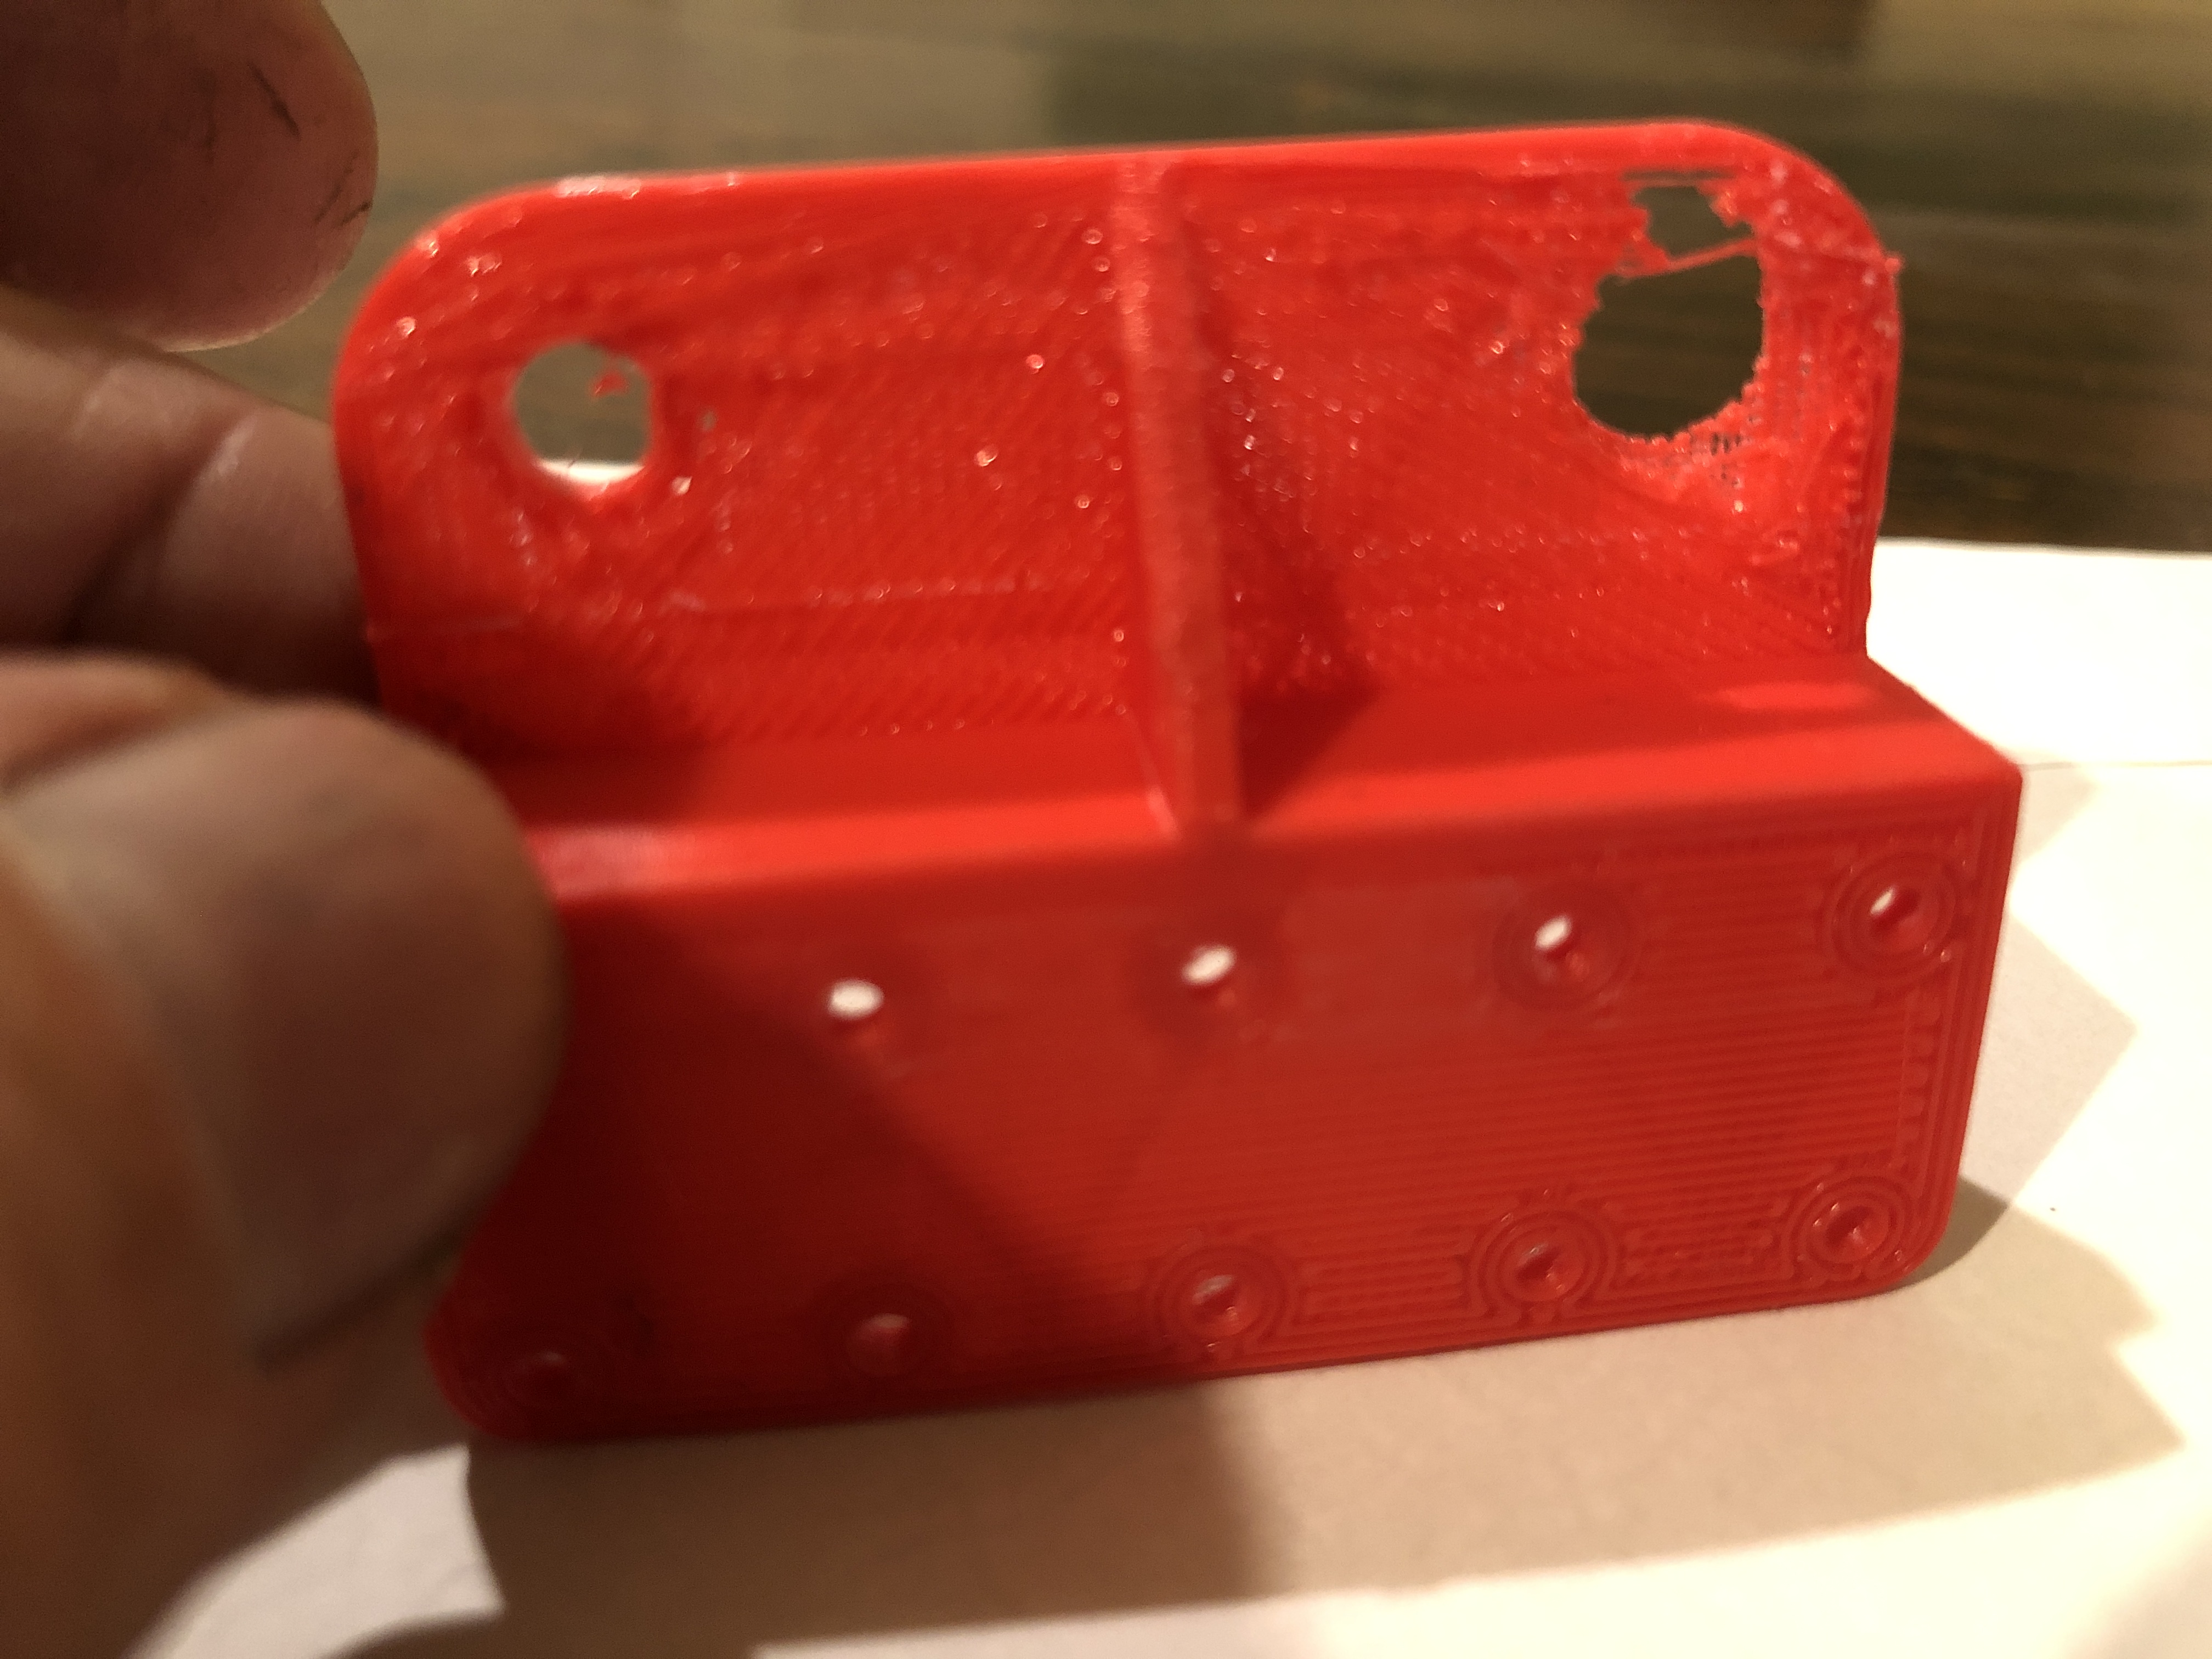
I have been tearing out chunks of hair, and gnashing teeth because prints are failing due to loss of adhesion. And the problem has progressively worsened to the point that the failure rate is now 100%.

And I am thoroughly fed up with throwing bird’s nest conglomerations of PLA in the bin.

I have tried the following remedies…….

Varying the bed temperatures and extruder temperatures up and down. Various combinations and permutations.

Cleaning the bed after every print, with acetone and scraping.

Checking and rechecking the bed for level.

Replacing the extruder nozzle.

Changing the PLA to brand new stock.

Printing on a different part of the bed rather than the default centre.

Today, I searched the net for solutions, and I decided that I had tried all of them, EXCEPT, replacing the bed surface.

I have been using a 3M product, designed for 3D printing, designated 9080A. Today I RTFM. If you do not know what that stands for, try “Read the F’ing Manual”. So I RTFM’d.

It seems that 9080A is good only for 10 uses, then should be replaced. OK. Penny drop time. I have been using the printer for 18 months with the same 9080A sheet. Maybe 50 times?

Back to Amazon, order some more 9080A sheets. Meanwhile I will revert to the borosilicate glass sheet that was originally supplied with the printer.

Repairing Failed 3D Prints

As a beginner, I have a fair percentage of unsatisfactory prints.

Print breaks free of plate.

Supports fall over.

Overhanging areas insufficiently supported.

Holes appearing due to wrong settings.

etc. etc. etc.

Most of the time I just bin the failure, change the settings or setup, and make another print. And wait another 2, 9, 12 or 24 hours……  Not a huge financial cost, but does involve waiting.  And I am not very good at that.

I used to grow olives and make olive oil.

Sometimes the bottles of oil were sealed with wax.  Melting point 85ºc.

After a failed print of 6 items today, due to inadequate supports of overhanging areas, I wondered if the holes and thin areas could be fixed with the bottle sealing wax.  After all, lost PLA casting is just a descendant of the lost wax method in the metal casting process.

So I found the left over remnants of the bottle sealing wax, and heated up a soldering iron.

IMG_8520

One of the failed prints.  This is a wheel trolley bracket for the model Armstrong cannon.  The moth eaten area was overhanging, and the support had fallen over.  The area was thinned and the holes were not properly formed.   If a brass or bronze casting was made from this, it would have been unusable.

IMG_8522

The 850g slab of bottle sealing wax, and soldering iron.  I do not know if this supplier is still available.  It was not expensive.

The soldering iron is heated, dipped into the wax, and the molten wax carefully dripped onto the deficient area of the print, gradually building it up.

The wax can then be shaped with the soldering iron, or a heated knife, or even a finger or thumb.  I also tried a blade shaver and sharp knife.  I think that my soldering iron, and finger were the best tools.


IMG_8521

The repaired area.  It looks unsightly, but of course the wax will all disappear during the casting process, along with the PLA.

I am probably reinventing the wheel with this idea.  Again.  But have not seen it used anywhere else.  So there it is.  I think that it will be useful to me.

PS>. 12 hours later.  I now realise that this is so old hat that I am embarrassed that I posted this.  Reinventing the wheel,… that’s me.