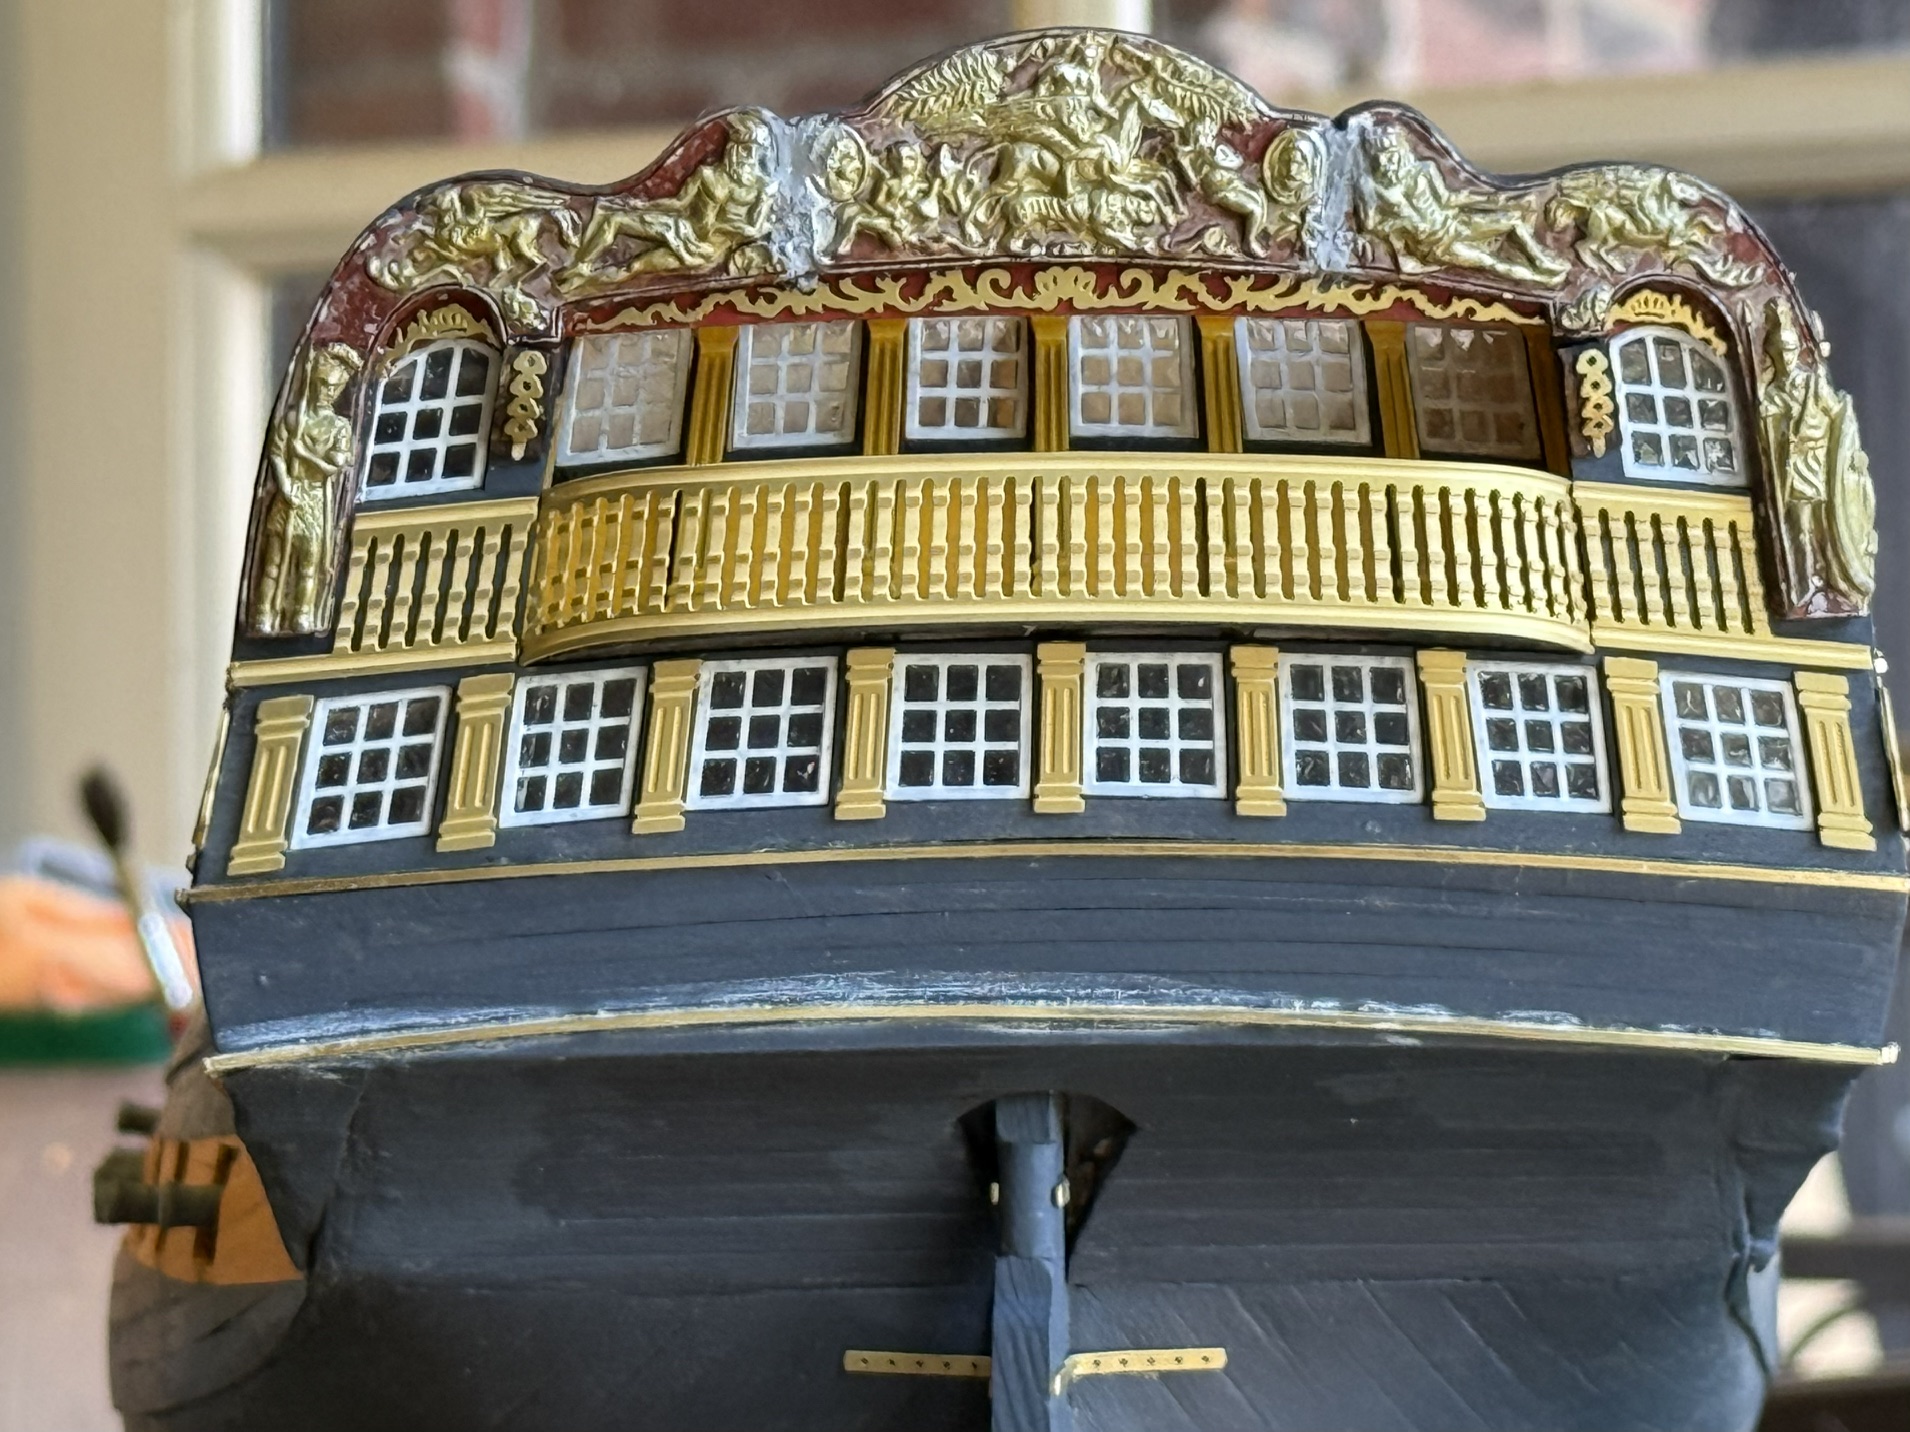
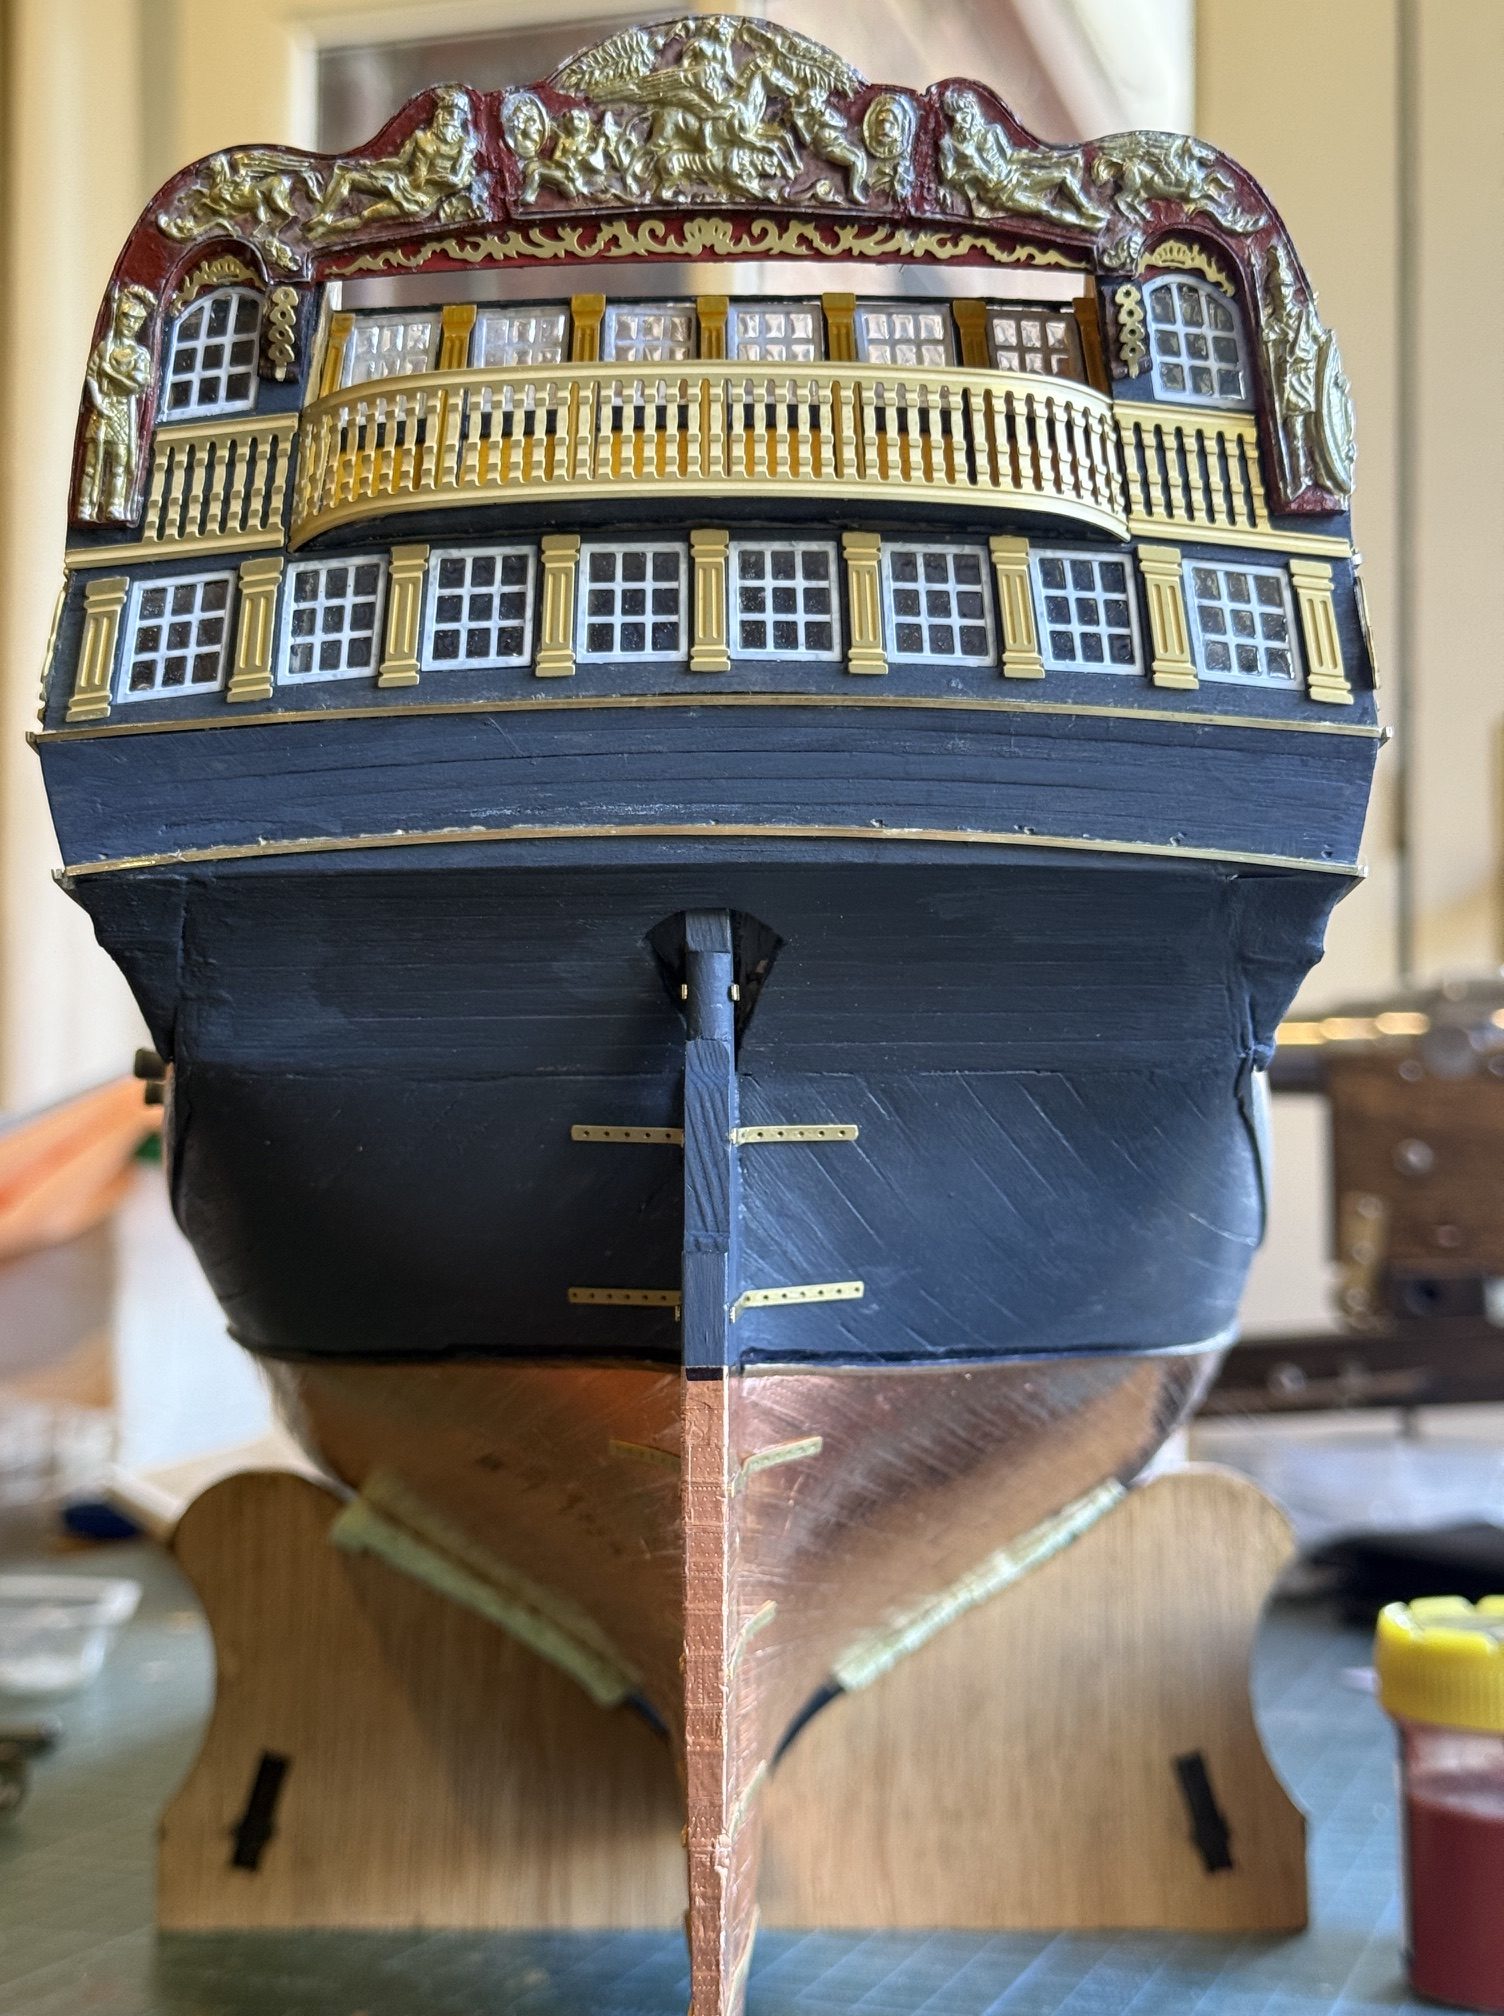
Guns, Cannons, Carronades.
74 gun ships had 74 guns.
The lowermost gun deck had twenty eight 32 pounder long guns. These squat monsters weighed close to 3 tons each and fired a 6.41″ ball which weighed 32 pounds. The gunports were only 5′ above the water line, so the captain had to take consideration of wind strength, wave height and ship’s course before giving the order to open the gunports on port or starboard or both. Often manpower limitations meant that only one side could be manned, and the gun crews would have to cross to the other side as required.
The next gun deck, going up, also had 28 guns. These were 18 pounder long guns. Substantially lighter than the 32pr’s, which was an advantage considering the ship’s center of gravity.
The next deck up, the quarter deck, had 9 pounder long guns and 32 pounder carronades, in varying combinations and numbers. Care was required with the carronades because their shorter length meant that the muzzle did not protrude beyond the Stockholm tar covered shrouds. But the carronade’s massive ball size made it invaluable in close encounter battles as an anti personnel weapon.
On my model HMS Bellerophon, the 32pr’s and 18 pr’s on the 2 main gundecks have to be fully installed prior to installing the spar deck (the next deck up, above the upper gun deck, and the top deck which extends the entire length of the ship.)
I had already decided to 3D resin print the gun barrels and carriages in preference to making the barrels from brass or steel and the carriages from wood. Mainly because the detail in the 3D prints is outstanding but also because it is quick and cheap, and I own a 3D printer. In any case the barrels and carriages are painted, whatever the material.
The 18pr gun barrels and carriages have been posted as an stl file on Thingiverse, by Uhlan. The detail in the stl files is excellent and seems accurate. The stl’s can be downloaded free although a donation to the author is welcomed.


After printing, washing, removing supports and curing, the barrels were painted satin black, and the carriages various tones of yellow ochre, which were the colours of the British fleet at Trafalgar. The choice of paint colours was apprently the captain’s choice. Red ochre was available free of charge and yellow ochre also, so guess which colours were mostly chosen! Red was commonly used on bullwarks, gun carriages and planking, “to disguise the crews spilt blood during battles” according to legend, and cost had nothing to do with it. As if.
And Horatio Nelson let his captains know that he favoured yellow and black in his fleets. Although the decisions were up to the captains, by the time of Trafalgar 1805, yellow and black was virtually universal in the British Navy.
So, in my Bellerophon the gun carriages will be yellow ochre, and the bullwarks will be red ochre, with yellow and black on the hull exterior.
Oh, and another little fact which surfaced while I was reading up the information…. a 74 gun ship had 74 LONG GUNS, but the carronades and small guns on the foredeck and poop were not counted in the number. A 32 pounder carronade was a mighty powerful addition to a 74 gun ships armament, and in many engagements was a major reason for British successes over non carronade armed opponents. But there it is. A 74 gun ship had 74 long guns, plus whatever carronades could be bolted to the upper/exterior decks. I hope that you find this trivia as interesting as I did.
Part 2, several weeks later.
I have painted the carriages of the 18 pounders, and the barrels of the 18 and 32 pounders. Then glued the barrels to the carriages with CA glue.
The recoil of the 18pr long guns was limited to about 9 feet/ 2.75 meters by heavy breech ropes which were secured to the bulwarks with iron rings. The breech ropes were 5.5″ circumference which 1:72 scales to 0.62mm diameter. I had enough 0.6mm fawn rope from my Constitution build, so cut that into 150mm lengths and threaded it through the breech rings.
Then made some small brass eyelets and used “Brass Black” to, surpise surpise, blacken them.
This photo shows the 0.7mm drill bits with dowel extension, and drill guide/jig used to drill the eyelet holes in the opposite bullwark.
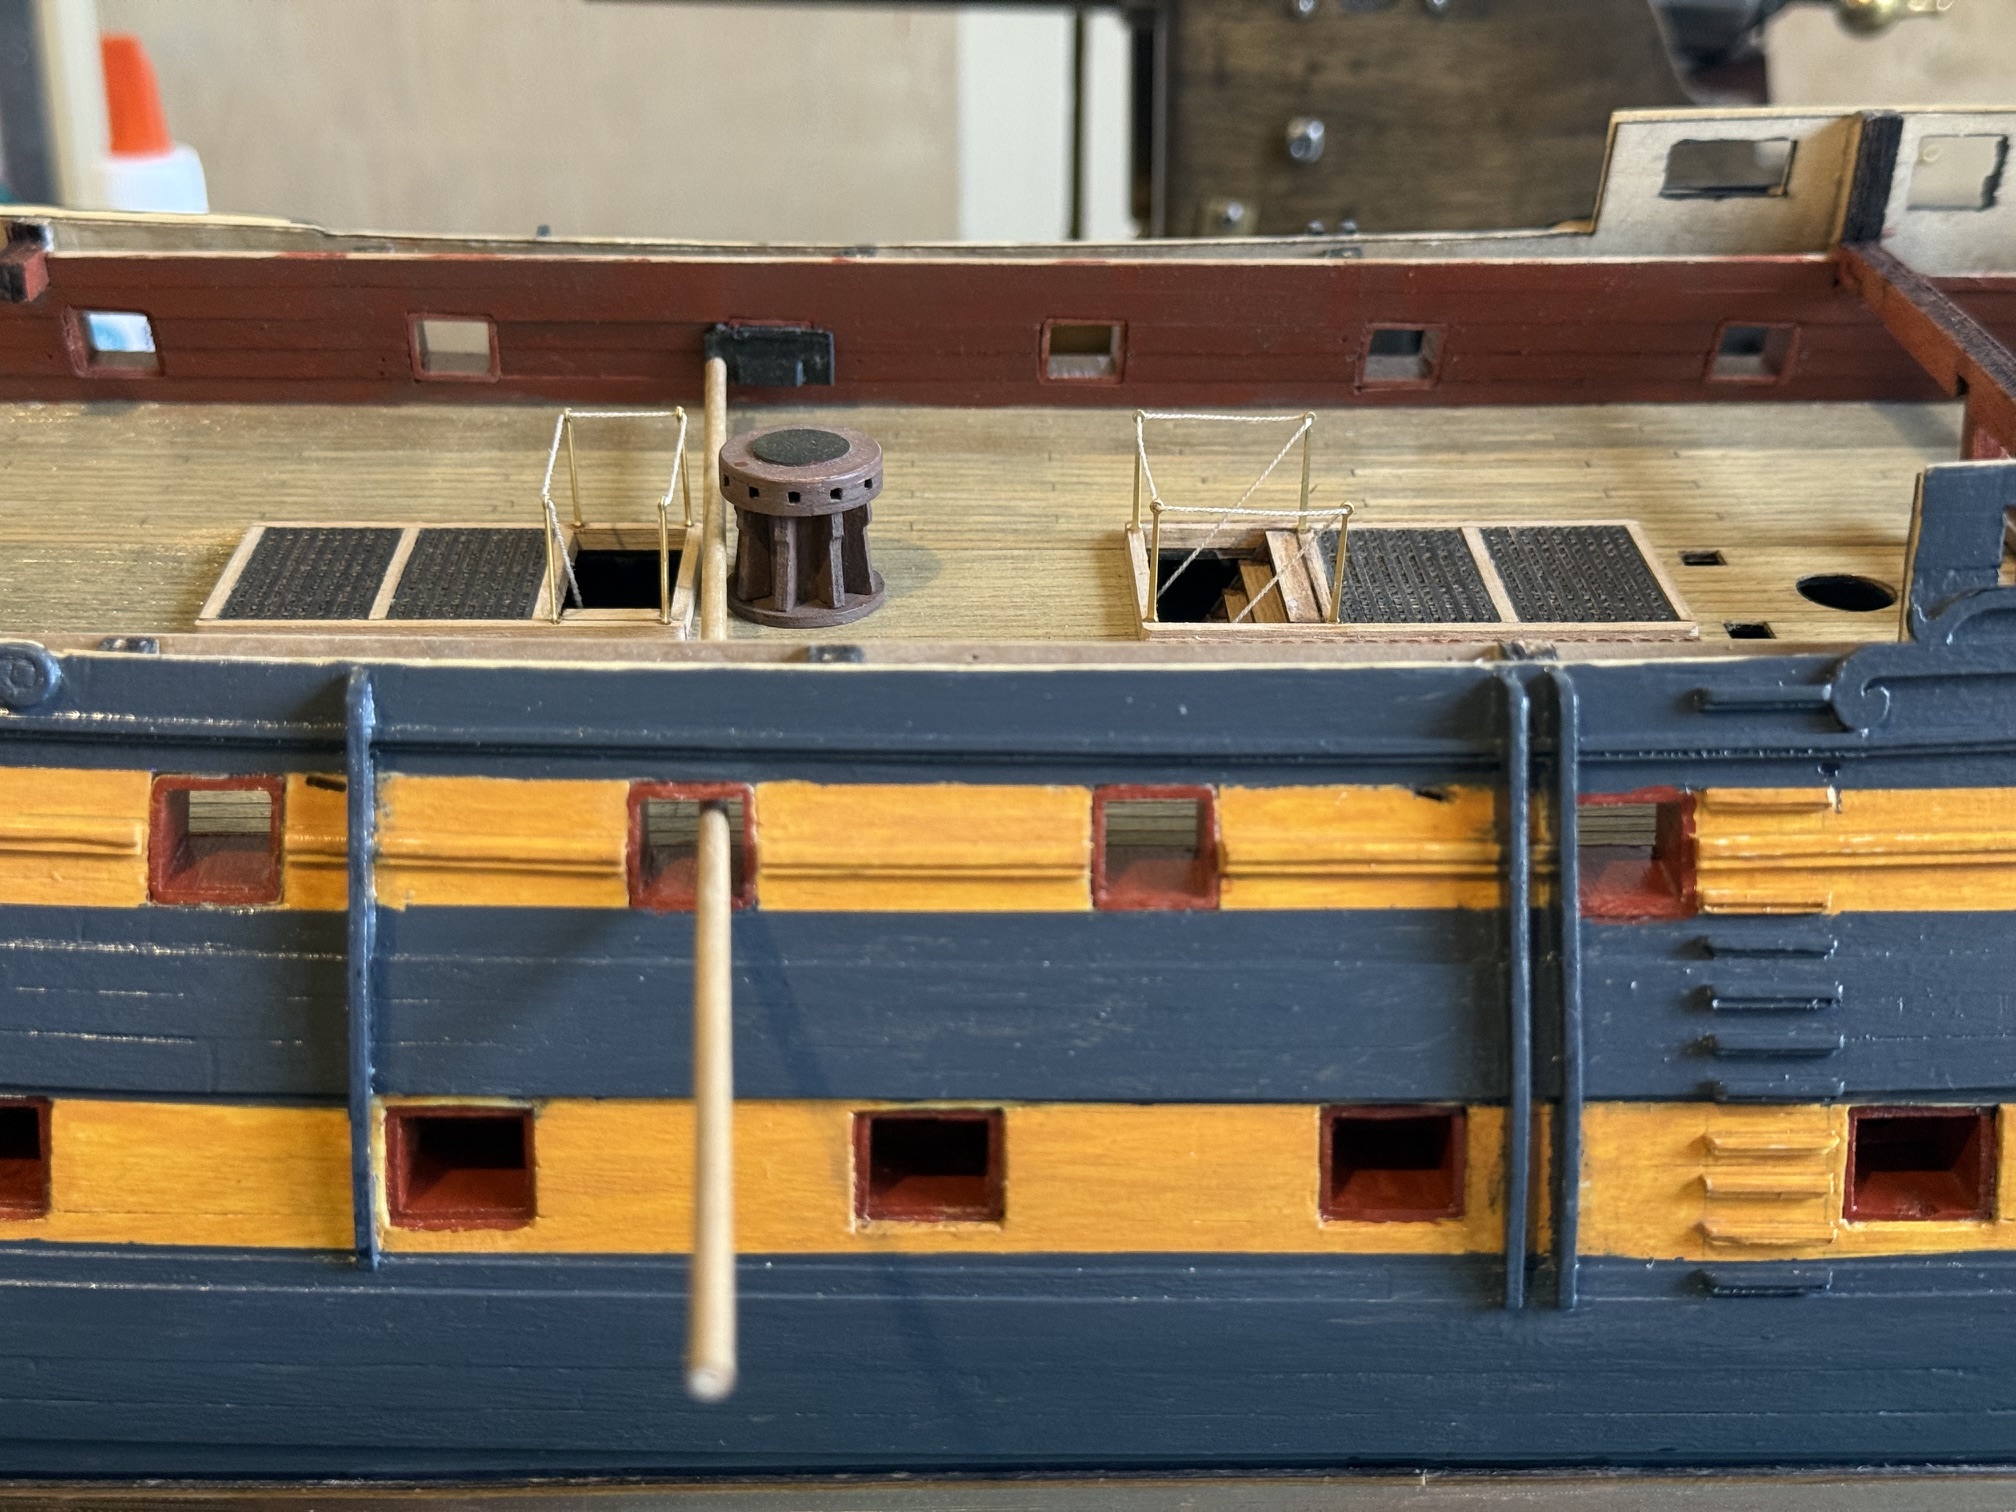
Then used CA to glue in the black eyelets.
See the installed guns in the next post.