
Making Sanding Belts
This idea is not original. I spotted it on YouTube.
I have a very nice small bench belt sander made by Sorby UK. I don’t use it often, because the Australian made Radius Master is much more versatile and powerful, but occasionally it is the tool of choice. Problem is the belts. They are a really odd size. Not available on ebay, and they are expensive. So when I saw this method, I decided to try it.
Basically, you buy a roll of relatively inexpensive 50mm wide sanding paper, and make your own belts. The issue is, the join.
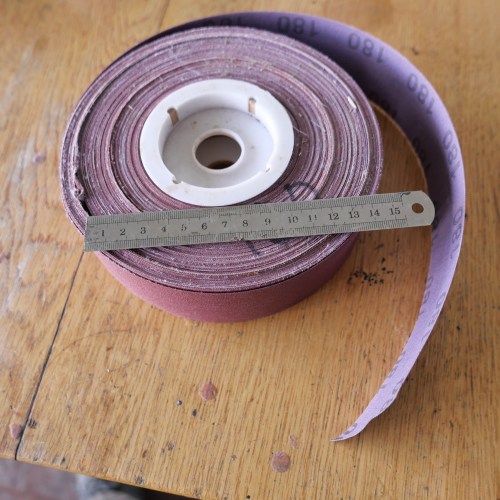
I have had this roll, and several others, for years, using a few inches at a time.

I removed the old belt, cut it along its join, and used it as a model to cut some pieces off the roll. The angle of the cut was 30/60º. I used Tullen cutters in preference to scissors.

And this is the method of the join. Use “Iron On Mending patch”. Freely and cheaply available on Ebay, and in haberdashery shops.

I asked SWMBO if she had some spare IRON for my workshop, and this was produced. Sorry about the confusing ironing board pattern.
Important: the ends of the cut sandpaper are precisely aligned, and the side edges are lined up against a straight edge. Then the mending patch, cut a bit oversize, is laid on the join, and the heated iron is applied according to the instructions on the mending patch. In this case the iron was heated to “cotton” heat (whatever that means) and pressed down for 25 seconds. Best to use some brown paper underneath, otherwise the patch will glue to the ironing board cover.
Then I tried it. Click on the arrow to see a short video.
So, the test was surprisingly successful. Later I made another belt, and applied the patch obliquely, at the same angle as the join. It was MUCH improved, totally removing the noise of the patch running over the workpiece. I would certainly recommend this modification.

This patch was applied straight across, but it was a bit noisy and I kept wondering if it would hold. It stayed intact. But an oblique patch is better.

After some use, the join opened about a millimeter, but remained intact. I probably should have let it cool totally before using it. Or maybe the patch fabric in this case was a little stretchy.
I think that this will be a good method, and I will continue to use it. It is inexpensive. I got 4 joins per $AUD5 patch. I suspect that I overdid the size of the patch, and could probably get double the number of joins from this size material. Try it!
