
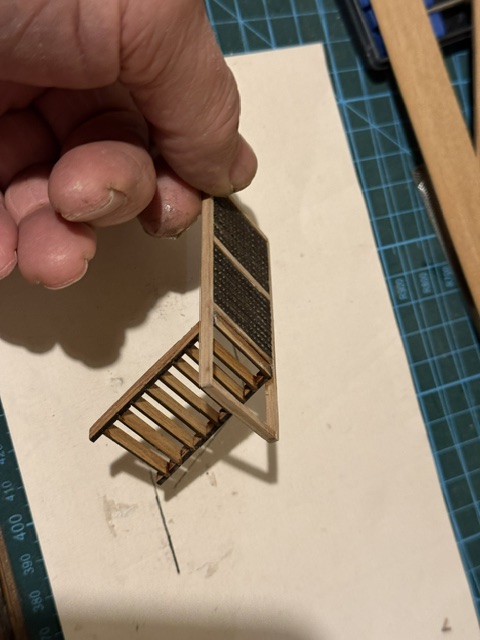
Gundeck features… ladder/stairs, hatch gratings.
The upper gundeck details need to be completed before adding the spar deck and poop decks.
So I started by making some hatch grids. Remember that although I am “scratch building” this model, I am using Amati/Victory Models plans.
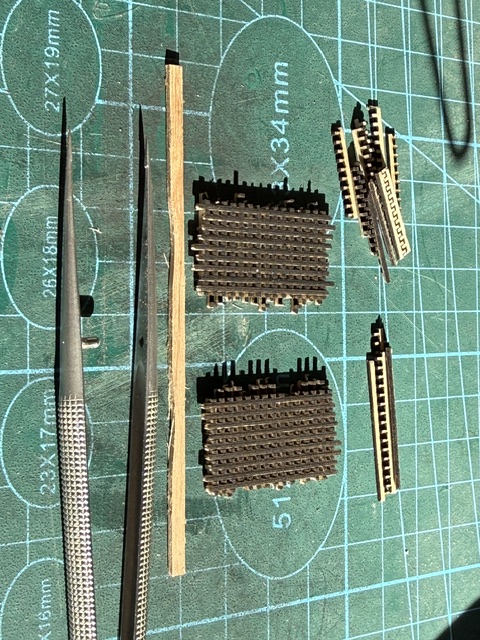
For the hatch grids I tried cutting the combs on my laser cutter. Firstly I machined some 1mm thick material in Huon pine, and then meranti. The laser cutter performed beautifully, cutting the combs accurately and quickly from the 1mm thick material. But when I assembled the combs into grids I experienced multiple breakages of the comb teeth, despite several alterations in tooth dimensions.
So after several sleeps on the issue, I decided to use 1mm thick plywood, which in model ship building is a bit of a “no-no”.
But Hey! It worked. The plywood teeth did not break during assembly. And although the layers of the plywood were visible, I decided that paint would hide the layers.
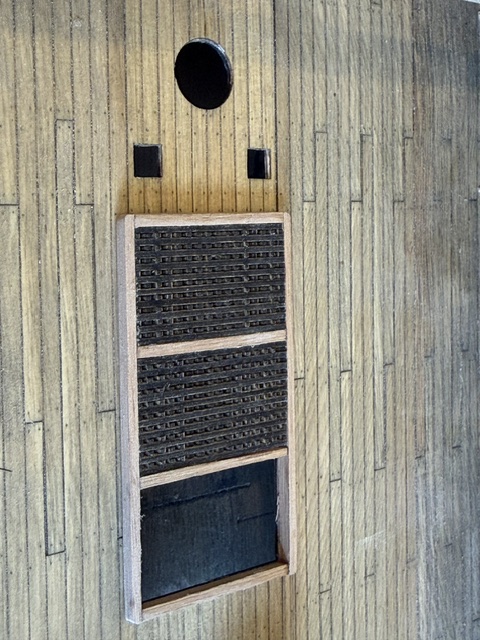
I made the hatch grids slightly oversized, and sanded them to the finished size, making sure that the borders of the grids were intact combs, not holes.
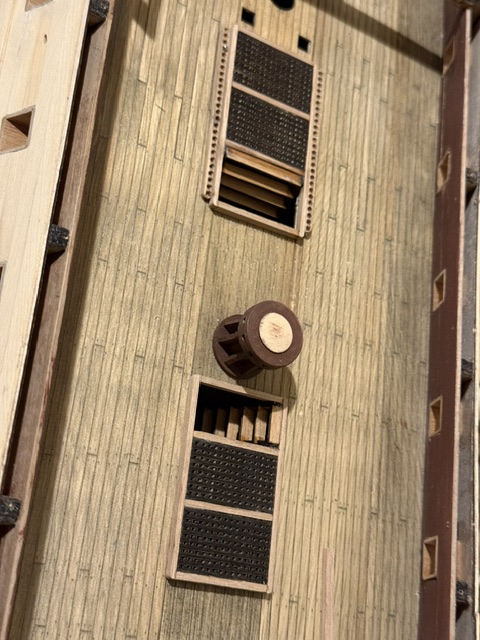
Then cut the hatch borders from solid 3mmx2mm strips, dimensioned on my homemade drum sander. You will notice on the photos that I did not join the corners of the hatch surrounds with 45 degree mitre cuts, but butt joined them. In reality I believe that the joins were half laps, but that was a step too far for me. So butt joins it was. Thankyou for CA glue.

Homemade rope for the handrails.

