johnsmachines

machines which I have made, am making, or intend to make, and some other stuff. If you find this site interesting, please leave a comment. I read every comment and respond to most. n.b. There is a list of my first 800 posts in my post of 17 June 2021, titled "800 Posts"

Tag: model ship planking

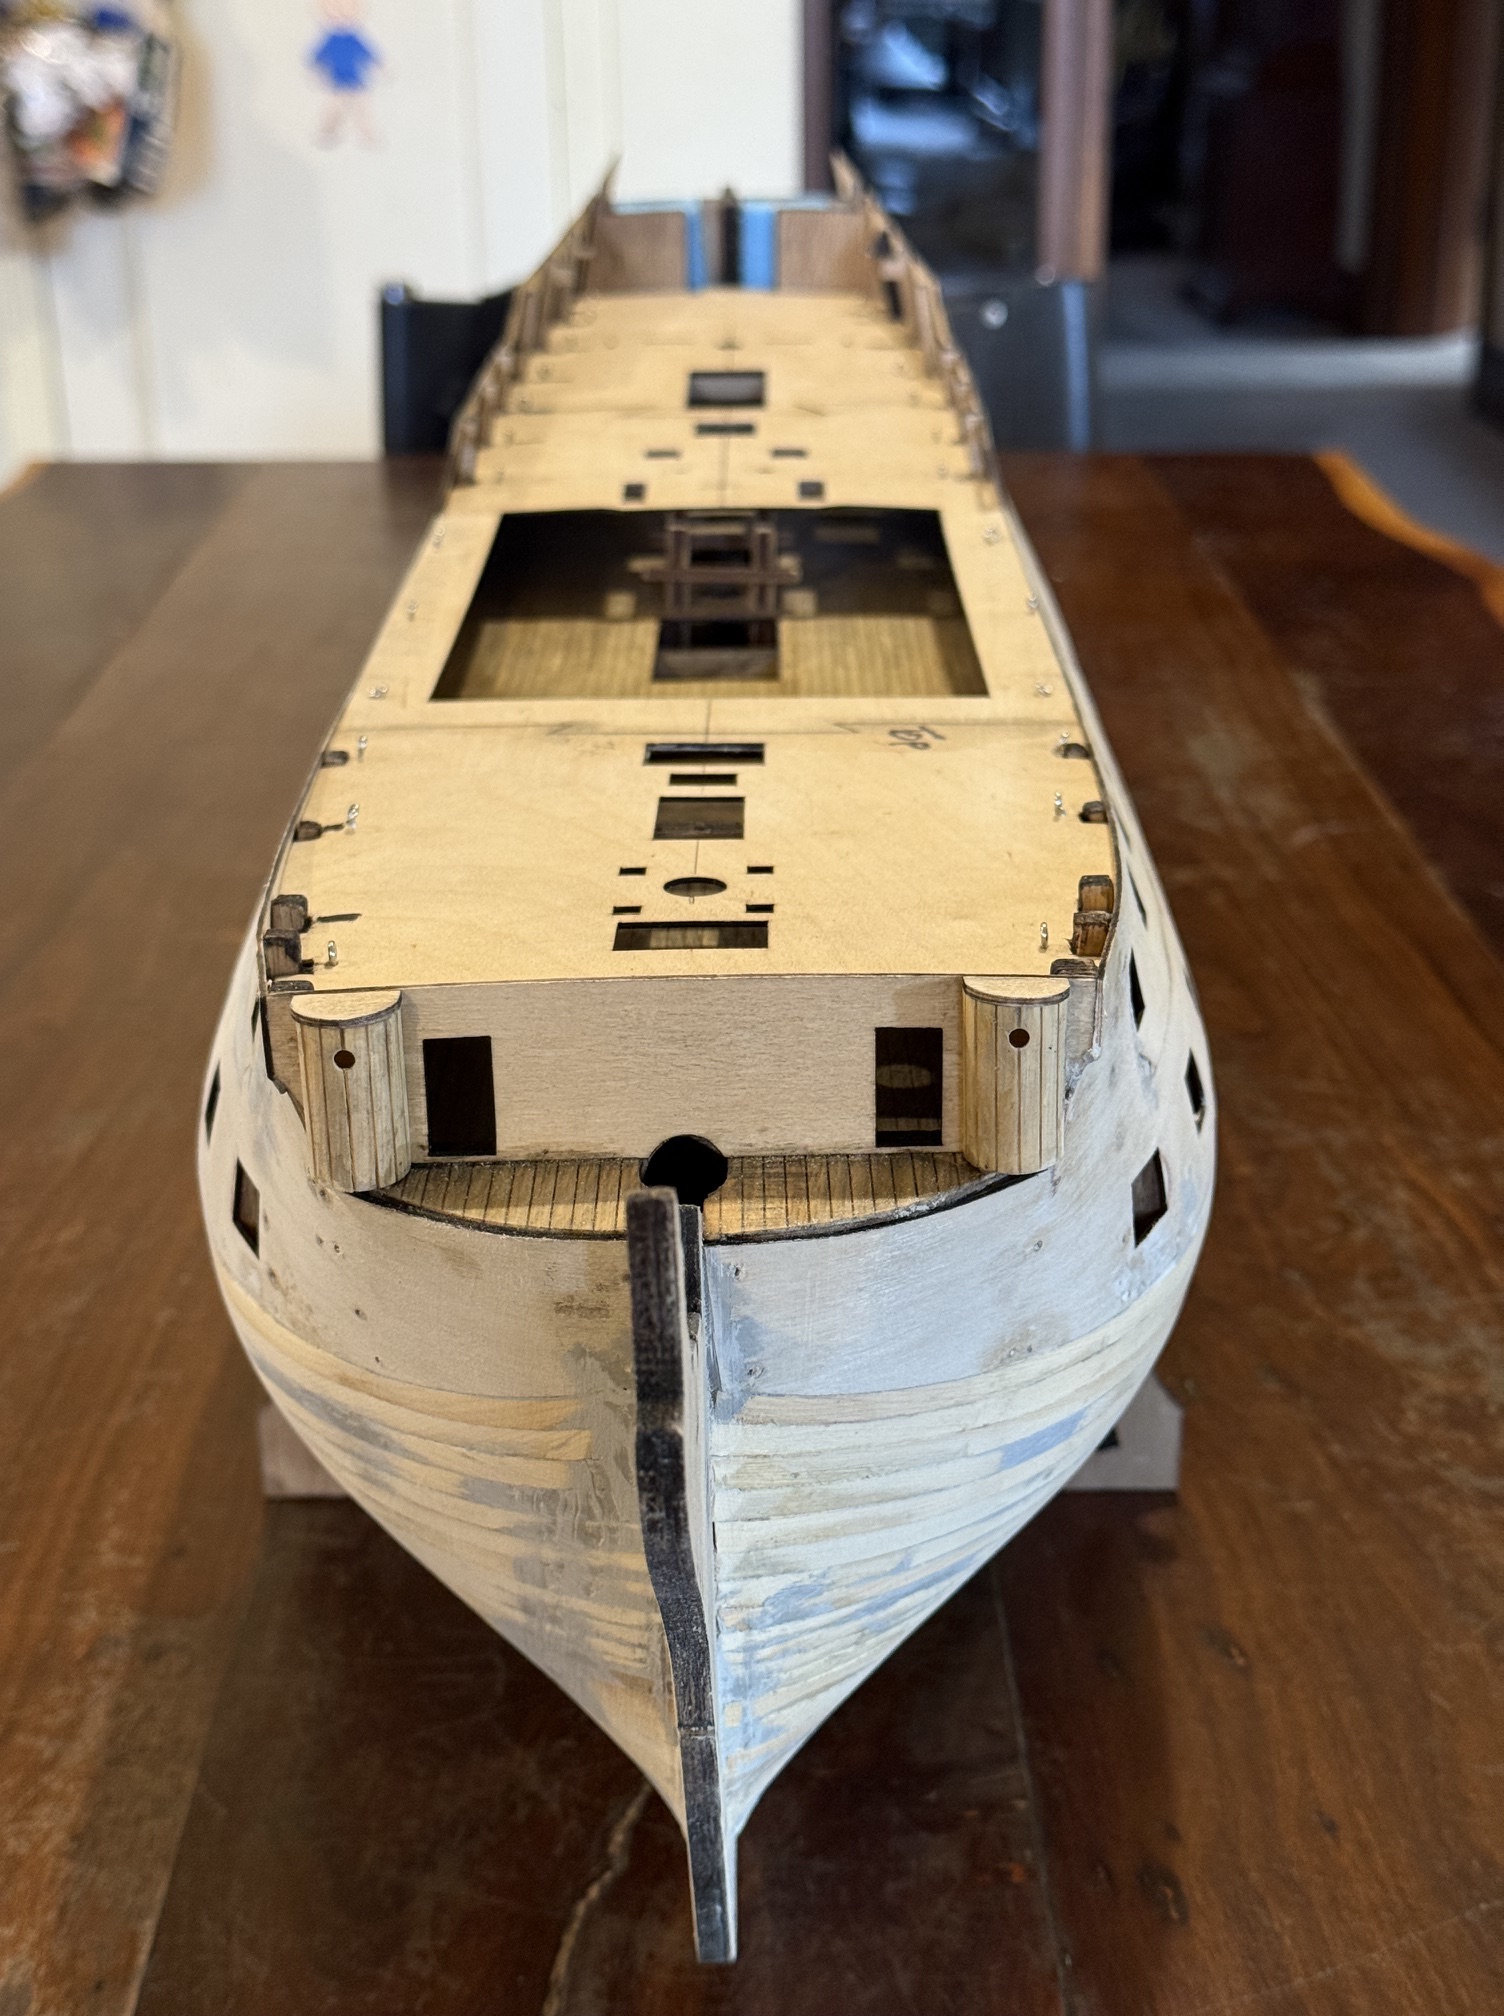
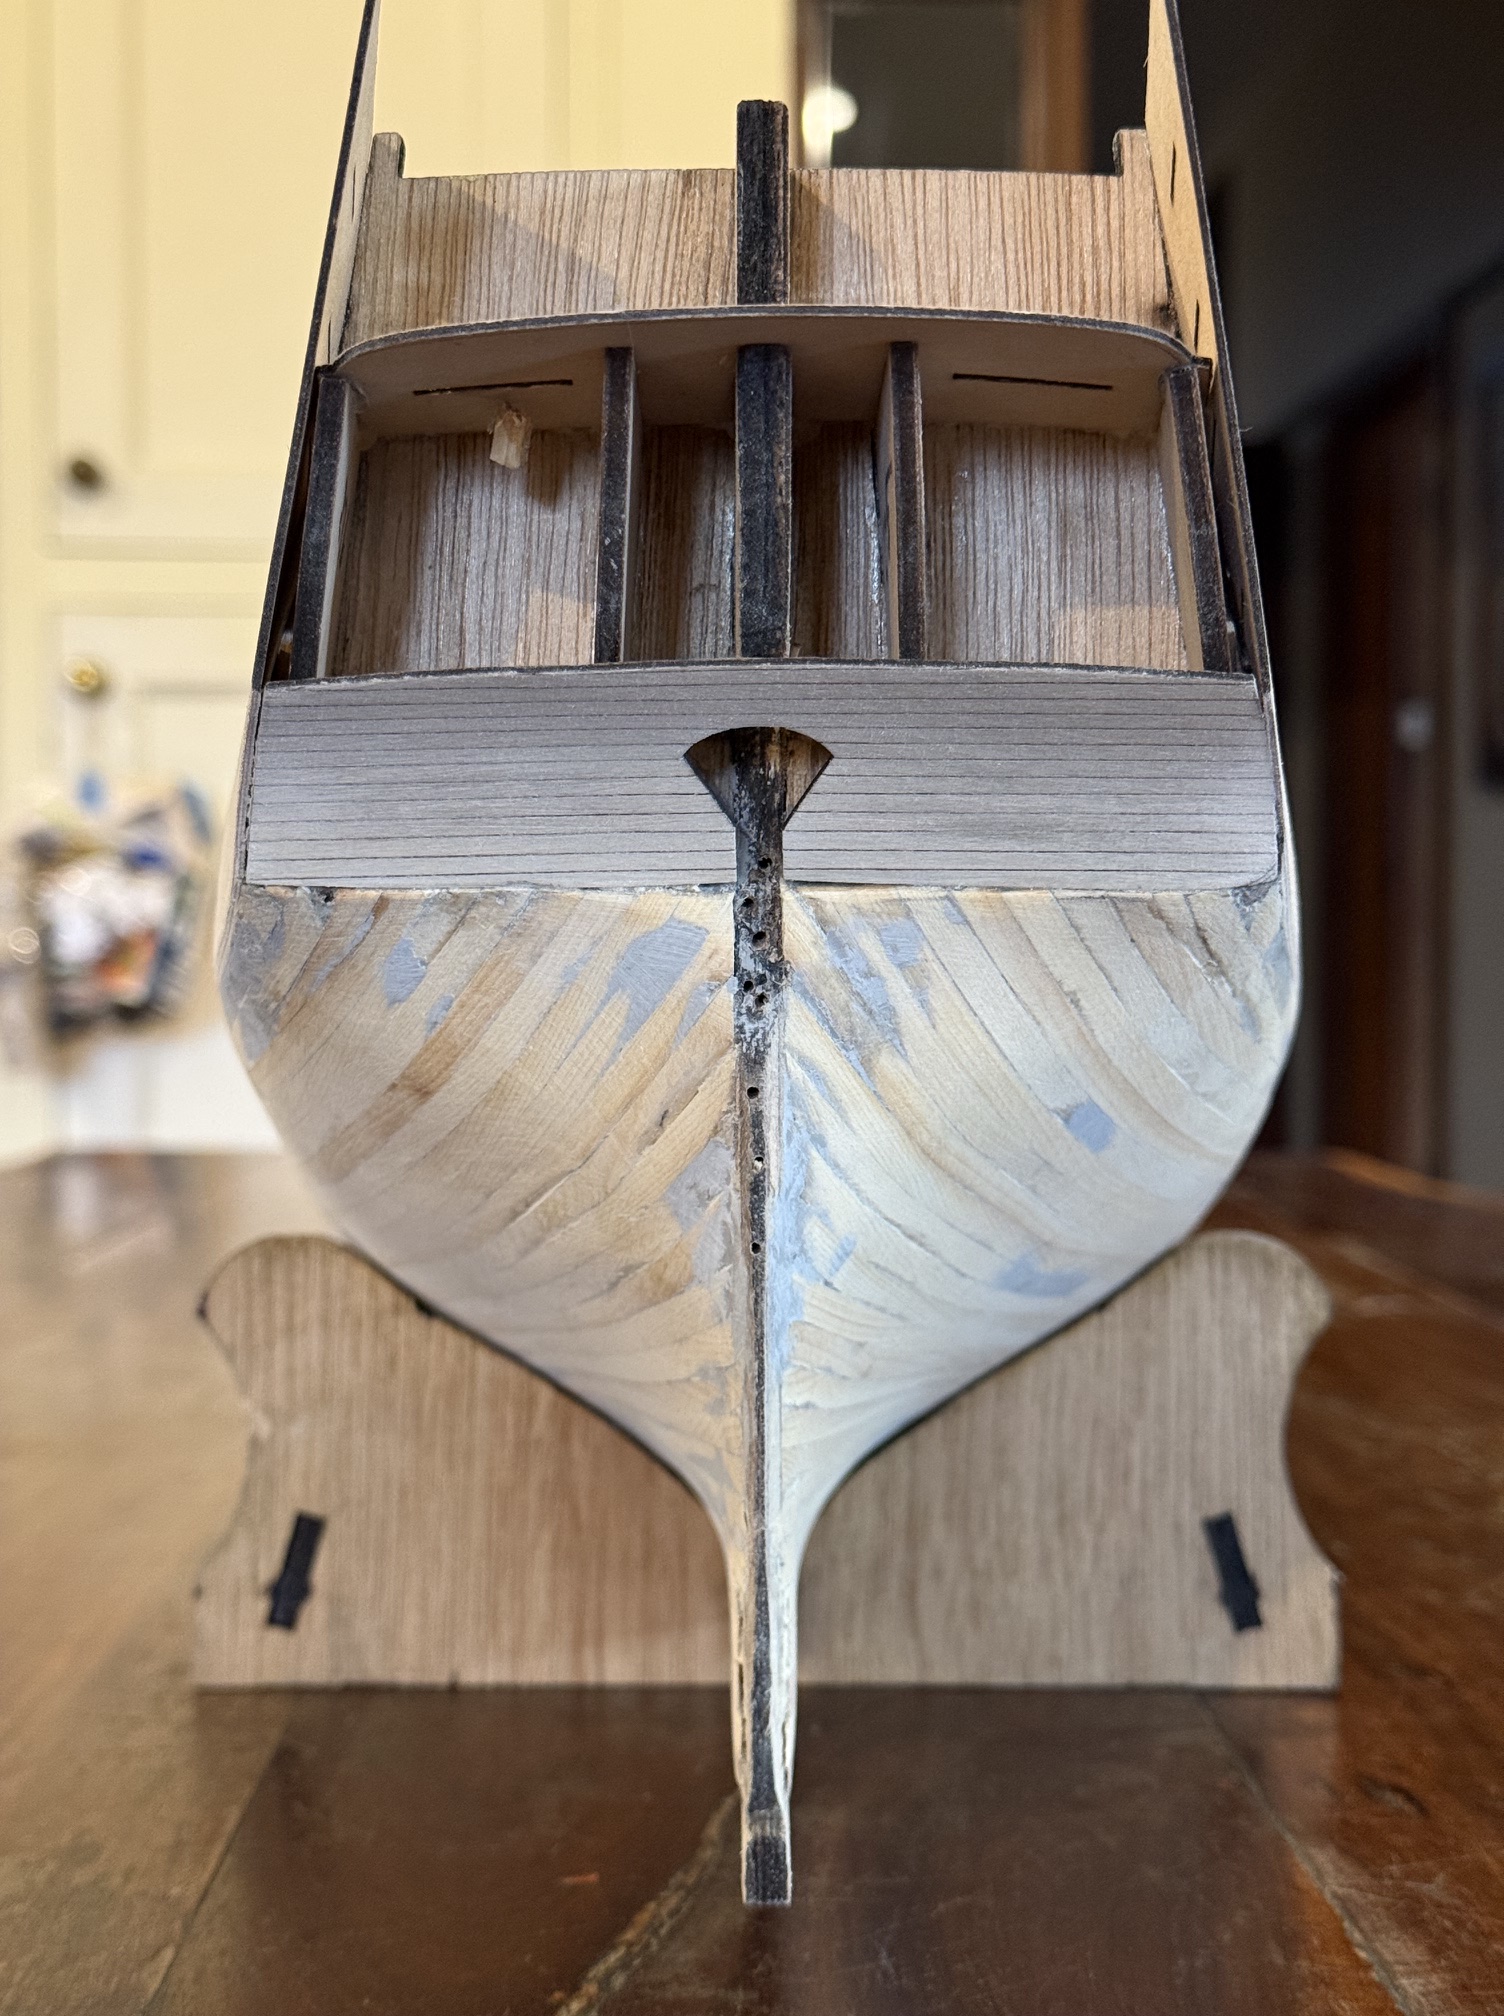
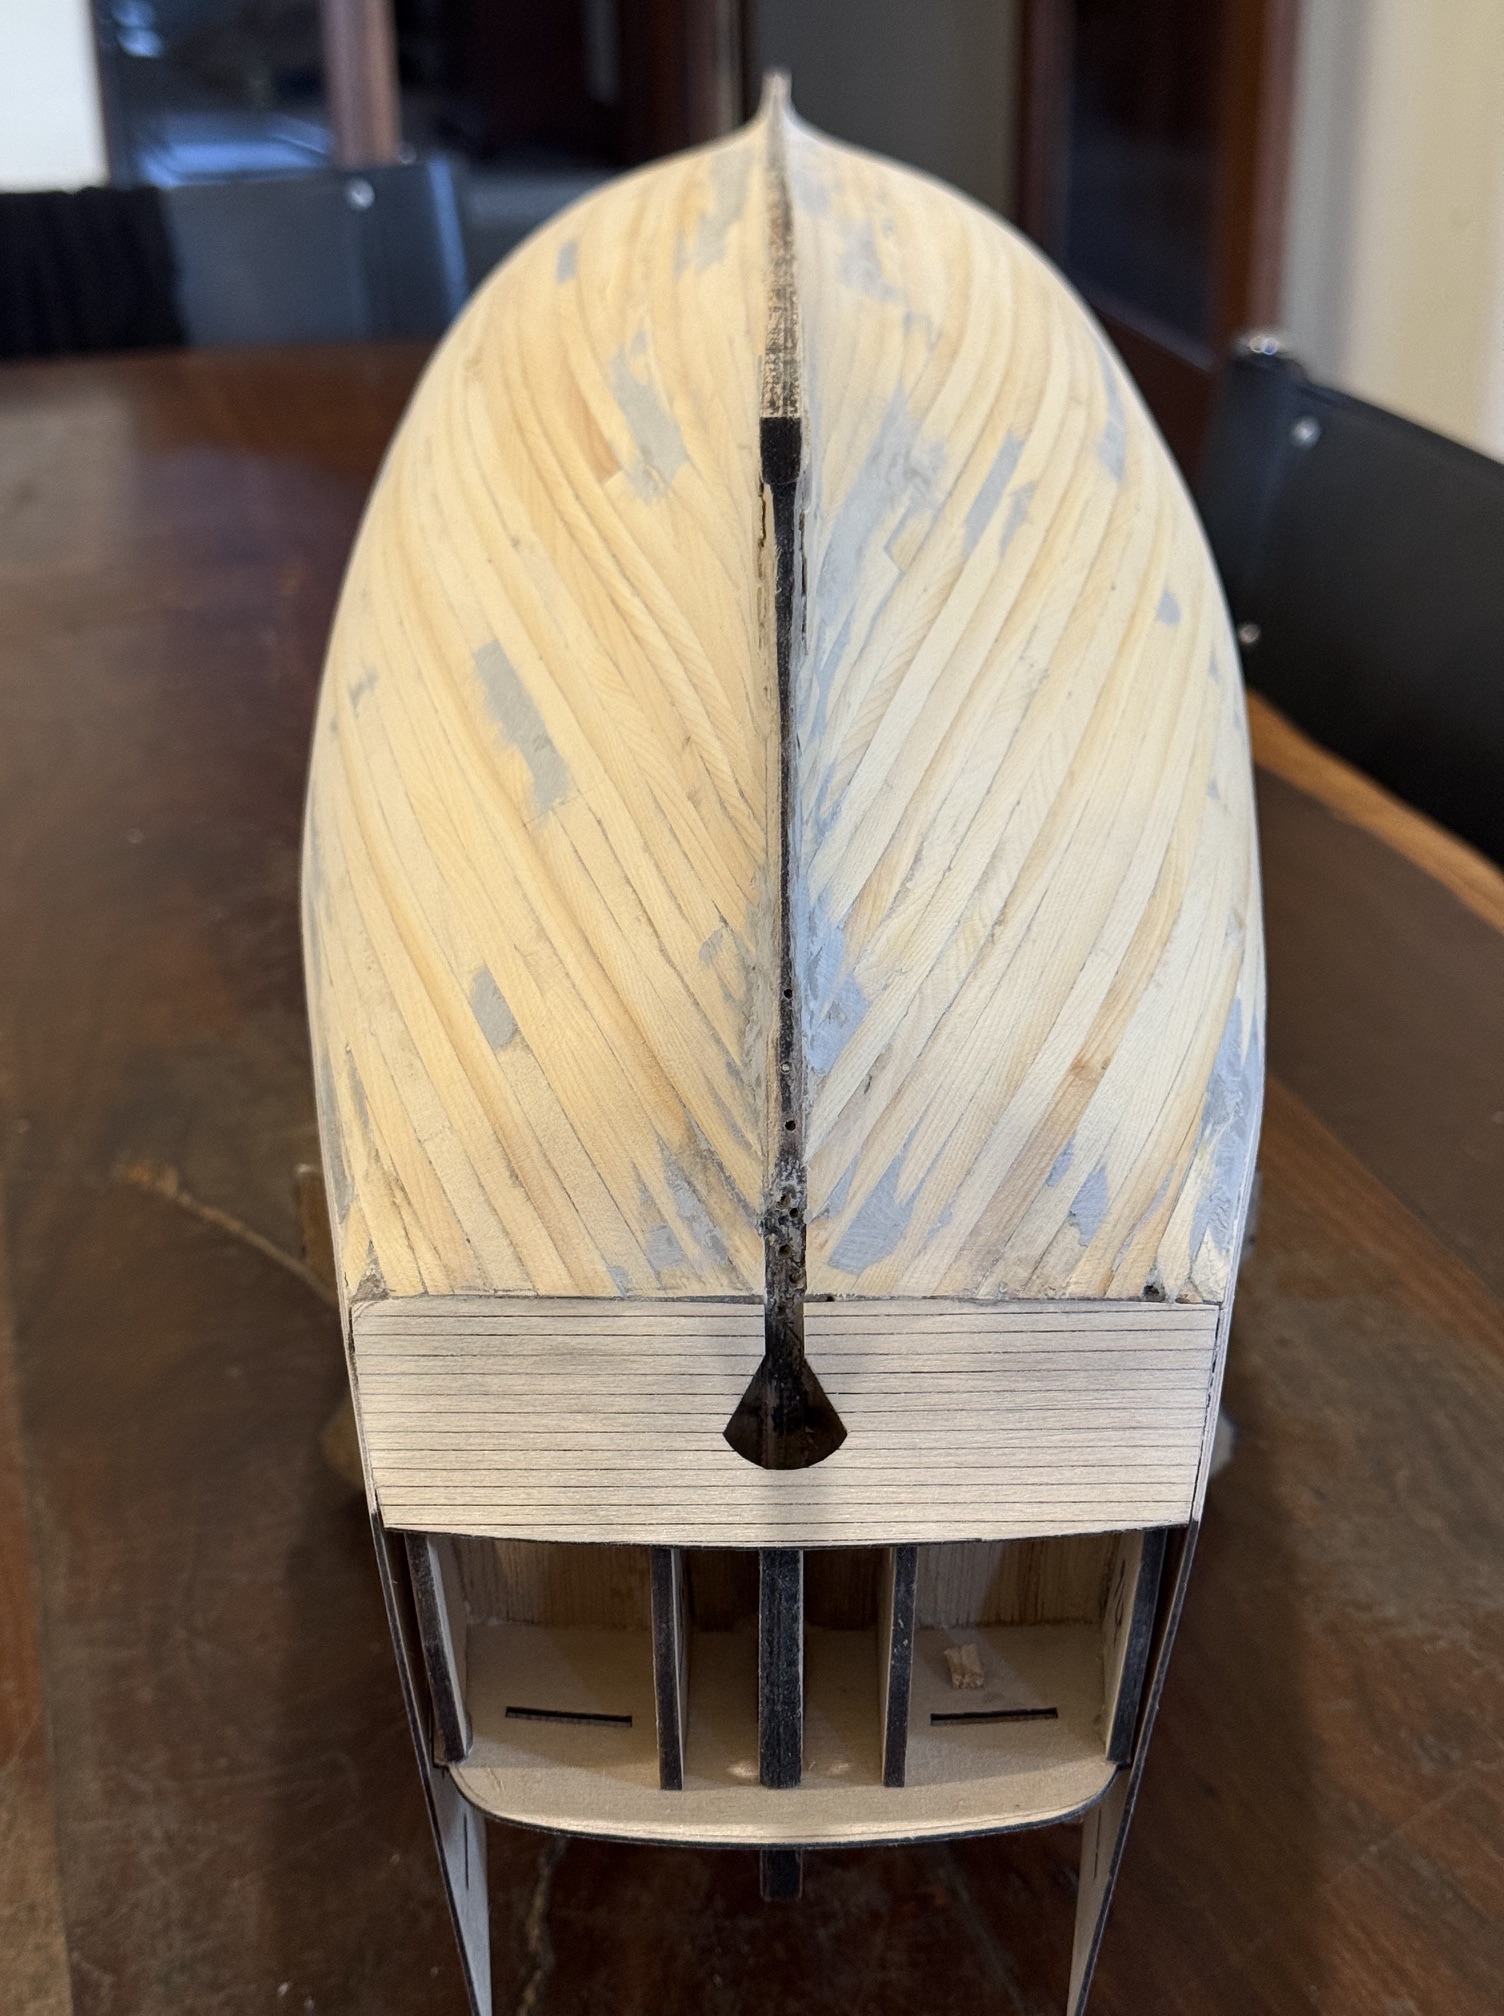
Model Bellerophon- first planking completed

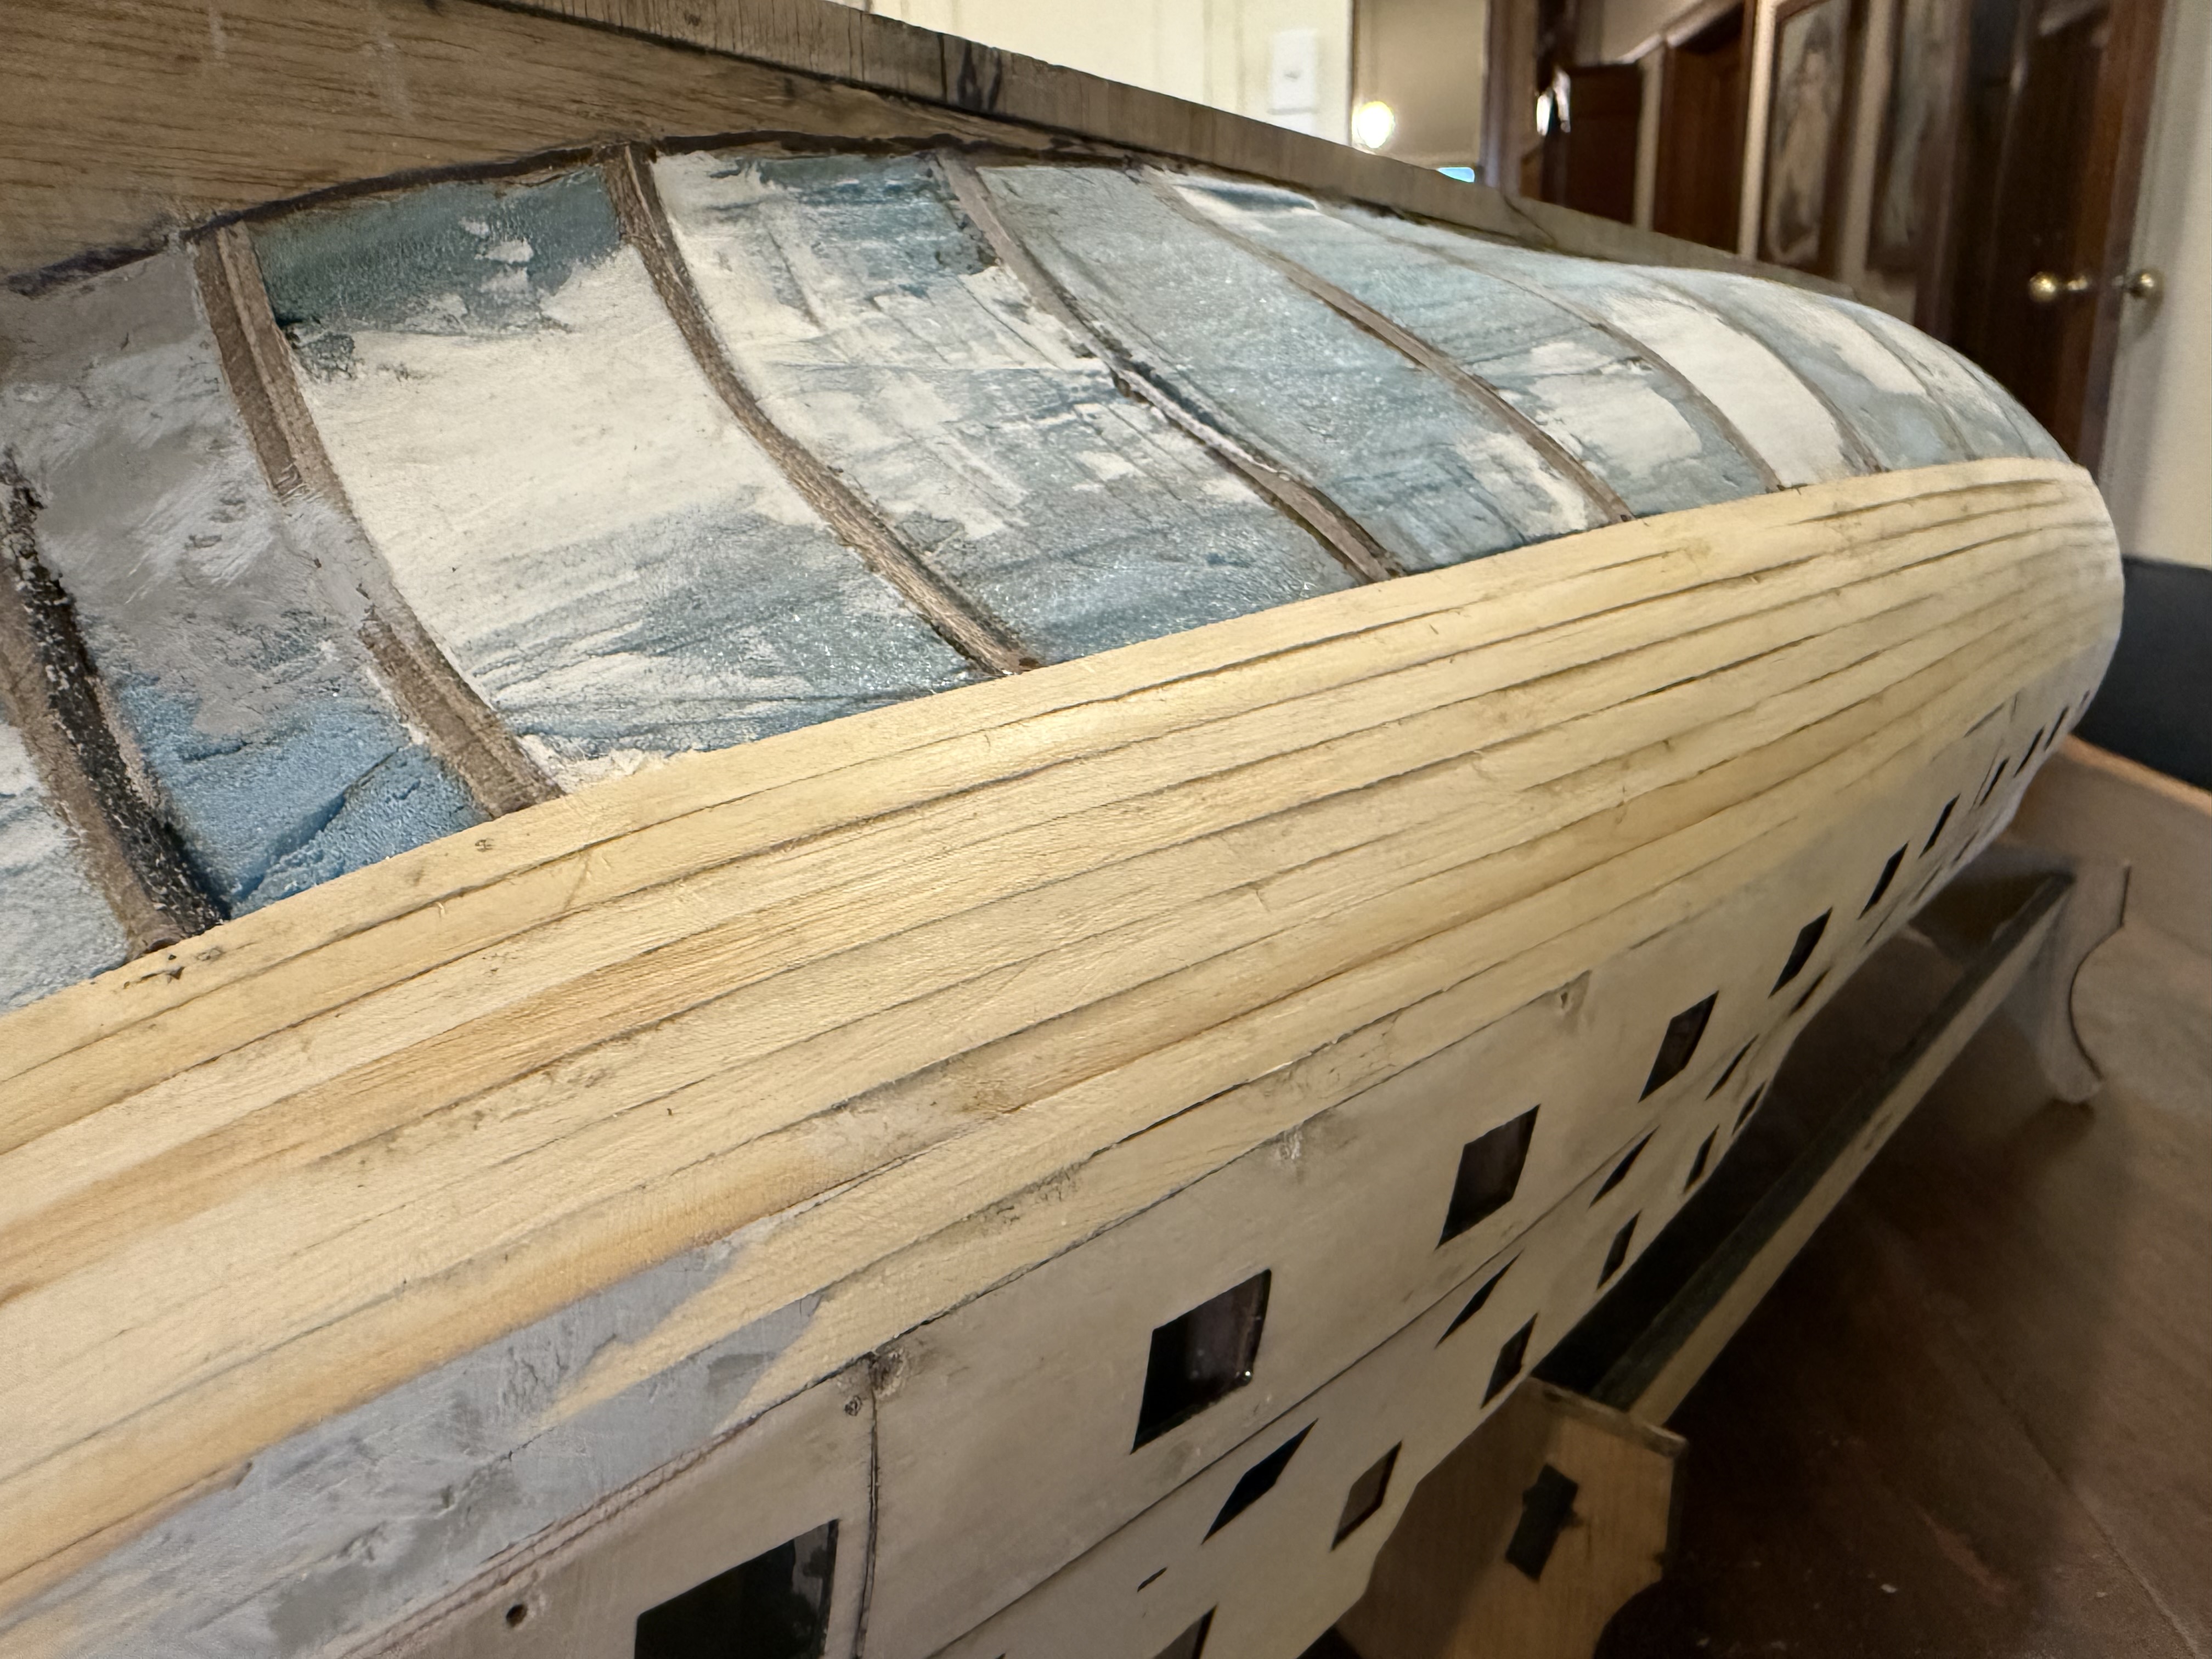
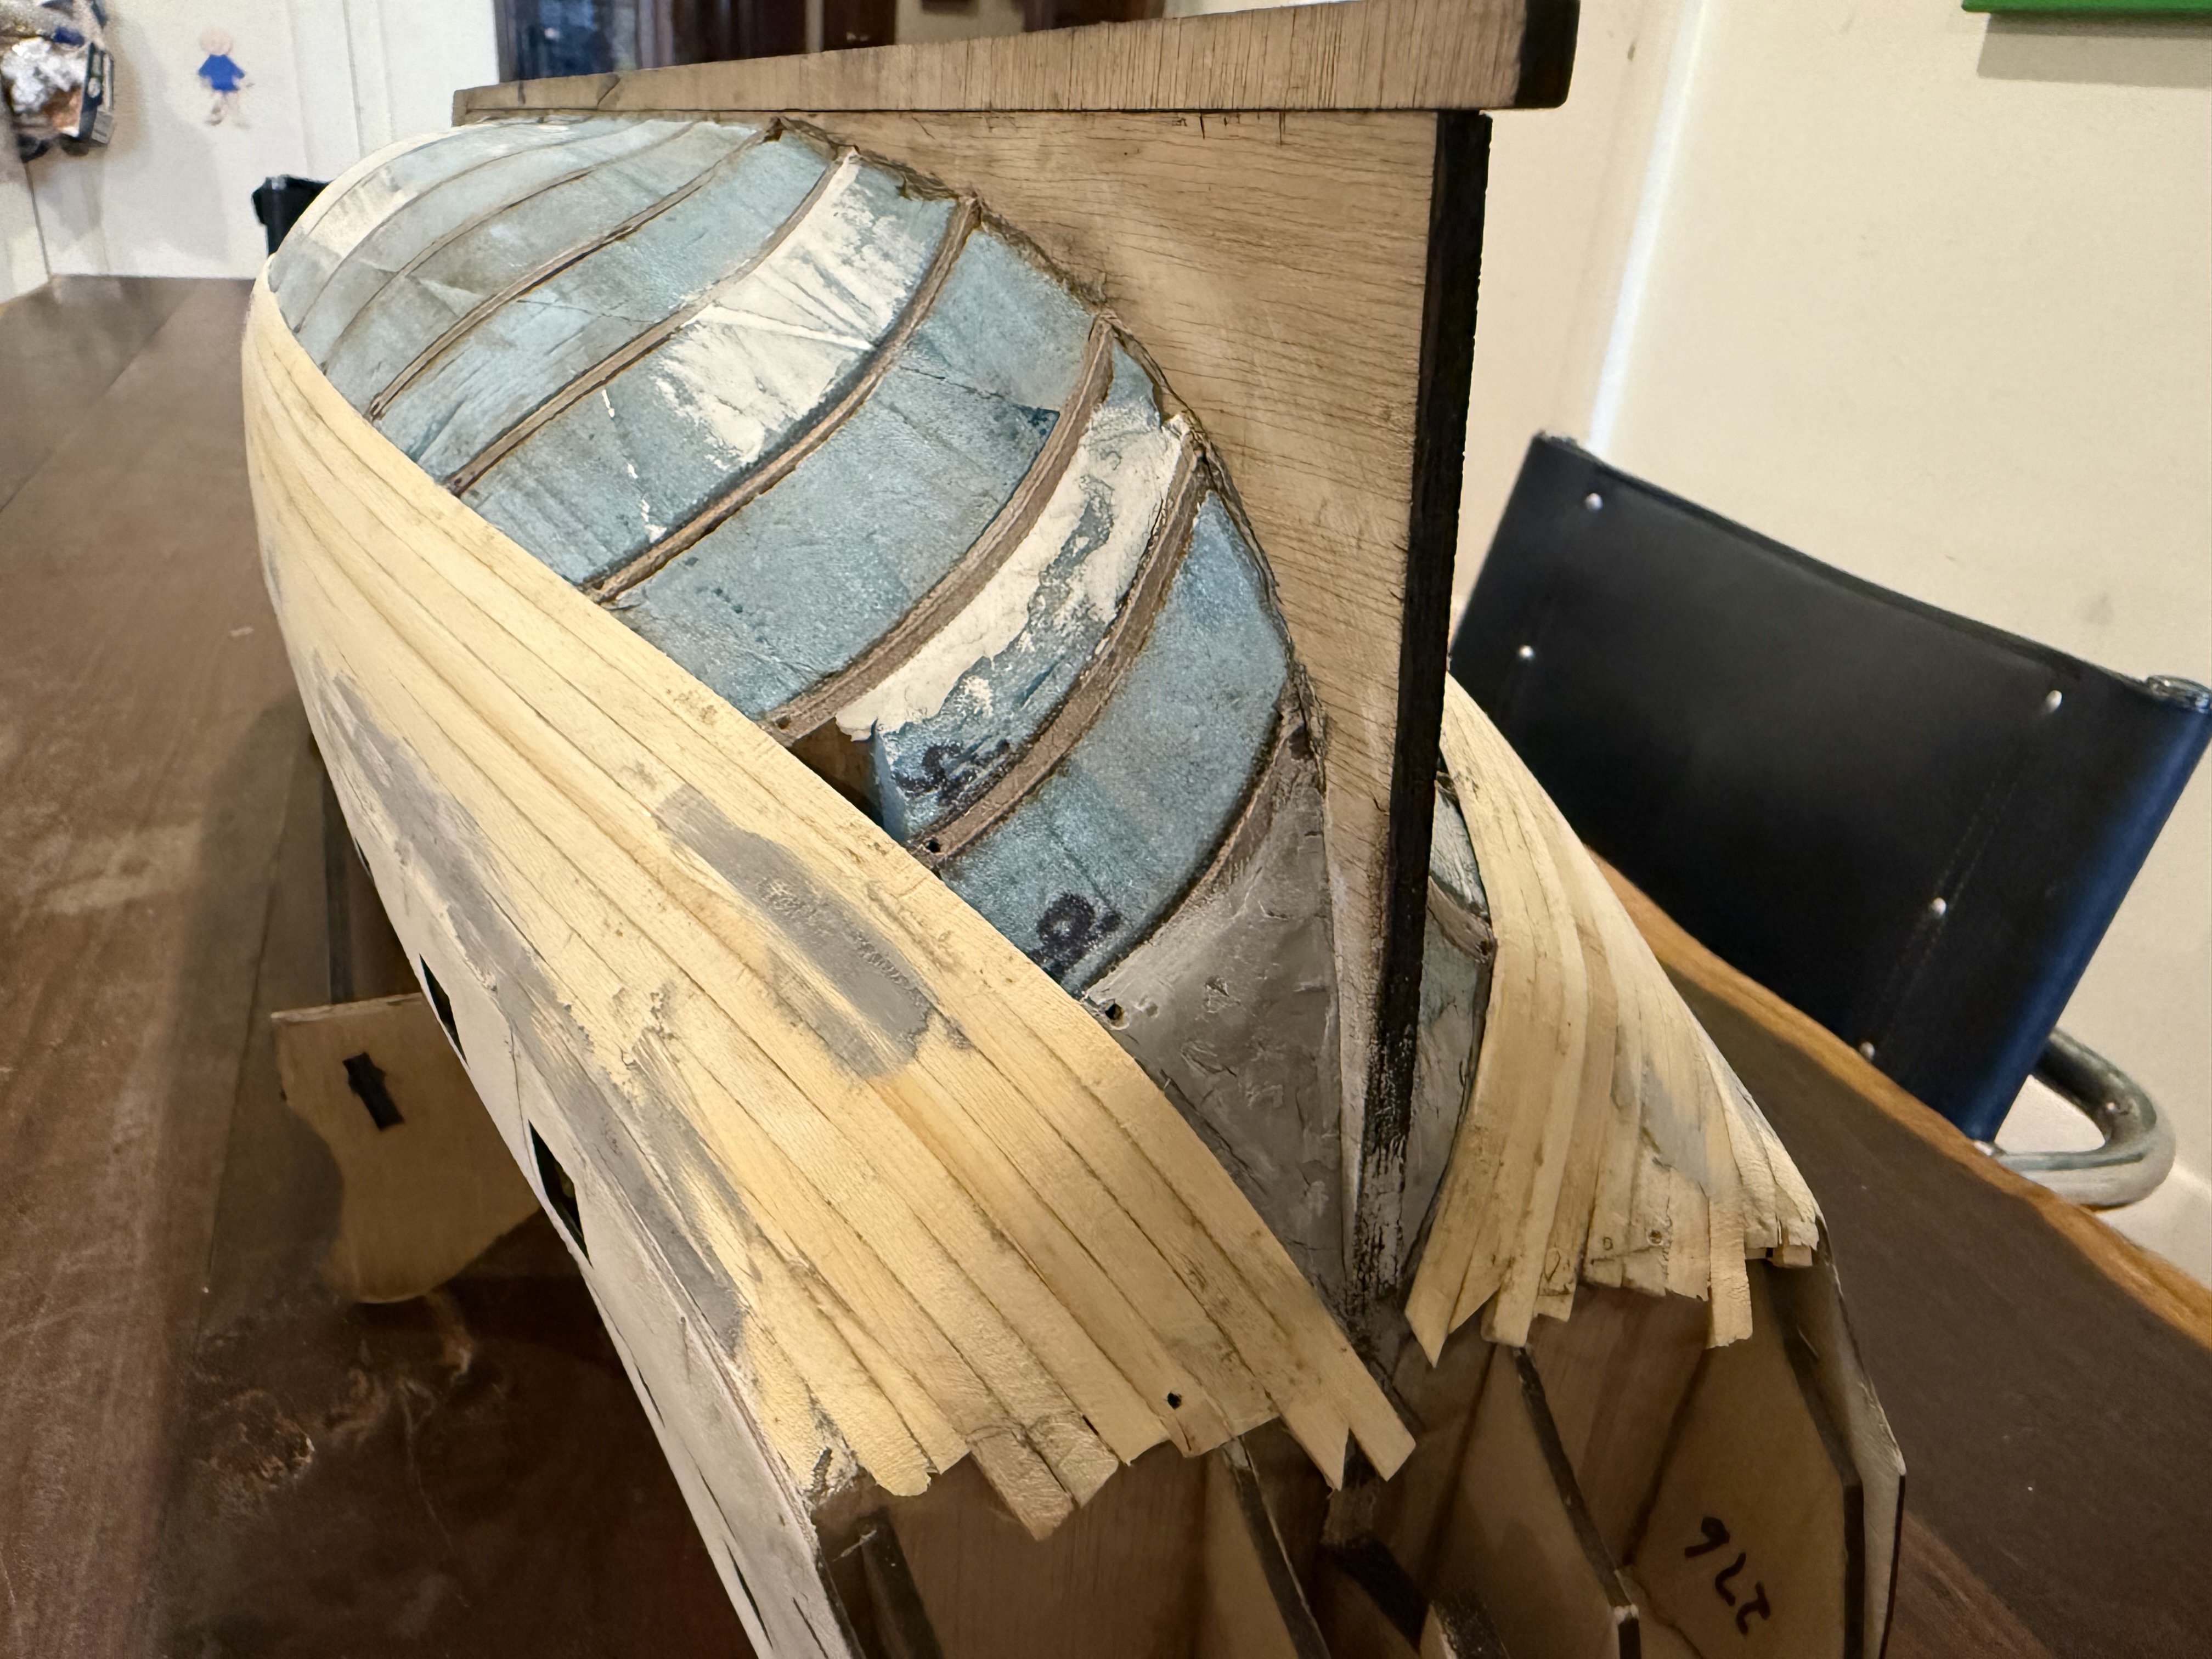
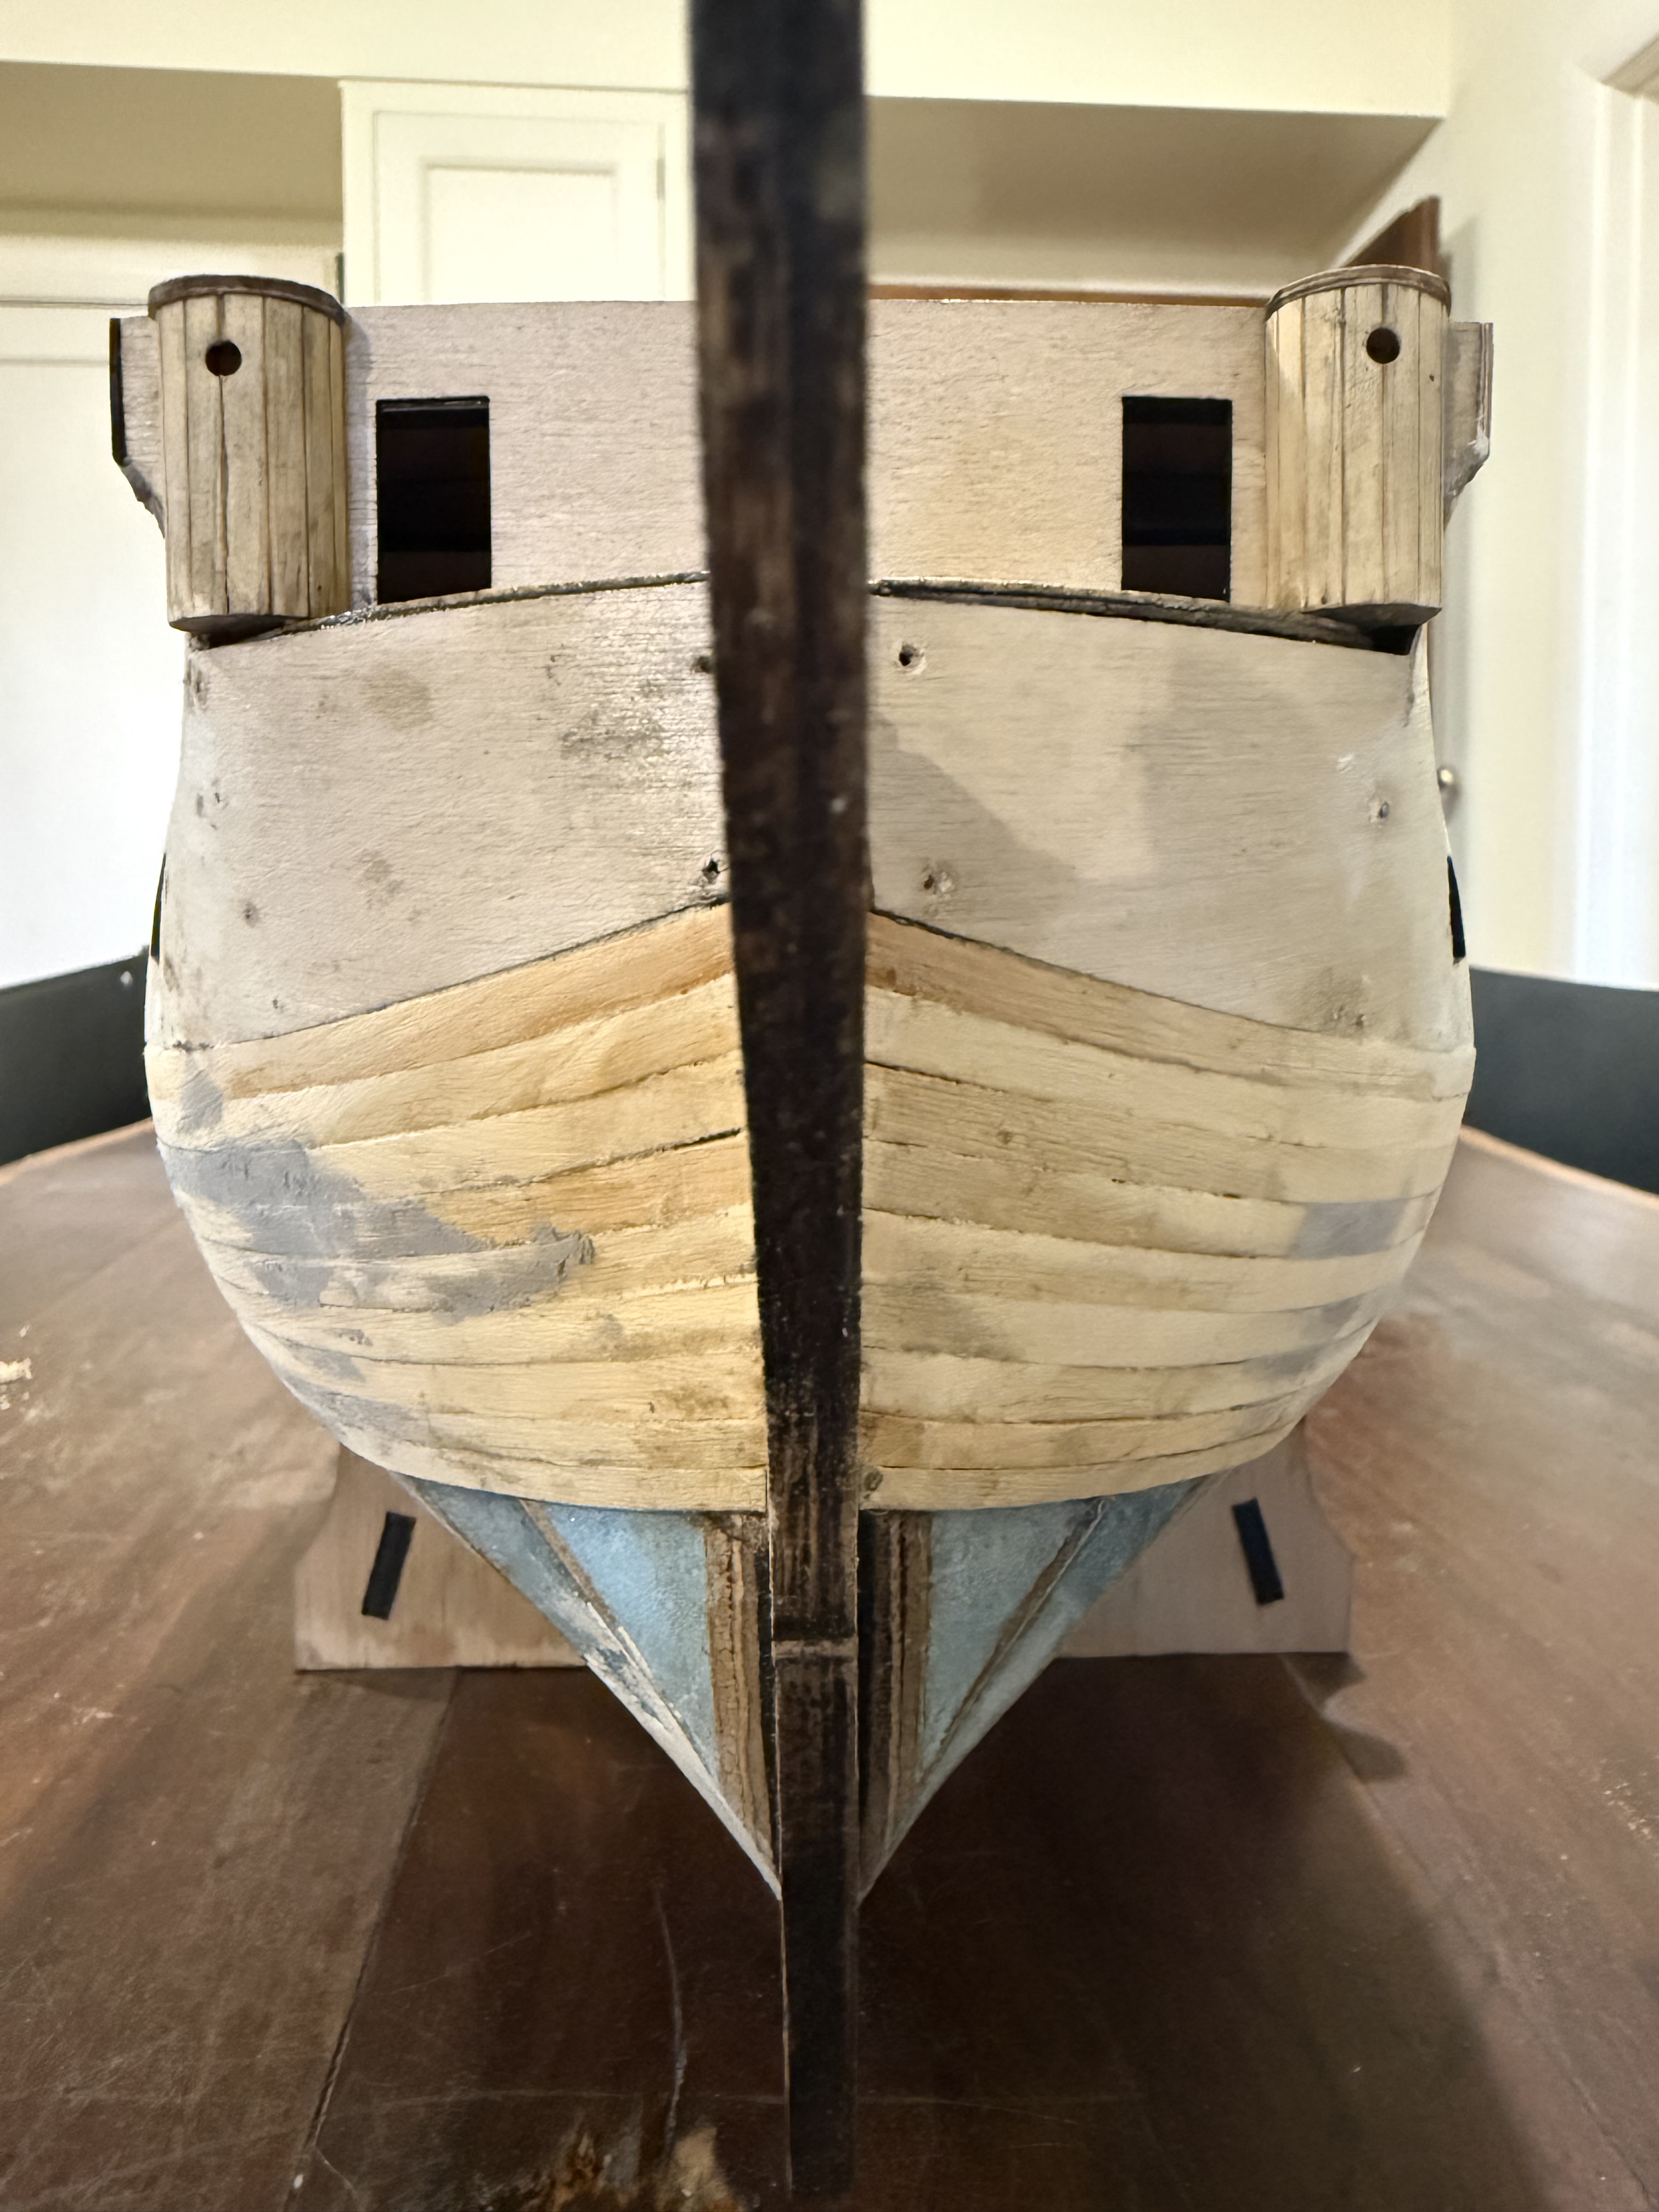
Today I completed the first layer of hull planks on my 1:72 scale model of HMS Bellerophon.

There are approx. 28 planks per side. The first 2 planks took a whole day to install, one on each side. The next day I achieved 4 planks installed. My best effort was 6 planks in a day. I did get more efficient with experience but even then, each plank took about one hour.. I was a bit nervous about removing the clamps before the glue (PVA) had set properly, and tended to wait a couple of hours before doing so. Overall, this first planking took 2 weeks, with some days out for other activities. Today was spent sanding and filling, then more sanding and filling.

These planks will mostly be covered with copper and will not be visible, so I did not regret having to use some filler. The upper section with the gunports will be planked later (“the second planking”) and will be painted
The main aim with the first planking layer is to get the shapely curves right, and as this photo, and the next ones show, I think that was achieved.
The stern counter was then glued into place. The hole is for the rudder.

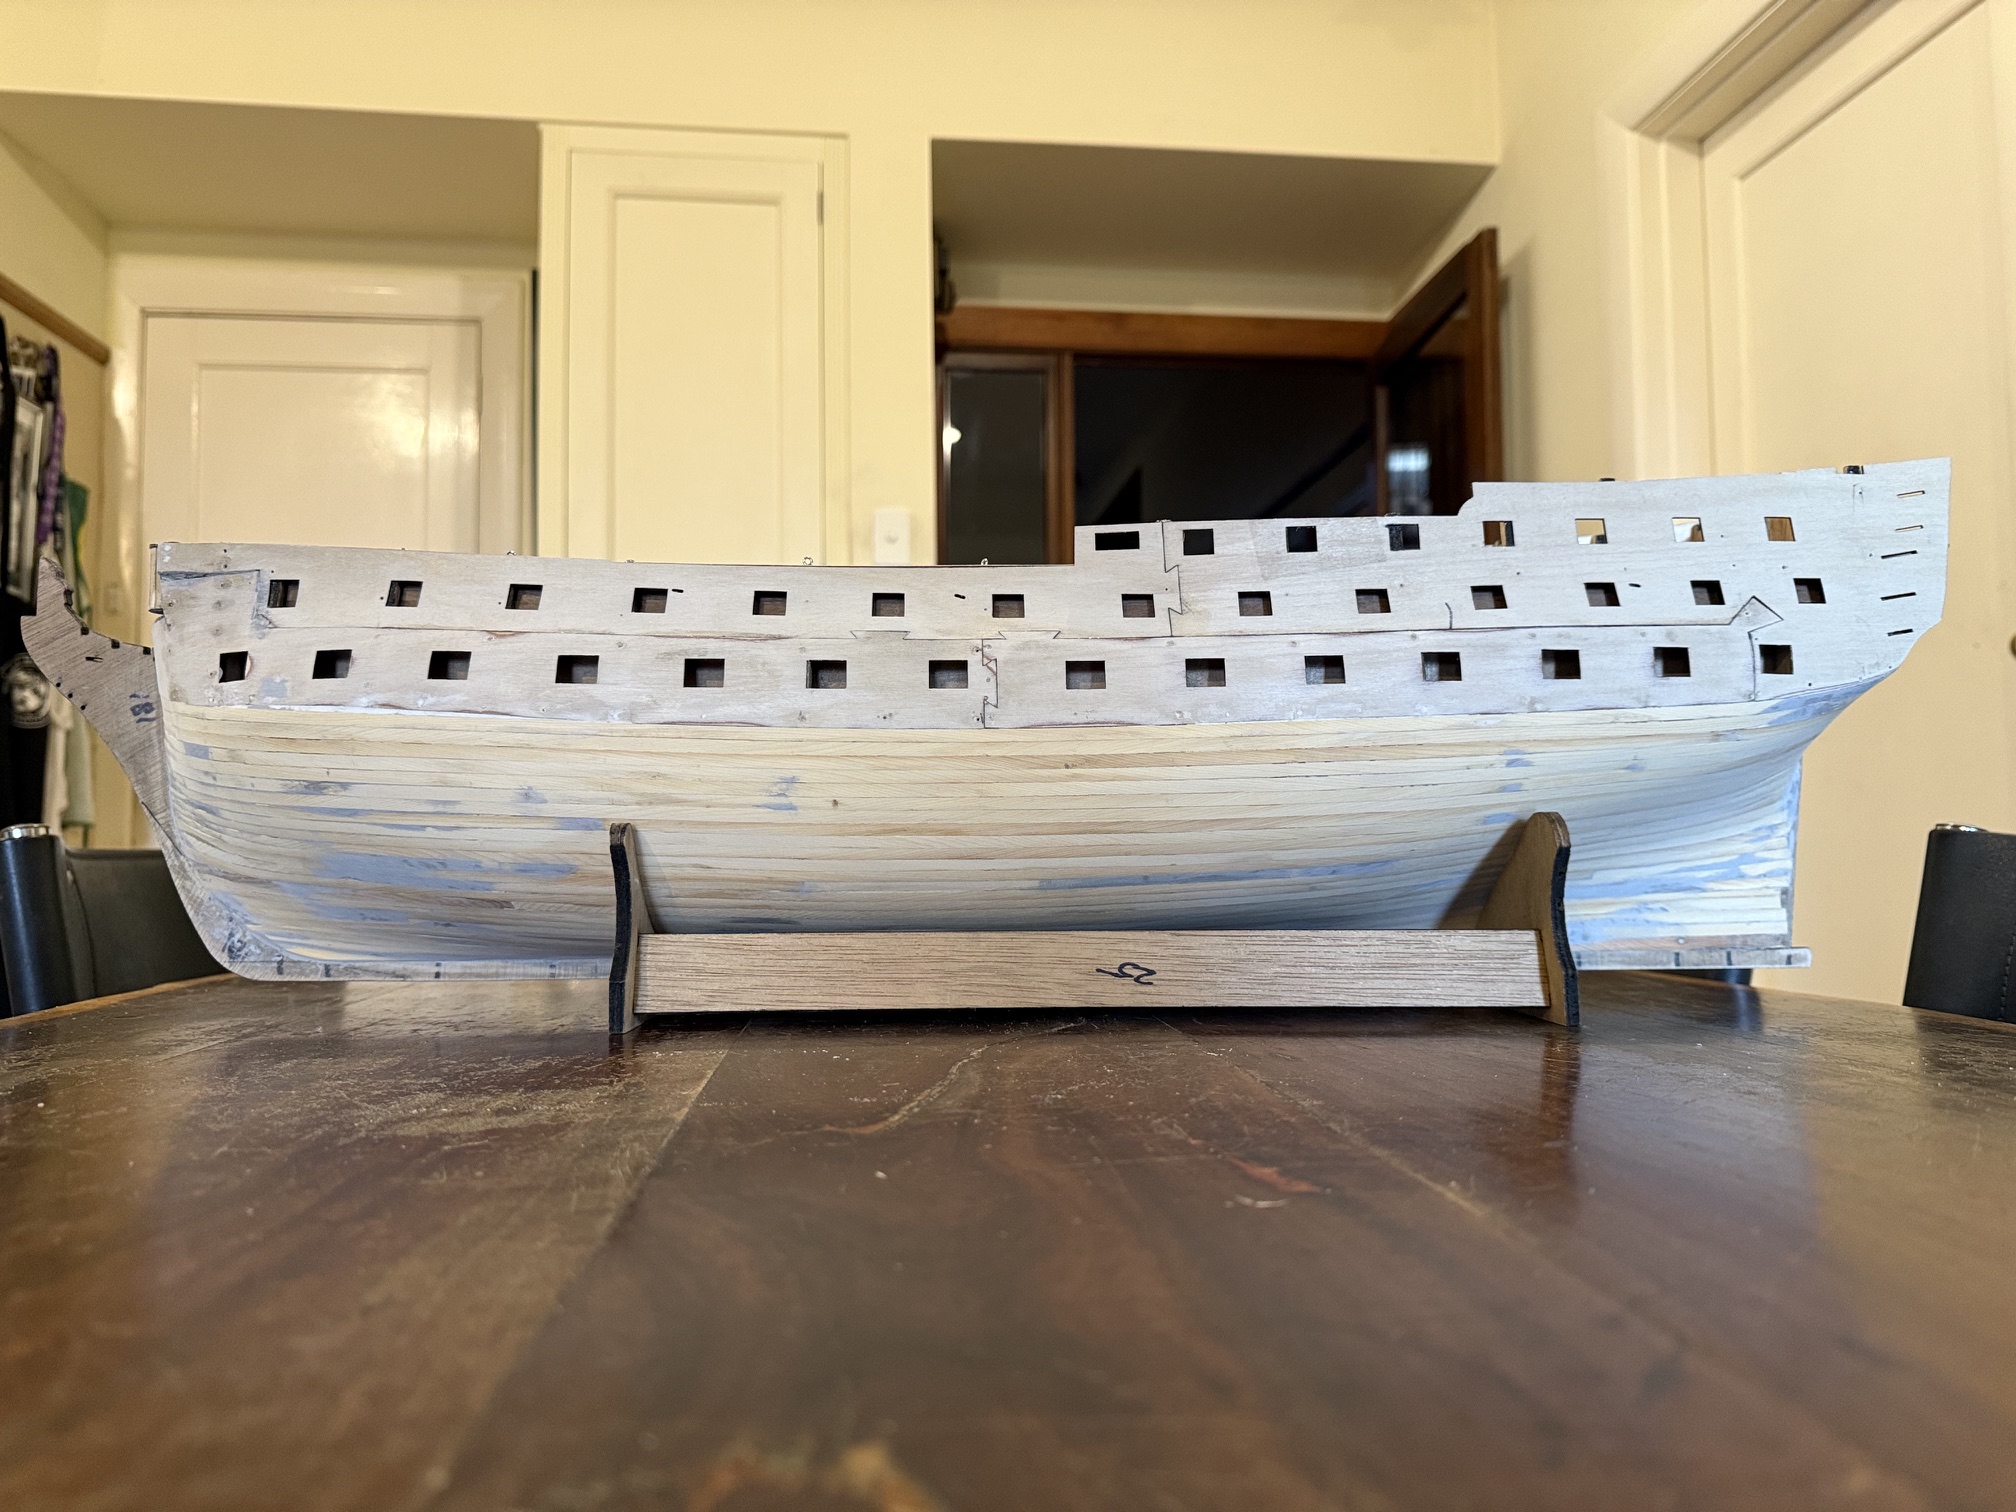
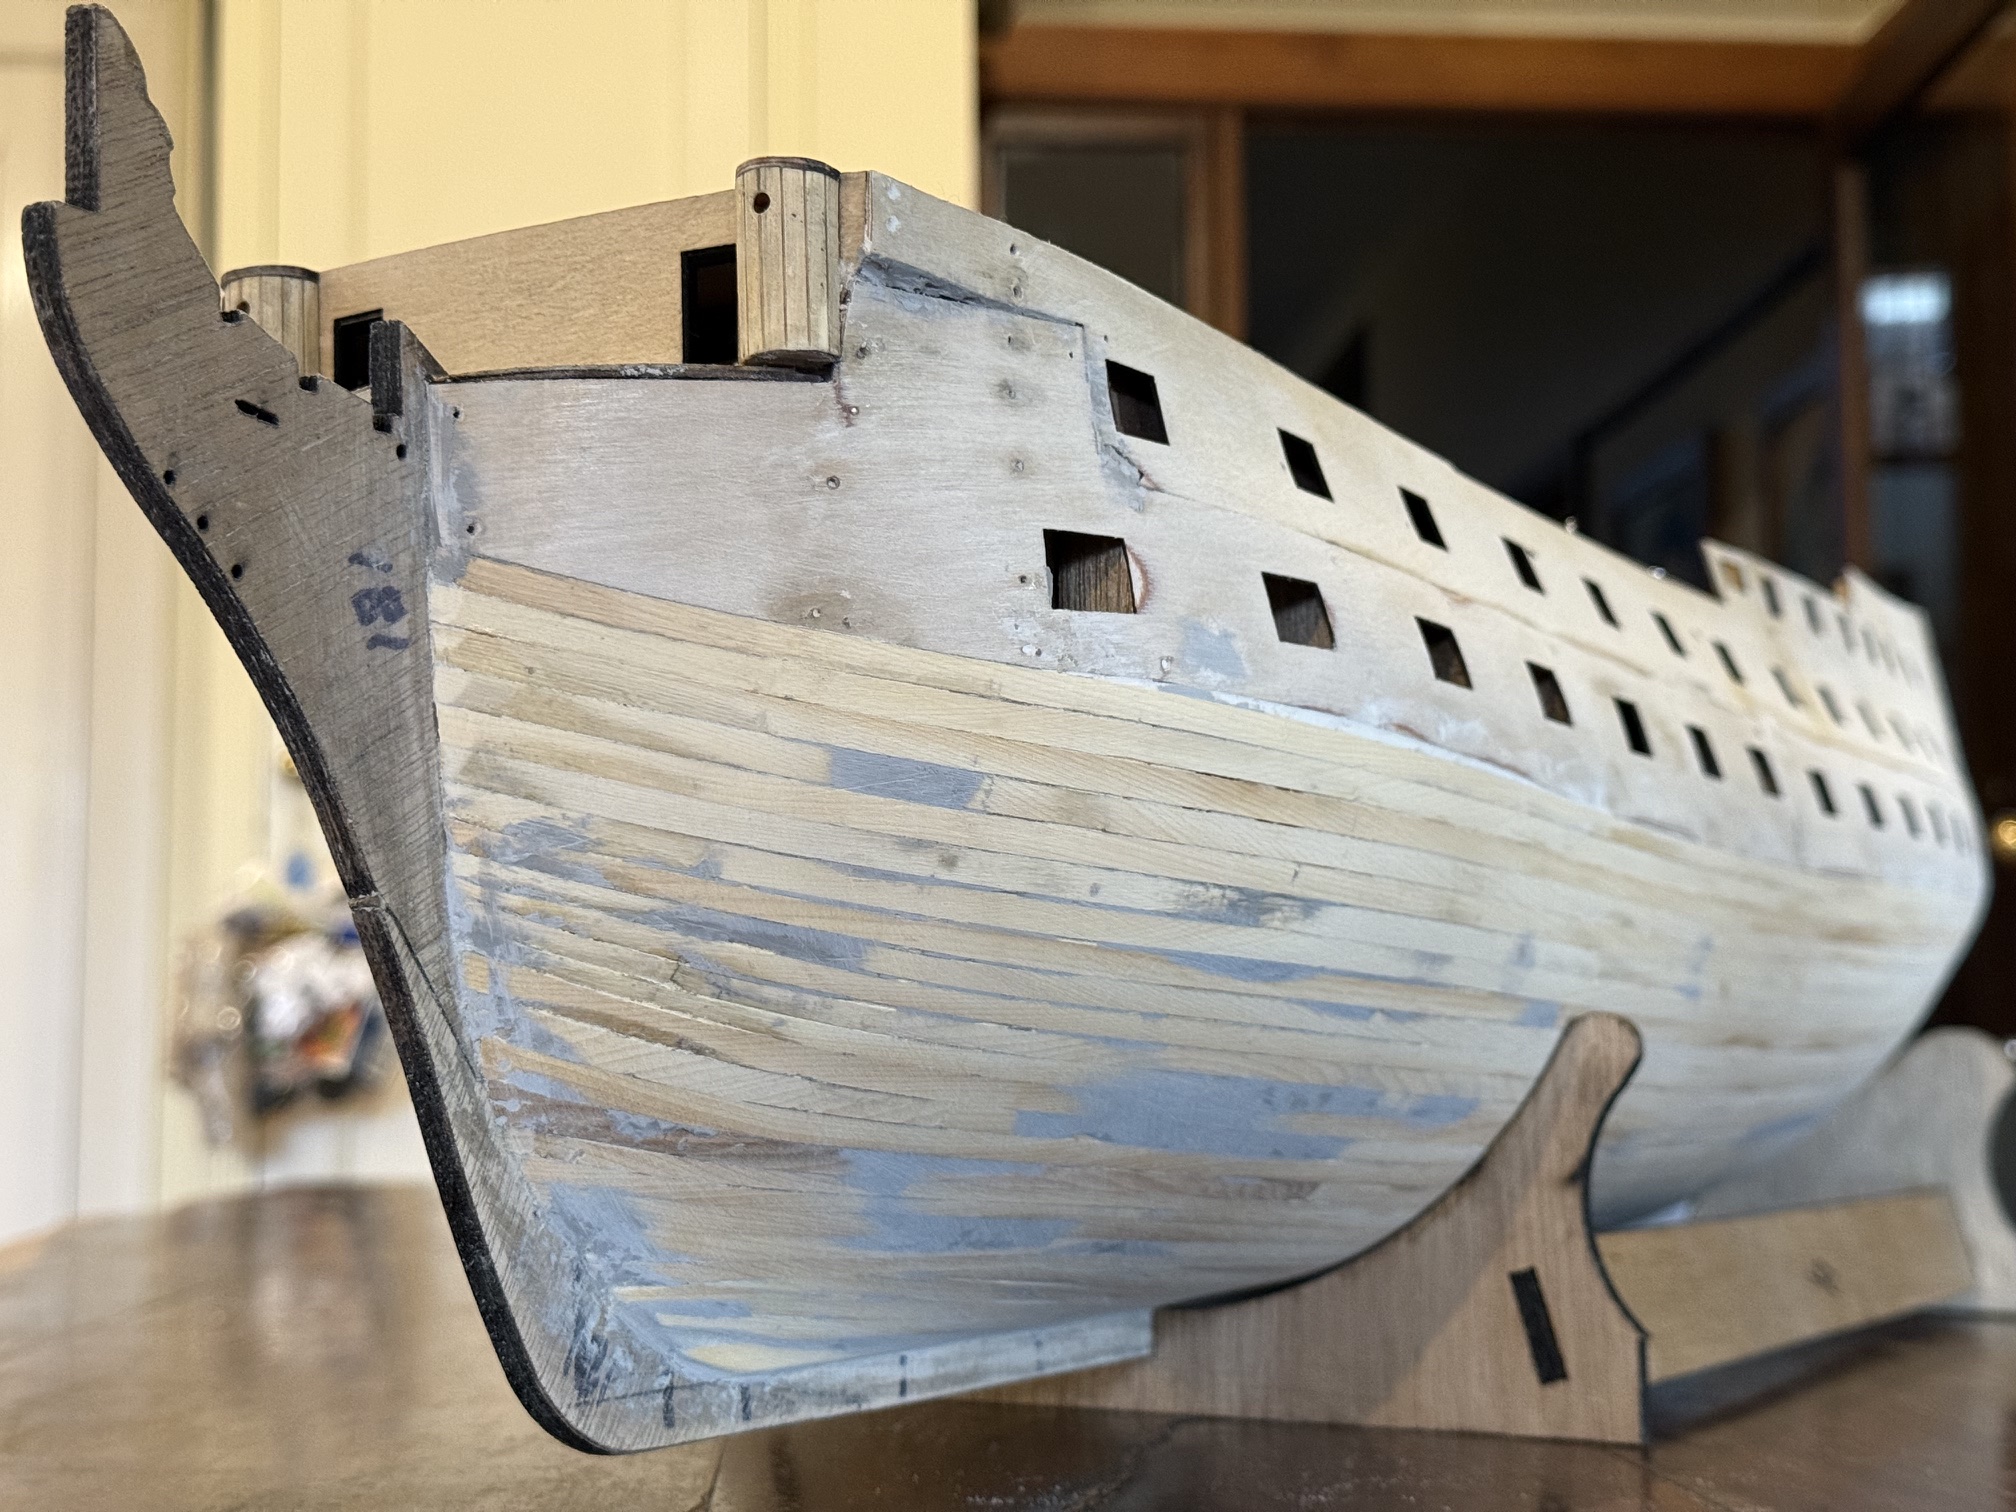
So the plywood around the gunports will be covered with 0.5mm thin planks and I am now pondering whether a second layer of planks is really necessary to cover these Huon pine planks. After all, they will be covered with copper or paint, and the shape and finish is pretty good…..

Wait and see. Watch this space.

Bellerophon Planking Continues…

In the 2 layer method of model ship planking the purpose of the first layer is to create the final shape of the exterior of the hull, and to provide a base for attaching the very thin (0.5mm) final layer planks. The shape was initially determined in the model by the shapes of the bulkheads and keel, and refined as far as possible by judicious sanding, but as the planking progresses small depressions and bumps become more obvious and can be corrected to some degree.

As mentioned previously, I chose Huon pine for the first layer of planking, because the the thin strips (5mm x1.5mm) can be bent and twisted into fairly sharp bends without snapping. It is beautiful fine grained timber, and it is a shame that it will be finally covered by copper or paint or a second thin layer of darker planks such as walnut or jarrah.

Each plank covers 5mm. It is glued to each bulkhead and edge glued to its neighbour. I manage about 1 plank per hour, so what you see is about 18 hours effort. If I see obvious hollows or bumps I fill or sand as I go. The plank filler is “Multifill”. It dries quickly and sands well.

The severest bends are at the stern and the bow. So far I have needed only 2 “stealers”, the wedge shaped filler pieces, but more may be required as the planking progresses. The 3D printed clamps are working very well. The stern post will be attached when the planking is finished.

Each clamp requires a 1.5mm hole drilled into the bulkhead. It is filled with glue when the next plank is attached. The hole is angled and positioned so the plank is held flat against the bulkhead, and with as much length for the screw in the bulkhead as possible. Each plank has its opposite installed immediately after so the twisting force on the hull is balanced.

At the bow I have started to taper the planks so they sit flatter against the bulkheads. The lowermost 2 planks are tapered for about 100mm.

I am reasonably satisfied with how the planking is going. No major problems so far.