johnsmachines

machines which I have made, am making, or intend to make, and some other stuff. If you find this site interesting, please leave a comment. I read every comment and respond to most. n.b. There is a list of my first 800 posts in my post of 17 June 2021, titled "800 Posts"

Tag: Southworth pump

Southworth Boiler Feed Pump – progress

Most of the components of the vertical Southworth pump have now been machined, and following are some photos of the assembled bits. Not a final assembly, because the gaskets are yet to be fitted. My friend Stuart is currently, or possibly has already, cut out the gaskets on his CNC laser.

I did not make the external valves on the exterior. They were mostly sourced from sales of a deceased steam model maker. In using the parts on the Southworth pump, I hope in will be seen as a compliment to that maker, acknowledging his efforts. Thanks Harry.

The vertical Southworth steam powered boiler feed pump stands 150mm/6″ high. At top is the steam cylinder, piston, steam chest and steam chest lubricator (also made by Harry C.). At bottom is the actual pump. Yet to fit the gaskets and pump valves, and to block the holes shown, which were required during machining but become permanently closed now that machining the internal cavities is complete.
Slightly different view, from above. The red handled pliers are Knipex parallel jaw pliers, which have been invaluable during this project. I have 3 sizes of these pliers, and will eventually have the full range. They are not cheap, but worth the cost.
The steam chest, with cover removed, showing the 2 valves. On the right is the pilot valve which is activated by a lever from the piston rod. On the left is the shuttle valve which is activated by steam from the pilot valve through hidden passages, and which directs steam to the main piston. Now that I have made the parts and assembled them I am getting some comprehension of how this pump actually works! This photo shows that the taper on the steam entry valve needs some tidying. The copper washers under the 2 external valves are compression types, which are very useful in positioning those valves when the threads don’t exactly finish where the maker wants.

So, that is progress to date. A few more parts to make and install. Then to make various adjustments and get the Southworth pump functioning.

Coming up later this week. A visit to The Army Museum at Bandiana, Wodonga, Victoria, to see the Armstrong 110pr (110 pounder refers to the weight of the projectile the 1861 cannon could fire) breech loading cannon barrel, which I modelled last year from drawings and photographs and 19th century book descriptions. I am hoping that original inscriptions and engravings will still be visible on the barrel so I can add them to my model. As far as I am aware, this barrel is one of only two existing examples in Australia. And of course I will be touring the rest of the museum taking photographs to post here.

Vertical Southworth Pump

I will post progress in making this 6″ pump. I started making it 4-5 years ago, but put it aside when the horizontal version worked so well. See the previous post to see a video of the horizontal 2 cylinder pump filling the 6″ vertical boiler.

So, 2 workshop sessions later, and I have made the piston rod with steam and water pistons, and the studs which support the steam and water cylinders.

Doesn’t sound like much, for 2 whole sessions of 4-6 hours each, does it? But there it is.

First the studs.

They have to be identical lengths, with an M3 thread at each end. And a central narrower section with a curved end fillets. I decided to CNC the central section, with an Unbrako stud held in an ER collet (left) and a cap screw (right) in the tailstock.

The stud right with M3 threads at each end. At left, the narrowed section with curved fillets. The cap screw fitted nicely into tailstock and the Unbrako thread left into the headstock. The locknuts were required to prevent unscrewing during turning.
The aluminium insert worked nicely on the brass studs. 2000rpm, F50mm/min. 1985 Boxford TCL 125 CNC lathe.

Then the single piston rod, 4mm diameter, with the large steam piston, and small water piston.

The pistons were drilled and tapped, and turned to exact size on the piston rods with a sharp HSS cutter and 0.25mm depth of cut.

The grooves for the O rings were made with a parting tool. Depth determined from a “Machinerys Handbook” table, and the width 50% larger, as specified. Unfortunately I damaged the O rings during insertion into the cylinders. But I had some Viton spares, and filled the sharp edges of the cylinder bores before trying them, with better success.

Southworth Boiler Feed Pump 2

For my next project I have decided to finish a Southworth Pump which I started several years ago. I purchased castings and plans for both a horizontal pump (which I completed), and a vertical pump which I did not complete because the horizontal version suited the purpose perfectly.

Here is a video of the horizontal pump, which is being used to supply water to a 6″ vertical test boiler. You can watch it by clicking on the red arrow, or opening YouTube.

So that one is in use, and now I have found the box of parts and plans for the vertical version, which I now feel the need to finish.

7 pages of A4 plans, water pump left, steam cylinder and chest right. Unfinished pistons, and 2 plugs not yet identified.
page 1 of the plans. The big components are mostly machined. Quite a few small ones to come. The cap screws are temporary.

Looking forward with some anticipation to getting back into this one.

6″ Vertical Boiler, Triple Expansion Steam Engine and Southworth Pump, all working together. Fairly well.

2 videos of the triple and the vertical boiler and the Southworth boiler feed pump working together for the first time.  Not perfectly yet, but working.


Southworth Steam Pump- first parts

A couple of days in the workshop, and the large castings are almost fully machined.  Straightforward machining.   Made a couple of mistakes, but none fatal.  Changing BA fasteners to metric.

P1032887.JPG

The steam cylinders block in the mill vise.   Almost complete water cylinders block sitting behind for the photo.

P1032888.JPG

Steam cylinders on right, water cylinders on left.  The temporary steel pins are to ensure accurate alignment of the 2 blocks.   Water and steam passages come later. 

This is the first model machining which I have done since April.  It should be second nature, but I admit to a bit of hesitation, nervousness, initially.  Especially starting on an irregular, slightly complicated shape like these.   But it is all coming back now.  And I am really enjoying it.

Steam Powered Water Feed Pump

My CNC mill is now mostly functioning, although several functions are yet to be connected.  The main spindle and XY&Z axes are working, and responding appropriately to Mach3 commands from the laptop computer.  It has taken longer than anticipated so far, mainly due to difficulty in understanding manuals supplied from Asia.   Axis limit and homing switches, oil pump, coolant pump, work light, and cooling fans still to be connected.

So there has been little of general interest coming out of my workshop.  Hence no posts on this site.  Not that I have been idle.

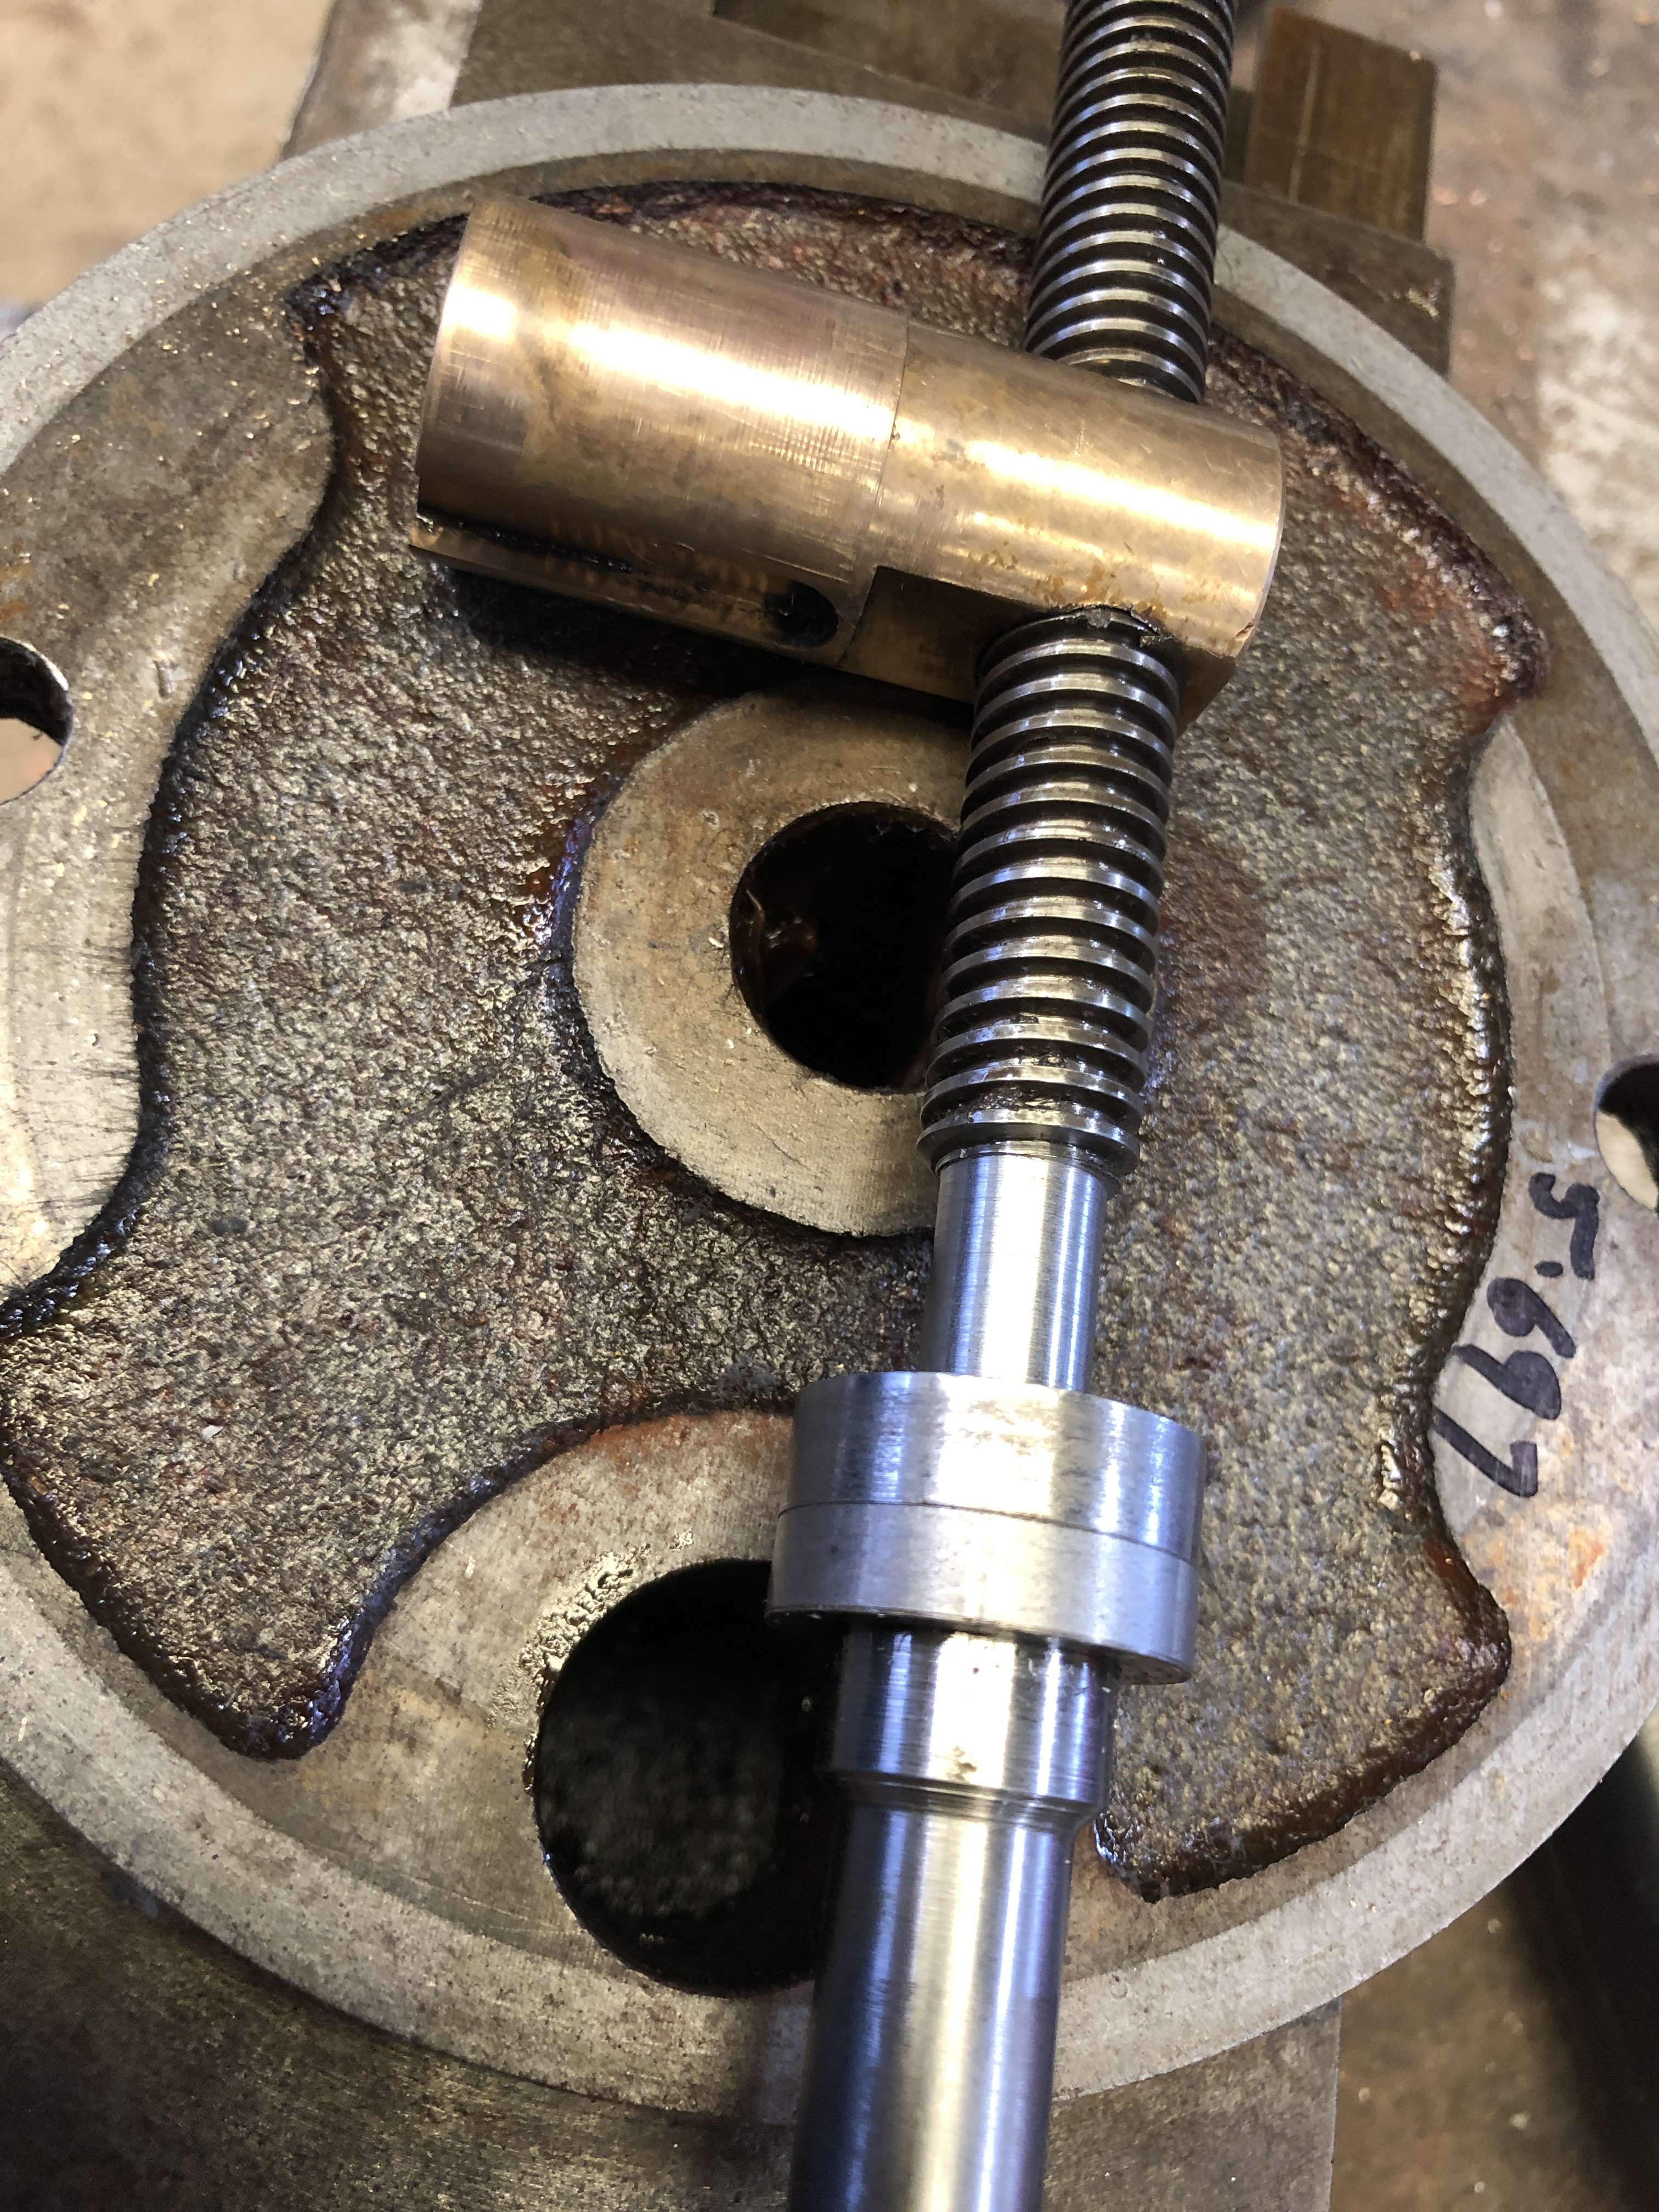
I disassembled the top slide on the Colchester lathe to discover the cause for excessive back-lash.  It was a worn acme thread bronze nut.   No luck yet in finding a new nut for this 45 year old lathe.   I will have to make one.  Meanwhile, I used a quick and dirty trick to reduce the back-lash which I will detail soon.

IMG_8156.JPG

The top-slide acme screw and bronze nut which needs replacing.

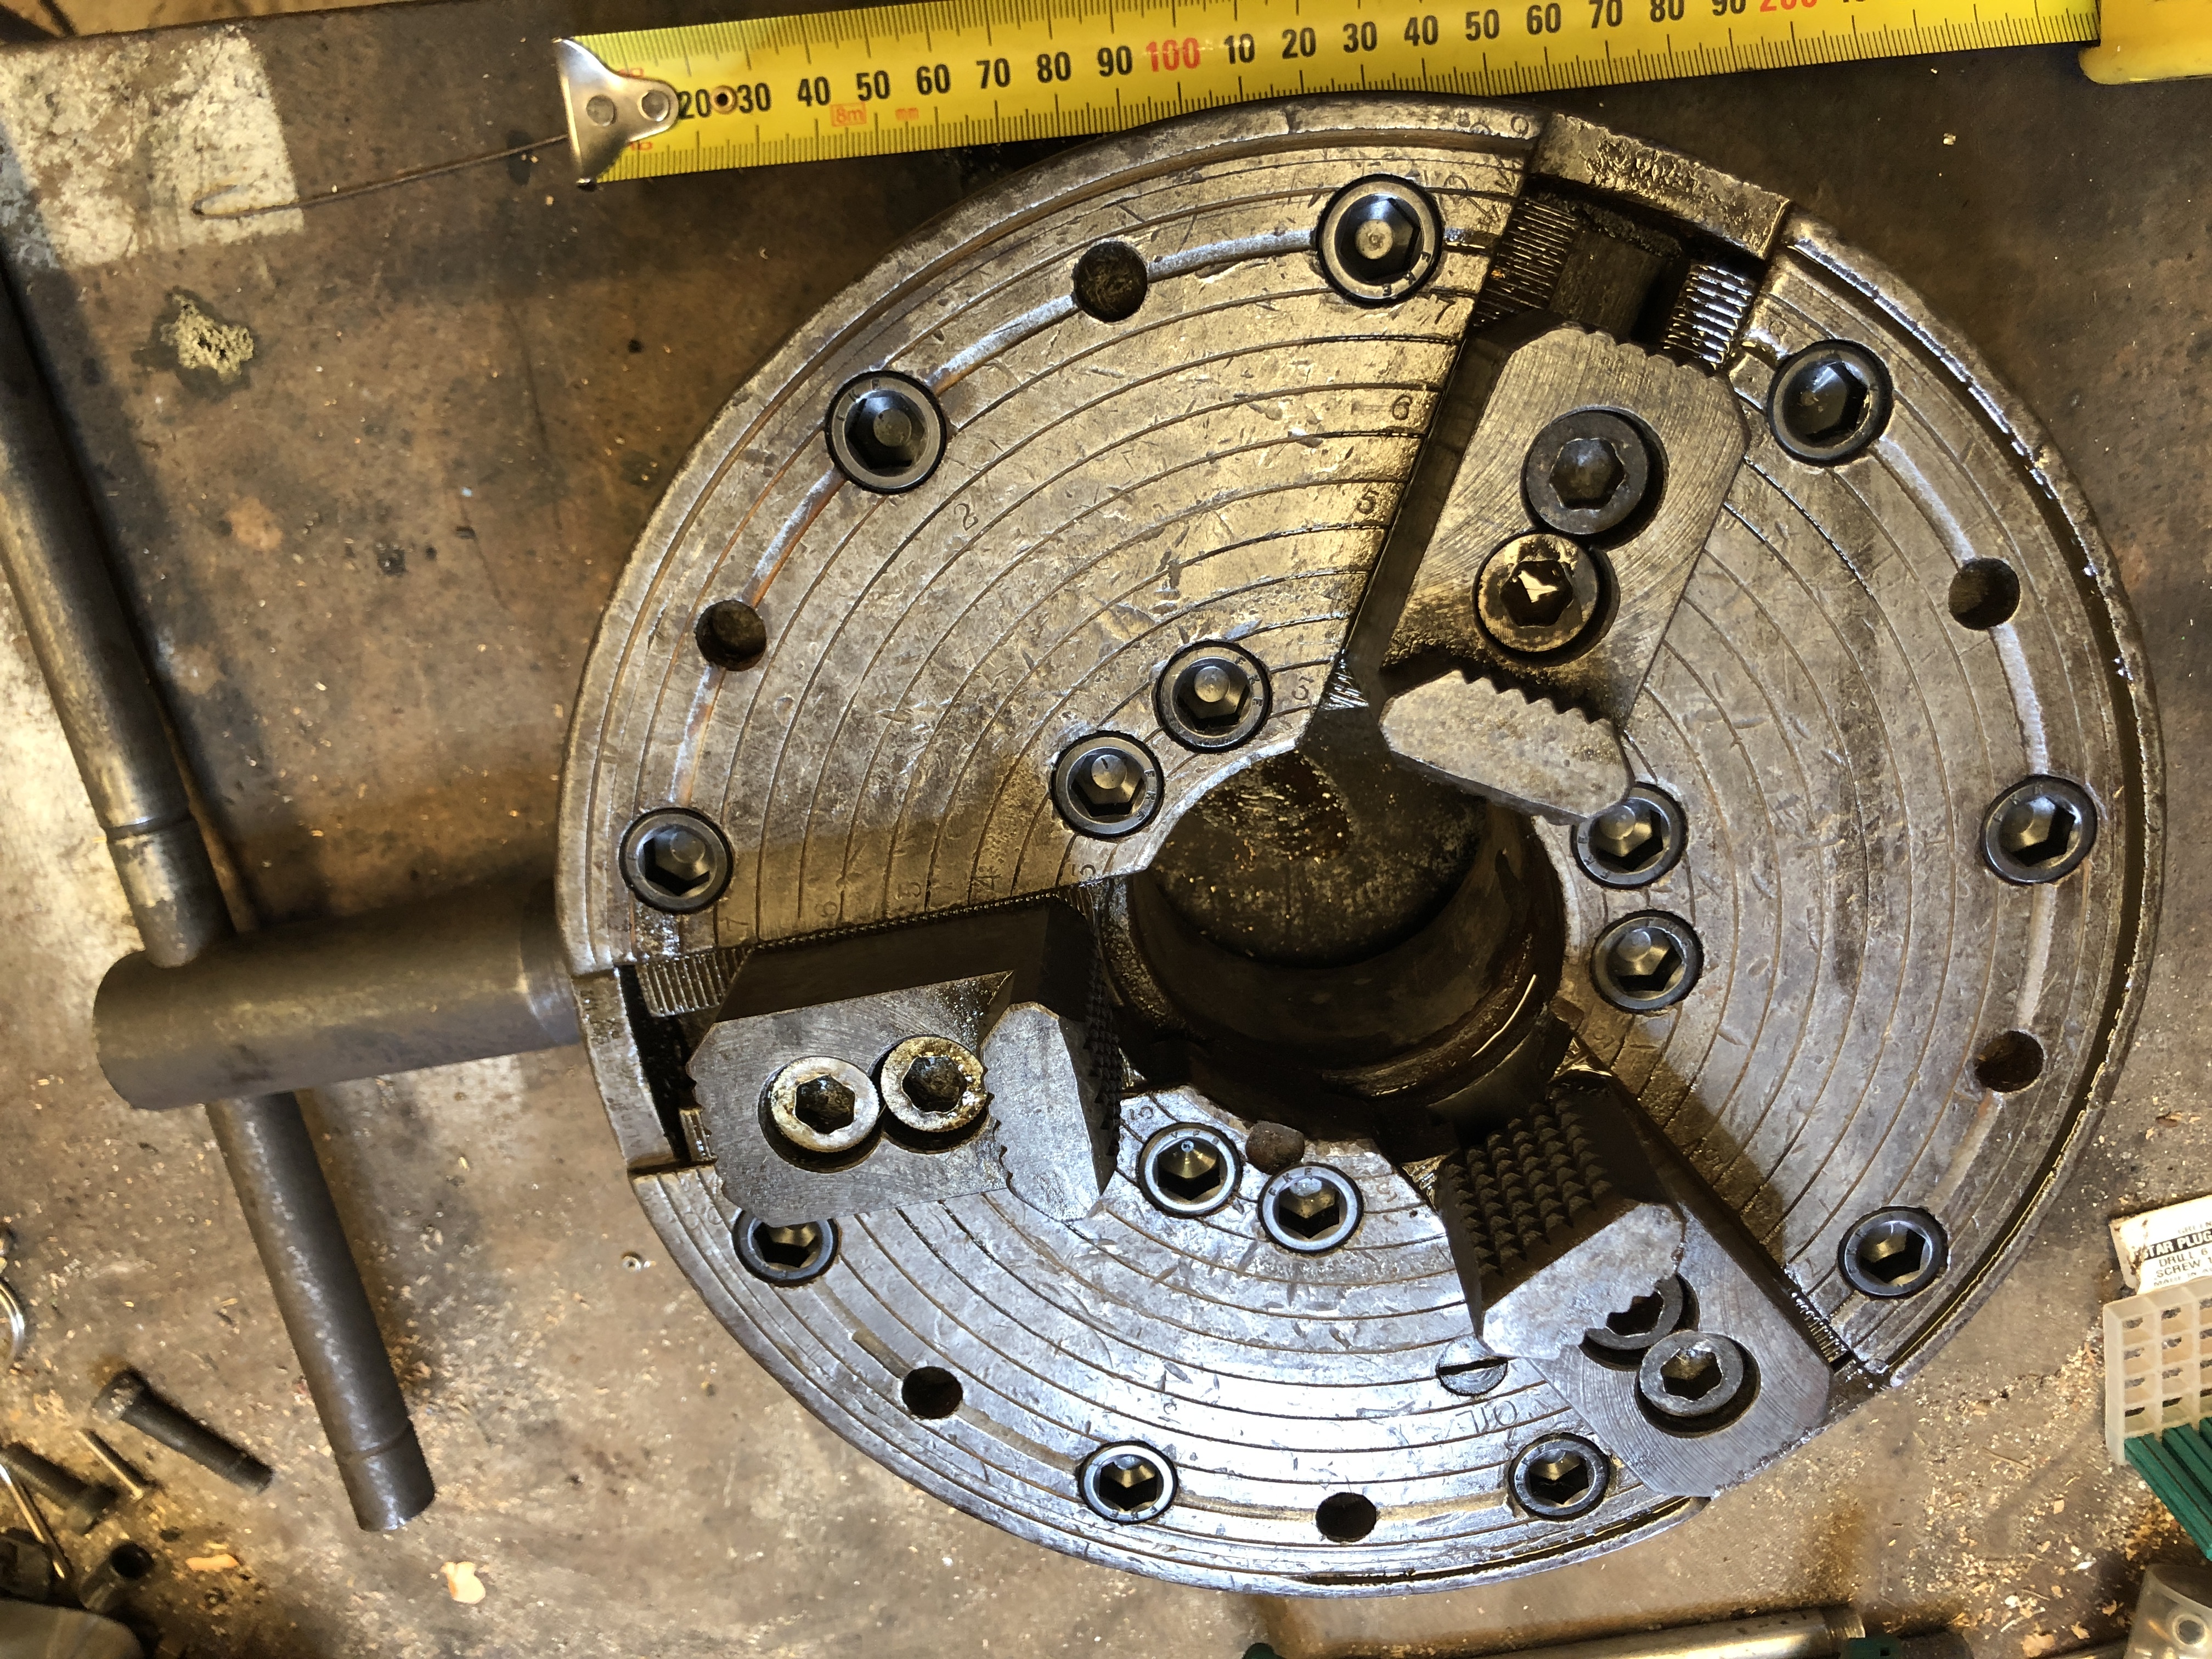
I also cleaned and freed up a 3 jaw 10″ chuck which I bought on Ebay.  It was frozen solid, so I soaked it in kerosene bath for a few months.  Actually, I forgot all about it while it was in the kerosene, and accidentally rediscovered it.   This time, after using an impact screwdriver, I was able to open it up and expose the gears and get them moving.  Might be worth a photo also.

IMG_8161.JPG

The 240mm diameter chuck.  I was tempted to buy by the removable, reversible  jaws.  Thinking that I could make some soft jaws.   Trouble is that it is an industrial production line chuck with very little movement.   But it is nice and tight.  Still deciding.  At least I can wind the jaws in and out a bit now.

And I finally got around to installing piston rings in the triple expansion steam engine.  Used Viton O-rings.  Not a difficult task, and it should not be difficult to replace them from time to time in future.   Will be interesting to see if the engine performance improves.

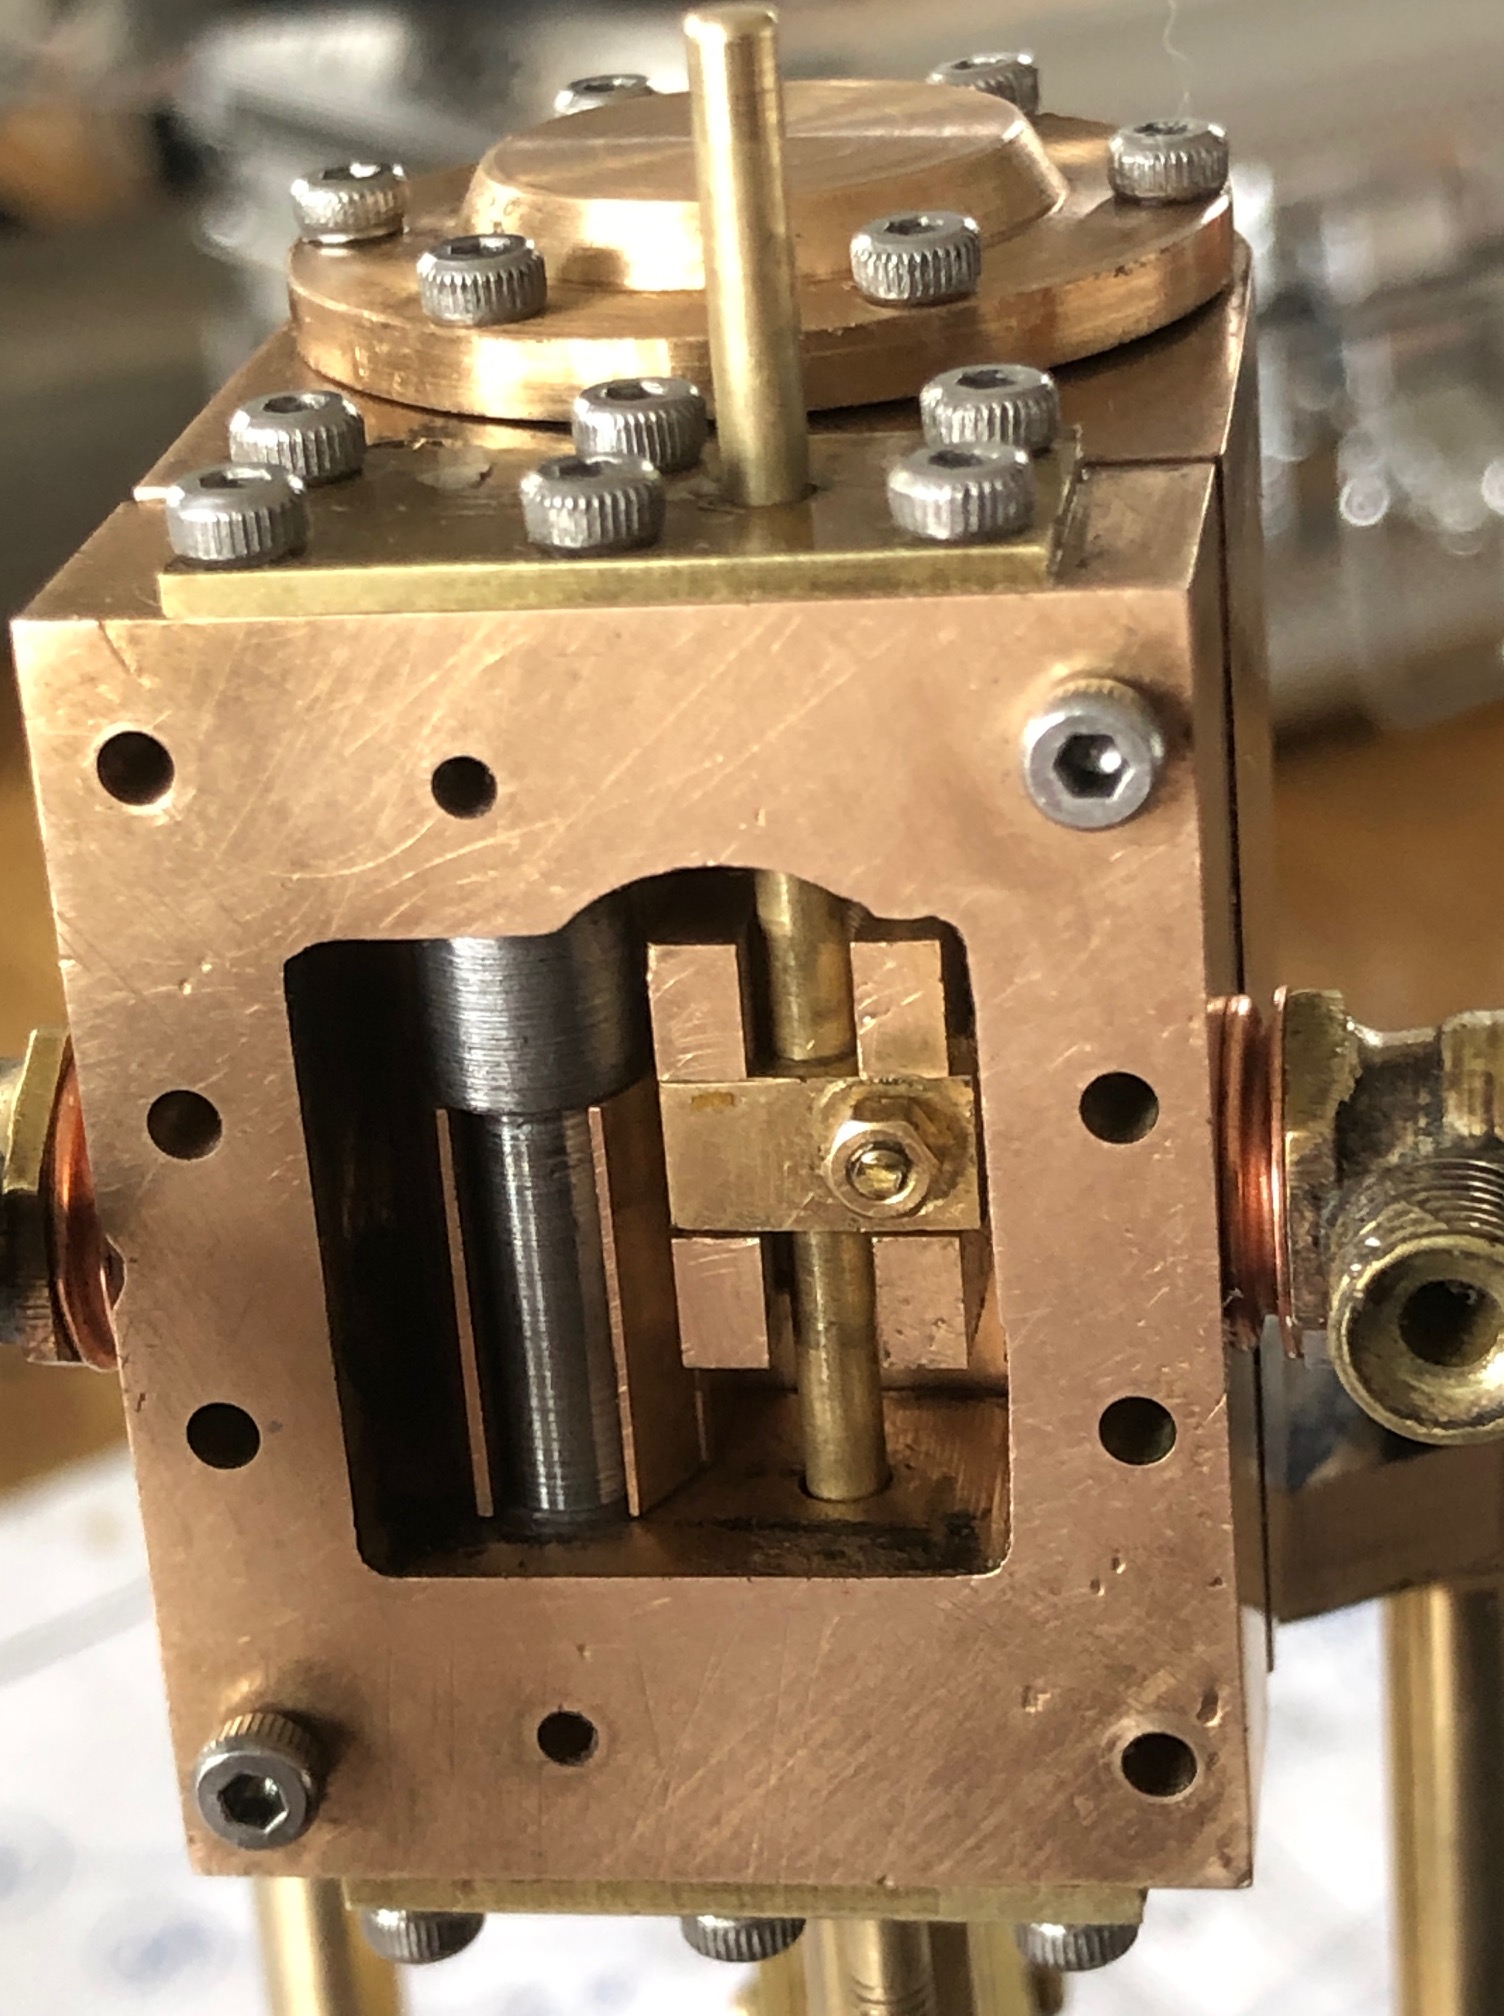
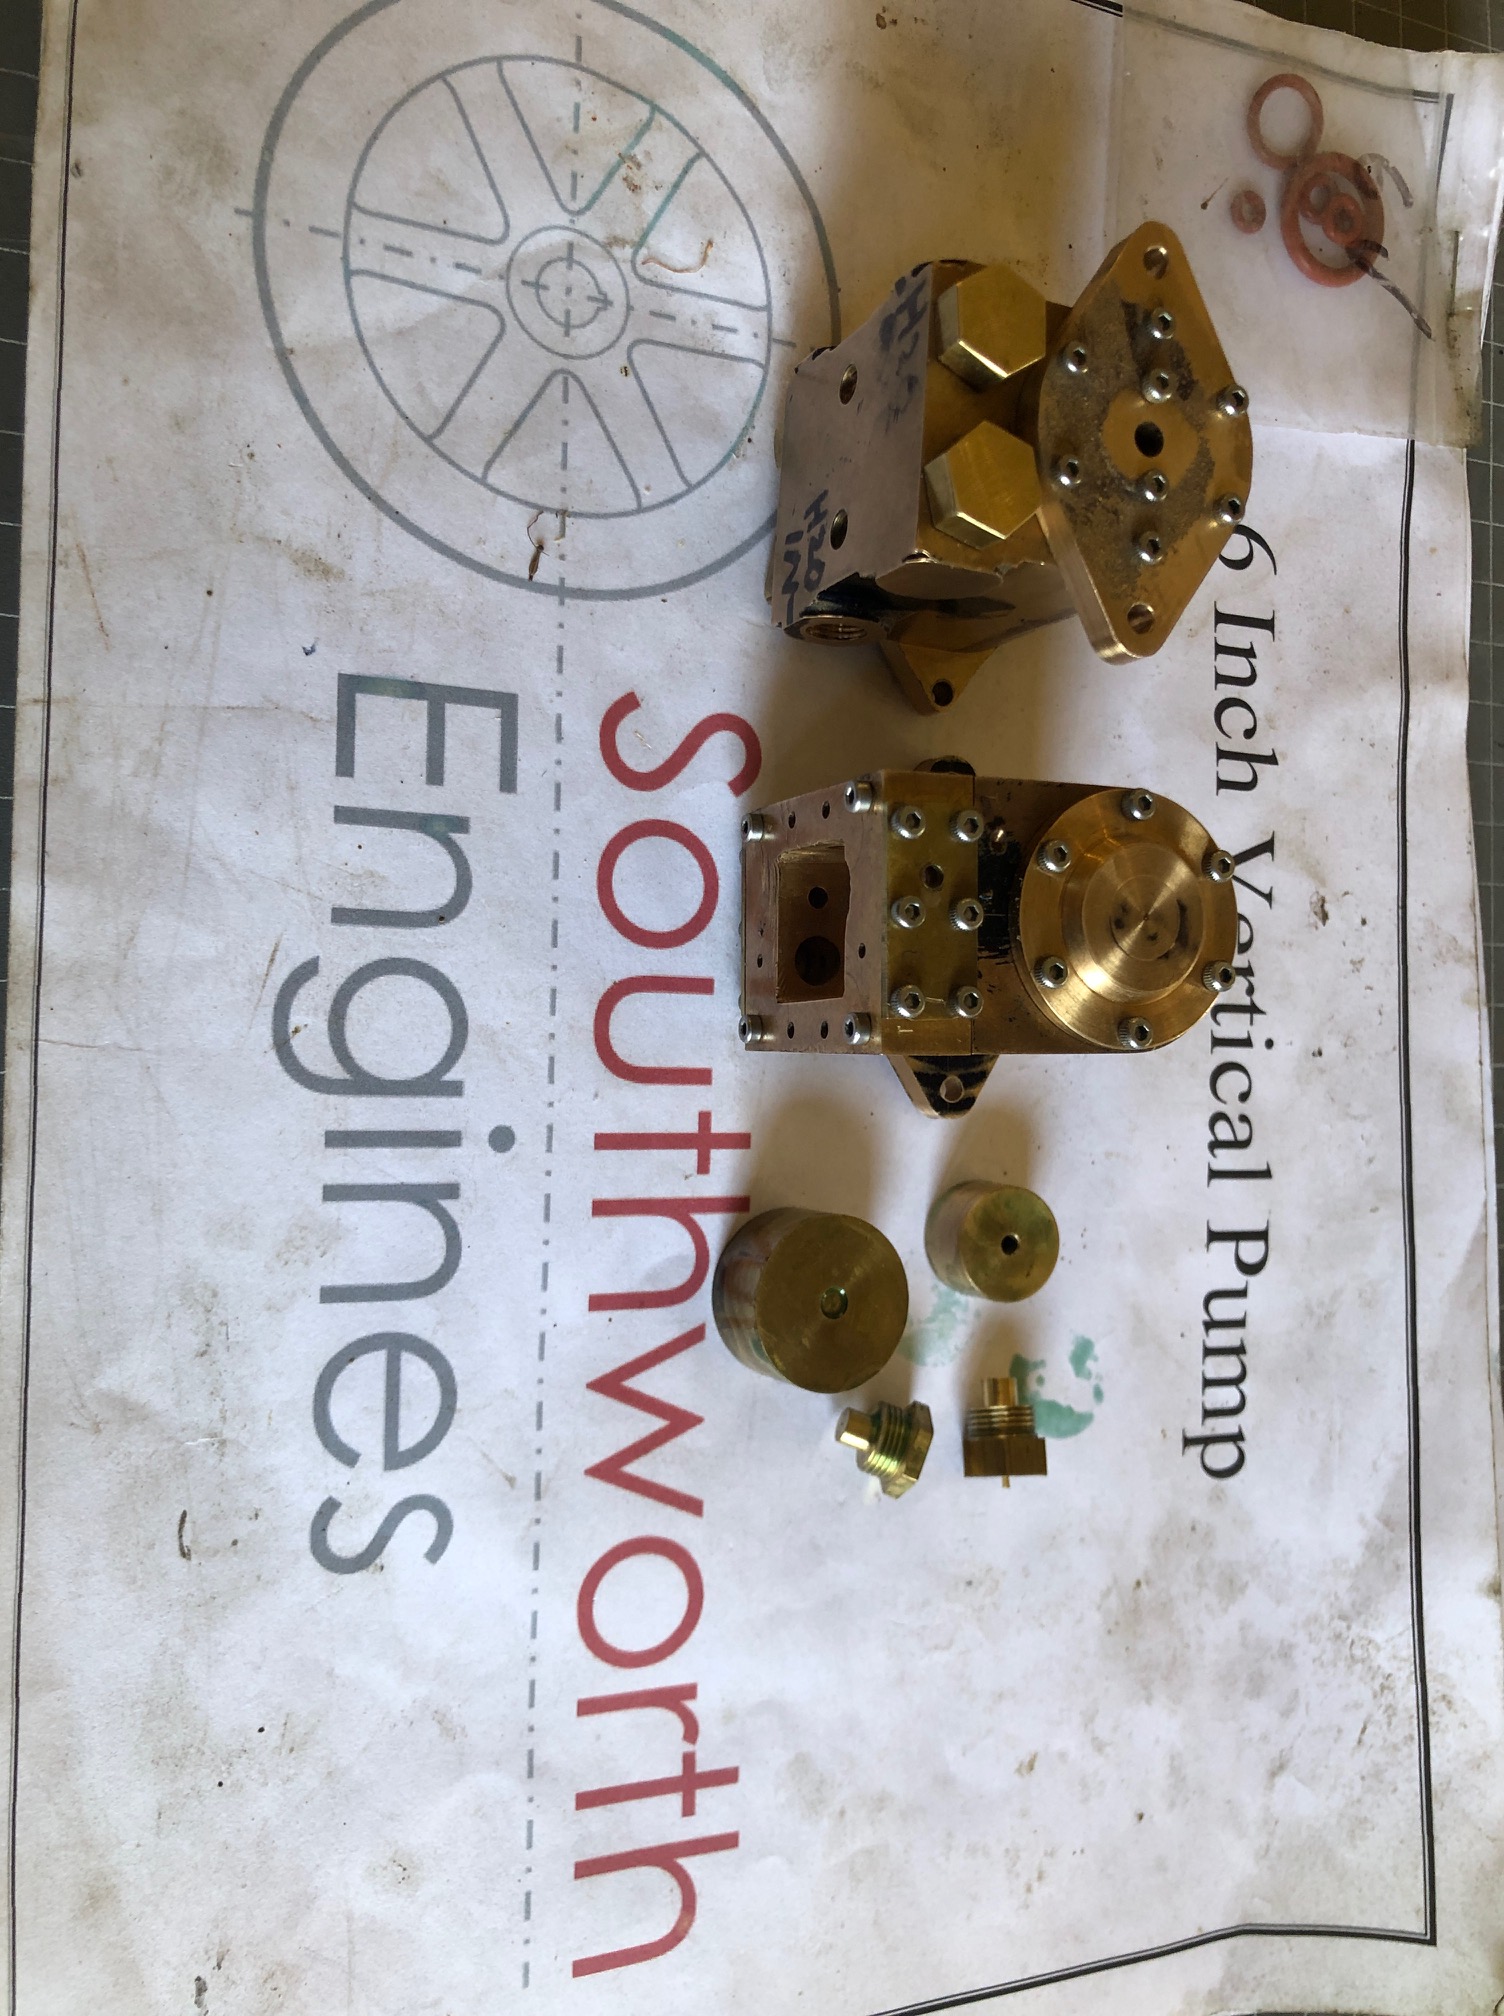
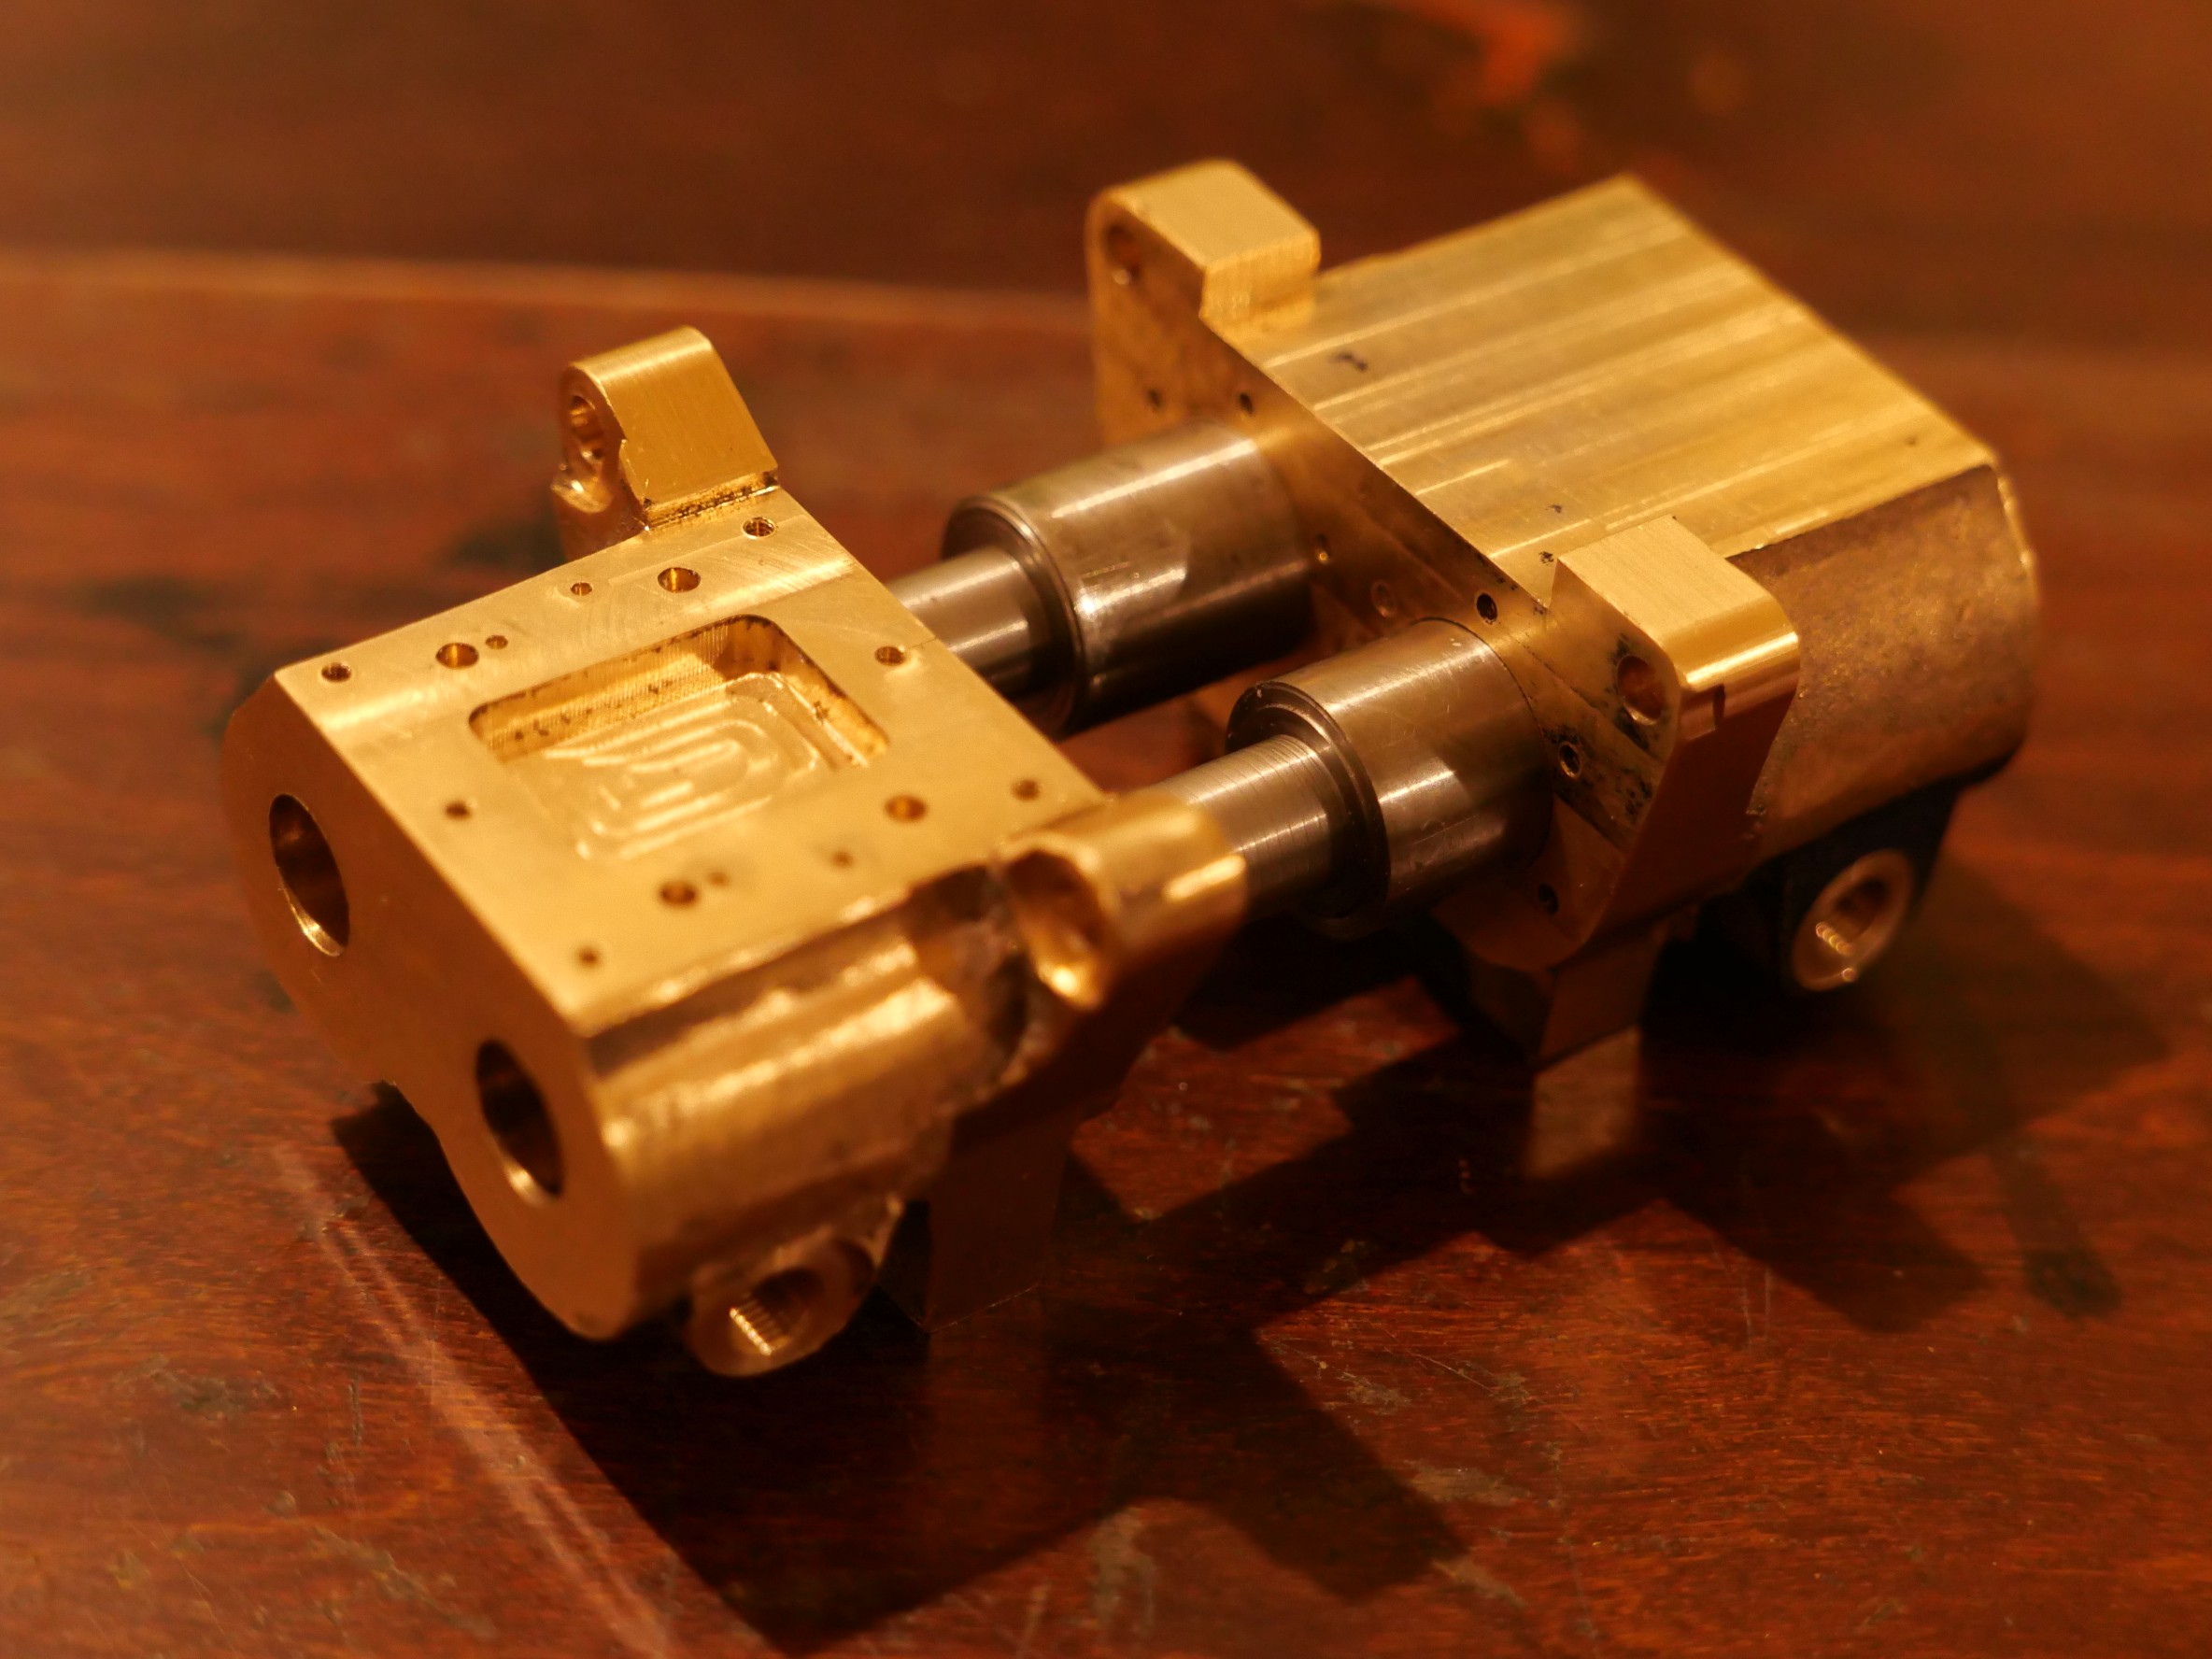
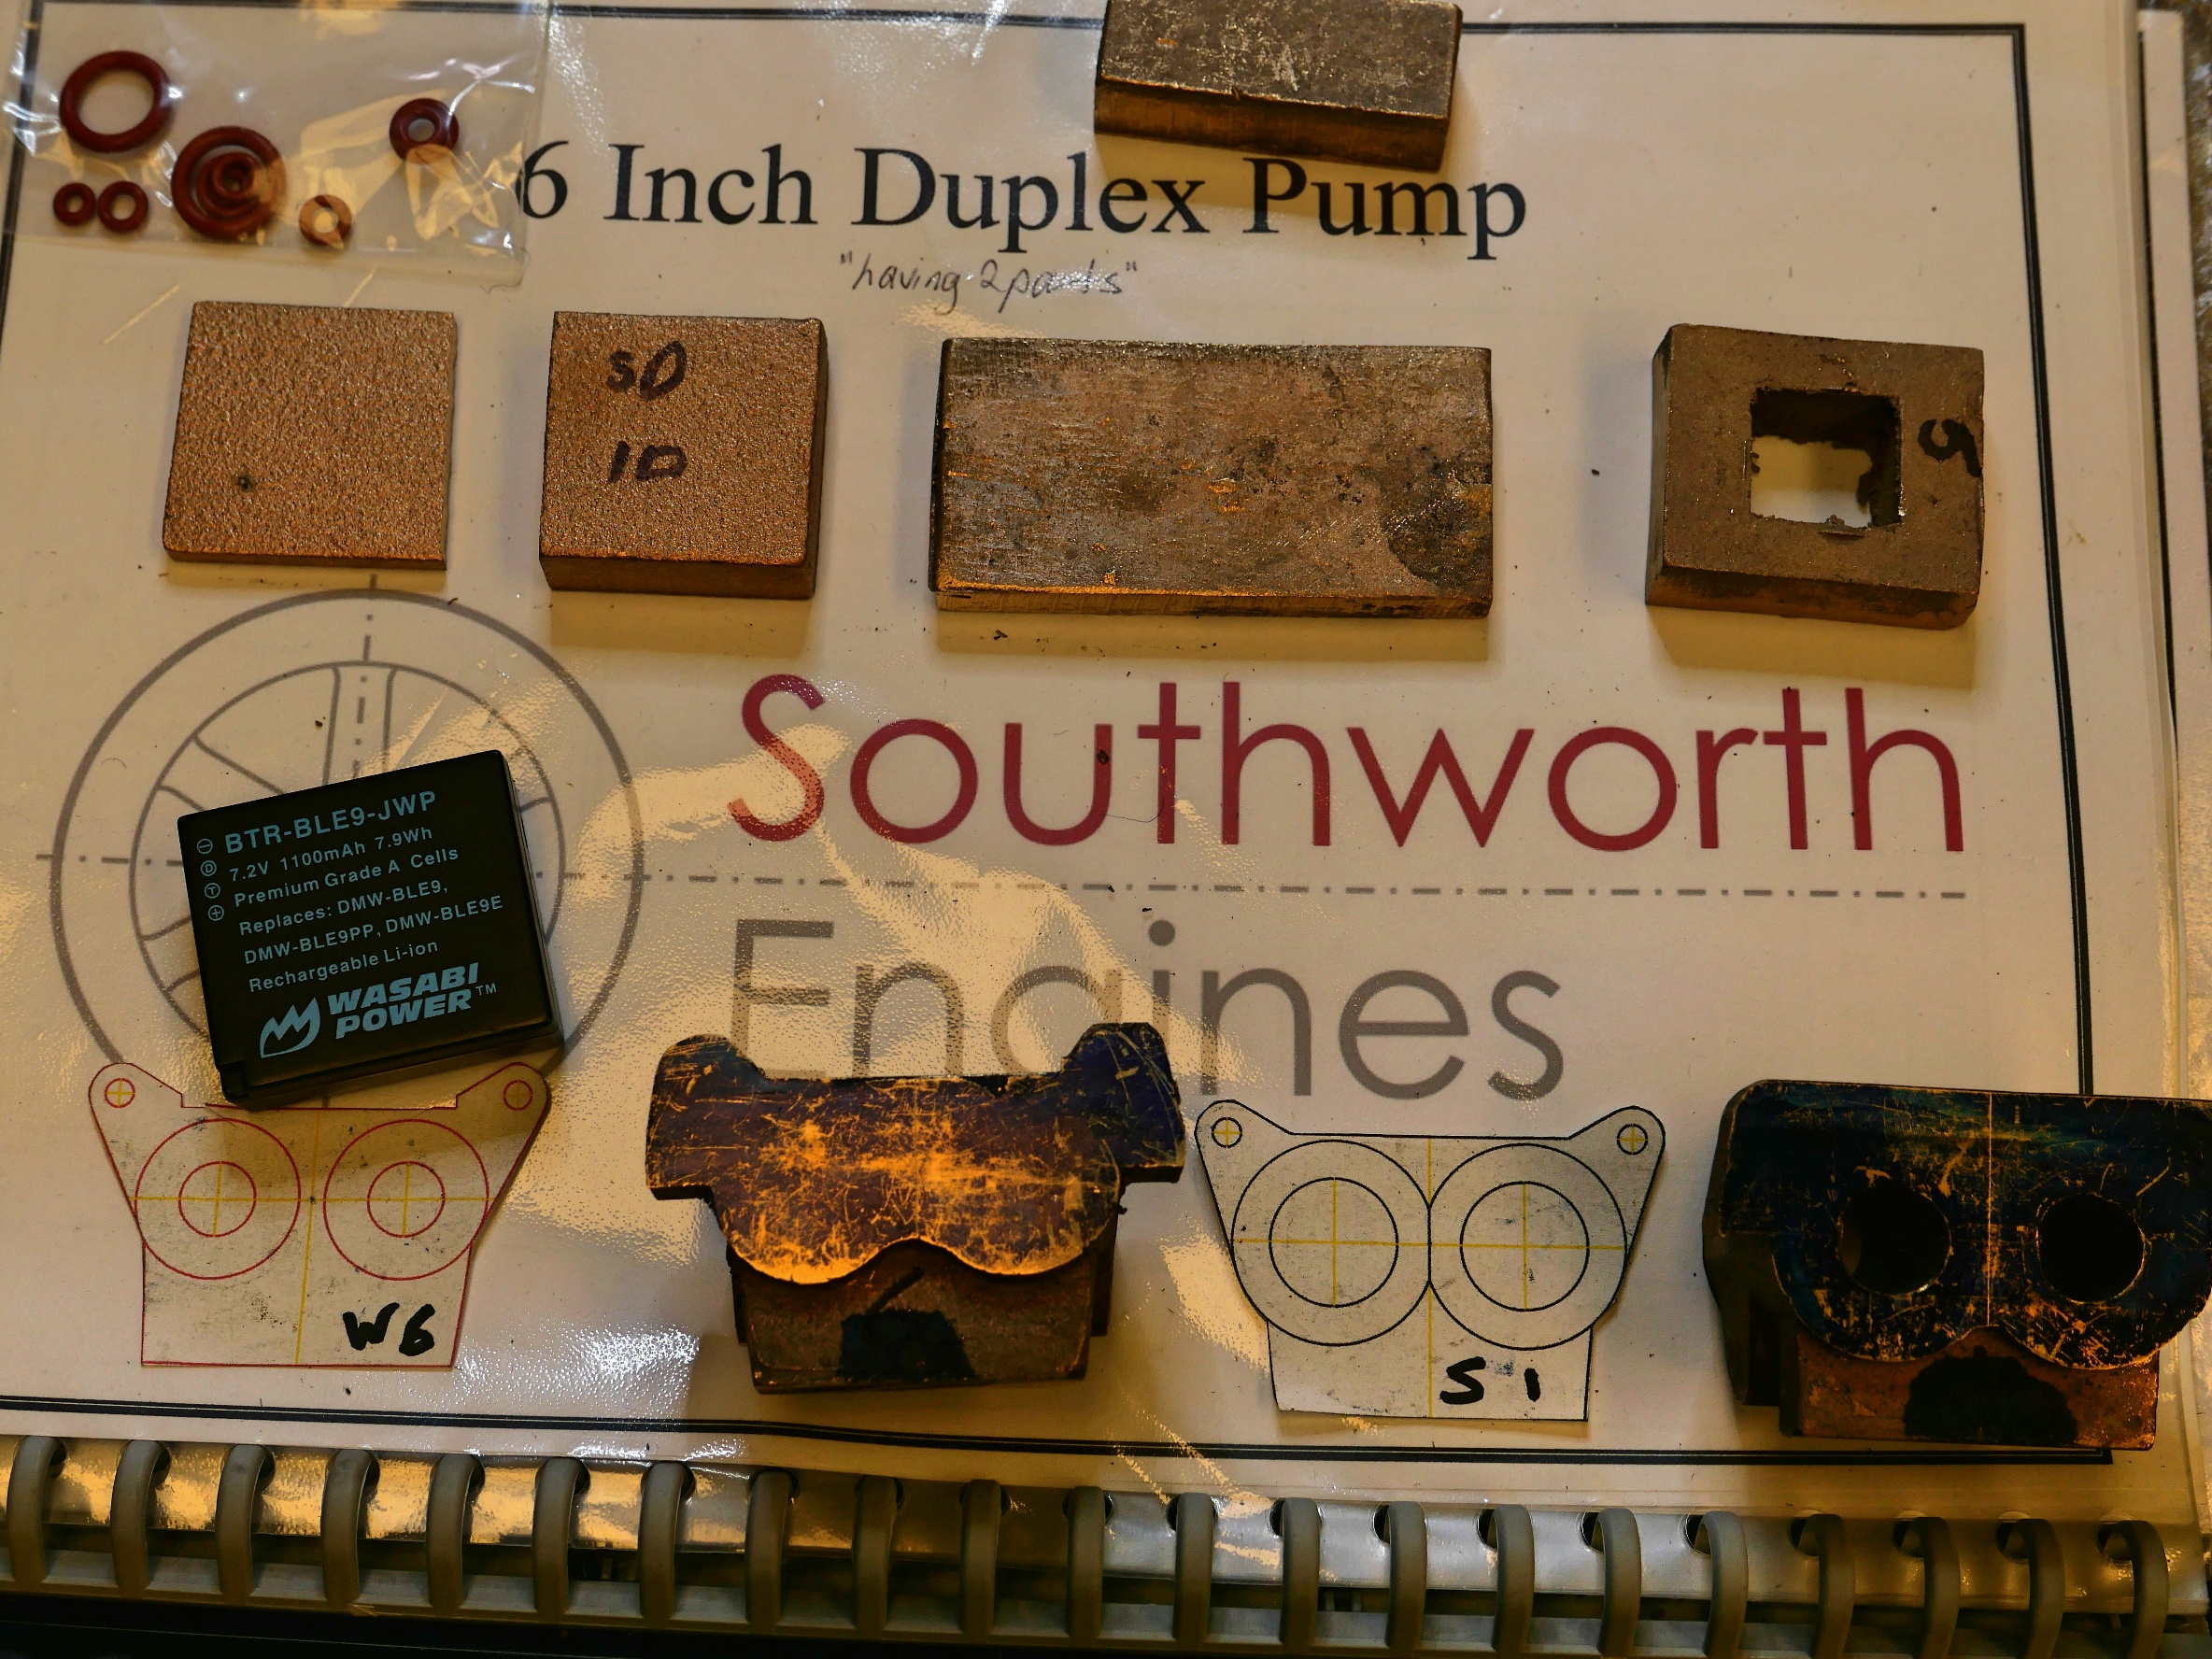
Now to get onto my next project.  I have plans and bronze castings for a Southworth design water pump, for replenishing the vertical boiler water while it is in use.  It was a surprise to me, just how much water is consumed by a boiler which is powering a model steam engine.  To date I have used a hand pump, but having seen a steam powered pump in action, I have decided to make one.

The steam is supplied from the boiler which is being replenished.  The pump has to use steam at boiler steam pressure, to force water into the boiler.  So the pump has to raise the pressure of the feed water above the pressure of the steam which is powering the pump.   The clever pump design uses large steam driven pistons to drive smaller water pump pistons.

IMG_6664

Larger steam pistons top right 5/8″ dia,  water pistons bottom left 3/8″ dia.

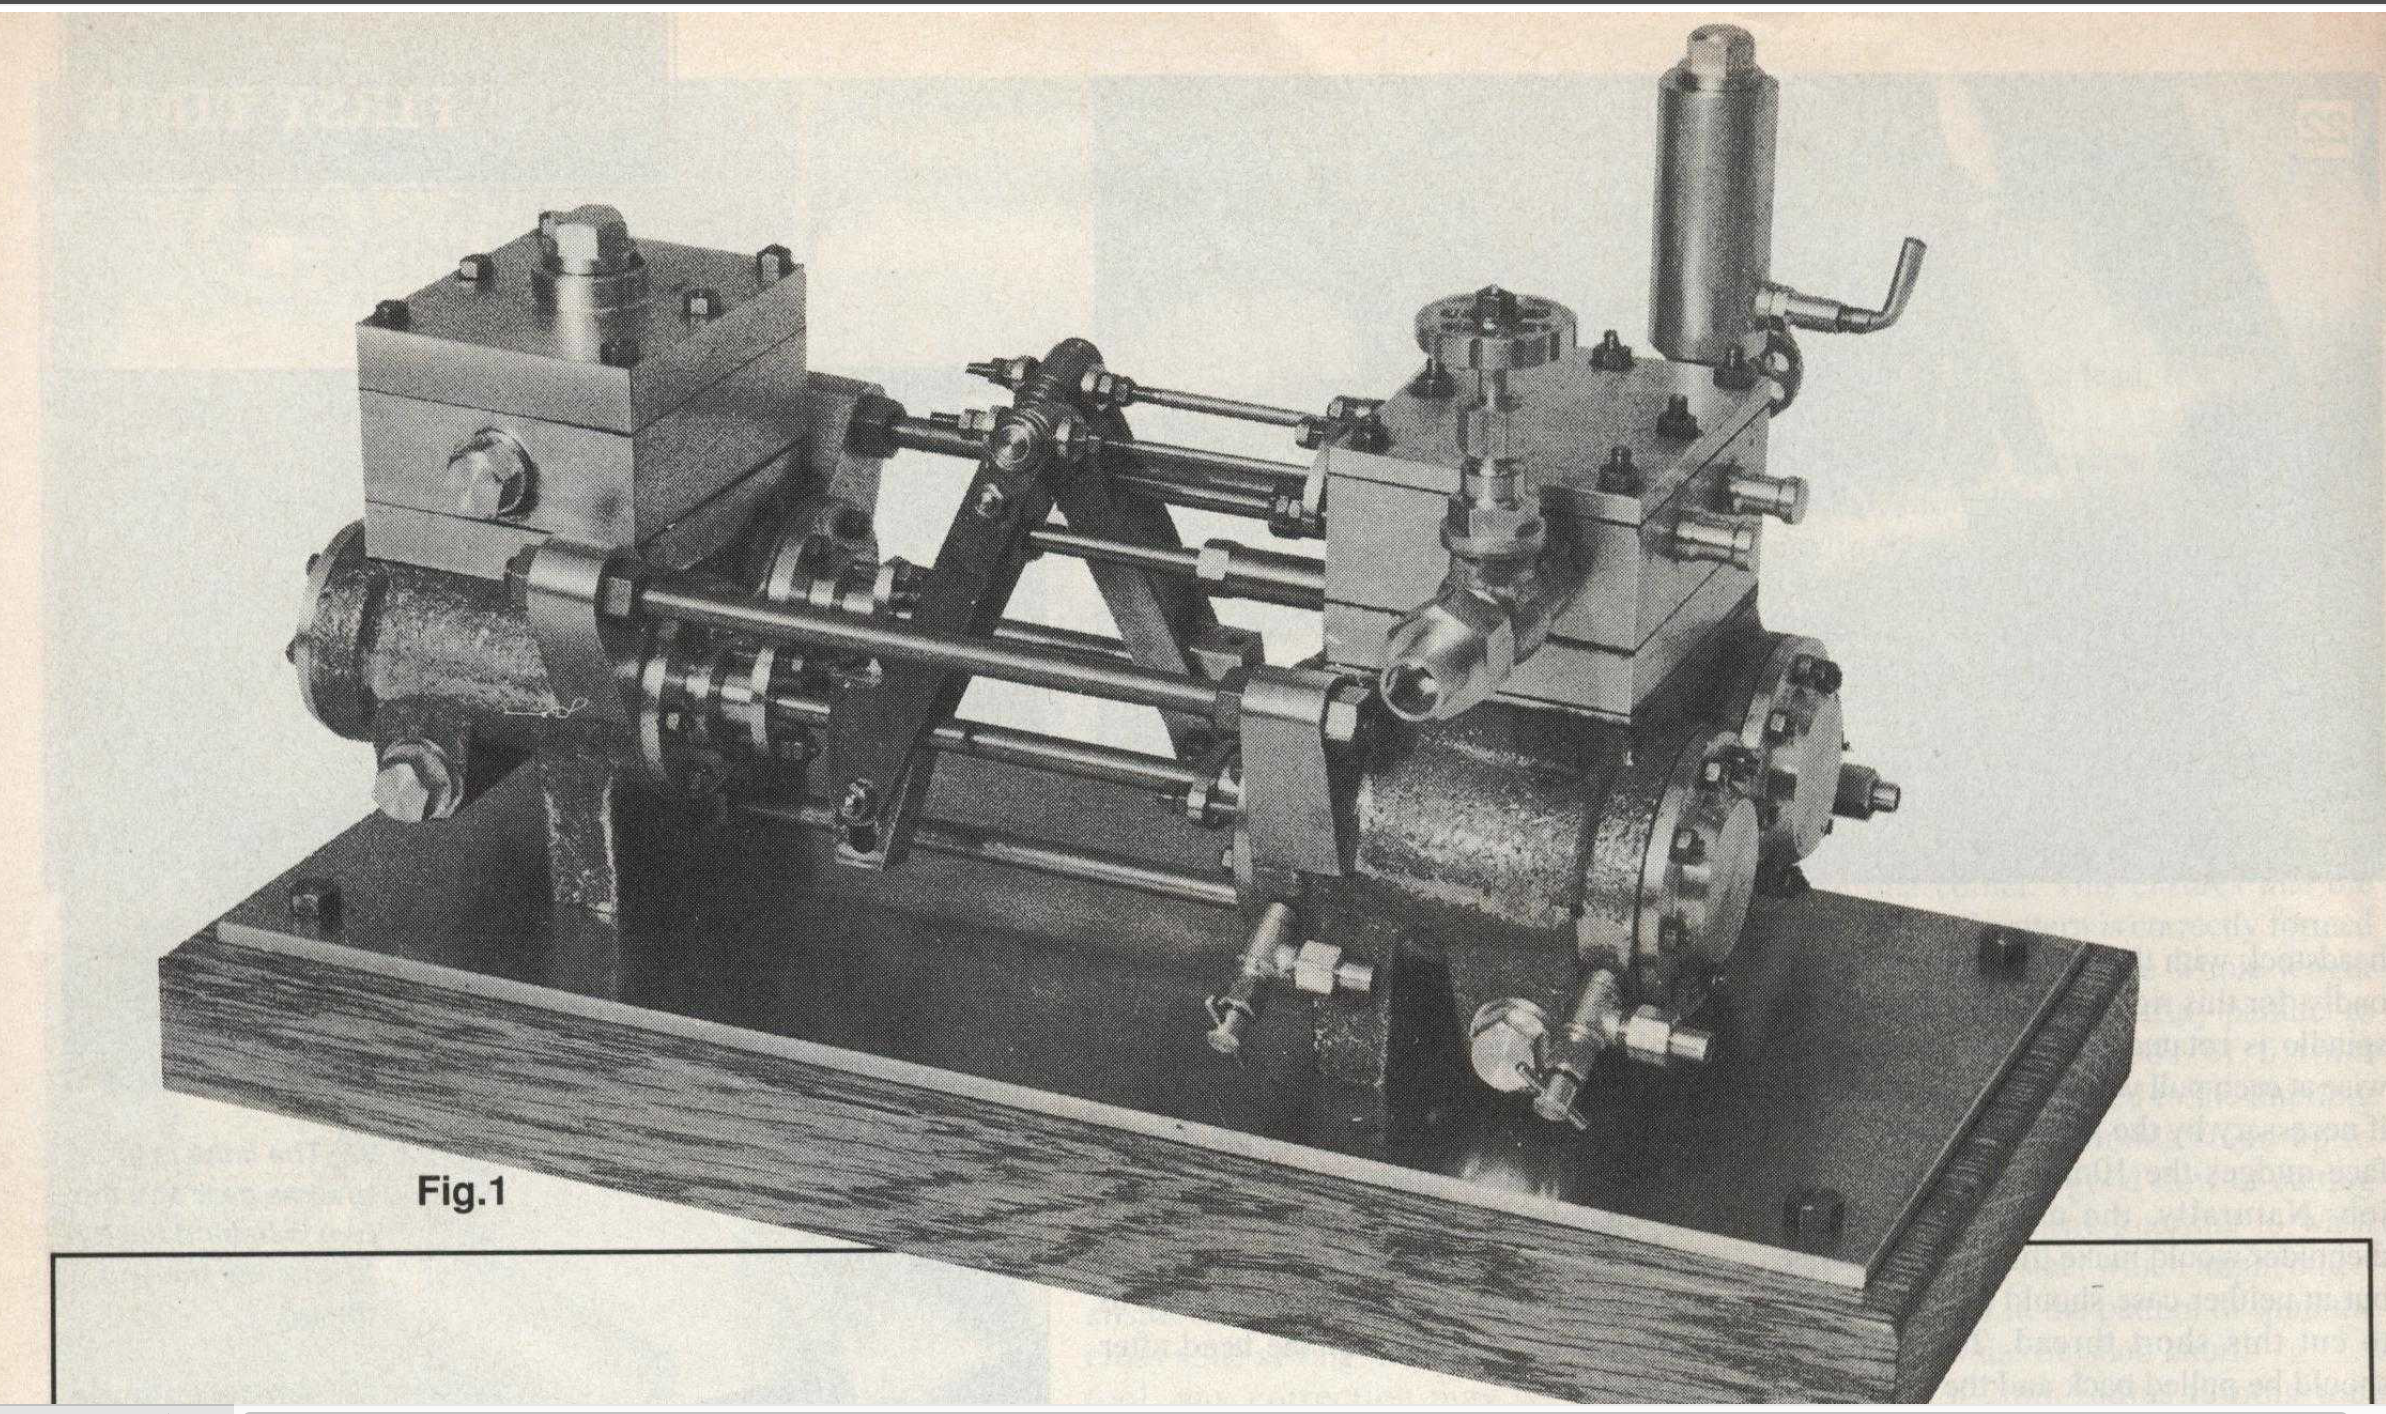
Here is a video of a Southworth pump in action.  It was made by Stuart Tankard.  Here it is running on compressed air, but I have seen it working similarly on steam.  I will be making one of the same design, hopefully approaching this level of finish.


A build of larger version of the pump was described by J. Bertinat in  a series of articles “Model Engineer” in 1993 (first article 18 June 1993).

Screen Shot 2019-08-20 at 9.39.27 am.png

Southworth castings.jpg

The unmachined castings.  Lumps of rough bronze.   And the plans.

water cyls casting.jpg

One of the castings after preliminary machining to establish some faces.  The “water cylinders” block.   Part no. 6

P1032886.JPG

Good quality castings.