machines which I have made, am making, or intend to make, and some other stuff. If you find this site interesting, please leave a comment. I read every comment and respond to most. n.b. There is a list of my first 800 posts in my post of 17 June 2021, titled "800 Posts"
Just to remind you that this is what I am modelling, at 1:10 scale. An 80pr Armstrong rifled muzzle loader, on a wooden carriage and slide. This pair is at Hopetoun Gardens, Elsternwick, Victoria.
I had imagined that this wooden chassis would be a relatively simple, quick build. The following photos show what I have accomplished in the last 3 days.
The gunner’s platform, supported by steel angle iron brackets, and the wooden “bollard” (I do not know what it is really called) which is used to wind a rope, and control descent of the cannon carriage down the slide to its firing position. And the odd metal bent rod bracket with the loop. I do not know what its function is. Does a reader know?The underside. The gunner’s platform brackets were cut from some galvanised rectangular section tubing, then bent after heating with oxy-propane. Not perfect, but OK. The stainless steel bracket between the slides was cut from 1.5mm thick sheet and cold bent.
These little parts are very time consuming, but oddly satisfying to make.
And meanwhile, my friend Stuart has once again used his 30 watt fibre laser to engrave the barrel markings.
Top is Queen Victoria’s cypher, with the Order of the Garter motto. Then the site of the vent/touch hole (which will remain as a mark only), then the barrel proving marks, and then the weight of the barrel in hundred weights, quarter hundred weights, and pounds. (just over 4 tons). At bottom is a barrel centre mark. It lines up with another one on the muzzle.
On the left trunnion R.G.F. for Royal Gun Factory, the 24th barrel of this pattern made, and the year of manufacture. Some more polishing will improve the appearance and sharpness of the lettering.On the right trunnion, the barrel centre line (horizontal), and trunnion centre line. Again barrel number 24.And, this from reader Richard, who sent me this photo of an exquisite scale model studded projectile and trolley. Studs were prohibited from the Armstrong 80pr’s because they caused rapid wear of the bores.
Actually, the wooden slides were used on other British garrison cannons as well as Armstrongs. For example, at Flagstaff Hill, Warrnambool there is a 68pr LowMoor mounted on a wooden slide, which is identical to the slides used for the Elsternwick Armstrong 80pr’s. And I have a drawing of a breech loading 110pr which was also mounted on an almost identical slide. The only differences were in the carriages, and those differences were minor, depending on the diameter and weight of the various barrels.
So I have used measurements from several slides, located at Port Fairy, Warrnambool, and Elsternwick. The Warrnambool slide is unrestored and badly rotted in some places, allowing inspection of the interiors of the big longitudinal beams. The Elsternwick slides have been restored, painted, and have metal protective covers, which conceal details of the metal strips on the tops of the slides. The Port Fairy slides have been extensively and expertly restored.
And there are always compromises to be made when scaling down structures by a factor of 10. Fasteners for example are only approximately the scale dimensions.
Here are some pics of progress to date on the slide…
The metal strips are stainless steel. Not authentic but should polish nicely. 30 countersunk screws per side. I superglued the slides in position, then centre drilled, drilled and countersunk the holes. Getting the countersink depth was tricky and required a lot of trial and error on each hole. Then I filed any protruding bits of screws flush with the slide surface.
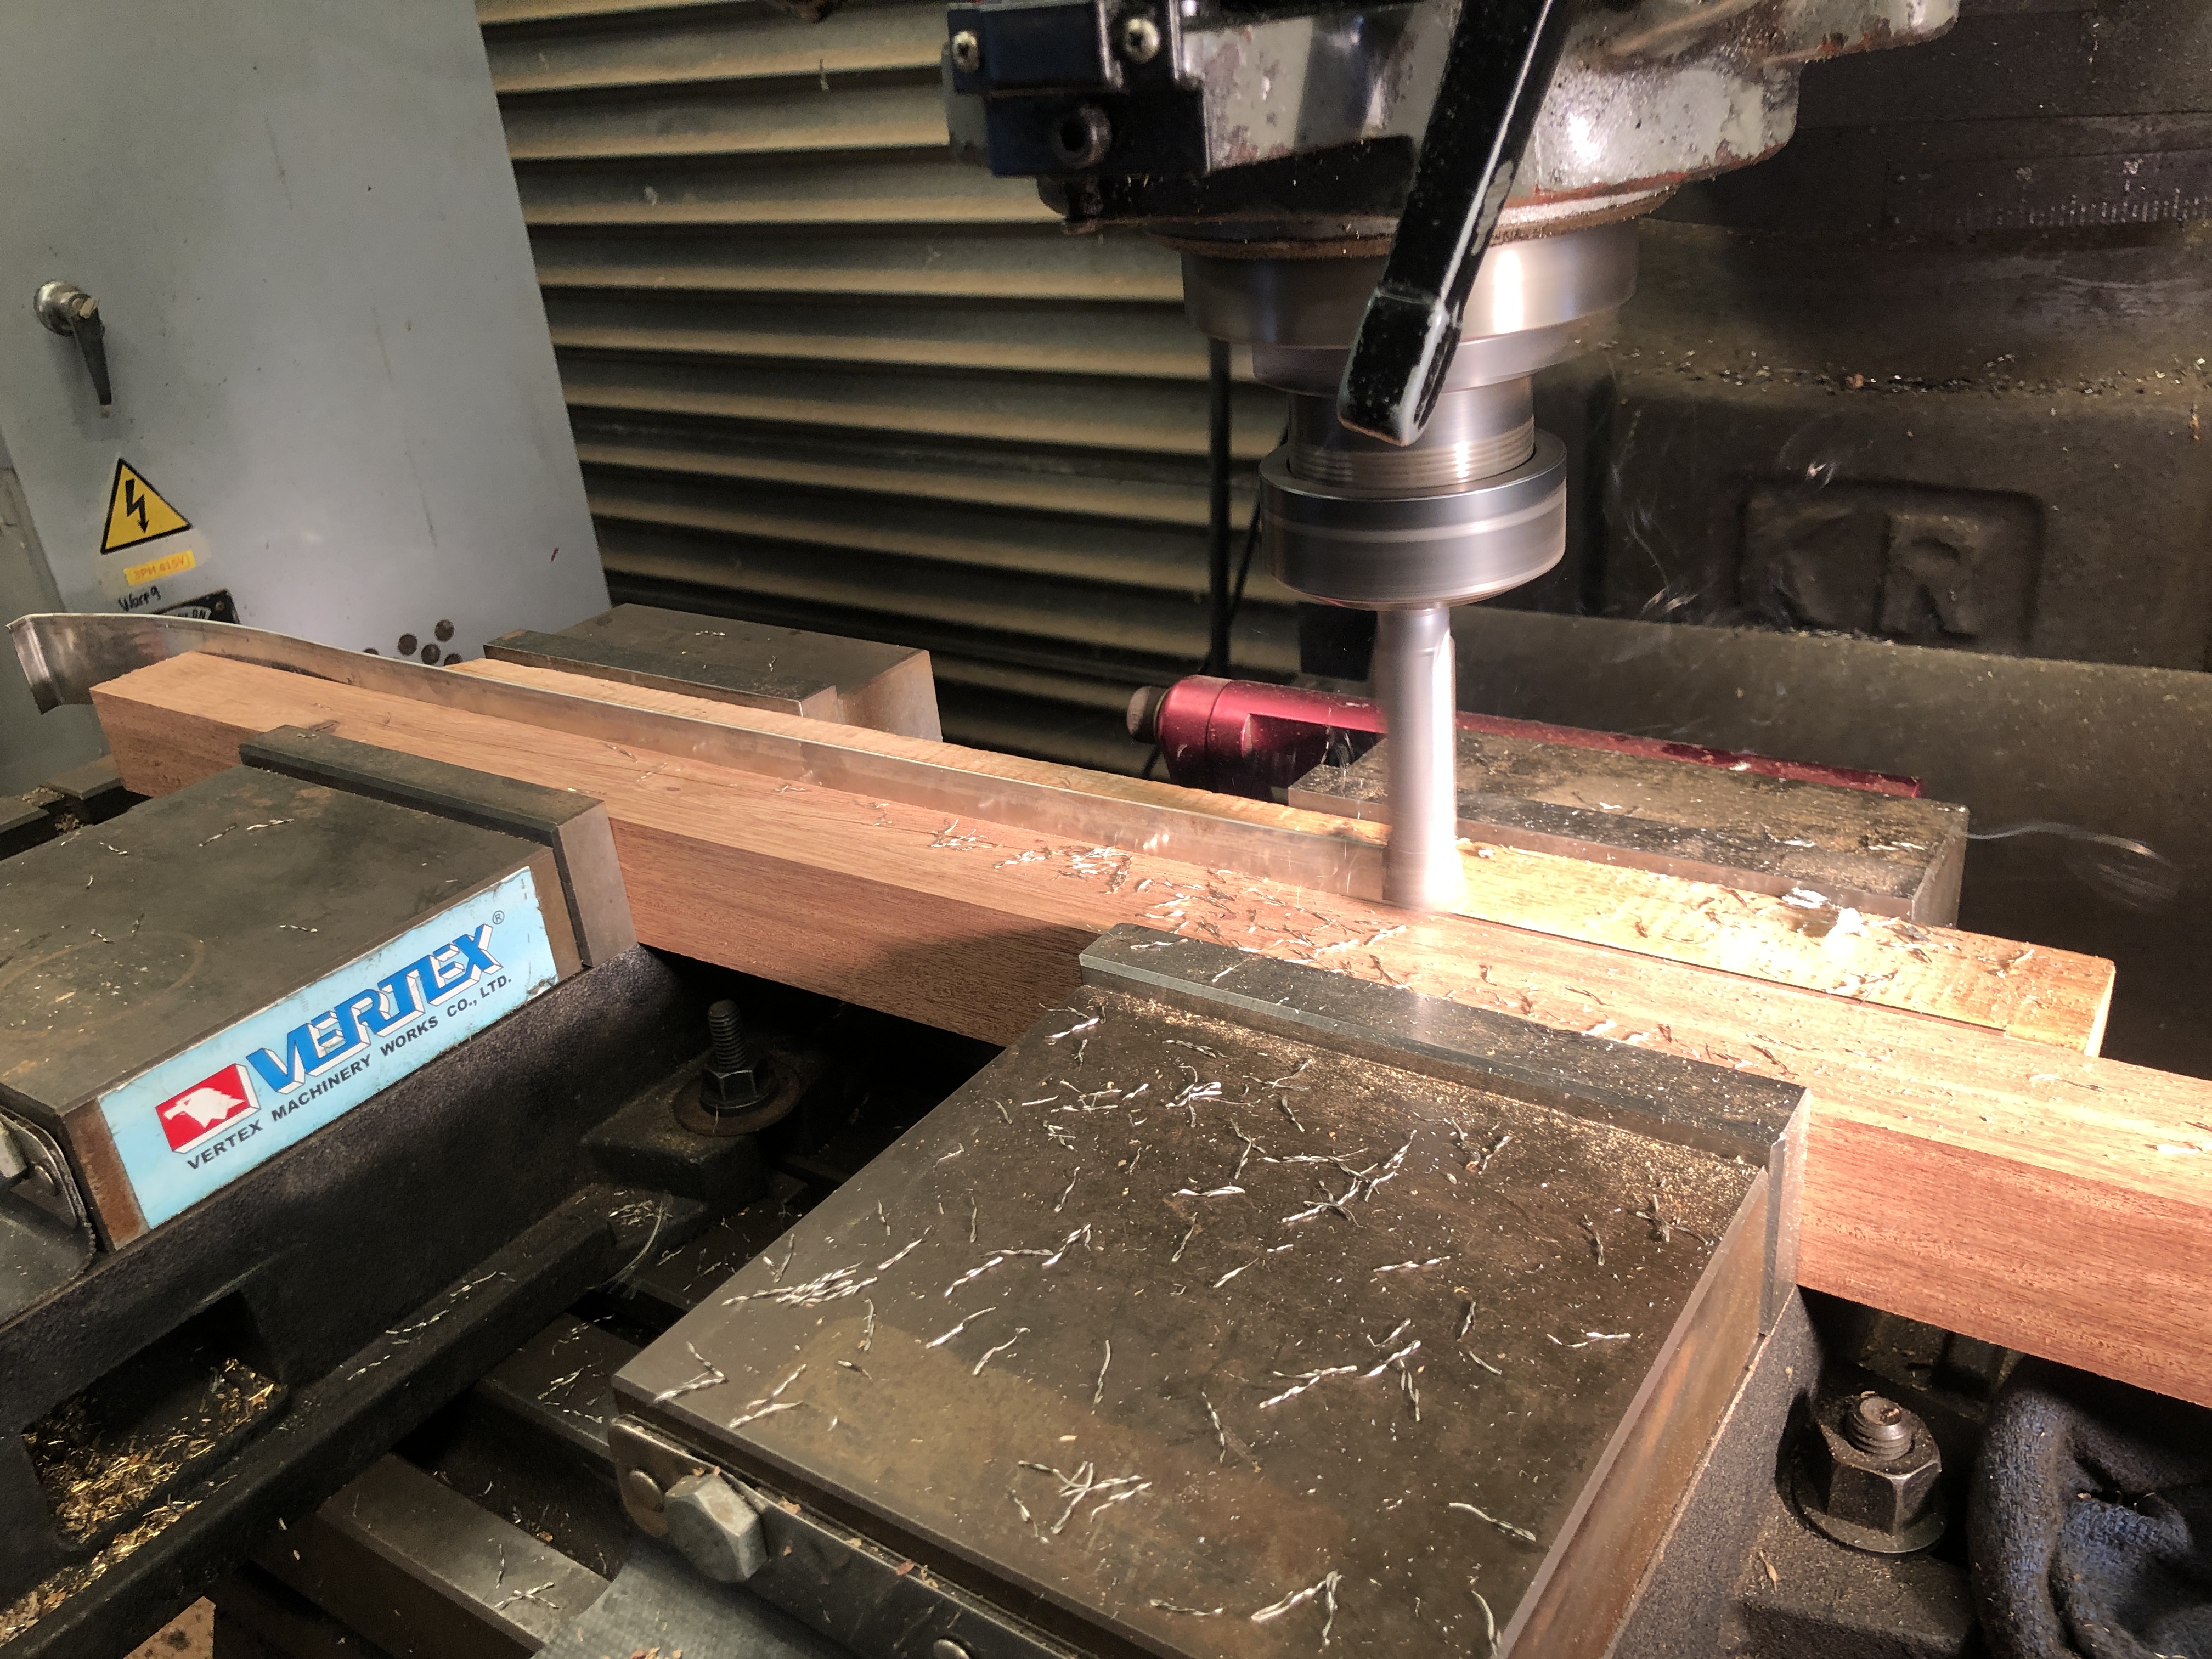
To shape the stainless steel strips, on Xmas Eve, I roughly bandsawed them to shape, then milled the edges to end up with 23mm wide strips, 480mm long. The steel is only 1mm thick, so holding it for milling required some planning. Guillotine or laser cutting would have been preferred, but not wanting to wait until mid January for a pro shop to cut it, I did it myself, using 2 bits of straight hardwood to hold the thin stock in 2 identical vices on the milling machine.
On one of the bits of hardwood I made a 23mm deep cut on a face of the wood, and rested the thin stainless steel on the lip thus formed. Then ran a sharp milling cutter along the surface of the wood, cutting the steel to size. That worked fairly well. As you can see, I removed about 10mm width of the steel in one run. Checked the dimensions, remounted the strip in the bits of wood, and finished the edge milling. Yes, I had to file the edges to remove the sharps. Drilling the fastener holes, after supergluing the strips into position. The large hole is as in the originals, to allow access to the wheel bracket bolts.The wheel brackets are finished, and bolted into position. Wherever possible I am using brass, bronze or stainless steel. A few more parts to be made and fitted, including carriage stops, a wooden bollard, gunners platform and tackle block rings. Then to decide about painting-finishing.The wheel brackets are attached by a bolt which passes right through the longitudinal beams, to be secured with a round nut at the top.