And a Bit More on the Armstrong Cannon Wooden Slide
by John
Actually, the wooden slides were used on other British garrison cannons as well as Armstrongs. For example, at Flagstaff Hill, Warrnambool there is a 68pr LowMoor mounted on a wooden slide, which is identical to the slides used for the Elsternwick Armstrong 80pr’s. And I have a drawing of a breech loading 110pr which was also mounted on an almost identical slide. The only differences were in the carriages, and those differences were minor, depending on the diameter and weight of the various barrels.
So I have used measurements from several slides, located at Port Fairy, Warrnambool, and Elsternwick. The Warrnambool slide is unrestored and badly rotted in some places, allowing inspection of the interiors of the big longitudinal beams. The Elsternwick slides have been restored, painted, and have metal protective covers, which conceal details of the metal strips on the tops of the slides. The Port Fairy slides have been extensively and expertly restored.
And there are always compromises to be made when scaling down structures by a factor of 10. Fasteners for example are only approximately the scale dimensions.
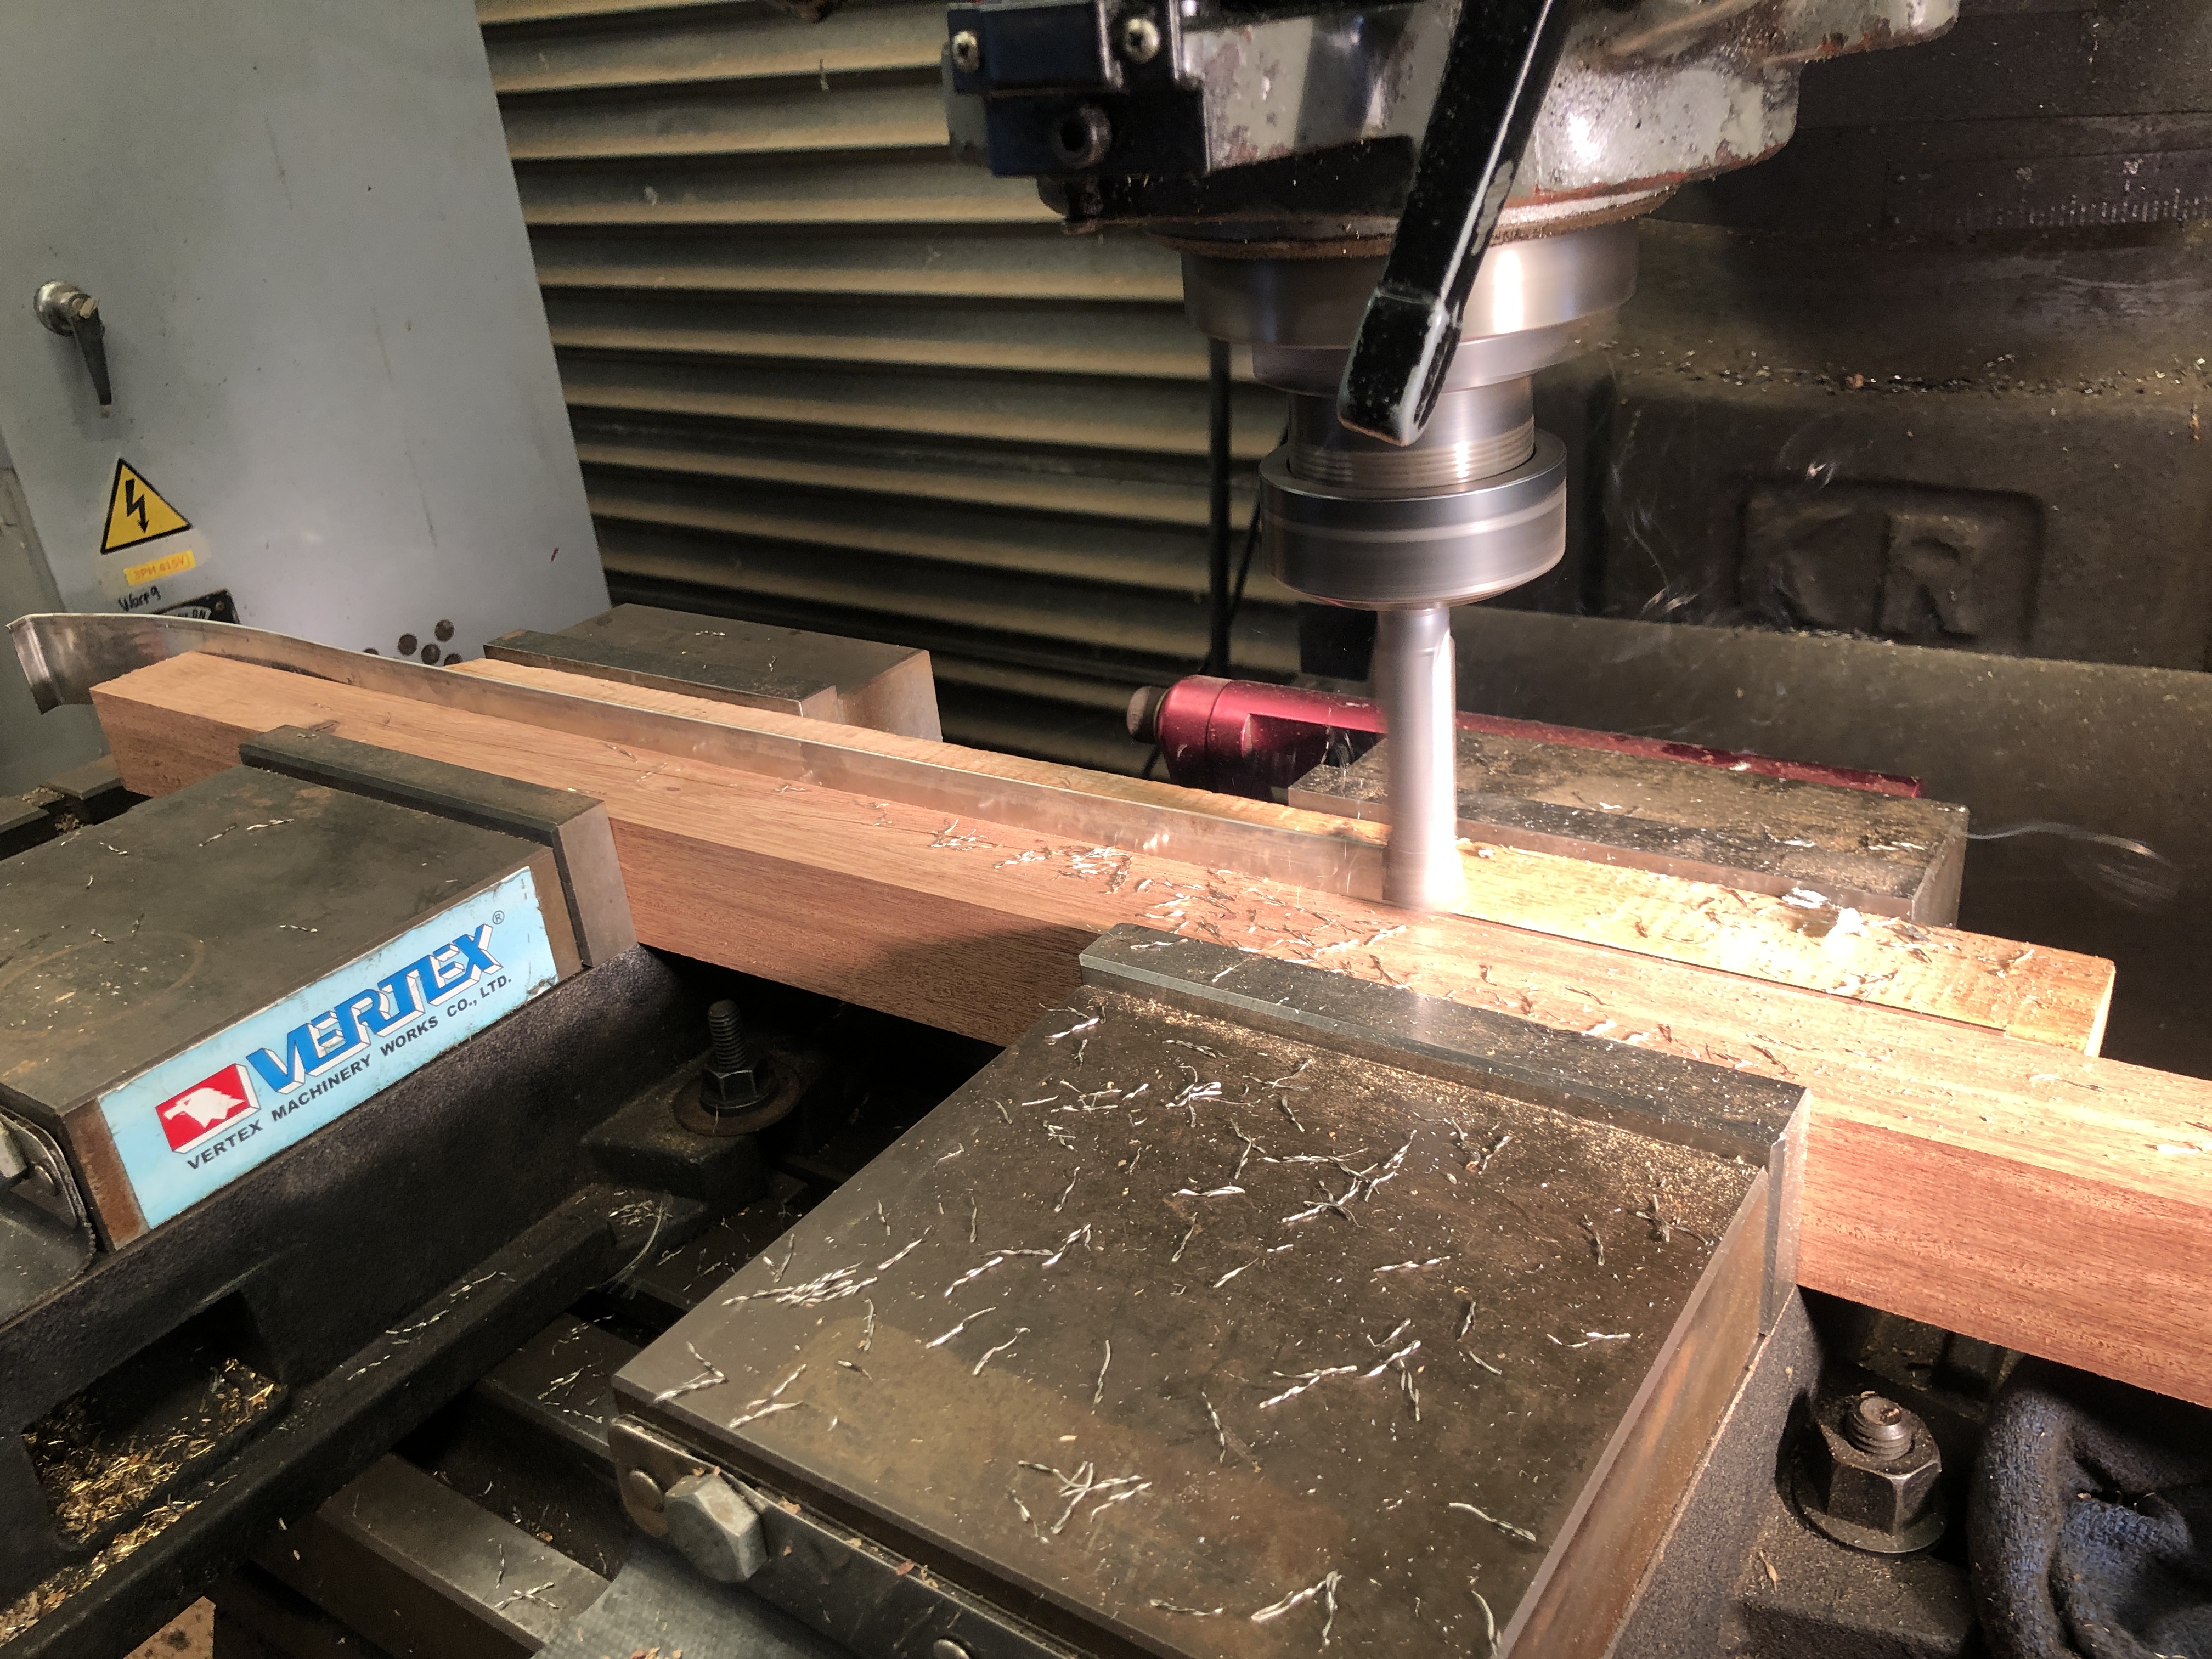
Here are some pics of progress to date on the slide…

To shape the stainless steel strips, on Xmas Eve, I roughly bandsawed them to shape, then milled the edges to end up with 23mm wide strips, 480mm long. The steel is only 1mm thick, so holding it for milling required some planning. Guillotine or laser cutting would have been preferred, but not wanting to wait until mid January for a pro shop to cut it, I did it myself, using 2 bits of straight hardwood to hold the thin stock in 2 identical vices on the milling machine.