
Reconditioning a Tandem Trailer
by John
My tandem trailer, was desperate for repairs and repainting. I bought the trailer about 23 years ago. It is 10′ x 5″, very solid construction, and a hydraulic tipper. I used it originally to transport animal manure to my olive trees. In recent years it gets more use on SWMBO’s building sites to remove builders rubbish.

Later, I increased the size of the ram to a multistage 5 ton unit, and changed the geometry to provide more lifting power. Also contracted a professional trailer maker to install Landcruiser hubs and wheels and heavier duty springs.

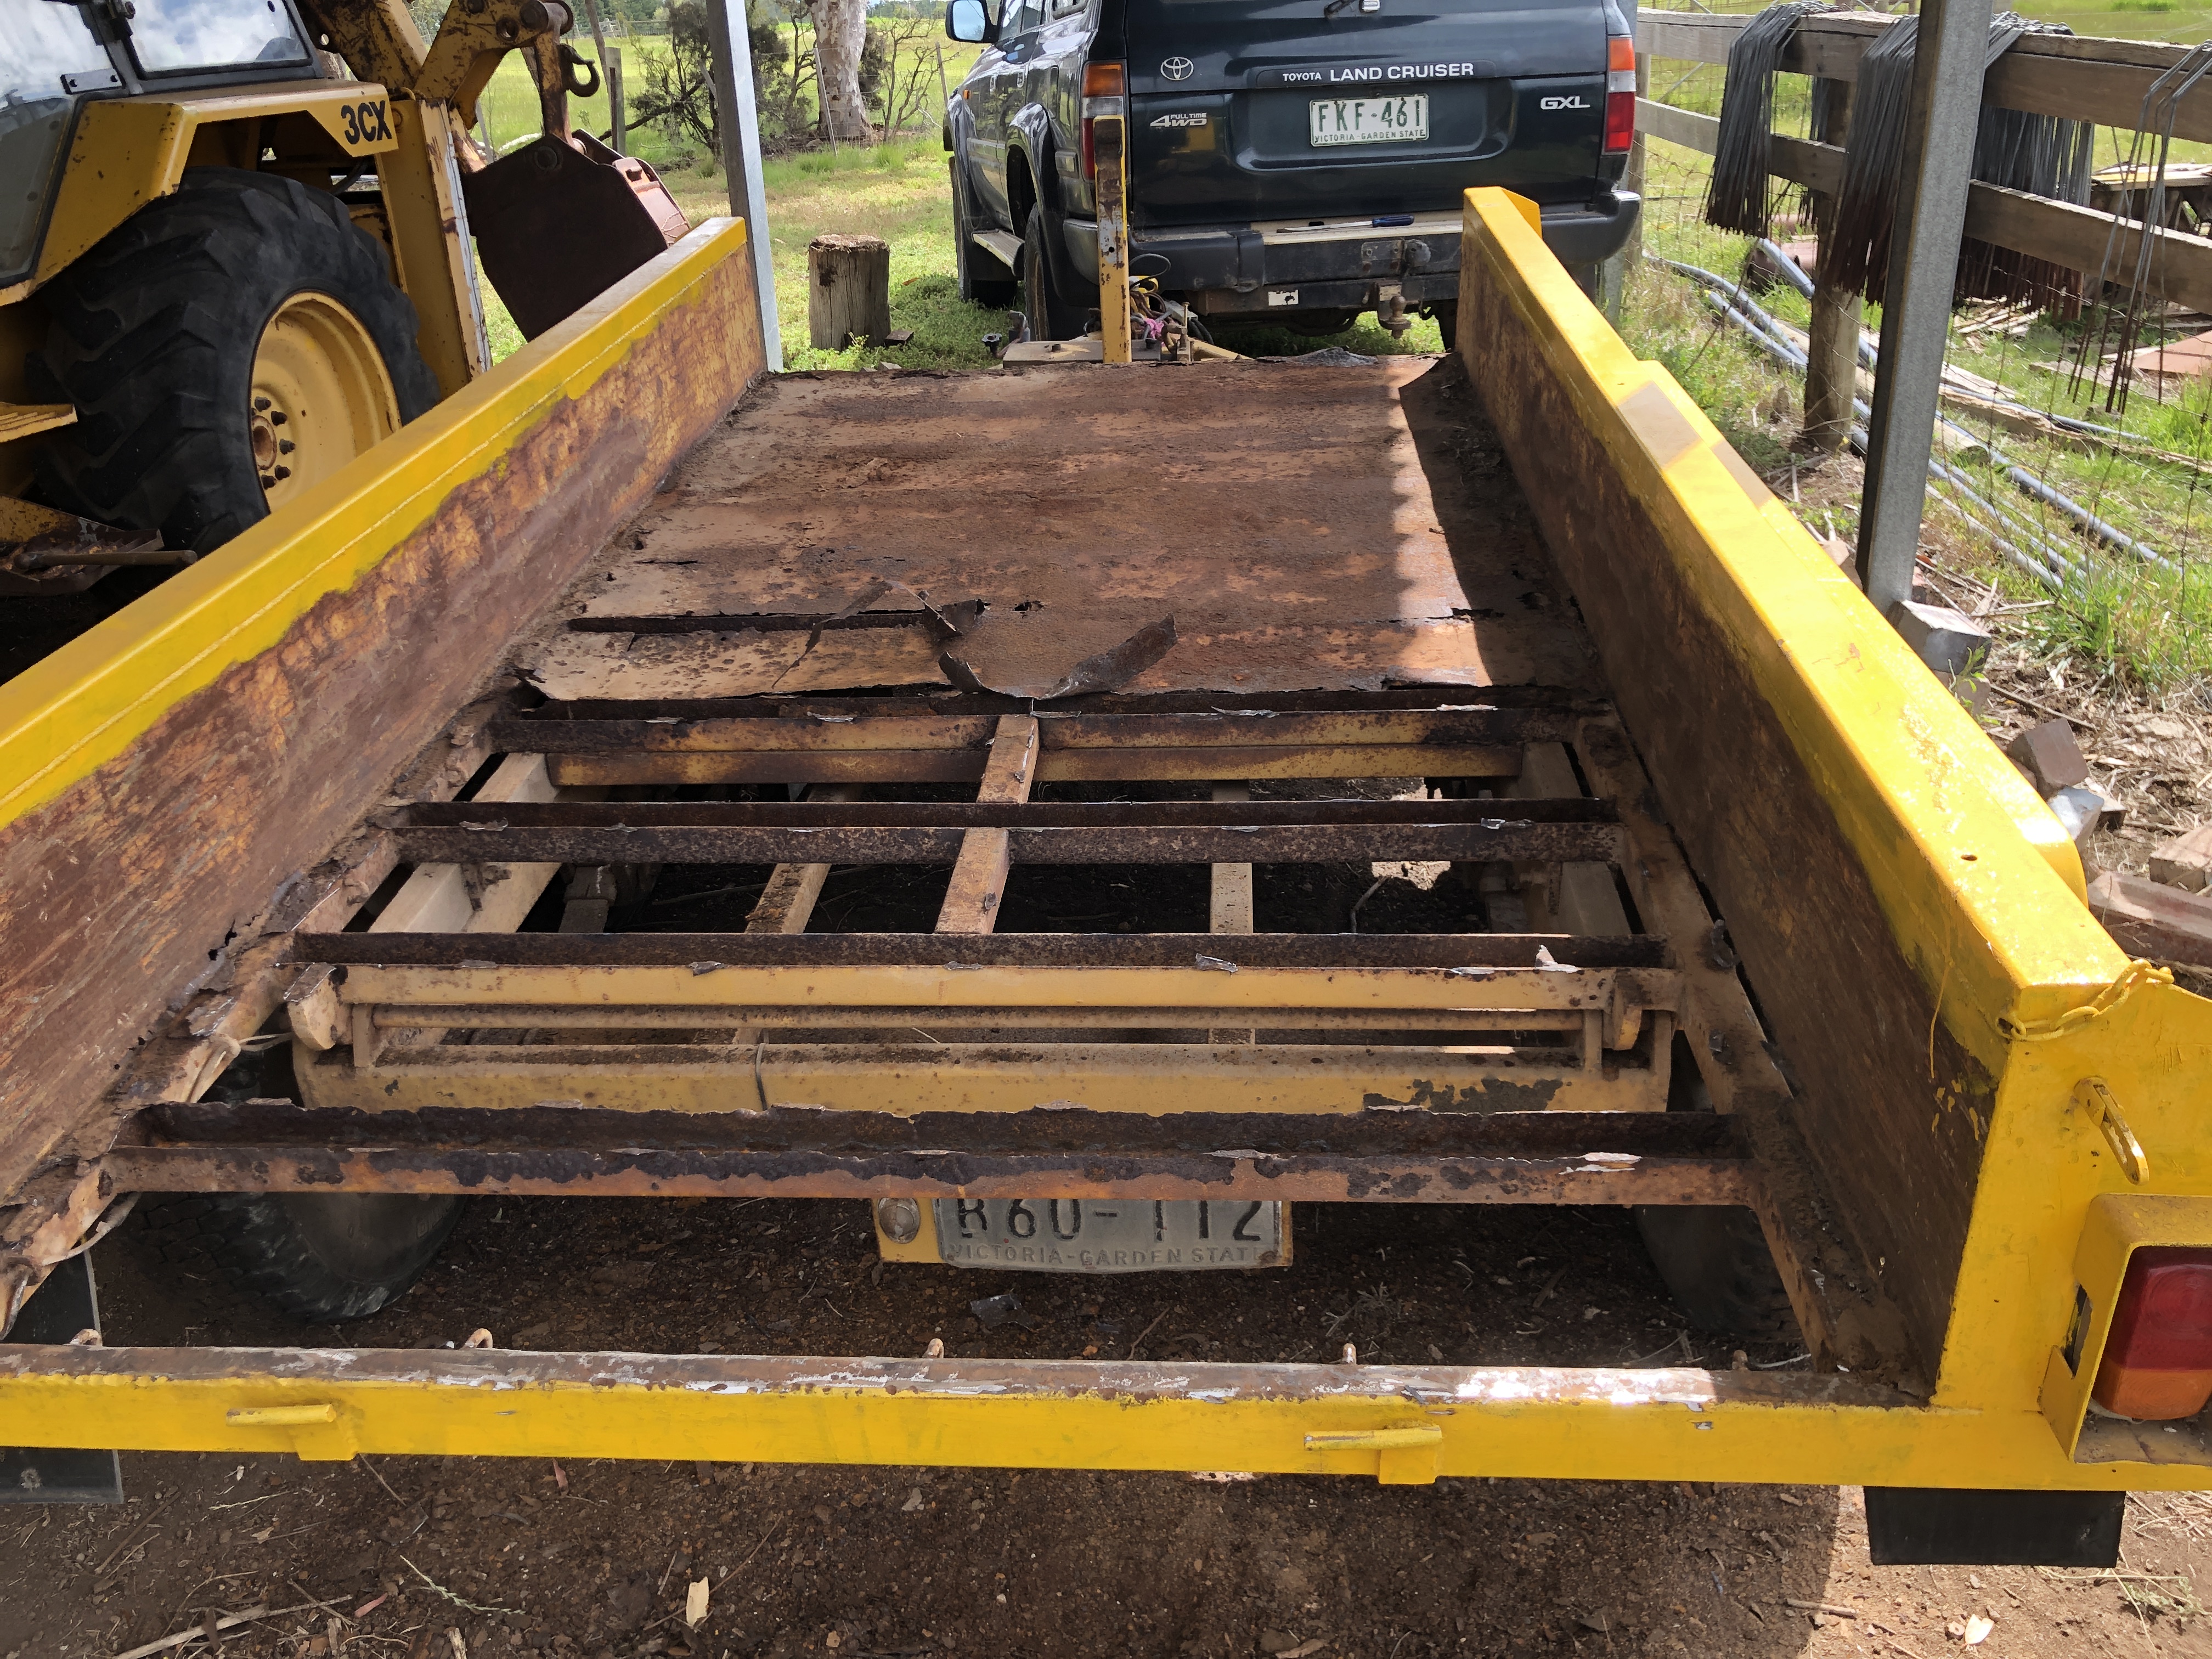
But the floor finally rusted through. So I installed a new 2mm thick steel floor over the top of the old rusted one. I should have removed the old rusted floor, but time was short, so I took the “lazy man’s” option.
Now, 23 years after the original trailer purchase, and about 18 years after the temporary floor fix, the floor needed to be replaced again. This time I did the job properly. I bought 2 sheets of checker-plate steel. Paid the supplier to fold the long edges. And started to remove both layers of the old floor.


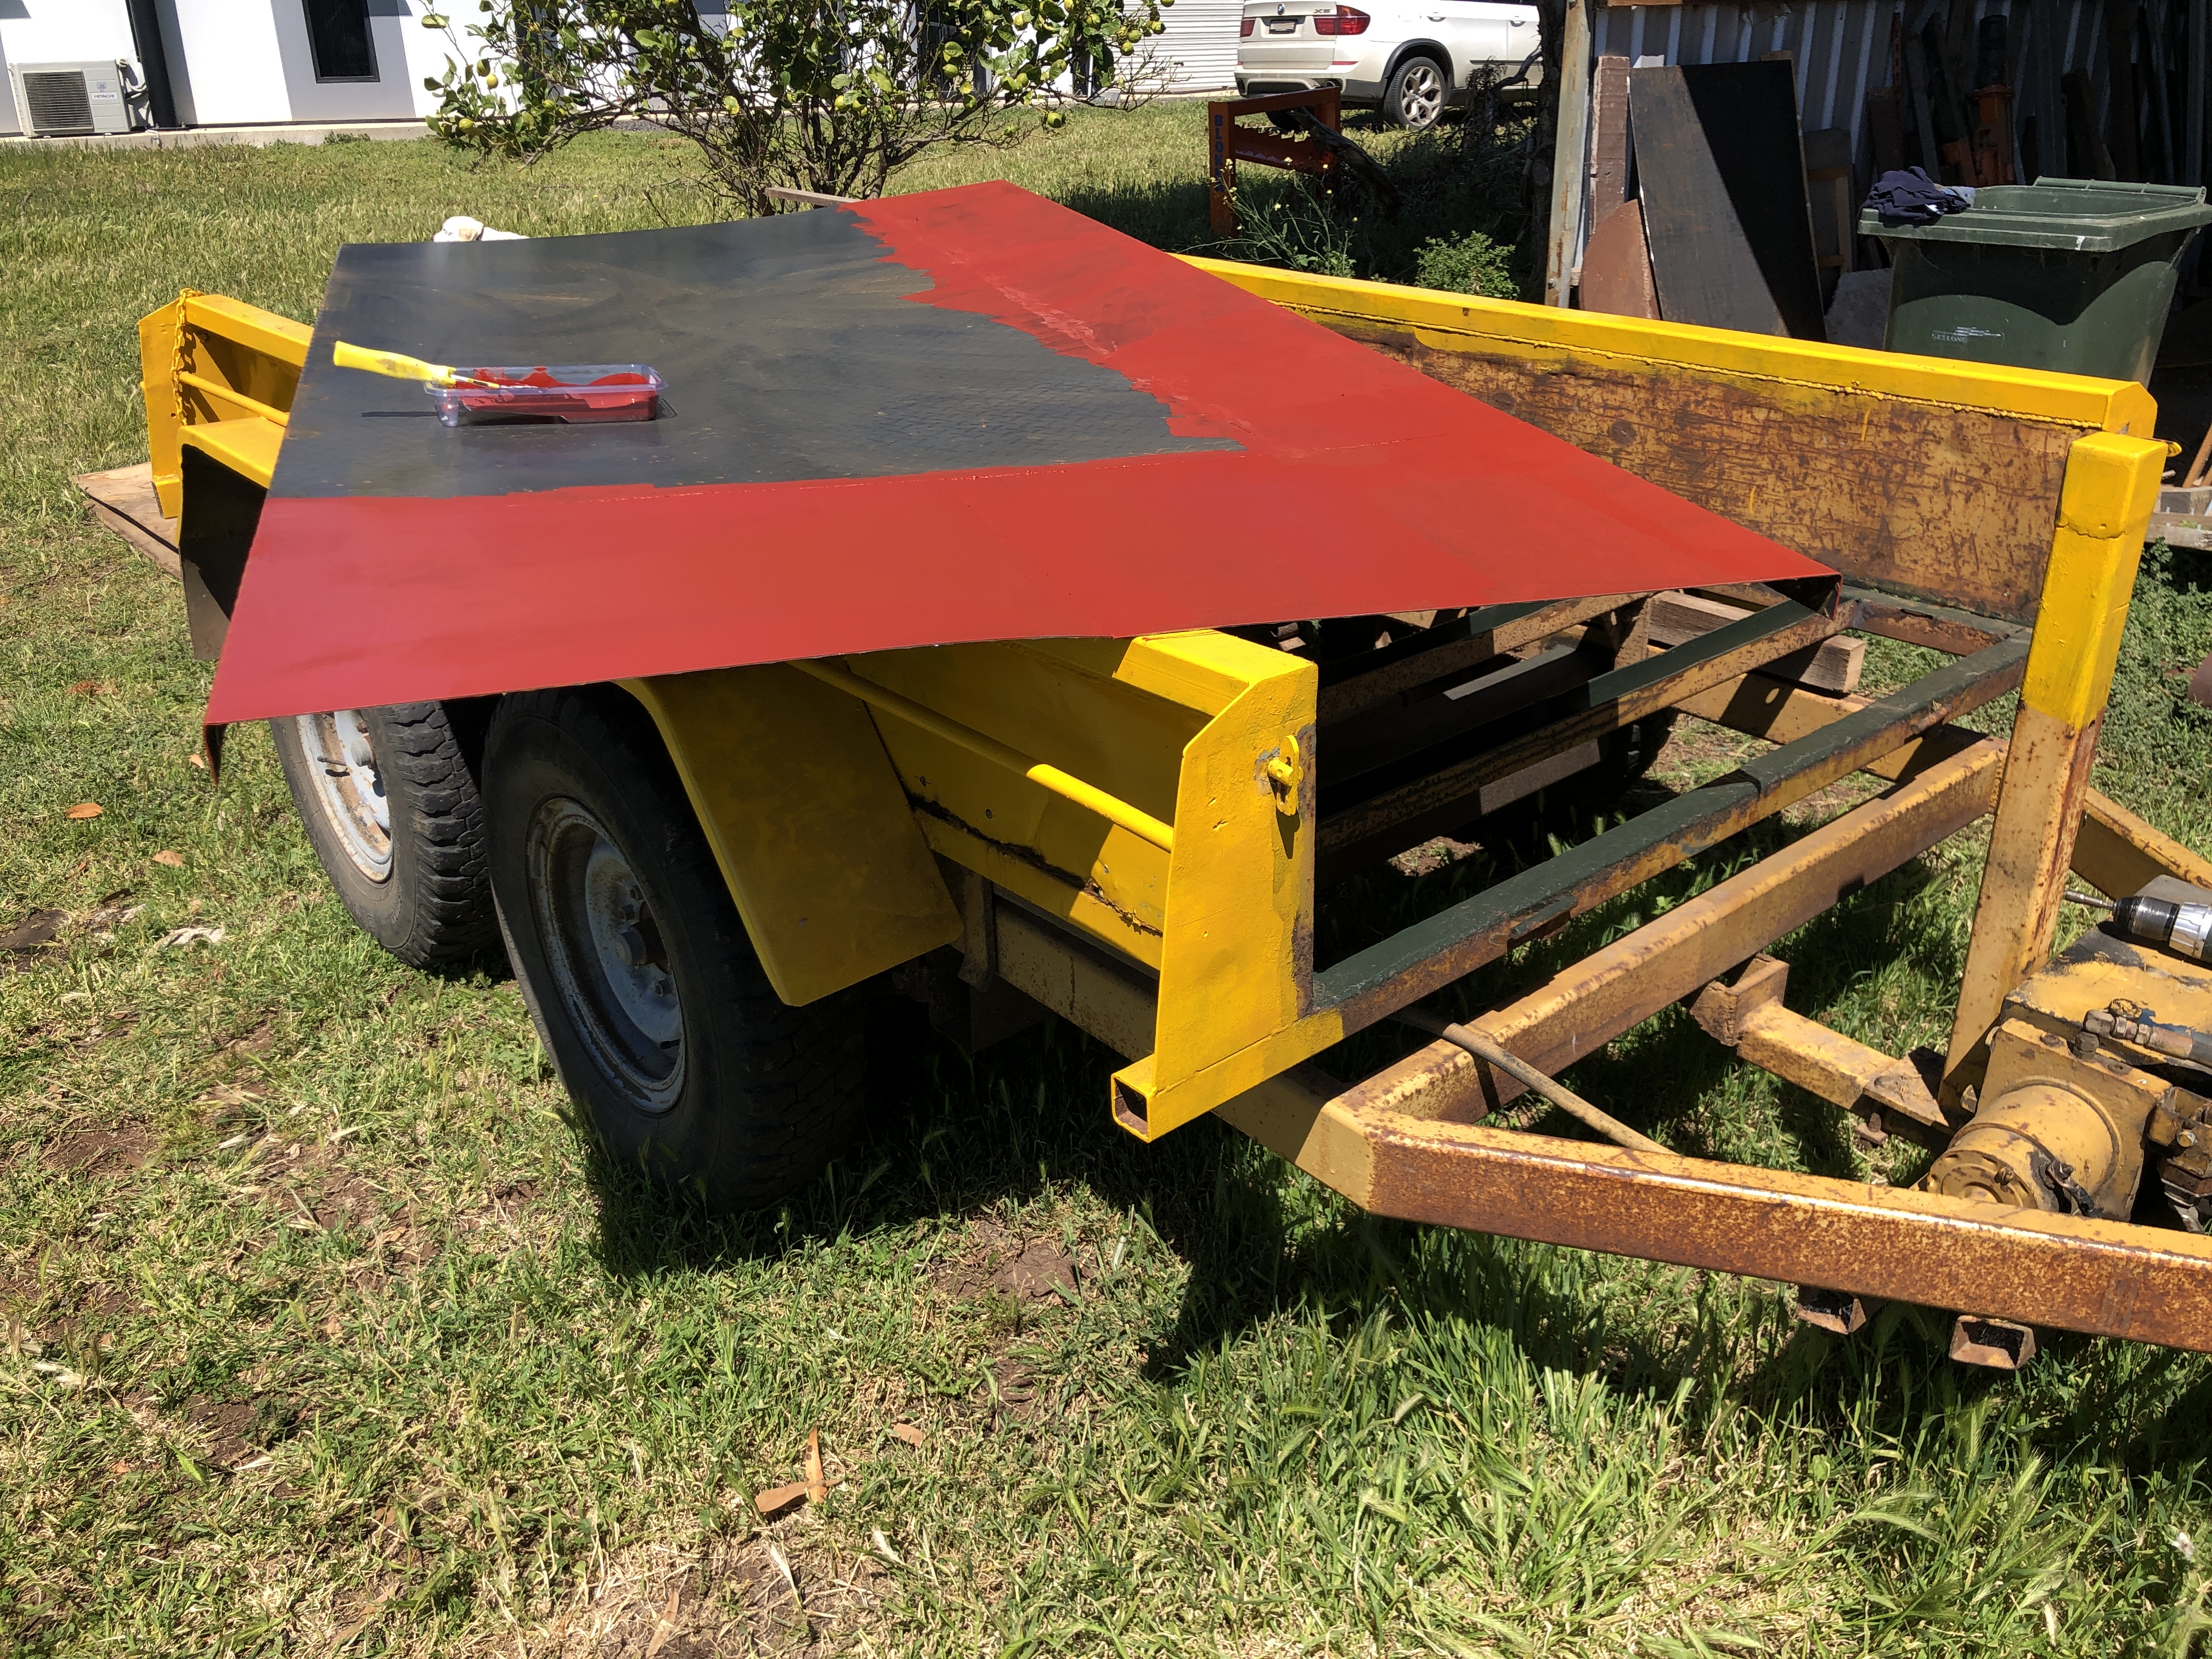
Then attached the new floor to the trailer frame with galvanised hex head screws. You might wonder why I did not weld it in place? Well, removing the previous floor which had been welded in position was job which I never want to repeat. Plus, whether the new floor is galvanised or painted, welding destroys the zinc or paint, including in areas which cannot be touched up. The technique which I used allowed all surfaces to be thoroughly painted. So I removed the newly joined floor, and primed and top coated all surfaces, including the frame underneath.
Then re-attached the new painted floor permanently to the frame with the gal screws, and cut off the protruding points. I decided to not weld the floor to the frame, because that would destroy the rust inhibiting paint. I used silicone roof and spout sealant in the screw holes, and between the trailer sides and the new floor side lips. Then applied more silicone sealant into any cracks between the side lips and trailer sides.
Oh, I forgot. The cross members were U sections with the opening at the top. No wonder they rusted. Any accumulated water could not escape. A really dumb design decision by the maker. So I drilled drain holes in every cross member, removed the rust with a needle gun, and painted the insides of the U sections. I will finish the painting when the steel repairs have been completed.
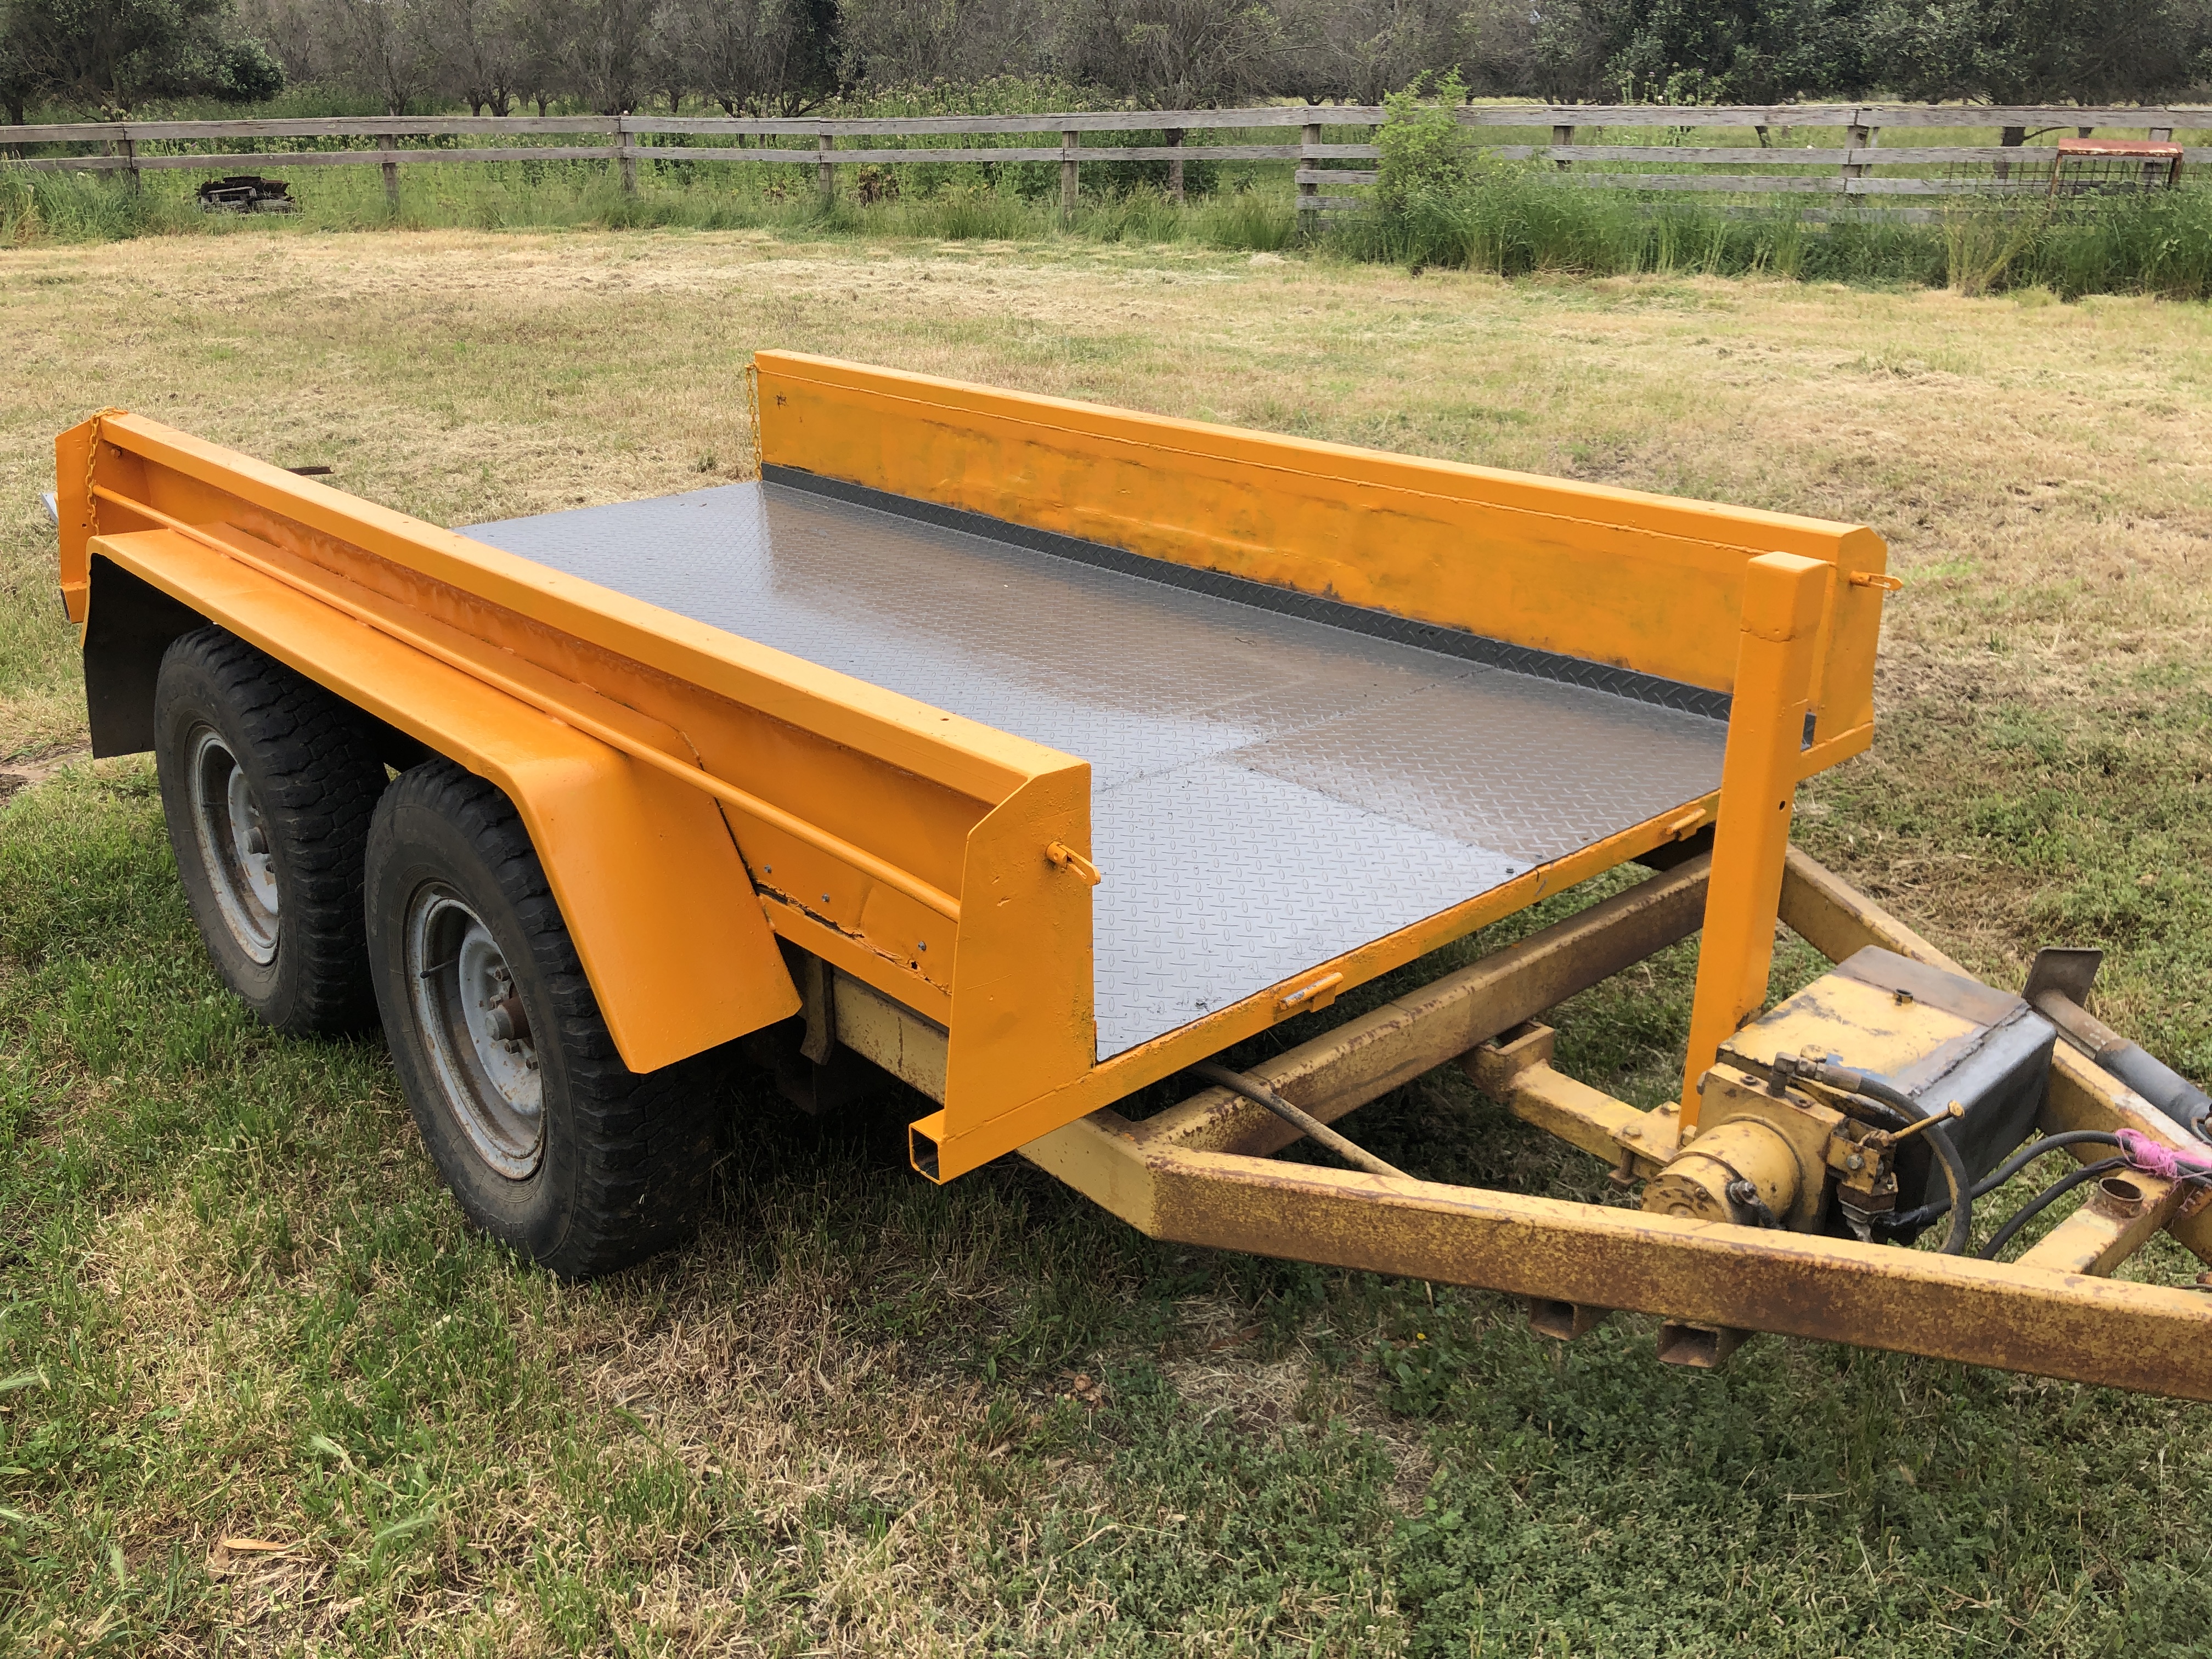

Judging by the coats of existing paint, and alterations to the trailer construction, I reckon that this is the 4th major change to this trailer’s construction. It has done a lot of work. And lots more to come.
10 November 2021.


It will probably outlast me.
