
Round Column Mill Drill Improvements
by John
I purchased this mill-drill quite a few years ago, and generally it has performed well. 6 spindle speeds, morse 4 taper, 3 auto feed speeds. I installed an X-Y table, a 6″ Vertex vice and the digital quill movement scale. All good.
But, the crank handle height adjustment for the head, and the table were both very heavy to use. And they are getting heavier as they get older.
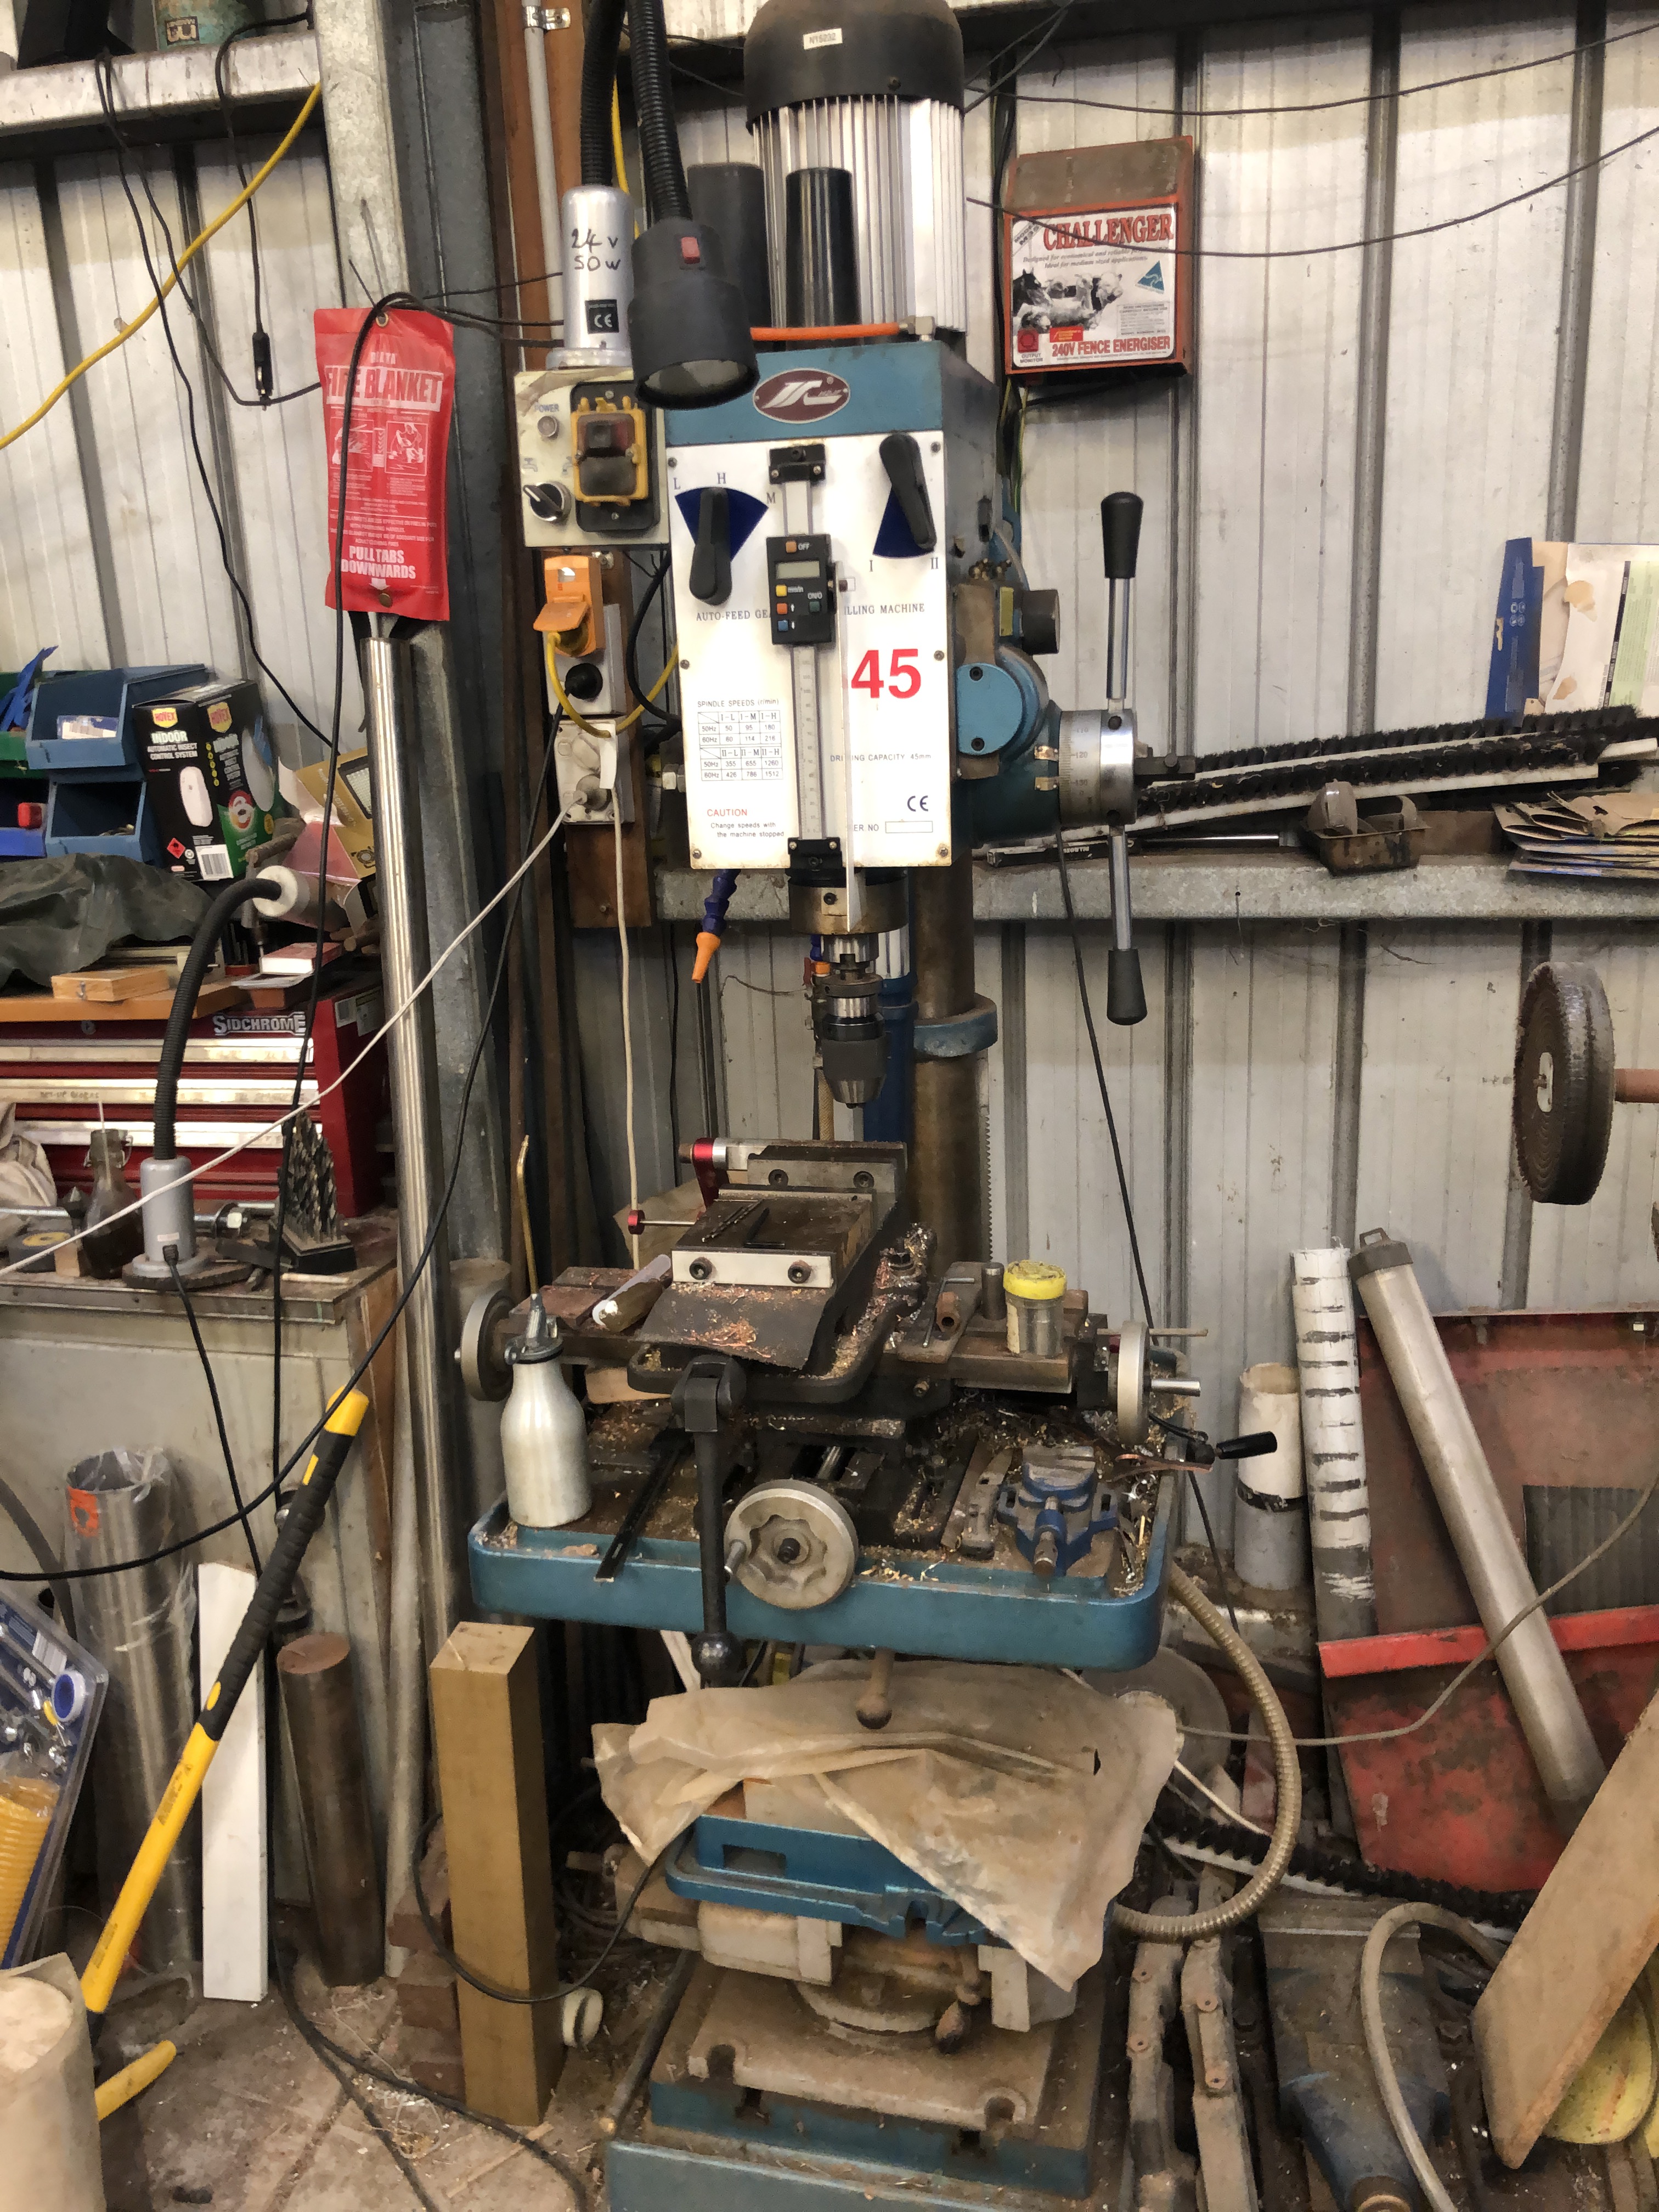
So I installed a motorised raise and lowering mechanism for the work table. That was detailed in the post “Motorising a Mill Drill Table” Feb 2021. For a variable speed, reversing motor, I used an old Metabo drill, which has heaps of power for the job. I removed the crank handle, and installed a worm and gear in a 100x100x150mm box. It has worked very well, although I probably geared down too much, because even with the drill at full speed, it is slowish to raise and lower the heavy table.
BUT. The round column is very frustrating. When changing the height of the work table the XY position is not maintained, and that is a real pain when doing multiple tasks in a fixed XY position.
I tried attaching a laser light projected onto a vertical line on a nearby wall, and that worked in a fashion, but not reliably.
Then I used the gear rack to keep the table in a fixed vertical position, but that was also unsatisfactory, because the rack would flex and the position was not accurate enough.
So, I should have NOT purchased a round column mill drill to start with. And I would NEVER do so again. But I have put up with the limitation and have continued to think about possible fixes.
Then I saw this on Ebay. And thought. “I have a use for this!”

It is a linear stage. The 30mm polished steel rods are 800mm long, and the threaded block runs on precisely machined bushes, presumably bronze. The winding handle, 16mm x 2mm threaded rod, and revolution counter are of excellent quality, but will not be used. The item appears to have had little use. There were some extra bits attached which I will not use.
And here it is cramped into the position where it will be used…..

I will make brackets to attach the bars to the round column in this position. I decided to attach the round bars rather than the end blocks to the brackets. The central block will be bolted to the worm and gear housing. I am confident that this setup will stop the work table from changing XY position when the height position is changed. It should not get in the way of drilling operations.

I will post some photos when it is finished. And some measurements of the rigidity of the setup.
