machines which I have made, am making, or intend to make, and some other stuff. If you find this site interesting, please leave a comment. I read every comment and respond to most. n.b. There is a list of my first 800 posts in my post of 17 June 2021, titled "800 Posts"
USS CONSTITUTION MODEL – 2
by John
2. THE HULL. Early Steps.
The model will be 973mm long, 667mm high.
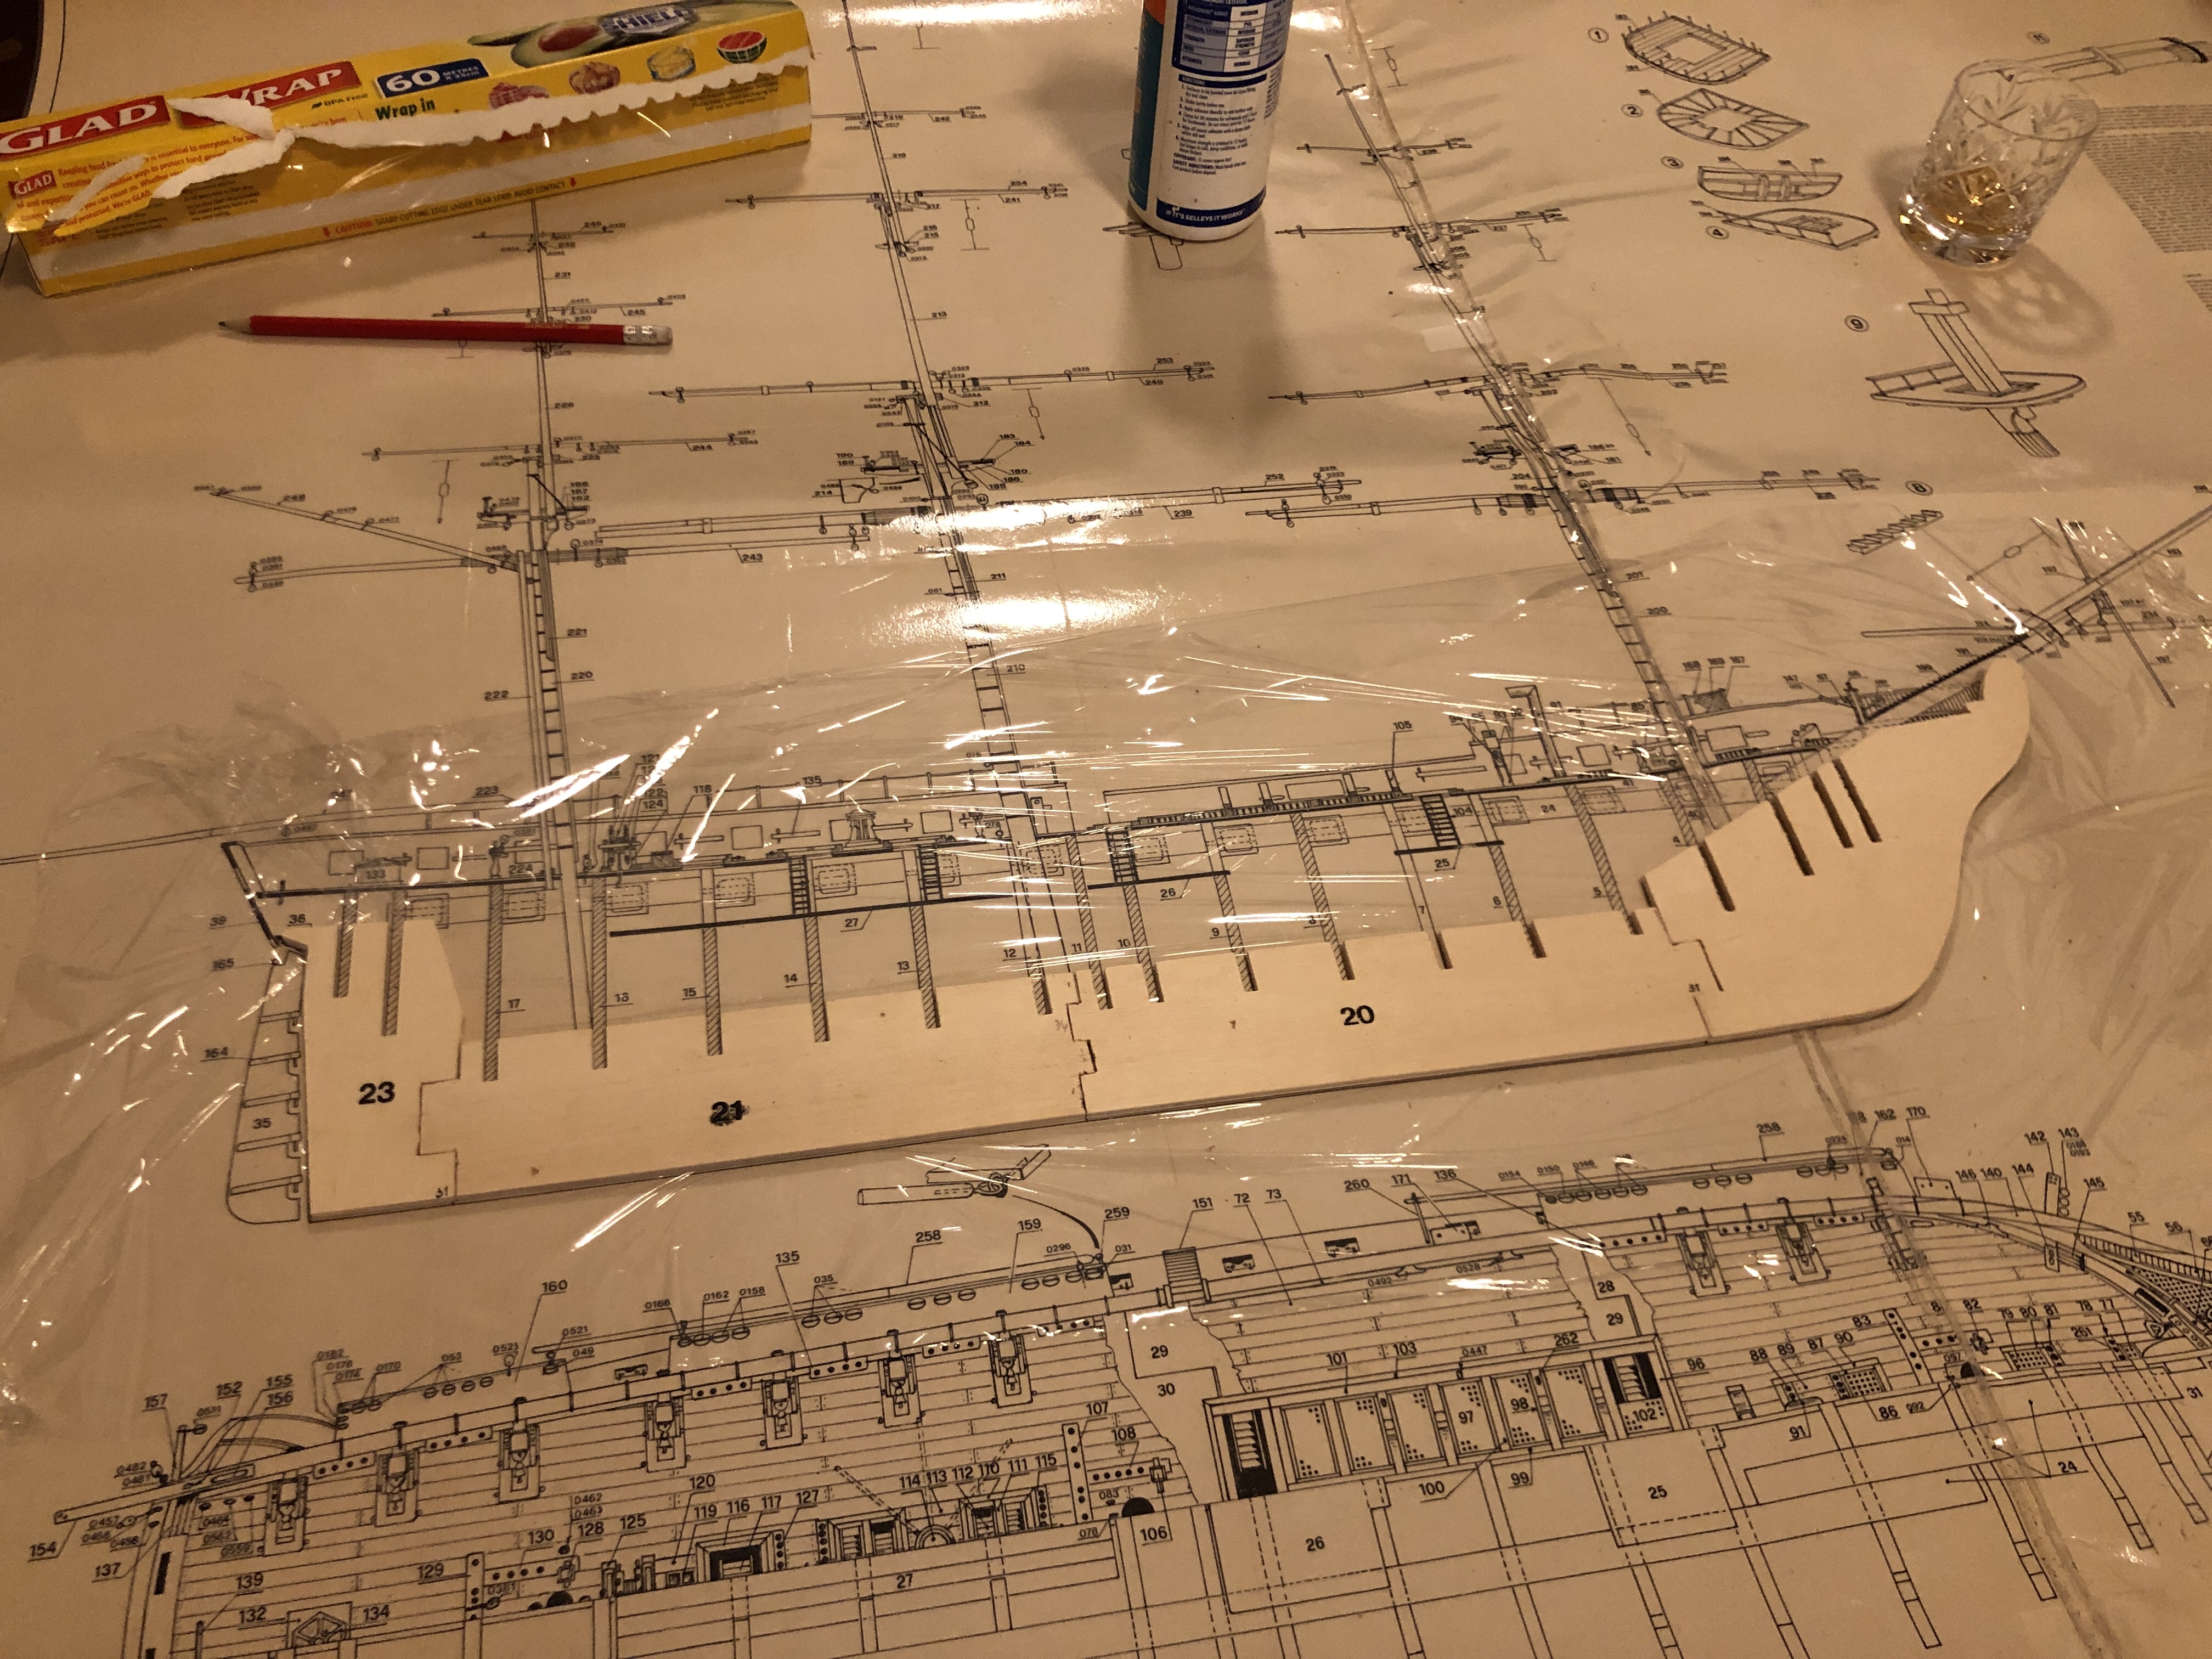
Construction starts with the hull, specifically the keel. The model keel comes in 3 pieces of 4mm plywood which are glued together. The instructions specify that the slots for the bulkheads should be positioned on top of the plans. Since the provided cut pieces are not absolutely accurate, some trimming with a sharp knife was required. I used to own some scalpels, and boxes of spare blades, but unable to locate them so I purchased an “Exacto” knife and a packet of spare No 11 (pointy, straight blade) blades. To avoid getting glue on the laminated plan I covered the plan with GladWrap.
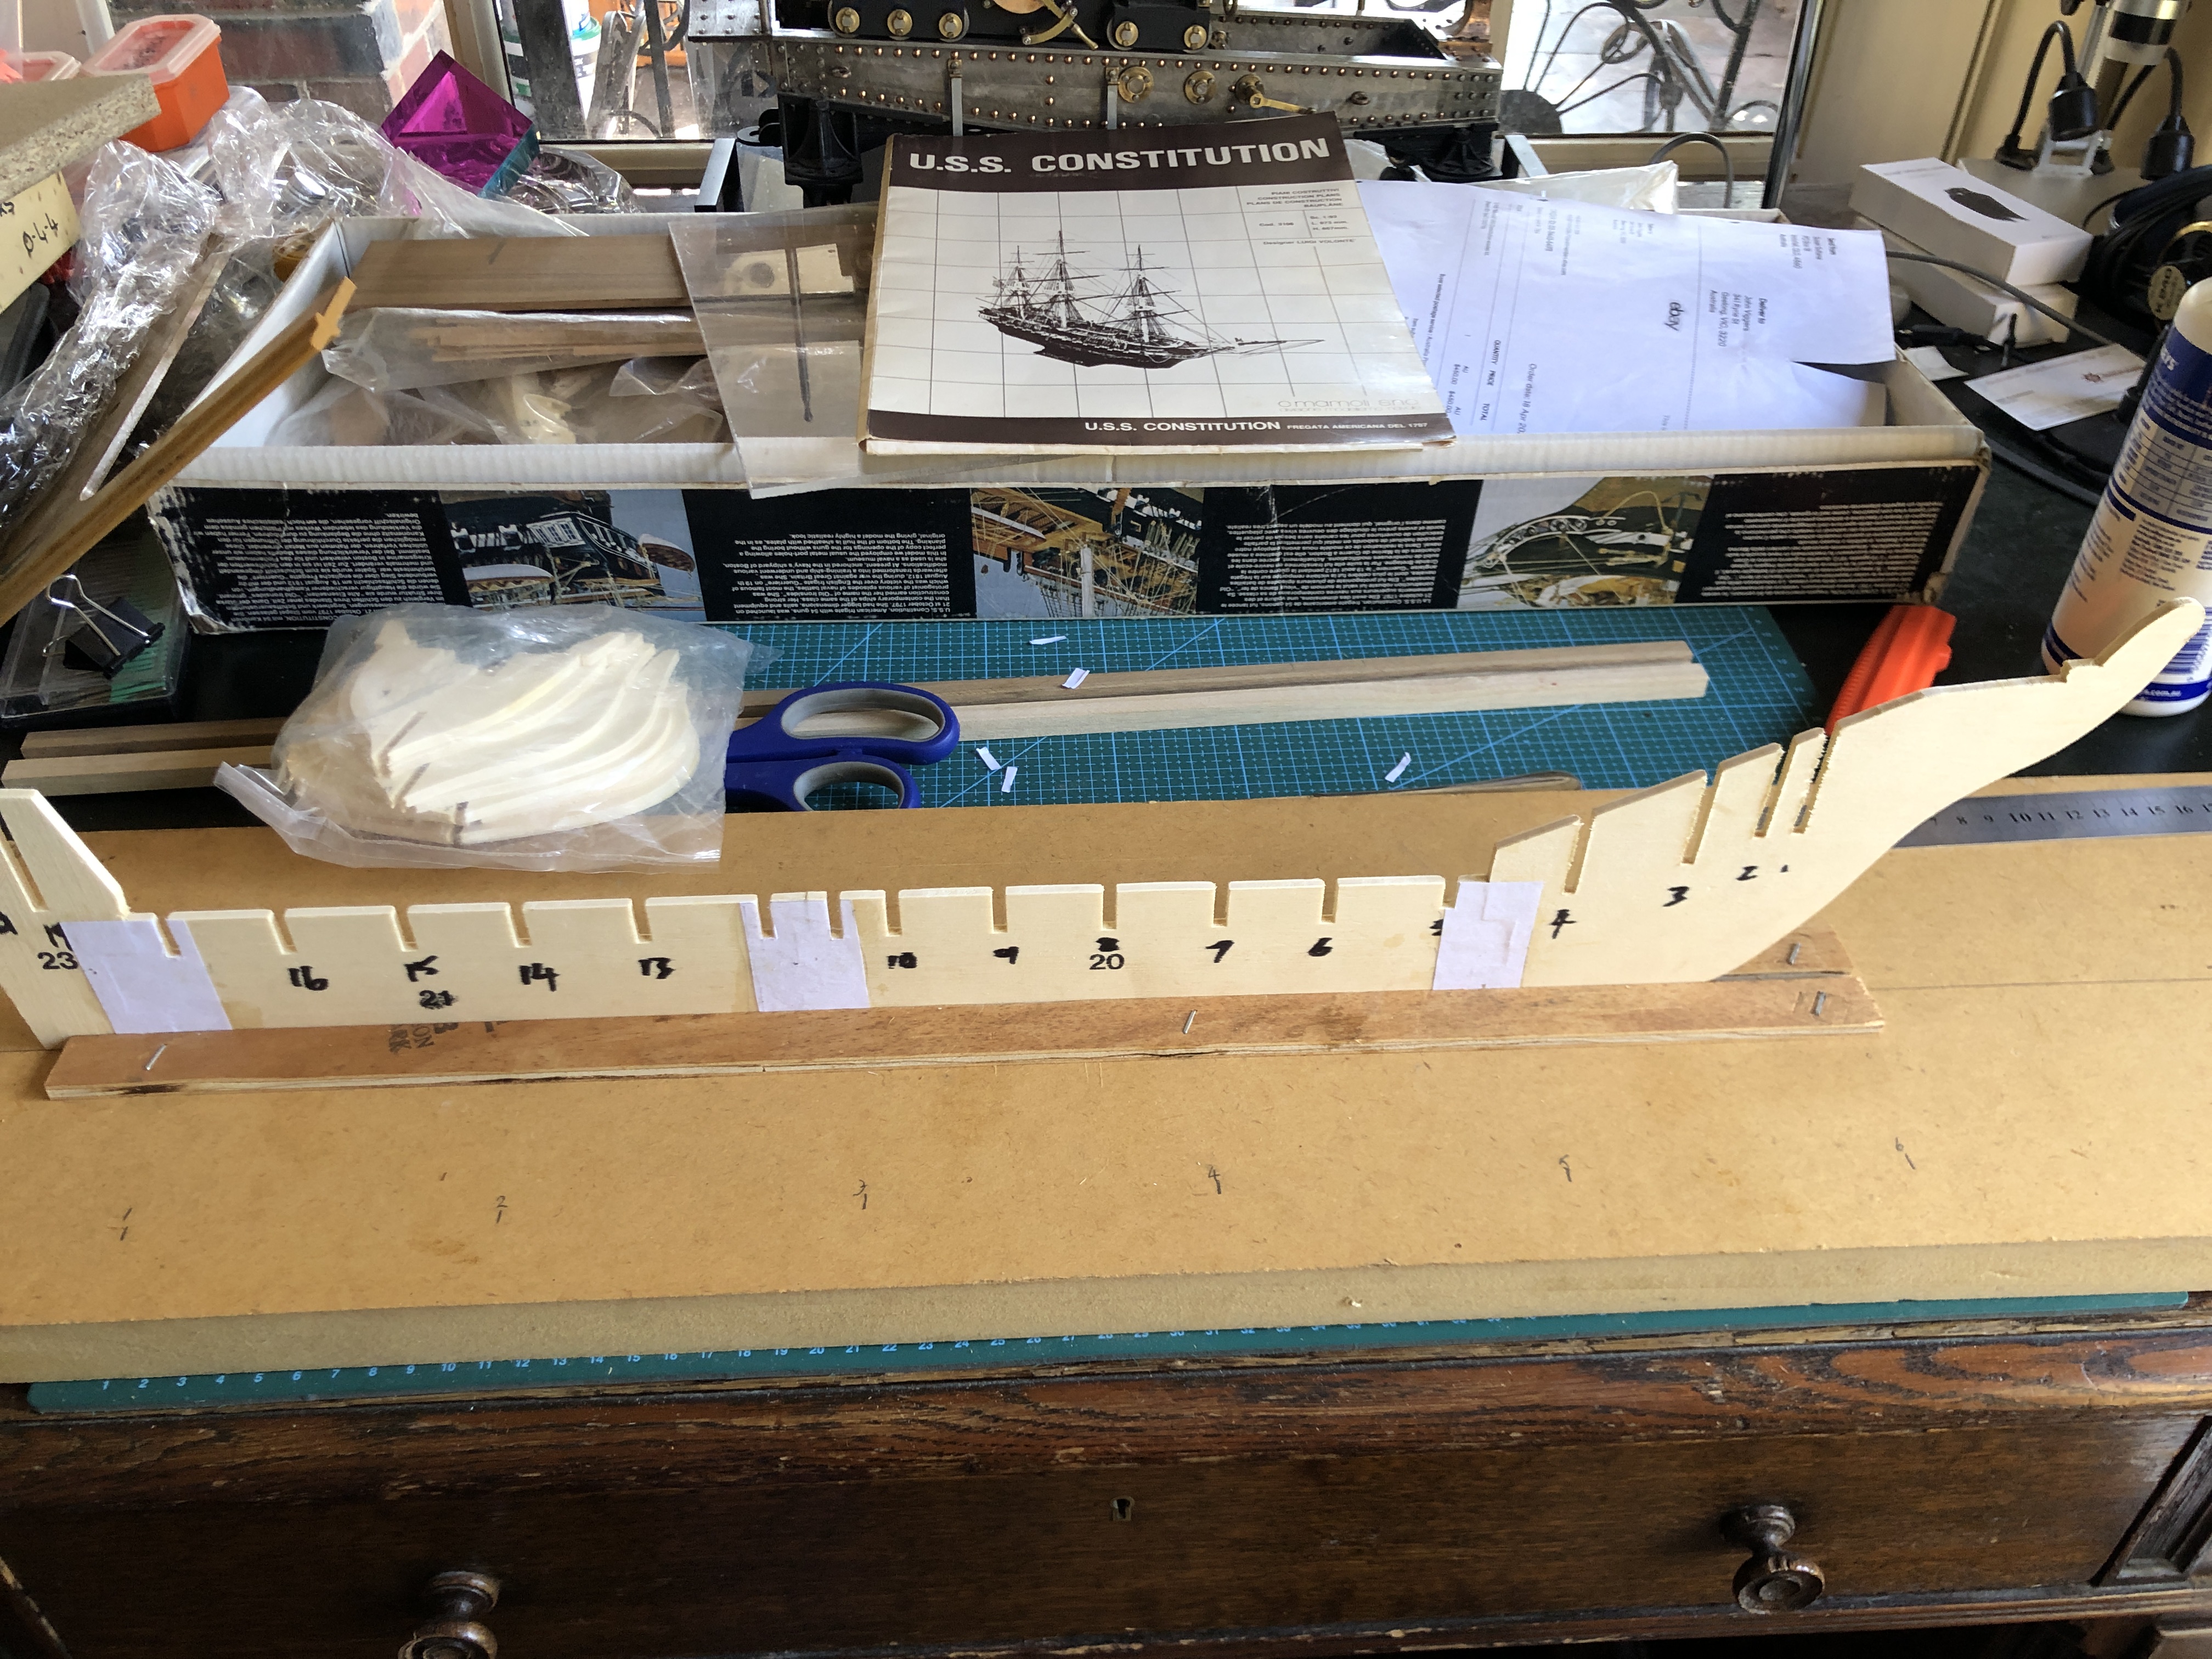
The 3 numbered pieces of pre-cut plywood, trimmed by me to size, ready for glue. I used PVA white glue which did not adhere to the GladWrap. The keel will not be visible in the finished model, but it is the backbone of the ship, so needs to be strongly joined.The instructions say that the pieces should be nailed to the baseboard, but I decided that was not necessary, and just weighed them down with a board and books, and left the glue to cure overnight.The instructions suggest gluing some strips of paper over the joins, and since the glued keel was a bit bendy laterally I complied, and to my surprise the paper reinforcement did indeed stiffen the keel considerably. Live and learn. The strips holding the keel vertically were stapled to the baseboard. I numbered the slots to match the bulkheads. The original Constitution did not have bulkheads like the model, of course, just heavy frames and about 4 times as many. But the bulkheads will not be visible in the model, so I proceeded to use them. If I do one day make another wooden ship model, I will use frames, not bulkheads.
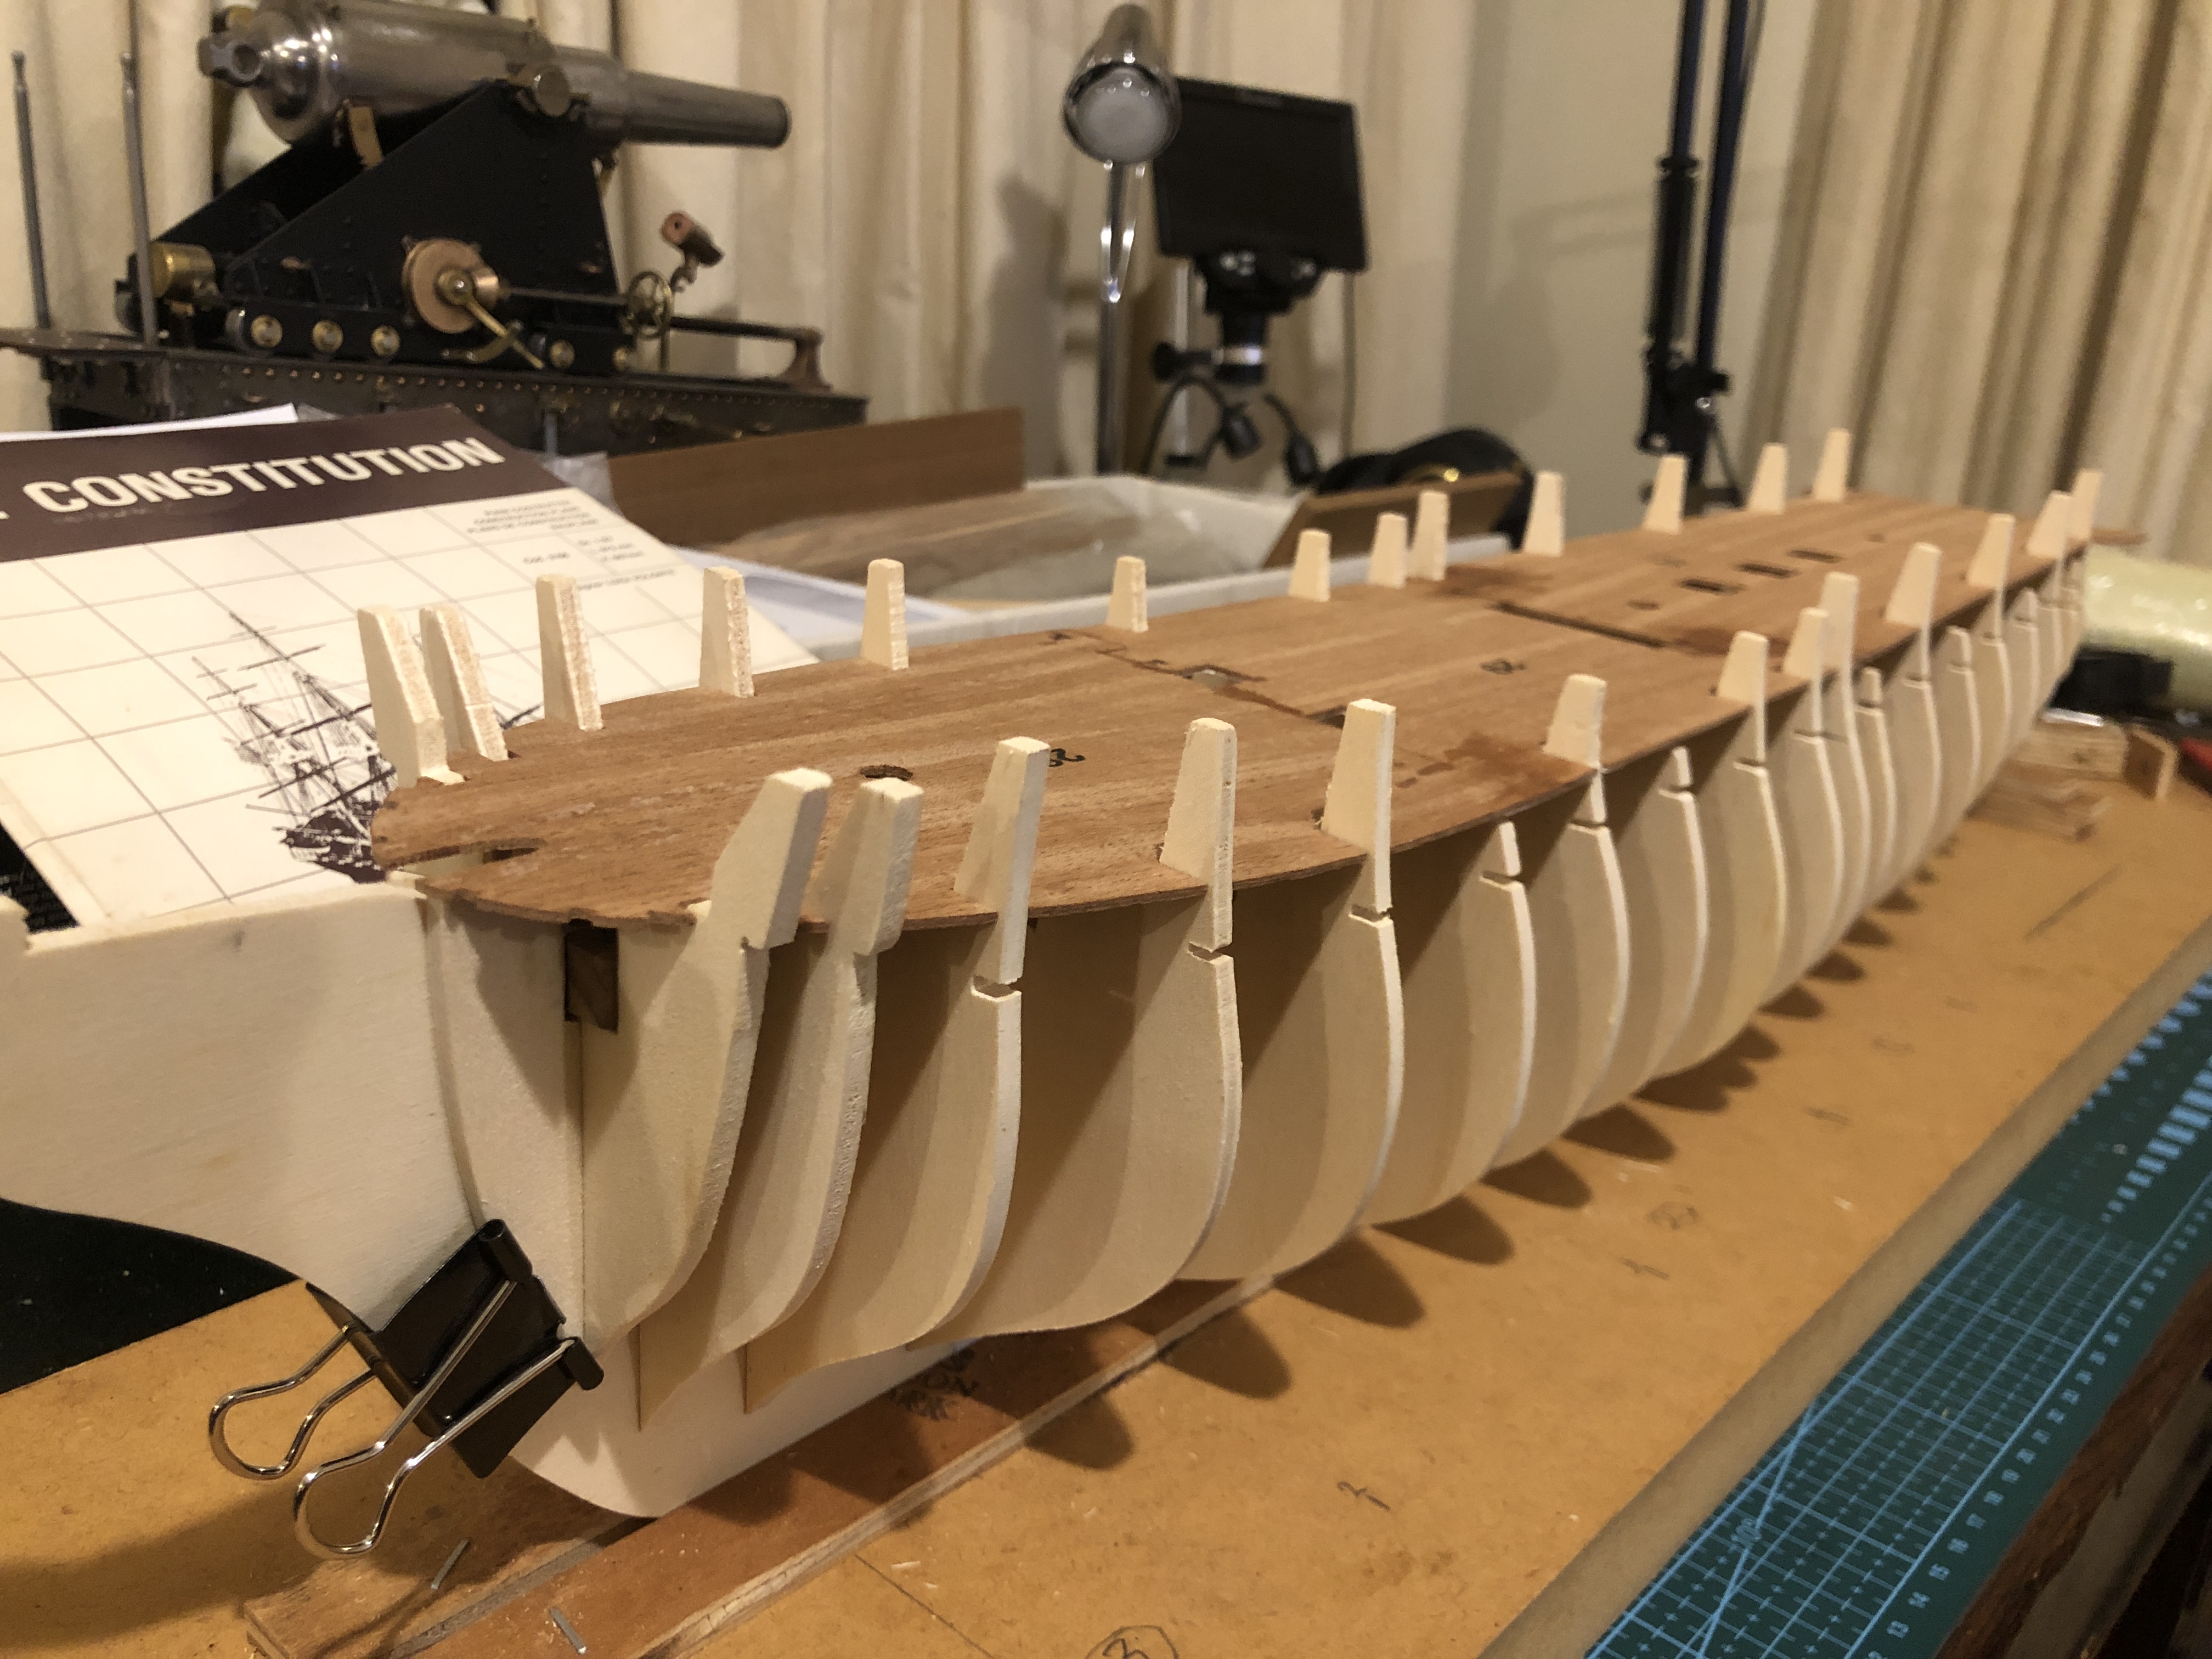
The next step specified gluing the bulkheads to the keel, but reading ahead I noted that the top deck was in 2 layers, and held to the bulkheads in neatly fitting slots. Also, the depth of the slots in both the keel and the bulkheads was quite variable and not in a straight line. And the bulkheads needed to be at 90 degrees to the keel, and vertical to the baseboard. And the plans were not dimensioned.
So I used a different order of assembly. I do hope that this variation does not return to bite me on the bum. I glued the 3 deck panels together, after doing a dry run assembly of the keel, bulkheads and deck pieces, and reinforced the joins with paper strips….
The deck panels glued together, again after measuring and trimming, making sure that the overall shape was symmetrical, and fitted the keel with bulkheads not glued yet. Then glued on paper. Some penetrations were covered with the paper strips, and cut out after the glue dried.Then made sure that the glued up deck panel fitted the bulkheads. Some enlargement of the undersized deck panel slots was required, but it is starting to take shape, No? The deck panel will not be visible after it is covered with planks later.
So that is where we are up to, after 2 days of about 6 hours/day. So far it has been very enjoyable.