Coppering Bellerophon -1
Most British war ships in the Napoleonic wars had a layer of copper sheets attached from just above the waterline to (but not including) the false keel. It had been discovered that the copper prevented infestation by the Teredo worm which could cause major damage to the wooden hull planks and frames, even to the point of causing ships to break up and sink, or at least cause major costly and time consuming repairs. The British navy had experimented with various metals and paints and fasteners over the decades, and copper was found to be the most effective solution, albeit the most expensive.
As well as the problem of the Teredo, the copper also dramatically slowed the infestation of barnacles and weeds, which caused the ships to gradually become slower. Careening the hull of barnacles and weeds was possible at substantially increased intervals, if coppered, allowing ships to stay longer at sea, sometimes for years at a stretch during the blockade of French ports during the Napoleonic wars.
The copper sheets were typically 14-15″ x 48″ x1/4″ and weighed 22-32 oz per square foot, which in modern units equates to approximately 350-380mm x 1200mm x 6.3mm and weighing an average 2.8kg per sheet. A 74 gun ship required about 2700-2800 plates which weighed a total of approx 7.5 tonnes. The copper plates overlapped each other by about 30-40mm. They were held in place by copper nails 38mm long, 5mm shaft, 8mm dia head, approx 100 per sheet. Initially iron nails were used, in ignorance of the salt water electrolytic effect between the iron and the copper, with the inevitable loss of the copper sheets. And damage to iron bolts in the ship’s planking and frames. The copper nails were also problematic, being too soft, but a later copper-zinc alloy proved succesful.
The nails were spaced 25-38mm apart around the plate borders. Later, the central areas of the plates were also nailed. As far as I can ascertain, the central area nails were in rows, staggered. But I could find no existing examples of original copper plating. Nor any repaired museum ships with copper plating which definitely retained the old patterns of nailing. USS Constitution has had her hull planking and therefore the coppering, replaced and I could find no record that the pattern was the same as the original. HMS Victory seems to have no coppering at all now. HMS Trincomalee, constructed in India to British frigate plans, is coppered, but again I think that it is unlikely that the coppering is original. If any reader has information to the contrary I would be very happy to be corrected.
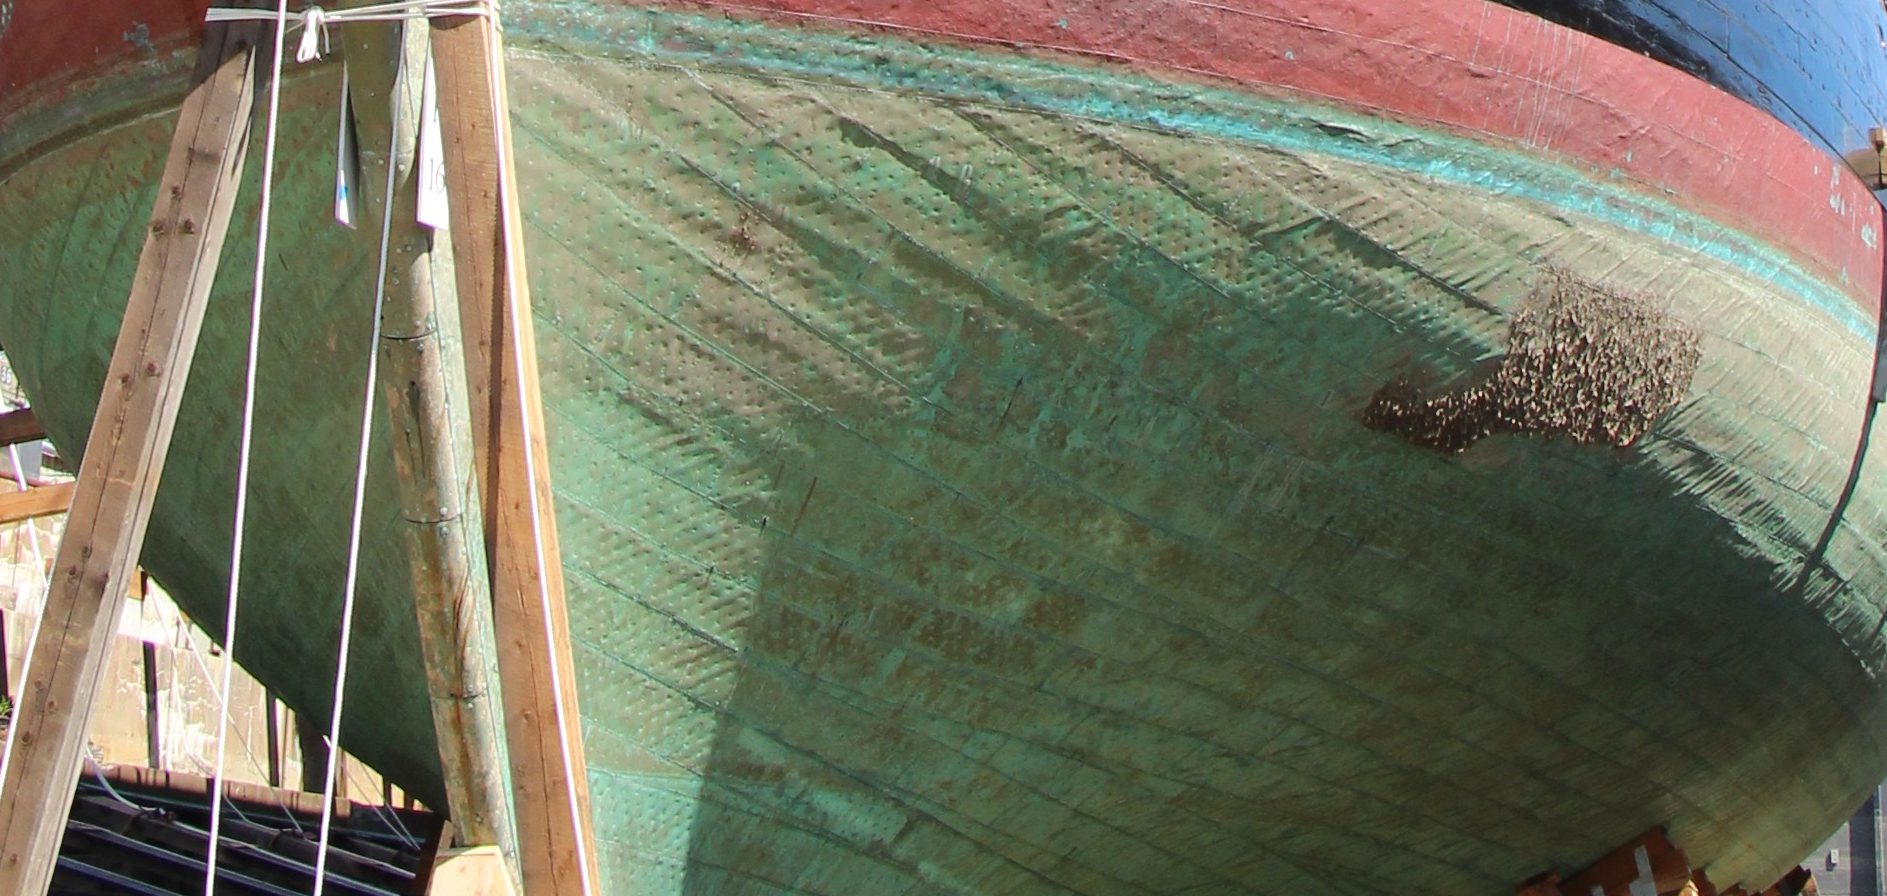
Now. At 1:72 scale, the Bellerophon model plates measure 17x5mm and 0.08mm thick. They overlap each other approx 0.5mm. The vertical overlaps are front plate overlaps the rear. There is confusion about the long horizontal overlaps. Some authors state that on British warships the lower plate overlapped the upper. That seems a bit counterintuitive to me, particularly when authoratative authors state that coppering started at the keel and worked upwards. Merchant ships of the period, including later clippers, the upper plate overlapped the lower. In the above Trincomalee photo, the upper plate overlaps the lower. I am yet to decide what happens in my model.
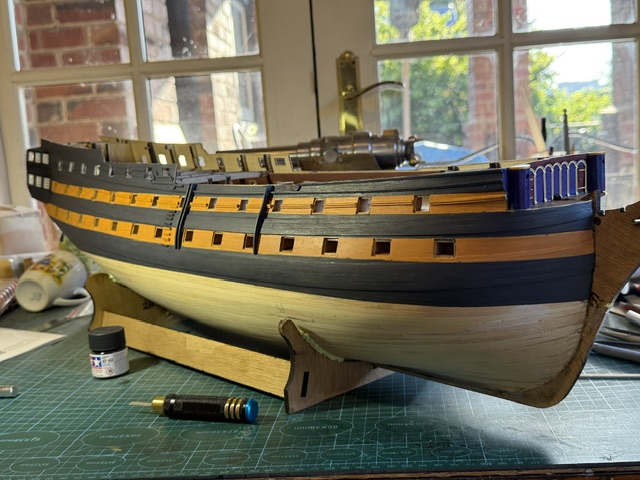
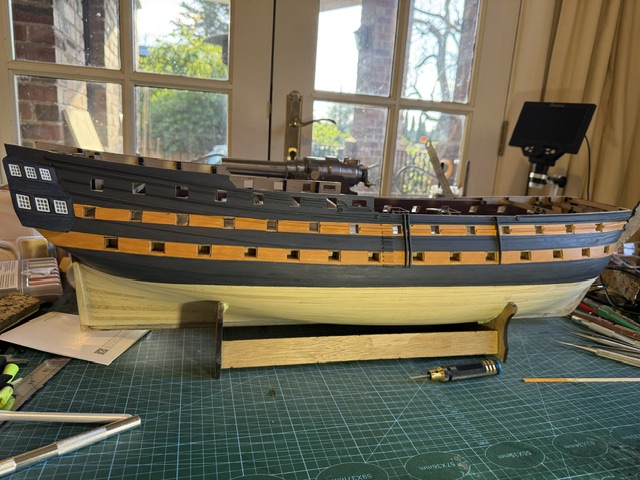
I will use copper on my model. I know of no model ship parts supplier who has accurate coppering designs. So I will make my own. I will probably use electricians copper tape again, but I need to do some experimentation regarding nail marks, nail head sizes and patterns. Awaiting some supplies to arrive.