
Nelson’s Checkers -2
by John
With the serious mistake of not removing all pencil marks prior to painting the yellow ochre stripes, I consulted my AI. It advised NOT scraping the yellow stripes back to bare wood, but just living with the mistake, on the grounds that scraping, sanding and repainting was likely to look worse than the persistent lines.
I agreed with that advice, but did add 2 layers of undiluted yellow paint, which makes the pencil marks visible only to those in the know. And you wont tell will you!?
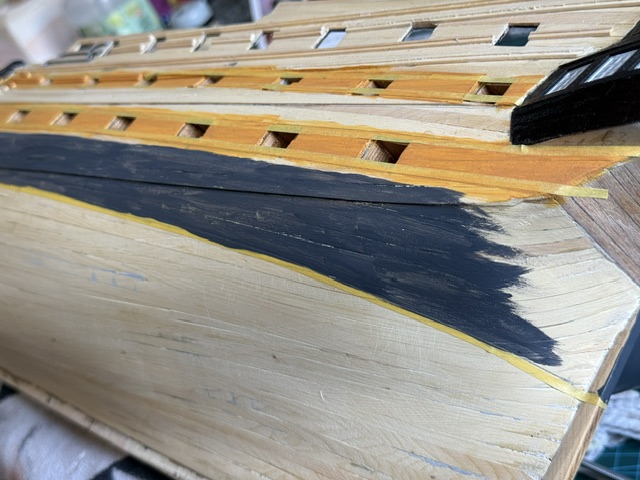
Then, after 2 days of waiting while the yellow cured, I applied the masking tape. I used Tamiya 3mm wide tape, which was highly recommended on the modelling sites. The sites also recommended painting the edge of the tape with yellow paint after appliction of the tape to the yellow stripes. That was to increase the sealing of that edge before applying the black paint.
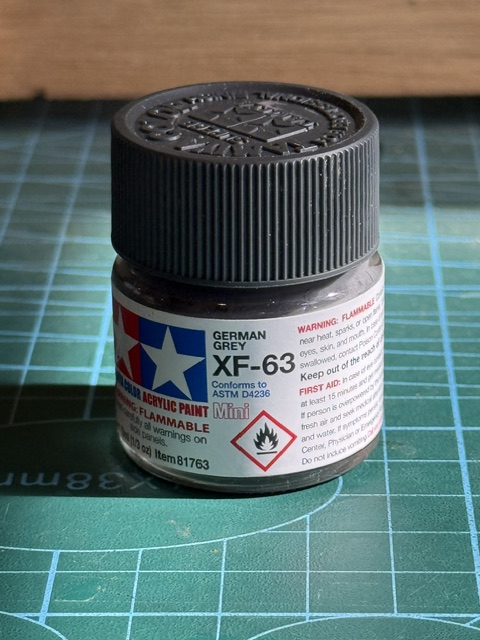
Then I applied the black paint, with a brush. Well actually it is a very dark grey. “German Battleship Grey”. Recommended by the AI to slightly soften the black which might look too intense in a scale model. SWMBO agreed, and since she is a talented artist and architect I do follow her advice regarding painting and colours.
See the previous post for the ochre yellow stripes. Here is a photo of applying the black. The masking tape is over the yellow. The first layer of paint always looks pretty rough. You ignore that and press on, making sure not to have any runs or drips. I follow the advice of experts and try to always brush in one direction and never go back over a previously painted stroke until it has dried. Well, almost never. A glob or run has to have its volume spread or reduced. So I use a very small brush, and dip it into the paint only half the length of the bristles or less. The paint is acrylic, and slightly diluted with water. A few drops of water are added to the pot from time to time if the paint shows any sign of thickening.
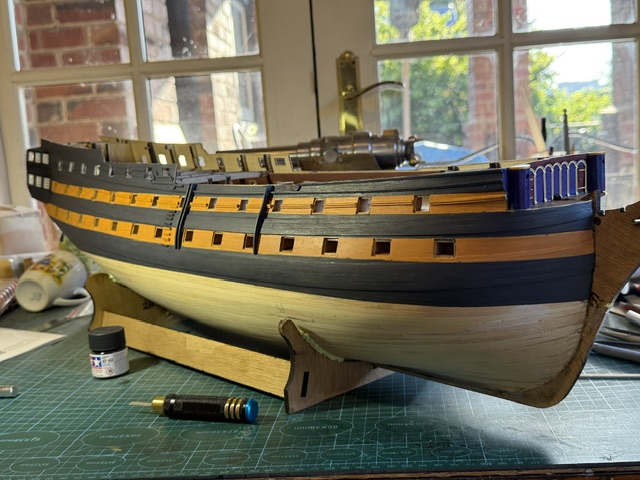
So, I am learning from my mistakes. And the final result is reasonable IMO.
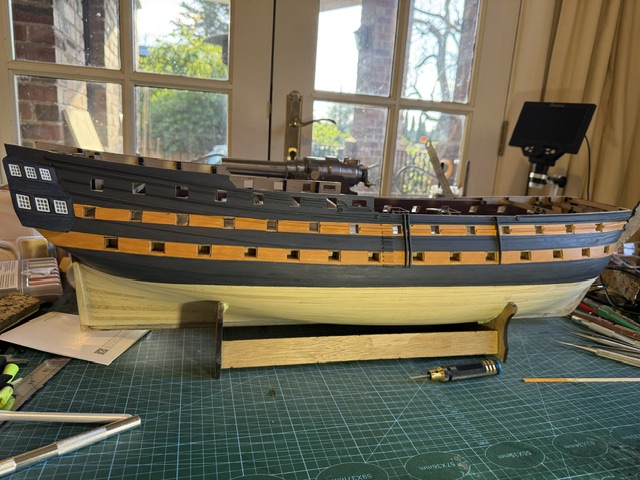
The next step is the coppering of the hull.
 johnsmachines