
Model Armstrong 110pr Breech Screw Handle
As explained in the previous post, it was crucial that the breech screw was tightened securely.
Watch the following YouTube video of a demonstration firing of a 110pr at Fort Nelson, video’d by Nick Cafferata, and used here with his permission. Note how the weighted handle was swung by 2 gunners and repeatedly knocked to ensure secure closure. Also note the volume of smoke from the firing, and this was a charge of only 2lb, compared with the 10-11 lb used in 1861.

2. The laser cut parts for the screw handle (left) were excellent. Unfortunately the blank for the trunnion ring was slightly too small so I will use another method to cut another using my CNC mill.

3. Milling the screw octagon on the breech screw. CNC rotary table. Beautifully accurate.
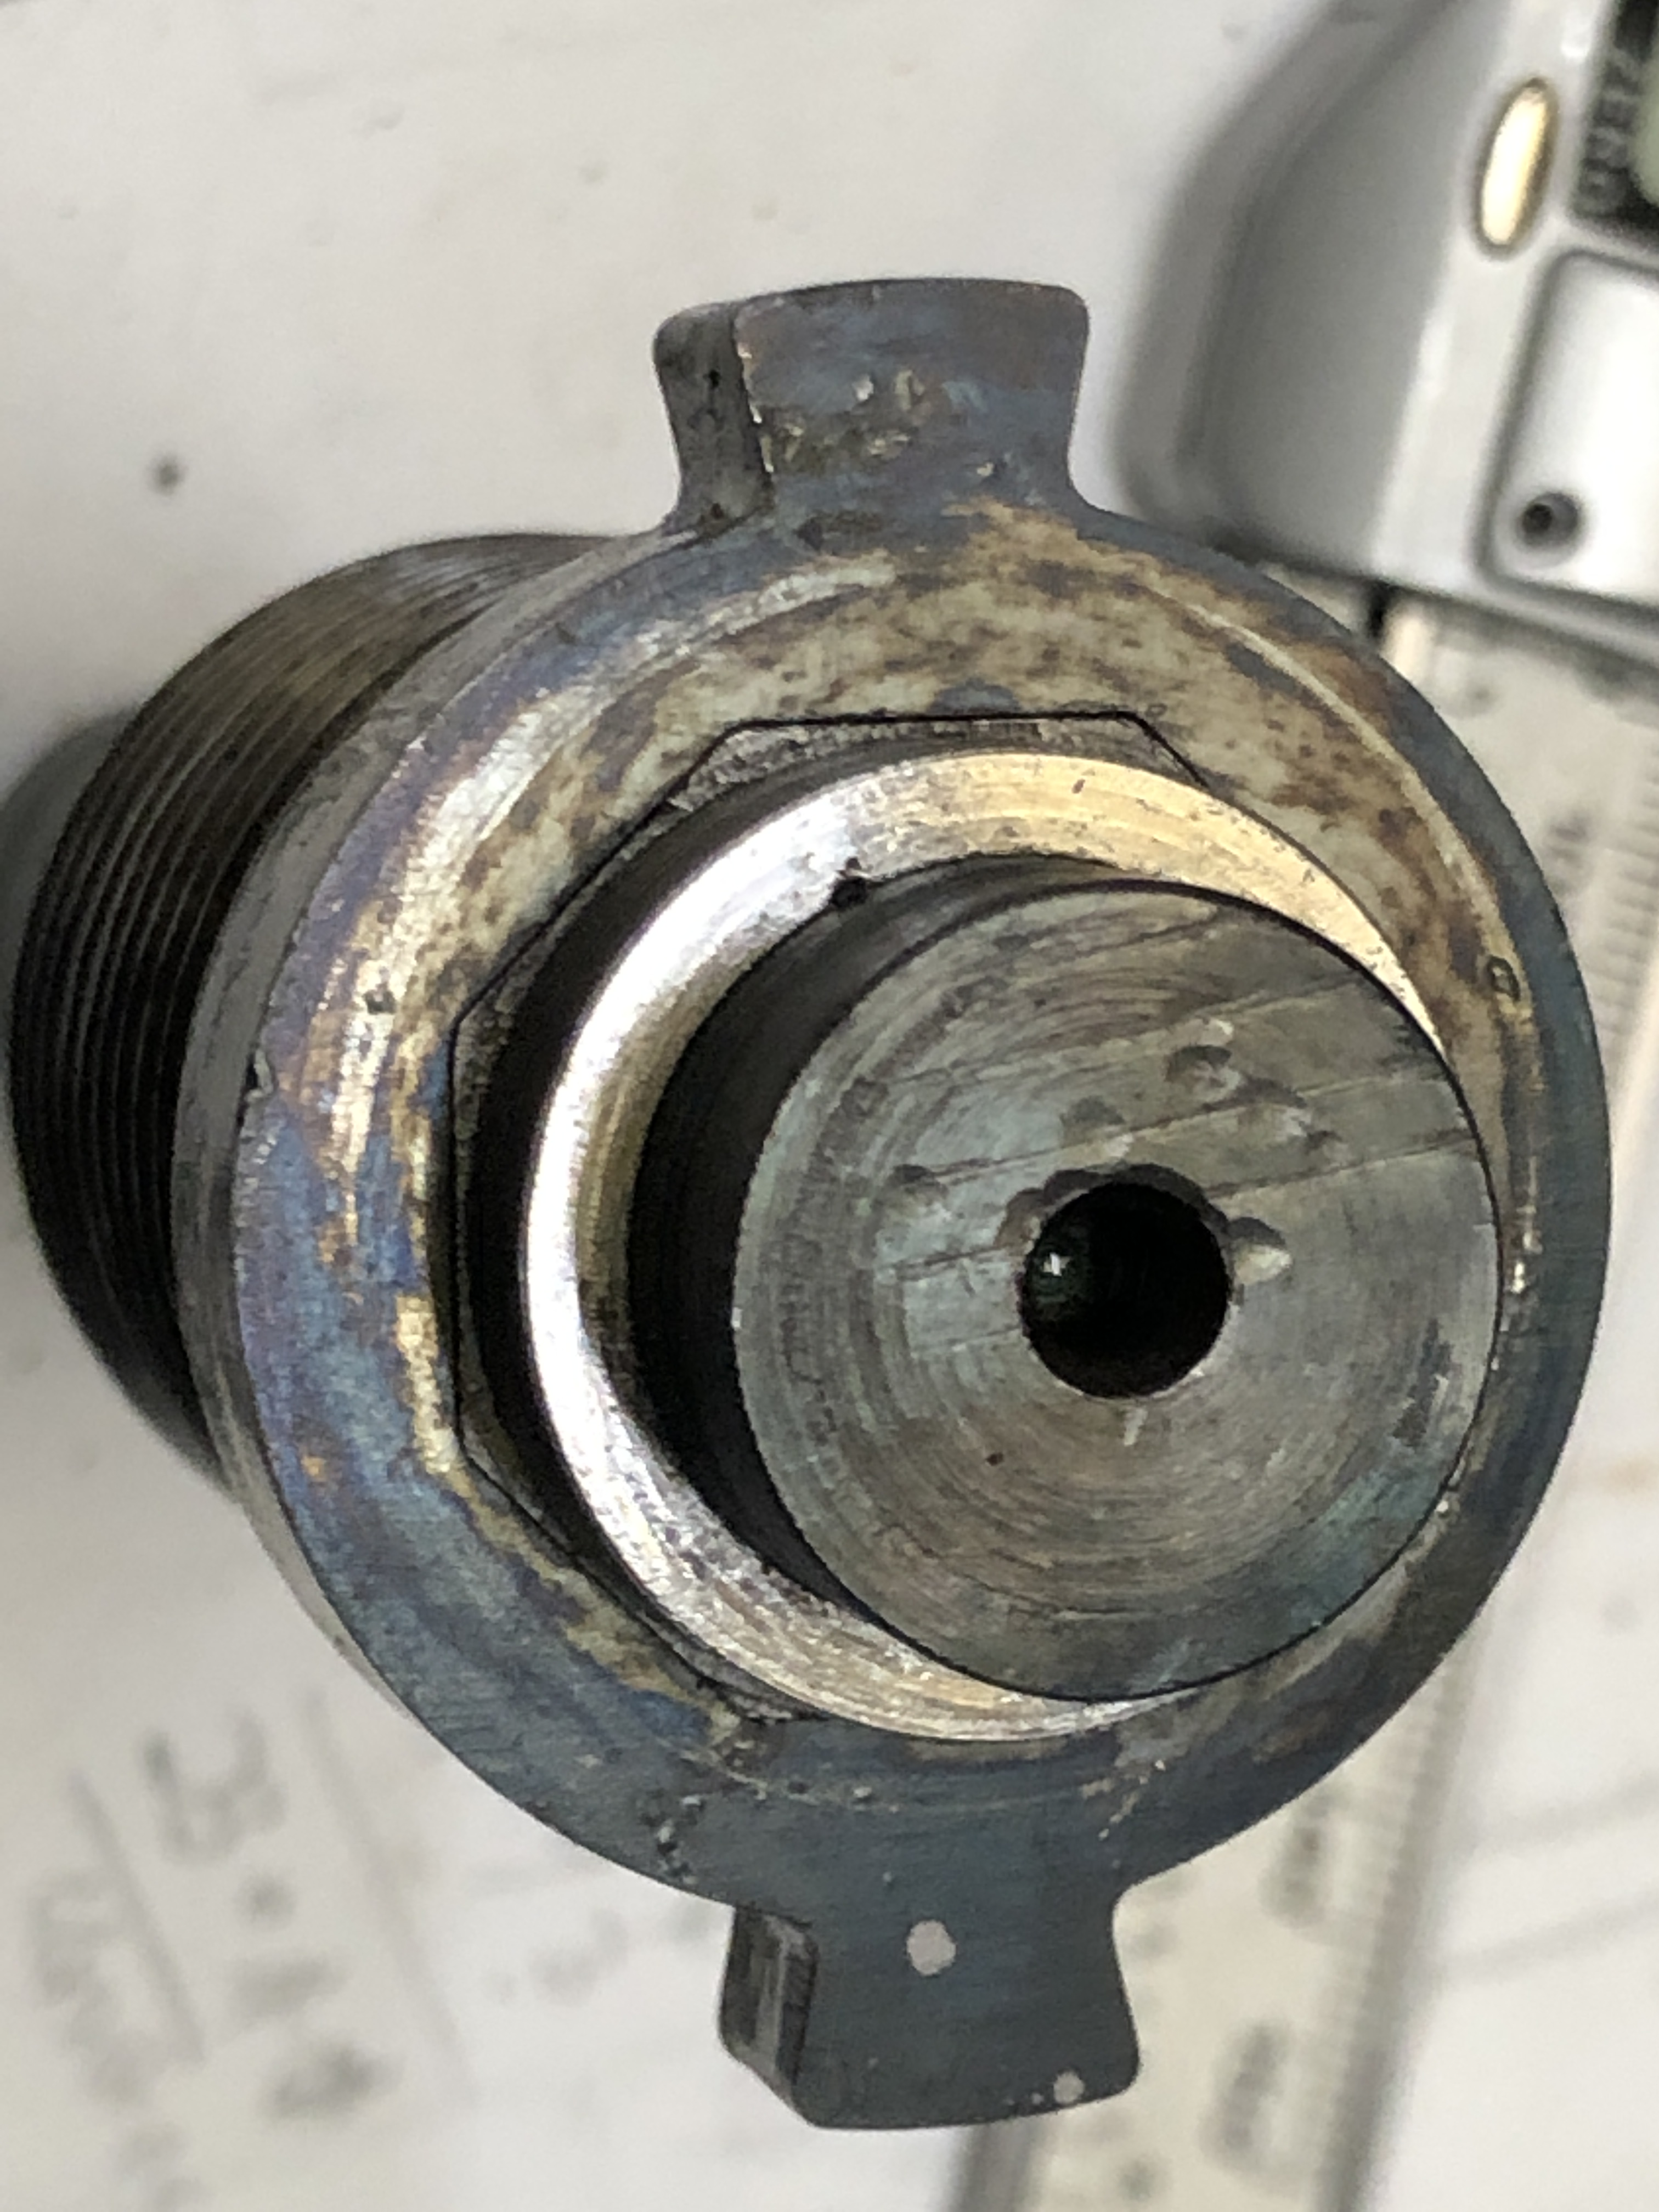
4. Octagonal piece heat shrunk to breech screw. I probably could have cold pressed it on, but I wanted to try heat shrinking because that method will be required later when fitting the trunnion ring. It is strongly held together, not budging when I turned the rear surface to 4mm thickness.
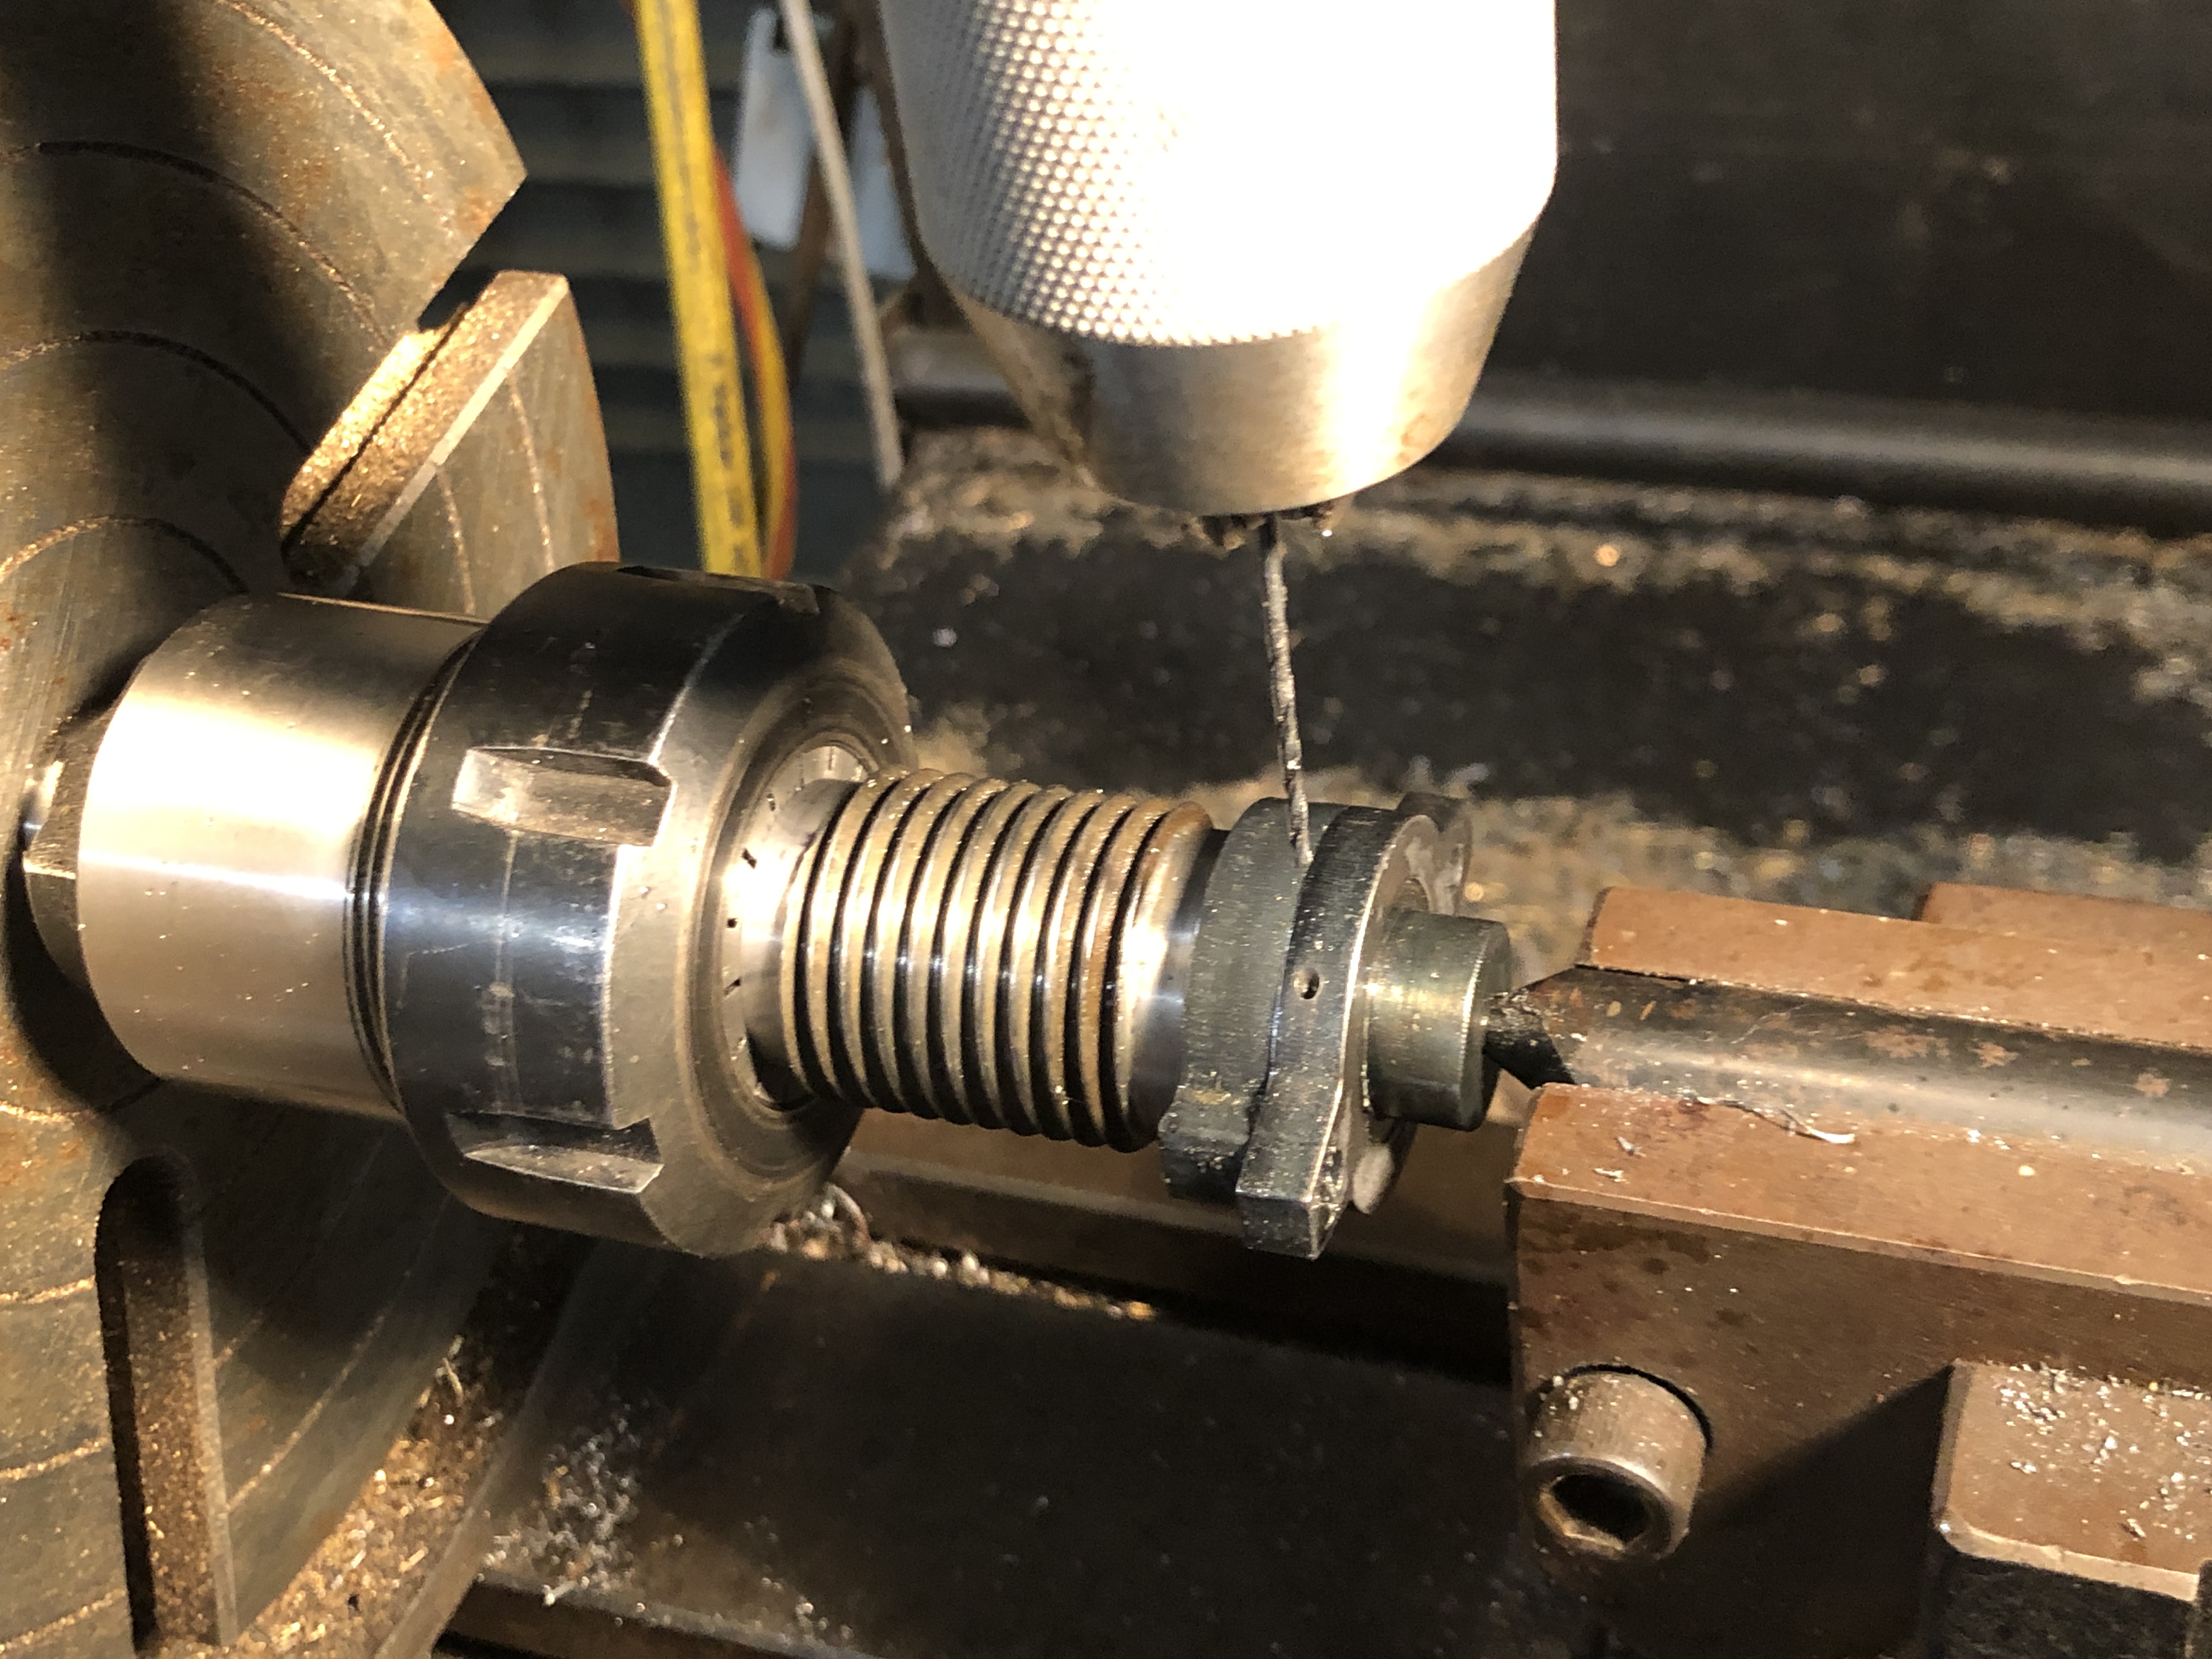
5. 1.6mm drill for the pins. This worked well after I loctited the handle to the screw before drilling. 25mm depth of drilling definitely qualifies as deep drilling. Then I heated the assembly to break the Loctite bond. Then turned a 1.6mm wide, 0.8mm deep groove in the shaft using the drilling marks as a positioning guide.

6. Facing the handle and screw. This was also completed before breaking the Loctite bond. Not a precision task, so quite happy to use the 3 jaw chuck, which is actually surprisingly accurate.
The central 18mm diameter shaft was also heated to break its Loctite bond and the shaft came free.
Next job is to make and attach the blocks to the handle which knock the octagon/breech screw, and the heavy weights to the ends of the handle which enhance the momentum of the action.

7. I had this piece of mild steel 28mmx168mmx600mm left over from a farm machinery job years ago (a deep ripper for a bull dozer, for preparing the ground prior to planting olive trees.)

8. It was rusted from sitting in a pile of steel for 10-15 years, so I took off 0.5mm from each face to flatten it and clean it up.
Watch this space to see it being CNC’d into a trunnion ring…….
