johnsmachines

machines which I have made, am making, or intend to make, and some other stuff. If you find this site interesting, please leave a comment. I read every comment and respond to most. n.b. There is a list of my first 800 posts in my post of 17 June 2021, titled "800 Posts"

Tag: workshop

A Workshop as Dark, Messy, and Dirty as Mine! Well, almost.

These shots were sent in by reader Russ, from Tasmania.  He reckons that he will tidy up the shop after retirement…. Ha!   Little does he know, that there is less spare time after stopping work…  there is so much other fun stuff to do.

file5.jpeg

file2.jpeg

Is that a Porsche 924 or 928?

Image.jpeg

No!  Much better! It is a Jensen Interceptor Mk 1. Love that aesthetic rear window.   Beautiful Tasmanian landscape.  Number plate ablated by me.

file6

file1

file

Now that is a real man-cave!

I think that I still win the prize for the messiest, dirtiest, darkest workshop, but Russ comes in a close second.  Note that Russ is a busy surgeon.  Hmmm.


Workshop in the Deep North of Oz. North Queensland.

This one is interesting.  It is located in the basement of a multi storey apartment building,  in the centre of a major city, and occupies a car parking space.  It is screened off from the other car parking spaces, with security mesh and visual blocking.

In the photos you will see some of Peter’s projects.  Woodworking, kids toys, and metalworking.  Peter also is involved in model railways.

Nice to see some mess.  Must be genetic.

IMG_1294.JPG

Nice bandsaw!  I wonder what the bell is used for.  Maybe to warn the other apartment occupants that Peter is about to fire up some machinery.

IMG_1288.JPG

IMG_1289.JPG

Heavy duty lathe.

IMG_1290.JPG

It is obviously used!

IMG_1292.JPG

A grand daughter will be very happy with that!

Thanks for those photos Peter.  It is interesting to see another workshop in confined space.  I do wonder how the other apartment occupants respond to woodworking thicknesser noise.

Southworth Steam Boiler Feed Pump Progress.

With book reviews and OP’s workshops on this blog you might be wondering if anything is happening in MY workshop.

Well, yes.

I have been beavering away, making parts for the Southworth steam powered boiler water feed pump.  Today I made the final parts.  The machining has been fairly basic and straightforward, so no special photos or videos.

IMG_8196.JPG

These are the parts and assemblies.  Top is the steam cylinders left, the water cylinders right.  The water pump stack not attached.  The the tails for the valve rods, the valve rods with valves attached, the cylinder caps, the valve rod levers, and some of the gaskets.

I will make a separate blog about the gaskets.  These were all laser cut.  I will never hand cut another gasket.  Laser cutting is cheap, fast and accurate.  Way to go!

IMG_8197.JPG

The valve levers and fittings.   These are small, precise, and accurate.  Quite a pain to make, even with CNC.  I remade more than one of these, due to dropping and losing the original.  The fasteners are M2, and not finalised.  The off centre drilling of the left hand fitting is of no consequence (I hope).

IMG_8198.JPG

The valve rods, M2.5, and valves.  Cutting those threads, 2.5mm diameter and 25mm long, was also a challenge.  I learnt about fixed steadies, but too late to use on this job.  Subject for a future blog.

IMG_8199.JPG

And some of the cylinder end caps.  There are 8 altogether.

So now that all of the parts/components are made, I will commence the assembly, then the timing of the steam engine component.  Watch this space.

Book review of “A Military History of China” coming up soon.  Quite an eye opener.

If you have not sent in photos of your workspace, please do so.  The series has generated quite a lot of interest.


Another John’s Workshop.

Now this is a workshop where I would feel at home…..

“Hi John some photo’s attached.

I work in my double garage 56 square meters. I have been self employed for the last 30 years but have reached the stage where I want to retire, some of my customers still send me jobs to do which I cannot say no to so it keeps the hobby going.
I have a Bridgeport copy converted to 4 axis CNC running Mach3 using MachStdMill screen set (love it).
My lathe is a Prototrak SLX on a King Rich lathe bed ( toolroom quality).
Misc other machines small surface grinder,tool & cutter grinder, compressor, 15 tonne press, bandsaw,welding gear electric & oxy acetylene, overhead crane ( 250kg capacity )
I am running out of space.
I am close to finishing my boiler will send some photo’s soon.
Cheers
John”
20190924_083811.jpg
20190924_083828.jpg
20190924_083850.jpg
20190924_145636.jpg
Thanks for the pics John.  A bit of gear envy happening here.  Love the gantry!

Workshop Photos. Are all Modellers Obsessive -Compulsive Neat Freaks?

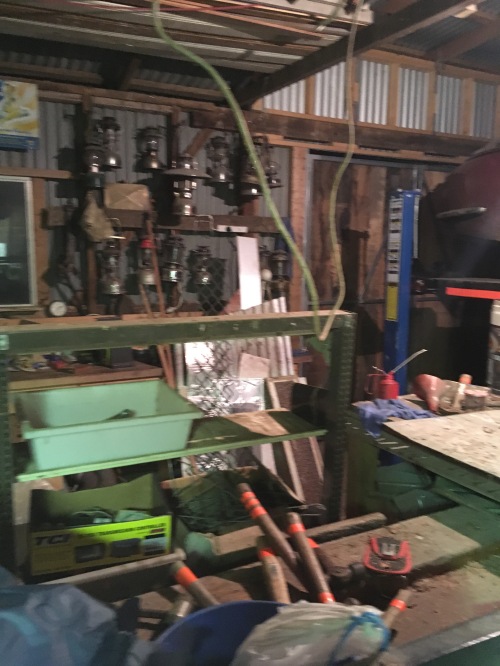
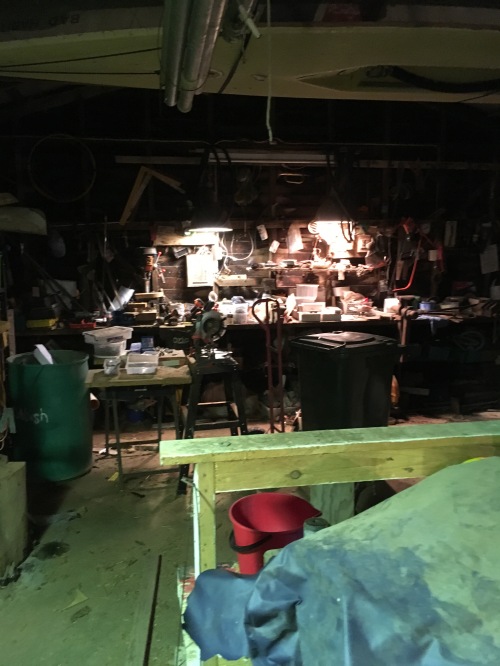
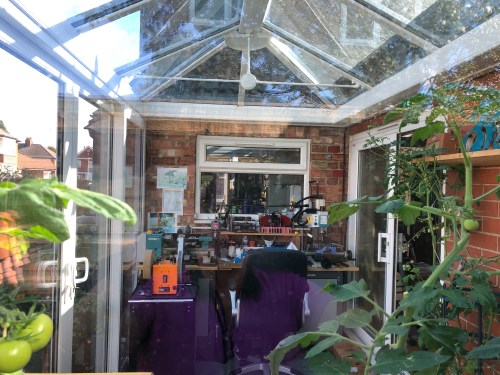
I am starting to regret asking for the workshop photos.  Another reader, John, has sent in photos of his super organised, super clean workshop.  We must admit that it looks quite inviting,….

and fairly safe, unlike my disorganised dirty mess.

Here are the photos.   Somewhere in Oz.

20190922_103350_resized.jpg

20190922_103450_resized.jpg

20190922_103535_resized.jpg

20190922_103558_resized.jpg

20190922_103633_resized.jpg

20190922_103716_resized.jpg

20190922_104002_resized.jpg

20190922_104041_resized.jpg

And some notes from John….

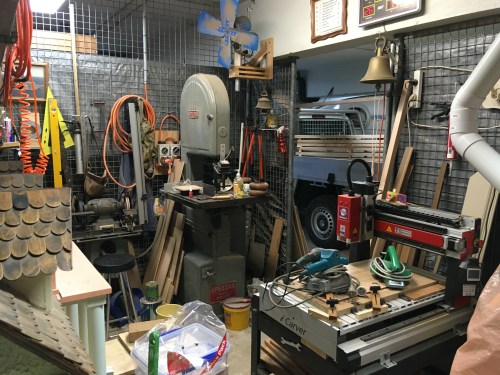
“Thought you and possibly your readers might enjoy some pics of my ‘shop. All crammed into a two car garage! I really am running out of space and have to try and be as efficient as possible in that regard . Note the ladders etc hung on brackets from the ceiling in one of the pics. I also have an anvil and coke forge outside, plus materials, bolts and the like stored in one of the garden sheds outside the workshop.

A few notes to go:

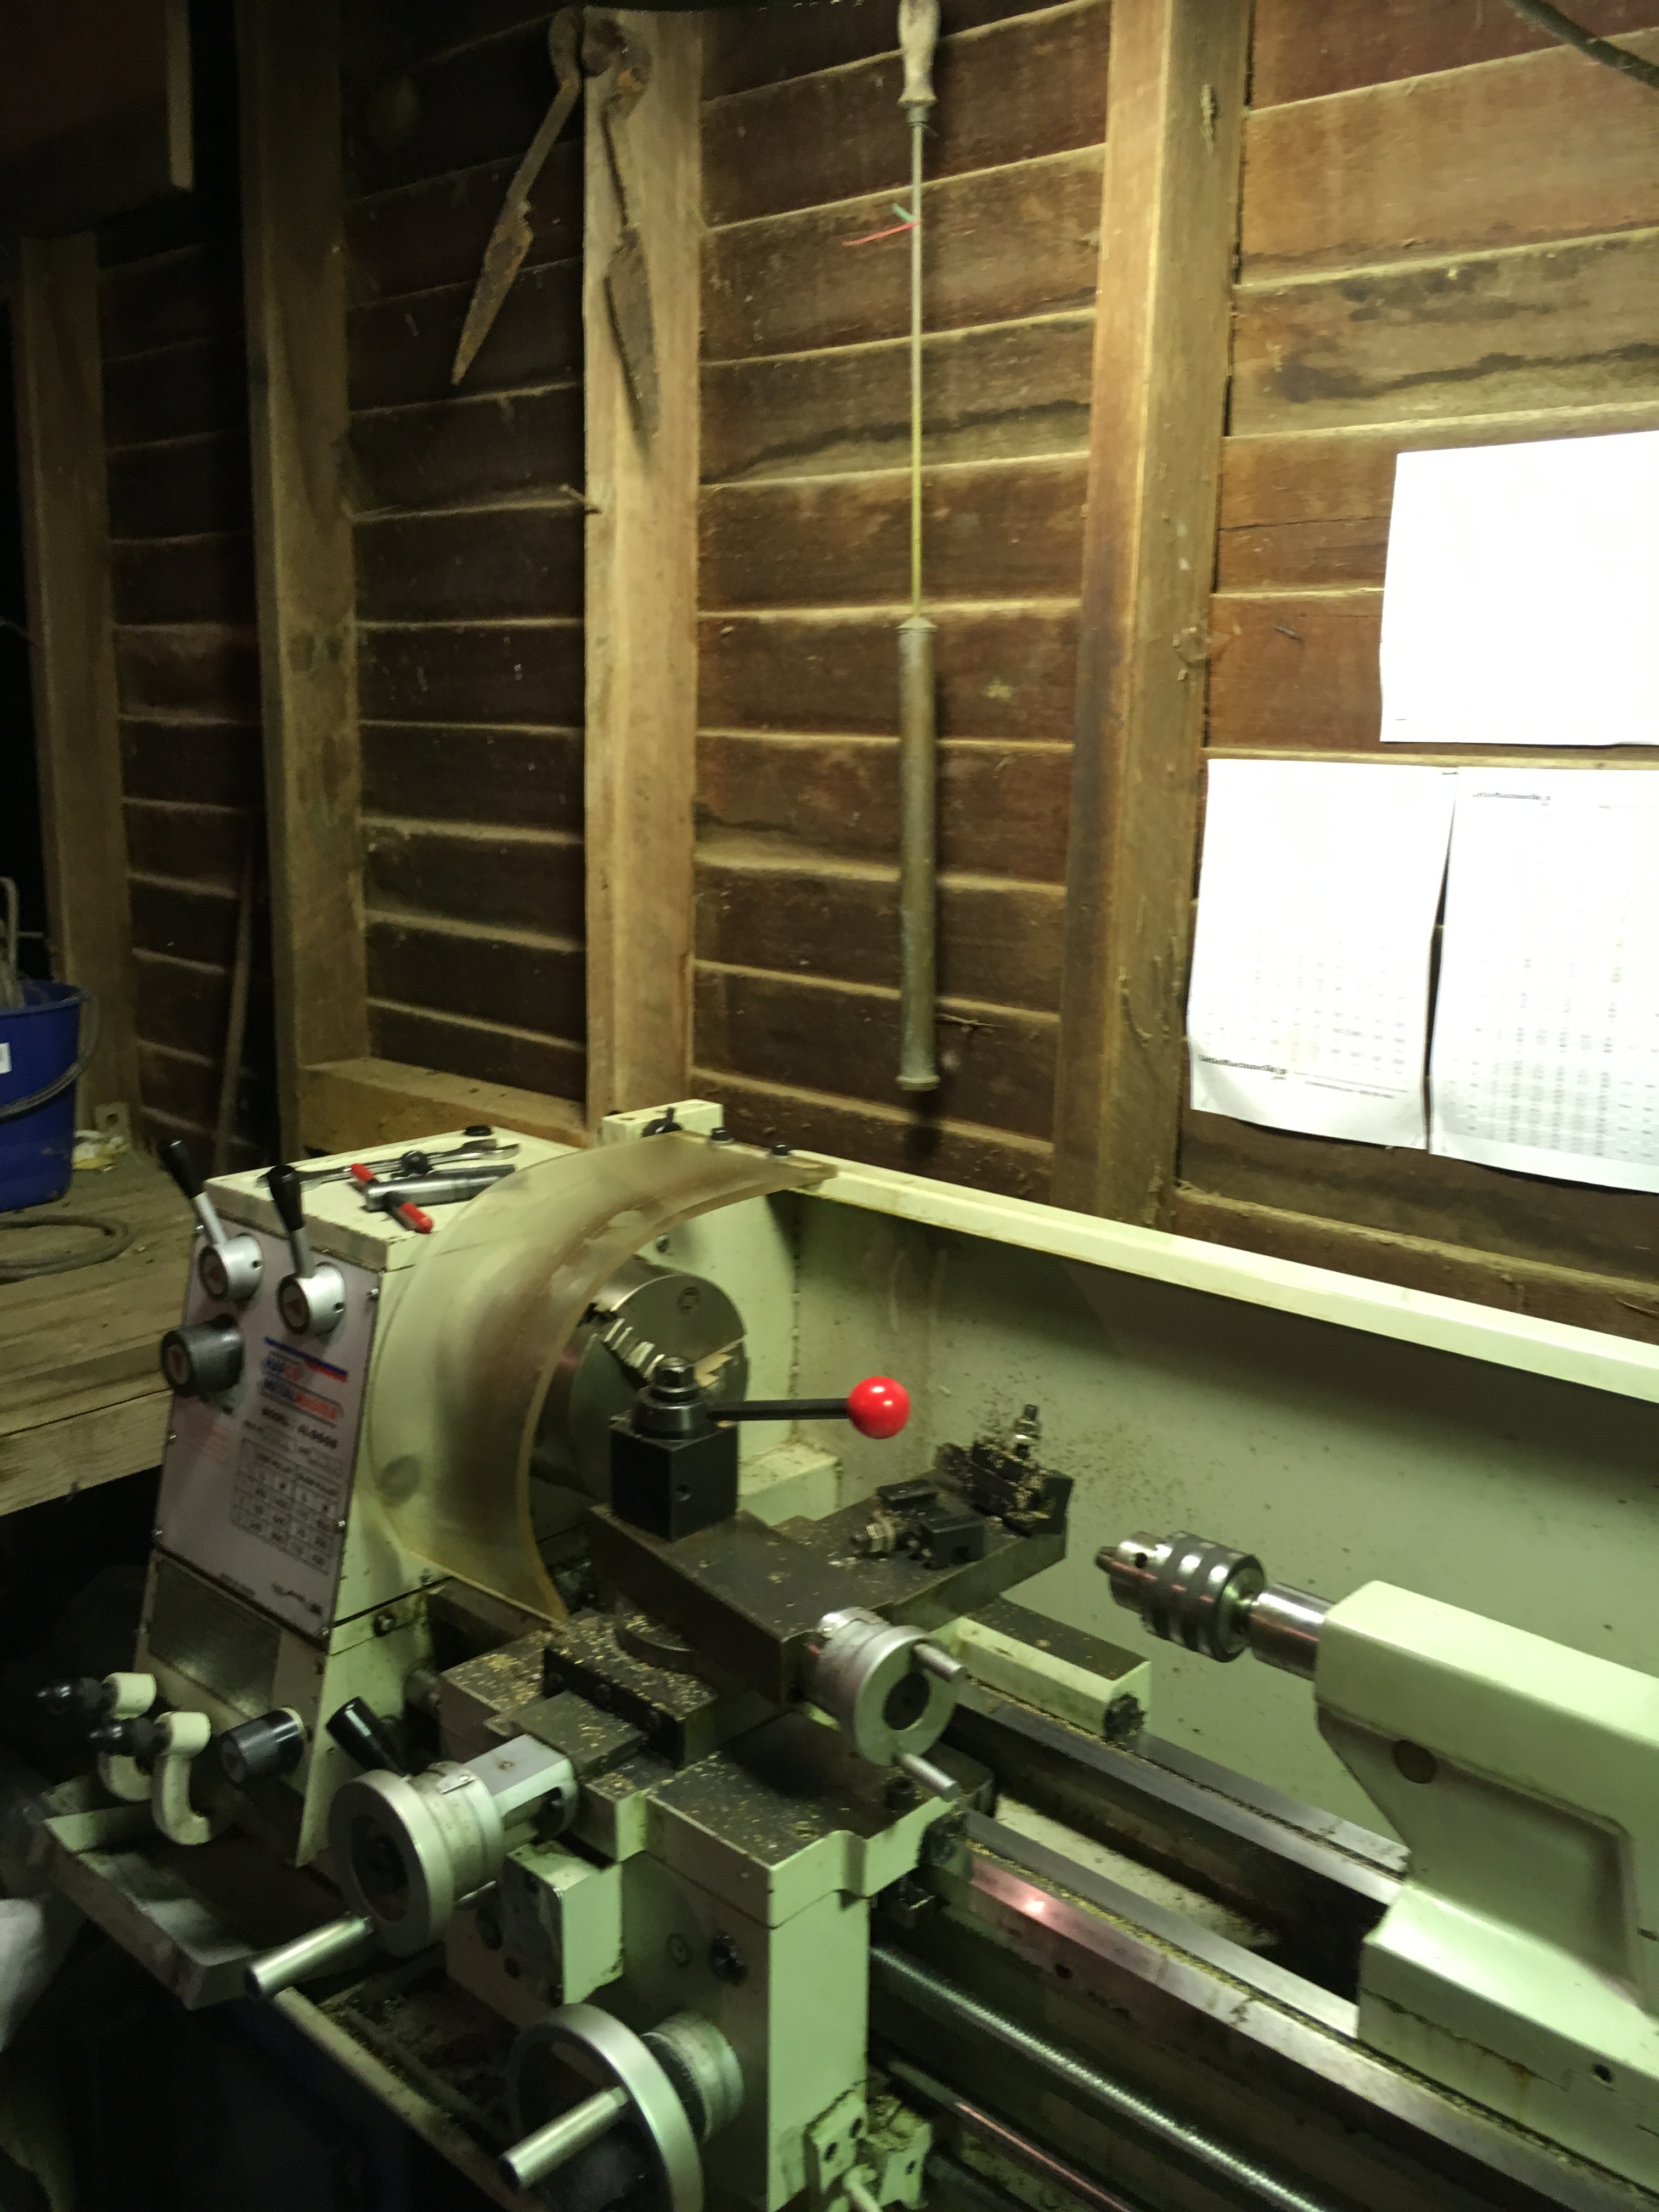
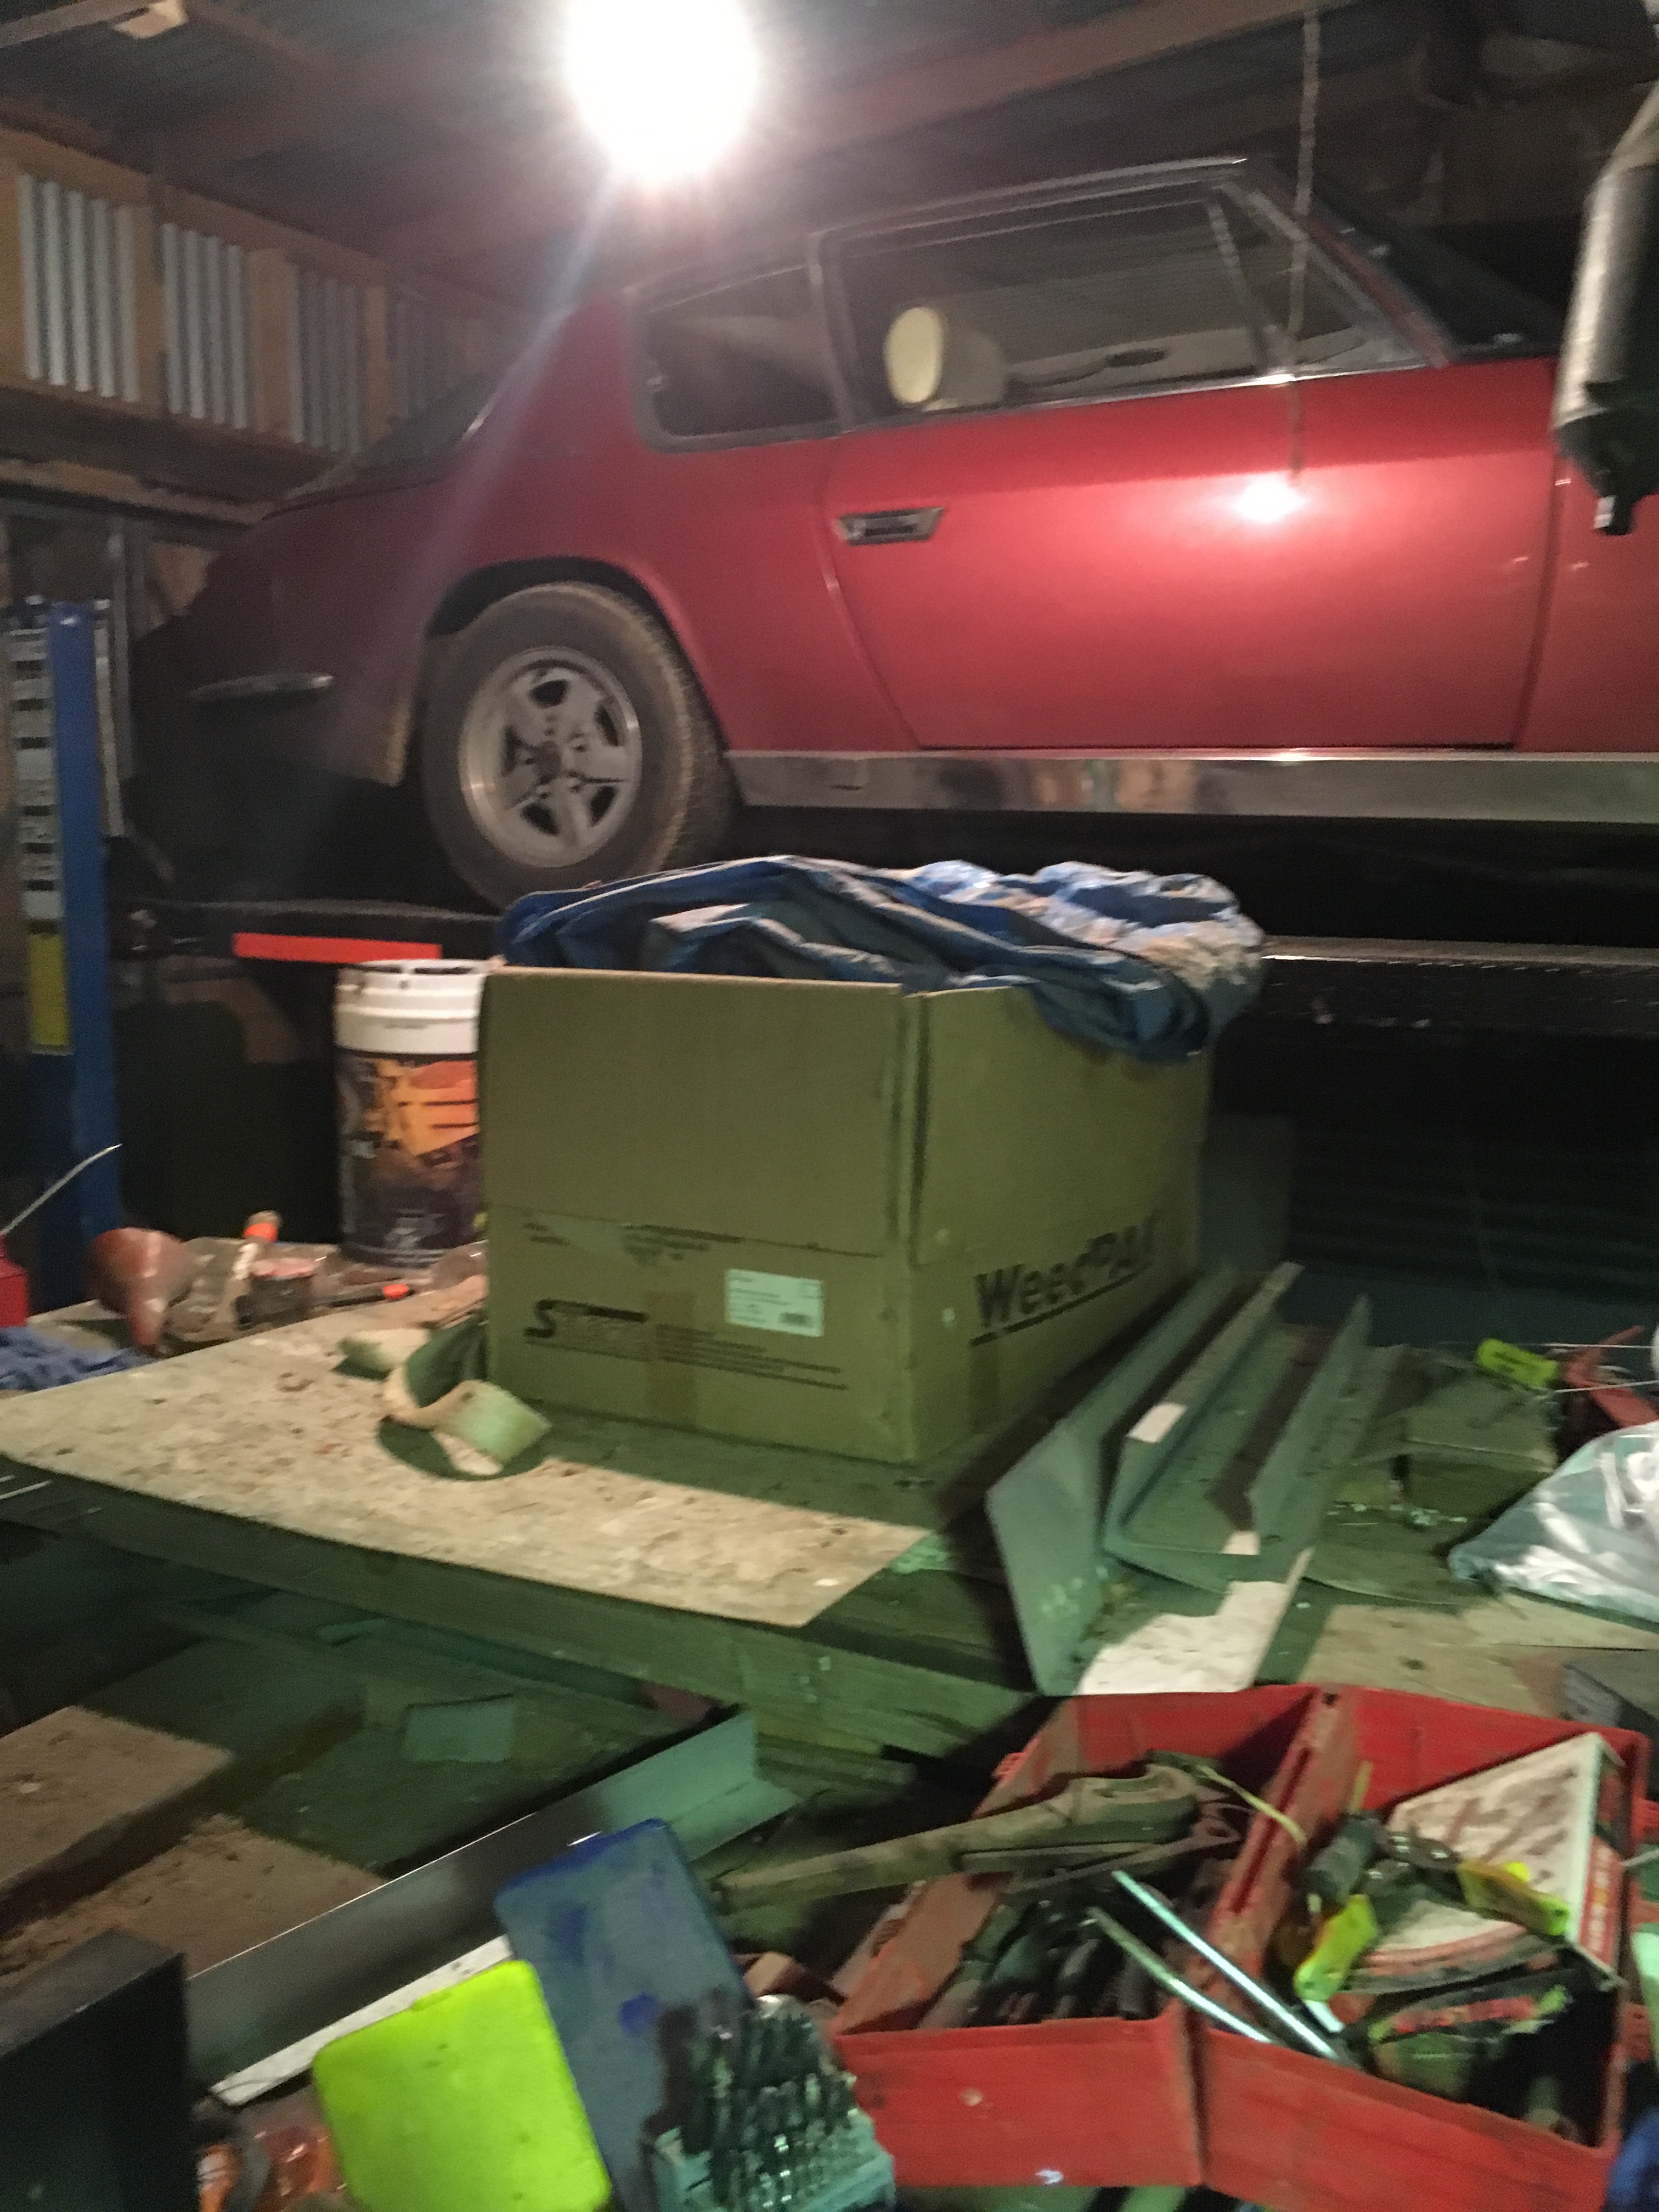
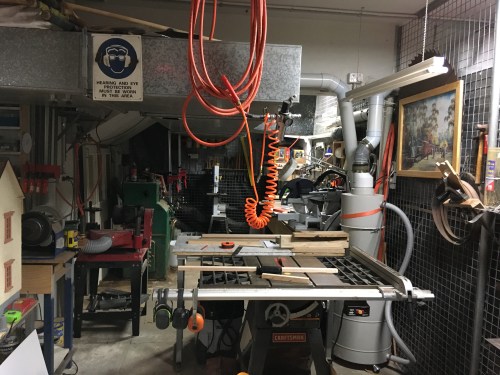
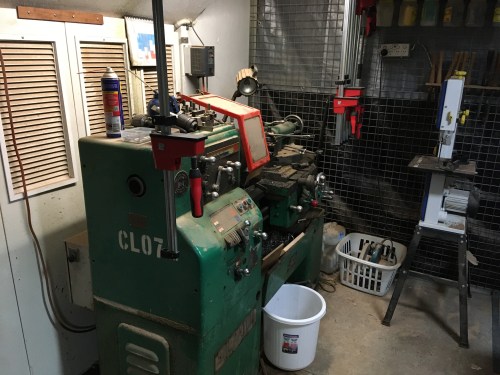
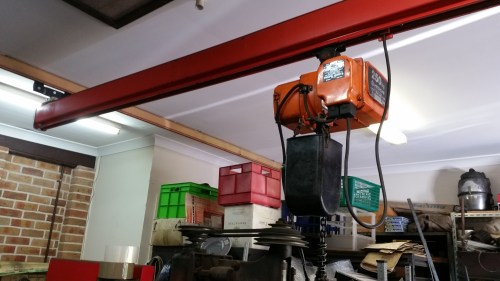
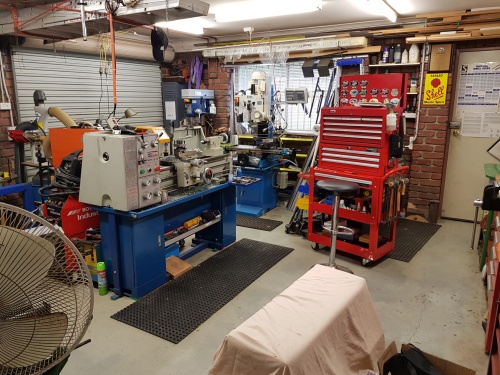
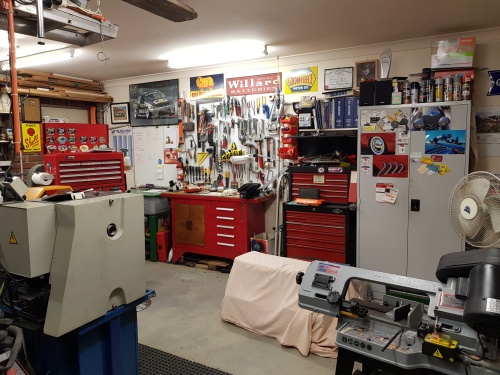
103350 my ML7 Myford lathe lives behind the large red tool chest which is handily placed to mill and lathes. Parts washer (green lid) to right of pic, under cloth foreground is completed riding trailer to go behind current long term project 2 ½ “ Burrell traction engine. In welding area, BOC Industrial MIG, Unimig plasma cutter sitting on top, orange cabinet is sand blaster. Note also the copper pipes across the ceiling – they run across and back to help cool the air and dehumidify, with droppers and drain cocks at various locations, plus there’s two inline filters (one to 3 micron) to help ensure dry air for spray painting and sand blasting.

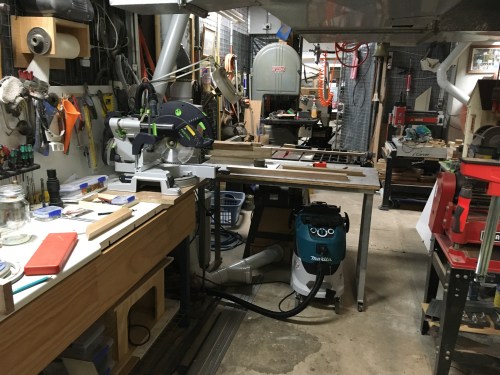
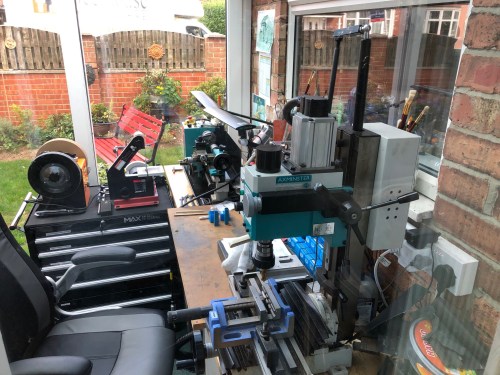
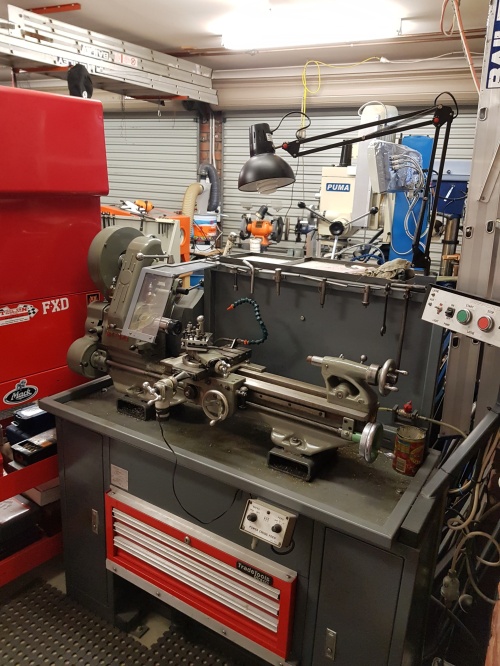
103407 ac/dcTIG, folder/g’tine/rolls (blue in corner), new welding/fab bench frames under construction on floor by current welding bench.

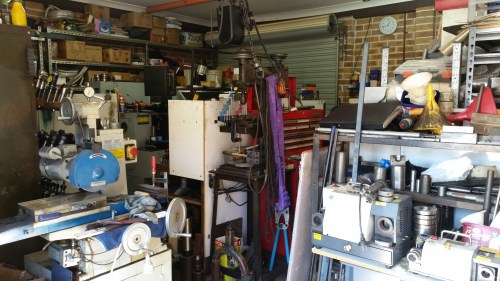
103450 press, tool and cutter grinder, bandsaw, oxy, compressor.

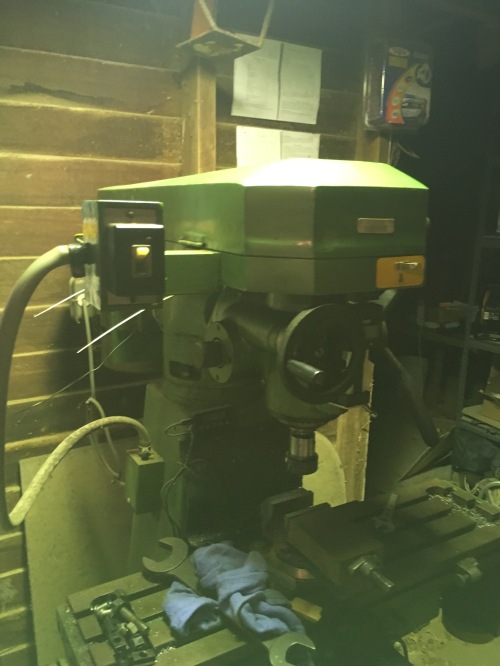
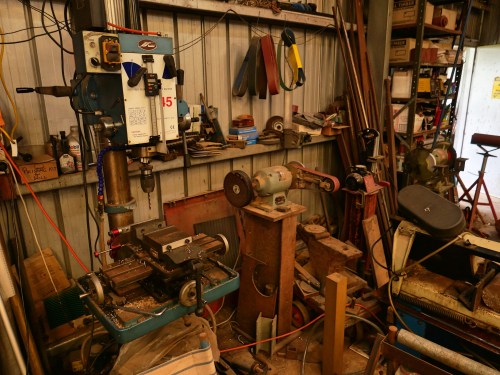
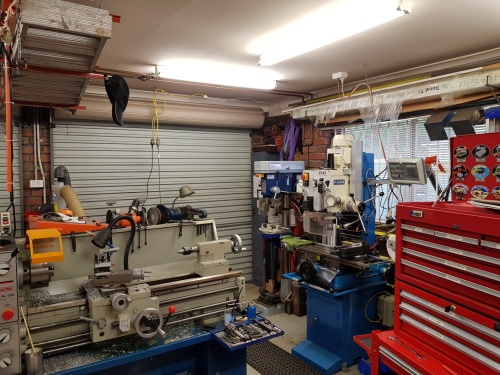
103575 mill, drill press and two grinders/linisher.

103558 ML7 – my first lathe

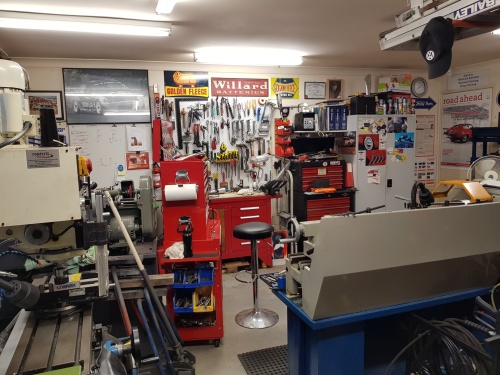
103633 bench area, tall grey cabinet holds lots of gear – taps, dies, tooling, roatab, dividing head etc etc

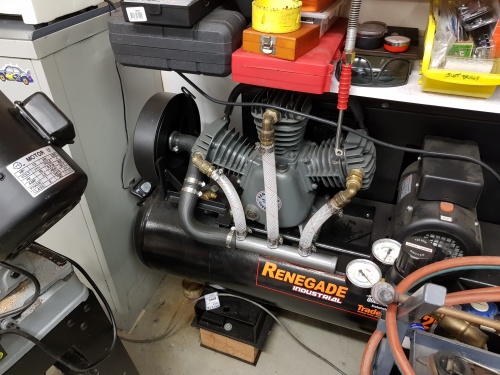
104041 recent mods to compressor to quieten the beast using an old Holden red motor air cleaner. Replaces the small plastic jobbies that screw into the heads. It’s been quite effective.”

So, thank you John, for further magnifying my inferiority complex regarding workshop organisation.  And I know that these machines are put to work, making a traction engine, and currently a beam engine.  Plus a full time job, unlike this retired medico who has time to kill.

Dear readers, if anyone has a dirty, disorganised, dark workshop, please send me some photos.  It will do wonders for my self esteem.


TWO WORKSHOPS

This post was inspired by one of my readers sending me some photos of her workshop.  The photos grabbed my attention for several reasons.

Firstly, the metal working machines share the space with tomatoes!  Unusual, eclectic use of the space.  Secondly, the roof and walls are made of glass!   Great for natural lighting, and nice views for the machinist, and possibly the neighbours.  Thirdly, it is such a small space, requiring planning to accomodate quite a few machines and work space.   And fourthly, it is so neat and clean.  I do see an occasional bit of swarf, but it is so unlike the mess that I work in, that it is quite striking to see such a clean workshop.

Thanks to reader Jennifer for sending these photos.  For obvious reasons I will not publish further location details except to reveal that the location is in the UK.

IMG_4710-1

IMG_4722.jpg

Jennifer tells me that it is all double glazed, and is open to the living area of the house, so it is heated.  Apparently it never becomes too hot in summer.

And as a complete antithesis, this is my main workshop in Oz.  Bigger, messier, dirtier, darker.    Actually, when I looked over my photos I could not find one decent view of my workshop, so I took some new pics.  Needless to say, there was no special tidying for the photo.

Workshop2.jpg

It is a tin shed, unlined, but does have a wood heater.  This view takes in about 2/3 of the area.  There are 3 lathes in this shot.  Can you see them?  CNC lathe in foreground.  Also my CNC mill on the right.  There is also a tool and cutter grinder, vertical bandsaw, drop bandsaw.  And lots of ancillary tooling.

Workshop5.jpg

And a pedestal drill, 2 linishers, grinder, and part view of the drop band saw.  The anvil gets quite a lot of use.  It is mounted on heavy duty wheels so I can take it to the job.

Workshop3.jpg

My workbench in the foreground, A very heavy cast iron setup table (blue) with granite surface plate.  Shop made ring roller centre.

So, that is where I spend most of my waking hours.  The shed started life as a farm workshop, where a lot of welding, and repair and maintenance of farm machinery was done.   These days it is mainly used for model engineering.  In my working life I was an obsessively neat, organised and particular surgeon.  Not quite sure how my activities ended in this mess.  But you know what?… I feel totally comfortable here.


If you have some photos of your own workshop area, please send them in and I will publish them for the interest of other readers.  Big areas, small areas, old machines or new.  Show us where you spend your most enjoyable hours.   Send them to me at jviggers@iinet.net.au


NOT MUCH GOING ON TODAY

IMG_4092

This is my workbench after I had almost finished tidying it.  Really.  


Then I thought about machining the ends of the cross slide ball screw.

IMG_4095

So I mounted the collet chuck and checked the runout.   0 to o.01mm.  Then I did a test cut in the ball screw.   Hard hard hard.  But it did cut.  Then I chickened out and decided to finish it another day.

So, looking around the workshop for something else to do, I decided to pretty up the new CNC lathe apron.

IMG_4087

Before (milled surface).

IMG_4093

During


And I forgot to take a photo of the after, but it did look nice and smooth and shiny (look at the mirror finish behind the wheel).

Being retired is great!

Workshop Tidy

I sometimes feel a bit ashamed when I have visitors at my workshop.

The reason is that when I am in the middle of a project, I really concentrate my energy on the decisions, the machining, working out how to fix the mistakes…

…. and tidying up as I go, is near the end of the list of must do’s.

Consequently, tools tend to be put aside at the spot where I have been using them.  And off cuts of steel or brass or wood or whatever, lay where they fall.

And as mentioned in a previous post, I have a policy of leaving swarf on the floor, to discourage wildlife from slithering into my workspace.  (see the old post about the tiger snake between the lathe and the milling machine).   And if you are not Australian, look up tiger snakes.   They are just about the most dangerous reptile on the planet.

So my workshop is not the tidy, organised sort of workspace which you might expect from a retired gynaecological surgeon.

But occasionally, the mess becomes so extreme, that I cannot find tools, I trip over stuff on the floor, everything is really dirty, and it is dangerous and embarrassing when visitors call in.  And some of those visitors have workshops where you could eat off the floor.

So yesterday I spent a whole day tidying, sorting, putting away tools, throwing out rubbish, and sweeping the floors.

What about the tiger snakes I sense you asking.

Well, here in the antipodes, we are in the depths of winter, and it is bloody cold.  And all sensible cold blooded reptiles are asleep in their homes. So for a few months it should be safe to sweep up the swarf.   Here’s hoping anyway.

CNC Mill 4 (with some pics)

Now that I have a couple of days cleaning off the carelessly applied paint, I am prepared to show some photos.
The trouble with a 17 year old machine, even if it has done little work, is that repairs are required before it can be used.
1. New hand wheel
2. Z axis acting strangely. ? encoder faulty, or broken wires.
3. Pneumatic drawbar not working ? needs replacing.
4. Auto lubrication system not functioning. ? relay faulty, other problem.
5. Operator needs considerable training.

The only available space in my workshop was in front of the door

The only available space in my workshop was in front of the door

Showing the table, with the tool rests removed, the hand wheels including the broken X axis hand wheel, the turret and the electrical box

The broken X axis hand wheel.  replacement from China for $a20, including postage....

The broken X axis hand wheel. replacement from China for $a20, including postage….

Showing the X axis ball screw, the hand wheel gearing, and the coated way (? Teflon)

Showing the X axis ball screw, the hand wheel gearing, and the coated way (? Teflon)

The control box for the pneumatic power drawbar (not working), and the automatic lubrication pump and reservoir (also not working).

The control box for the pneumatic power drawbar (not working), and the automatic lubrication pump and reservoir (also not working).

The CNC input control panel.  I am still learning how to use this.

The CNC input control panel. I am still learning how to use this.