
Riveting the Armstrong Cannon Chassis Model
by John
I am waiting for delivery of the 5 l vacuum chamber so I can commence casting parts for my 1:10 Armstrong cannon. So today, I spent some workshop time riveting the chassis of the 1:10 Armstrong 80lb muzzle loading rifled cannon model.
I am a total novice as far as solid riveting goes. The following photos will prove that fact.
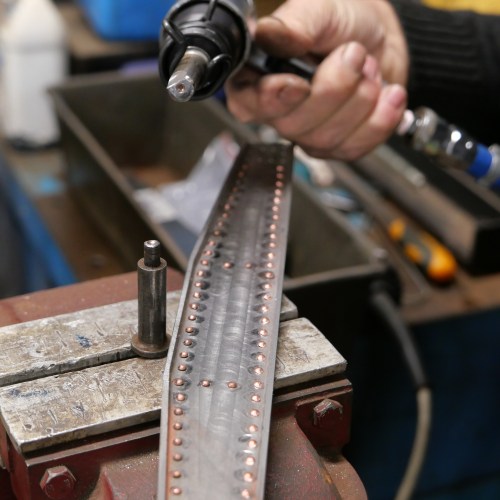
I am holding a new Taiwanese riveting gun. The girder into which I have just inserted almost 100 copper 2mm rivets is resting on the vice. The anvil is clamped into the vice. The snap (home made) is in the gun.
I have marked the surface of the girder with the anvil and snap. Doesn’t look good, but I am hoping that it will be acceptable after painting.

I painted the inside of one girder with layout paint just to see if the crappy riveting will be acceptable. Still considering that question.
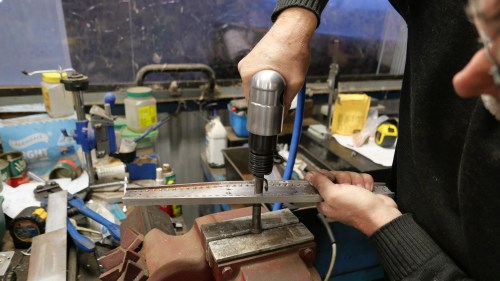
A staged photo of rivet insertion.
And just to lighten this post, yesterday I had a visit from my grandchildren, 2/3 daughters, sons in law, and SWMBO at my workshop.
So I fired up the Fowler 3″ traction engine and gave the kids a demo of filling the boiler with water, lighting the furnace, a discussion about the nature of coal, and a ride.
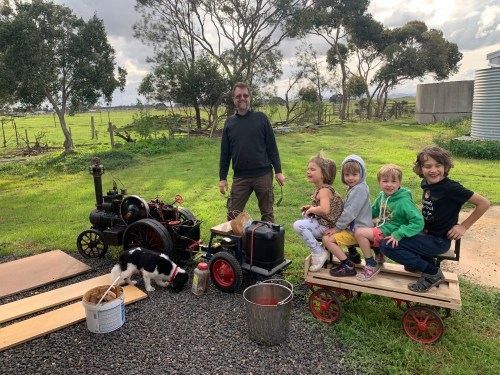
Despite the wintery weather, it was a very happy afternoon. Audrey 4, Edward 4, Charlie 4, and John 7. And John 70. We have had an unusually wet autumn, hence the green grass. No tigers seen.

‘and a ride.’
Video, or it didn’t happen! 😉
LikeLike
Ha. I was too busy watching the boiler and driving. But the kids all made videos so I will add one when they send me a copy.
LikeLike
Thanks
LikeLike