Armstrong 80pr RML – another one!
by John

You might have seen the above photo in johnsmachines.com earlier this year. 2 Armstrong 80pr muzzle loading, rifled cannons are sitting on their ORIGINAL wooden slides, in Hopetoun Gardens, Elsternwick, Victoria. These were originally installed as garrison guns at Fort Gellibrand, Williamstown, Victoria and were never upgraded with the more modern, accurate iron and geared slides such as at Warrnambool, Port Fairy and Portland, and which were the inspiration for my 2020-21 modelling efforts.
I have decided that I will make another 1:10 scale model of the Armstrong 80pr RML, this time sitting on a wooden slide.
You might wonder why I am so obsessed with this particular cannon? Well, I wonder too. Perhaps it is the ready availability of an original in good condition, which I can visit, photograph and measure.
Anyway, I have made a start on this next model.

The next step was to centre the 10kg rod in a 4 jaw chuck, install a 3 jaw steady, and drill the 16mm bore. Sorry, no photos, forgot. I had made a long series 16 mm drill bit by turning a shoulder on the shank of a good 16mm bit, and boring an accurate hole in the end of some 5/8″ (15.875mm) drill rod, and silver soldering them together. Then honing the bore to an accurate 16mm diameter, along its 275mm length. It worked well. So well, that I can insert a 16mm “projectile” in the bore, and watch it slowly drop through.
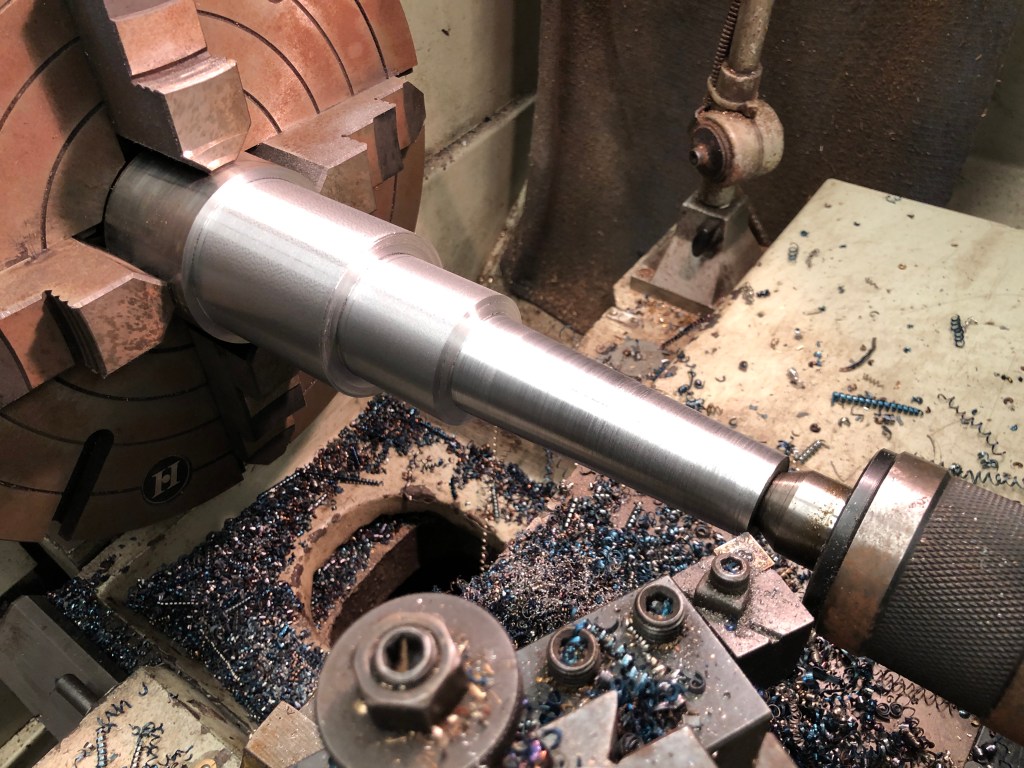
Then, continuing to hold the blank rod with its 16mm bore in the 4 jaw, and using the tailstock to hold the other end I manually turned the exterior of the barrel.


Good luck!
LikeLike
Thanks Jeff. I am finding that the building is much easier and faster having been there done that before. John.
LikeLike
Watching this one with interest too John. Your use of a round-over milling bit as a form tool reminds that I have used one similar from my timber router bits that worked OK on steel, aluminium and brass.
Naturally the milling cutter being designed for steel would be the bees knees as the saying goes.
LikeLike