Model Yamato
by John
So far, glueing up the model has been interesting and a lot of fun. Look at the progress after 2 days….

The tools which I have found useful are lined up.
Alligator clip on a chop stick, rubber bands, Extra Thin Tamiya Glue for polystyrene plastic, flat non serrated small pliers, needle nose small pliers, safety razor blade, sharp side cutters which I have modified so the cutters are thin and very pointy, steel ruler used as a scraper, small fine file, fine sand paper, fine tweezers (actually from my microsurgery kit of 30-40 years ago), coarse strong tweezers, and utility knife. And of course an A2 cutting board, and Tamiya Instruction book which I have found to be accurate and very helpful.
The Extra Thin Tamiya Glue is very good. It sets in a couple of minutes so parts can be finger held in position. It is so thin that it tracks into small cracks by capillary action. And it is transparent. Time will tell how paint adheres to the glue.
The Tamiya parts are also very impressive. Beautiful smooth finish, minimal flashing which can be scraped off with a finger nail. And the parts fit together very accurately, for the most part. Rarely I had to use the razor blade to make parts fit together, and that was usually because I had missed a bit of the sprue when separating the parts from the sprue.

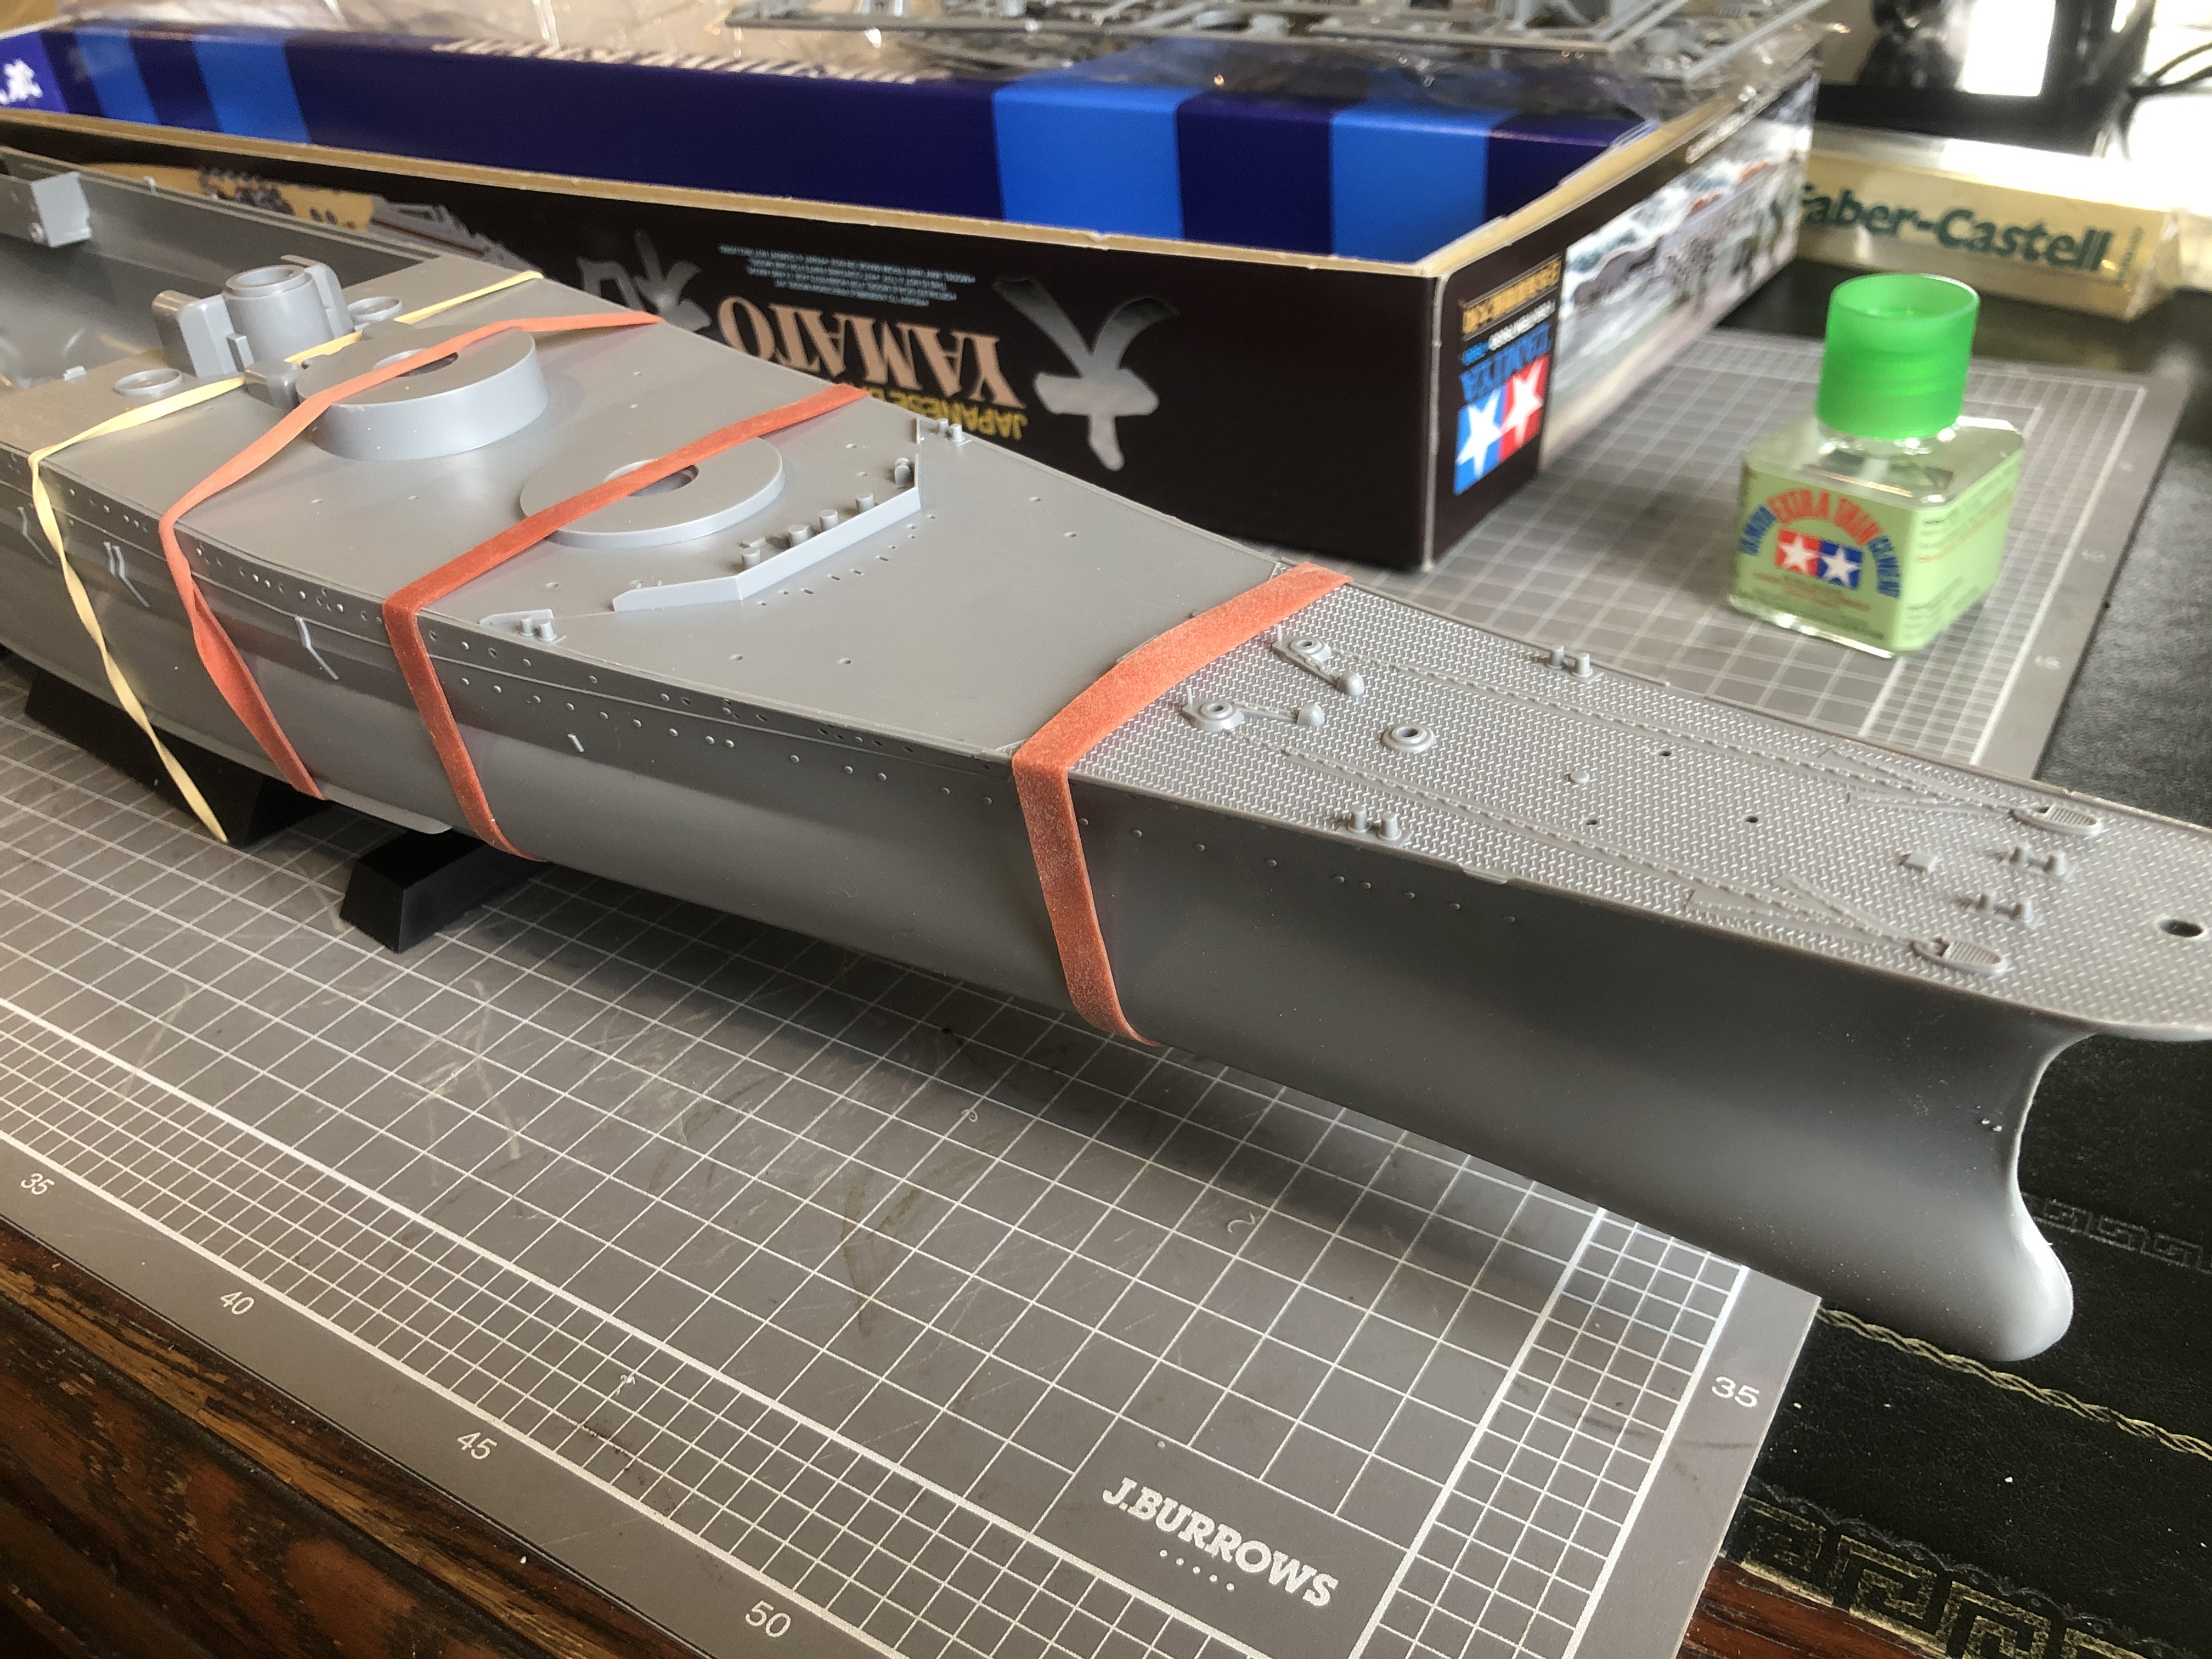
It was quite exciting to see the hull coming together.

I am close to painting the components. I will use Tamiya spray cans, brush applied paints for tiny parts and fine lines, and possibly an air brush. I have been watching YouTube videos to pick up hints on the painting process. It was surprising to me just how many YT videos exist on the subject of painting model Yamatos.
Then the major components are glued together.
Then the smaller guns and other surface equipment will be glued on to the painted surfaces.
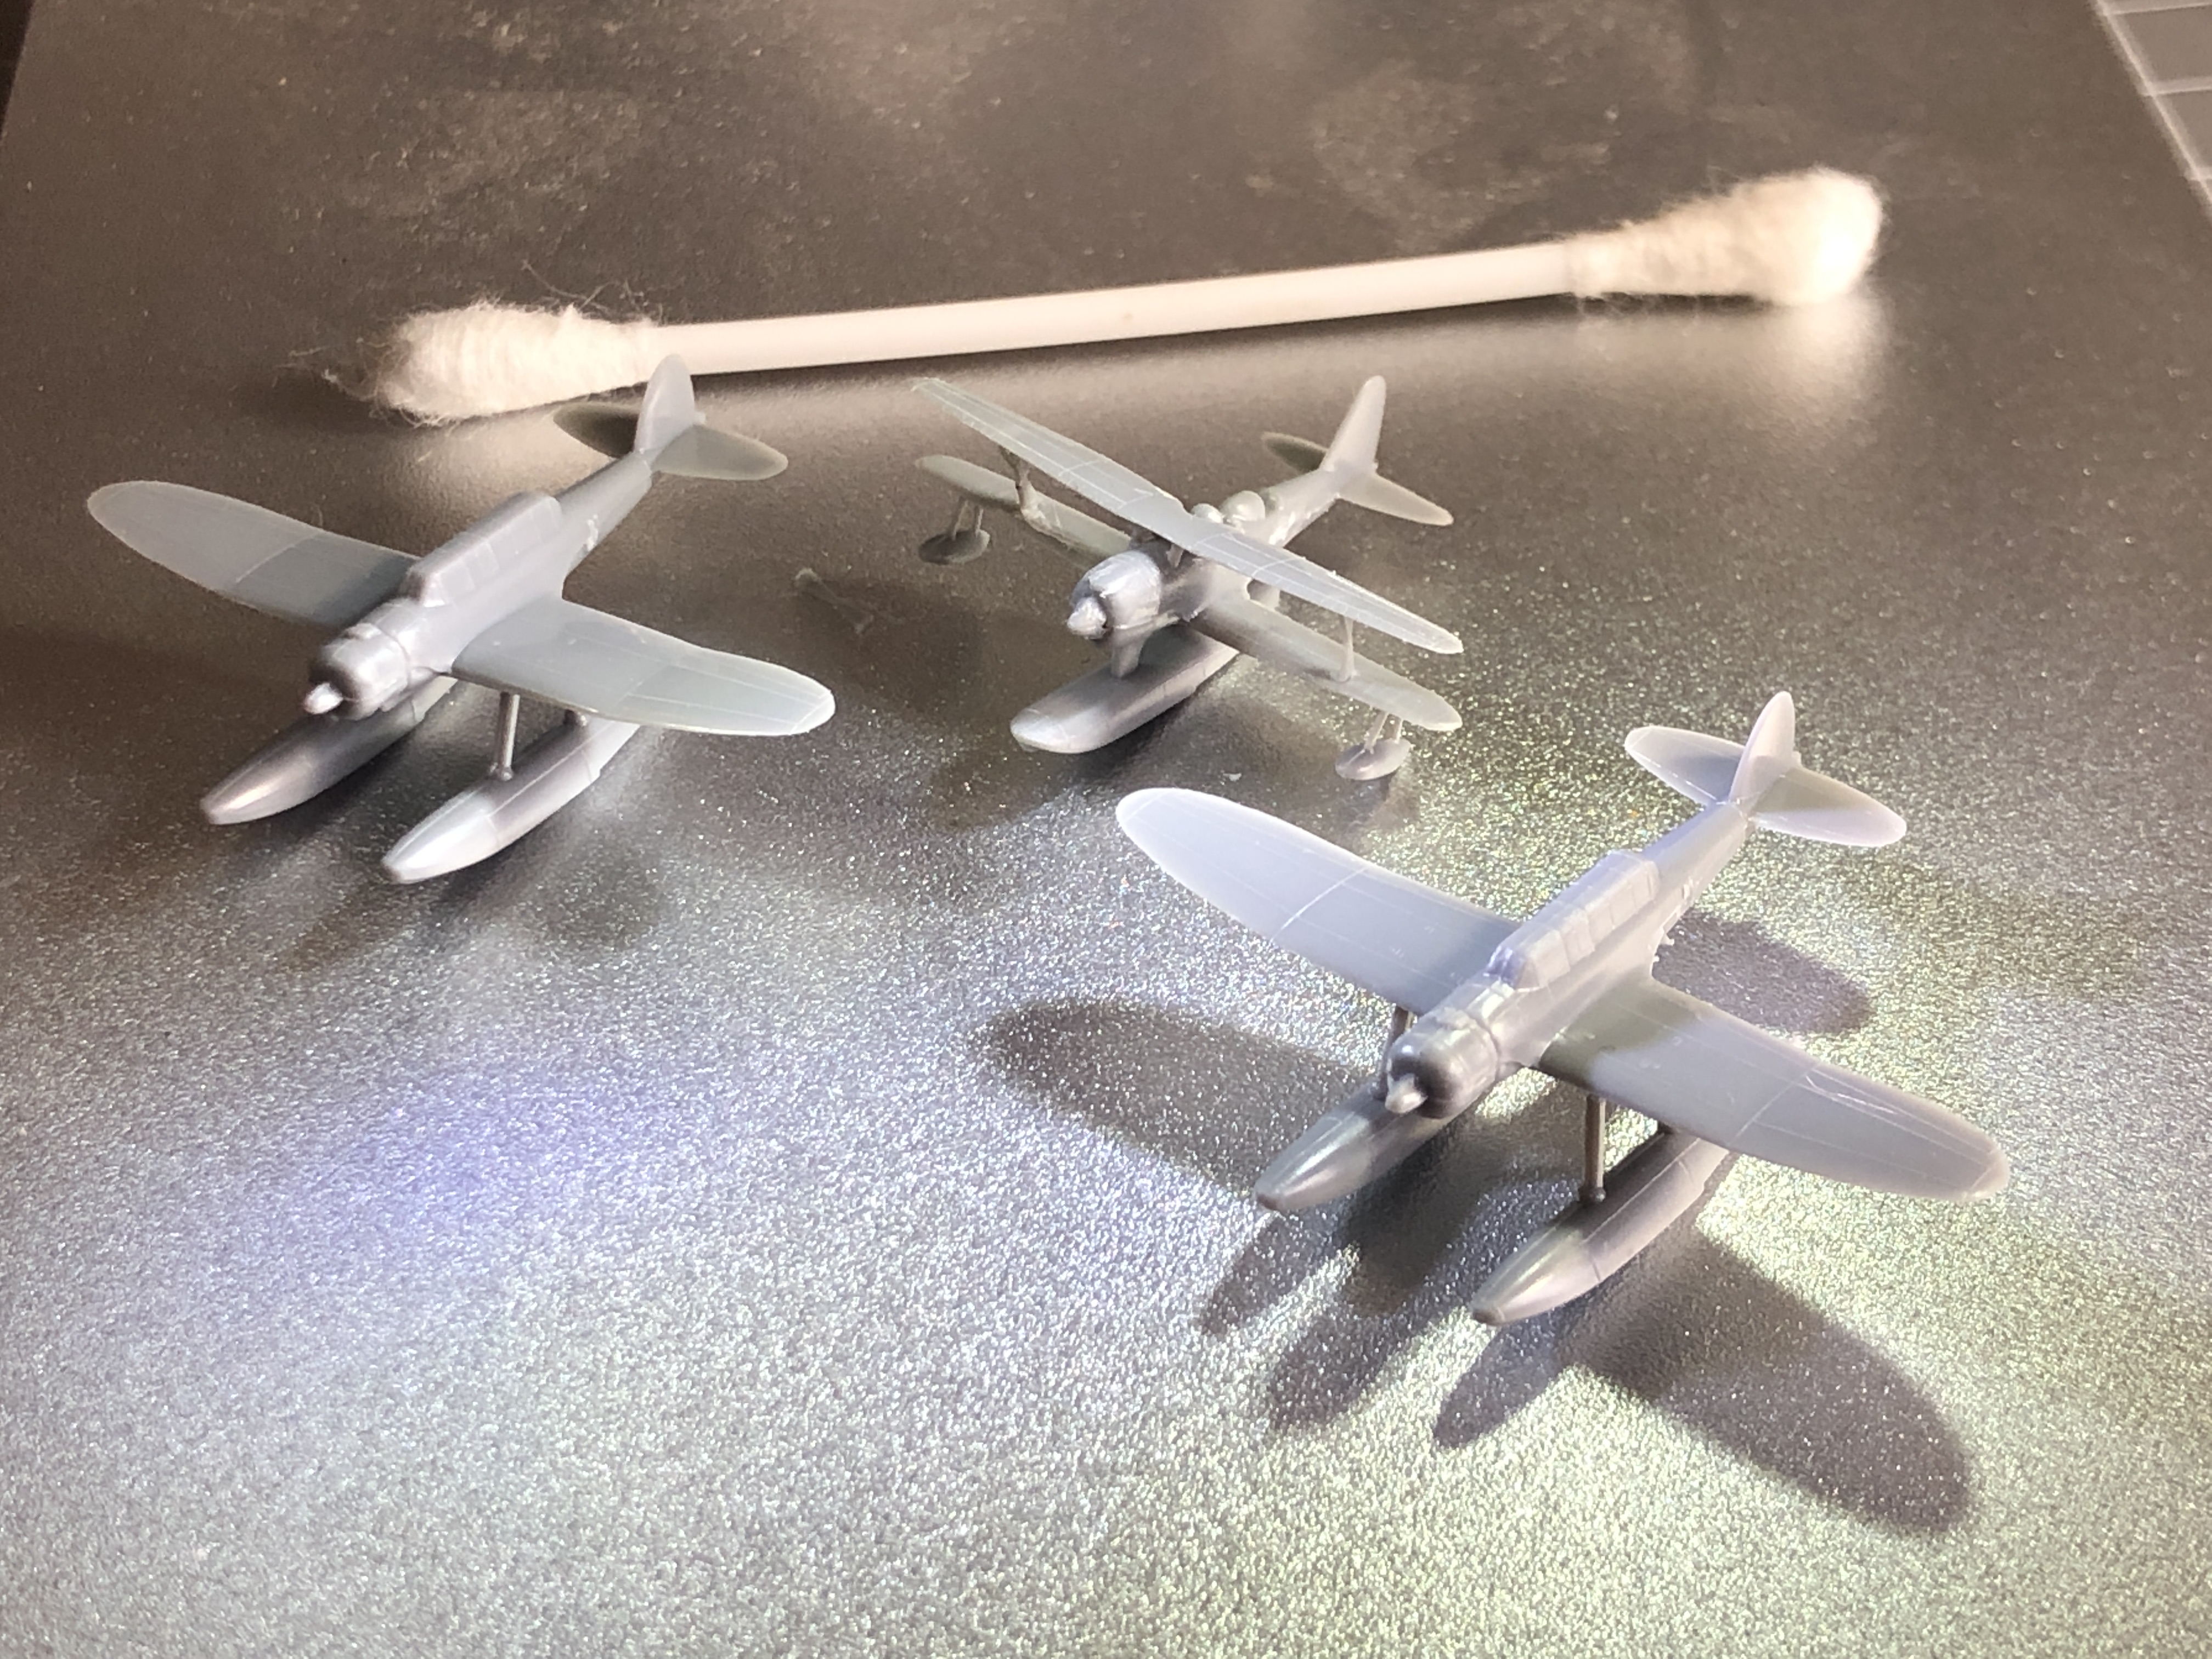
P.S. Another 1/2 day gluing up these tiny planes. One more to go.