Model Yamato painting- 2 (finished, almost)
A few photos of painting the model Yamato. I used Tamiya paints. Spray cans for the large areas- and hand brushes for the small ones.
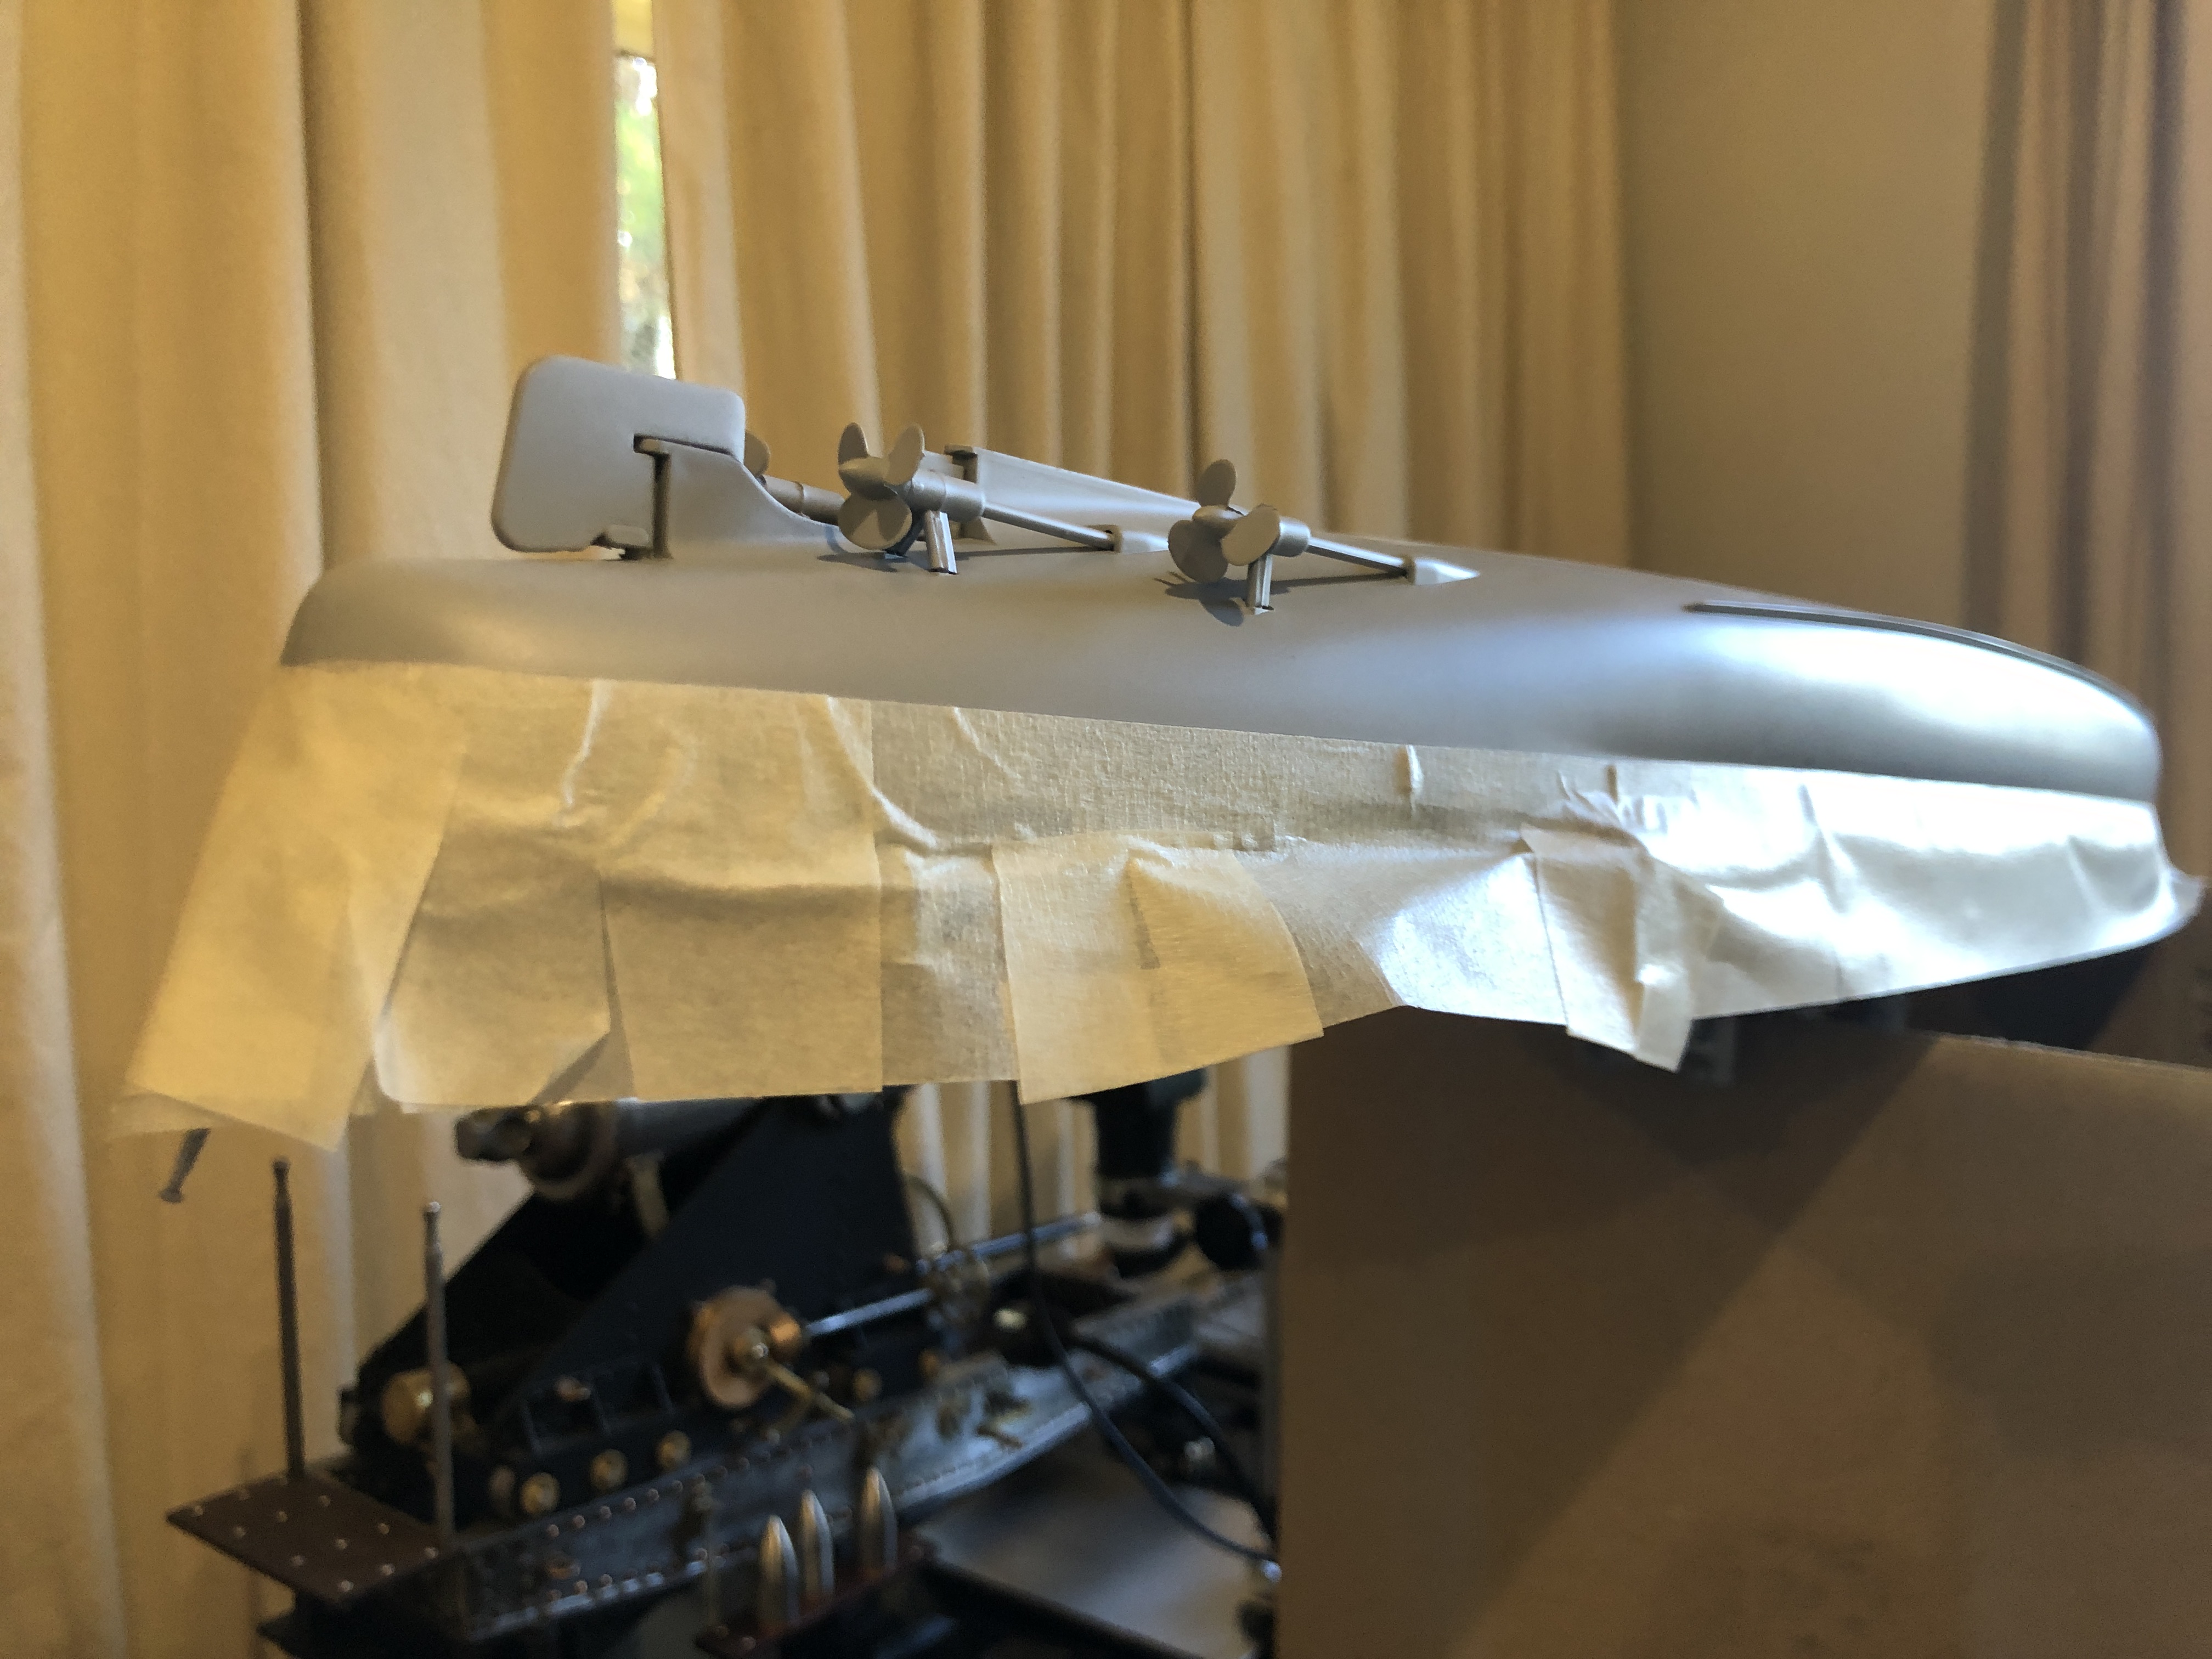
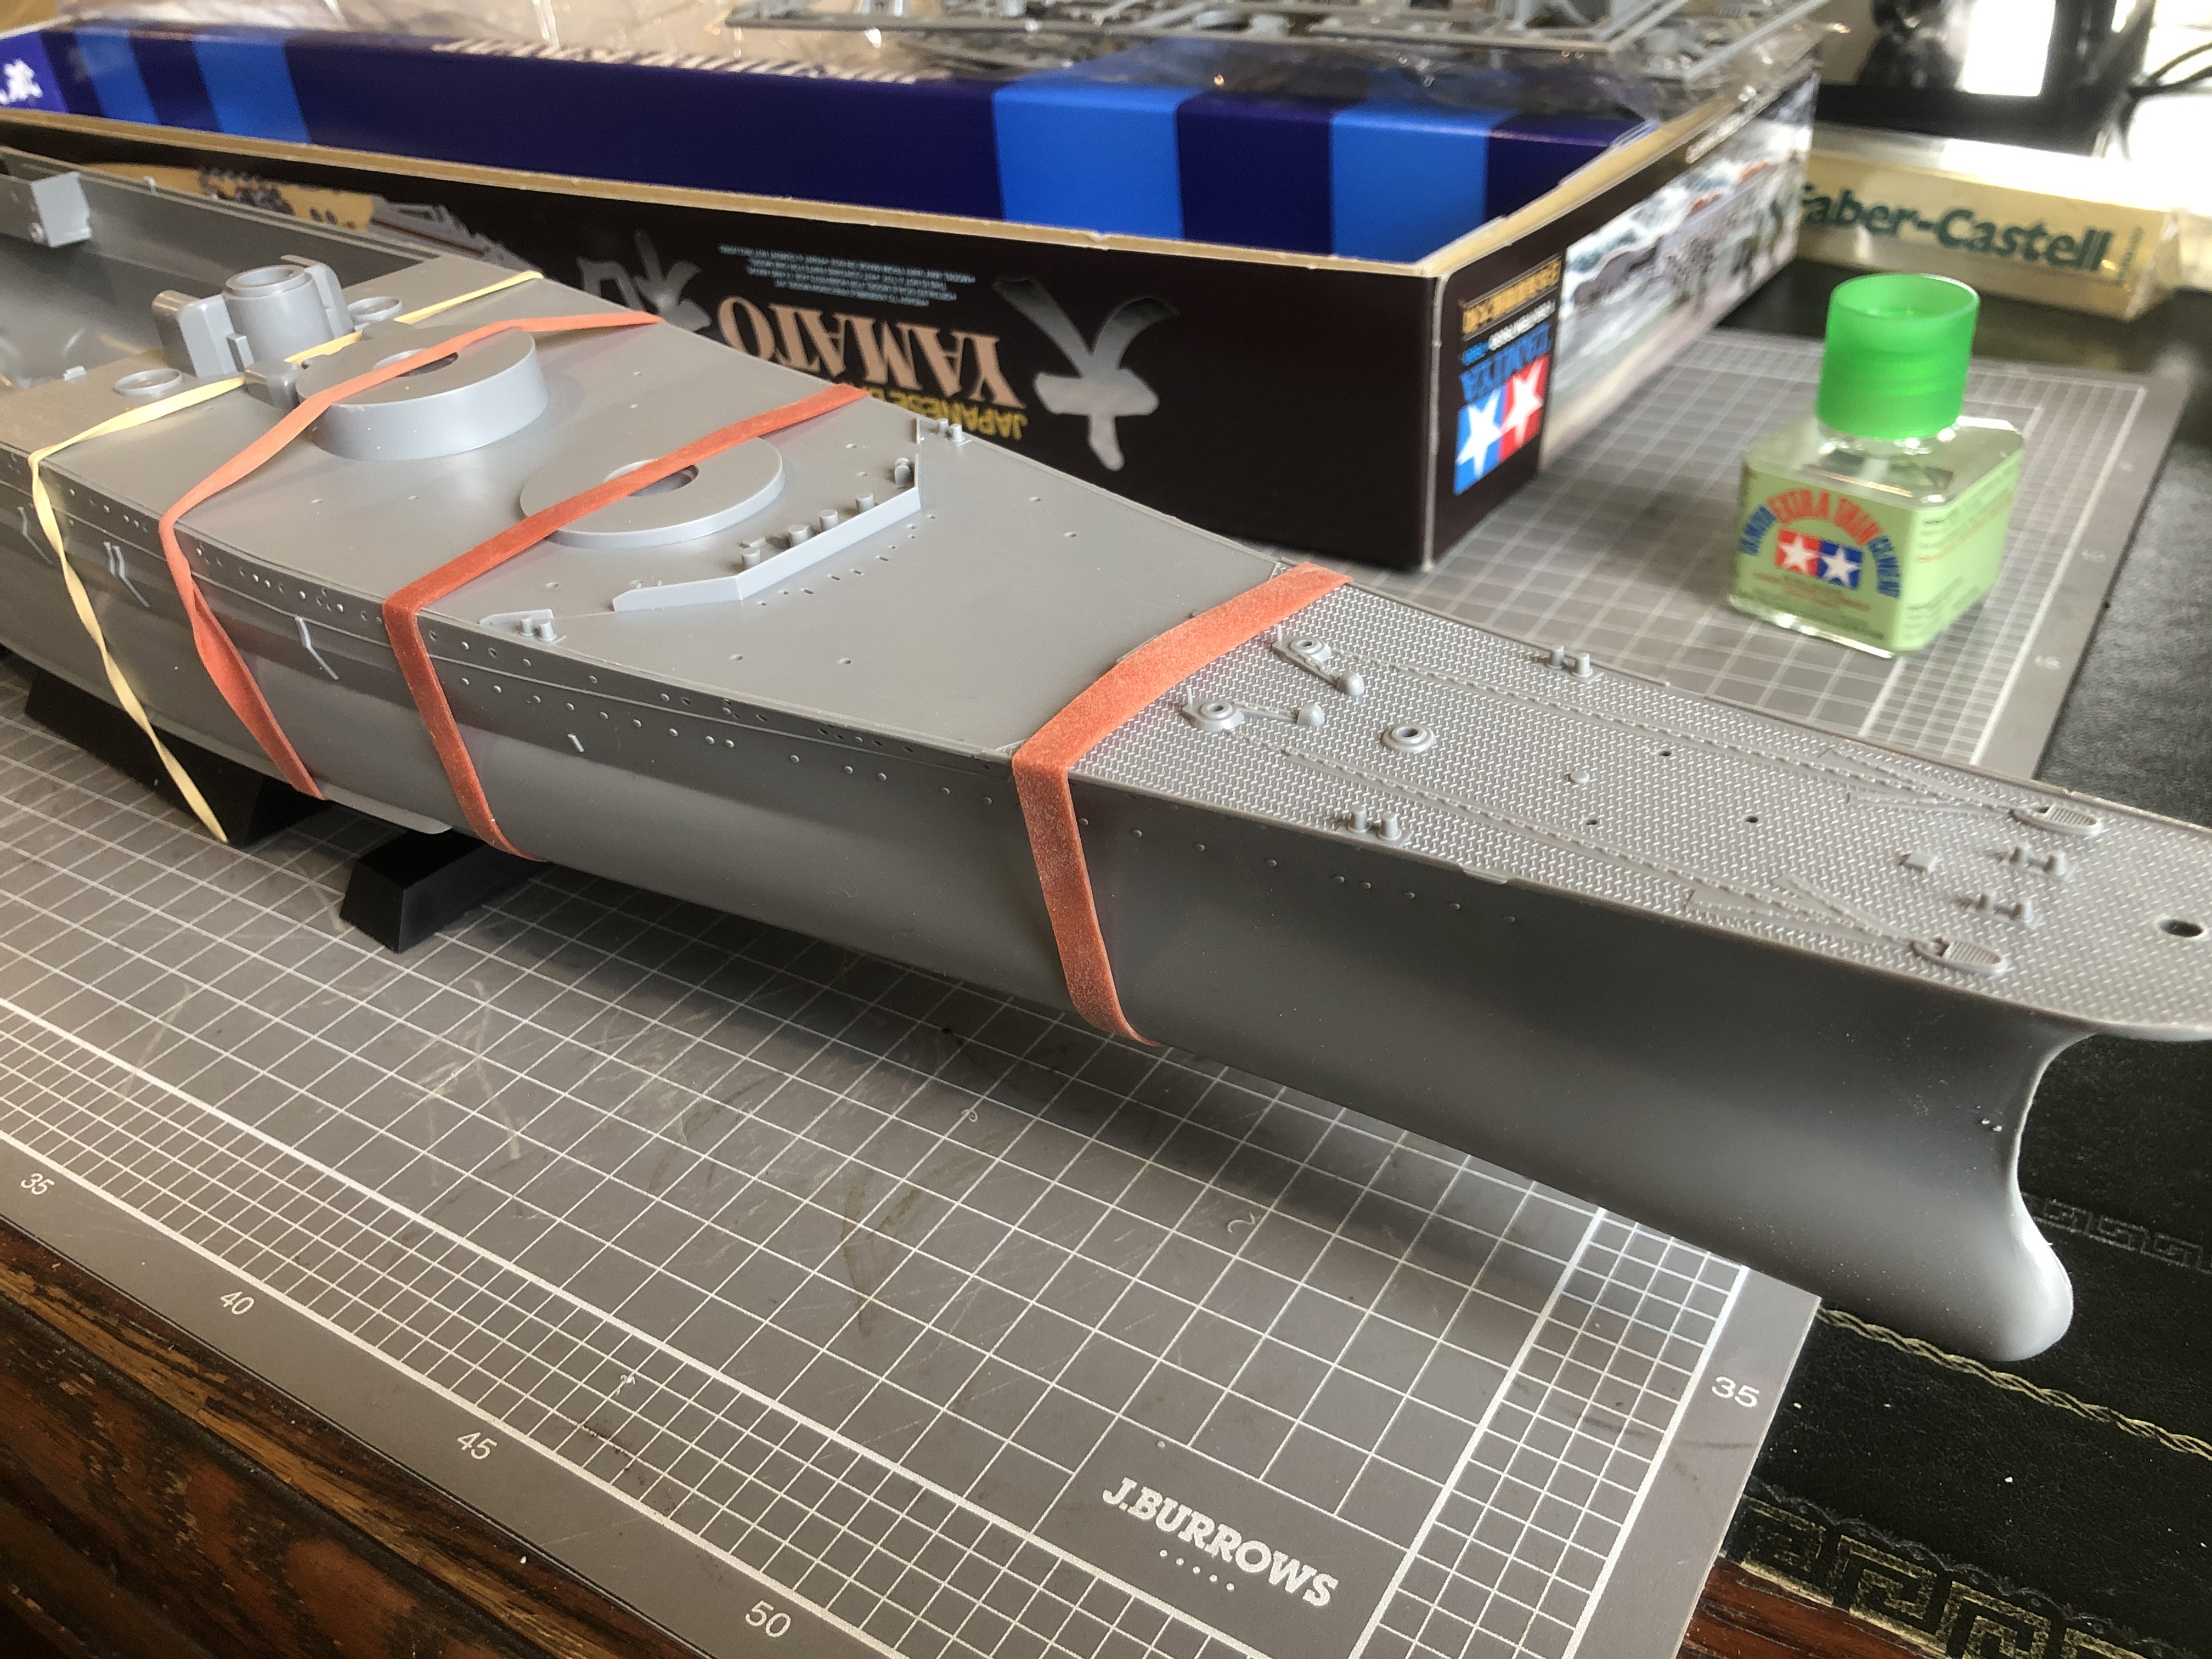
1. The entire hull was primed, then the water line masked.

2. Masking tape to define the waterline, then a quick, careful spray with dull red. Lovely colour. Not dull at all.
Then removed the masking tape and applied some more tape over the red. Painted the top half of the hull, and the other modules, “battleship grey”. Then glued the modules together.

3. The wooden decking is laser cut and the individual planks are laser marked. Incredibly thin… not measured but maybe 0.25mm. And have a paper backing which when removed exposes the adhesive. The pieces are extremely accurate for the model, fitting into their spaces and around winches, guns etc. NO trimming was required. My only issue was that some areas required extra adhesive. I used Tamiya Ultra Thin Glue, and it worked well. Great care was required in positioning the sheets.

4. And some hand painting of small details. The superstructure tower, funnel, 5″ guns, anti-aircraft cannons, and main aerial. The wooden decking was then applied. See how accurately it fitted around all of the deck machinery and guns…
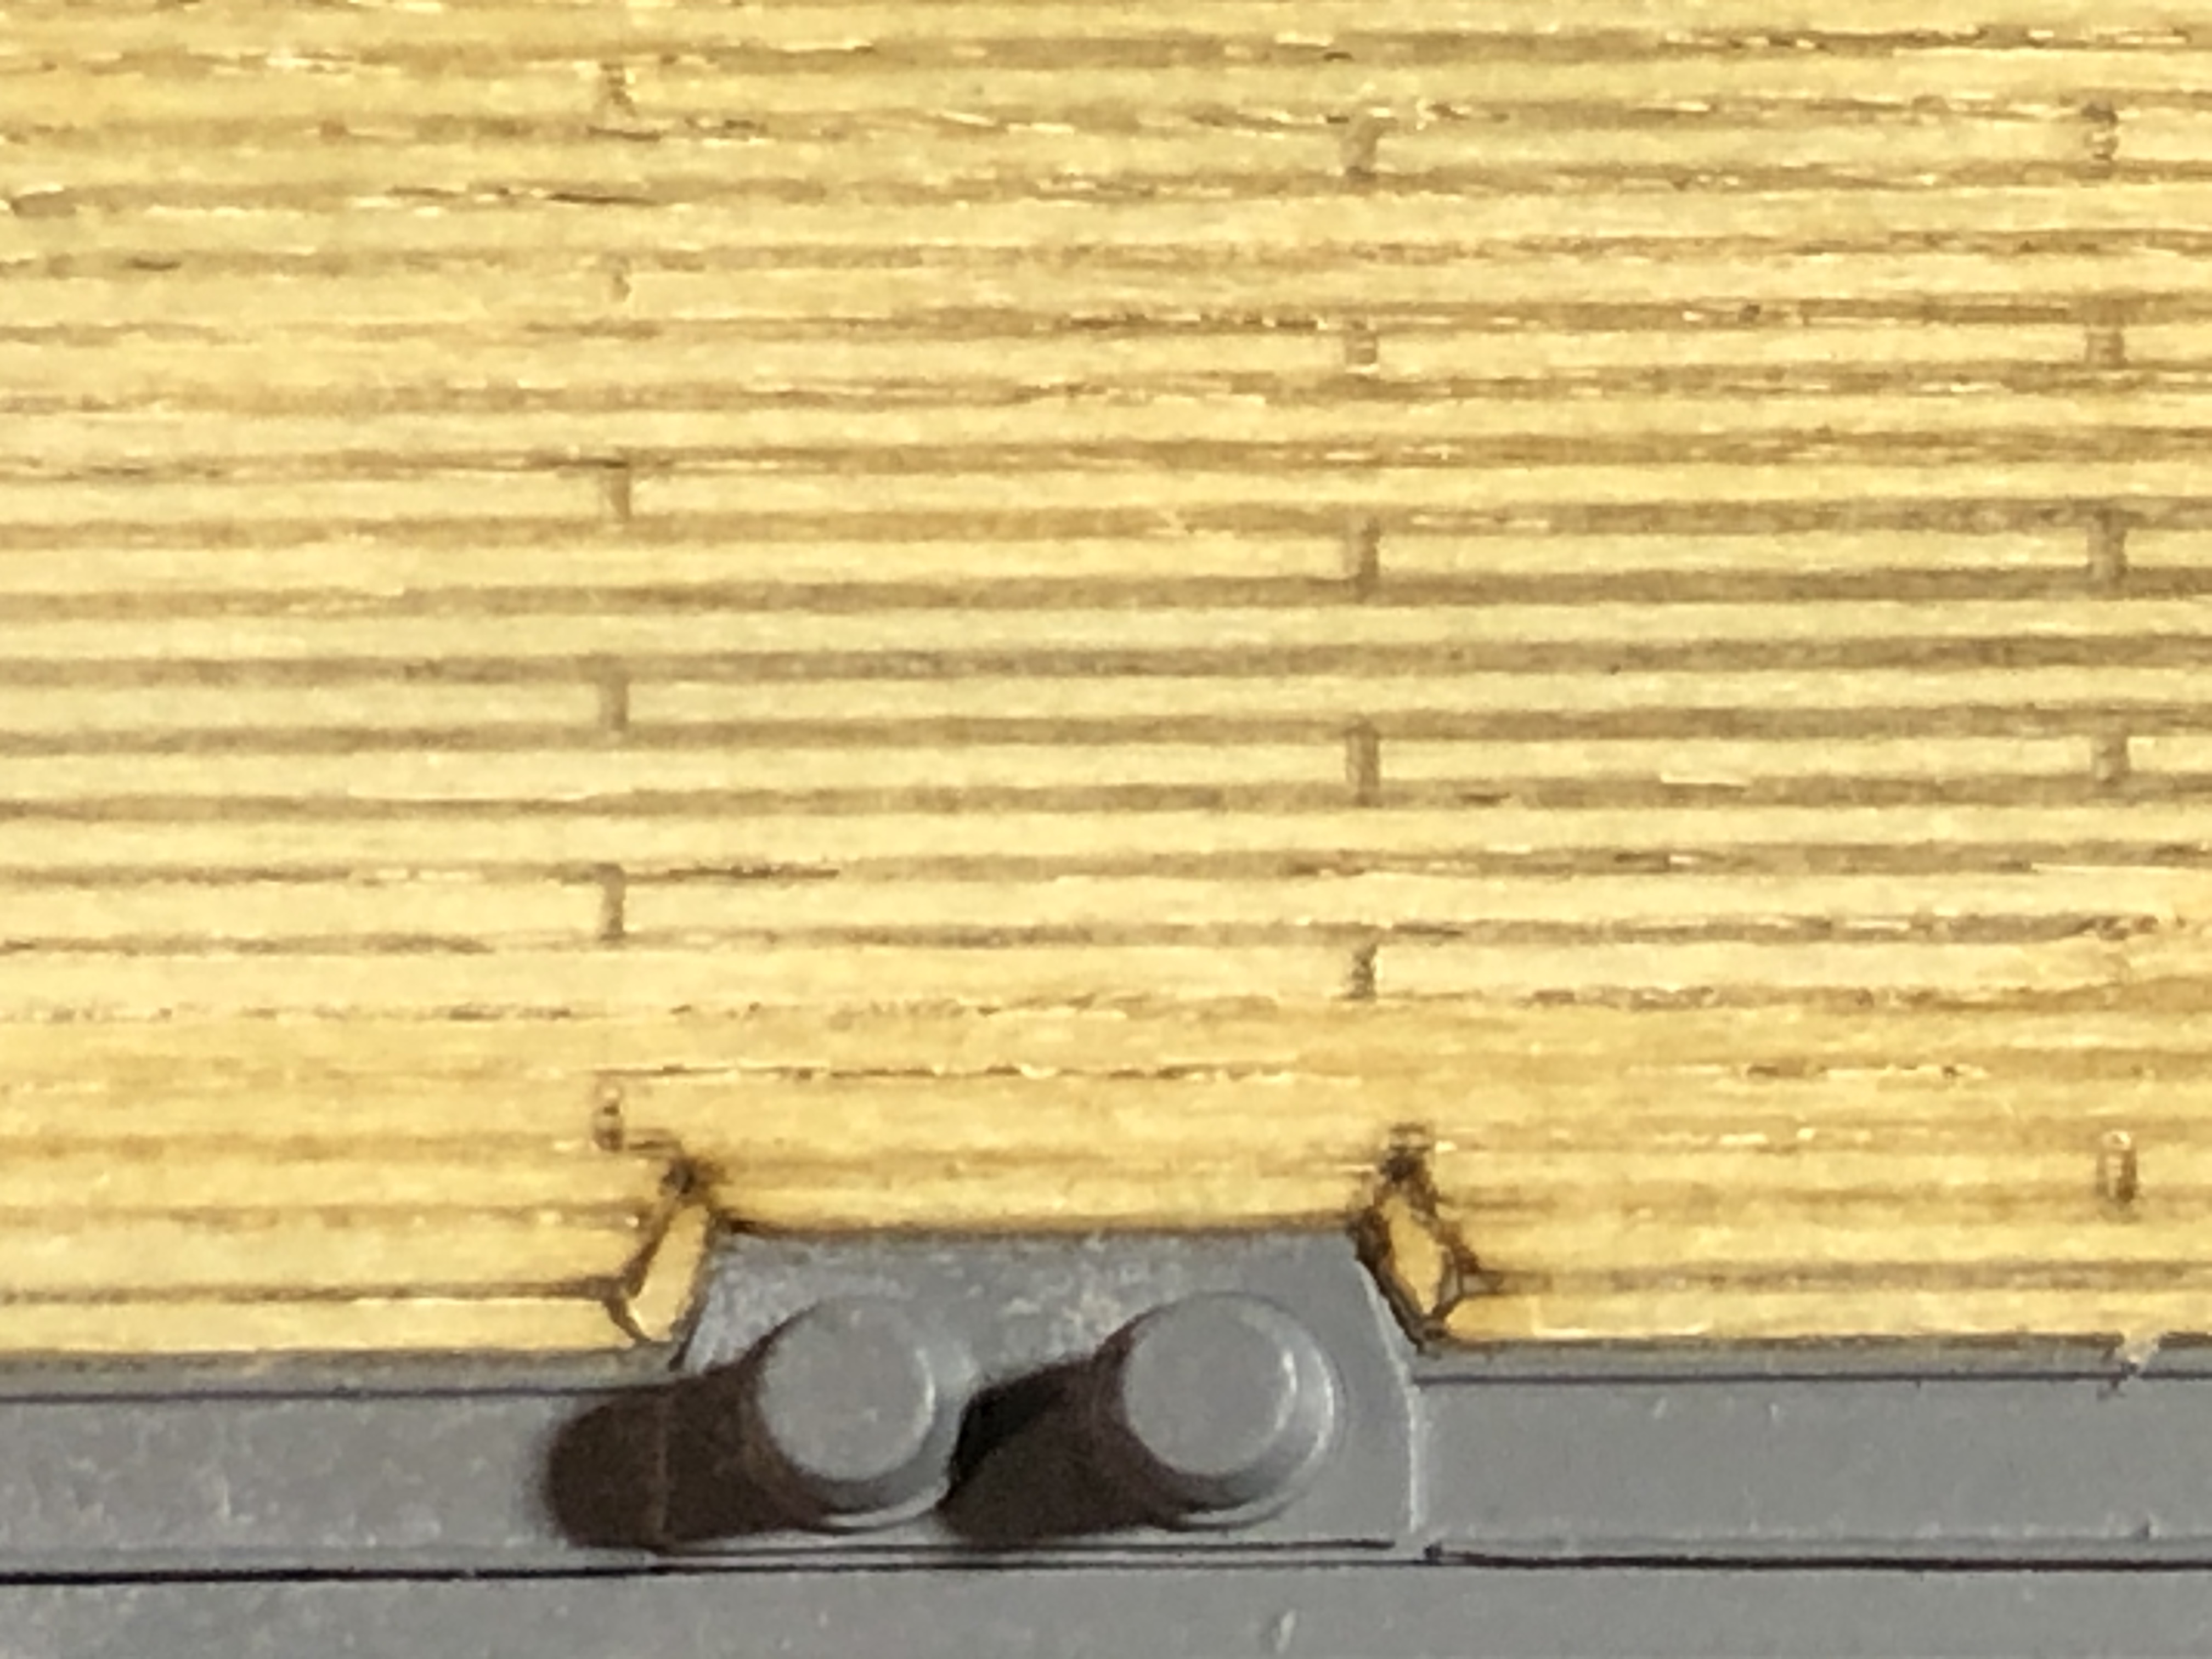
5. A close up of the wooden decking detail. Very impressive! And not expensive. Cost about $AUD20 including postage.

6. The fore and aft flag posts are very fine, and inclined to catch in clothing and break. After repairing them at least 10 times, I reinforced them. Can you see the dressmaking pin? The cavity to the left of my finger is the lifting well for the aircraft, leading to the hangar.
The end result….

7. Superb shape! And this photo reveals that at least 95% of the ship volume is within the hull.

8. 9 18″ guns in 3 barbettes. The wings on the barbettes are range finders. The decks around the guns were kept as clear as possible because the blast from the 18″ guns was huge. 20kg/cm^2

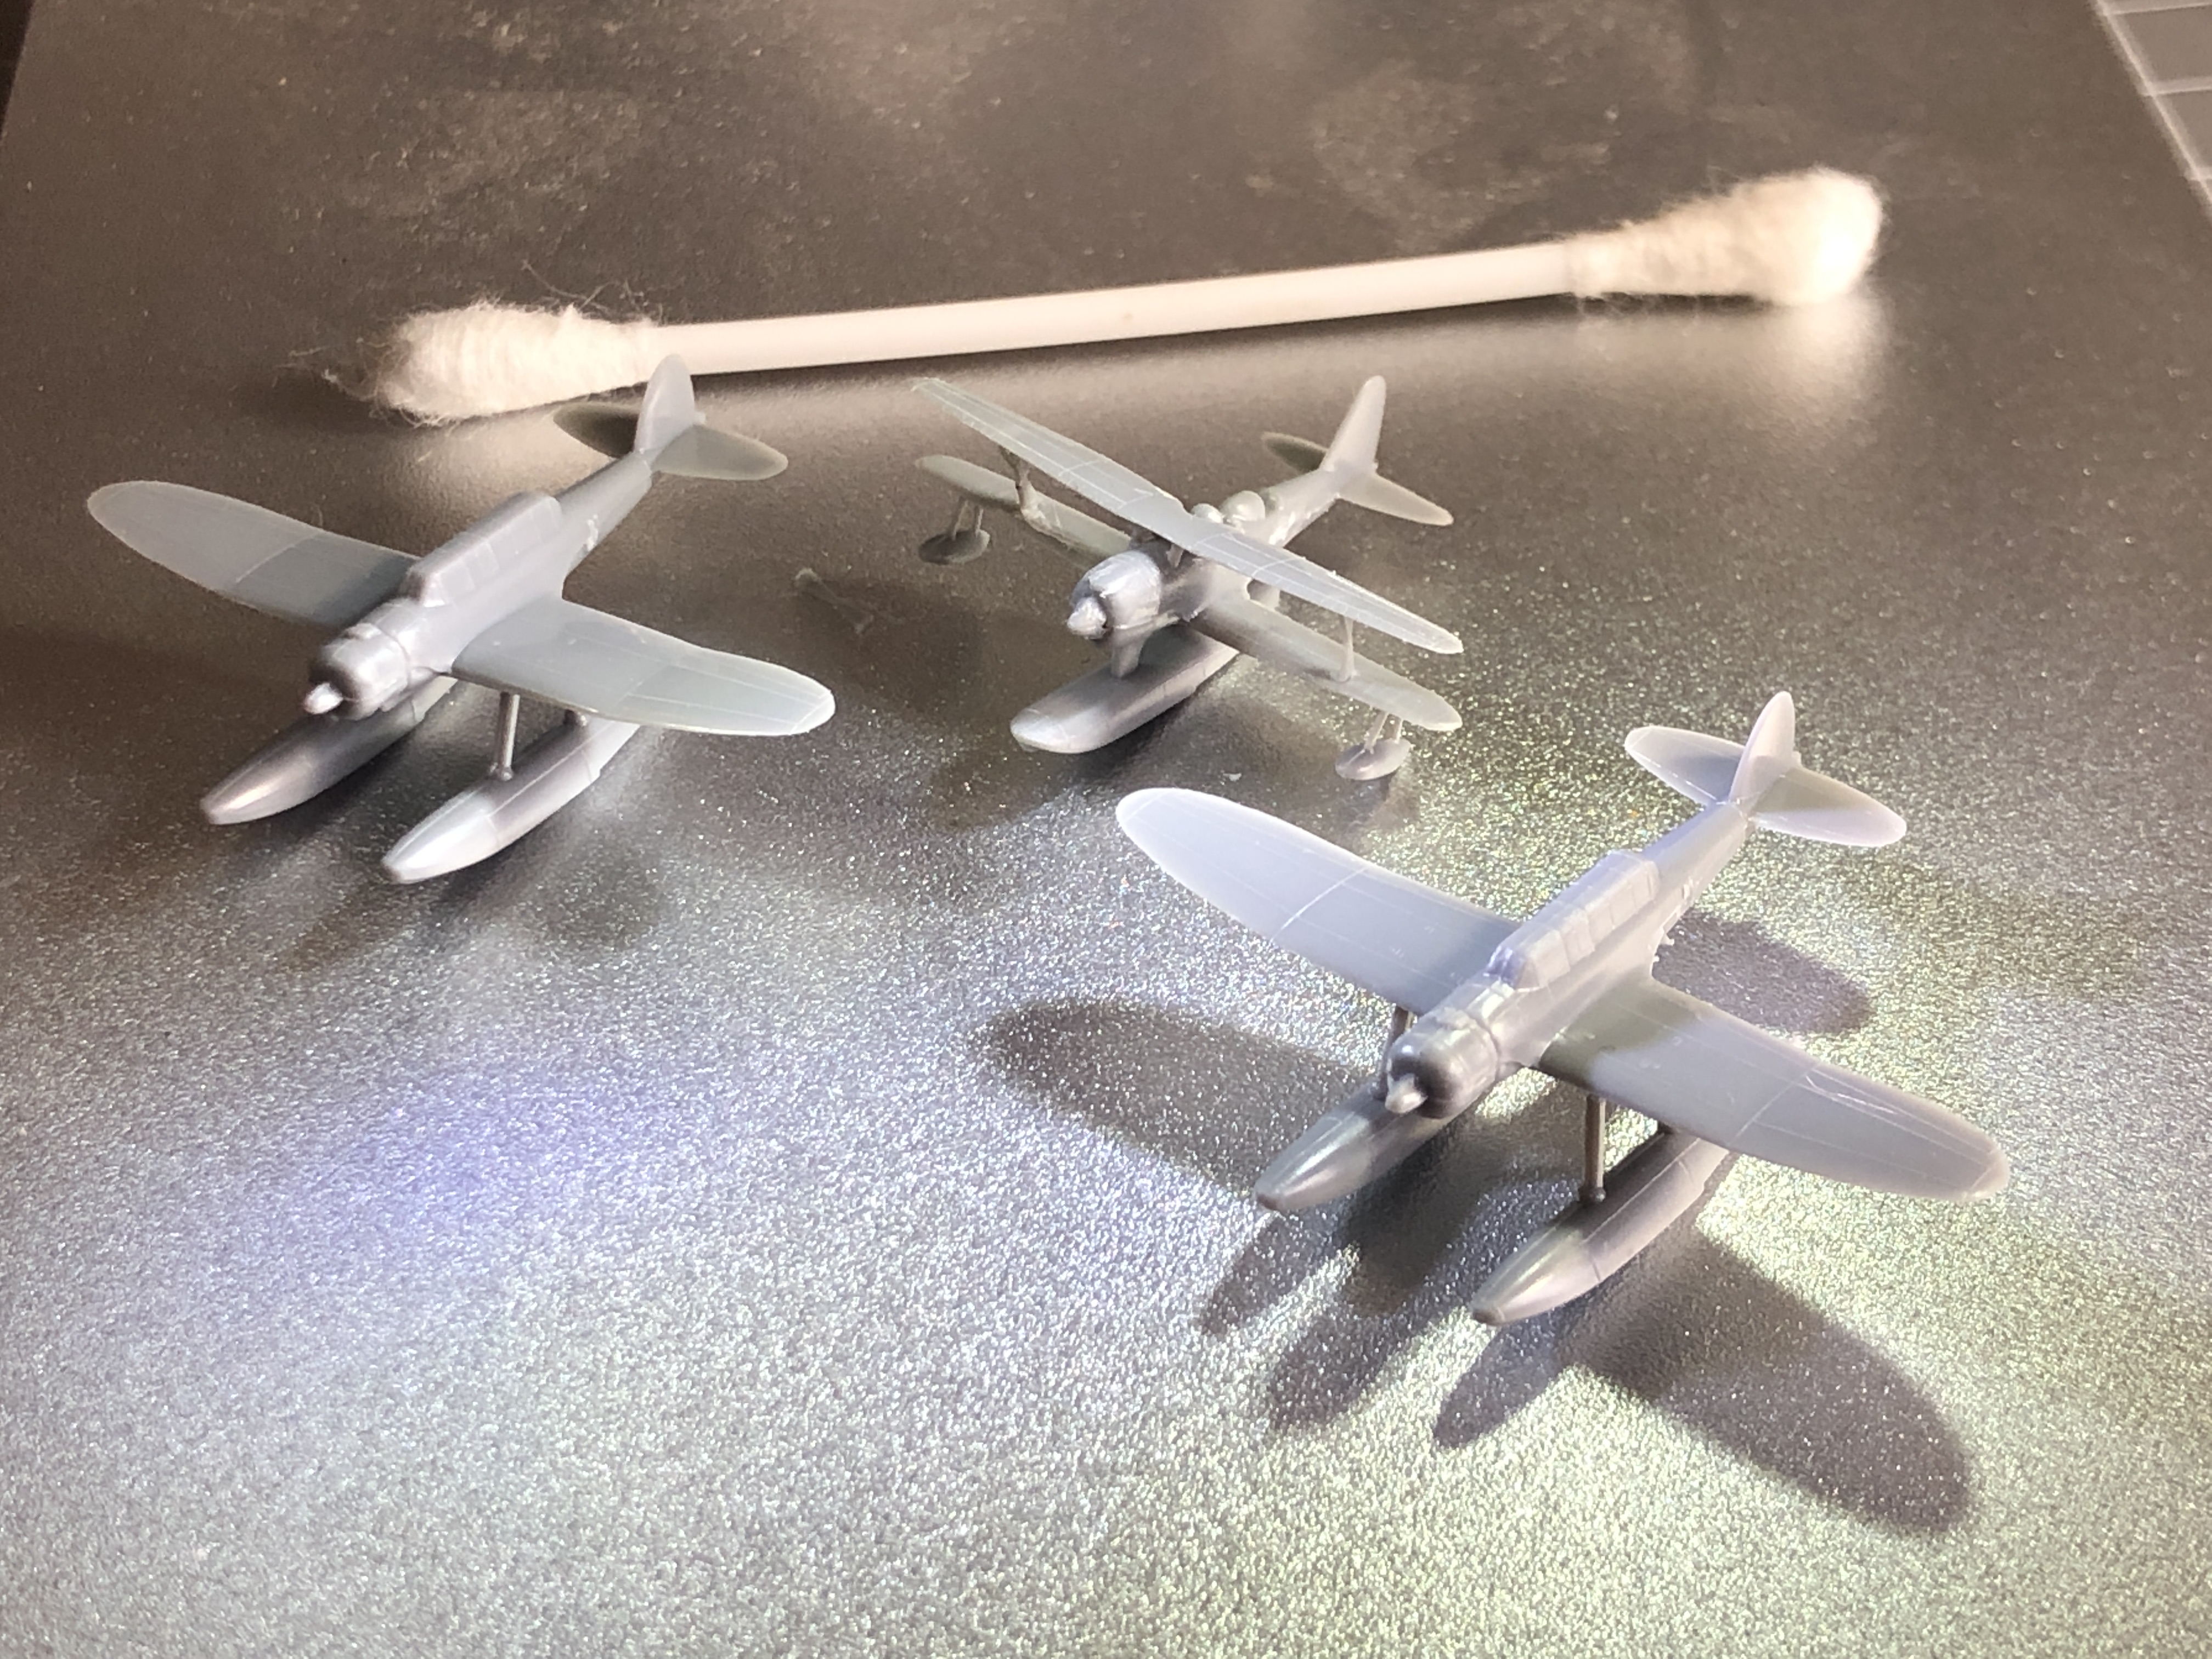
9. Yamato could carry up to 8 spotter planes. Launched by catapult, and picked up by the crane at the stern.
The model is complete, except for the flags and aerial cables. Took me a week to make and paint. I really enjoyed the build. And I really like the model. It was not an easy build, but the real credit goes to the people who designed and made the kit. It is truly impressive how well everything fitted together.
Now. Where to put it? And how to keep it dust free?