Stripper In Action. (Using an Inexpensive Ebay Tool to Strip Insulation off Copper Wire.)
Almost 25 years ago I contracted an electrician to lay 220 meters of electrical cable to where we intended to build a house on our rural property. The cable route was across planned irrigation lines, so needed to be positioned and buried first.
The house was never built, and we sold most of the property about 10 years ago.
I used a tractor to pull out the 660-700 meters of cable (220 x 3 cables, plus some extra), in several pieces and unfortunately there were too many breaches in the insulation to be reused as electrical cable. It was coiled on a wooden drum, and was in my way on many occasions until I finally got around to dealing with it recently.
The cable had cost around $AUD3000 in 1998. In 2023 I calculated that as scrap copper it would be worth almost as much, ignoring inflation. But still $2-3k.
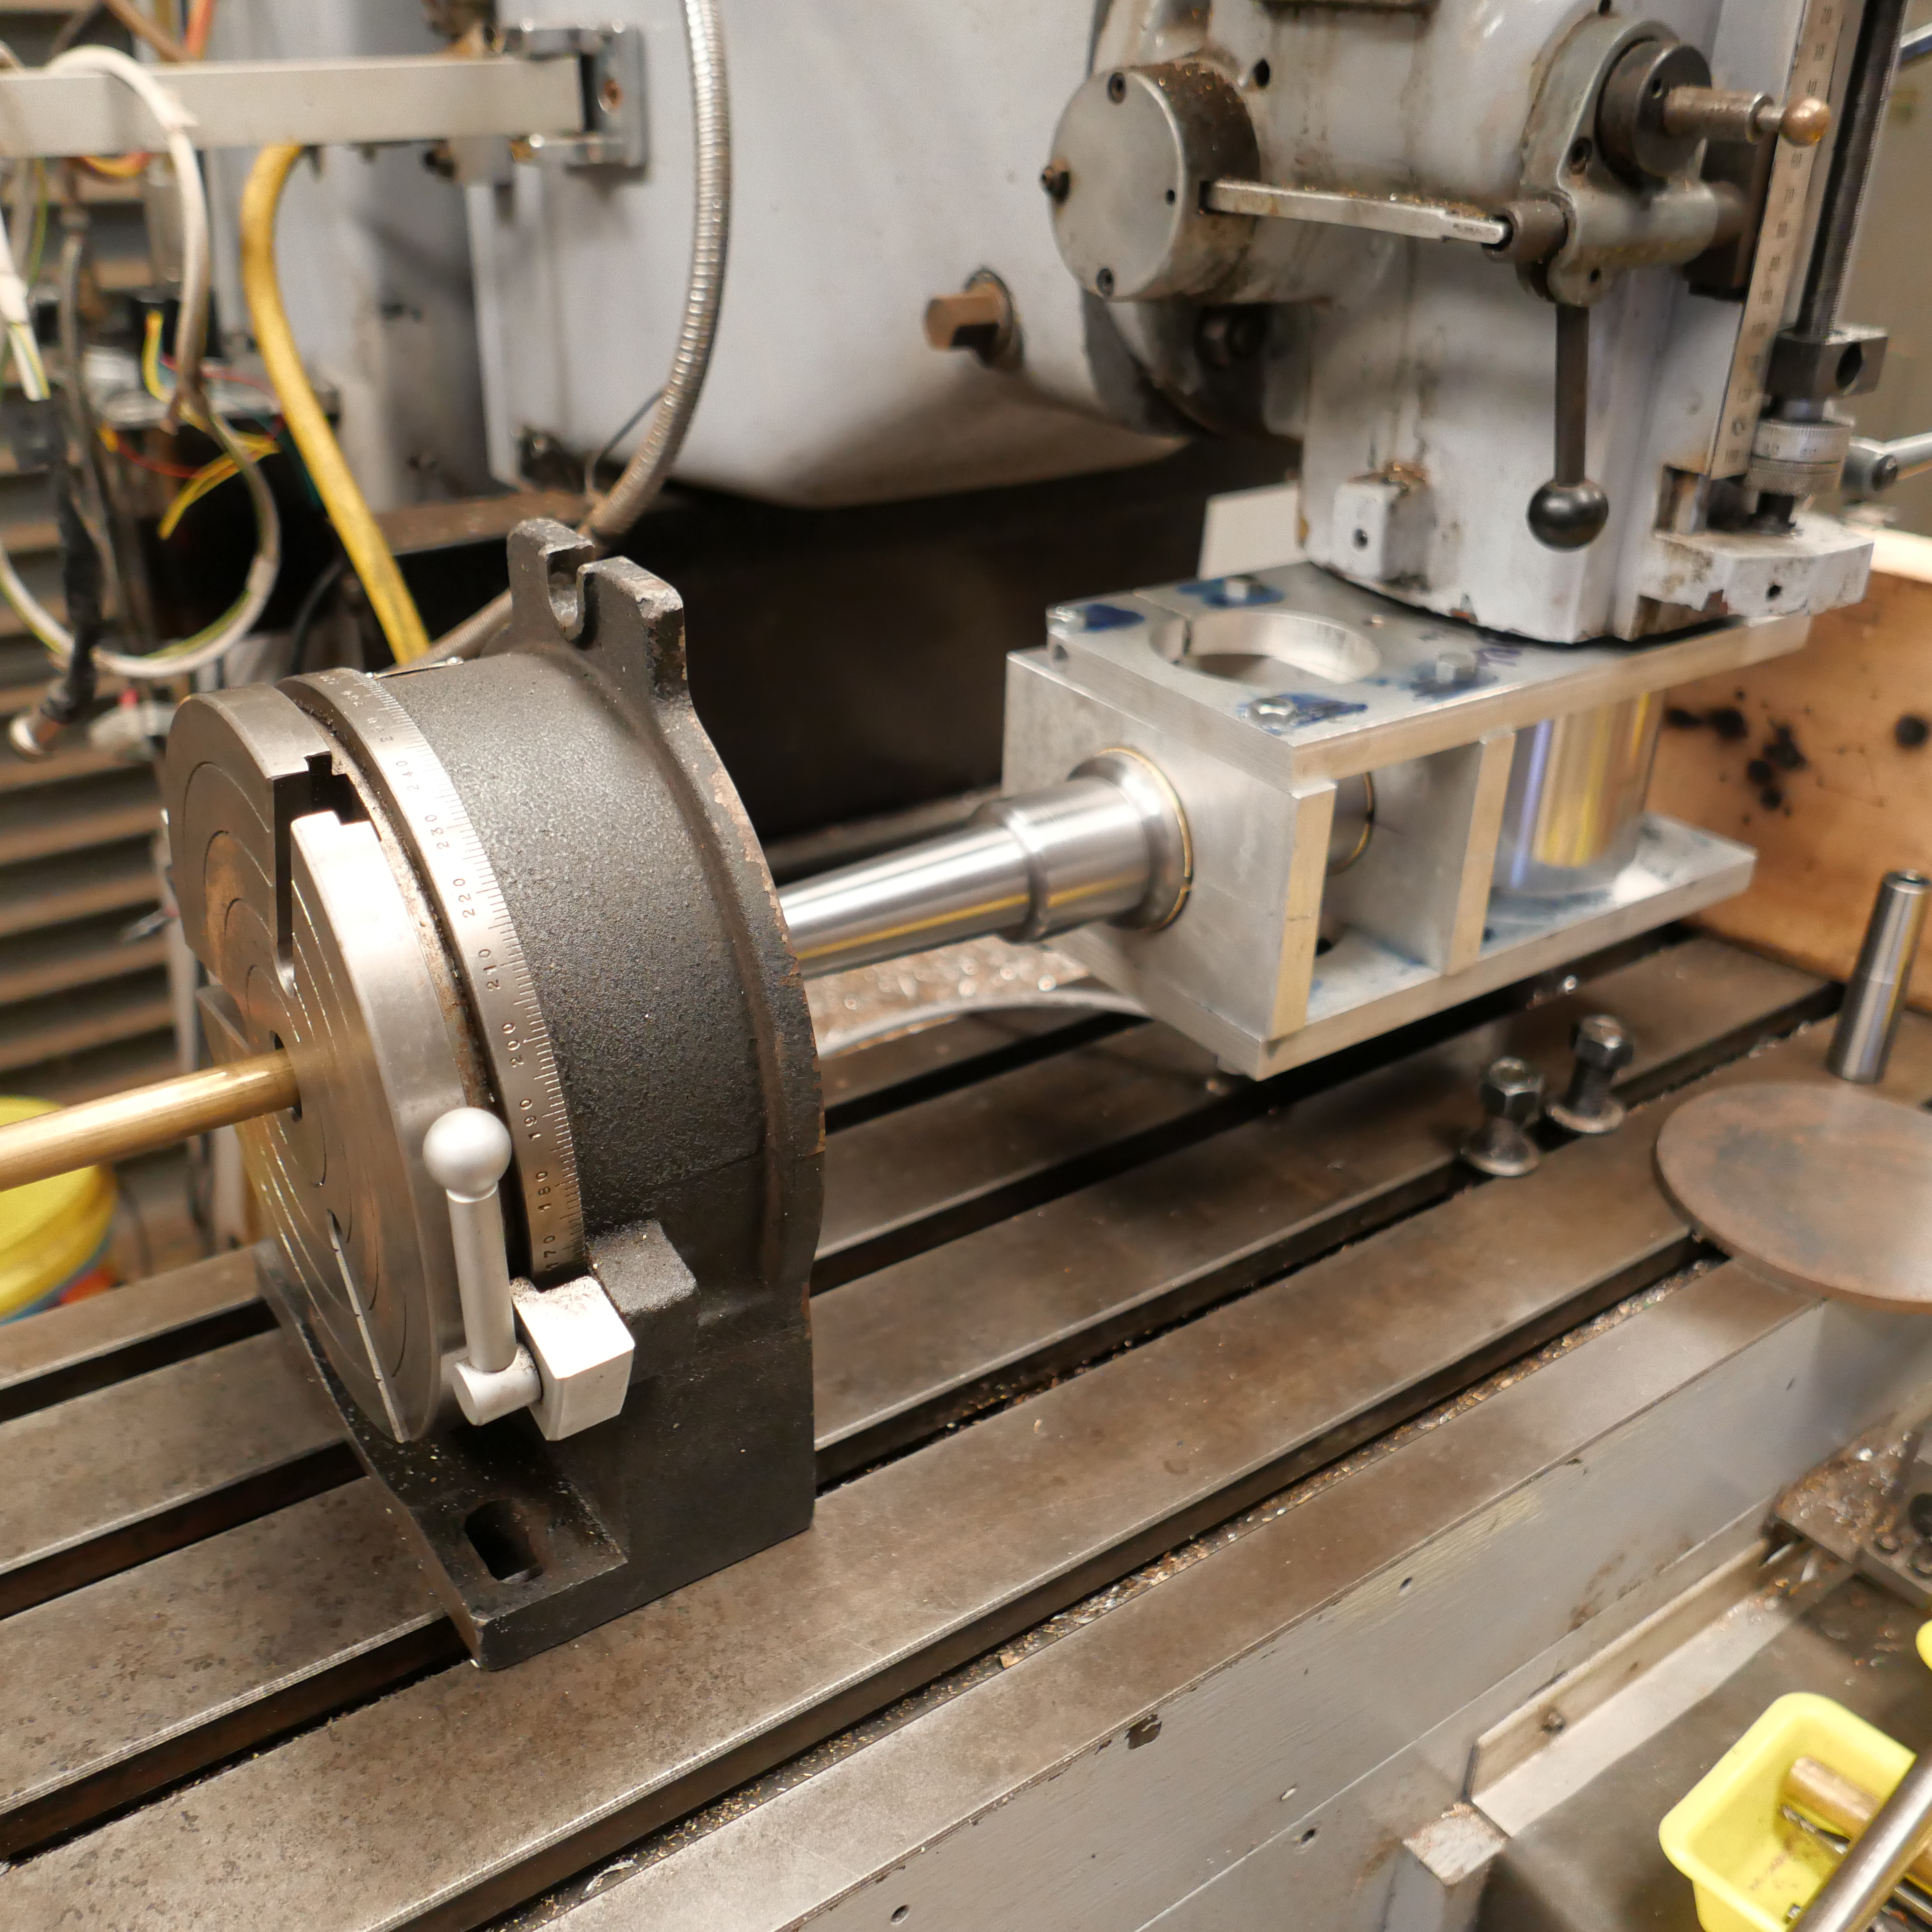
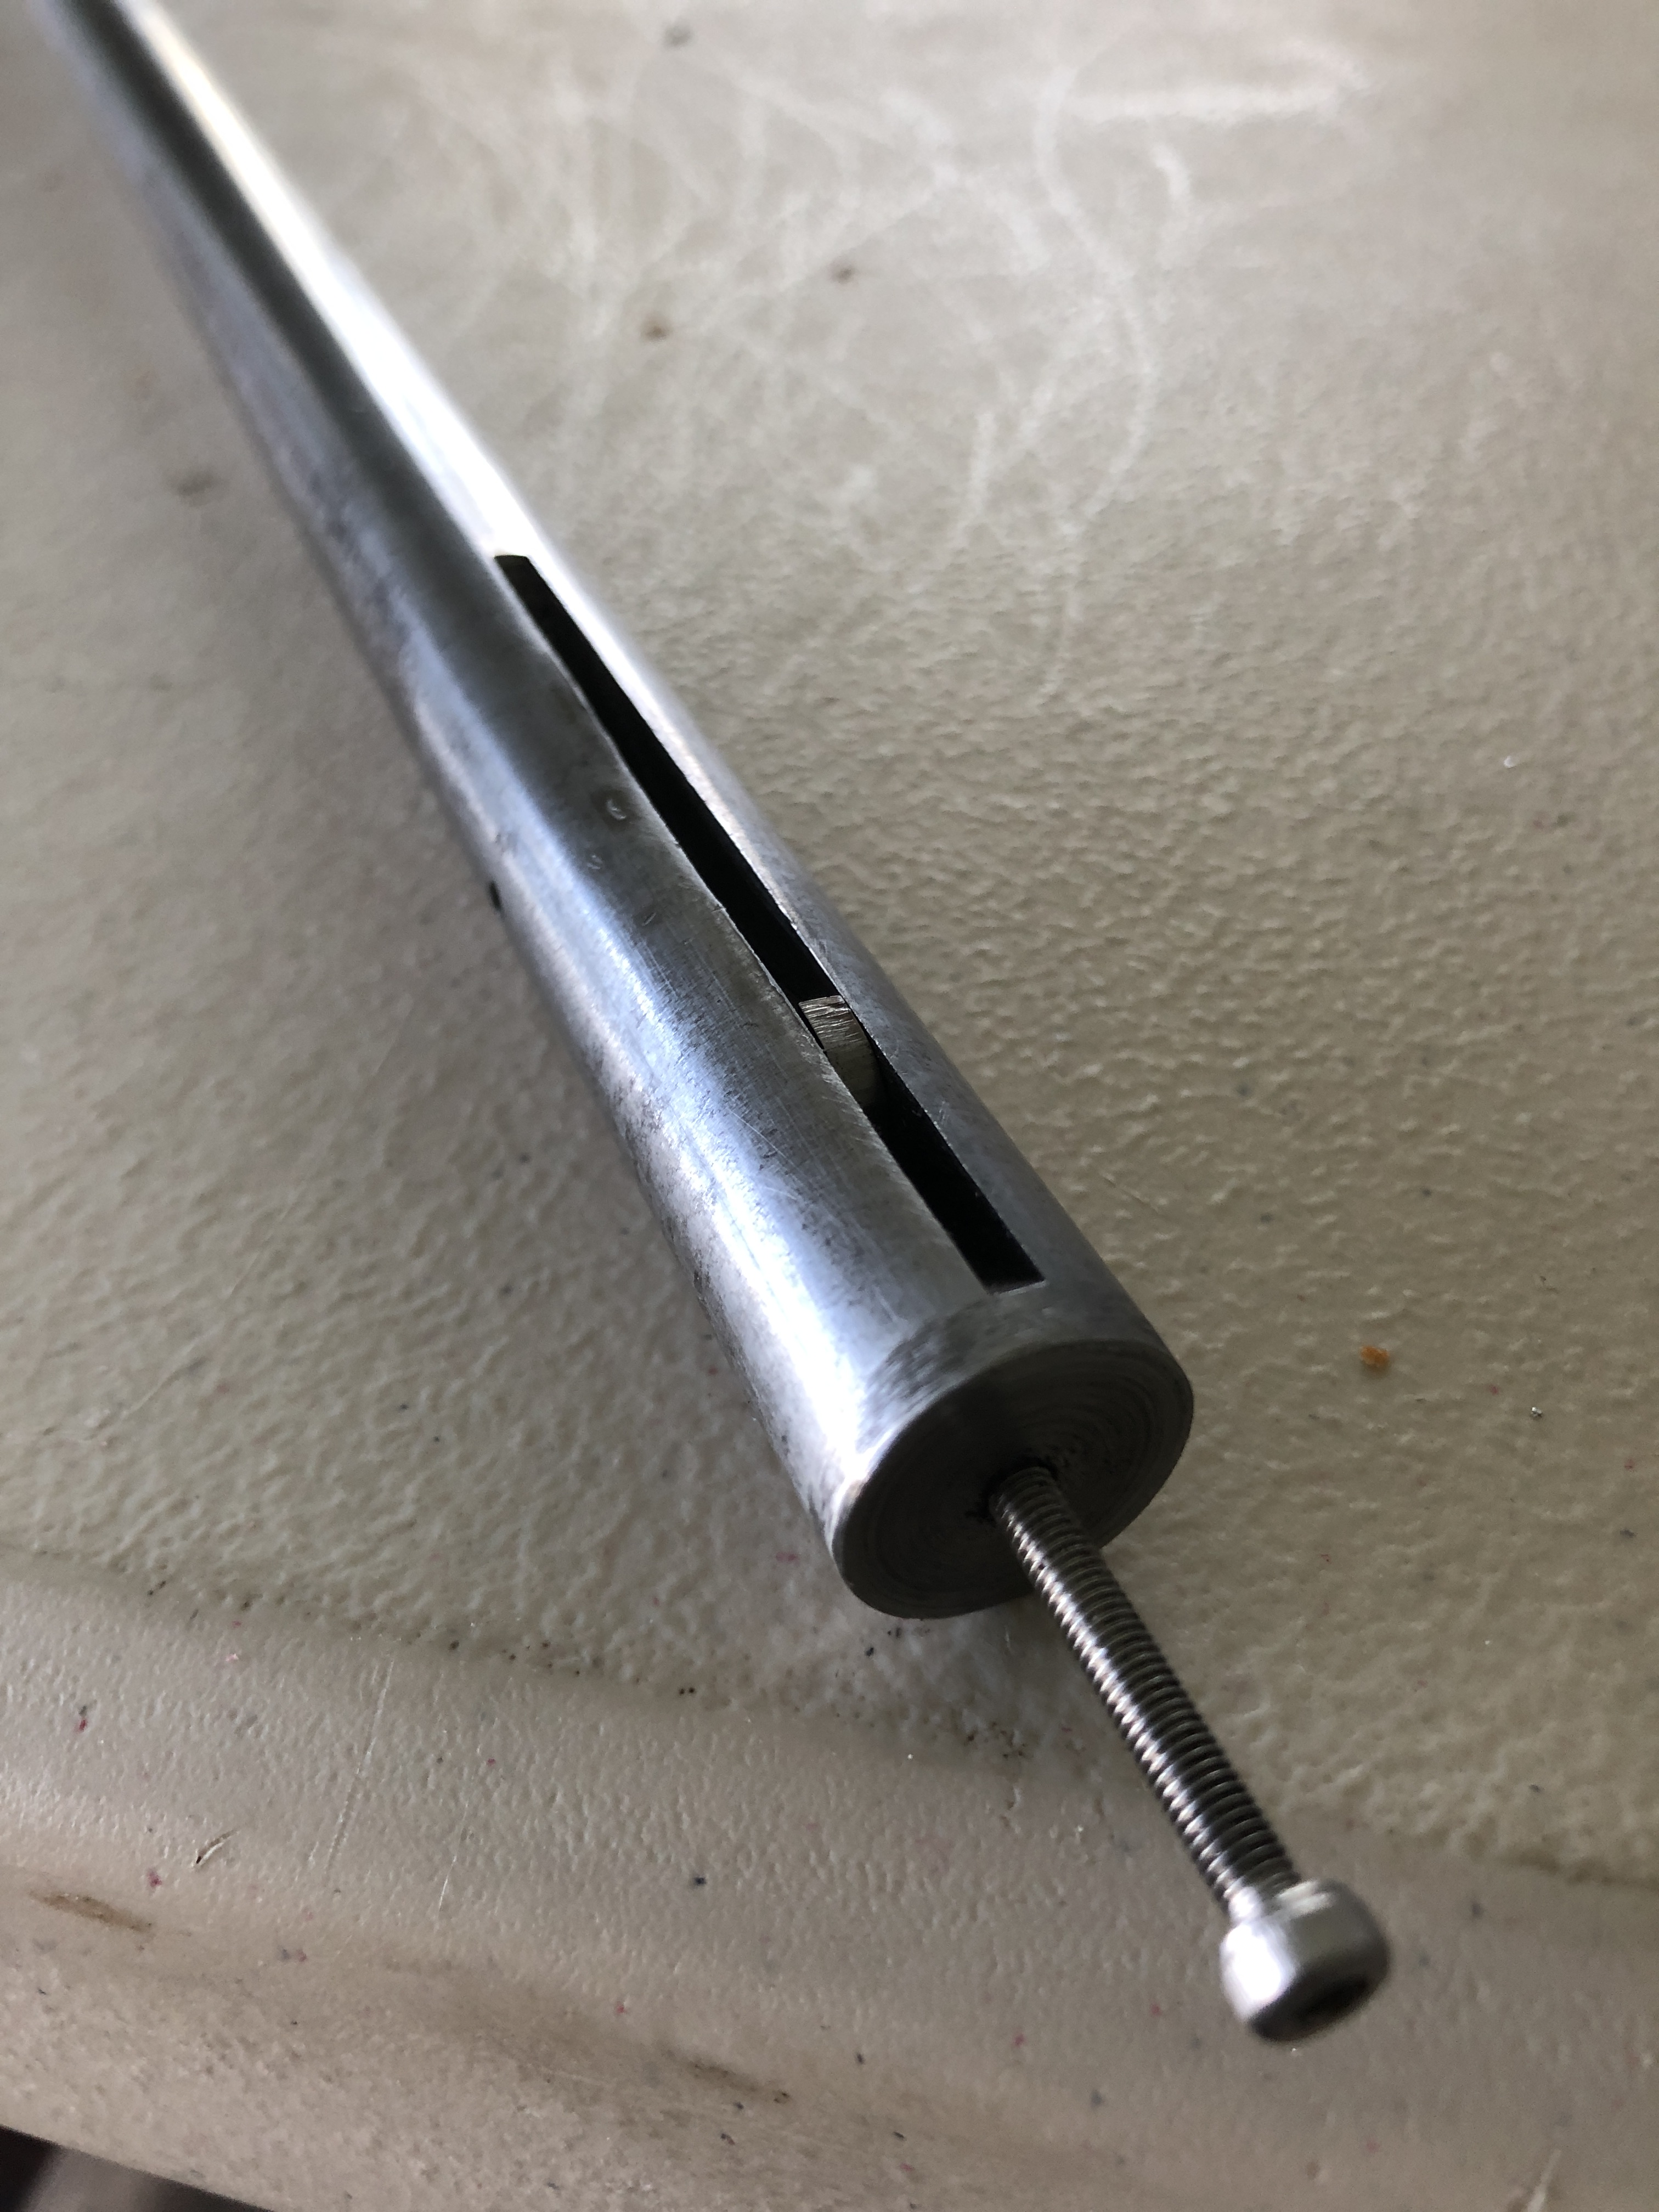
So, I lashed out, and on Ebay purchased a wire stripper for $60. It has a handle to pull/push the cable over a sharp wheel, and that wheel cuts a slit in the insulation, which then peels off pretty easily. The handle can be replaced with a drill, and with ~700 meters to strip, that’s what happened.
Watch the video to see the stripper in action.
I cut the cables into 1.5-2.5 meter lengths so I could easily handle the heavy cables.
The wire stripper was pretty solid, and well constructed and designed. I did bolt it to a steel base, which was then securely clamped to the trailer. The infeed arrangement was more suitable to undamaged cable than my traumatised cable, but it worked well enough. I wonder if a cone shaped infeed hole would have worked better than the simple hole in a thin plate as supplied, but hey, it was $60, not $600 or $6000.
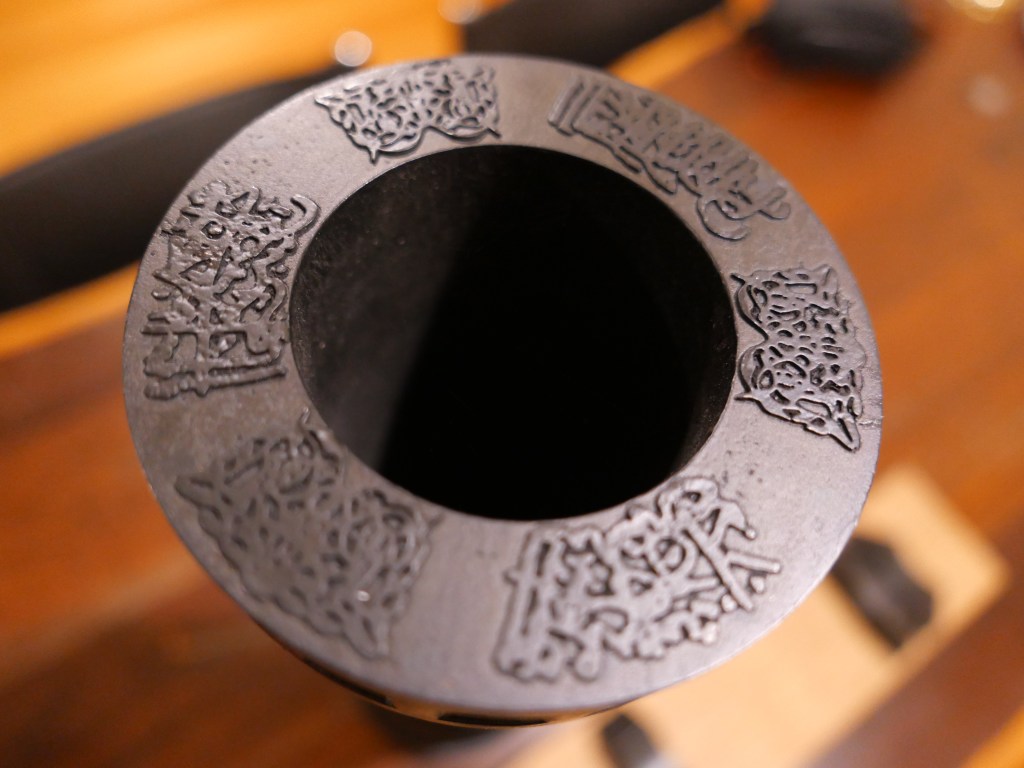
My original plan was to sell the stripped cable as scrap copper for about $7 per kilogram. But looking at Ebay I note that 1kg copper ingots are advertised for $AUD110-130.
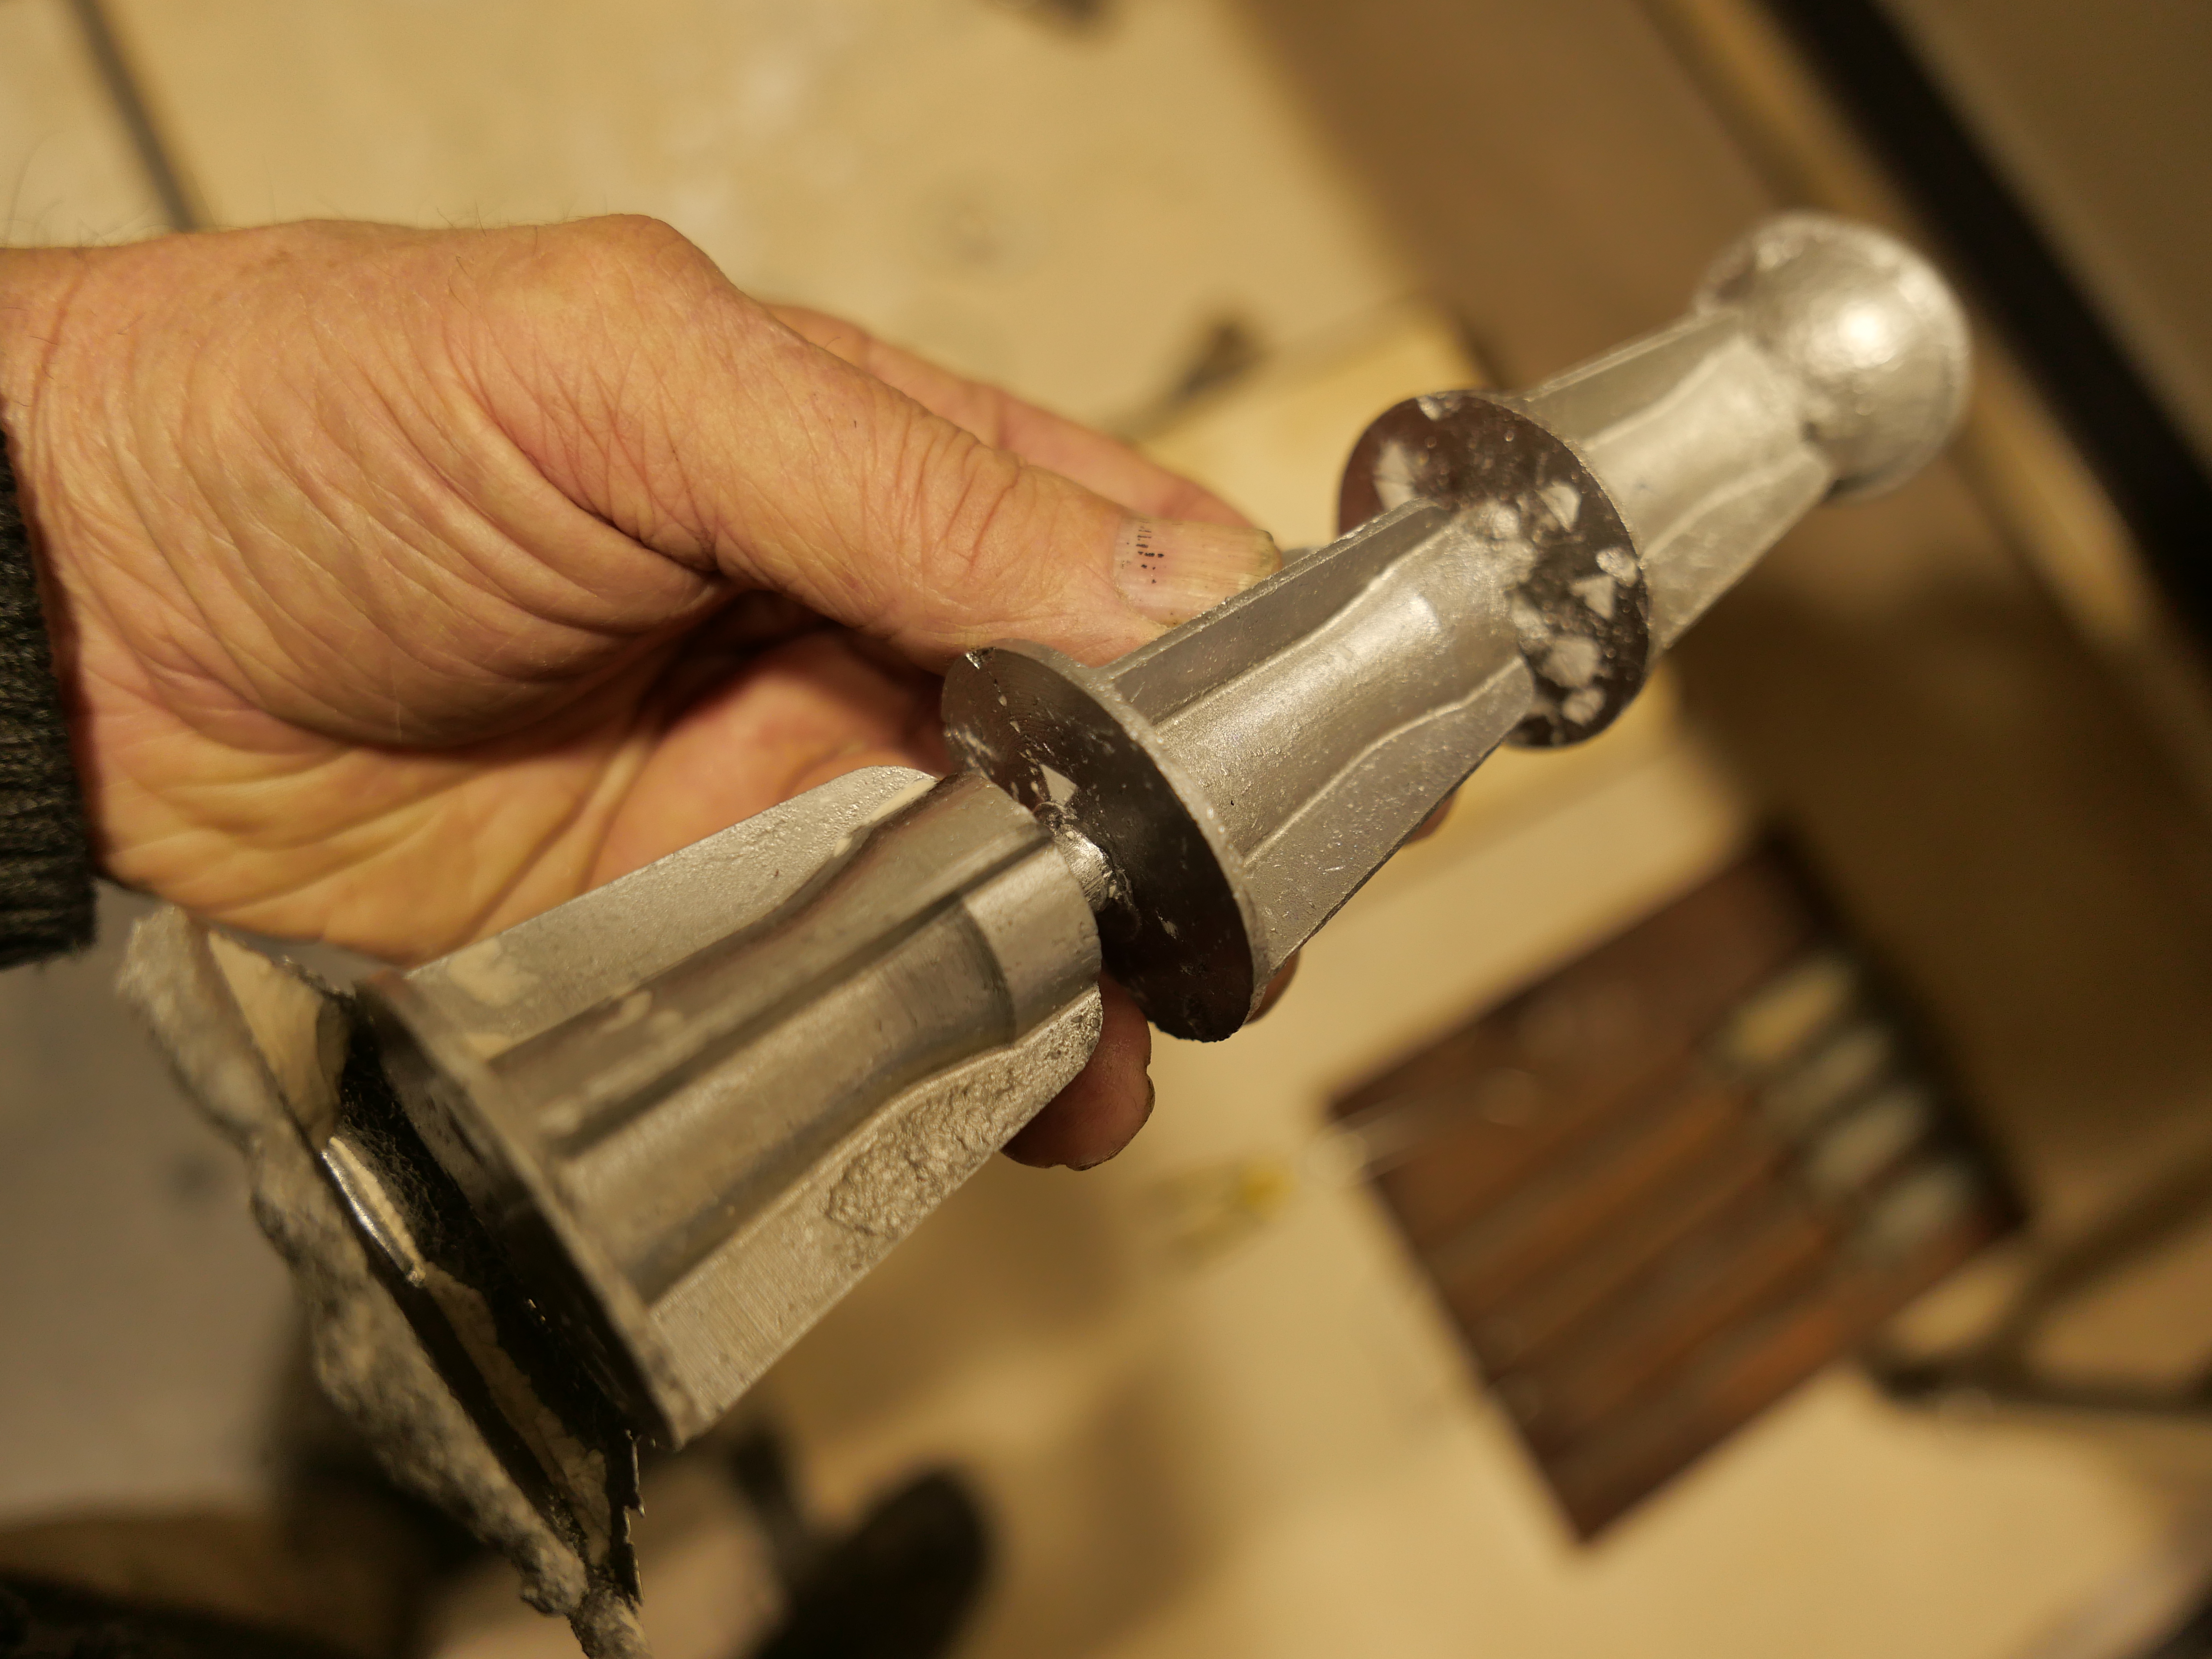
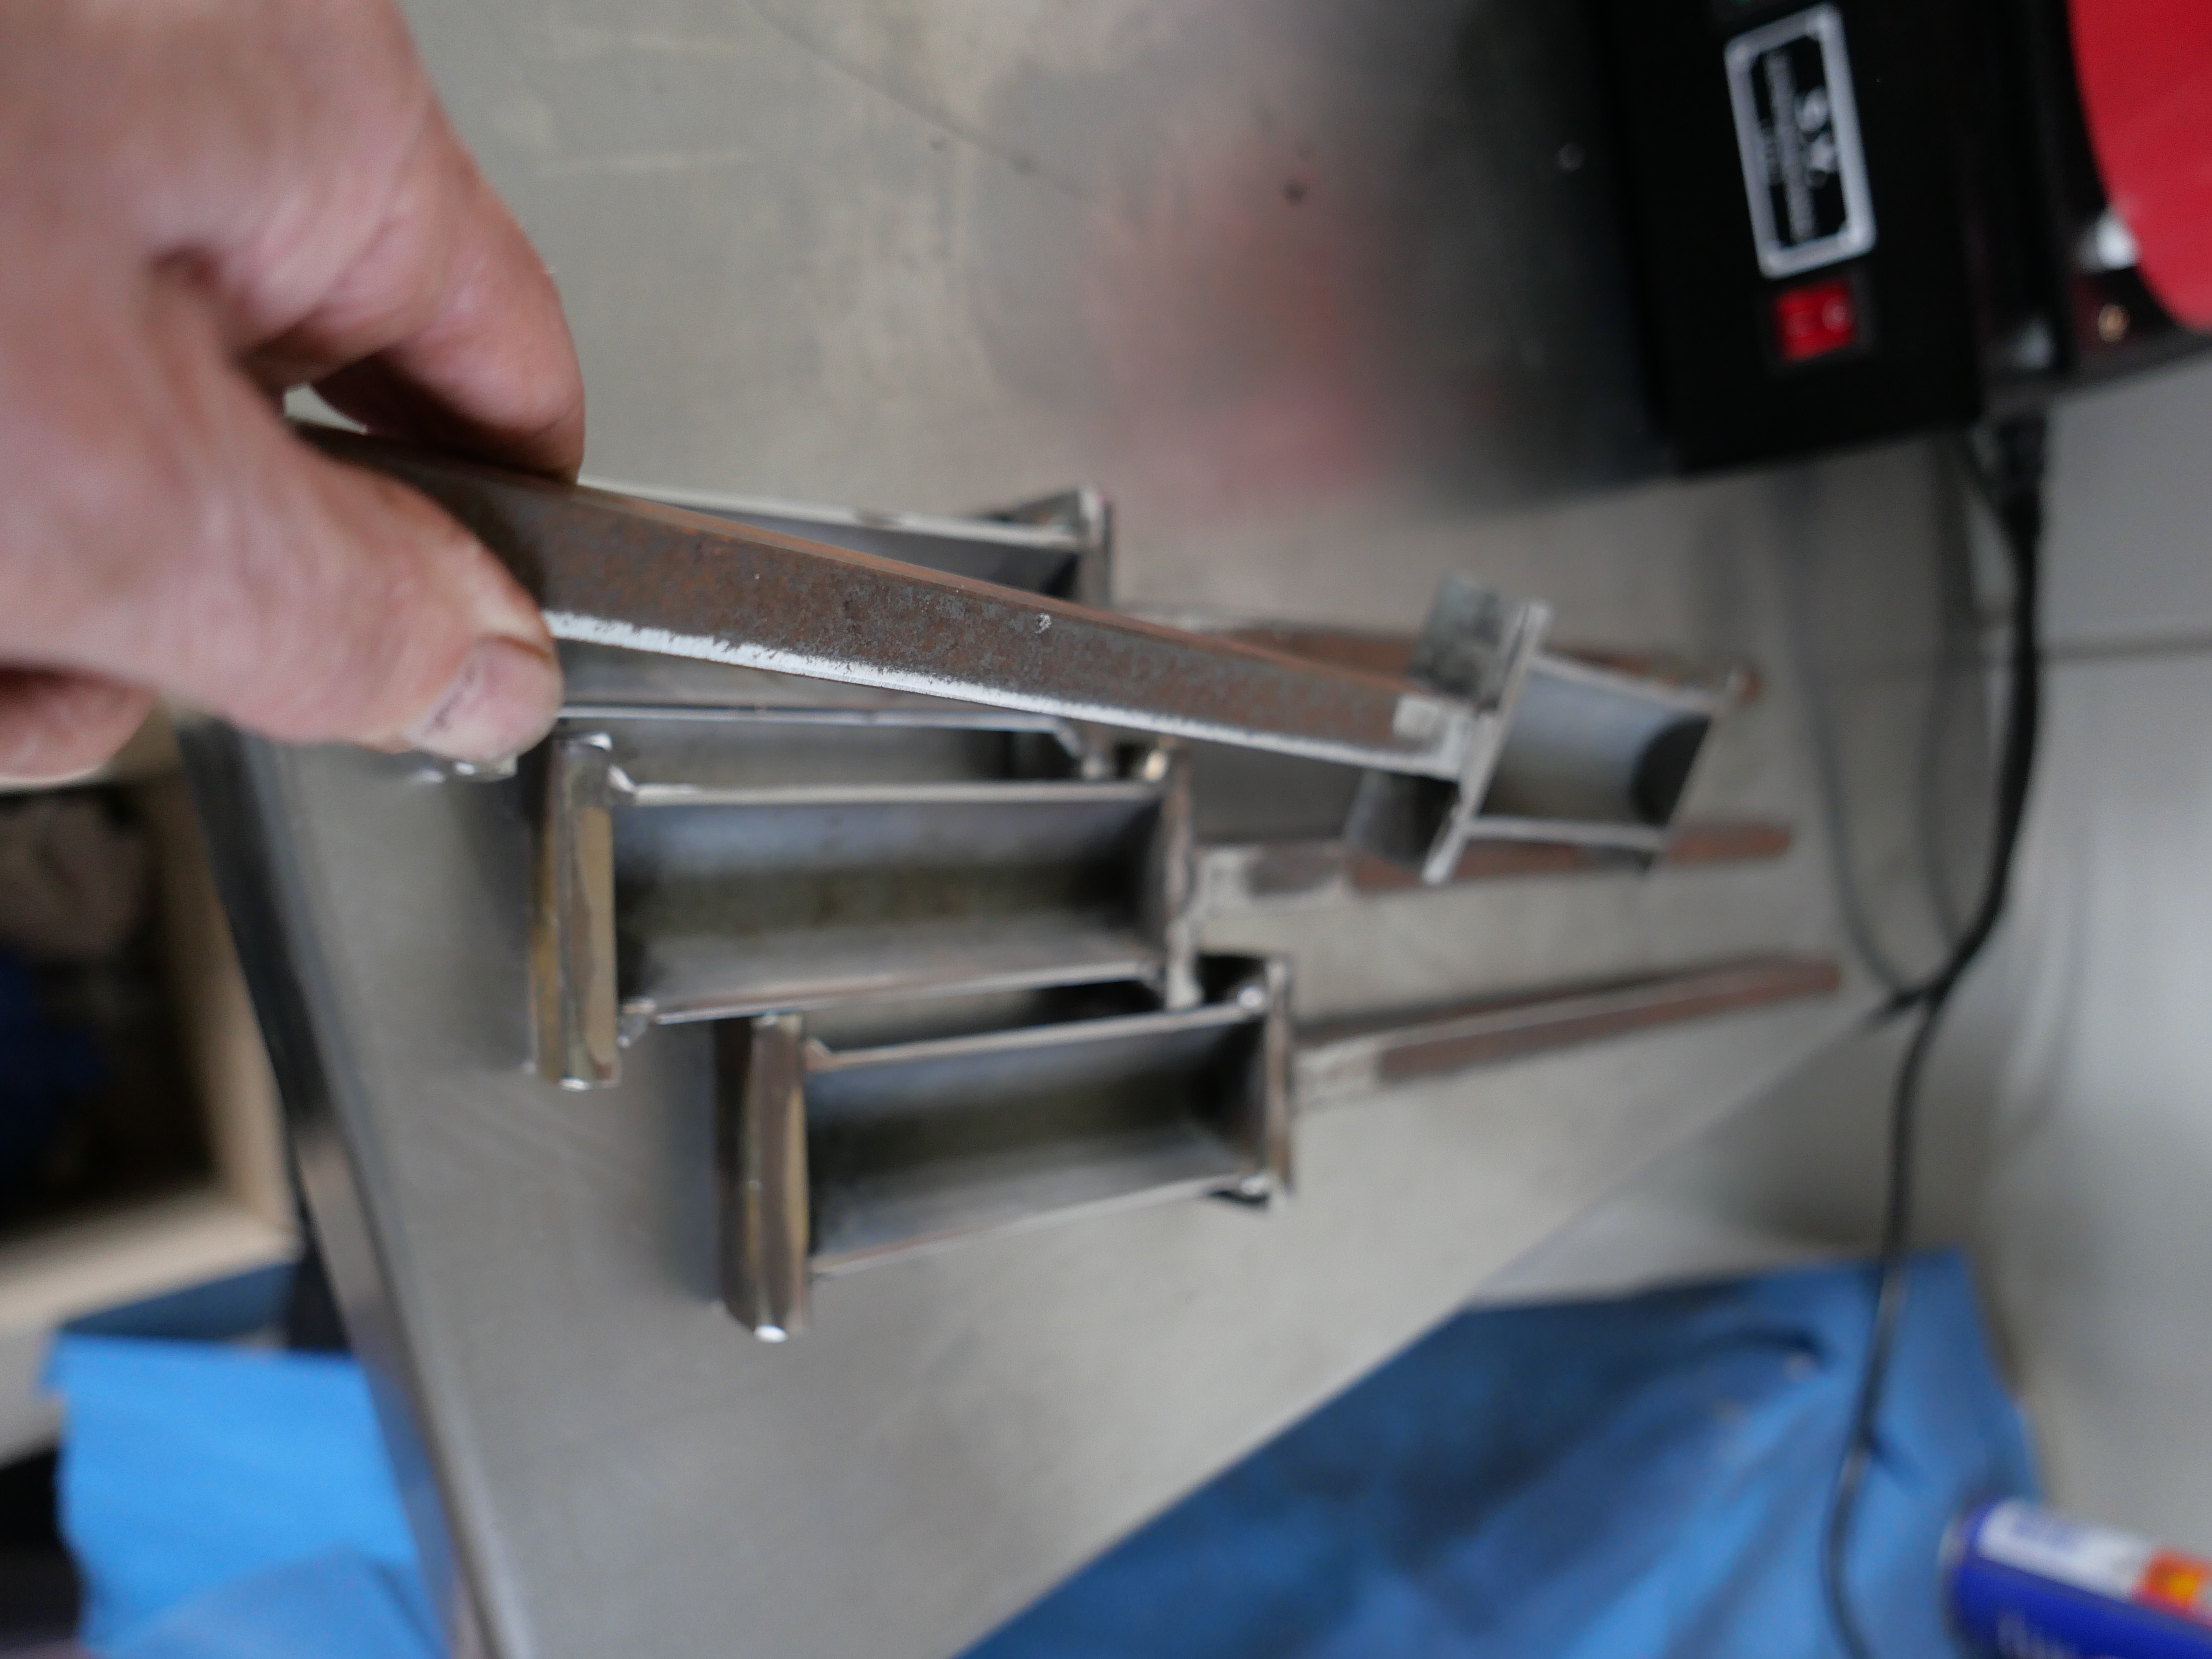
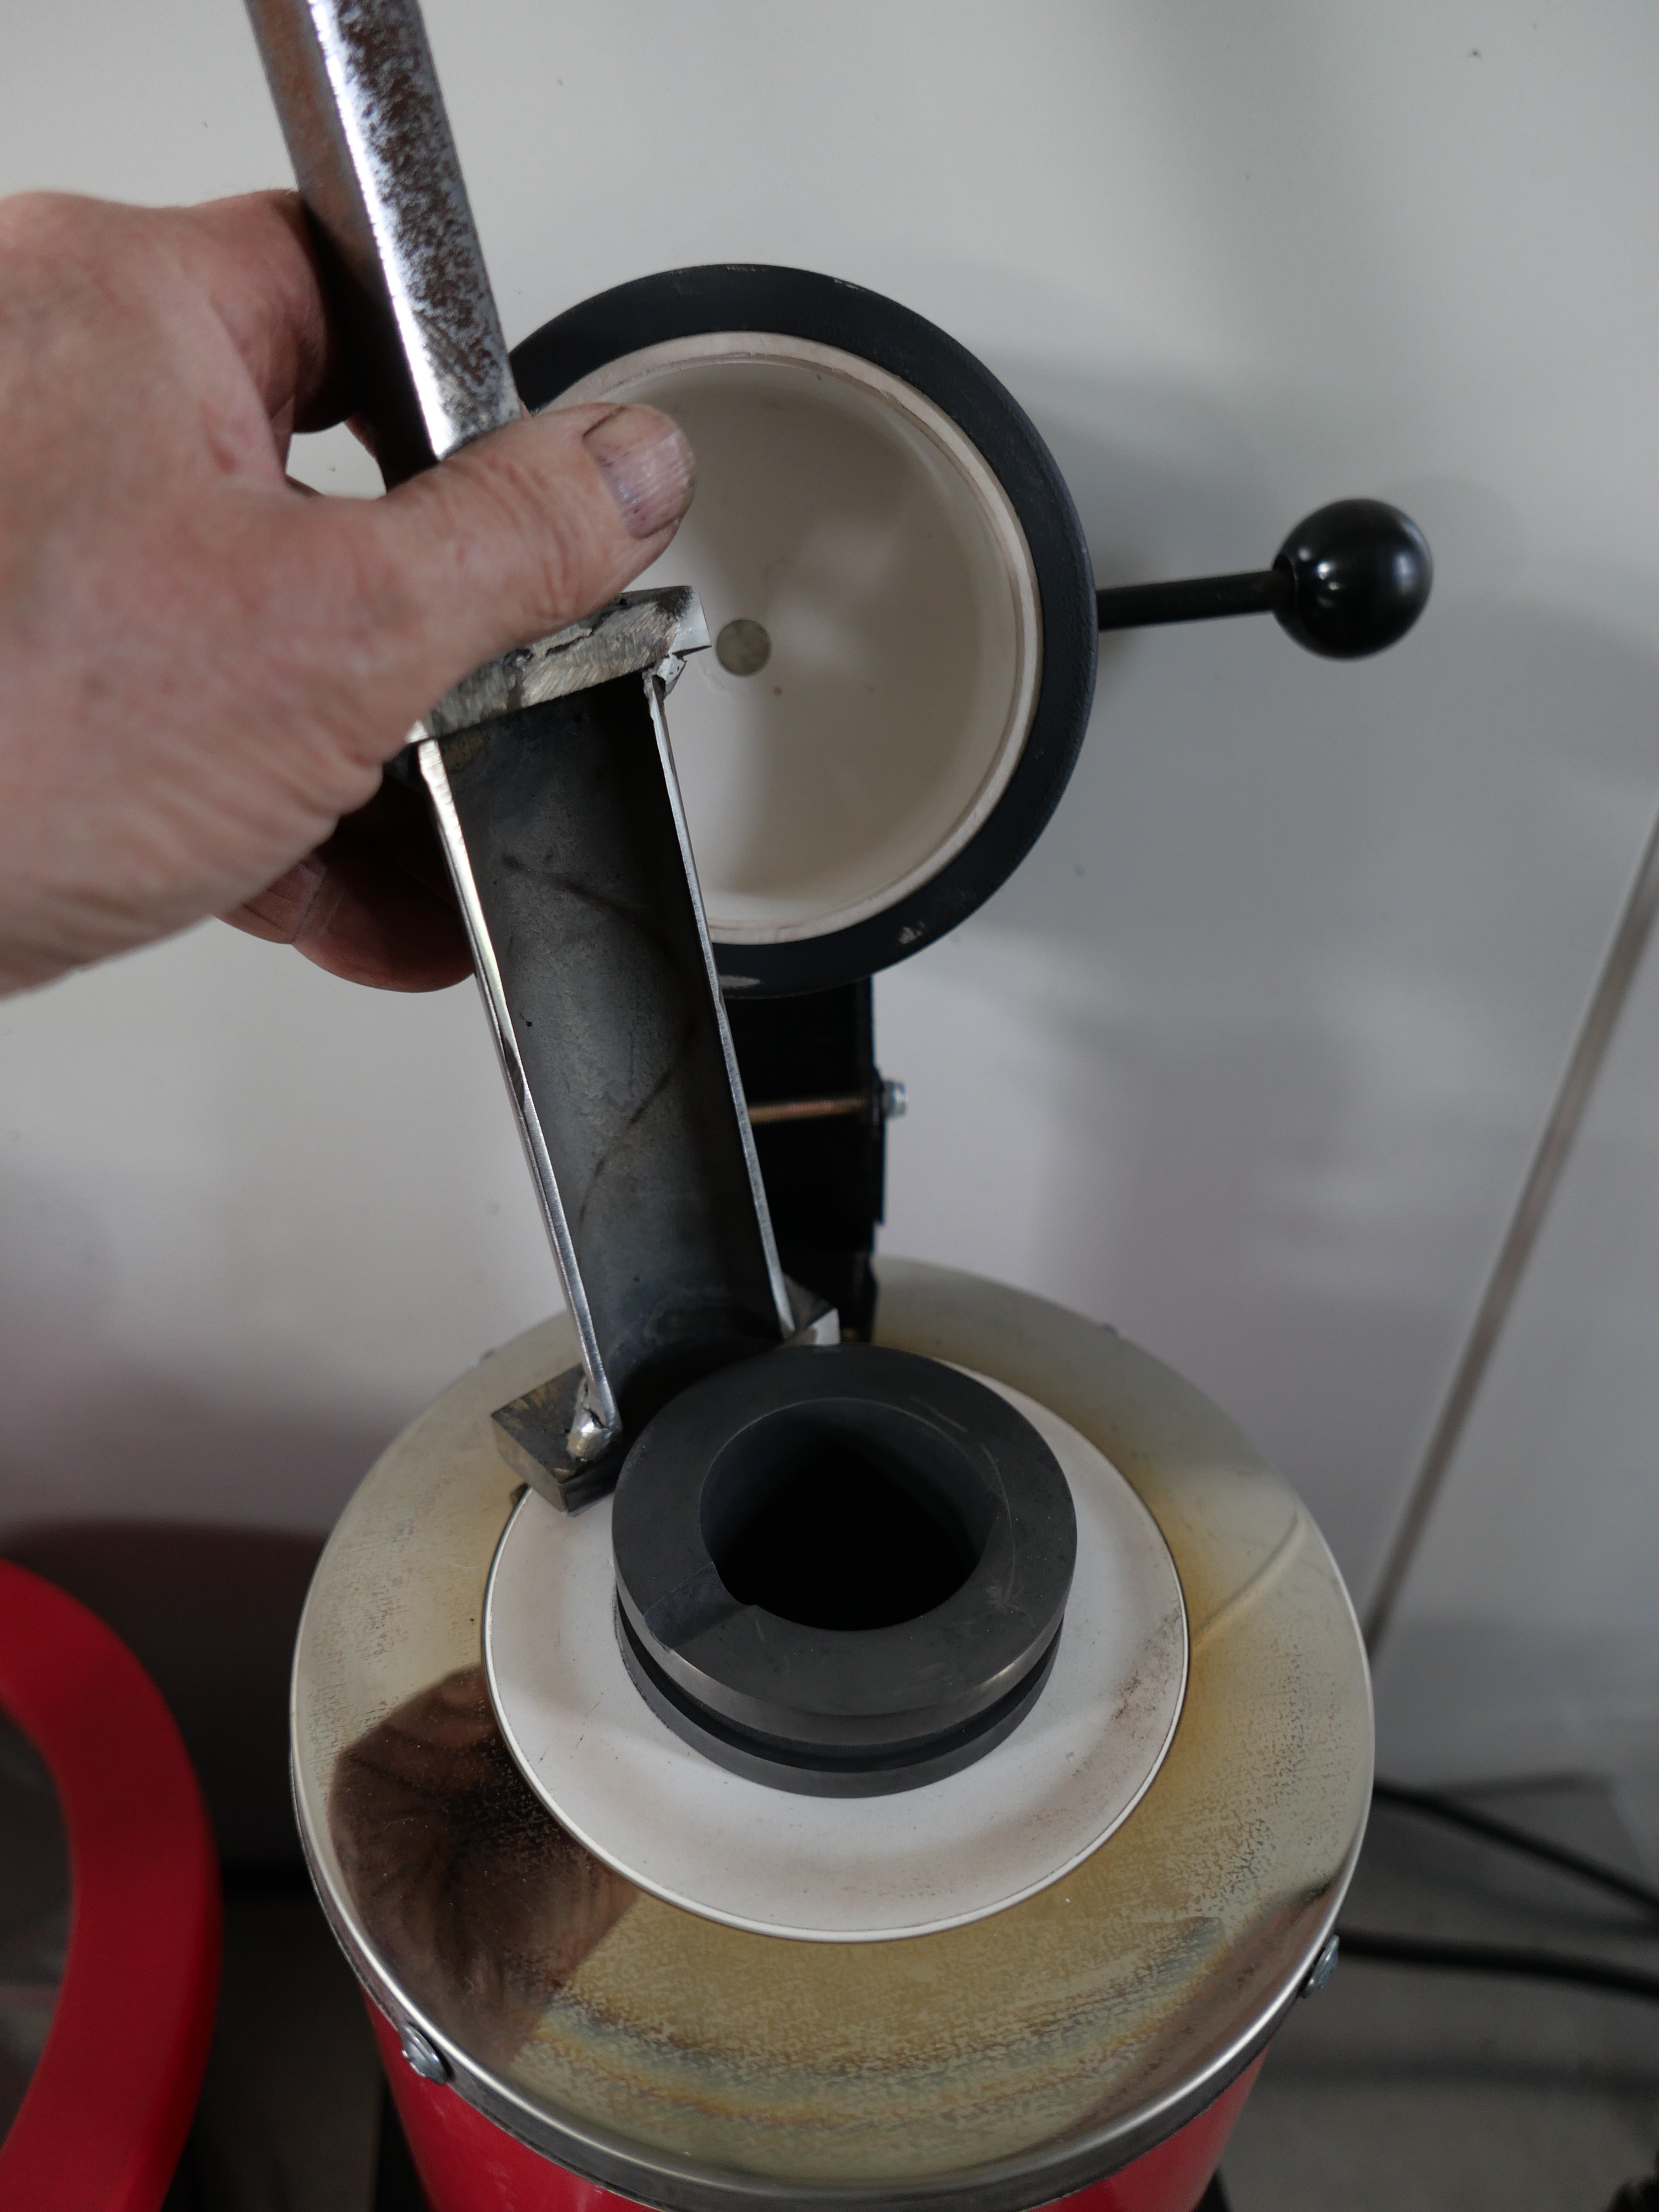
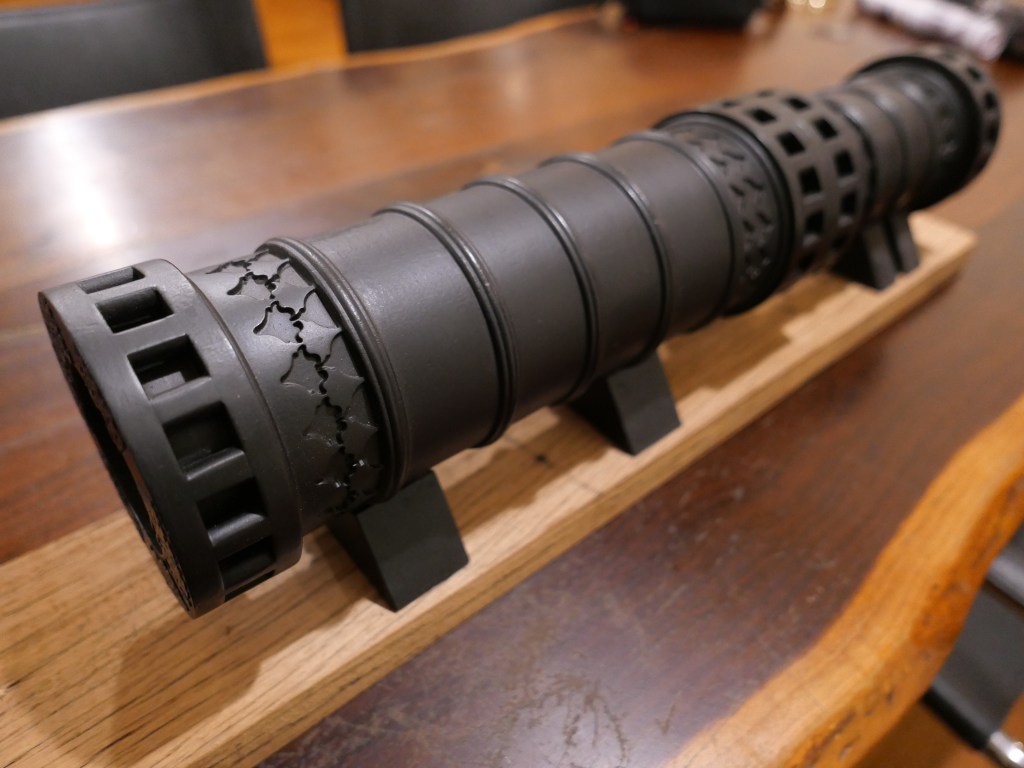
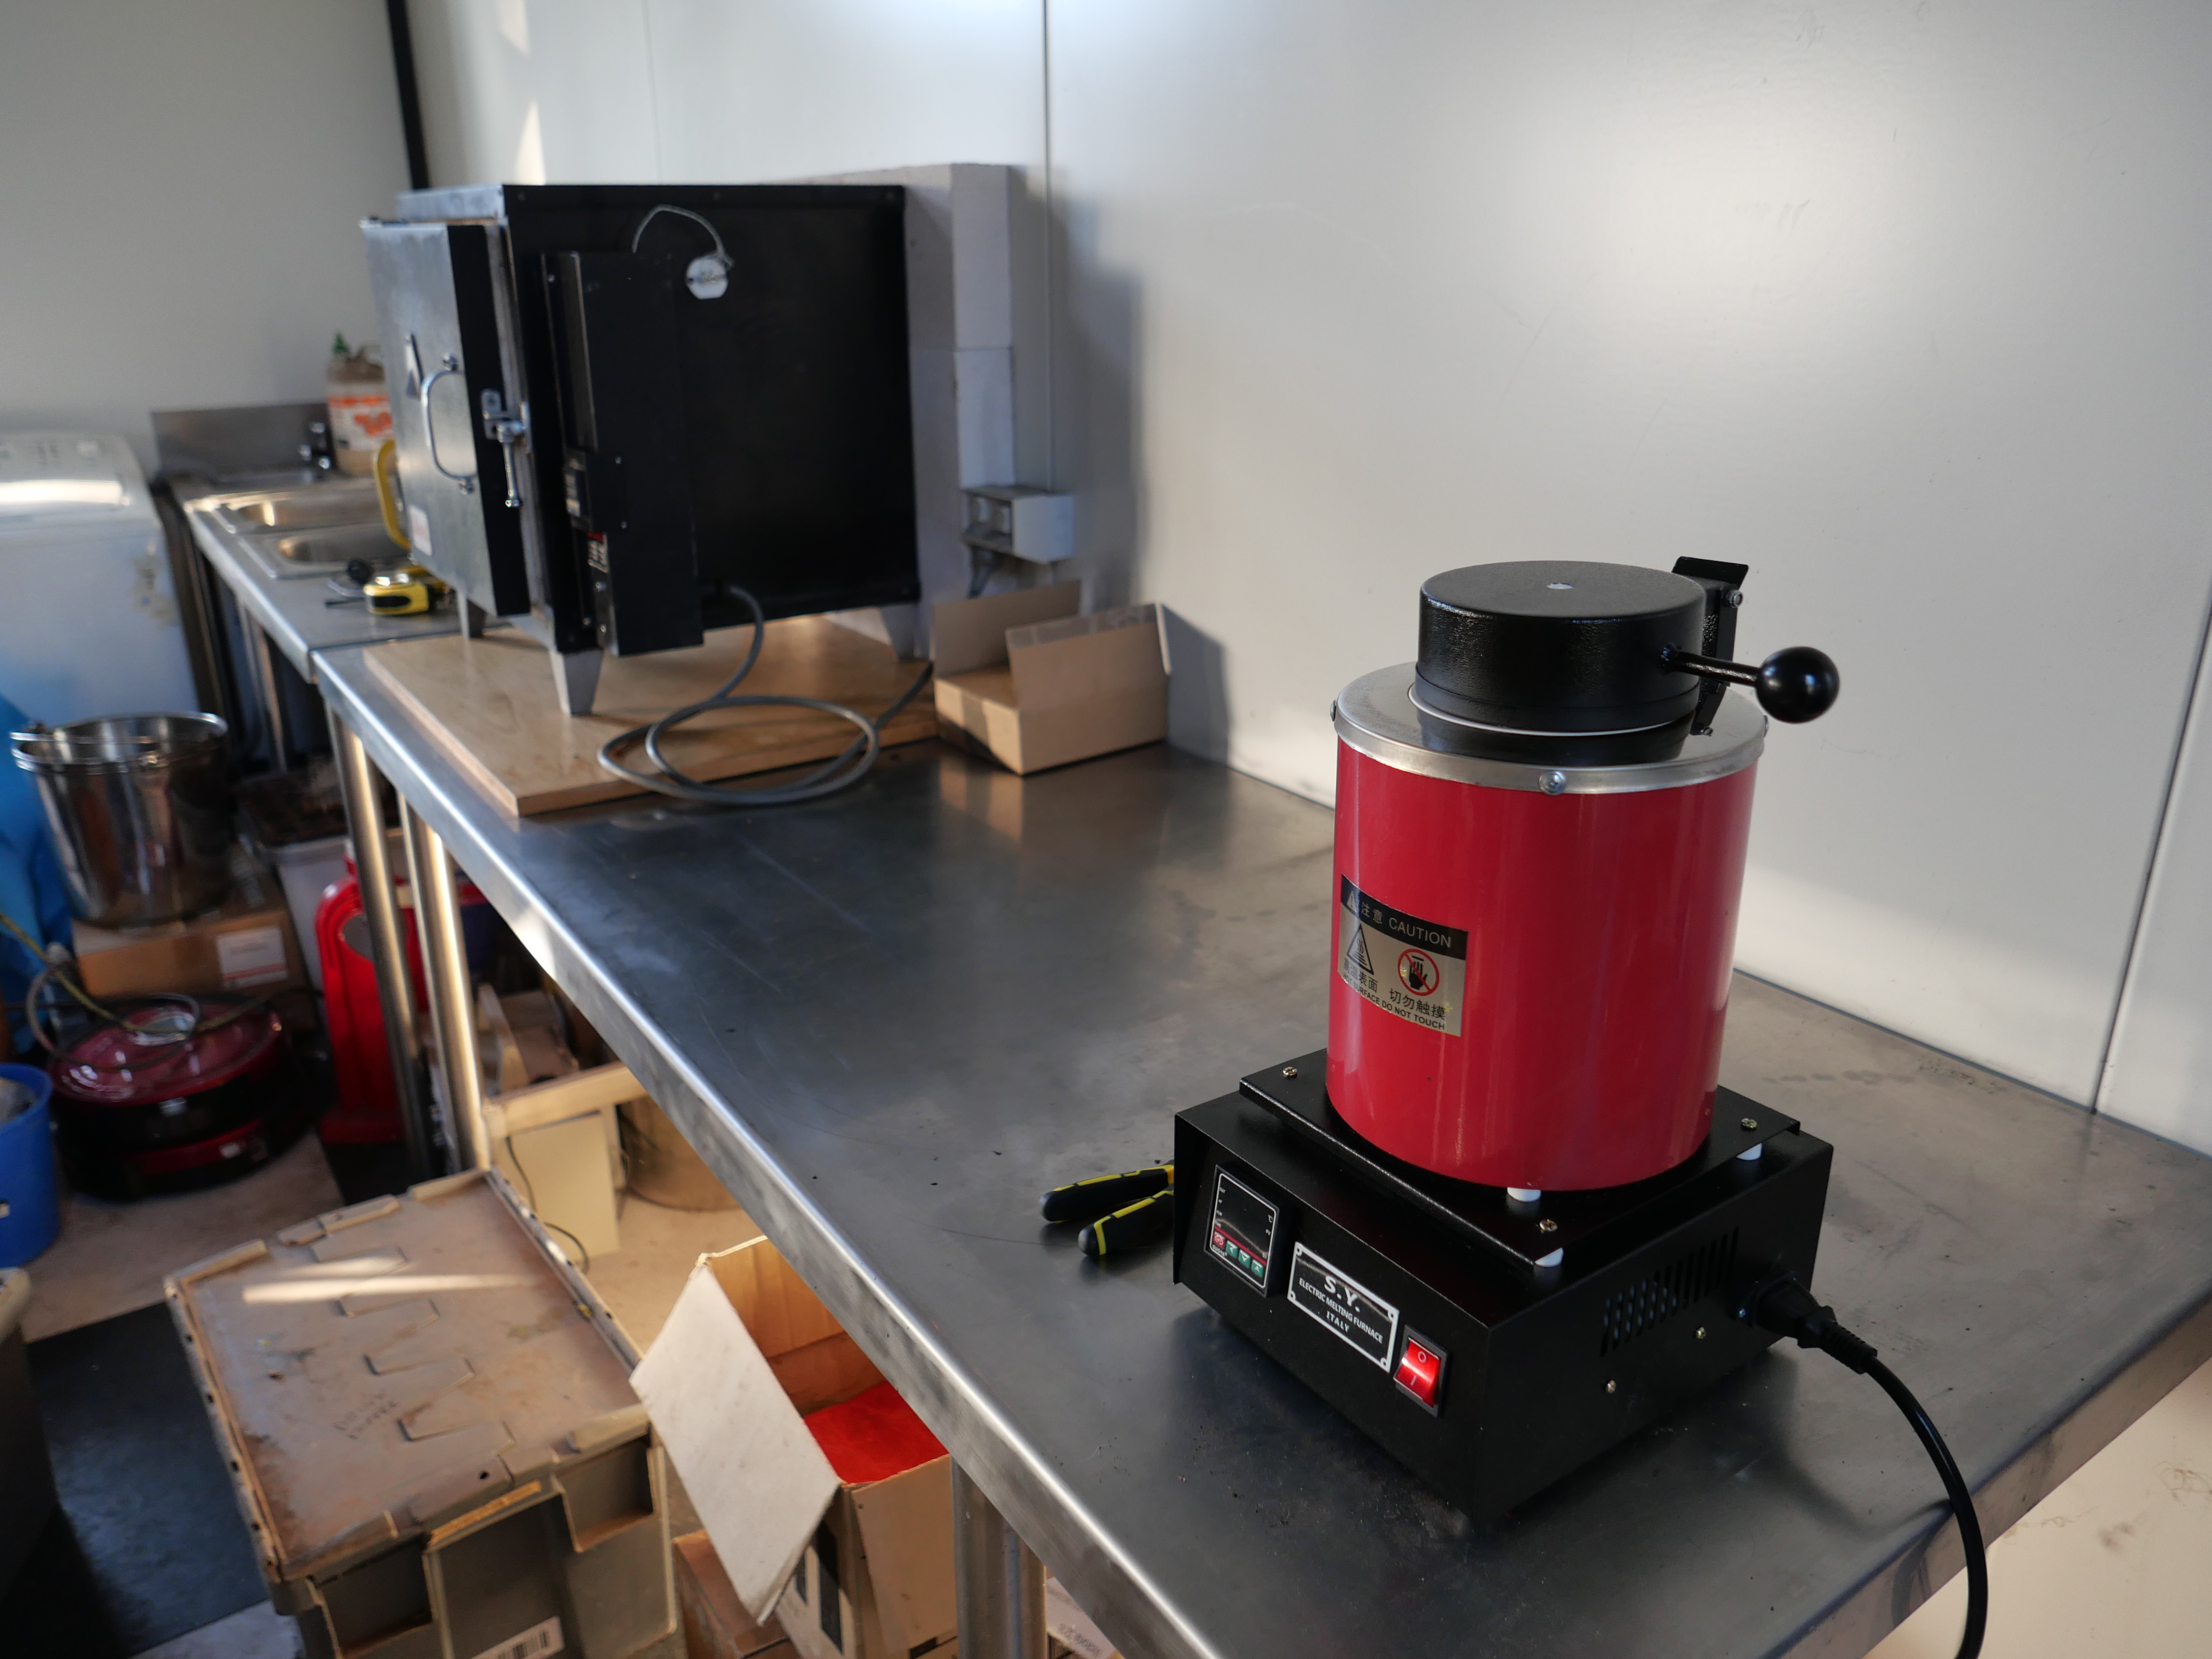
So, I am considering making some ingots. It should not be too difficult to make or purchase some 50mm x 50mm x100mm moulds, and I have a furnace. Hmmm. Maybe a test run?
The AI Assistant supplied by WordPress suggested that I add extra details about working with electrical cable in a wire stripper, so I add the following suggestions for your consideration…..
…..make sure that the electrical cable is disconnected from the electricity supply BEFORE pulling it free with a tractor, and definitely before stripping off the insulation.