
6″ Vertical Boiler- Chimney flange
by John
I was not required for childminding for a few hours yesterday, so a quick visit to the workshop. Not much to show, but I did make 2 circular flanges to attach the chimney to the smoke box lid, and soldered them in place.
Getting a flange to be exactly perpendicular to its tube was tricky. I set it up in place, and soldered it, only to find that it had moved significantly out of position. To fix the problem I turned a steel collar to fit around the chimney, re-heated the soldered pieces with oxyacetylene, trying not to overdo the heat so I did not melt the brass flange, but enough to melt the silver solder, but not allowing the solder to join the steel collar to the brass or the copper. Then I lightly tapped the flange onto the turned collar, hopefully into the correct position this time. Sounds simple? But applying the heat, and tapping the flange required one or two more hands than I possess.
But it turned out OK.
I had drilled and tapped the holes prior to soldering, and they all matched well.
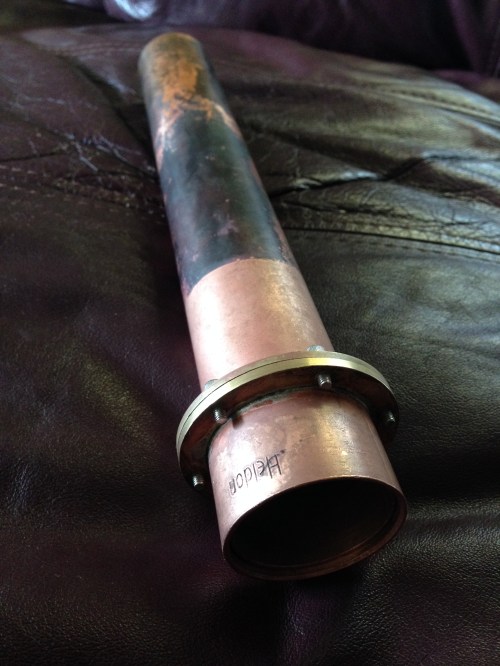
The chimney is about 300mm long. The bottom part has been dipped in suphuric acid, hence the clean appearance. Still considering options for the chimney flared section. It needs some form of decorative flare.
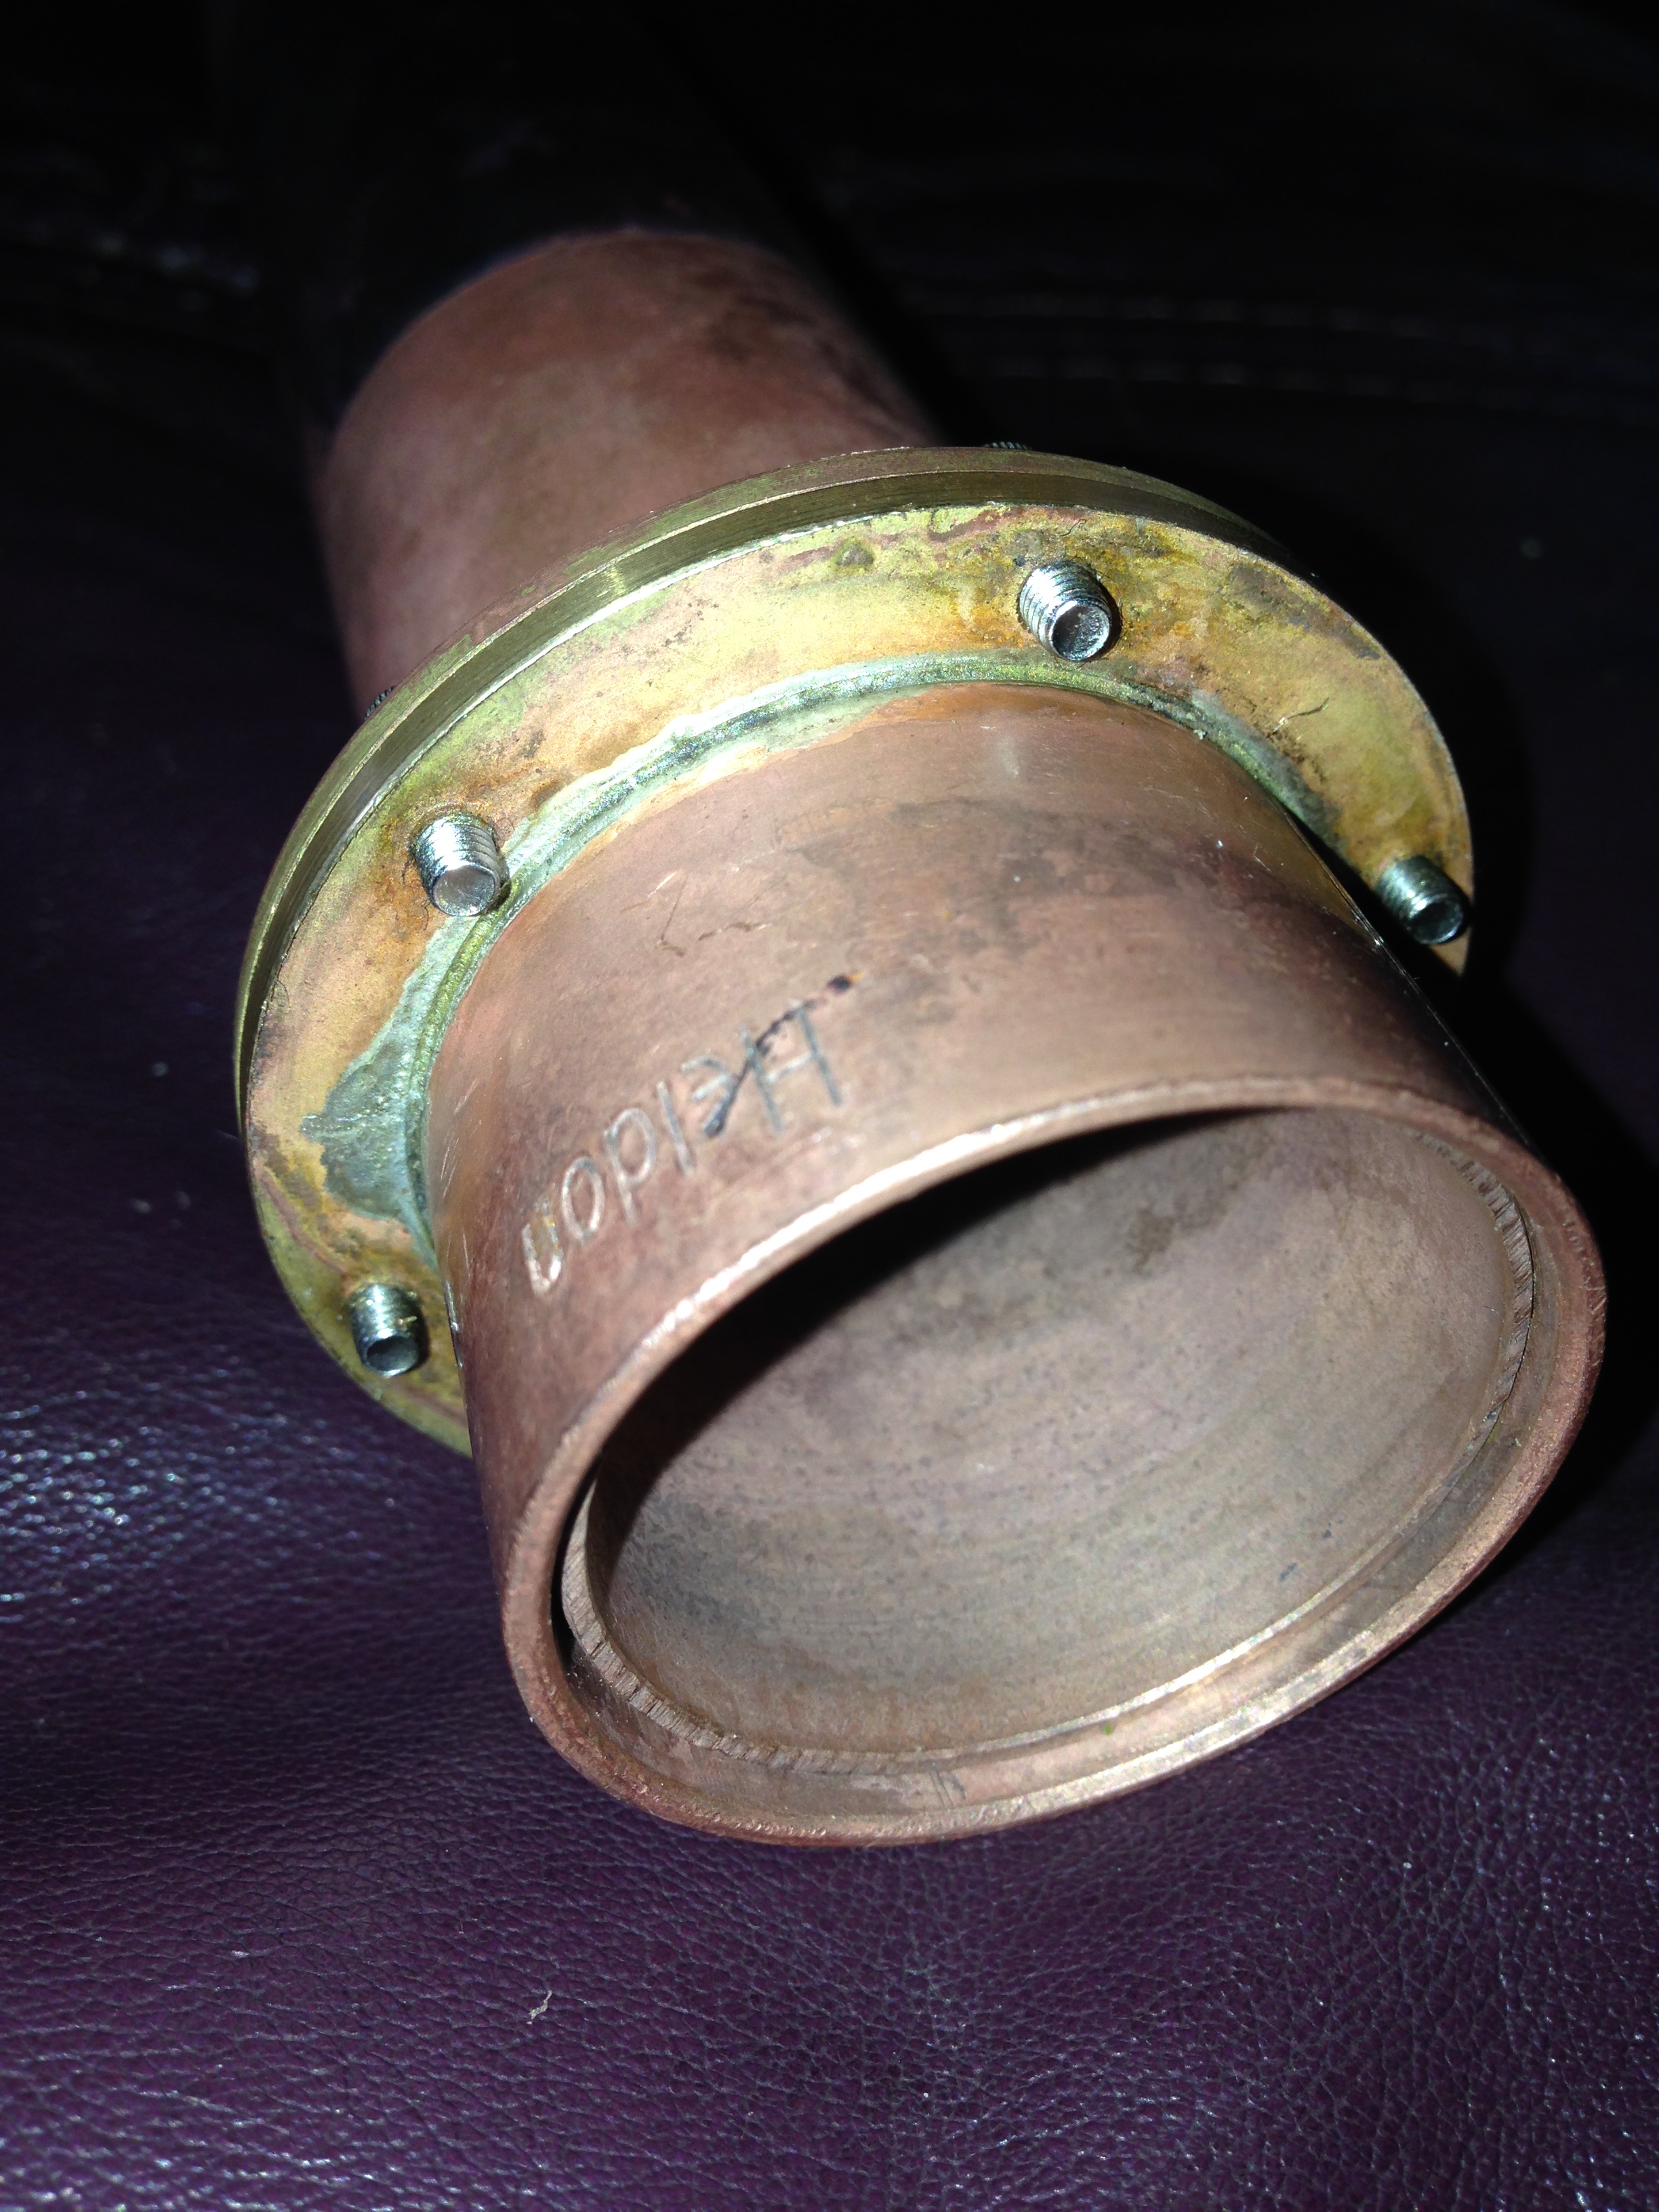
The bottom flange is soldered to the “Heldon” labelled tube, which will be soldered later to the smoke box lid. The fasteners are M3 stainless cap screws, which will be reversed on the boiler with nuts showing above the flange.

Child minding may have been easier John, so 10 points for your intrepid boilermaking. It’s of great encouragement.
Cheers Tim
LikeLike