
3D Printing Difficulties
by John
I have been attempting to print a 1:10 scale barrel of the Ottoman bombard, in PLA, so I can make a cast in jeweller’s investment, and use that to pour a bronze version of the cannon.
I borrowed a big furnace to melt the bronze, and broke 2 ribs unloading it from my vehicle. That was about a month ago. They still ache a bit, but apart from careful positioning in bed, are steadily mending. I have to sleep on my back, which would normally make my snoring unbearable, but the CPAP machine is working quite well. SWMBO absolutely insists that it is in constant use.
And I have purchased a length of 5″ stainless steel pipe to make the mold.
I have featured the Ottoman bombard in previous posts, having made a wooden version some years ago. It is over 500mm long, and 107mm diameter. In 2 pieces with a big thread joining the pieces.
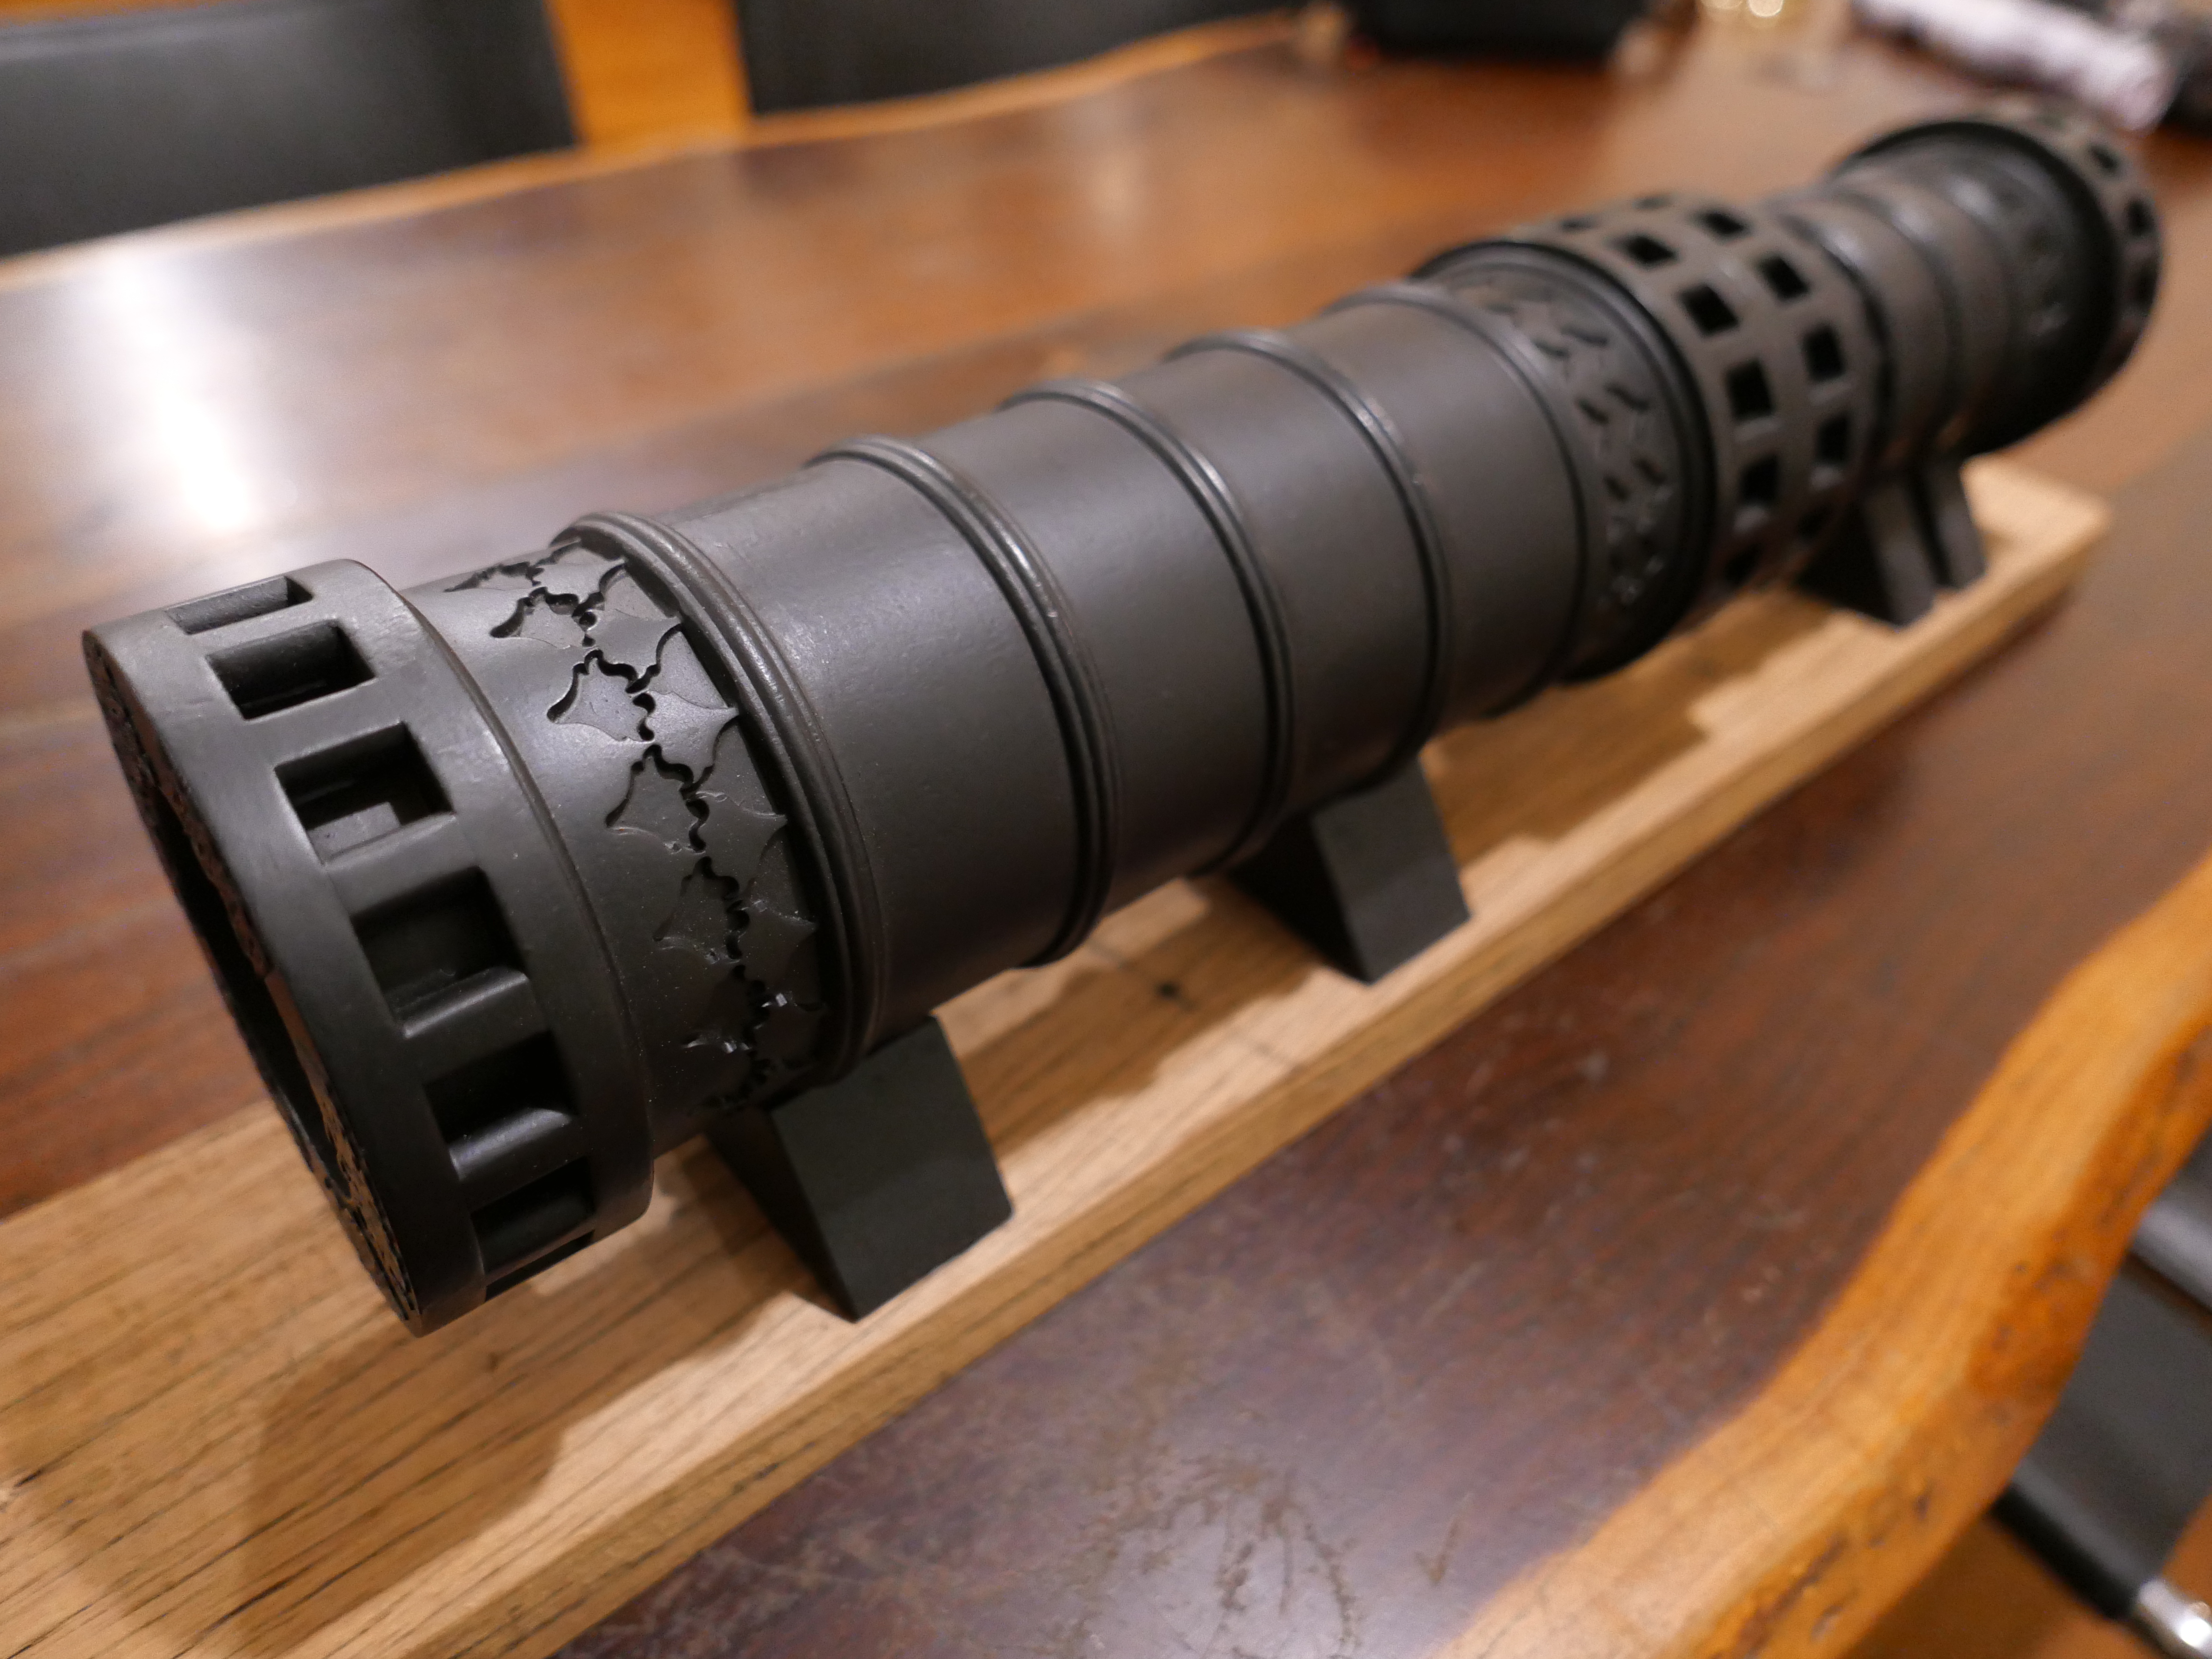
I can’t really justify a bronze version. It will weigh close to 20kg. But it is a challenge. And I think that it will look more authentic in unpainted bronze.
I printed the breech part a few months ago.
3D PRINTING THE BARREL.
The barrel is 315mm long. My printer has a maximum print size of 300x300x400 mm so I was not anticipating any problems. I knew from the slicer program that it would take 2/3 of a 1kg reel of PLA, so I bought some new transparent PLA, thinking that it might melt/vapourise more completely in the burn out cycle of the production than the coloured PLA.
So I tried to print it. I have lost count of the number of unsuccessful attempts. Each time the print would start well, but at some point, sometimes after a whole day or 2 of printing, the print would come loose from the printer base and I would have clean up the mess of PLA spaghetti, and start again. I cleaned the printer base thoroughly. Scraped it. Wiped with acetone. Re-levelled it multiple times. But every time the print would break free.
I also noticed that I was getting a lot of stringing, and lumps of PLA would form on the printed surface, cool and harden, and sometimes the print nozzle would hit the hard lumps. That is when the print would loosen from the base and eventually break free.
I have been using a 3M printing cover over the aluminium printer base, quite successfully for over a year. Maybe the cover had worn out. I looked up the P.I. for the cover, and yes, it has a stated expected life of 10 uses! So that was likely the cause of the adherence problem because I must have used that cover at least 50 times!
I had no replacement 3M cover, so I reverted to the original cover supplied with the machine, which was boro-silicate glass. Initially it worked well, with good print adherence, but the hard lumps were still forming, and when the nozzle hit them, there was enough force to break the glass plate free.
What could be causing the hard lumps?
I watched multiple YouTube videos. Re-levelled the bed again. Checked every nut and bolt on the printer for tightness with no problem found. Checked the Z axis for level.
By this stage I was contemplating buying a new printer. Maybe one of those liquid + UV light jobs. But one of those big enough to make my barrel would cost thousands. So I got a quote from a professional printing service to print the barrel…. almost $AUD600. I would have done that, but the print is destroyed in the making of the cast, and it is possible that more than one attempt of bronze casting will be required. I was considering abandoning the entire project.
One last try at a print. I replaced the 3M cover with a new cover, and started a new print with a new reel of red PLA.
All seemed to be going well.
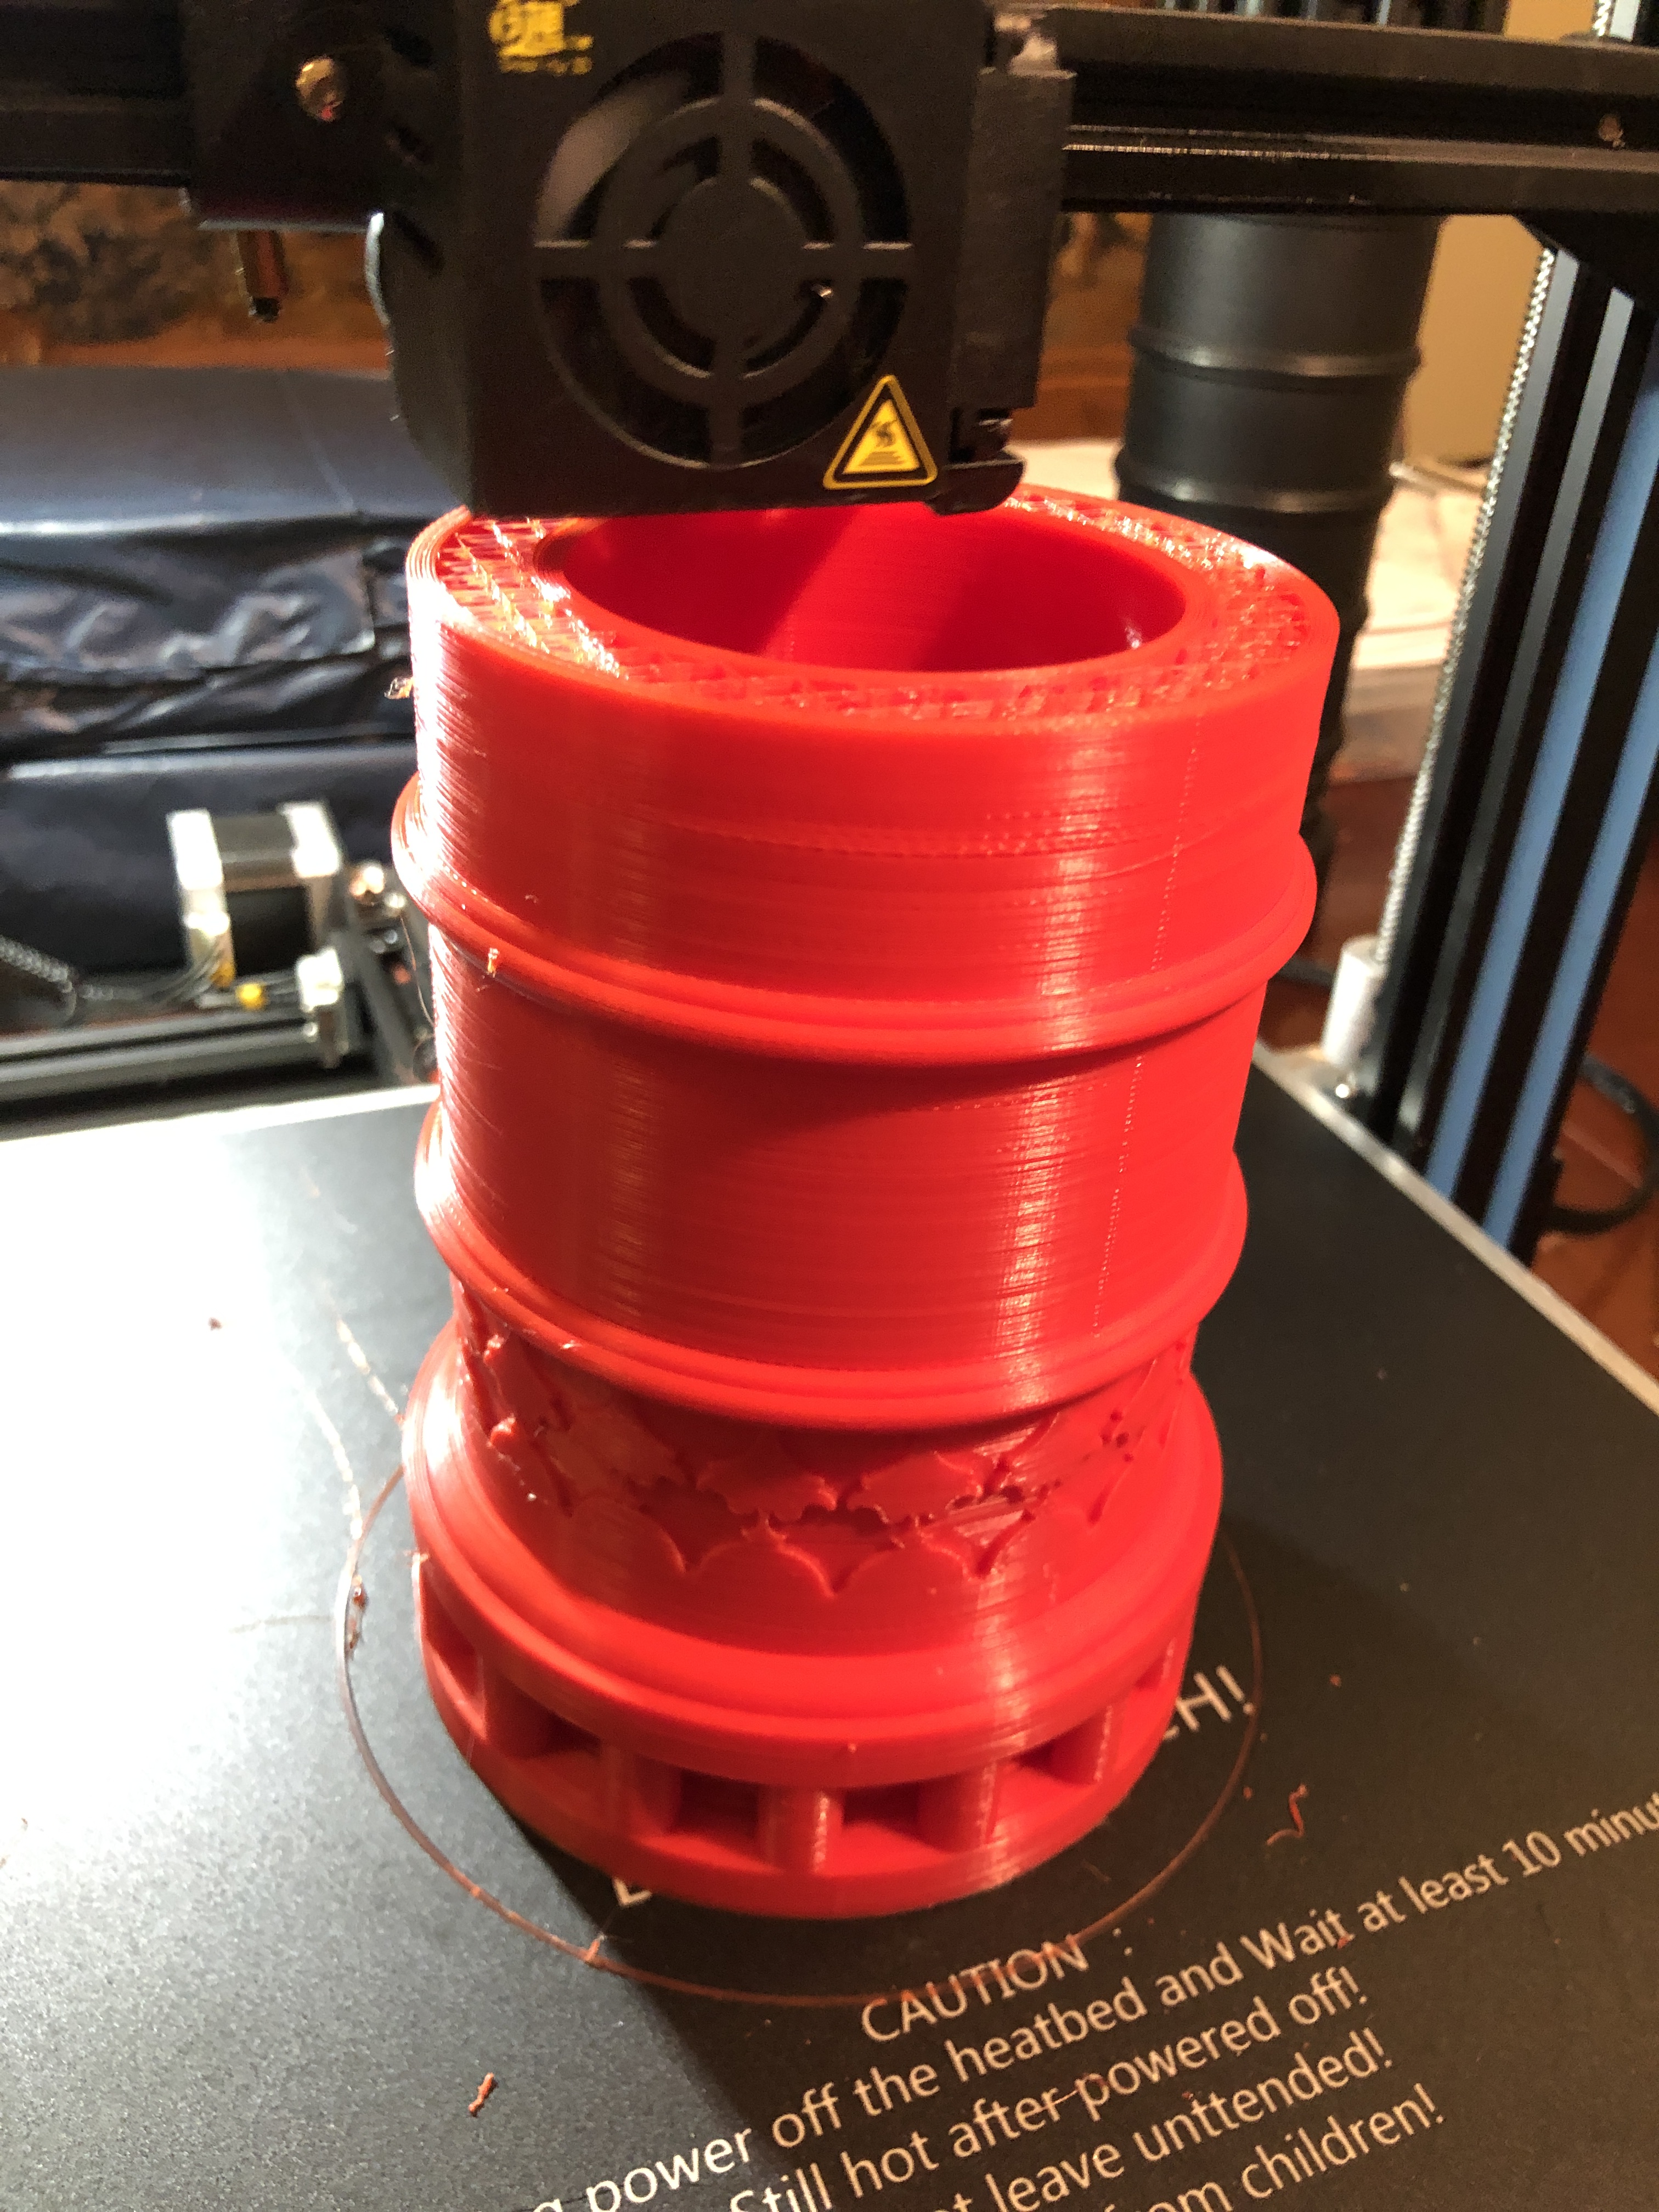
The print was adhering solidly to the new 3m cover. The hard lumps were still appearing, but the print head ploughed through them or knocked them off completely. The problem was, that after 3 days of printing, with 10% of the barrel still to go, the multiple jarrings were producing axis shifts. The appearance was pretty bad, but I figured that I could fix it with some extensive post printing hand finishing.
By this stage the print was almost 300mm high, and I could watch the laying of the PLA extrusion from the print head directly. In retrospect I should have used a mirror to do this at a much earlier stage.
What I saw explained the issue of the hard lumps appearing.
PLA was slowly oozing from around the base of the extruder nozzle. It was gradually building up into a pea size lump, and eventually falling off onto the print face!
So, I paused the print, picked off the accumulating lump, and watched some more. The same thing happened.
Why was the base of the nozzle leaking? Another pause. Checked the tightness of the nozzle. It was totally loose. About a full turn!
Tightened it up. Resumed printing.
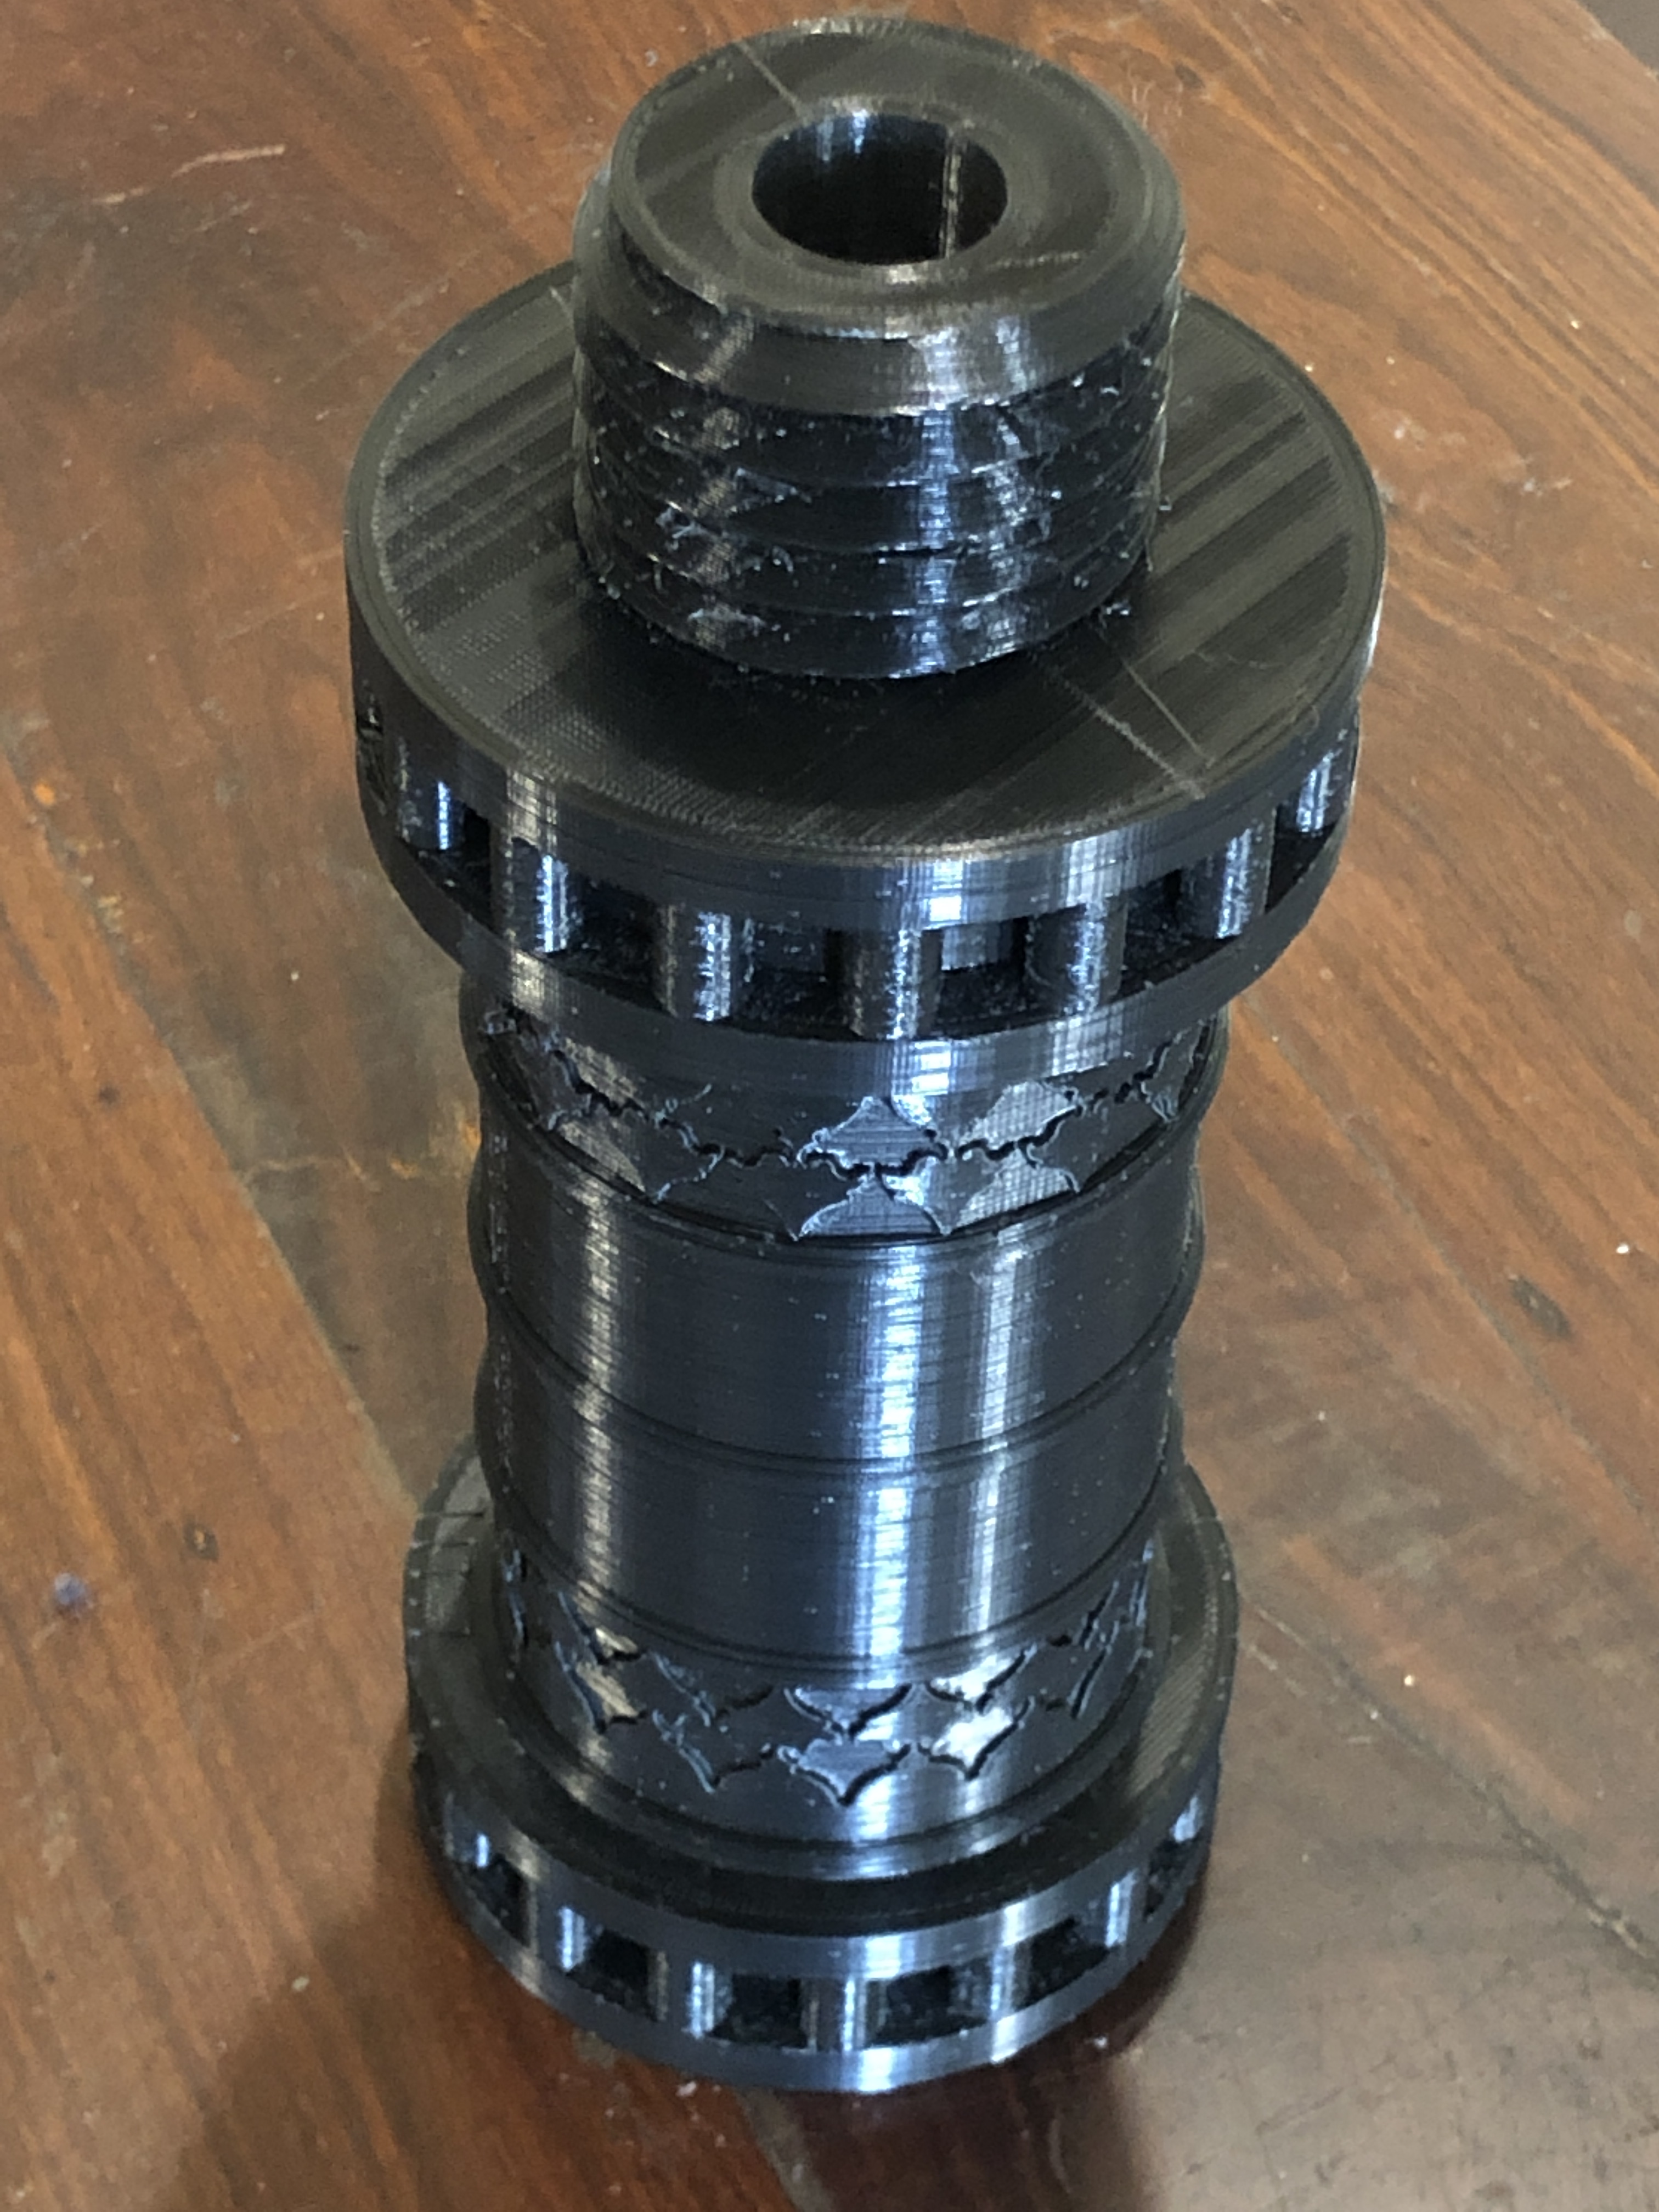
The next layer did not adhere at all to the previous one, because tightening the nozzle had lifted it at least one mm.

I thought that I could start a new print of the final 10% of the barrel, and glue it to the part pictured, but when I examined it, the layers were poorly adherent, and falling apart. It went into the plastics bin. I expect that the loose nozzle caused multiple print faults in x, y, and z axes.

So, I am now 32 hours into the next attempt, with 47% completed.

Among other admirable qualities you certainly have “dogged” in spades John.
Tim
LikeLiked by 1 person
Your persistence and patience with 3D printing is inspiring. I enjoy building printers but I usually run low on both when it comes to tracking down print quality issues, perhaps a bit more dogged determination like you would do the trick.
LikeLike
John
You share all the issues Ive also found with 3d printing. I find once away from the bed the ambient temperature falls and the quality drops. I keep meaning to enclose my printer in a cabinet to get a more consistent temperature above the bed and thus better quality. For now I typically get better results printing tall thin items horizontally.
LikeLike
I am at the point of building an enclosure also Michael. The barrel print finished late last night when the room temperature had dropped and the final 1cm or so of printing showed poor layer adherence. I used some super glue to improve the adherence, but now a bit concerned whether that will affect the burnout when I make the mold.
Your comment stimulates me to get on with the enclosure. I will post some pics when it is done. John
LikeLike