
Trevithick Dredger.. attaching the flywheel and driving gear to the mainshaft.
by John
The flywheel and driving gear both are attached to cranks which join the connecting rods to the mainshaft. It is important that both cranks are attached with the same angularity. Seems simple. The cranks are identical. But small taper holes, through brass and silver steel.
Drilling the 2 holes took most of the day.
Figuring the setup was the biggest challenge.

This is the setup on the milling machine. The mainshaft is cramped on parallels, and ends of the cranks are resting on smaller parallels. The square sections of the cranks have been centered.
First problem was that the 2.5mm drill bits were not long enough for the chuck to clear the gear. I did not have adequately small ER collets (would have required ER8’s), but I did have a Dremel chuck which was small enough. But no spindle for the Dremel chuck. The Dremel chuck has a really odd thread. I measured it at 40tpi, and 7.05mm diameter.
So I made a spindle. Thank goodness for CNC threading.
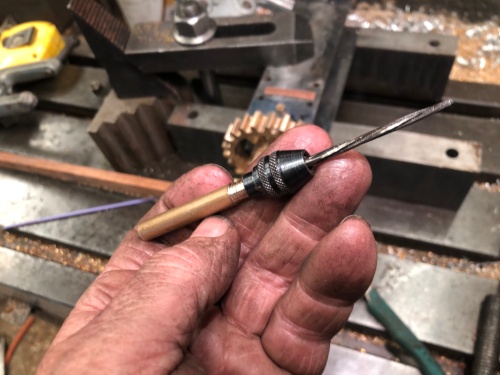
The Dremel chuck and the shop made spindle.
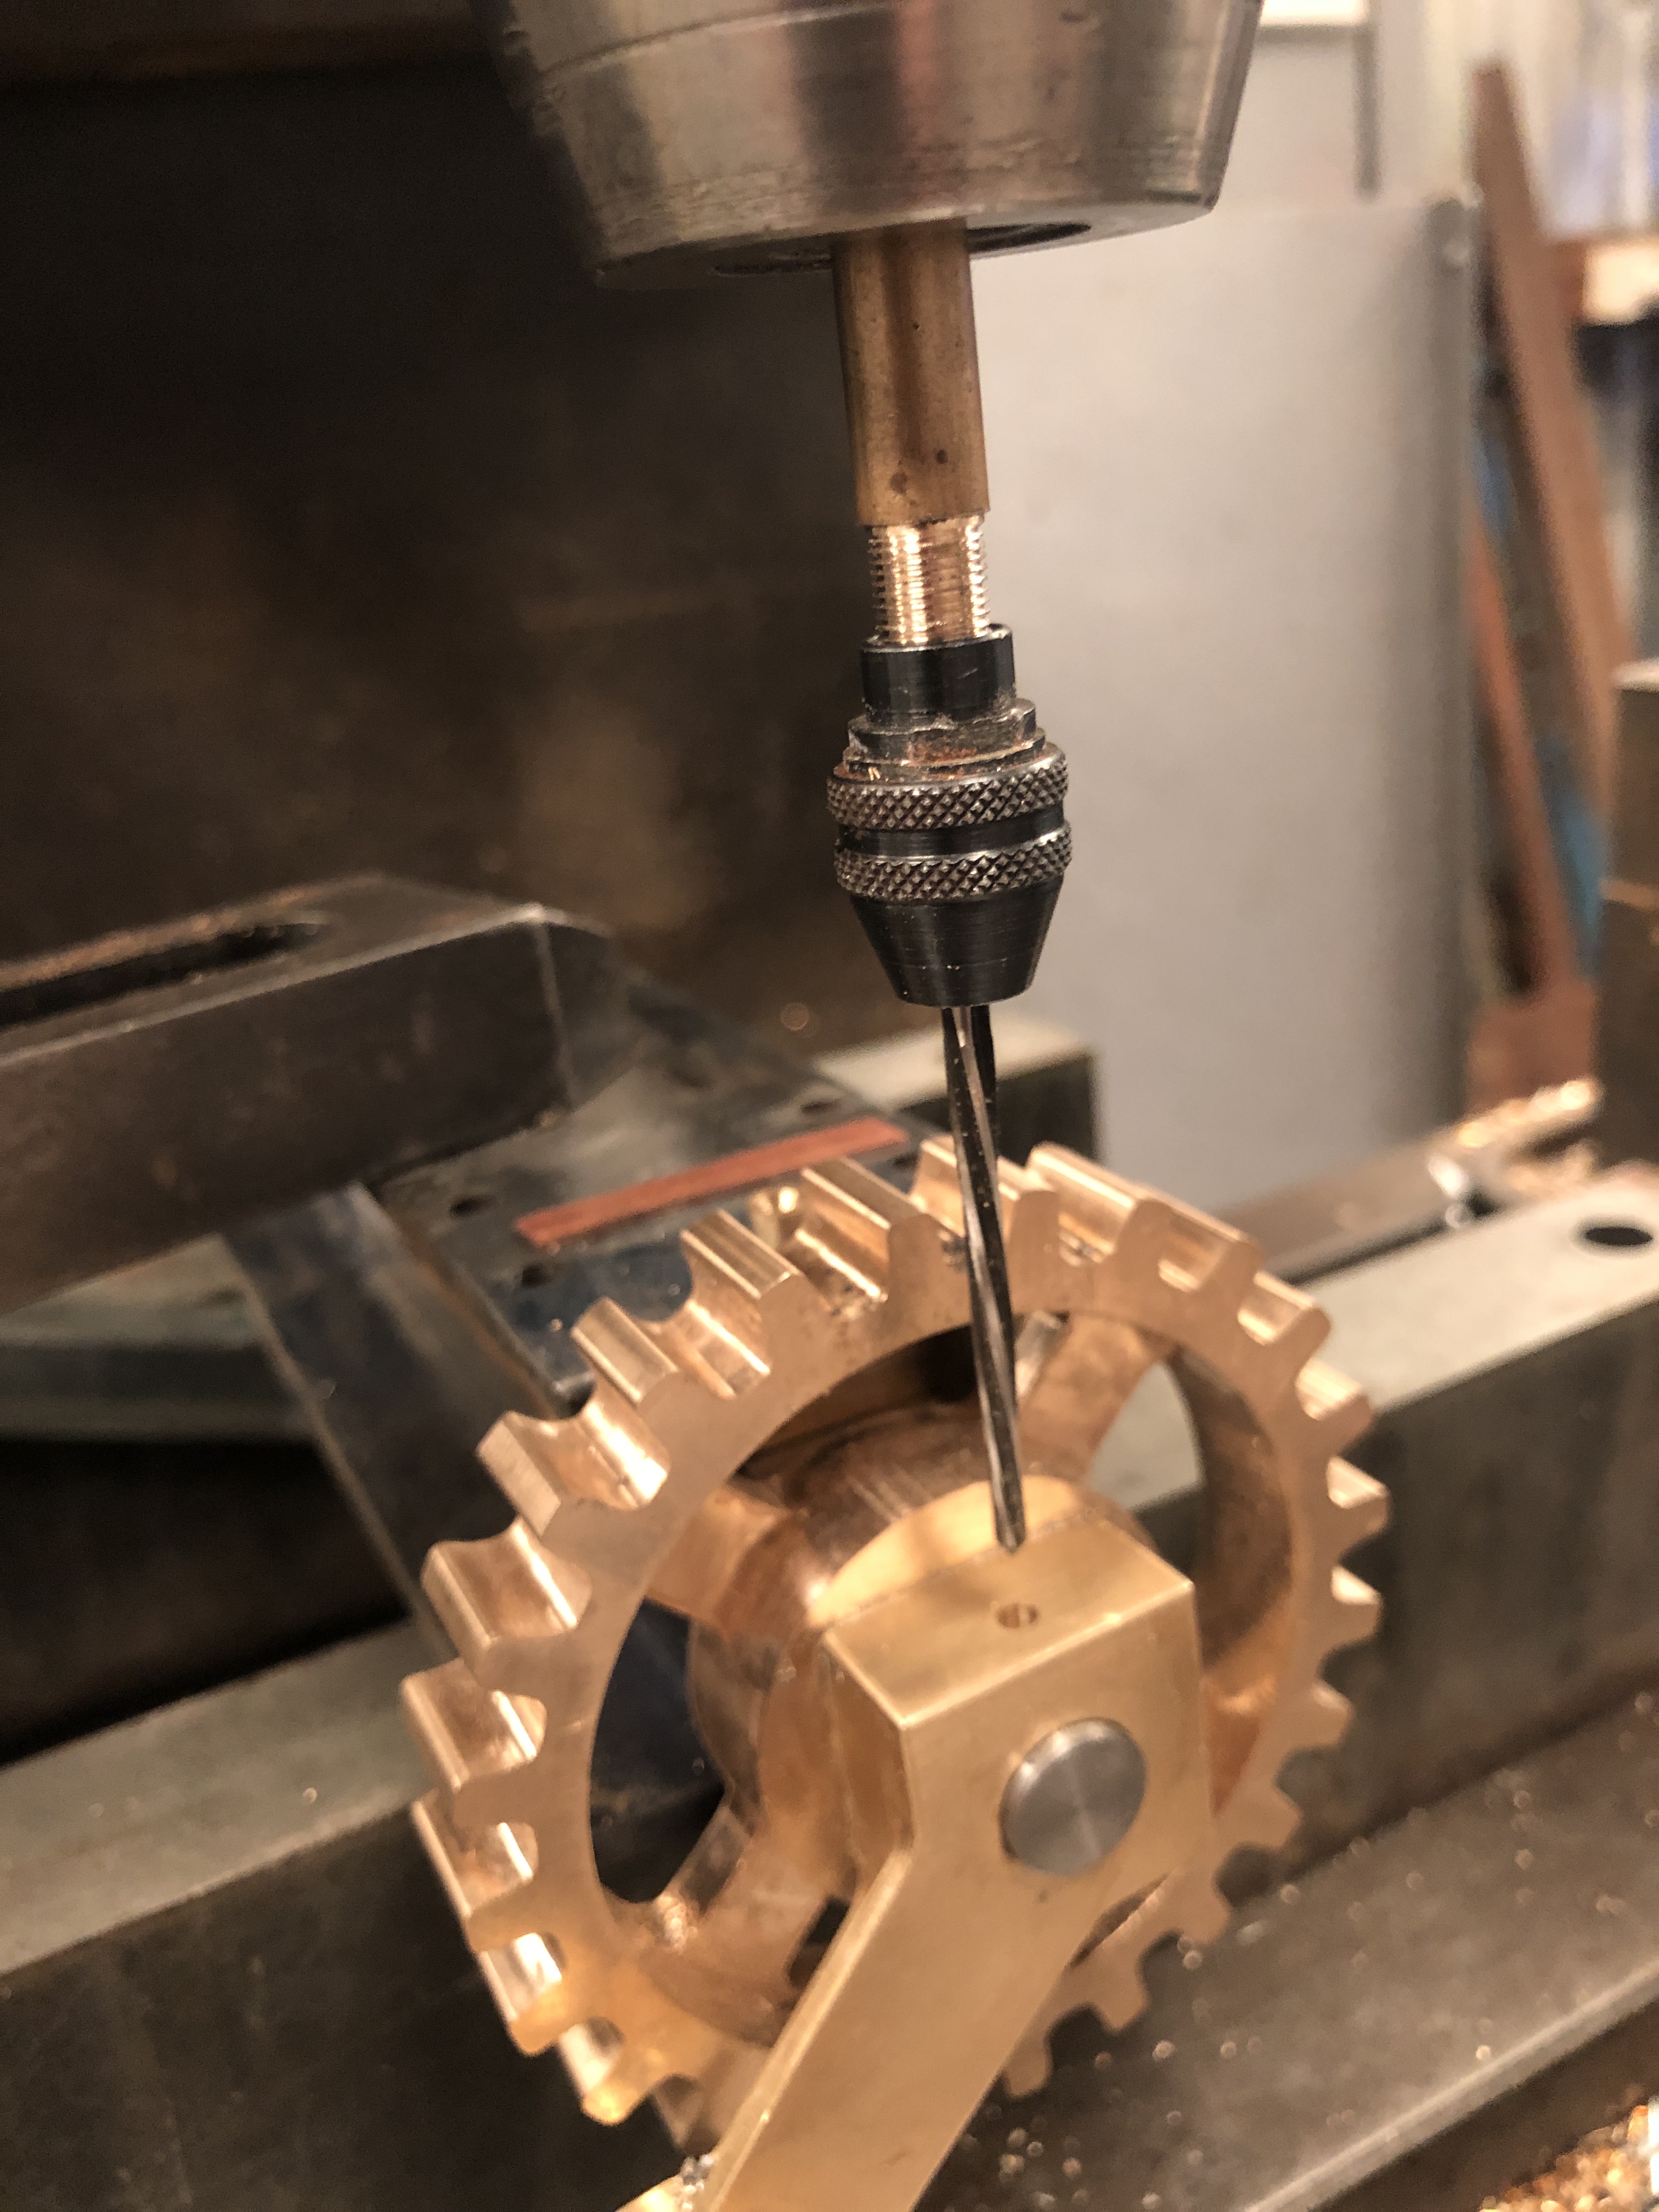
Dremel chucks are convenient, but they are not very accurate. Fortunately, once the hole was centred, the drill bits and reamer seemed to follow the centred start. Here I am about to ream the hole which has 3 steps 2.5mm, 2,8mm, and 3mm. The shop made spindle is held in the milling machine drilling chuck.
I took the reaming very gently, not wanting any broken bits of high speed steel stuck in the workpiece…. and all was well.
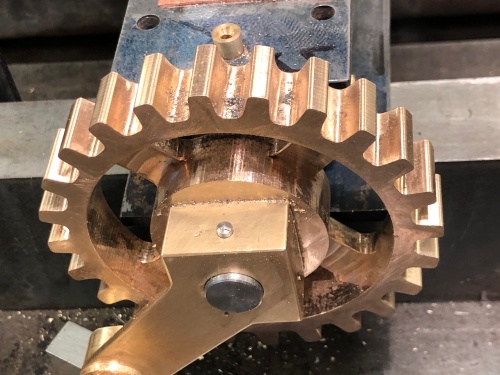
And here is the gear crank pinned to the mainshaft.

And this is the setup for the flywheel end. Fortunately, by good management or good luck, I was able to remove the flywheel, leaving half of the crank insitu, for drilling reaming and pinning.

I spent some time assembling the cranks and testing the rotation movements. It does rotate, but there is still some sticking on the guides, the cause of which I have not identified/isolated.
So I sat back and enjoyed one of my Xmas presents. Ah! Bliss!

You could take some round rod and use the drill to drill a hole in it on the lathe. Then silver solder the drill in the hole and mount the rod in the chuck on the milling machine.
It is possible to buy taper drills which will drill the taper into the hole in one go.
John f
LikeLike
Yes, I have used that method (making drill extensions with drill rod) in the past. Thing is that for a taper pin you need 3 drills per hole or maybe 2 at a pinch. Using the Dremel chuck seemed simpler. John
LikeLike
Hi I am not too sure how this word press works but was hoping to get some info on the Boxford 125
LikeLike
What info are you wanting? There are quite a few old posts about upgrading the electronics on the Boxford 125TCL on this site. John
LikeLike