
Cutting the Gear
by John
Today Swen and I started cutting the gear. Here is the setup.
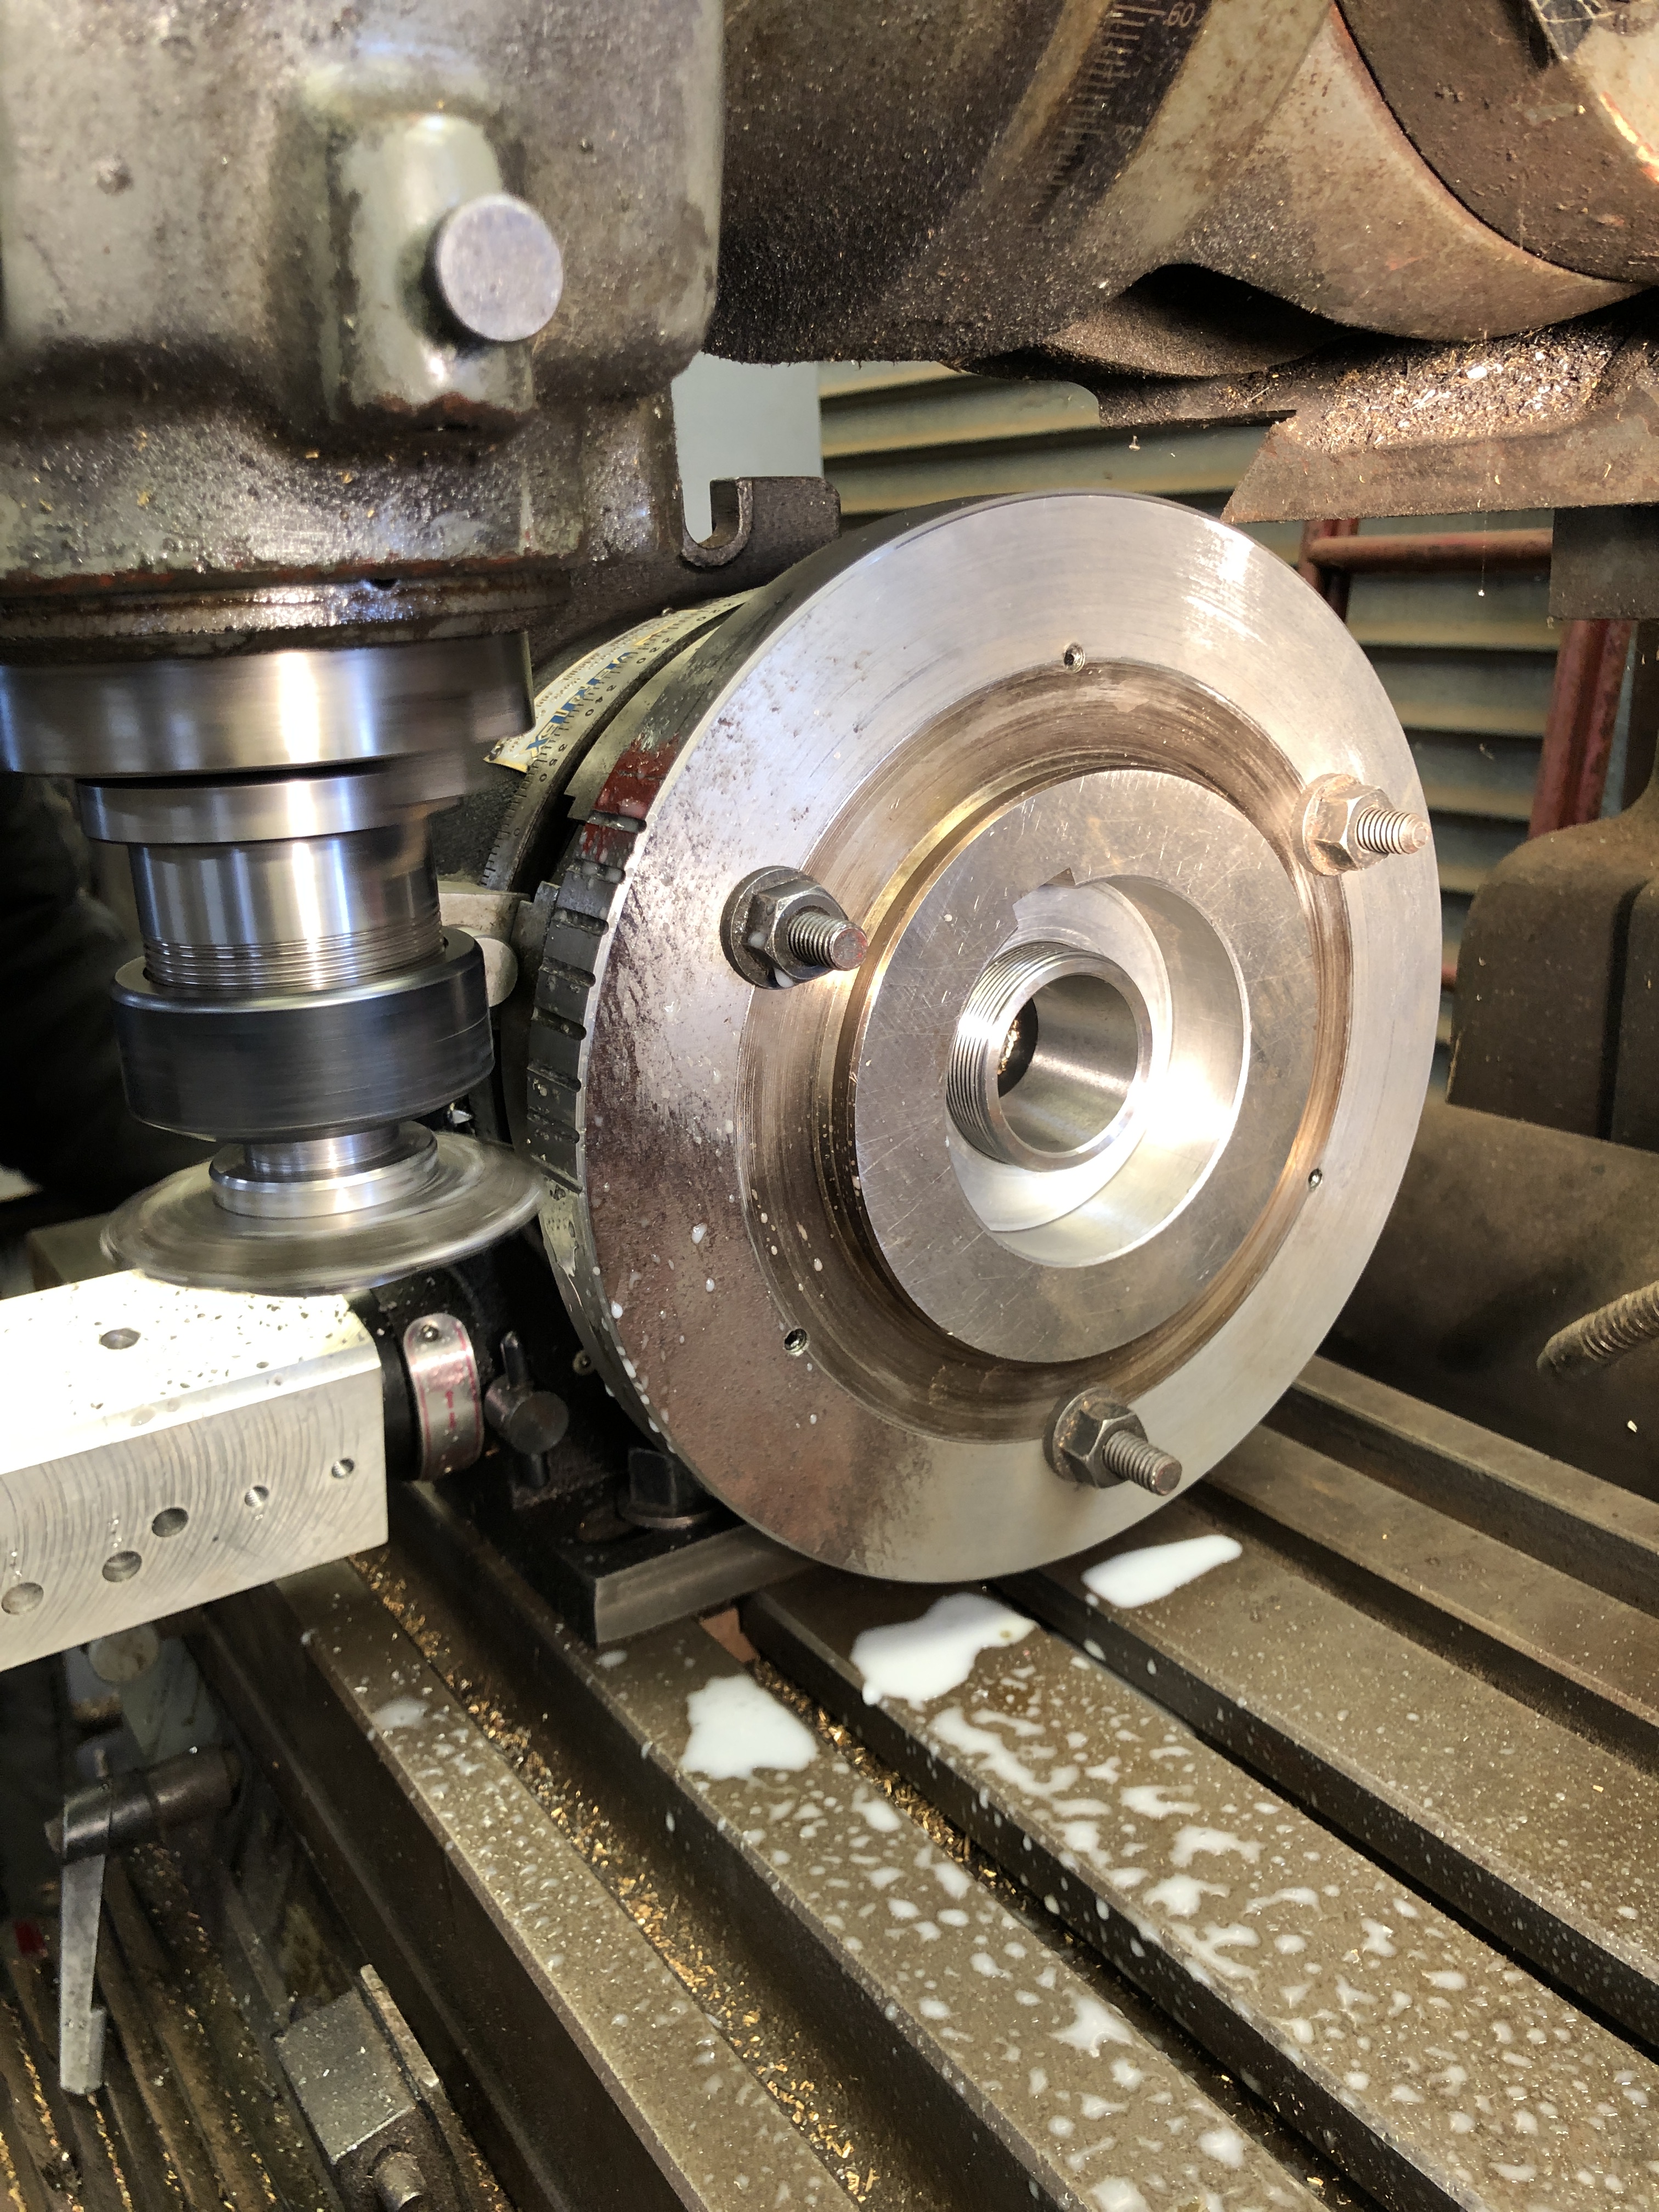
The gear was centered on the rotary table with an aluminium bush, which fitted the outside of an ER40 collet chuck. The chuck had an M3 shaft which fitted neatly into the spindle of the rotary table. 3 bolts secured the gear blank to the T slots on the rotary table.

This photo was taken after the setup was broken down. Showing the M3 taper ER 40 collet holder, which I used to centralise the gear blank on the rotary table.
I started the mill conservatively at 200 rpm and a 0.5mm deep cut, but gradually increased the RPM to 450, and the depth of cut to 2mm. Later adjusted to 300rpm, 1mm cut.
The CNC table performed flawlessly, with rapid advances between the 360/77º degree cuts (about 4.6º each tooth). The feed rate was controlled by manually winding the X axis feed on the mill.
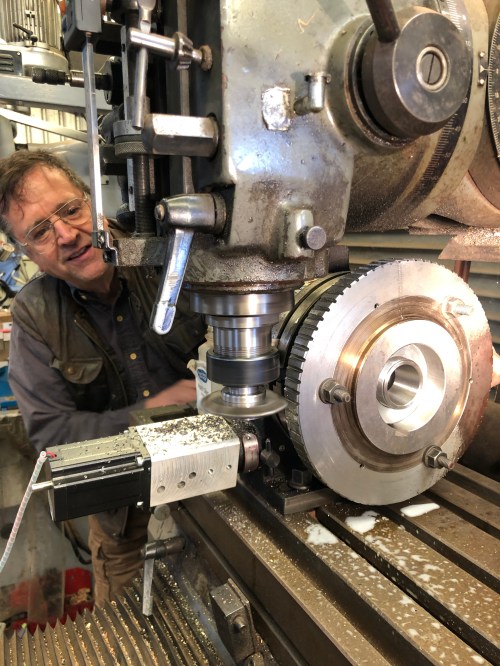
We initially used water soluble cutting fluid, but changed later to raw Tap Magic, which seemed to work better.
As you can hear in the following short video, the cutter teeth are slightly off centre, but working well. Didn’t quite finish the gear teeth in this session. Some sparks later on, indicated that a cutter sharpening was required before the finishing run. That will happen tomorrow.
The smoke is evaporation of cutting oil.
The setup will be left undisturbed by removing the gear cutter for sharpening.
I changed my mind about sharpening the cutter in the middle of the job, and continued cutting.
Instead, I lowered the spindle rpm, and the feed-rate. The sparks stopped. Maybe I was just pushing too hard, or maybe there was a hard spot in the metal. Anyway, I finished the cuts.
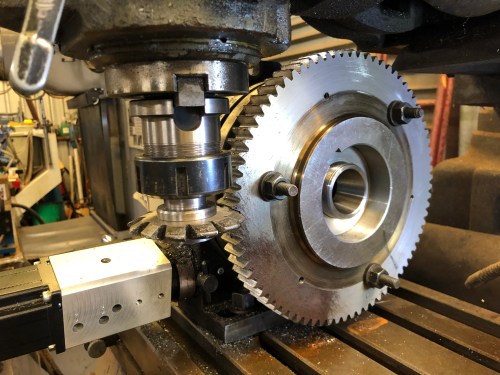
The finished gear cut. Are those teeth looking a bit skinny at the peaks?

Showing the setup from the operator’s view. The CNC table worked brilliantly.
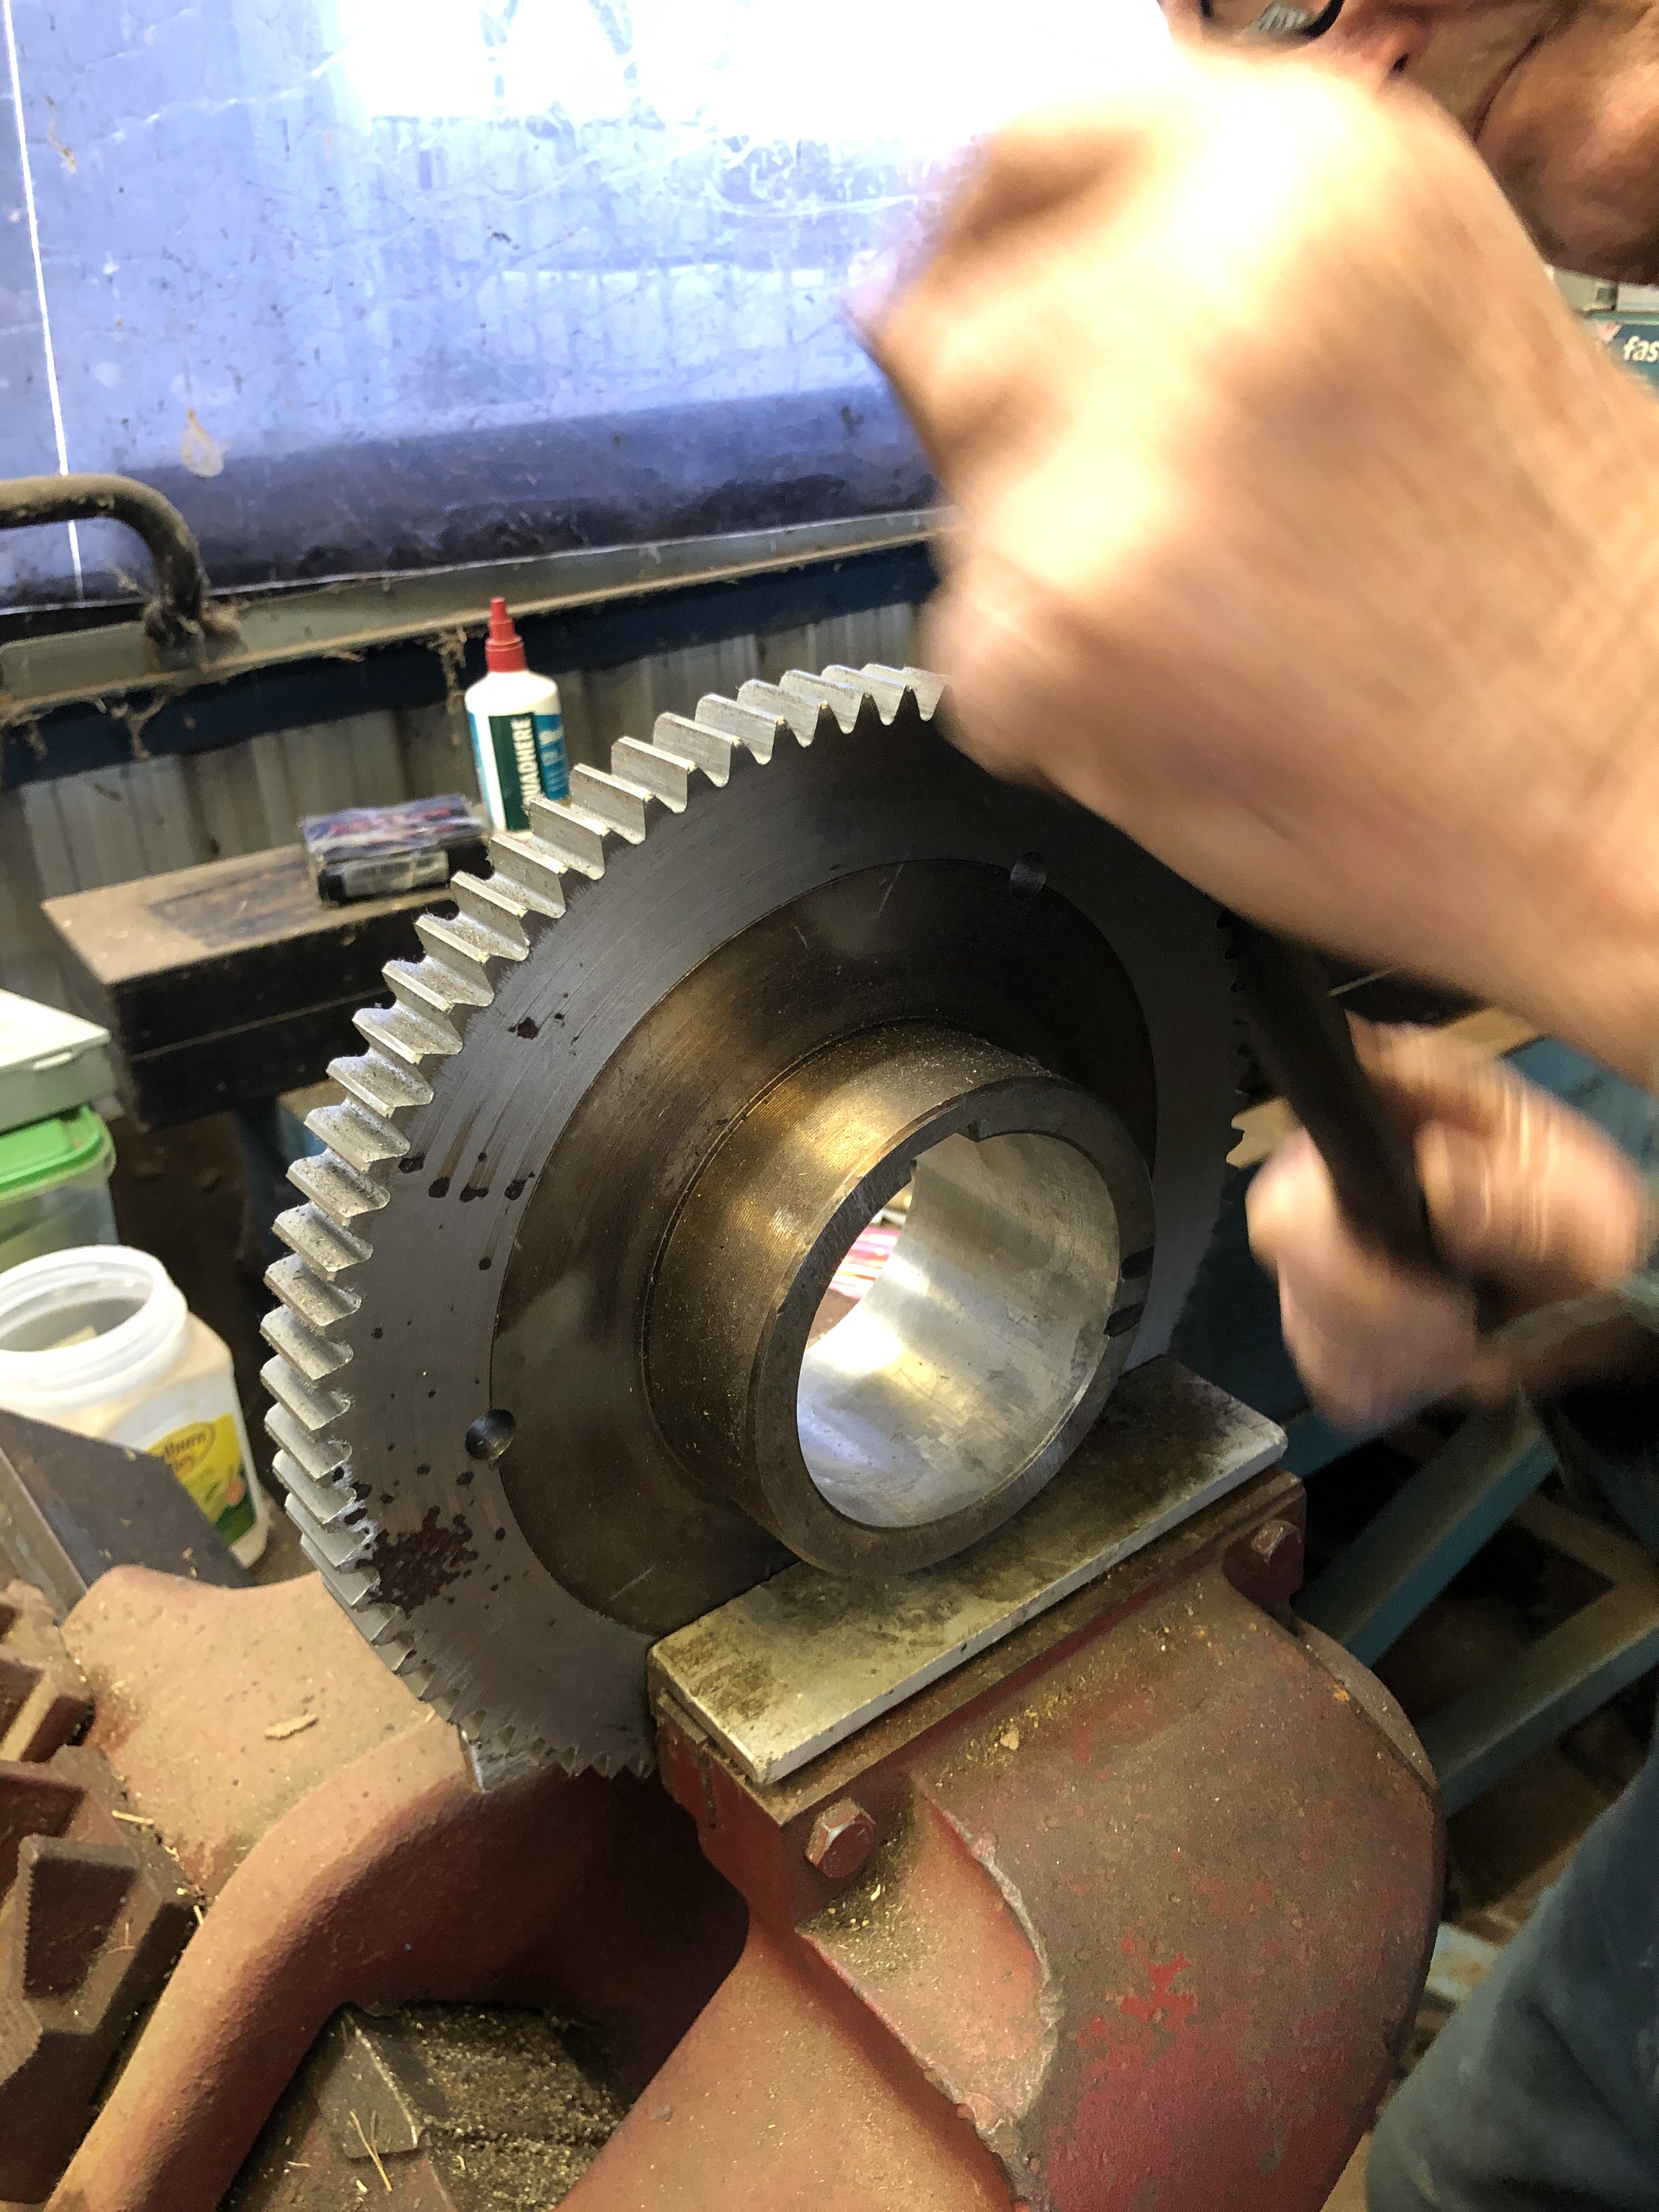
Removing the burrs with wire brush and file.
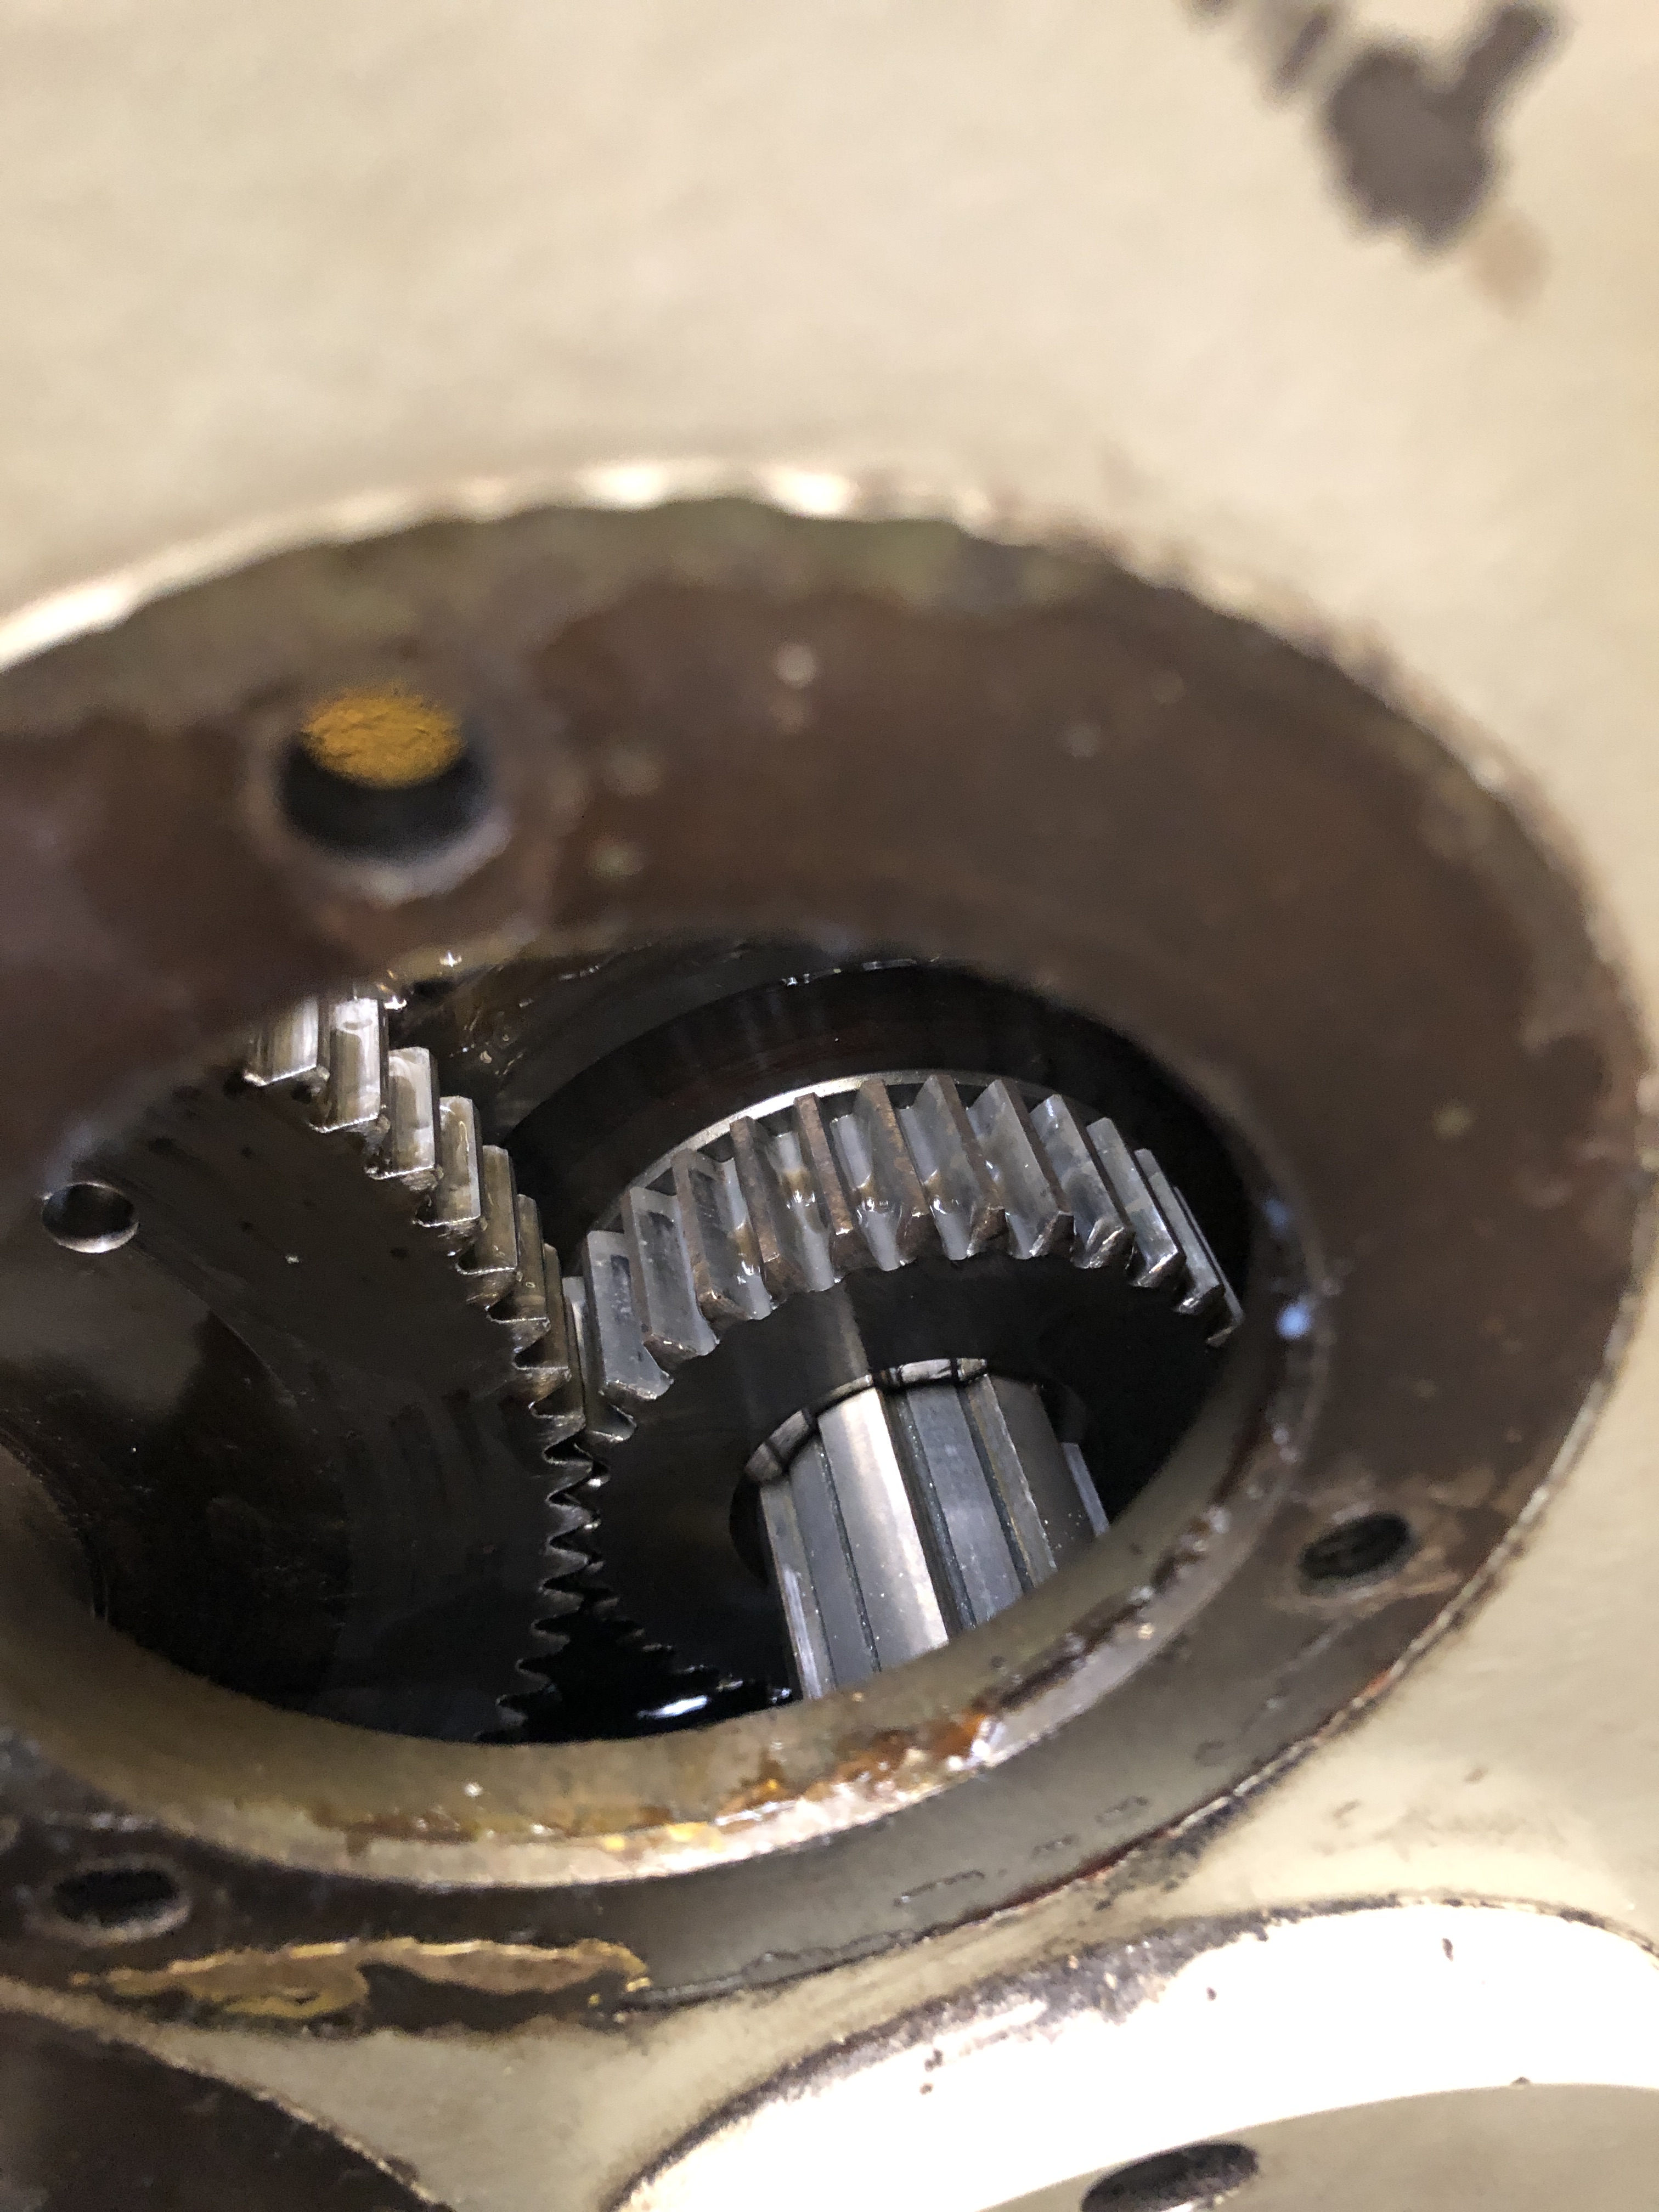
And testing the fit with a trial run in the headstock. Thanks Swen, for helping (actually directing) the trial run. The new gear on the left.
I made a video of the gear being rotated through 360mm, perfectly, but for some reason it will not upload. (did upload eventually.. see below). It looks perfect, with a tiny amount of backlash. Full installation in a day or two. I was quite surprised that making the gear to the specifications worked so well.
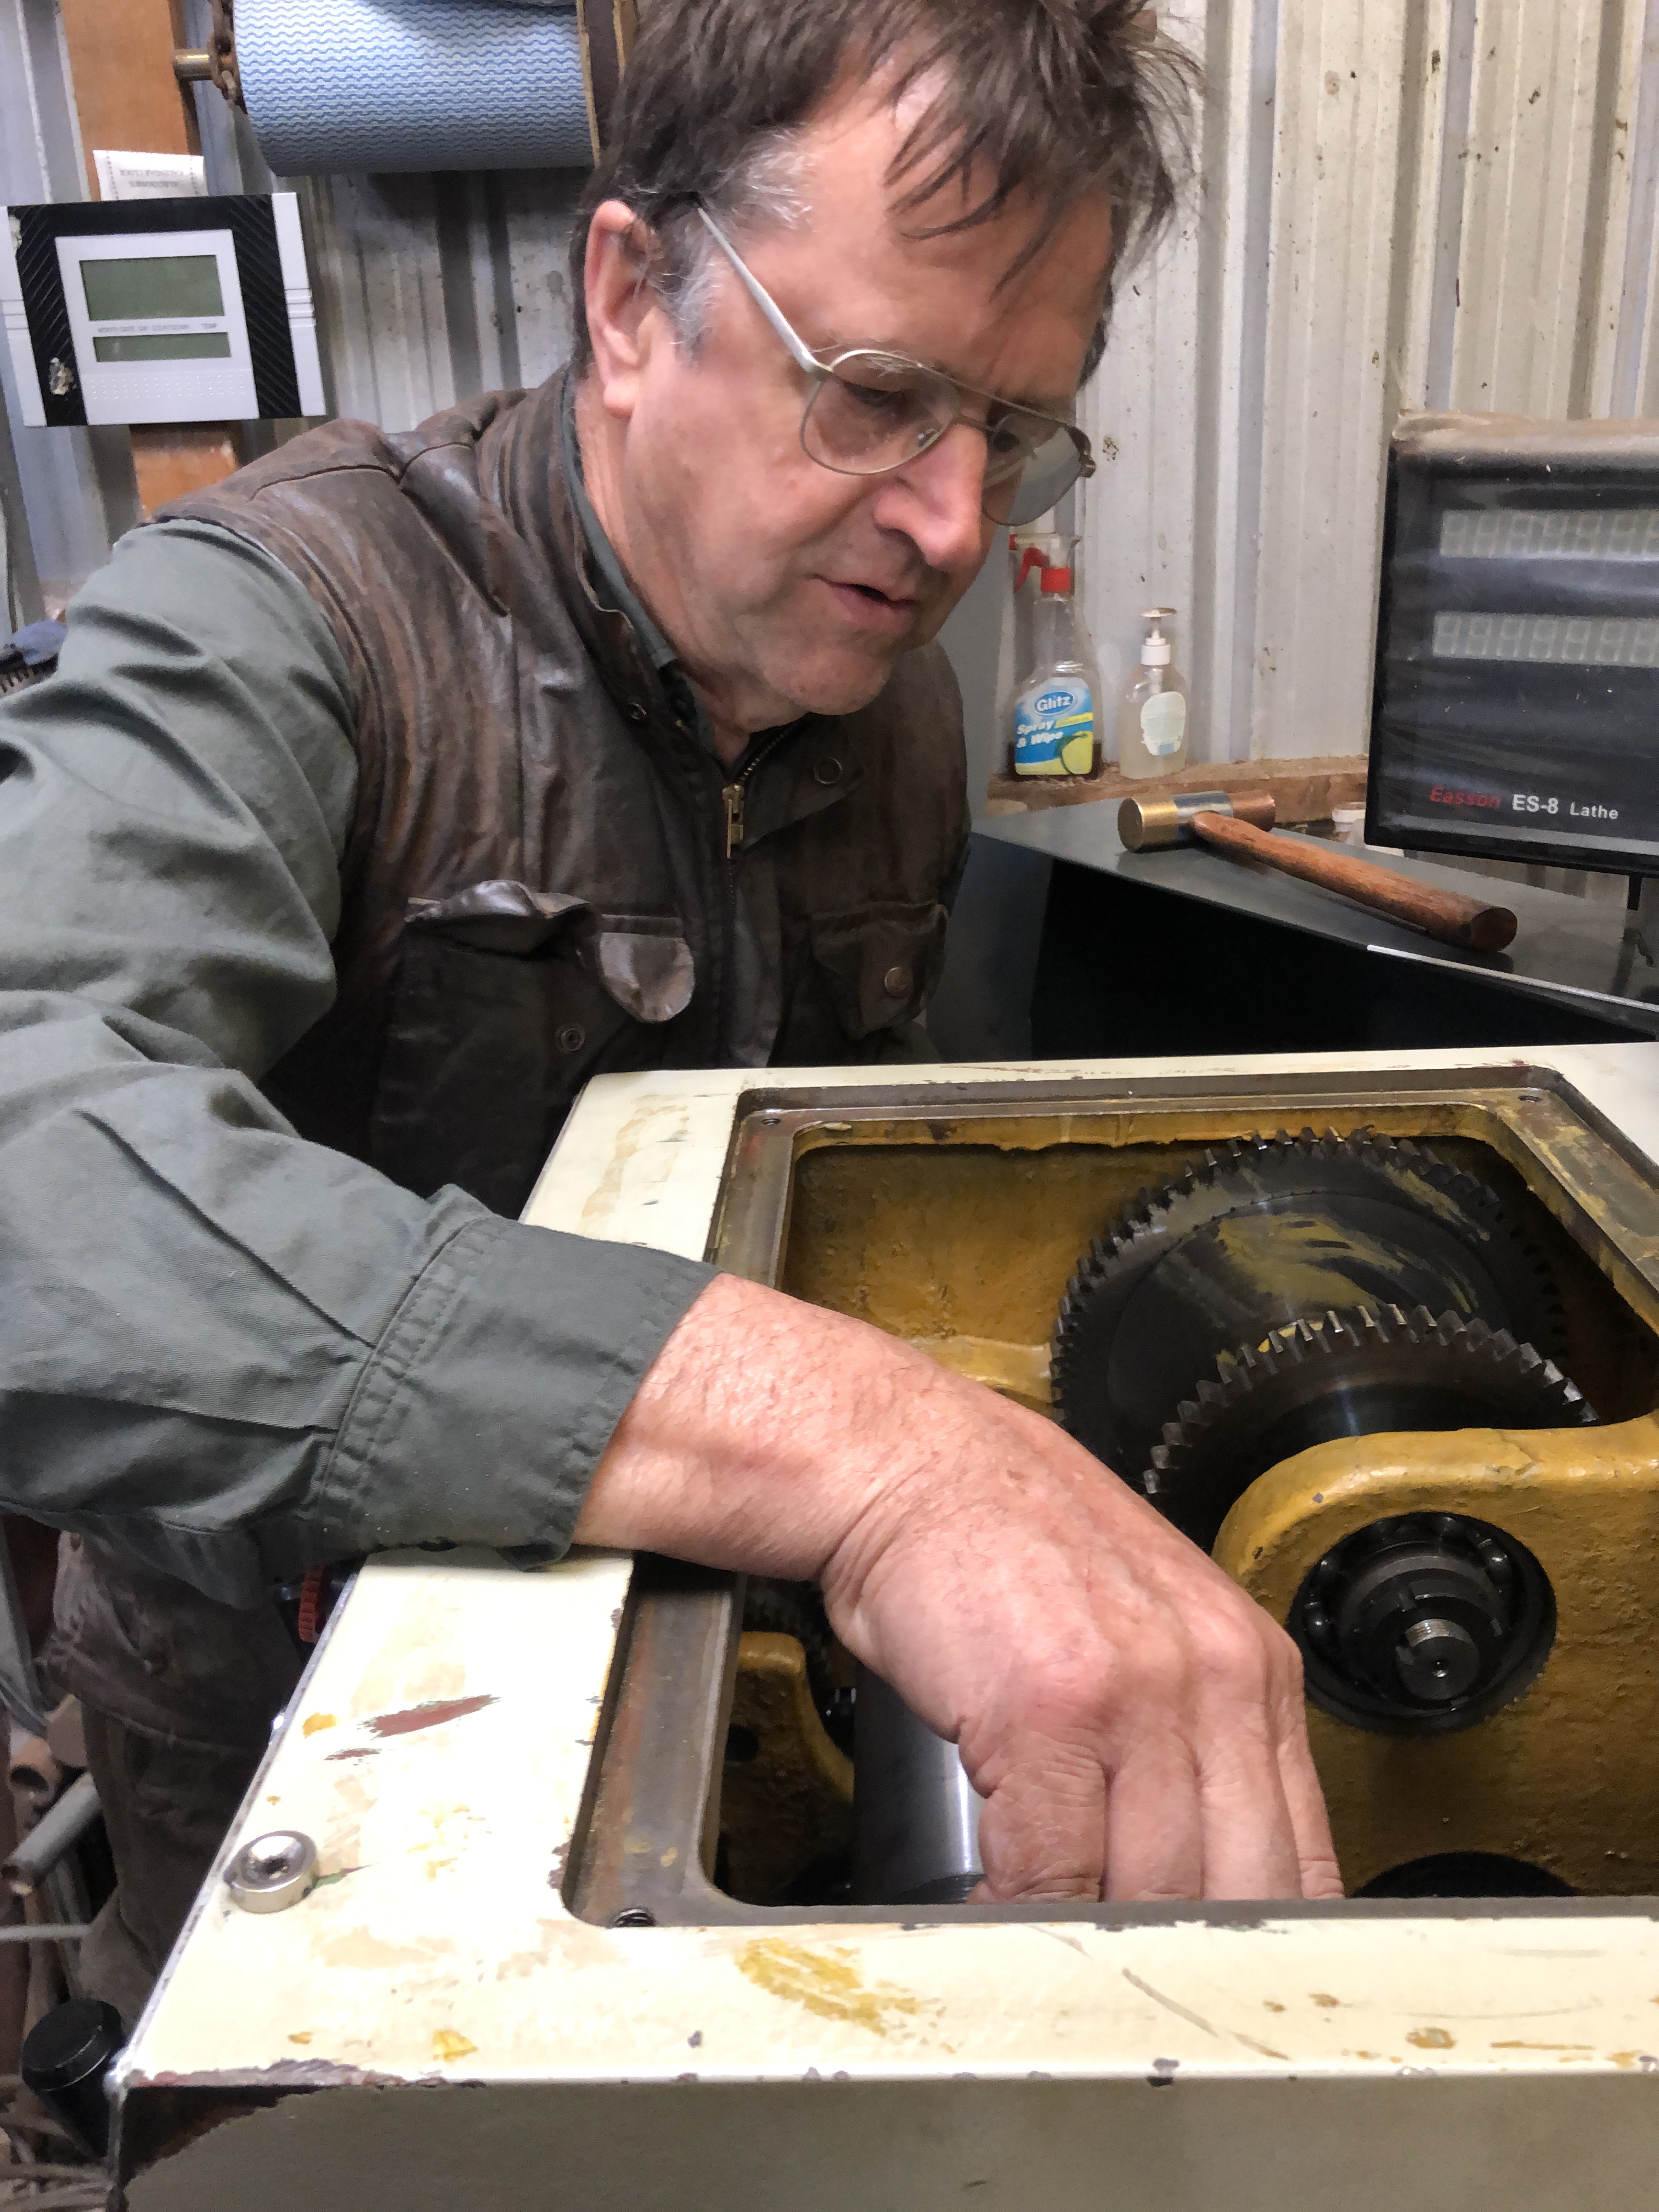
Me, testing the backlash.
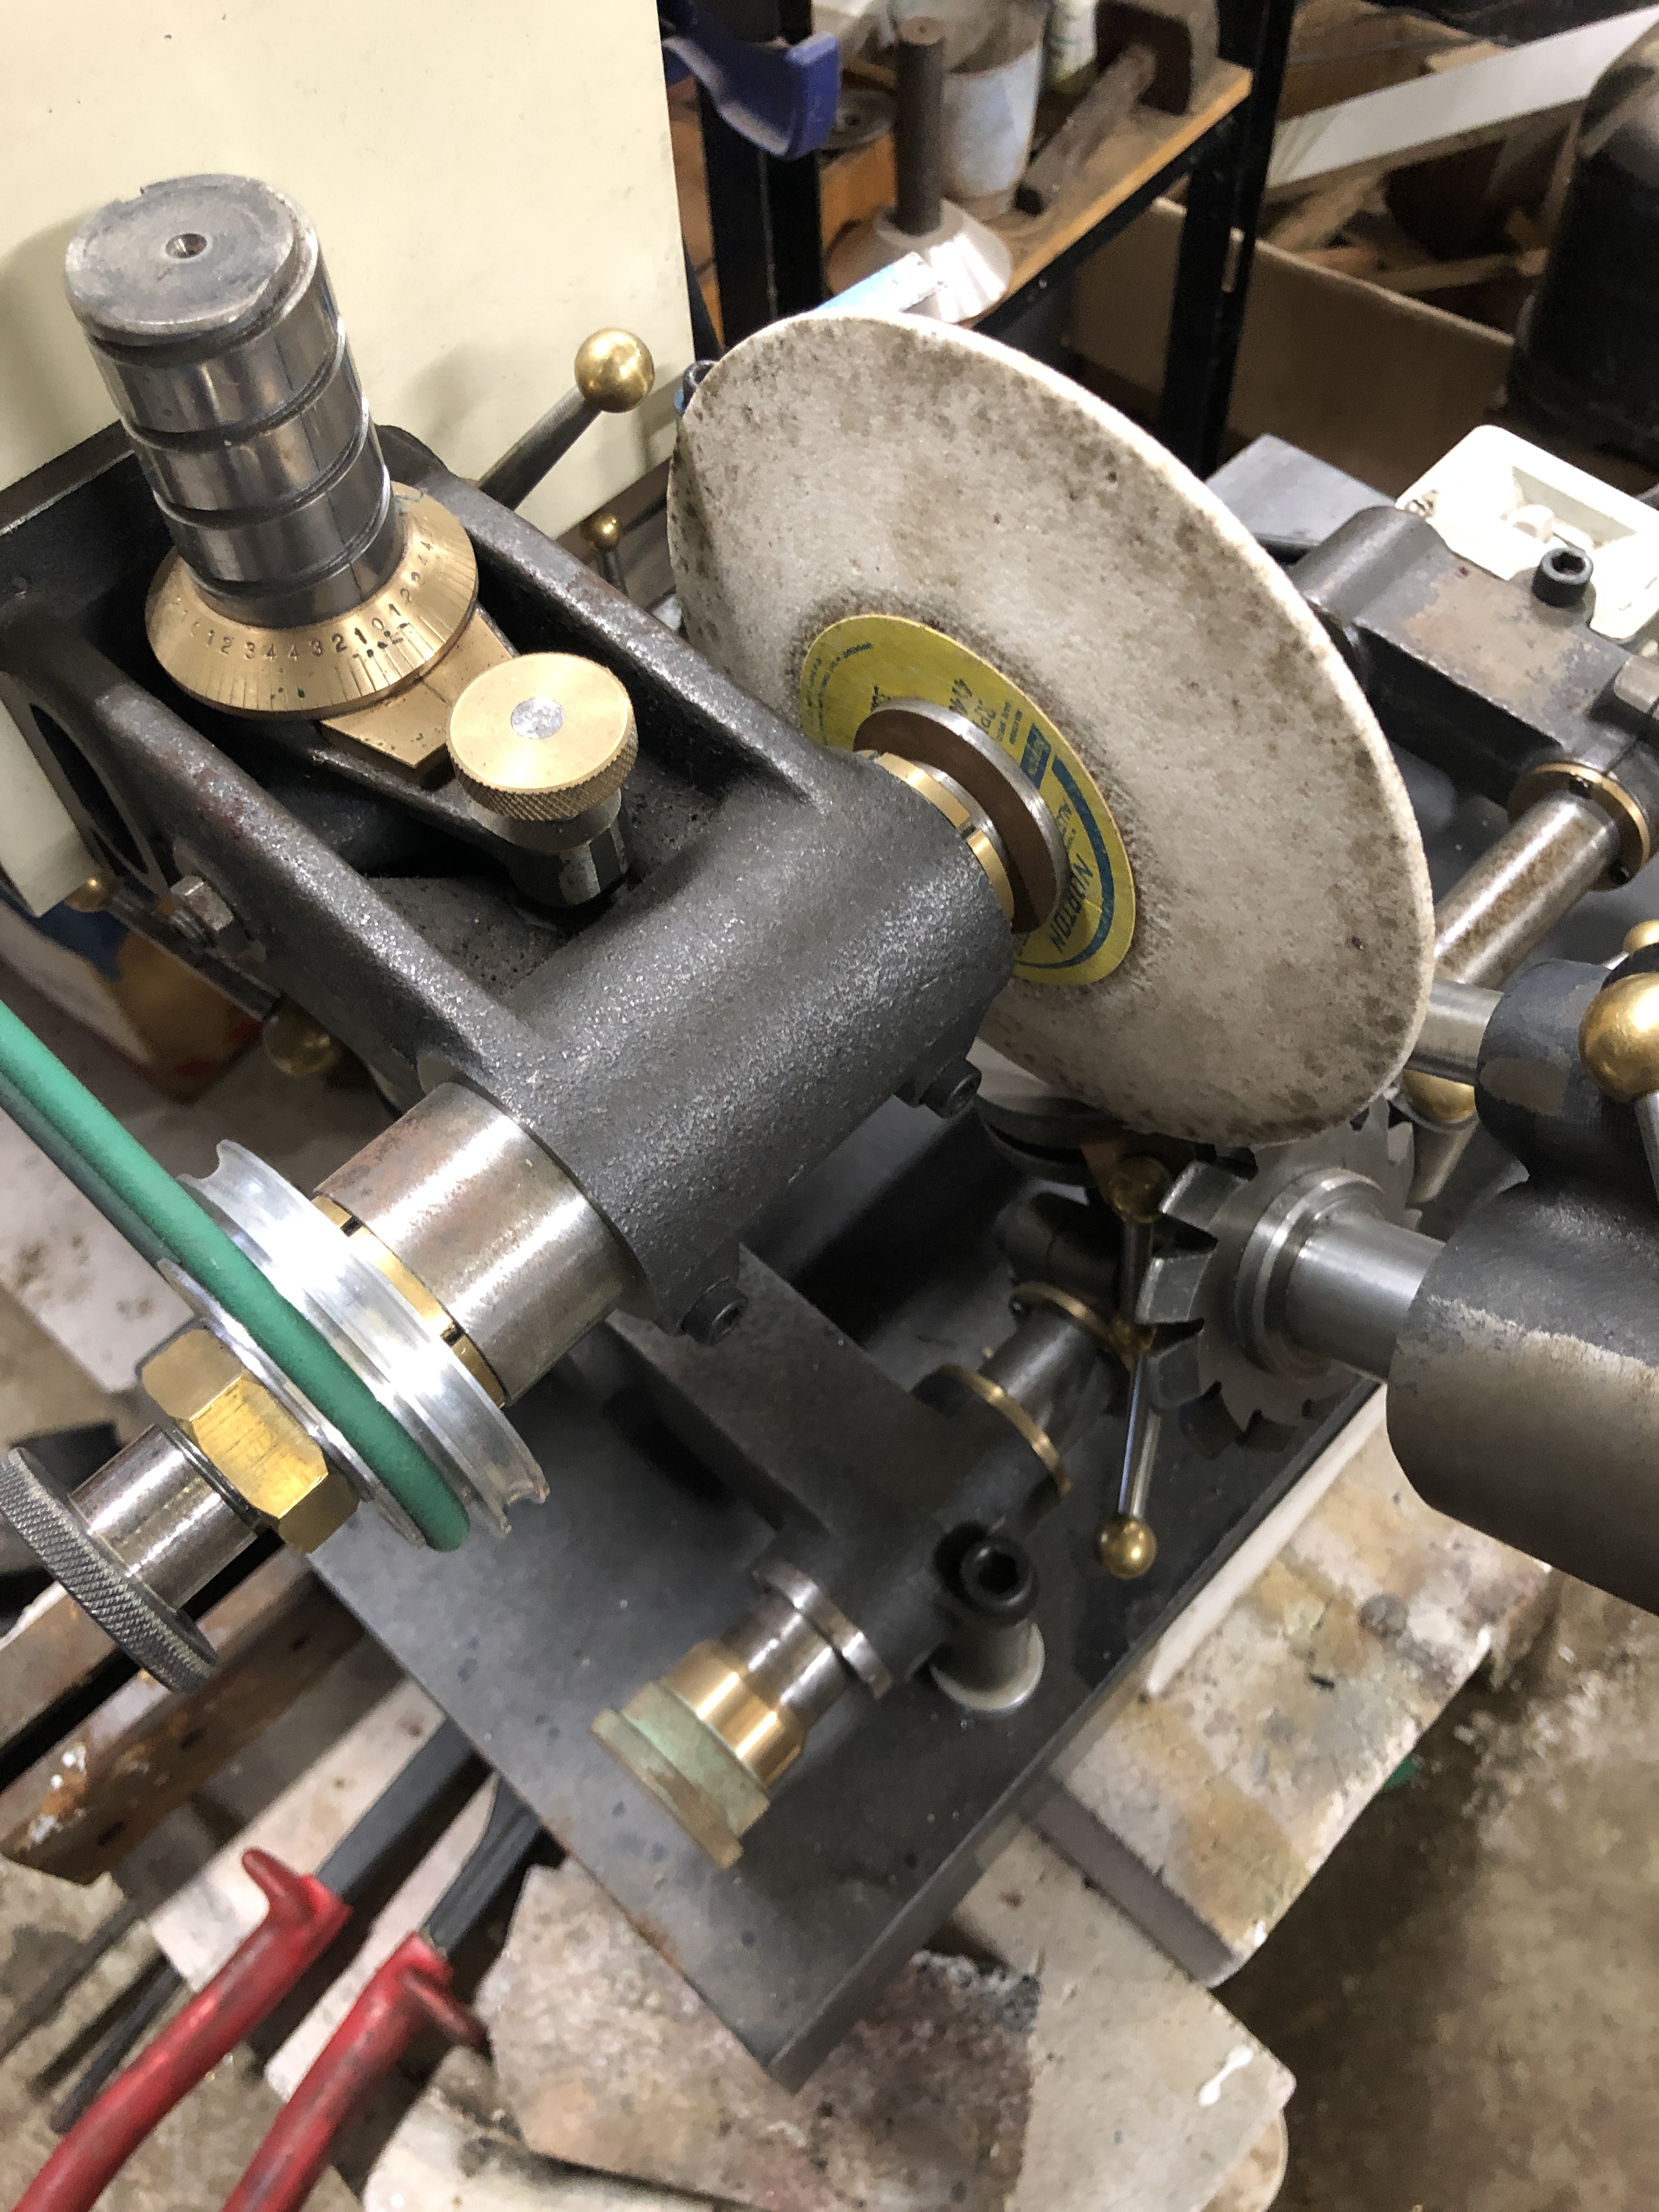
And afterwards, sharpening the cutter on the Quorn T&C cutter grinder which I made a few years ago. An amazingly versatile tool.
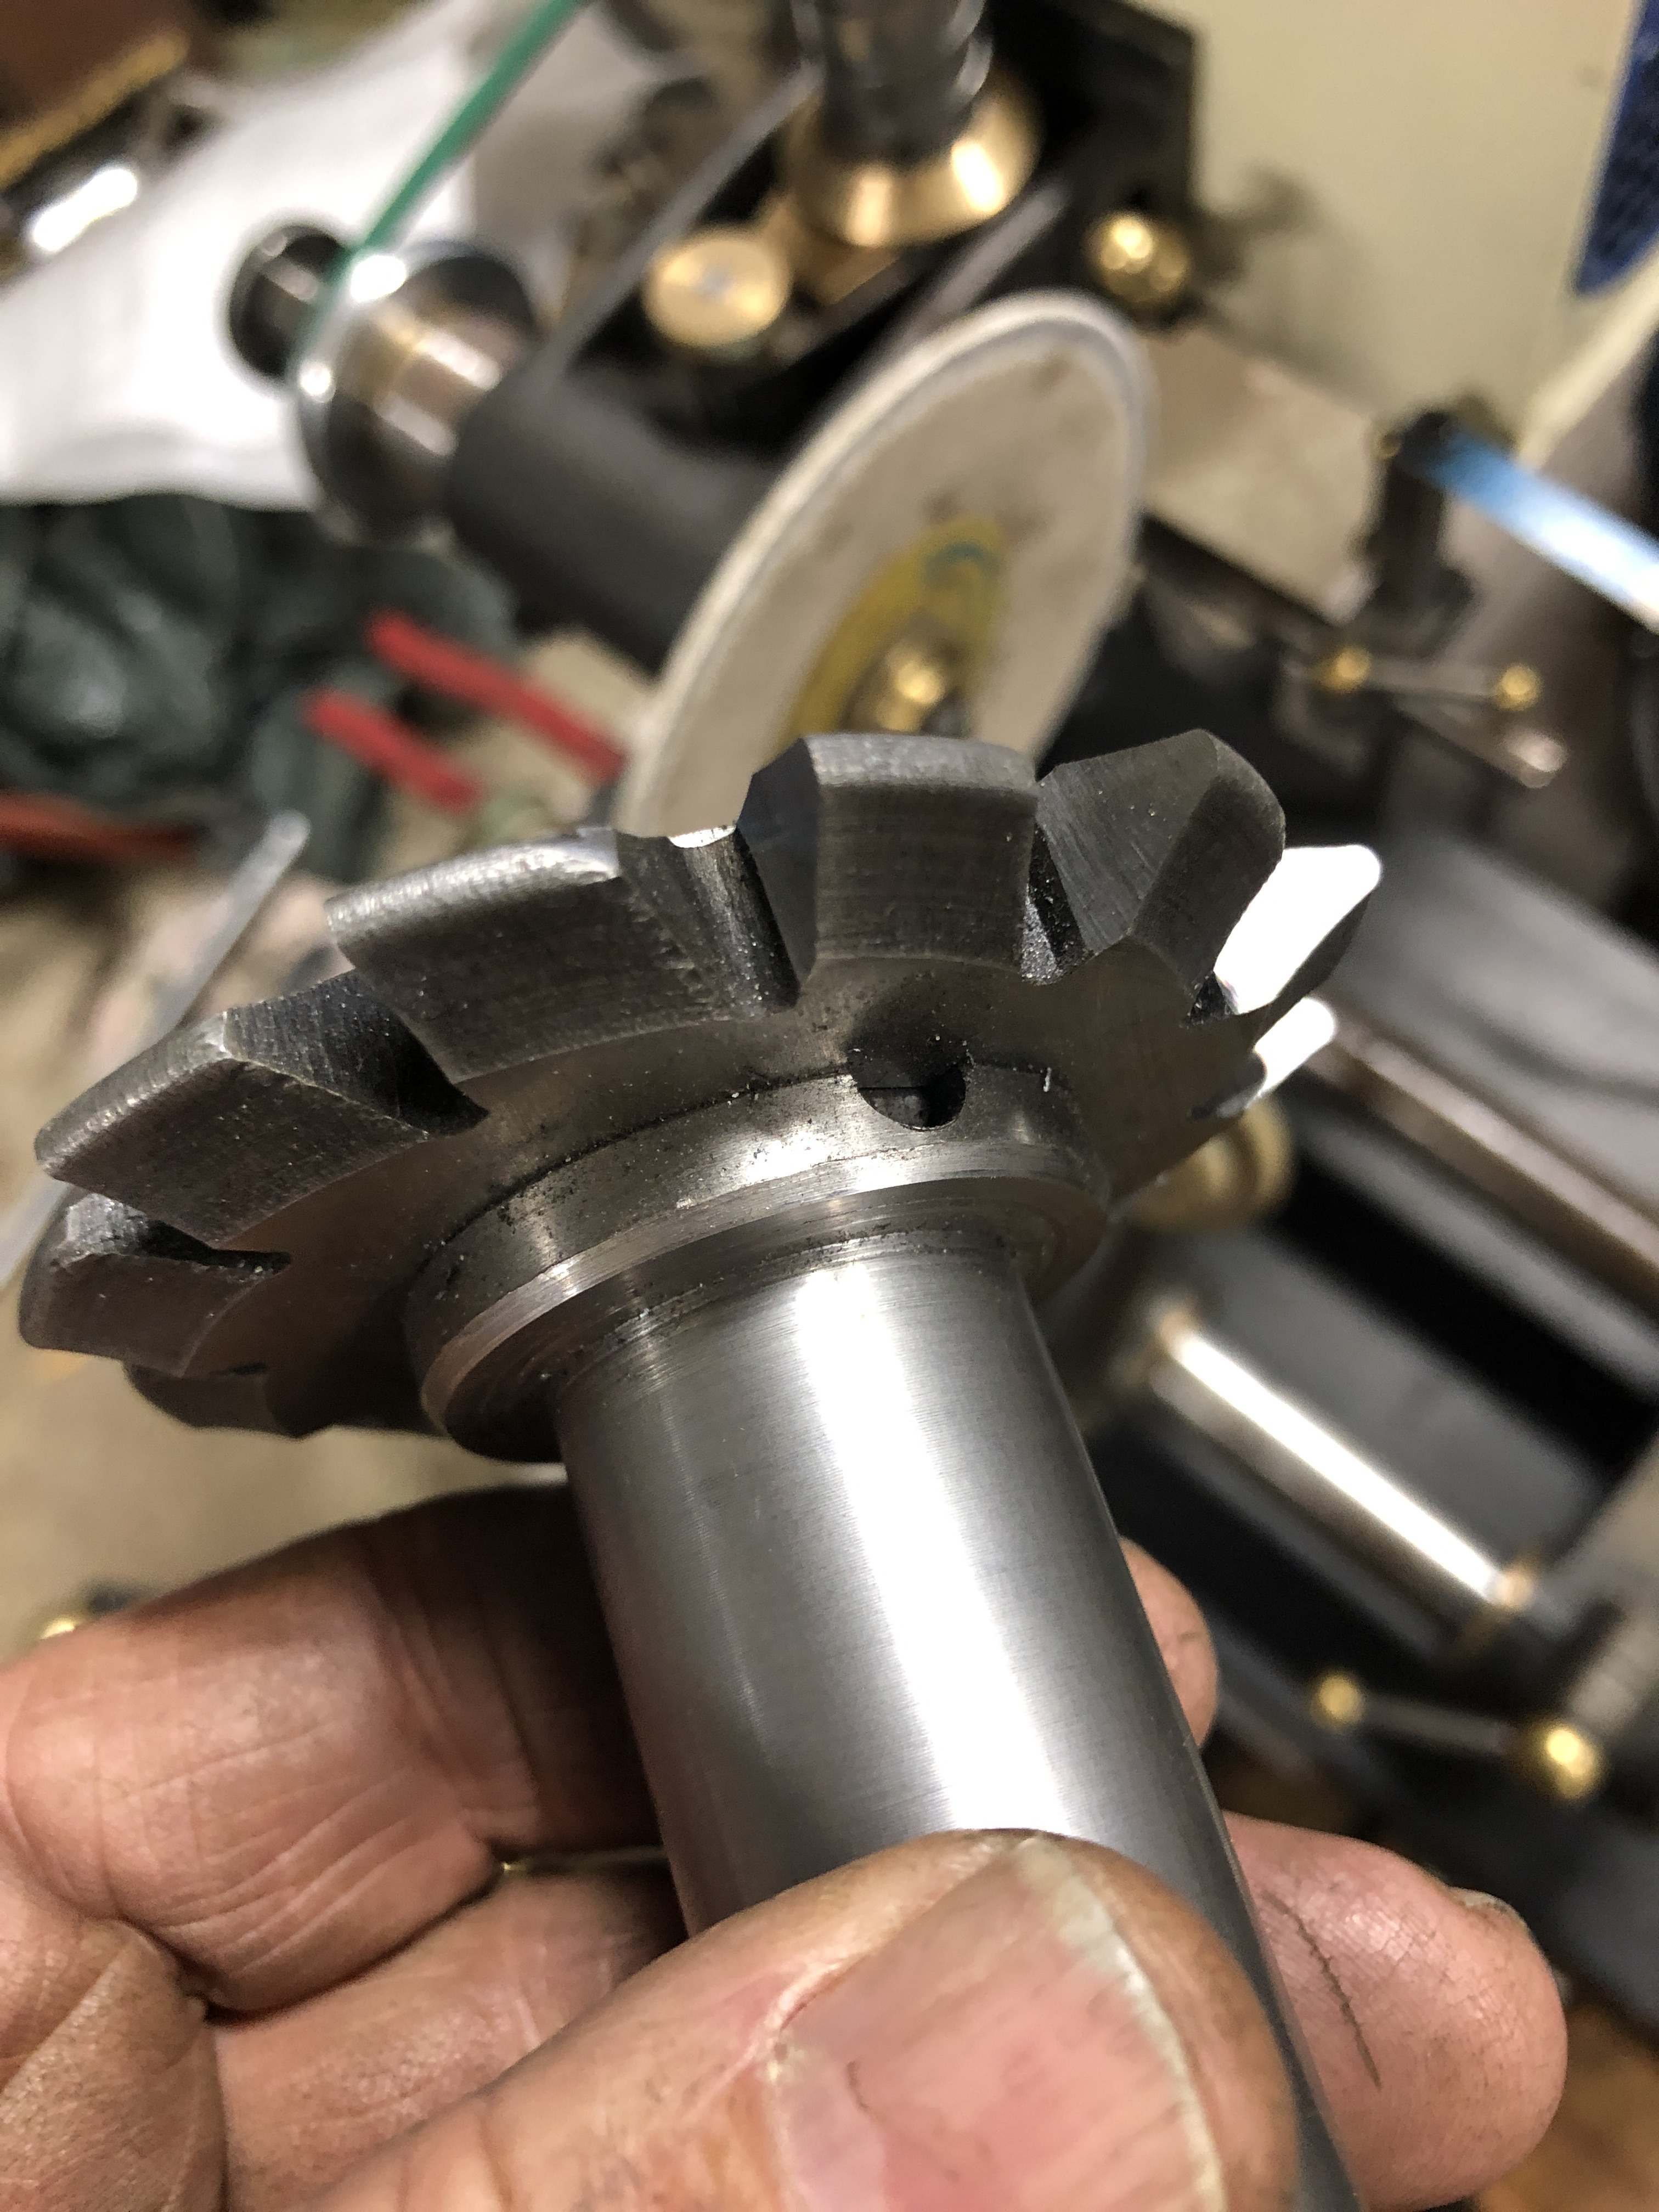
Just in case I need to make another.
The lathe headstock will be properly reassembled in a couple of days. But I am finally feeling a bit confident about this job.

new gear looks very good
LikeLike
Well done John
Now that you’ve got the knack of gear making, perhaps you could take some of the work load off the guy down the road who is so overwhelmed he cannot answer the phone nor make his own deadlines.
Today I started back on my beam engine. I’m making the eccentric and eccentric strap.
LikeLike
I was surprised that it worked out so well… but I shouldn’t brag too soon. Not finally installed yet. Maybe tomorrow.
LikeLike