
Assembly Modules
by John
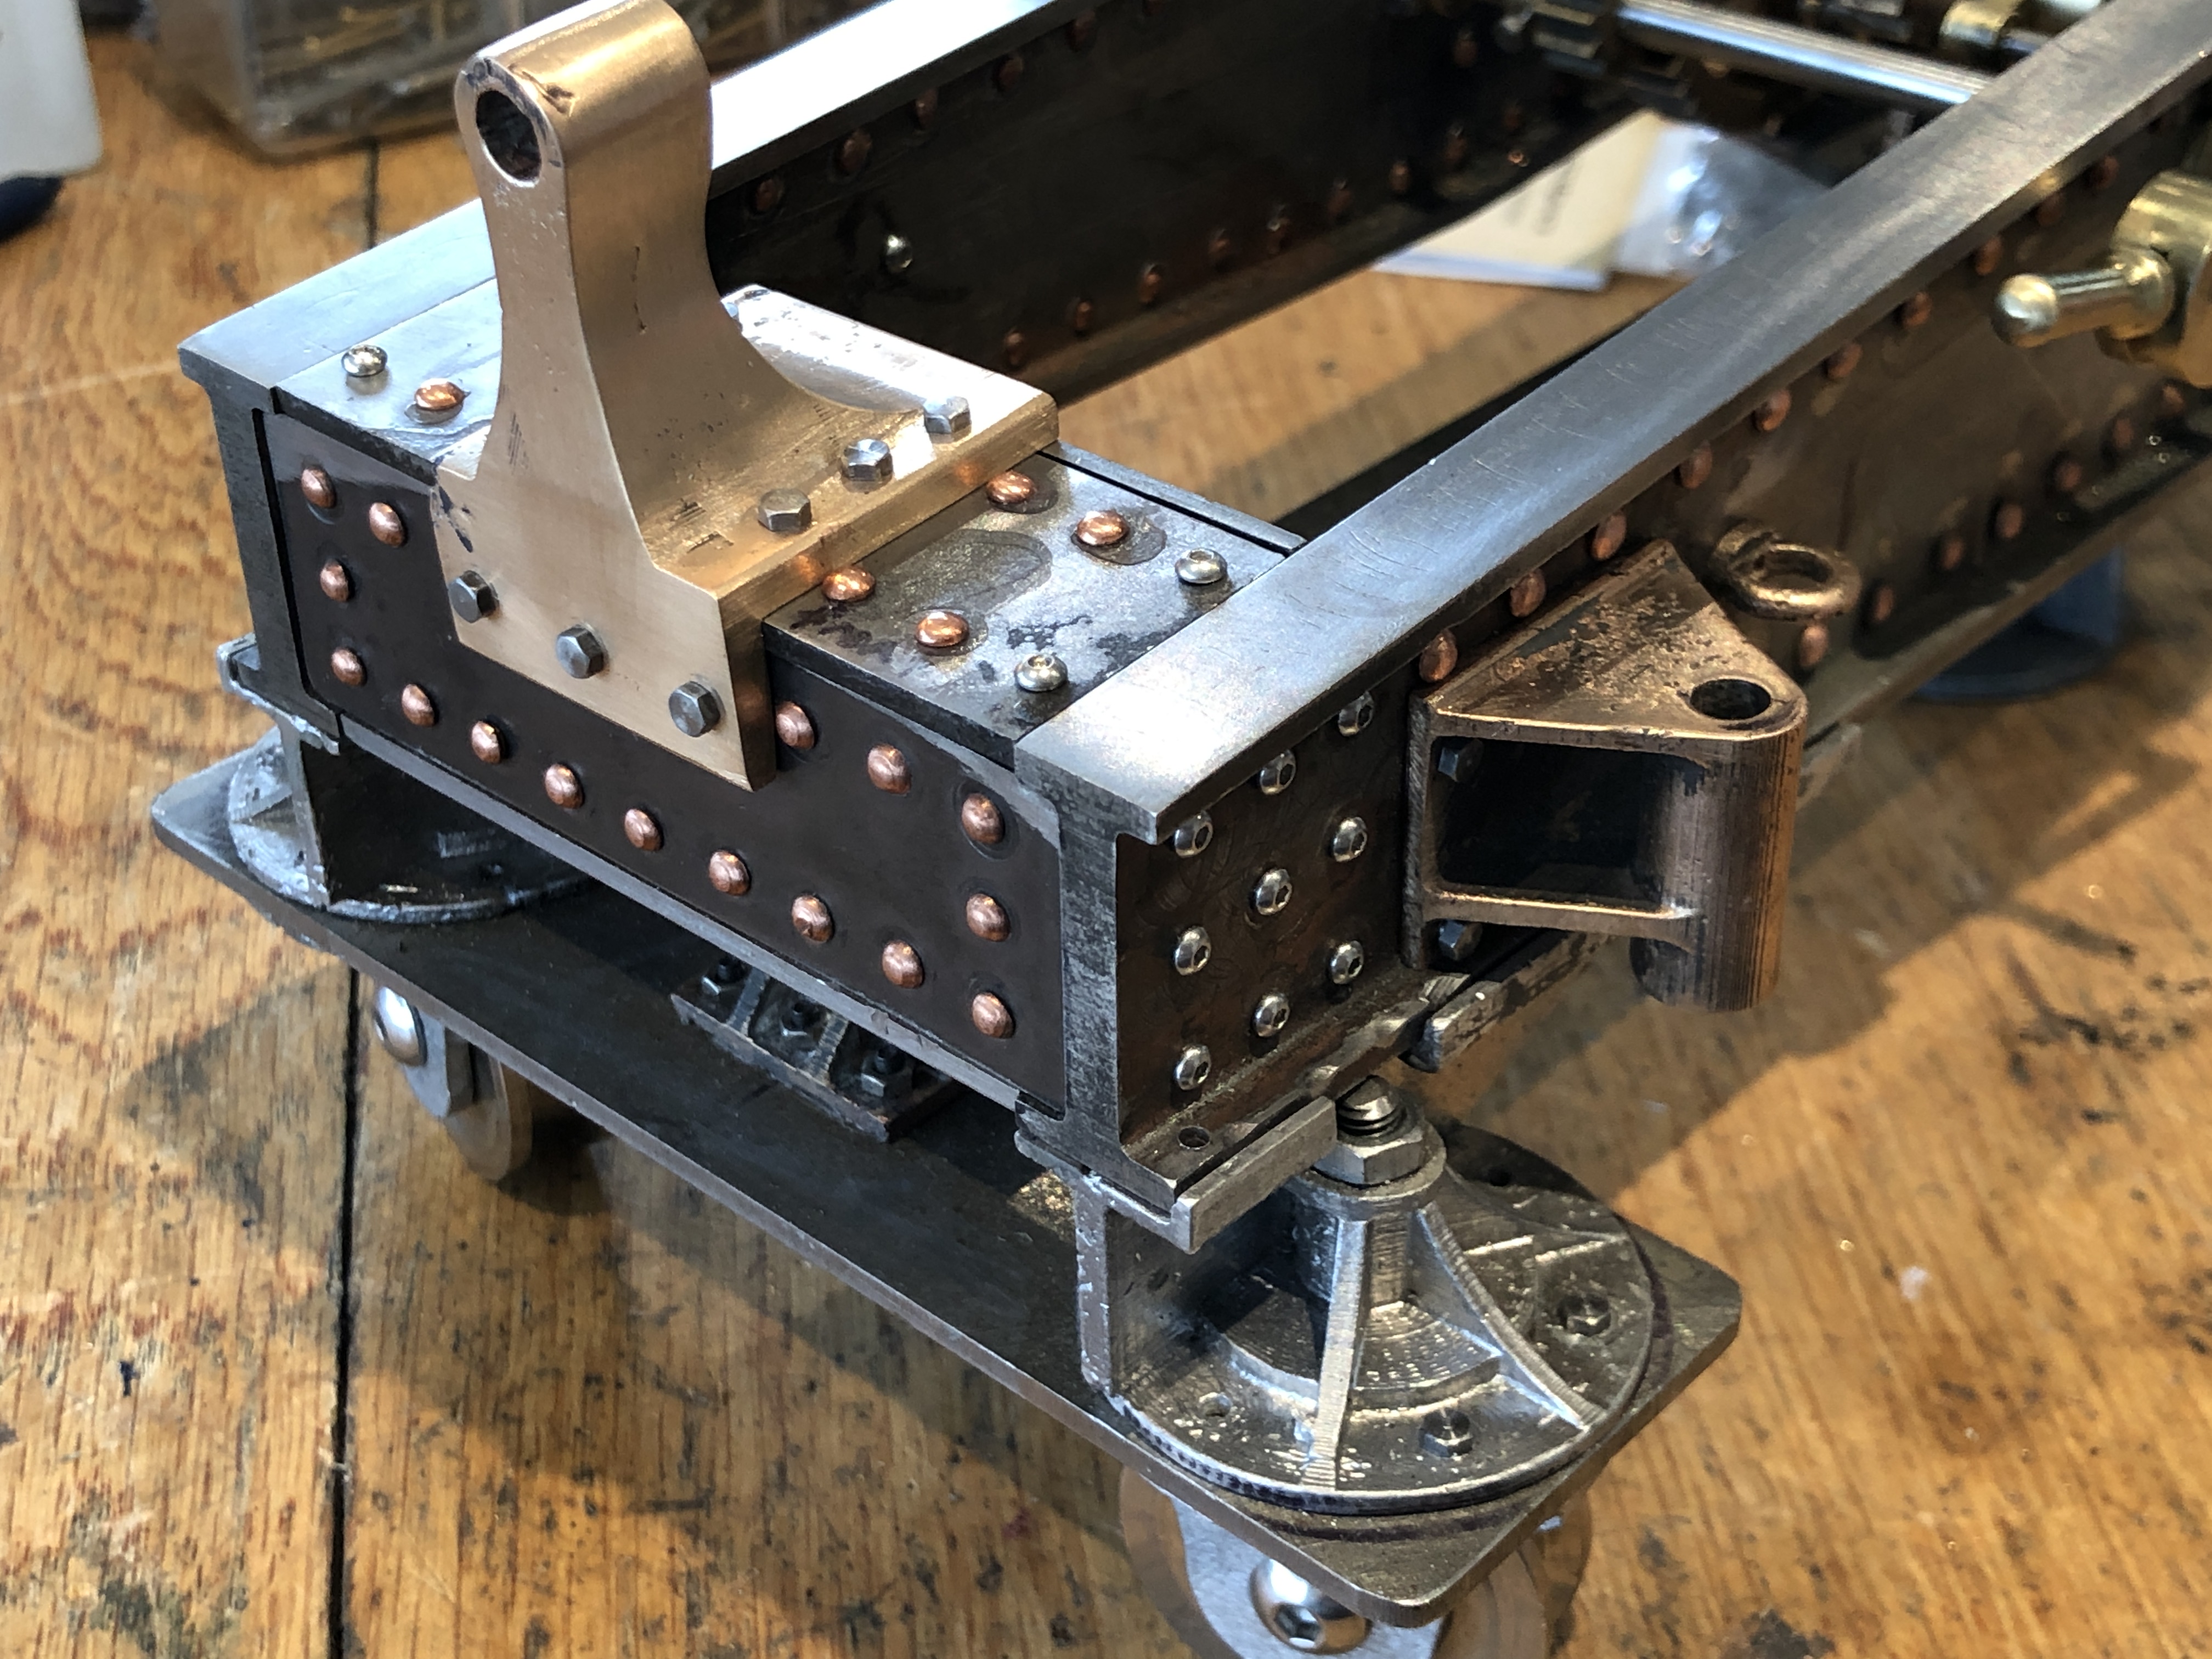
First, I have decided to NOT rivet the final joins of the chassis. Instead I am using dome head stainless steel bolts and nuts. The main reason is that the other end of the rivets are in impossibly small (for me) cavities and spaces, and I could predict that the final riveting result would be horrible. Even using threaded rivets would be incredibly difficult. This decision does cause me to reflect on the 1866 cannon builders who managed such perfect results with red hot rivets in confined spaces, and again, to be awed.

To divert, back to the painting.
Question. When painting a model, is it best to assemble the whole model then paint, or to completely disassemble every part, paint the parts then reassemble?
1. Disassemble and paint the parts then reassemble. This results in complete paint coverage of all parts. It results in clean separation of different coloured parts. Mistakes involve limited areas and are easier to correct. However, the thickness of the paint can alter carefully machined tolerances. And surfaces can be painted which were intended to be unpainted.
2. Assemble the entire model, then paint. This can make some recesses, corners and hidden areas difficult to access. But the appearance of the entire model can be assessed as the painting progresses, and major mistakes in colour choice can be corrected. The painting process does not alter dimensions or fitting together of components. But paint edges and joins can be difficult to keep neat and straight, particularly in my inexpert hands.
3. (Obviously what I chose to do). Partial assembly, into modules, then paint the modules separately. This has the advantages of both 1 and 2. The modules can be stacked together to periodically assess the results. The modules are smaller than the complete model, and easier to handle. Difficult decisions regarding colour, or whether to paint at all, can be deferred until the easier parts are painted, and some idea of appearance ascertained progressively.
So that is what I am doing. I have painted the bottom part of the chassis, and the carriage. Etch primer at this time, but already firming up ideas about final colour. And my colour and design expert advisor (SWMBO) has had some input into this decision.

At this stage, I asked for advice from SWMBO. She has suggested that the primed modules should be painted satin black, which should contrast nicely with the brass/bronze components. Avoiding gloss will minimise the finishing defects. Some filling of defects will be required in any case. The black colour will be tested on the carriage, and if it looks OK, the chassis subframe will receive the same colour.
SWMBO’s most interesting suggestion is to NOT paint the main chassis beams at all! Well, a clear lacquer will be required to prevent rust.
But. What about disguising the copper rivets/stainless bolts?
SWMBO: “they look interesting. Leave them.”
Me: “but, but, but, they do not look authentic.”
SWMBO: “This has to look like a work of art, otherwise it will be just a boring dust gatherer.”
She wins.

I’ve watched you labor over every fine detail of the cannon and think you are doing the right thing by following SWMBO’s canon. It is a magnificent work of art.
BTW, do you have an airbrush?
Aloha,
Richard
LikeLike
Hi Richard, a canon for a cannon Eh? Yes I have an airbrush but I will probably use a pressure can because my experience with the airbrush is limited. And thanks for the nice compliment. John
LikeLike
Ah John, my pre-marriage advice from a work colleague was, “Just remember that your wife will be right 95% of the time. The other 5% you are wrong”. So you made the correct decision following the advice given.
Also, Matt or satin black should mask the marking blue bleed through I see glimpses of so yet another reason for choice. Don’t recall whether you were going to try stripping the area back or putting a dab of oil based primer there.
Great work yet again.
LikeLiked by 1 person